Articles
How To Hand Baste A Quilt
Modified: December 7, 2023
Learn the essential steps of hand basting a quilt with our informative articles. Discover expert techniques and tips to ensure a flawless finish.
(Many of the links in this article redirect to a specific reviewed product. Your purchase of these products through affiliate links helps to generate commission for Storables.com, at no extra cost. Learn more)
Introduction
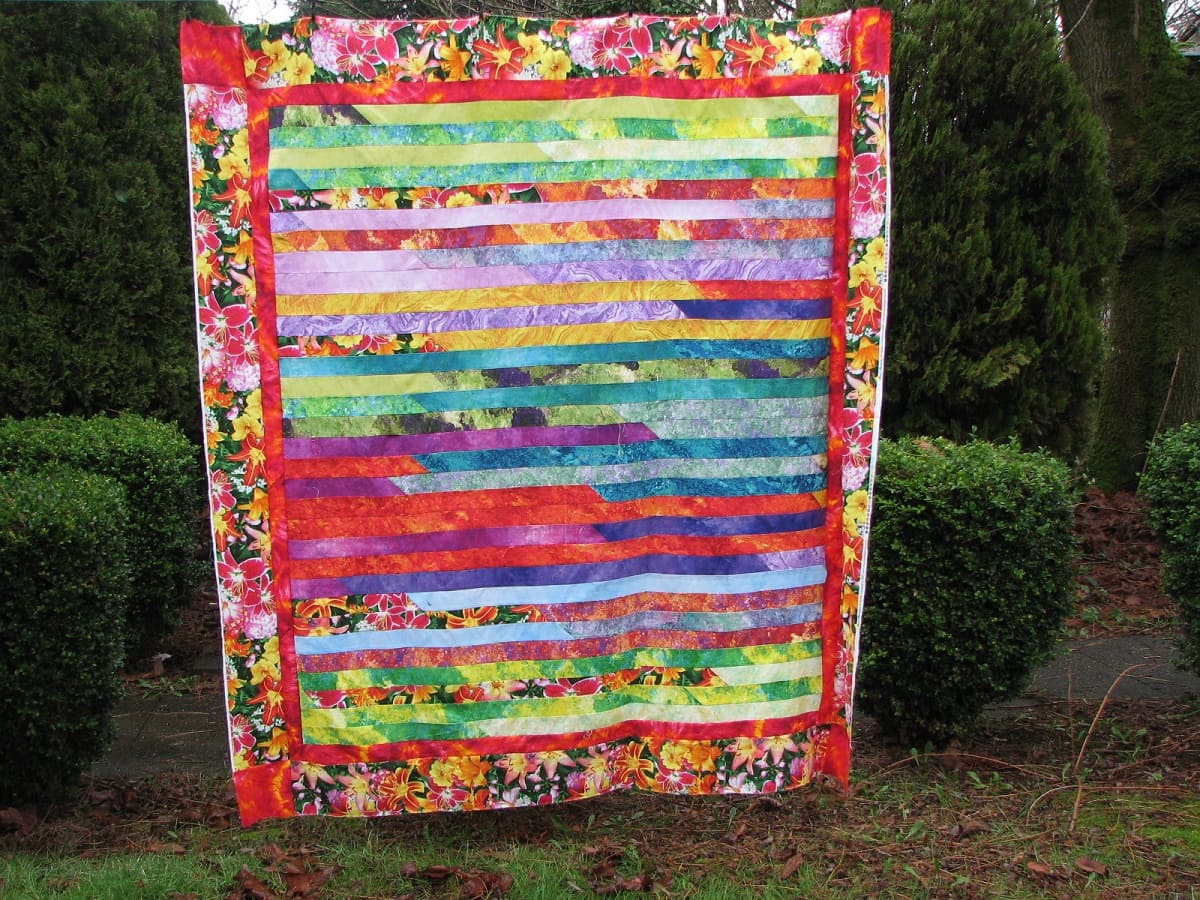
Quilting is a beautiful and intricate craft that combines artistry and functionality. Whether you are a seasoned quilter or a beginner, one of the essential steps in the quilting process is basting. Basting is a temporary way to hold the three layers of a quilt sandwich together before the final quilting takes place.
In the world of quilting, there are different methods of basting, including machine basting and spray basting. However, hand basting is a traditional technique that offers numerous benefits. In this article, we will explore the art of hand basting a quilt, the tools and materials needed, and provide a step-by-step guide to help you get started.
Hand basting not only ensures your quilt layers stay in place but also allows for greater accuracy and control during the quilting process. It involves the use of long basting stitches that can be easily removed once the quilt is quilted. While it may take more time compared to other basting methods, the end result is well worth the effort.
So, if you are ready to dive into the world of hand basting and enjoy the satisfaction of stitching your quilt layers together by hand, let’s get started on this exciting quilting journey!
Key Takeaways:
- Hand basting offers quilters precision, flexibility, and control, allowing for beautifully stitched quilts with ease. It provides a rewarding and meditative quilting experience, ensuring a smooth and professional finish.
- By hand basting your quilt, you can achieve accuracy, flexibility, and visual evaluation, ensuring a well-prepared project ready for the final quilting. Embrace the timeless art of hand basting for a satisfying quilting journey.
Read more: How To Use Quilt Basting Spray
What is hand basting?
Hand basting is a technique used in quilting to temporarily hold the layers of a quilt sandwich together. It involves the use of long basting stitches that pass through all three layers of the quilt – the quilt top, batting, and backing fabric. By stitching the layers together, they are secured in place, preventing any shifting or puckering during the quilting process.
This traditional method of basting offers several advantages over other basting techniques. One of the key benefits is the ability to easily remove the basting stitches once the quilting is complete. This leaves your quilt free from any permanent markings or additional layers of adhesive.
Hand basting also allows for greater accuracy and control, as you can adjust the placement of the layers as needed while stitching. It is particularly useful when working with intricate quilt designs or when quilting complex patterns that require precise alignment.
Furthermore, hand basting provides the opportunity to take a step back and evaluate the overall look of the quilt before committing to the final quilting. Because the basting stitches are temporary, you can easily make any necessary adjustments or changes to the quilt top without the concern of permanence.
Overall, hand basting is a versatile and reliable technique that has stood the test of time in the quilting community. It offers quilters the ability to work with precision, make adjustments when needed, and ensure a smooth quilting process from start to finish.
Benefits of hand basting
Hand basting may require a bit more time and effort compared to other basting methods, but the benefits it offers make it a worthwhile technique in the realm of quilting. Here are some of the advantages of hand basting:
- Accuracy and Control: Hand basting allows you to have greater control over the placement and alignment of the quilt layers. You can take your time to ensure that everything is perfectly positioned before moving on to the final quilting. This precision results in a beautifully quilted project.
- Temporary and Easily Removable: Unlike other basting techniques that require permanent markings or adhesive, hand basting is temporary. The long basting stitches can be easily removed once the quilting is complete, leaving no trace of the basting process. This ensures a clean and professional finish to your quilt.
- Flexibility for Adjustments: Hand basting gives you the flexibility to make adjustments or changes to your quilt top as needed. Since the stitches are temporary, you can easily remove and reposition layers or make alterations without the fear of ruining your work. This level of flexibility allows for creativity and experimentation in the quilting process.
- Visual Evaluation: By hand basting your quilt, you can take a step back and see the overall look and feel of your project before committing to the final quilting. This gives you an opportunity to make any necessary changes or improvements to the design or layout of your quilt.
- Enhanced Quilting Experience: Hand basting provides a more intimate and meditative quilting experience. It allows you to connect with your project on a deeper level as you carefully stitch each basting stitch. This hands-on approach can be therapeutic and rewarding, adding joy to the quilting process.
Overall, hand basting offers quilters the advantages of accuracy, flexibility, and control, ultimately resulting in a professionally quilted project. While it may require a bit more time and patience, the benefits make it a popular choice among quilters who appreciate the artistry and craftsmanship of the quilting process.
Tools and materials needed
Hand basting requires a few basic tools and materials to ensure a smooth and successful quilting process. Here is a list of what you will need:
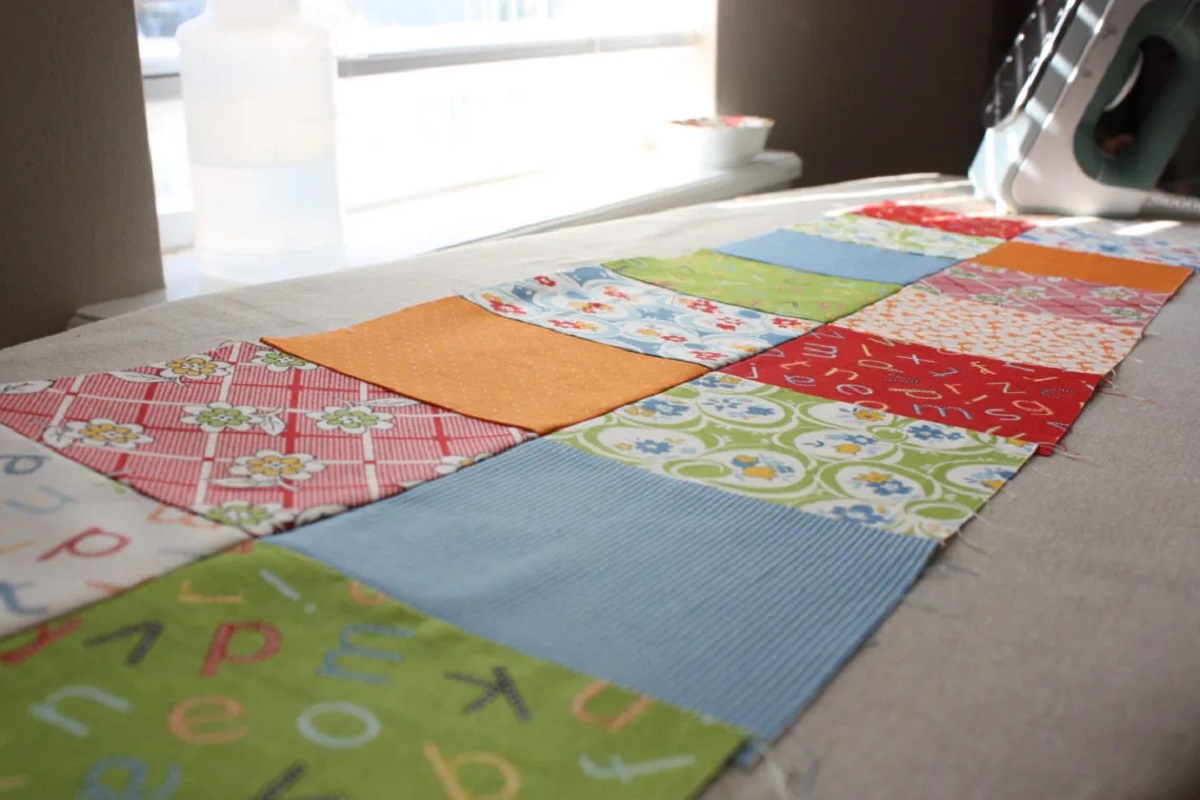
- Quilt sandwich: This consists of the quilt top, batting, and backing fabric. Make sure you have these layers prepared and neatly pressed before starting the hand basting process.
- Needle: Choose a needle that is appropriate for the thickness of your quilt layers. A long, sharp needle with a large eye is recommended for easy threading and smooth stitching.
- Thread: Opt for a high-quality thread that is strong and durable. Cotton or polyester thread in a color that contrasts with your quilt top will make it easier to see the basting stitches. Be sure to have enough thread to complete the basting process without running out.
- Basting spray (optional): While hand basting doesn’t require adhesive, some quilters prefer using a basting spray to secure the layers temporarily during the basting process. This can provide extra stability and prevent any shifting while you stitch.
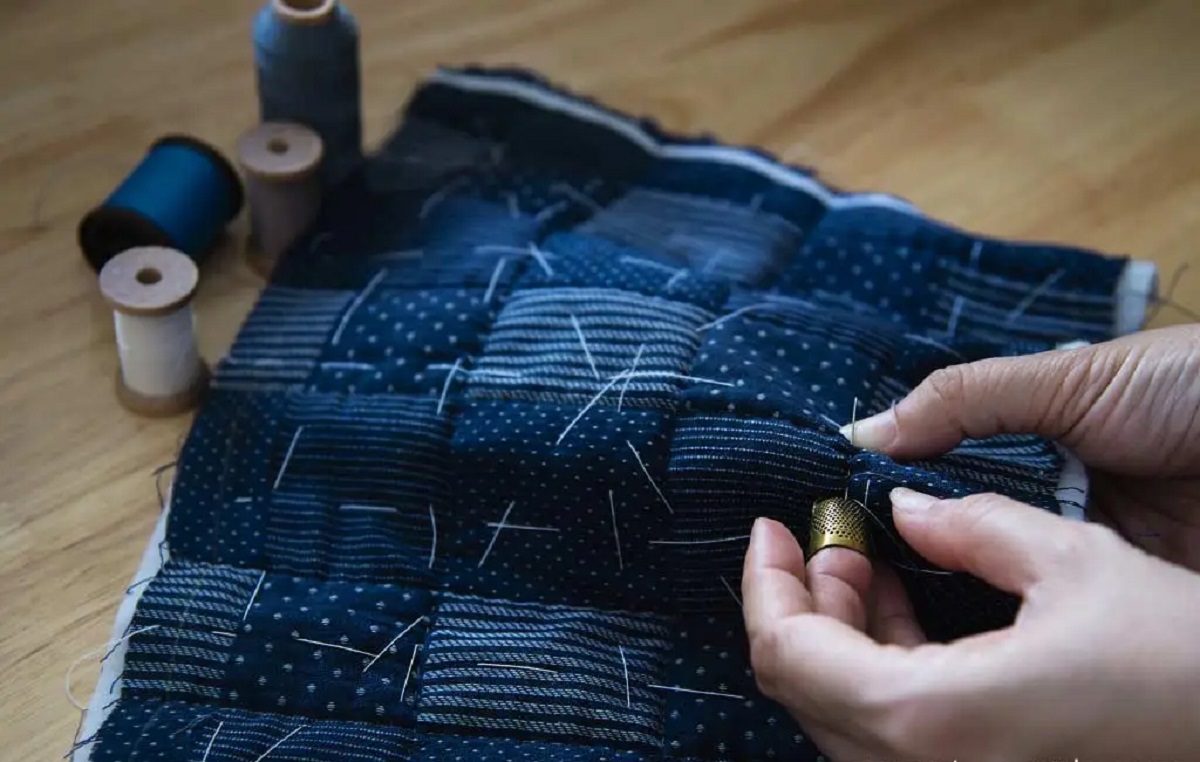
- Thimble: A thimble can protect your finger from the repeated pushing and pulling of the needle when hand basting. Choose a thimble that fits comfortably on your finger and allows you to maintain control while stitching.
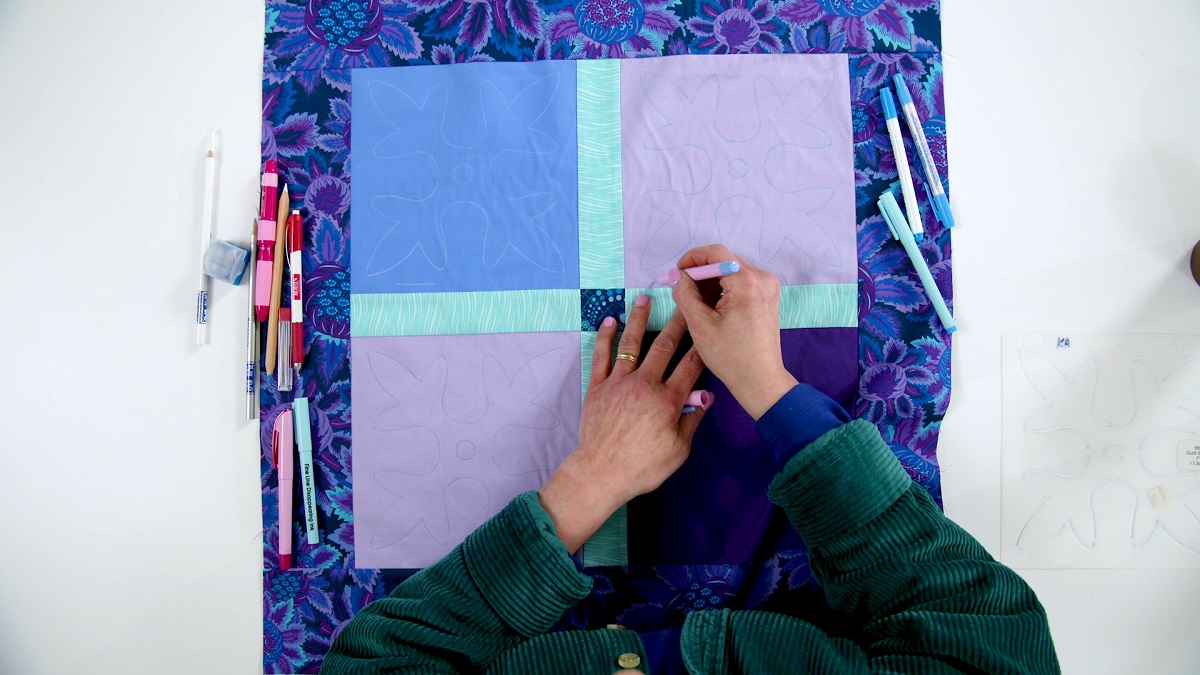
- Fabric marker: If desired, you can use a fabric marker to mark reference lines or points on your quilt top. This can help guide your basting stitches and ensure even distribution of the stitches.
- Basting frame or hoop: While not essential, some quilters find using a basting frame or hoop helpful in keeping the layers taut and flat while basting. This can provide additional control and stability when stitching.
- Scissors: Have a pair of sharp scissors on hand to trim excess thread during the basting process.
These tools and materials are easily accessible and will make your hand basting experience more efficient and enjoyable. Having them prepared and organized before you begin will ensure a smooth and successful basting process.
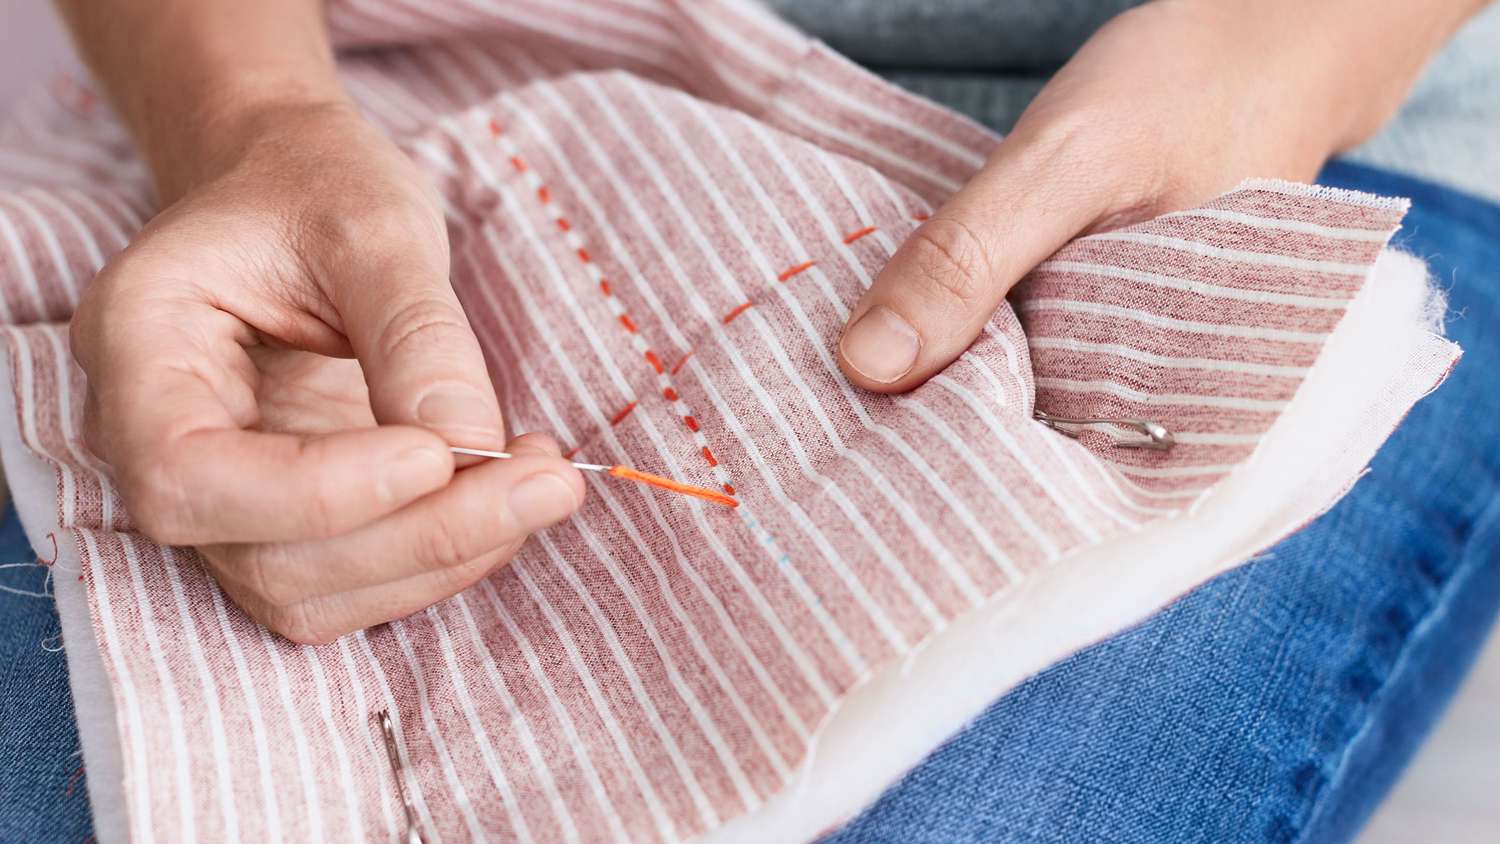
When hand basting a quilt, use safety pins or basting spray to secure the layers before stitching. This will help keep the layers from shifting while you work.
Step-by-step guide to hand basting a quilt
Hand basting is a straightforward process, but it requires patience and attention to detail. Follow these steps to hand baste your quilt:
- Prepare your quilt sandwich: Ensure that your quilt top, batting, and backing fabric are neatly pressed and free from any wrinkles or creases. Lay your backing fabric right side down on a clean and flat surface, followed by the batting, and then the quilt top right side up.
- Secure the layers: If you are using a basting spray, lightly spray the batting with the adhesive and smooth it down onto the backing fabric. This will temporarily hold the layers together while you baste. Alternatively, you can skip the basting spray and manually align the layers one by one.
- Thread your needle: Thread a long length of thread onto your needle, and knot the end to secure it. Choose a thread color that contrasts with your quilt top for better visibility of the basting stitches.
- Starting point: Decide where you want to begin your basting stitches. It is recommended to start in the center of the quilt and work your way outwards. This ensures even distribution of the stitches and prevents any bunching or puckering.
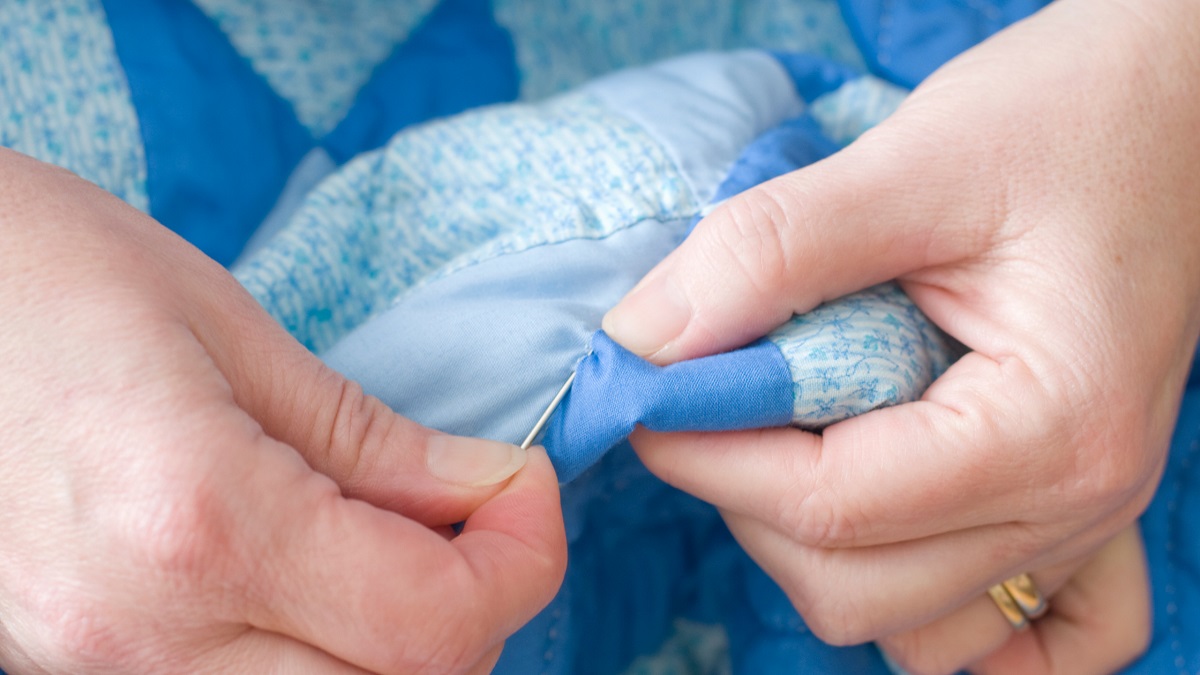
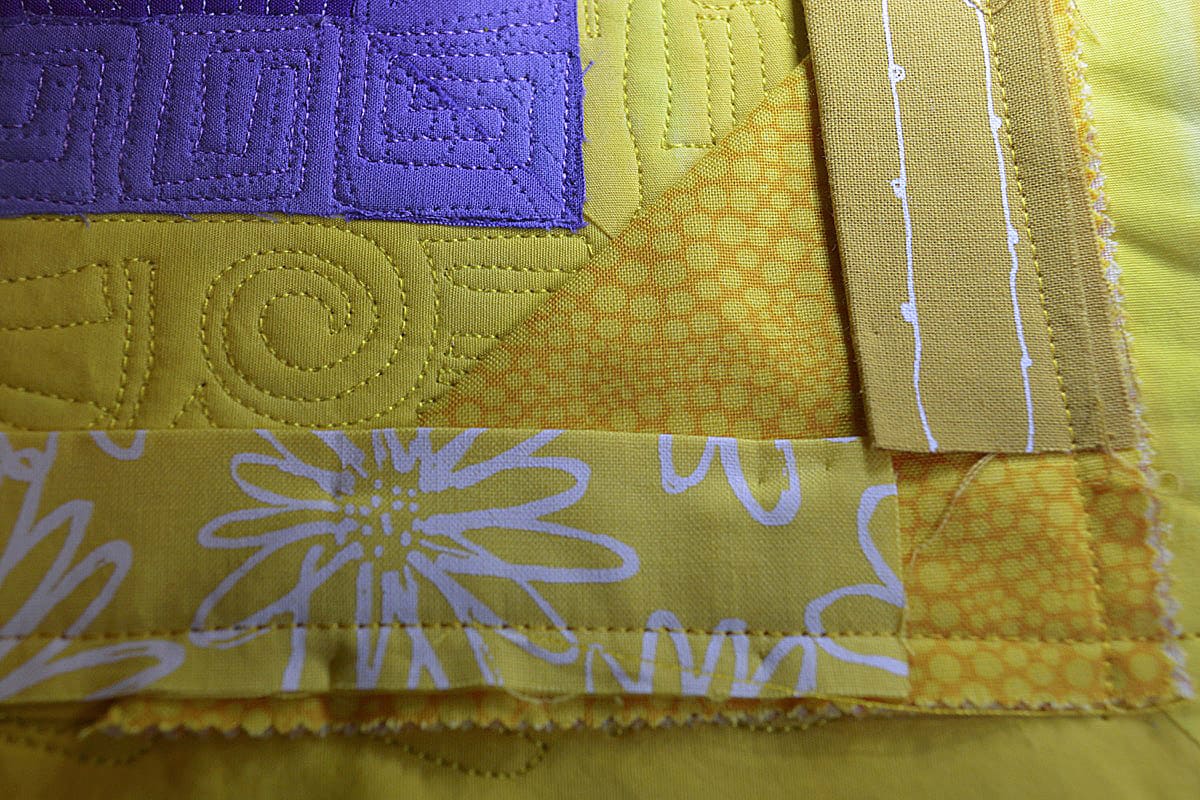
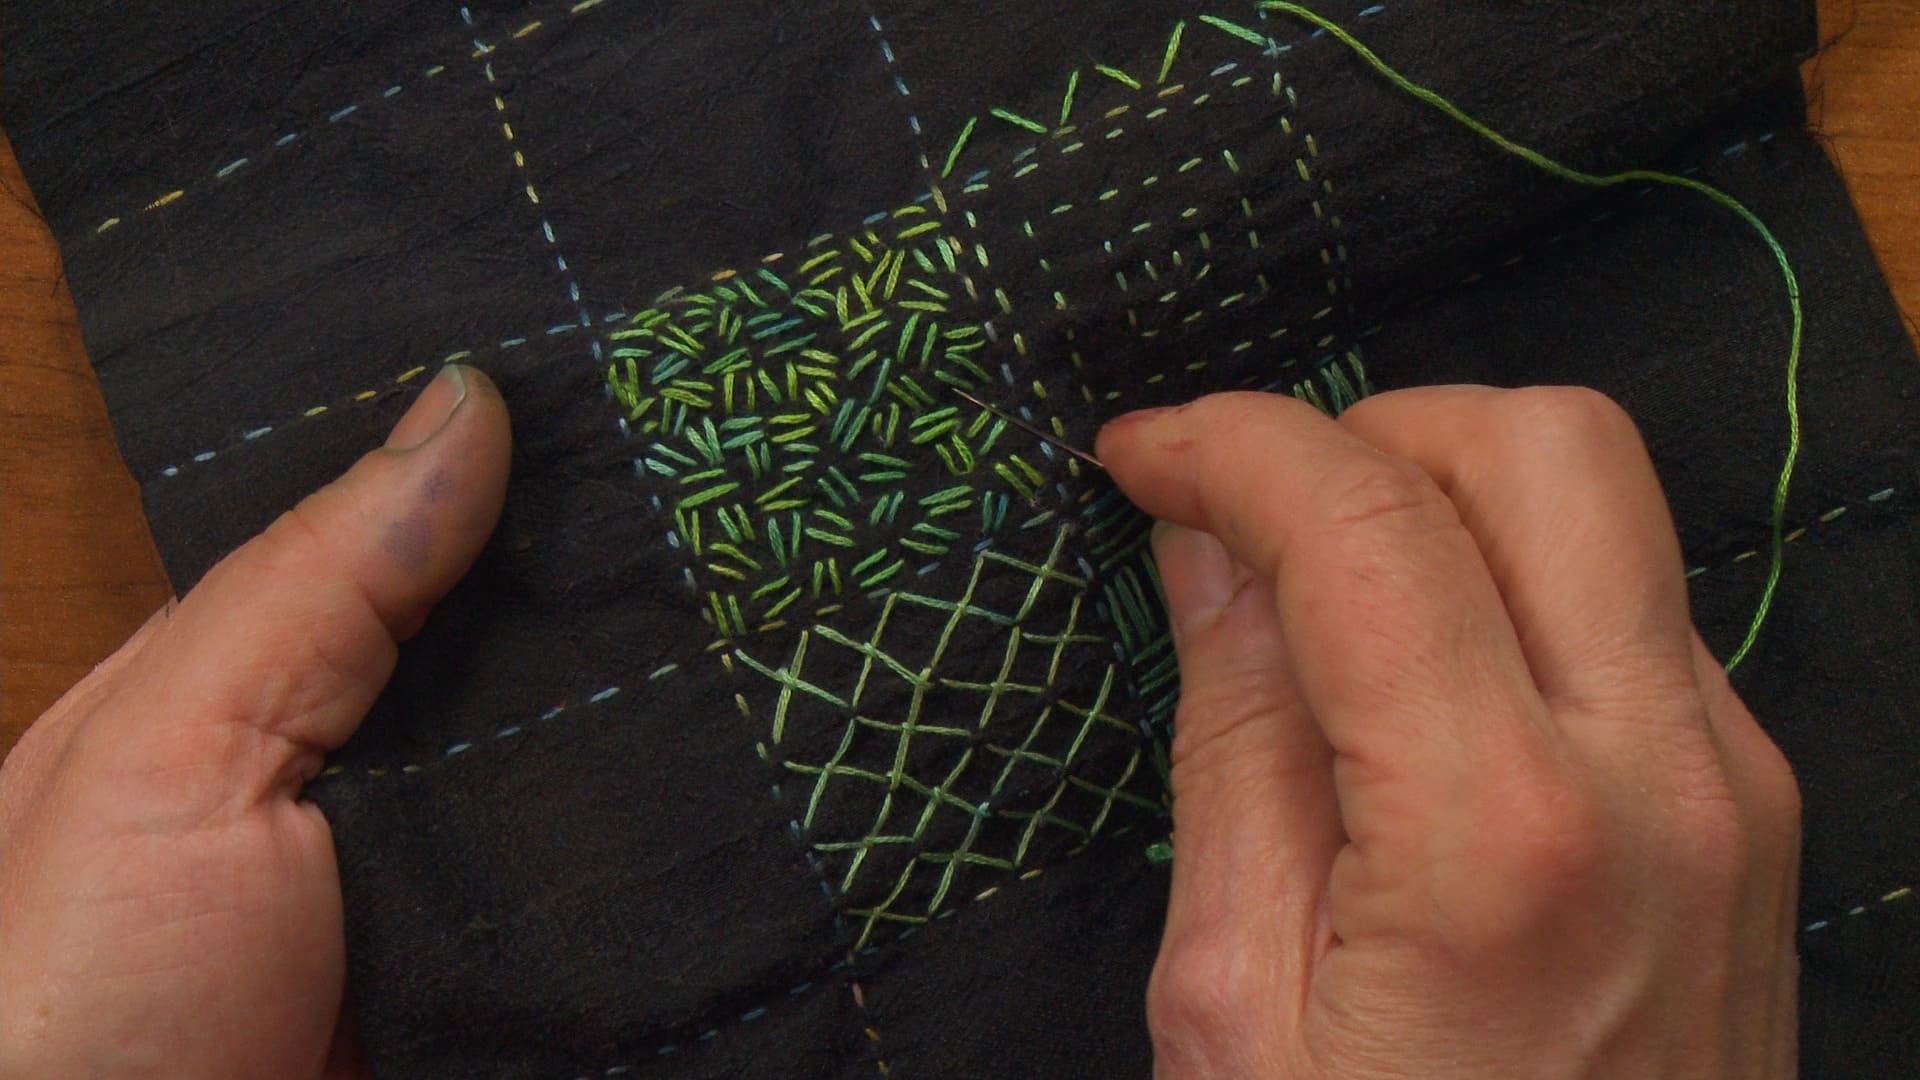
- Basting stitches: Insert the needle through all layers of the quilt, starting from the backside and coming up to the quilt top. Keep your stitches about 1 inch (2.5 cm) apart, and make the length of each stitch between 1/4 to 1/2 inch (0.6 to 1.3 cm). Take care to stitch through all layers without pulling too tightly or distorting the quilt top.
- Continue basting: Work your way across the quilt, stitching parallel lines until you reach the edges. Take time to smooth out any wrinkles or folds as you go, ensuring that the layers remain flat and aligned. If using a basting frame or hoop, adjust it as needed to keep the layers taut while you baste.
- Repeat the process: Once you have finished stitching the parallel lines, turn the quilt 90 degrees and repeat the basting process, stitching perpendicular lines. This crisscross pattern will provide even distribution of the basting stitches and secure the layers effectively.
- Inspect and adjust: Once the basting is complete, carefully inspect your quilt for any areas that may need additional basting. Look out for any loose or puckered sections and stitch them down as necessary for a smooth and well-basted quilt.
- Remove basting stitches: Once the quilt is fully quilted, you can remove the basting stitches. Gently pull each stitch out, starting from one end of the quilt. Be cautious not to catch any of the fabric or batting in the process. Take your time to remove all the basting stitches to reveal your beautifully quilted project.
By following these steps, you will be able to hand baste your quilt with precision and care. Enjoy the process, and embrace the satisfaction of creating a well-prepared quilt ready for quilting!
Read more: How To Baste A Quilt With Pins
Tips for successful hand basting
Hand basting is a technique that requires attention to detail and patience. To ensure successful results, consider the following tips:
- Use the right needle and thread: Choose a needle that is appropriate for the thickness of your quilt layers. A sharp, long needle with a large eye will make it easier to thread. Select a high-quality thread that is strong and durable, ensuring it contrasts with your quilt top for better visibility.
- Start from the center: Begin your basting stitches from the center of the quilt and work your way outwards. This allows for even distribution of the stitches and prevents any bunching or puckering of the layers.
- Keep the layers smooth and taut: Take care to smooth out any wrinkles or folds in the layers as you baste. Keeping the layers taut and flat will result in a more professional-looking quilt. If using a basting frame or hoop, adjust it as needed to maintain tension.
- Use even and consistent stitches: Aim to make your basting stitches approximately 1 inch (2.5 cm) apart, with each stitch length between 1/4 to 1/2 inch (0.6 to 1.3 cm). Consistency in stitch length will ensure that the layers are securely held together without distorting the quilt top.
- Check for tension and alignment: Regularly inspect your quilt as you baste to ensure that the layers are aligned and tension is consistent. Adjust as necessary to maintain a smooth and flat quilt surface.
- Take breaks and evaluate your progress: Hand basting can be a time-consuming process, so it’s important to take breaks when needed. Step back and evaluate your progress periodically to ensure that the quilt layers are evenly basted. This will help you identify any areas that require additional attention.
- Label your quilt top: If you have a complex quilt design or multiple sections, consider labeling your quilt top with fabric markers or pins to ensure proper alignment during the basting process. This will help maintain accuracy and avoid any confusion or mistakes.
- Practice on scrap fabric: If you are new to hand basting, it may be helpful to practice on scrap fabric before basting your actual quilt. This will allow you to familiarize yourself with the technique and gain confidence in your stitching.
- Take your time: Hand basting requires patience and attention to detail. Avoid rushing the process and take your time to ensure each stitch is even and secure. Remember, a well-basted quilt will result in a smoother and more enjoyable quilting experience.
By implementing these tips, you can achieve successful hand basting and set a solid foundation for your quilting journey. Embrace the process, enjoy the artistry of hand stitching, and create a beautifully basted quilt ready for the next step.
Conclusion
Hand basting is a timeless technique in the world of quilting that offers numerous benefits and a rewarding quilting experience. It provides accuracy, control, and flexibility, allowing quilters to achieve beautifully stitched quilts with ease.
Throughout this article, we have explored the art of hand basting a quilt, from understanding its purpose to the tools and materials needed. We have also provided a step-by-step guide and shared valuable tips for successful basting.
By hand basting your quilt, you can ensure that the layers stay in place, preventing any shifting or puckering during the quilting process. The temporary nature of the basting stitches allows for easy removal, leaving your quilt free from any marks or residues.
Hand basting allows you to have greater control over the placement and alignment of your quilt layers, ensuring precision and accuracy in your quilting design. It also provides you with the opportunity to evaluate the overall look and make any necessary adjustments before committing to the final quilting.
Remember, hand basting is a journey that requires patience and attention to detail. Take your time, enjoy the meditative process of stitching, and embrace the satisfaction of creating a well-prepared quilt ready for the final quilting.
So, whether you are a novice quilter or an experienced enthusiast, consider incorporating the timeless art of hand basting into your quilting practice. Embrace this traditional technique, and experience the joy of quilting with precision and creativity. Happy basting!
Frequently Asked Questions about How To Hand Baste A Quilt
Was this page helpful?
At Storables.com, we guarantee accurate and reliable information. Our content, validated by Expert Board Contributors, is crafted following stringent Editorial Policies. We're committed to providing you with well-researched, expert-backed insights for all your informational needs.


0 thoughts on “How To Hand Baste A Quilt”