Articles
How To Sew A Chevron Quilt
Modified: August 16, 2024
Learn how to sew a stunning chevron quilt with our informative articles. Get step-by-step instructions, helpful tips, and expert advice.
(Many of the links in this article redirect to a specific reviewed product. Your purchase of these products through affiliate links helps to generate commission for Storables.com, at no extra cost. Learn more)
Introduction
Quilting is a timeless craft that allows you to create beautiful and functional pieces of art. One popular quilting pattern is the chevron quilt, which features a dynamic and visually striking zigzag design. Whether you’re a beginner or an experienced quilter, sewing a chevron quilt can be a rewarding and enjoyable project.
In this article, we will provide a step-by-step guide on how to sew a chevron quilt. We’ll cover everything from choosing the fabric to adding the finishing touches. So grab your sewing machine, gather your materials, and let’s get started on creating your very own chevron masterpiece!
Key Takeaways:
- Sewing a chevron quilt involves selecting the right fabric, cutting precise strips, sewing in the iconic zigzag pattern, and adding borders for a stunning finish. Attention to detail and creativity are key to this rewarding quilting project.
- The process of quilting a chevron masterpiece requires patience, precision, and a touch of artistic flair. From pressing seams to adding the finishing touches, each step contributes to the creation of a beautiful and cherished quilt.
Read more: How To Sew A Hexagon Quilt
Materials Needed
Before you begin sewing your chevron quilt, it’s important to gather all the necessary materials. Here’s a list of what you’ll need:
- Fabric: Choose a variety of fabric colors and patterns to create the chevron design. You’ll need enough fabric for the quilt top, backing, and binding.
- Quilt Batting: This is the layer of material that provides insulation and thickness to the quilt. Opt for a batting that suits your desired level of warmth and loft.
- Thread: Select a high-quality thread that matches or complements the colors of your fabric.
- Rotary Cutter and Cutting Mat: These tools will make cutting your fabric strips much easier and more accurate.
- Ruler: Use a long ruler with clear markings to ensure precise measurements when cutting fabric.
- Sewing Machine: A reliable sewing machine with a straight stitch setting is essential for piecing together your quilt.
- Pins or Clips: These will help keep your fabric layers together during sewing.
- Iron and Ironing Board: Pressing your fabric and seams will result in crisp and professional-looking quilt blocks.
- Quilting Needles: These needles have a larger eye and sharp point, making them ideal for quilting through multiple layers of fabric.
- Quilting Ruler and Marking Tools: These tools will assist you in marking quilting lines and patterns on your quilt top.
Make sure to have all these materials ready before you start sewing your chevron quilt. Once you have everything, you’re all set to begin the exciting journey of creating your own beautiful chevron quilt!
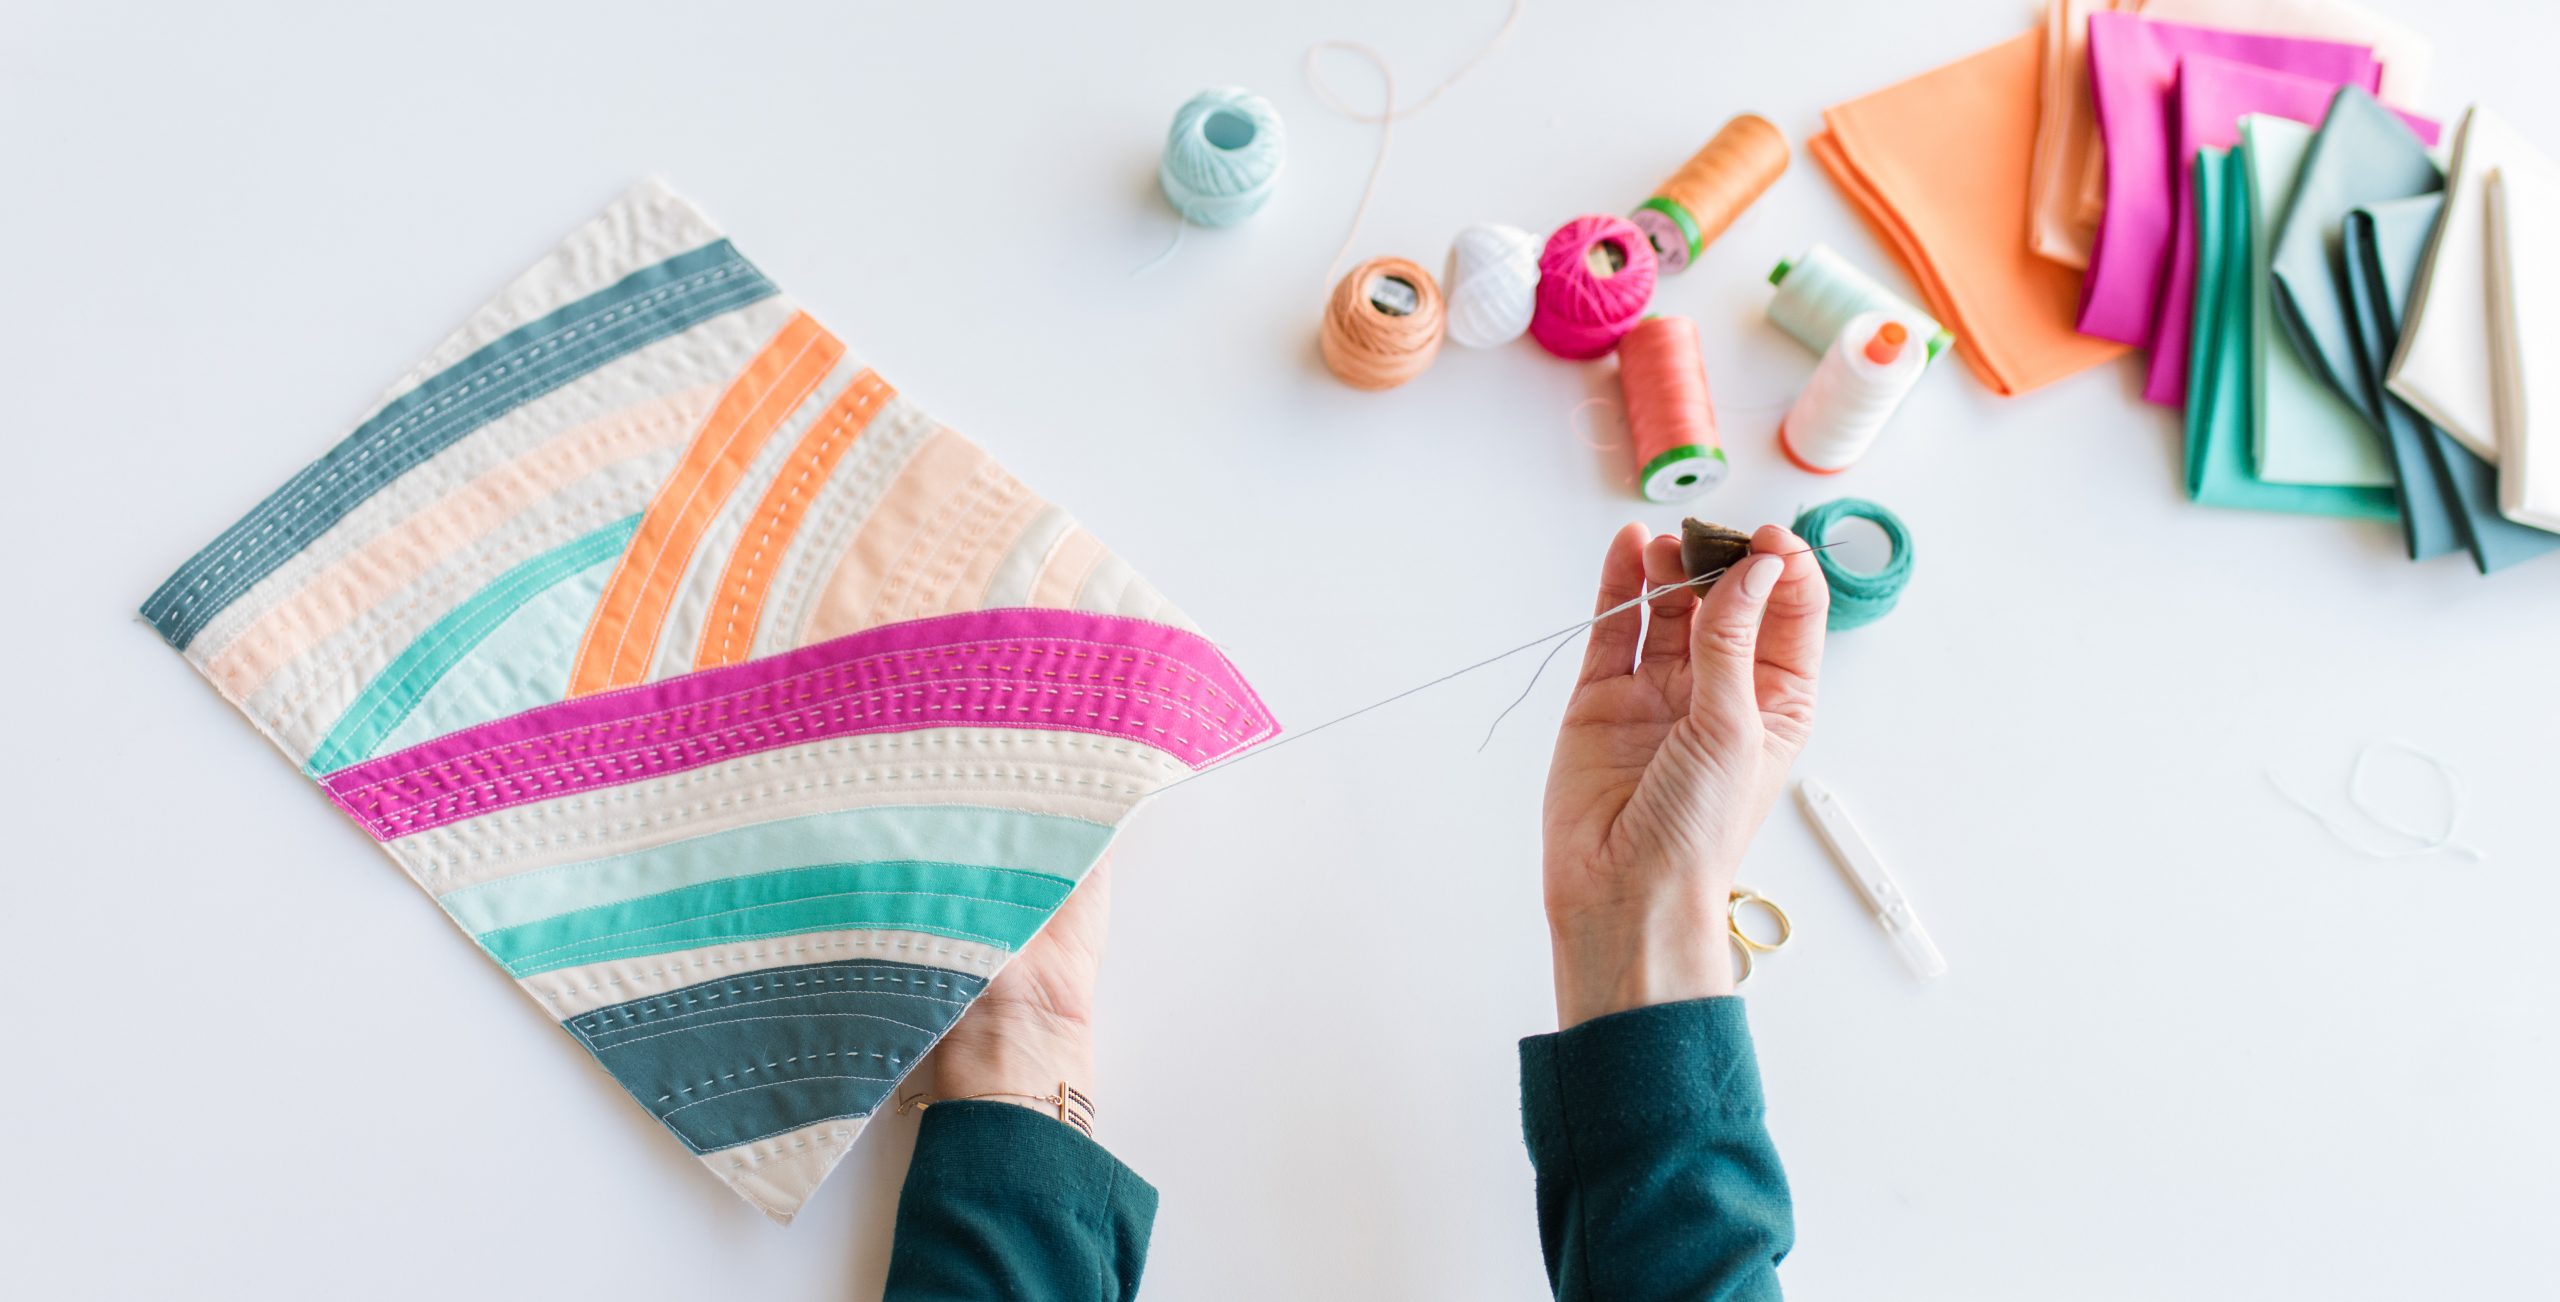
Step 1: Choosing Fabric
When it comes to sewing a chevron quilt, selecting the right fabric is crucial. The fabric you choose will determine the overall look and feel of your quilt. Here are some tips to consider when selecting your fabric:
- Color Palette: Decide on a color scheme that you want for your chevron quilt. You can go for a monochromatic look using different shades of the same color, or opt for a vibrant mix of contrasting colors. Consider the mood and style you want the quilt to evoke.
- Fabric Patterns: Mixing different fabric patterns can add visual interest to your chevron quilt. Consider using a combination of solids, prints, or even incorporating striped or geometric patterns. Make sure the patterns and colors complement each other well.
- Texture: Consider the texture of the fabric you are choosing. Different fabrics have different textures, and using a mix of textures can add depth and dimension to your quilt. Consider using fabrics like cotton, flannel, or even velvet for added texture.
- Quantity: Calculate the amount of fabric you’ll need based on the desired size of your quilt and the width of your fabric. It’s always a good idea to buy a little extra fabric to account for any mistakes or fabric shrinkage during washing and pressing.
Take your time in choosing the fabric for your chevron quilt. Consider laying out the fabric options together to see how they look and blend. Once you’ve finalized your fabric choices, you’re ready to move on to the next step: cutting the fabric strips.
Step 2: Cutting Fabric Strips
Now that you have selected your fabric, it’s time to start cutting the fabric strips for your chevron quilt. Here’s how to do it:
- Prepare your fabric: Start by washing and ironing your fabric to ensure that it is clean, flat, and ready to be cut.
- Measure and mark: Determine the desired width of your fabric strips. A common size for chevron quilts is 2.5 inches, but you can adjust this based on your preference. Use a ruler and fabric marking pen to measure and mark the width along the edge of your fabric.
- Cut the strips: Using a rotary cutter and a cutting mat, carefully cut along the marked line to create your fabric strips. Be sure to cut straight and smooth lines to ensure accurate and even strips.
- Repeat the process: Continue measuring, marking, and cutting fabric strips until you have enough to complete your chevron quilt. Remember to consider the size and pattern of your quilt when determining the number of strips needed.
Keep in mind that precision is key when cutting fabric strips for a chevron quilt. Accurate and consistent strips will make the piecing process much easier. Once you have finished cutting your fabric strips, you’re ready to move on to the next step: sewing the chevron pattern.
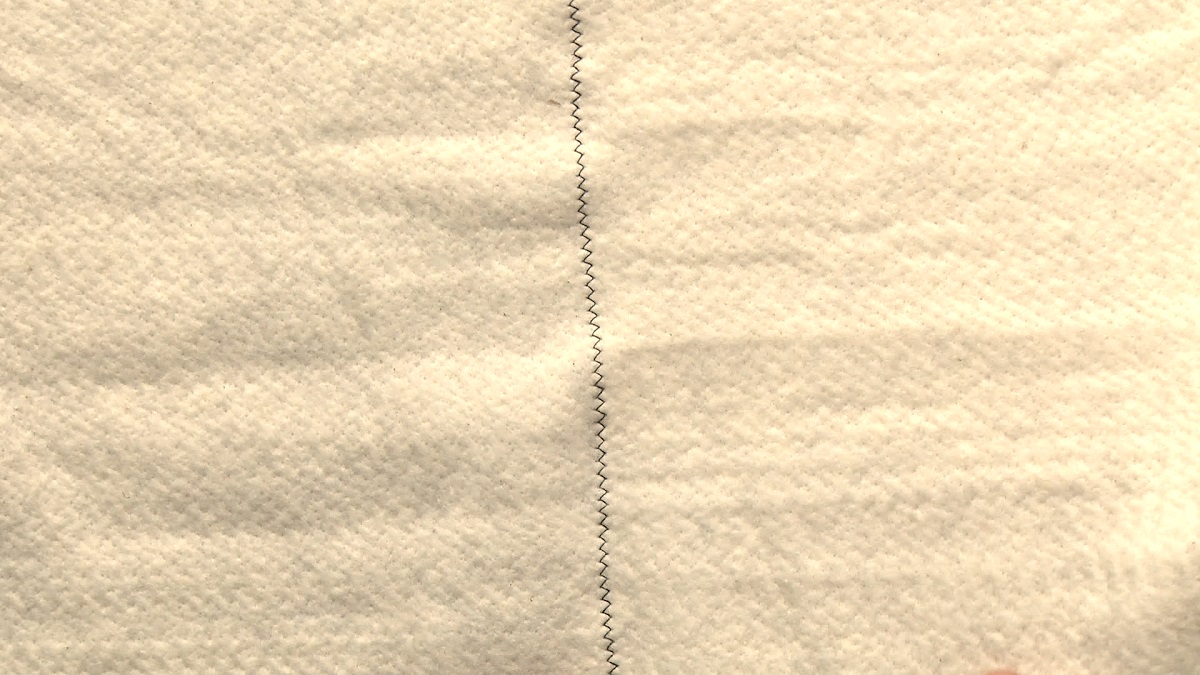
Step 3: Sewing the Chevron Pattern
Now that you have your fabric strips prepared, it’s time to sew them together in the chevron pattern. Follow these steps to create the iconic zigzag design:
- Lay out your fabric strips: Arrange your fabric strips in the desired chevron pattern. You can experiment with different color combinations and patterns until you’re satisfied with the layout.
- Start sewing the strips: Take the first two strips and place them right sides together, aligning the edges. Sew a ¼-inch seam along the long edge to join them together. Press the seam open or to one side, depending on your preference.
- Add the next strip: Take the third fabric strip and place it right sides together with the second strip, aligning the edges. Sew another ¼-inch seam along the long edge. Again, press the seam open or to one side.
- Continue adding strips: Repeat the process of sewing and pressing until you have sewn together all the fabric strips in the chevron pattern. Make sure to alternate the direction of the strips to create the zigzag effect.
- Trim the edges: Once you have completed sewing the strips, trim the uneven edges to create a straight and even quilt top.
As you sew the fabric strips together, take your time to ensure that the seams are straight and the fabric is aligned. Pressing the seams open or to one side will help create a smooth and flat quilt top. Once you have finished sewing the chevron pattern, you’re ready to move on to the next step: pressing the seams.
When sewing a chevron quilt, be sure to carefully match up the points of the chevron pattern to create clean, crisp lines. Use pins or fabric glue to hold the pieces in place before sewing to ensure accuracy.
Read more: How To Quilt On A Brother Sewing Machine
Step 4: Pressing the Seams
After sewing the fabric strips together to form the chevron pattern, it’s important to press the seams to ensure a professional and polished finish. Here’s how you can do it:
- Set up your ironing station: Make sure that your ironing board is clean and free of any debris. Set your iron to the appropriate temperature based on the fabric you are using. Cotton fabric typically requires a higher heat setting, while delicate fabrics may require a lower heat setting.
- Press the seams from the wrong side: Lay your sewn chevron quilt top on the ironing board, with the seams facing up. Gently press the seams using the tip of the iron. Start from one end of the quilt top and move towards the other end, applying even pressure along the seam line. This will help set the seams and make them lie flat.
- Press the seams from the right side: Flip the quilt top over and press the seams from the right side. Place a pressing cloth or a piece of fabric over the seams to protect the fabric and prevent any shine or scorch marks. Press each seam again, applying firm but gentle pressure.
- Check for any missed spots: After pressing, inspect your quilt top for any missed spots or creases. If you notice any, go back and press those areas again until they are smooth and flat.
Pressing the seams is a crucial step in quilting as it helps set the seams, remove any wrinkles, and create a neat and professional appearance. Take your time with this step to ensure that your chevron quilt top looks its best. Once you’re satisfied with the pressed seams, you can proceed to the next step: adding borders.
Step 5: Adding Borders
Adding borders to your chevron quilt not only adds visual interest but also frames the quilt top and gives it a finished look. Follow these steps to add borders to your quilt:
- Measure your quilt top: Start by measuring the length and width of your quilt top. This will help you determine the length of the border strips.
- Cut the border strips: Cut fabric strips for the borders based on the measurements of your quilt top. The width of the border is a matter of personal preference, but a common size is 2.5 to 3 inches. Cut enough strips to go all around the perimeter of the quilt.
- Attach the borders: Take one border strip and align it with one side of the quilt top, right sides together. Sew a ¼-inch seam along the edge, and press the seam towards the border. Repeat this process for the remaining sides of the quilt top.
- Trim the excess: Once all the borders are attached, trim any excess fabric to align the edges of the borders with the edges of the quilt top.
- Press the borders: After attaching the borders, press them away from the quilt top, using the same pressing techniques as before. This will help set the seams and create a flat and smooth border.
Adding borders to your chevron quilt is an opportunity to further showcase your fabric choices and enhance the overall design. Consider mixing different colors or patterns for the borders to create a striking contrast against the chevron pattern. Once you have added the borders, you’re ready to move on to the next step: quilting the layers.
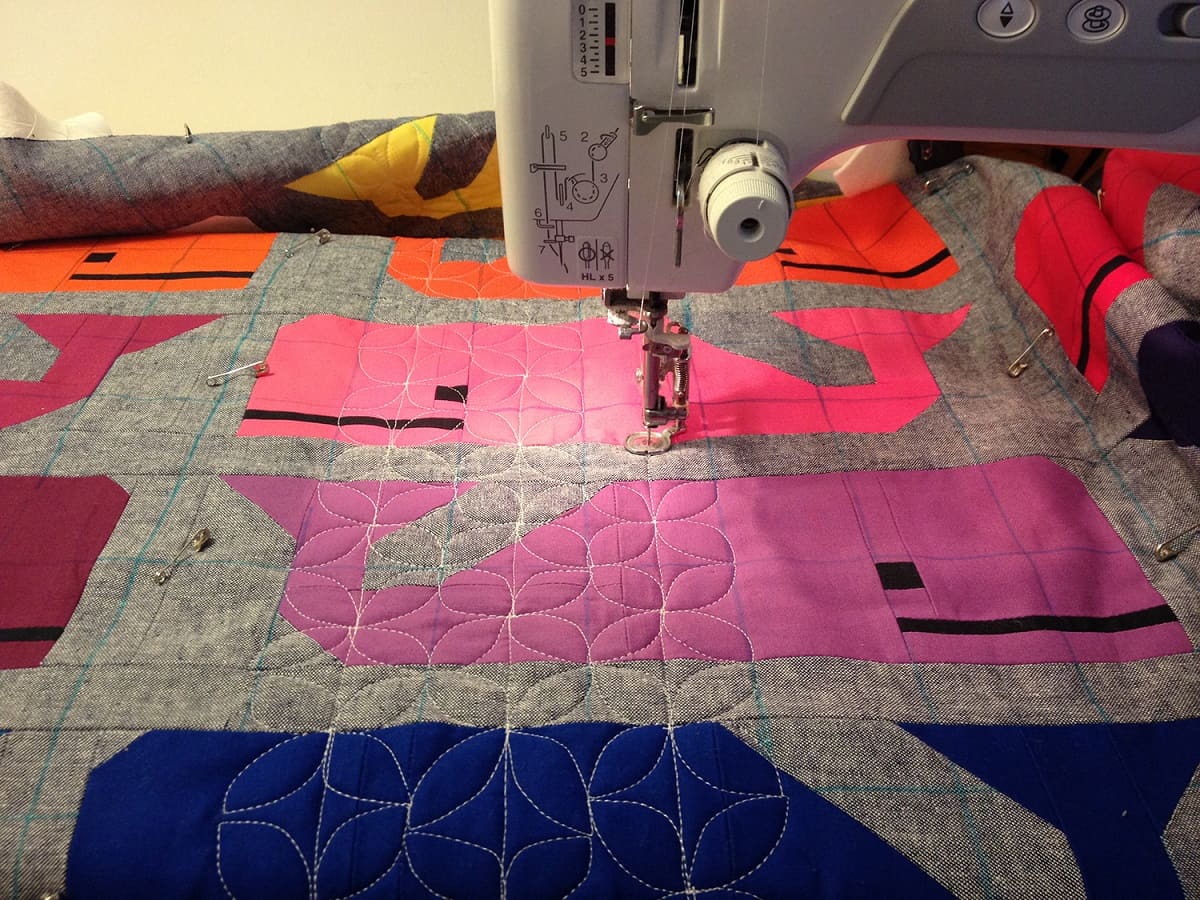
Step 6: Quilting the Layers
Quilting the layers of your chevron quilt is what brings the whole project together and gives it its beautiful texture and durability. Here’s how you can quilt your chevron quilt:
- Prepare the layers: Lay your quilt backing flat on a large surface, right side down. Smooth out any wrinkles or folds. Place the quilt batting on top of the backing, ensuring it is centered and smooth. Finally, place your quilt top on top of the batting, right side up.
- Baste the layers: To hold the layers together during the quilting process, you need to baste them. You can baste the layers using safety pins or temporary spray adhesive. Space the pins or spray the adhesive evenly across the quilt top to secure the layers.
- Choose a quilting design: Decide on the quilting design you want to use. You can opt for straight-line quilting along the chevron pattern, or get creative with free-motion quilting. Consider the texture and visual effect you want to achieve.
- Quilt the layers: Using your sewing machine, quilt along the chosen design. Take your time and stitch slowly to ensure accuracy. Start at the center of the quilt and work your way outwards. Remember to remove the pins as you go and smooth out the quilt beneath the machine foot.
- Continue quilting: Once you have quilted the main design, you can add additional quilting to enhance the overall texture and stability. This can be done by quilting within the chevron pattern or adding decorative quilting in other areas of the quilt top.
Quilting the layers may require some practice and patience, but it’s a rewarding step that brings your chevron quilt to life. Take your time to quilt the layers with precision and care, and enjoy the process of seeing your quilt come together beautifully. Once you have finished quilting, you’re ready for the final step: adding the finishing touches.
Step 7: Finishing Touches
Now that your chevron quilt is quilted, it’s time to add the finishing touches that will make it complete and ready to be enjoyed. Follow these steps to give your quilt those final details:
- Trim any excess: Trim any excess batting and backing fabric from the edges of your quilt, ensuring that the edges are straight and even.
- Create the binding: Cut fabric strips for the binding, typically 2.5 to 3 inches wide. Join the strips together at a 45-degree angle to create a long strip that matches the perimeter of your quilt. Fold the strip in half lengthwise, wrong sides together, and press.
- Attach the binding: Starting in the middle of one side of the quilt, align the raw edges of the binding strip with the raw edges of the quilt. Sew a ¼-inch seam along the edge, mitering the corners as you go. Continue sewing until you reach the starting point, leaving a few inches of binding unsewn.
- Finish the binding: Fold the unsewn end of the binding strip under, creating a clean edge. Fold the binding over to the back of the quilt and hand-stitch it in place using a blind stitch or whip stitch. Take care to ensure that the stitches are invisible from the front of the quilt.
- Finishing touches: Give your quilt a final press to ensure that all the seams are flat and the quilt is wrinkle-free. Inspect your quilt for any loose threads or imperfections and trim them away. Your chevron quilt is now complete!
Adding the binding is a crucial step as it not only provides a finished edge but also secures the layers of the quilt. Take your time with this step to ensure that the binding is neatly attached and the corners are sharp. Once you’ve completed the finishing touches, step back and admire your beautiful chevron quilt!
Read more: How To Hand Sew A Quilt Block
Conclusion
Congratulations! You have successfully sewn your very own chevron quilt. This project allowed you to explore your creativity, make fabric choices, master sewing techniques, and create a stunning work of art that can be cherished for years to come.
Sewing a chevron quilt requires attention to detail and precision, but the end result is worth the effort. The vibrant zigzag pattern of the chevrons adds a dynamic touch to any space and can be adapted to fit a variety of design styles.
Remember, the key to a successful chevron quilt is selecting the right fabric, accurately cutting the fabric strips, sewing them together in the chevron pattern, pressing the seams, adding borders, quilting the layers, and applying the final finishing touches. Take your time with each step, enjoy the process, and don’t be afraid to let your creativity shine.
Now that you have completed your chevron quilt, it’s time to proudly display or share it with others. Whether you choose to use it as a cozy blanket, a decorative wall hanging, or a meaningful gift for someone special, your chevron quilt is a testament to your skills and artistic expression.
Remember that quilting is a continuous journey of learning and growth. Each project brings new opportunities to expand your knowledge, try new techniques, and create unique designs. So keep quilting, keep experimenting, and keep enjoying the wonderful world of quilting!
Frequently Asked Questions about How To Sew A Chevron Quilt
Was this page helpful?
At Storables.com, we guarantee accurate and reliable information. Our content, validated by Expert Board Contributors, is crafted following stringent Editorial Policies. We're committed to providing you with well-researched, expert-backed insights for all your informational needs.


0 thoughts on “How To Sew A Chevron Quilt”