Articles
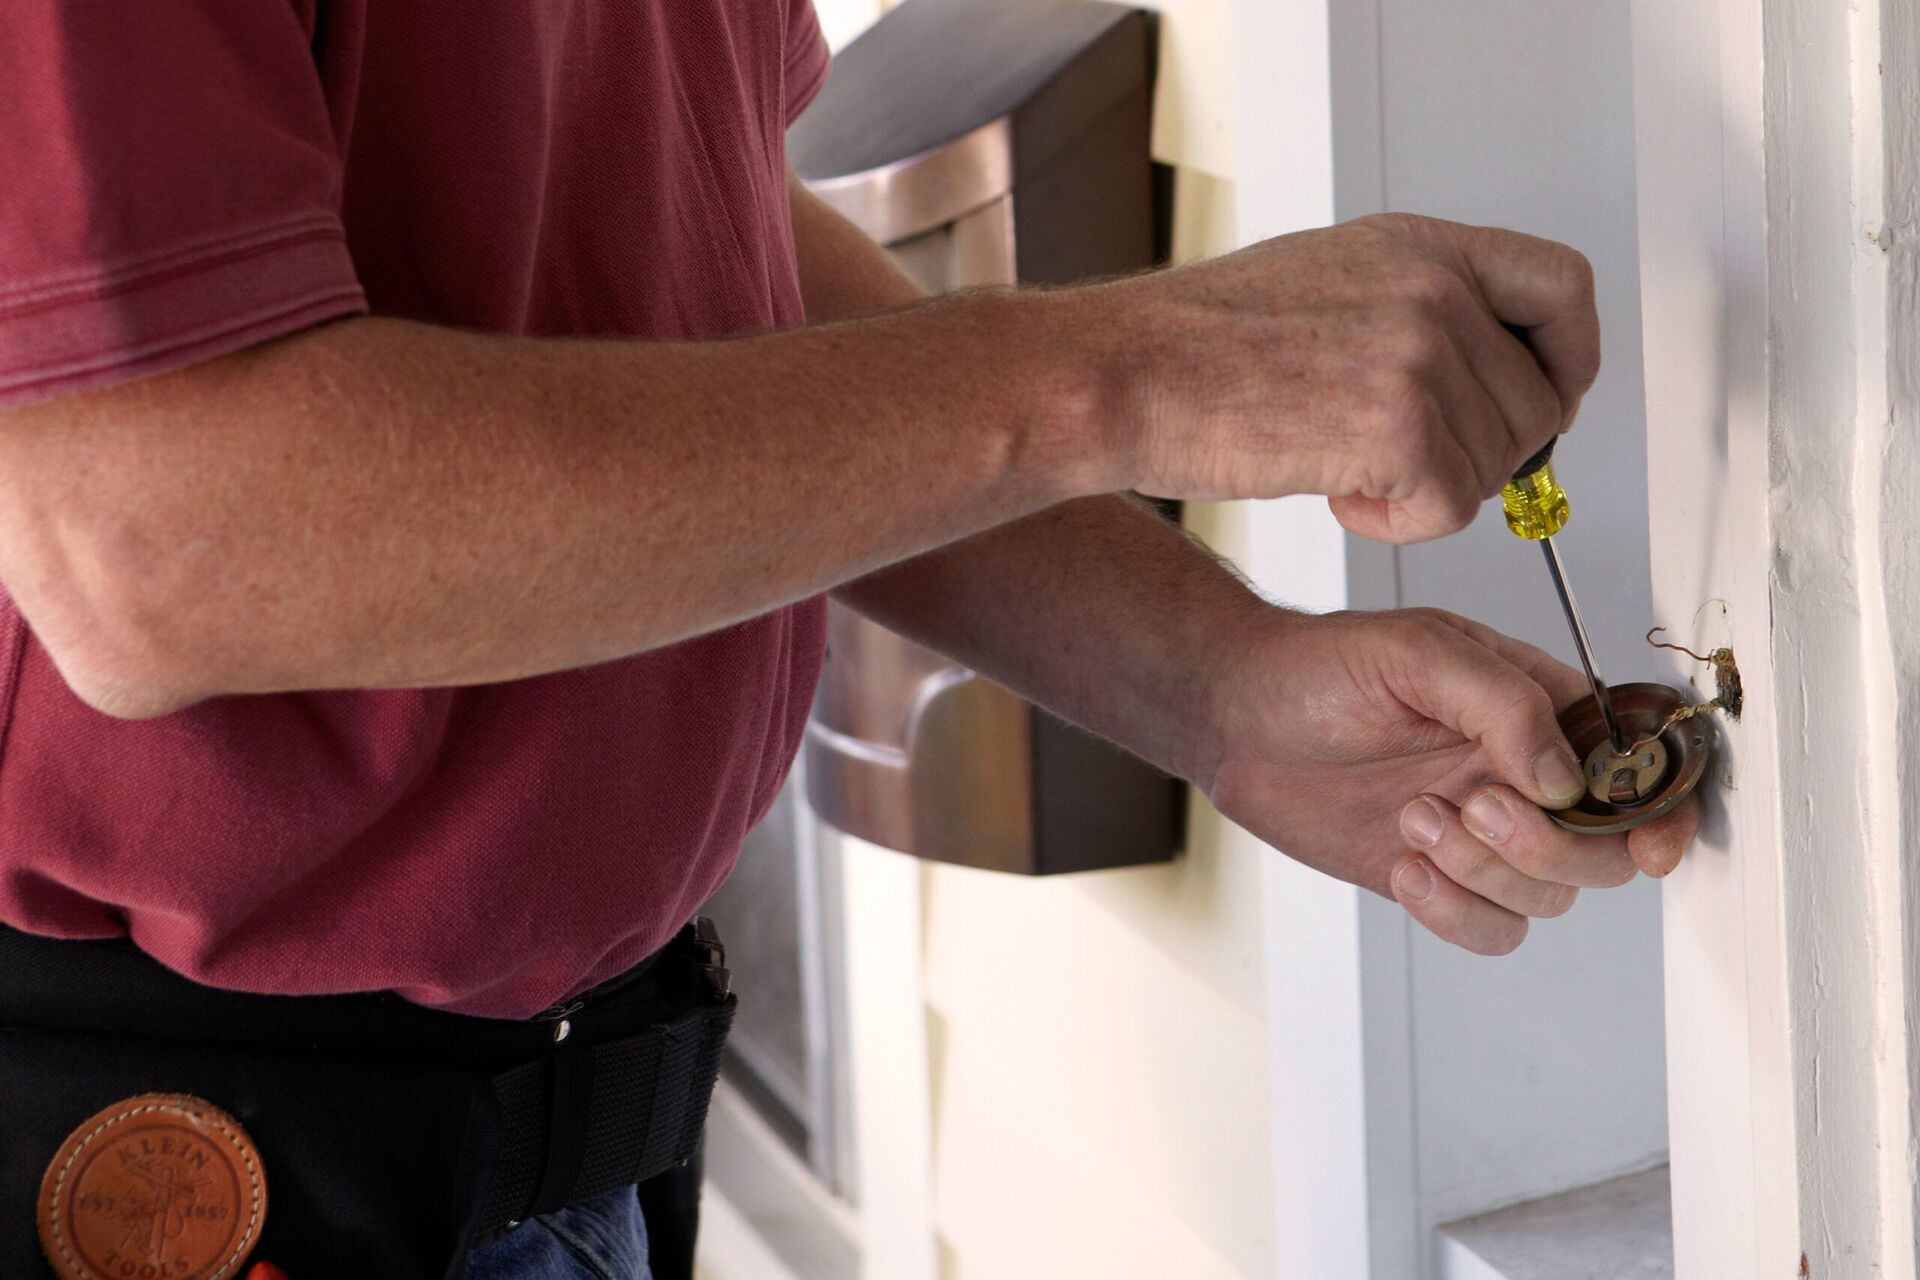
How To Wire A Doorbell
Modified: August 27, 2024
Learn how to wire a doorbell with this informative article. Step-by-step instructions and tips for a successful installation.
(Many of the links in this article redirect to a specific reviewed product. Your purchase of these products through affiliate links helps to generate commission for Storables.com, at no extra cost. Learn more)
Introduction
Welcome to this comprehensive guide on how to wire a doorbell. Doorbells are an essential part of any home, providing a convenient way for visitors to notify you of their arrival. Whether you are replacing an old doorbell or installing a brand new one, understanding the wiring process is crucial to ensure proper functionality. In this article, we will take you through each step, providing detailed instructions and tips to make the process as smooth as possible.
Before we dive into the wiring process, let’s go over the basic tools and materials you will need for this project. This will help you gather everything before you start, saving you time and ensuring you have all the necessary tools at hand.
Key Takeaways:
- Prioritize safety by turning off the power and using the right tools. Carefully remove the old doorbell, prepare the new one, and test its functionality for a successful installation.
- Enjoy the convenience of a functioning doorbell by following the comprehensive guide. Remember to prioritize safety, seek professional assistance if needed, and confidently tackle this home improvement project.
Read more: How To Install Wired Nest Doorbell
Tools and materials needed
Before you begin the wiring process, make sure you have the following tools and materials ready:
- Flathead screwdriver
- Phillips screwdriver
- Wire strippers
- Wire cutters
- Electrical tester
- New doorbell
- Mounting bracket
- Small gauge wires
- Wire connectors
These tools and materials are essential for successfully wiring your doorbell. The screwdrivers will come in handy for removing and installing screws, while the wire strippers and cutters will help you properly prepare the wires. An electrical tester is crucial for ensuring the power is turned off, and the new doorbell, mounting bracket, wires, and connectors are the main components needed for the wiring process.
Once you have gathered all the necessary tools and materials, you can proceed to the next step: turning off the power.
Step 1: Turn off the power
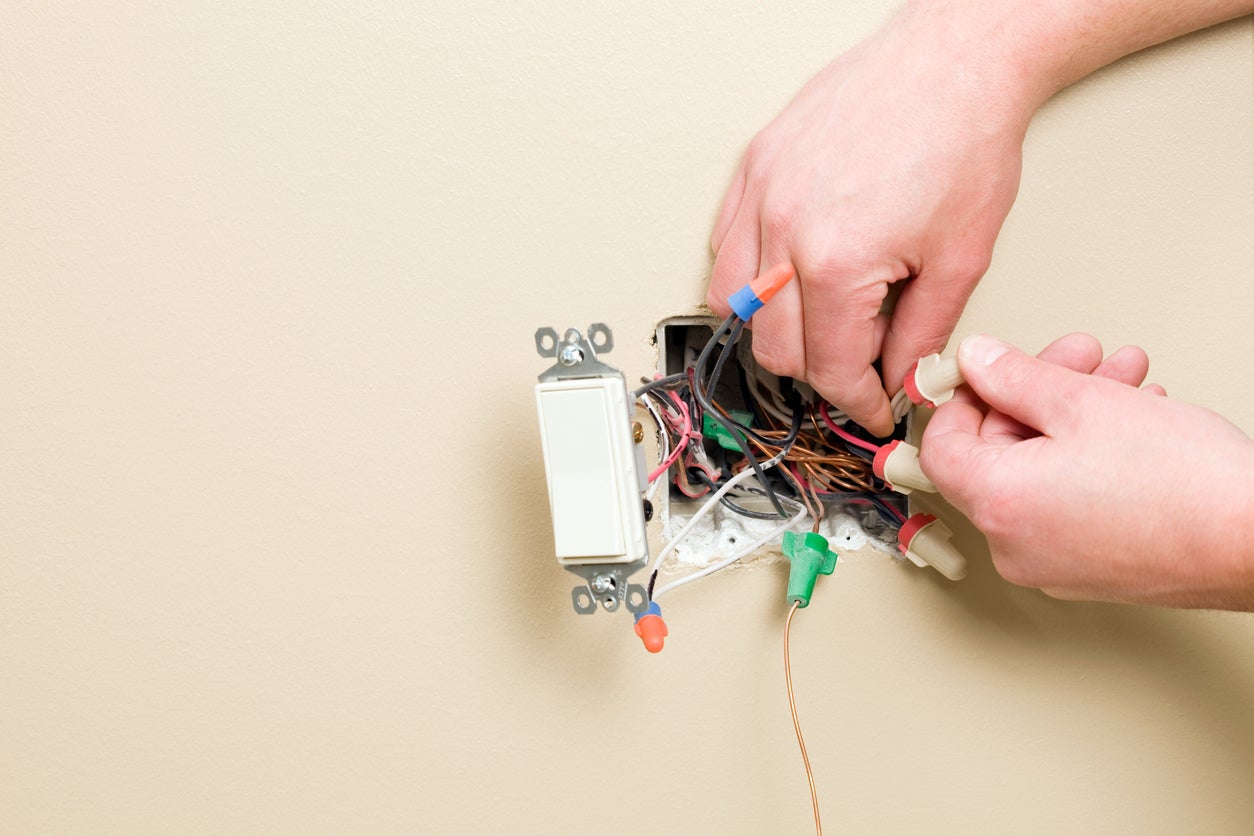
Safety should always be your top priority when working with electrical connections. Before you start wiring your doorbell, it is crucial to turn off the power to prevent any electrical accidents or shocks.
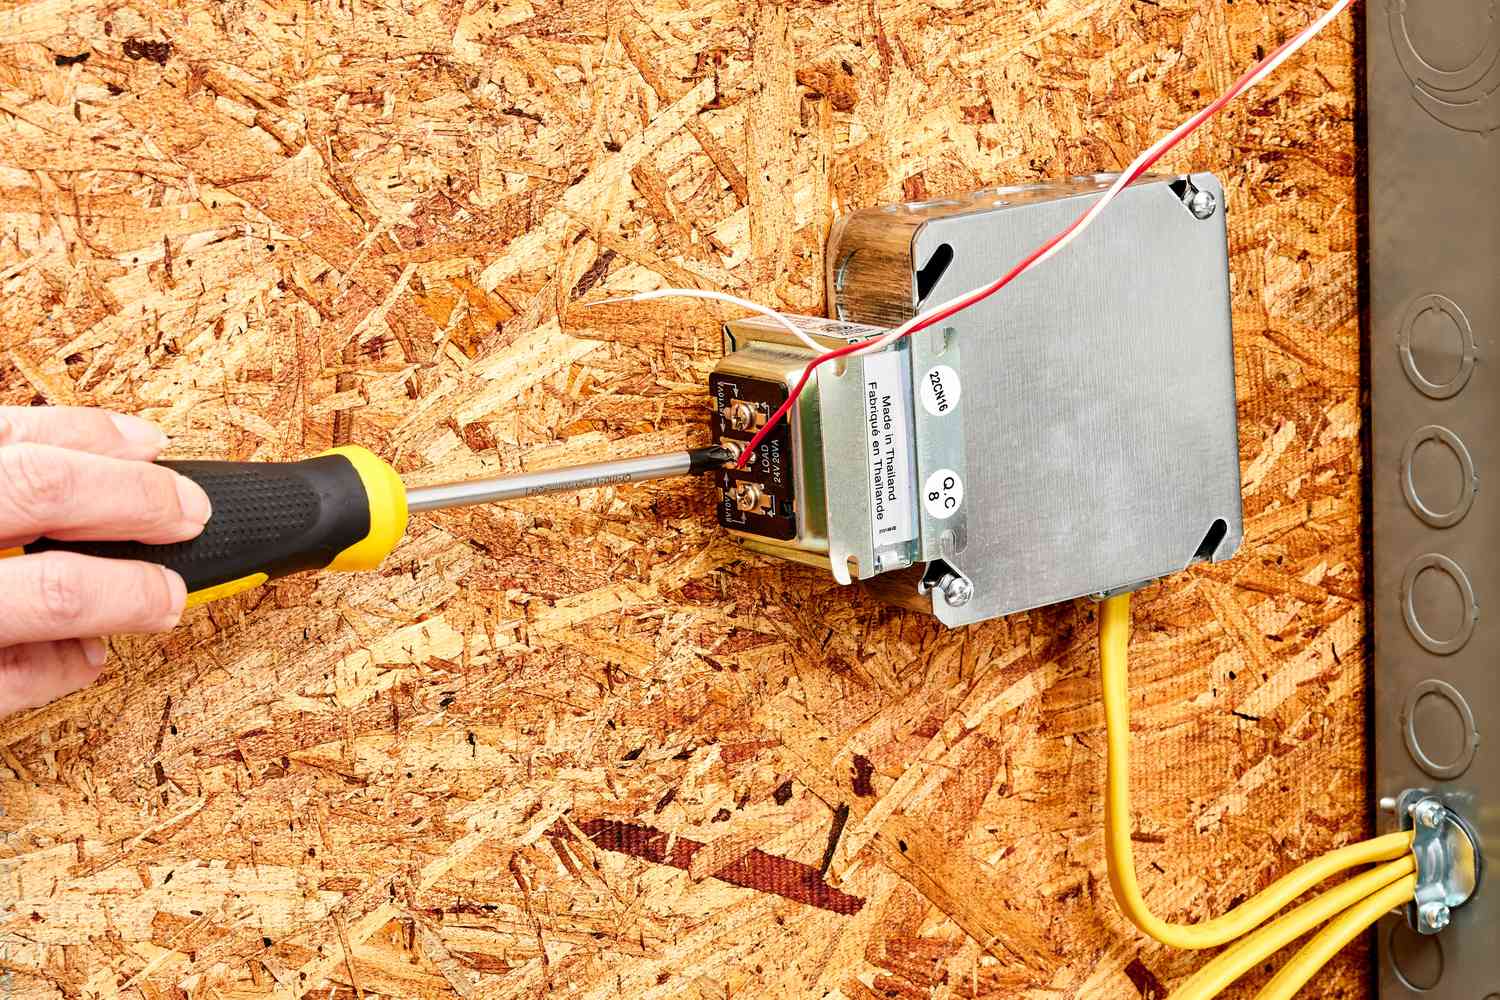
To turn off the power, locate your home’s main electrical panel or circuit breaker box. Open the panel’s door and look for the circuit breaker labeled “Doorbell” or “Bell.” Flip the switch to the “Off” position to cut power to the doorbell circuit.
It is essential to double-check that the power is truly off before proceeding. You can do this by testing the doorbell button to see if it still rings. If it does not, then you have successfully turned off the power. However, for an additional layer of safety, it is also recommended to use an electrical tester to verify that no electricity is running through the doorbell wires.
Once you are certain that the power is off, you can move on to the next step: removing the old doorbell.
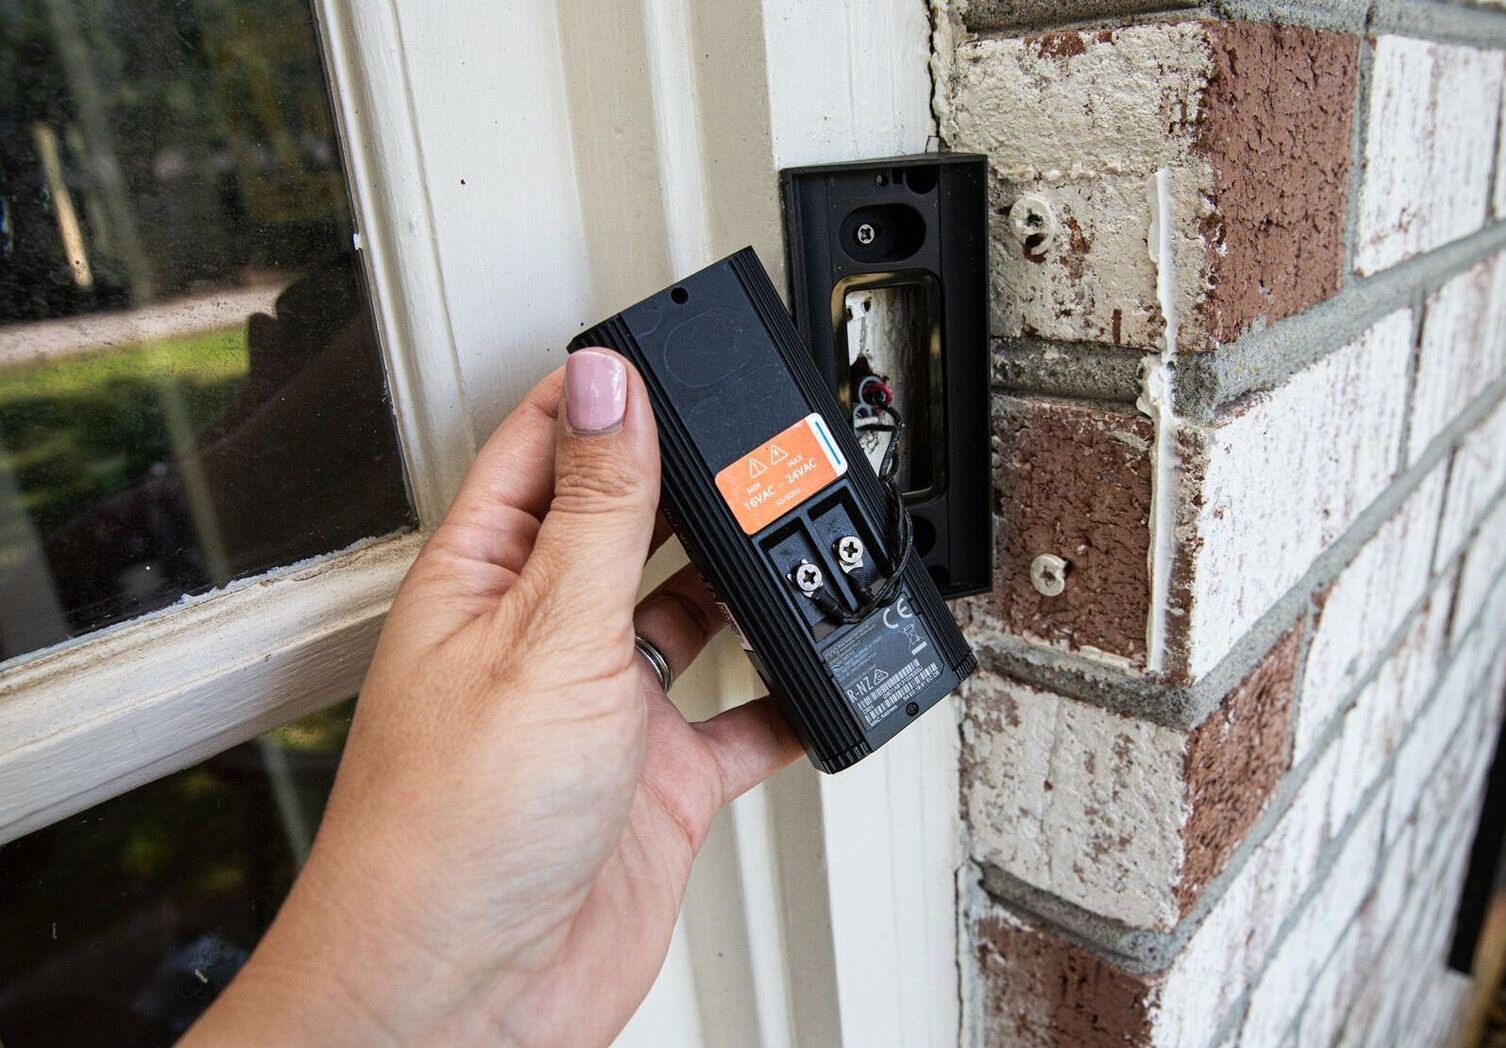
Step 2: Remove the old doorbell
Now that the power is turned off, you can safely proceed to remove the old doorbell. Follow these steps:
- Inspect the old doorbell and identify how it is mounted. Most doorbells are attached to the wall with screws or adhesive.
- Using a screwdriver, carefully remove the screws that secure the doorbell to the wall. If adhesive was used, gently pry the doorbell away from the wall.
- Once the doorbell is detached, carefully disconnect the wires from the back of the unit. Take note of how the wires are connected for reference later.
- Remove any additional wires or mounting brackets that may be attached to the wall.
- Now that the old doorbell is completely removed, set it aside and prepare for the installation of the new doorbell.
Removing the old doorbell may seem like a simple task, but it is important to handle it with care to avoid any damage to the wiring or the wall. Once you have successfully removed the old doorbell, you can move on to the next step: preparing the new doorbell.
Step 3: Prepare the new doorbell
With the old doorbell removed, it’s time to prepare the new doorbell for installation. Follow these steps:
- Take out the new doorbell from its packaging and familiarize yourself with its components. These may include the doorbell unit, mounting bracket, screws, and any additional accessories.
- If your new doorbell requires batteries, insert them into the designated compartment following the manufacturer’s instructions.
- Examine the mounting bracket provided with your new doorbell. Ensure that it is compatible with the wall surface and the wiring connections.
- If necessary, make any modifications to the mounting bracket, such as adjusting its size or drilling holes for the wiring to pass through.
- Take a moment to review the wiring diagram or instructions provided by the manufacturer. This will help you understand the proper wiring configuration for your specific doorbell model.
Preparing the new doorbell may require some basic assembly and understanding of its components. By taking the time to review the instructions and familiarize yourself with the mounting bracket, you’ll ensure a smooth installation process. Once you have prepared the new doorbell, you can move on to the next step: attaching the wires.
When wiring a doorbell, always turn off the power to the circuit before starting. Use a voltage tester to ensure the power is off before working on the wiring.
Read more: How To Run Wire For A Doorbell
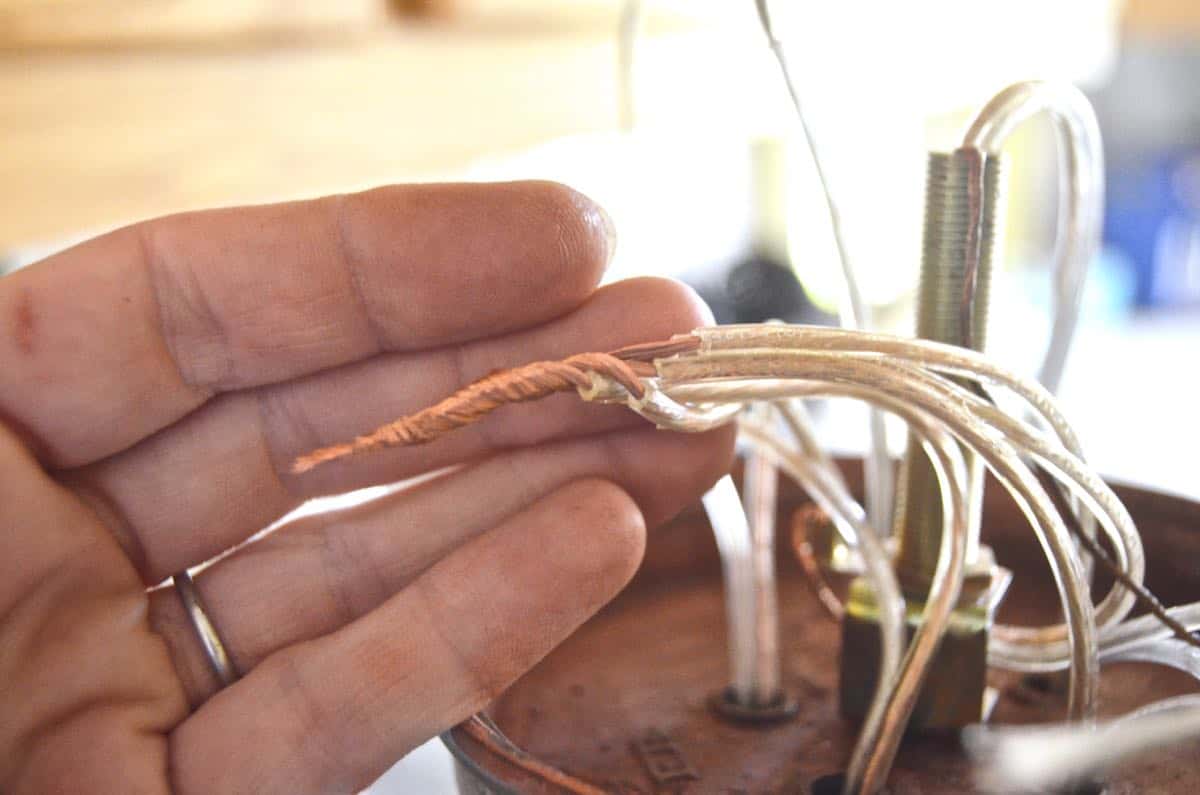
Step 4: Attach the wires
With the new doorbell prepared, it’s time to attach the wires. Follow these steps:
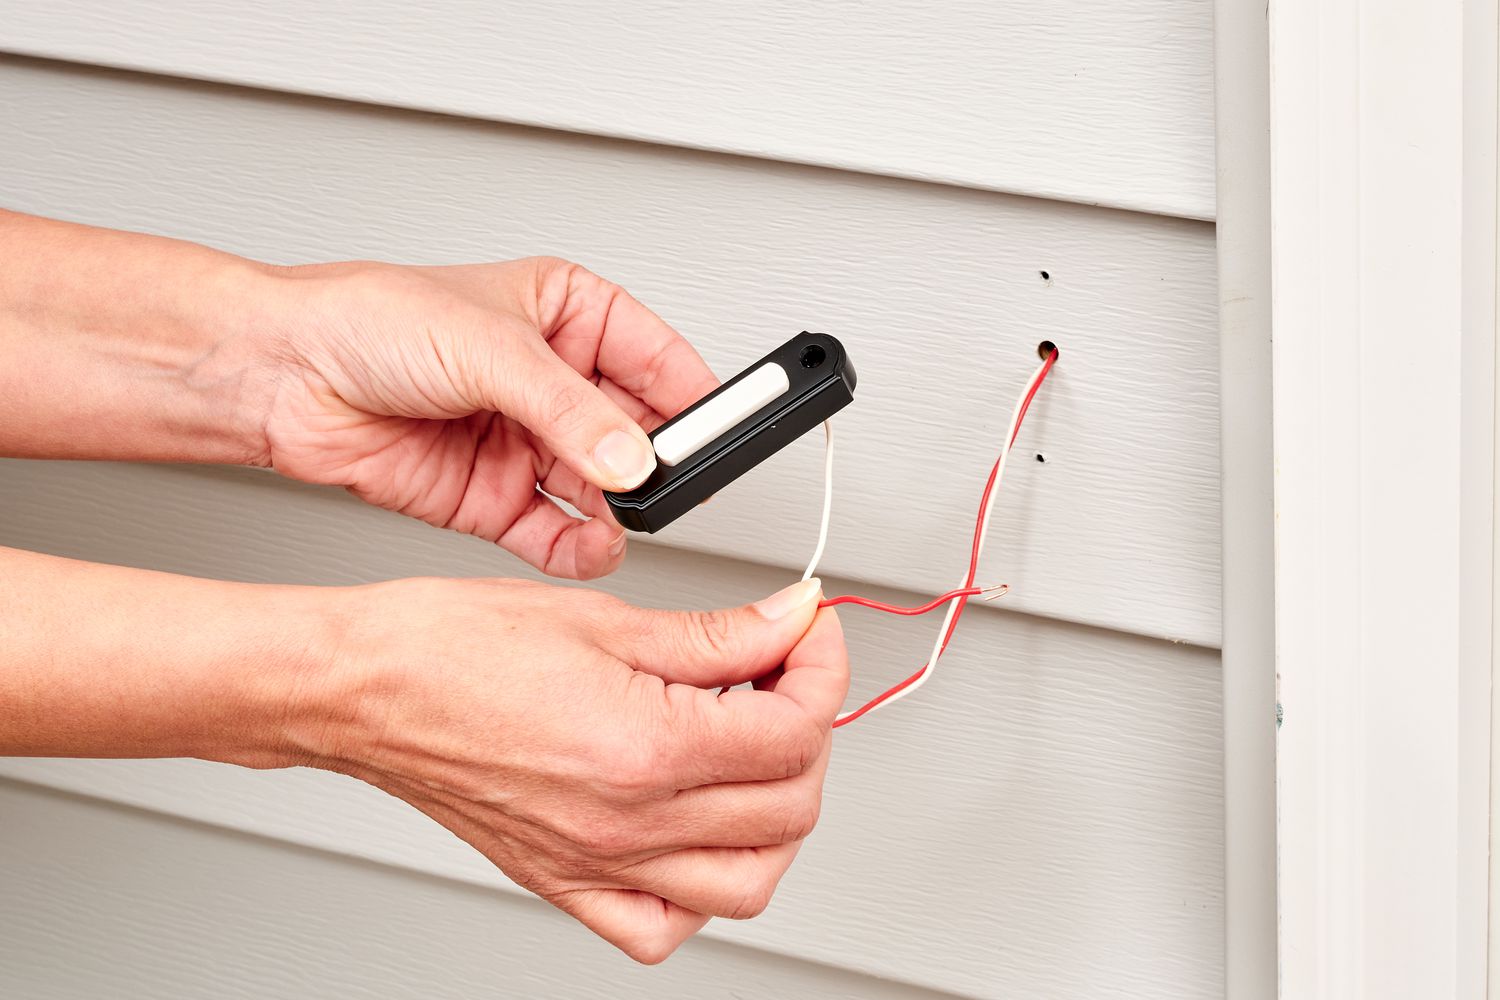
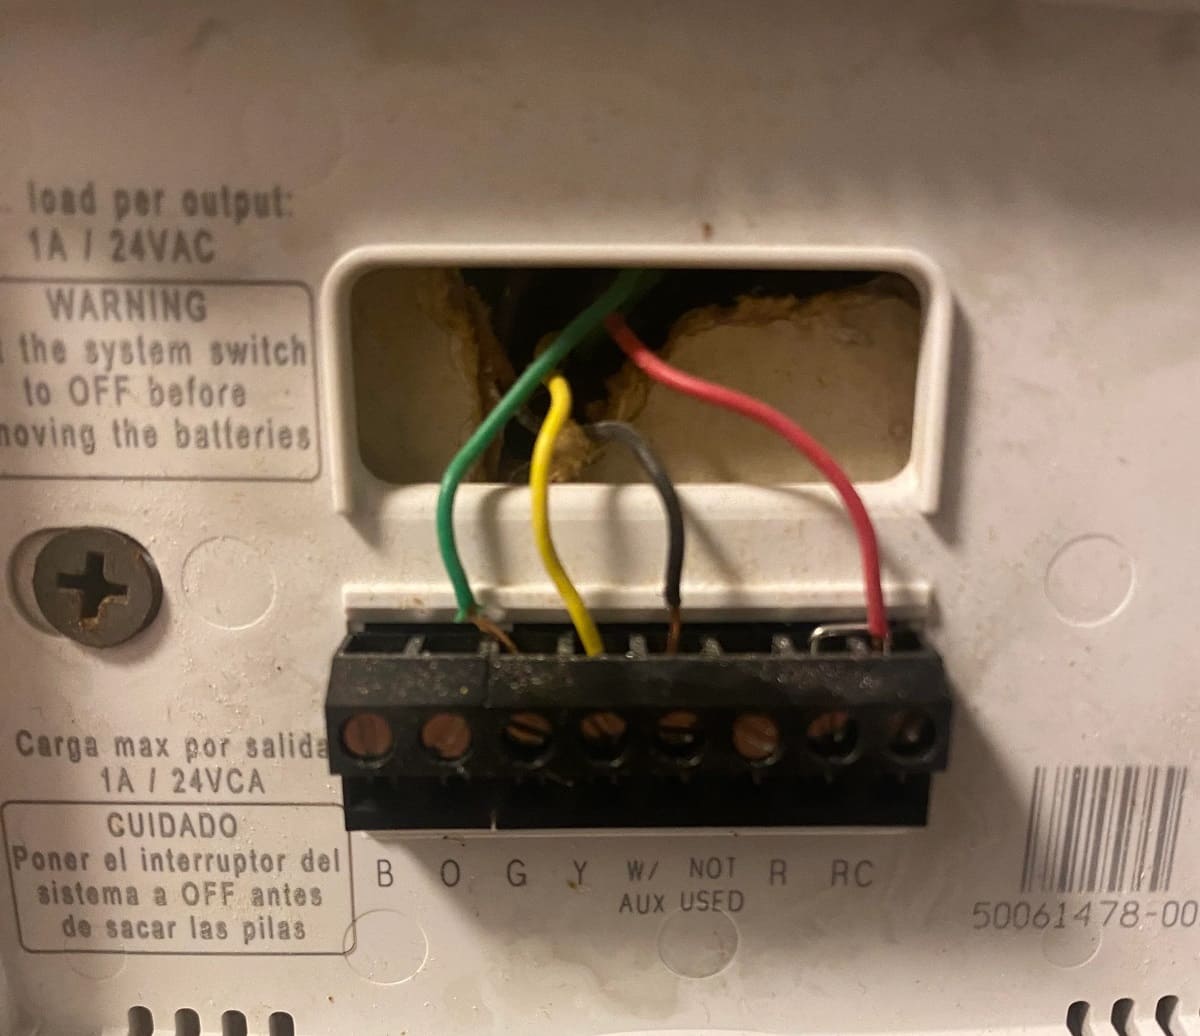
- Locate the wires coming out of the wall. There are usually two wires; one is typically colored white and the other is colored red or black.
- Using a wire cutter or stripper, remove about half an inch of insulation from the end of each wire to expose the bare copper.
- Take note of the labeling or indications on the mounting bracket or doorbell unit. These will guide you on which wire connects to which terminal.
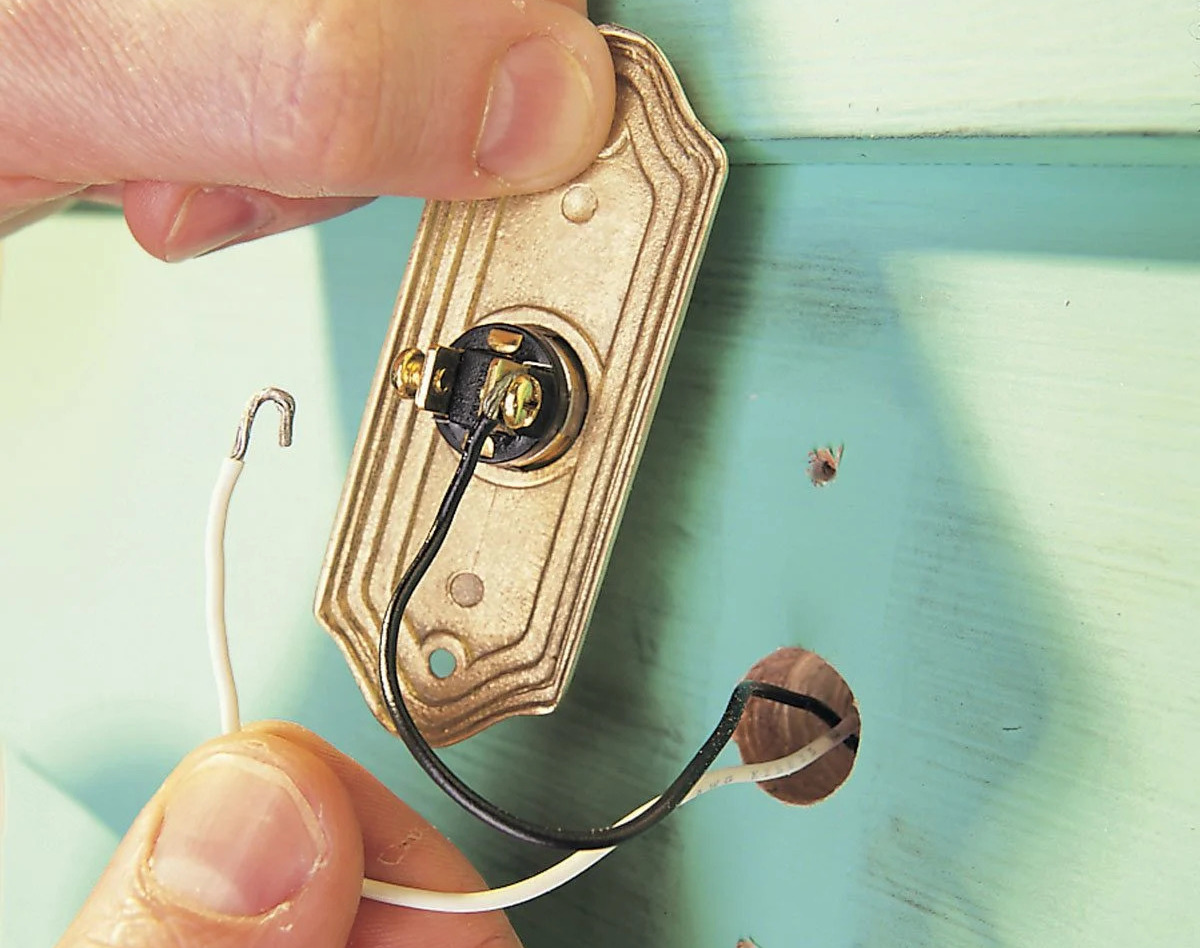
- Align the bare end of the white wire with the “C” or “Common” terminal on the mounting bracket or doorbell unit. Twist the wire around the corresponding screw terminal and tighten it securely.
- Repeat the same process with the red or black wire, connecting it to the “Trans” or “Transformer” terminal.
- Ensure that the wires are securely fastened and that there is no exposed copper touching other terminals or metal surfaces.
Attaching the wires correctly is crucial for the proper functioning of your doorbell. Take your time to ensure that the wires are securely connected and that there is no risk of them coming loose. Once you have attached the wires, you can move on to the next step: installing the new doorbell.
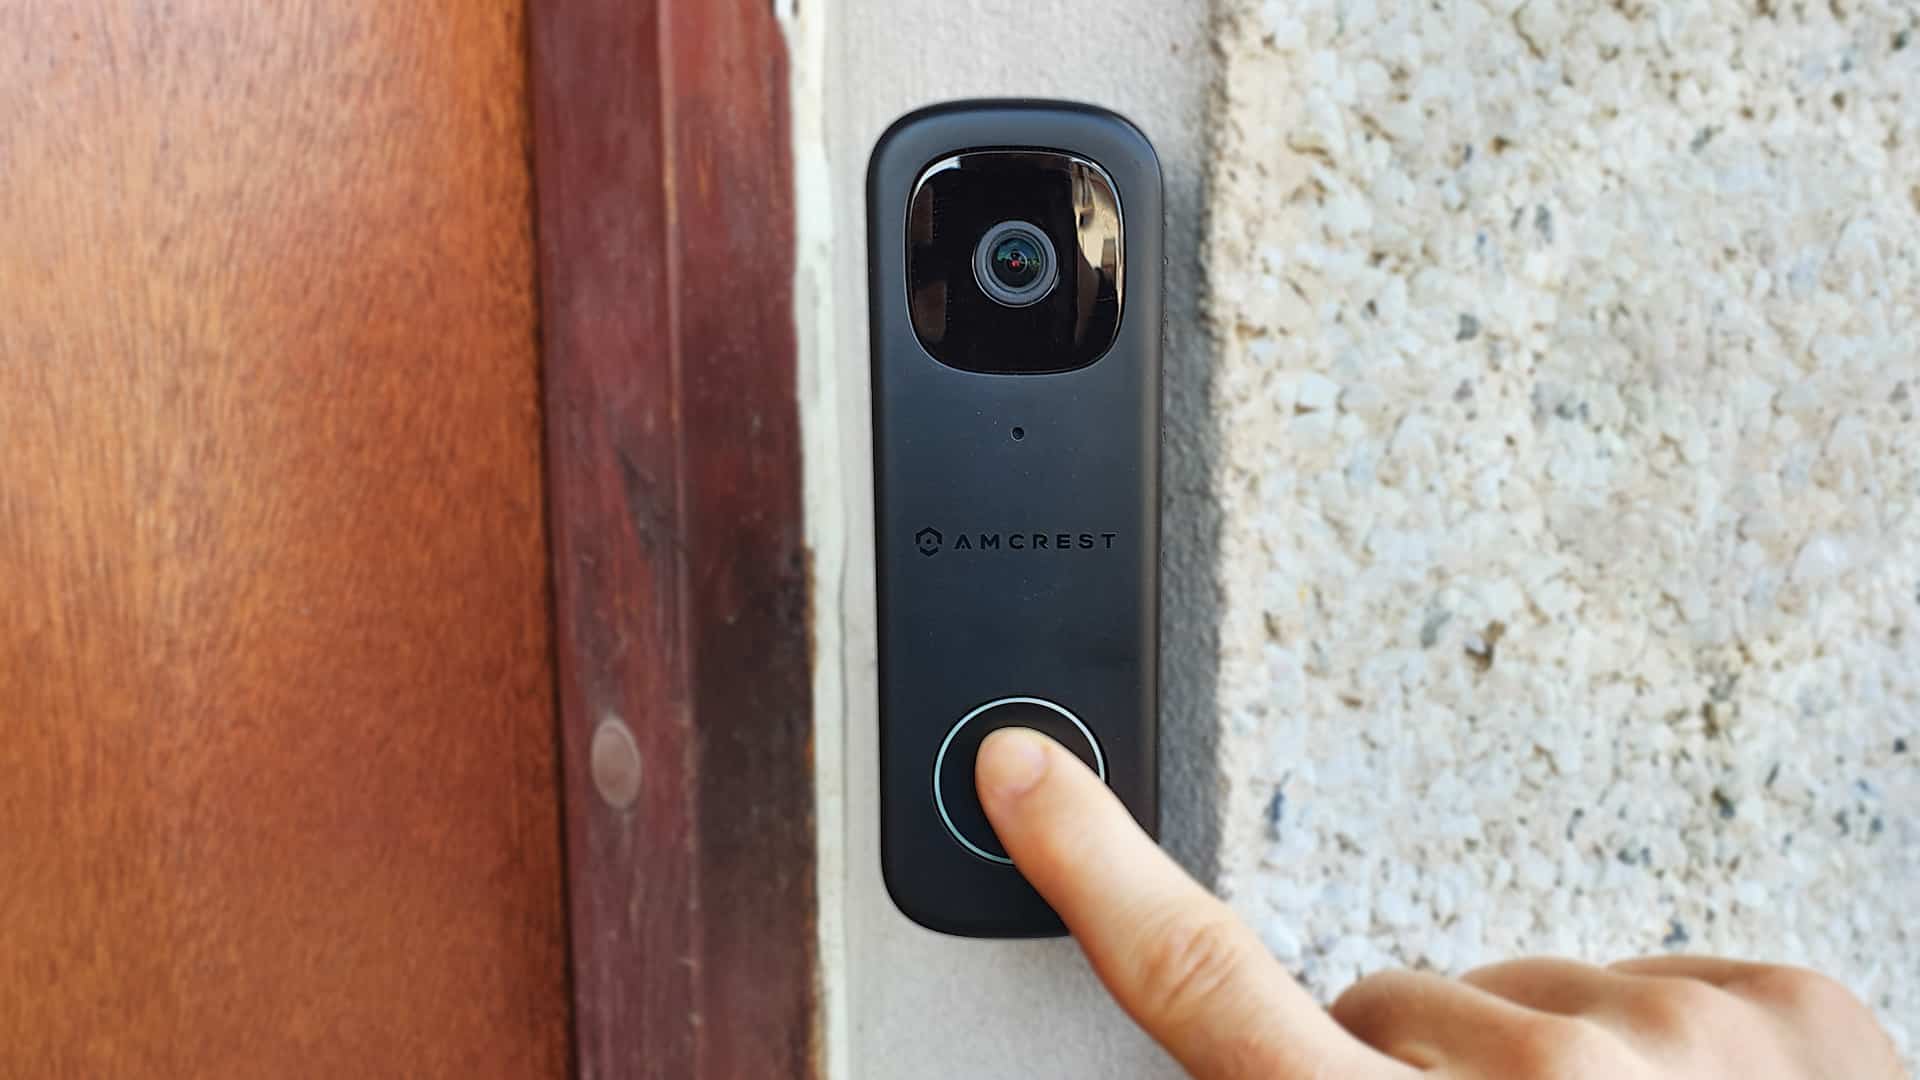
Step 5: Install the new doorbell
Now that the wires are securely attached, it’s time to install the new doorbell. Follow these steps:
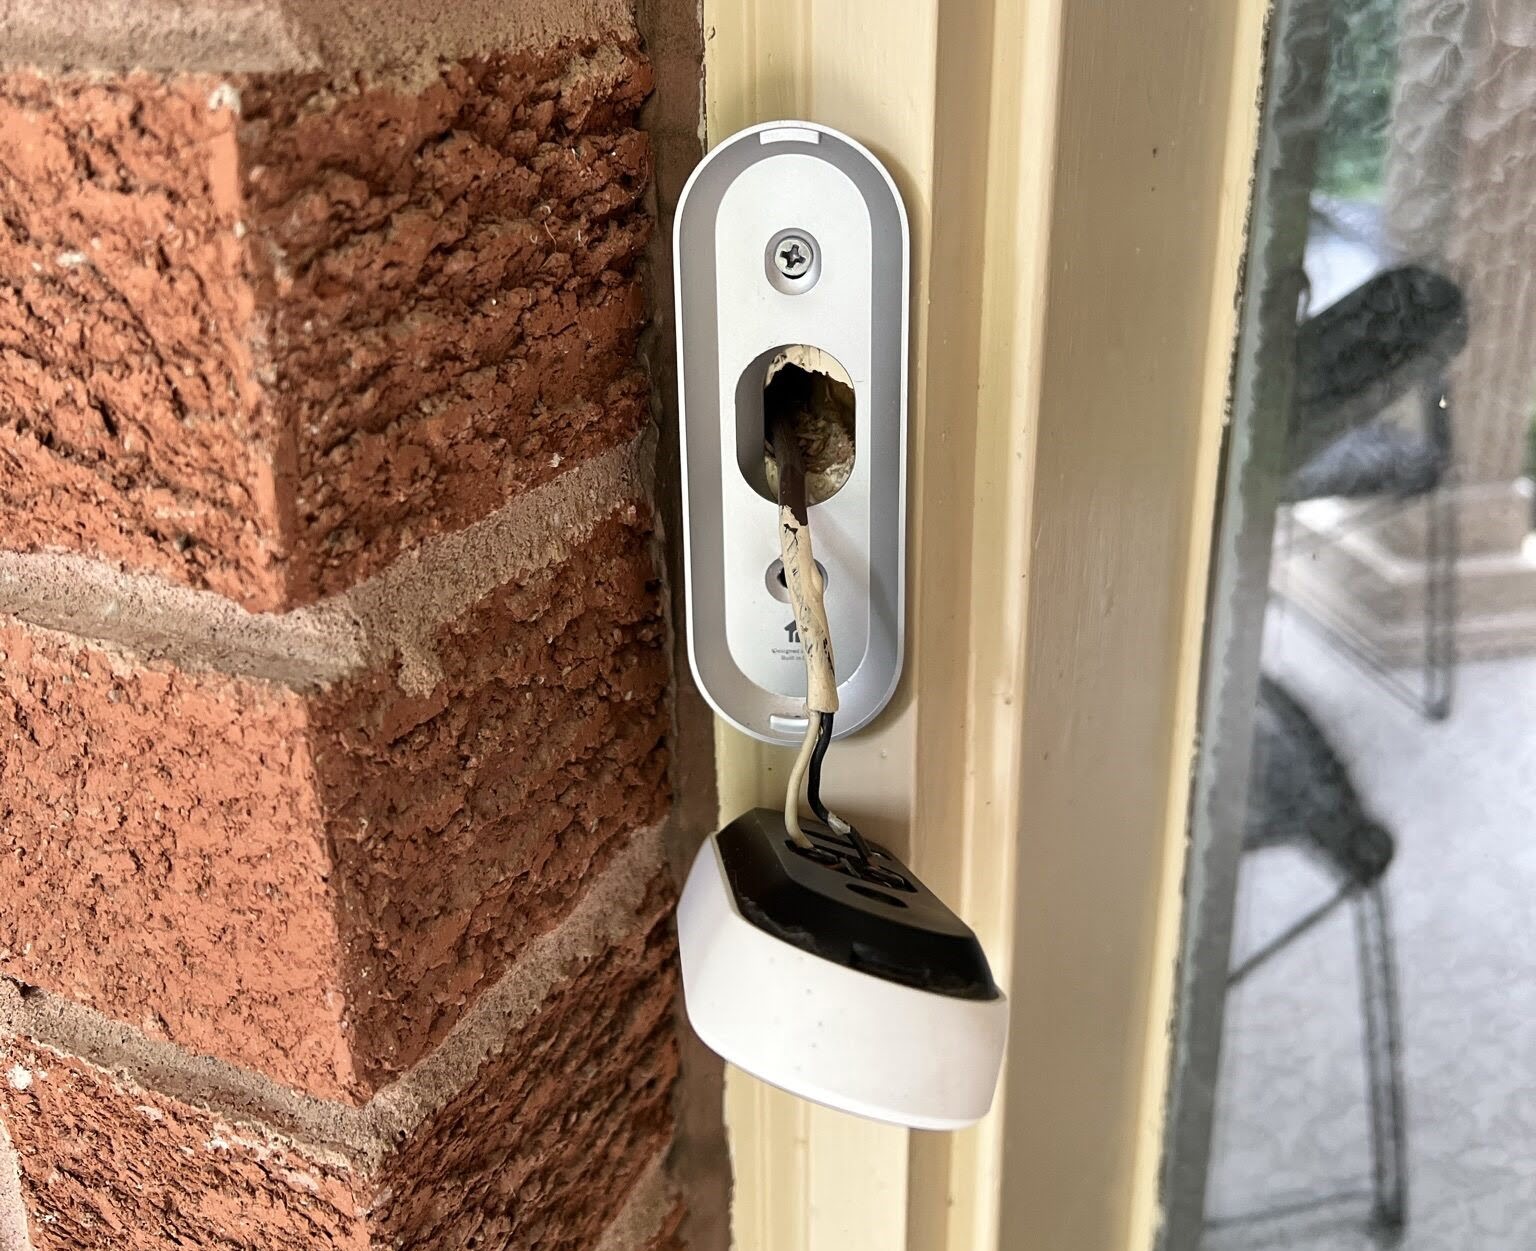
- Hold the mounting bracket against the wall, aligning it with the existing holes or marks from the old doorbell.
- Using a screwdriver, drive the screws through the mounting bracket and into the wall until they are secure.
- Take the doorbell unit and align it with the mounting bracket. Ensure that it sits flush and straight.
- Depending on the type of doorbell unit you have, follow the manufacturer’s instructions to attach it securely to the mounting bracket.
- Gently tug on the wires to ensure that they are firmly connected and will not come loose during use.
Installing the new doorbell involves securing the mounting bracket to the wall and attaching the doorbell unit to it. Make sure the unit is aligned correctly and sits securely in place. Tugging on the wires will help confirm that they are firmly connected and will not cause any issues. Once you have installed the new doorbell, you can proceed to the final step: testing the doorbell.
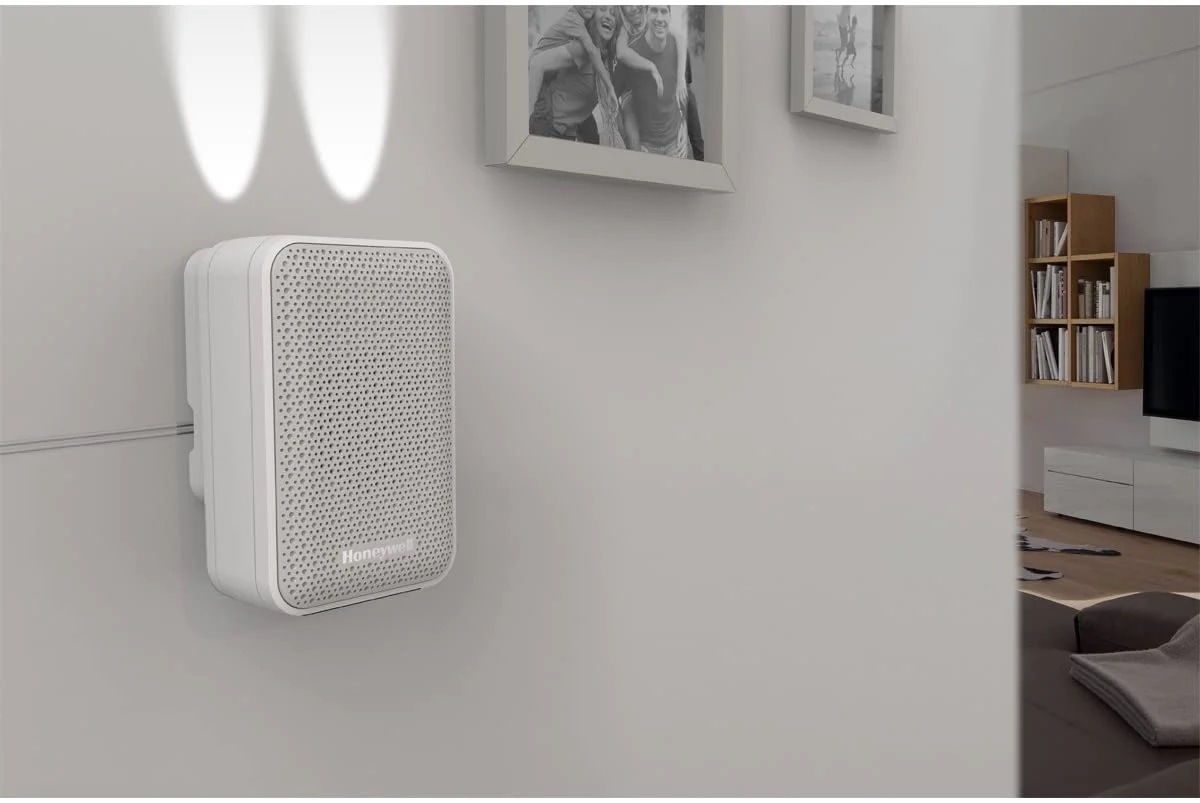
Step 6: Test the doorbell
After successfully installing the new doorbell, it’s important to test its functionality to ensure it is working properly. Follow these steps to test the doorbell:
- Turn the power back on at the main electrical panel or circuit breaker box.
- Stand a few feet away from the doorbell, within hearing range.
- Press the doorbell button to trigger the chime or sound. Listen for any sounds or indications that the doorbell is working.
- If the doorbell does not produce any sound or if you notice any issues, double-check the wiring connections, making sure they are secure and in the correct terminals.
- If necessary, consult the manufacturer’s instructions or troubleshoot any problems before proceeding.
Testing the doorbell is crucial to ensure that it is working properly, as well as verifying that the wiring connections are correct. If there are any issues with the doorbell not functioning as expected, it is essential to double-check the wiring and troubleshoot any problems before considering further assistance. Once you have successfully tested the doorbell and confirmed its functionality, you can consider the installation process complete.
Conclusion
Congratulations! You have successfully learned how to wire a doorbell. By following the steps outlined in this comprehensive guide, you were able to safely remove the old doorbell, prepare and install the new doorbell, and test its functionality. Now you can enjoy the convenience of a functioning doorbell that will alert you to visitors and deliveries.
Remember to always prioritize safety when working with electrical connections. Make sure to turn off the power before starting any wiring work and use the proper tools and materials to ensure a secure and reliable installation.
If you encounter any difficulties during the wiring process or have any concerns about your doorbell’s functionality, it is recommended to consult the manufacturer’s instructions or seek assistance from a professional electrician.
Thank you for choosing this guide as your resource for wiring a doorbell. We hope that the information provided has been helpful, and that you feel confident in tackling this home improvement project. Enjoy the convenience and peace of mind that a properly installed doorbell brings!
Frequently Asked Questions about How To Wire A Doorbell
Was this page helpful?
At Storables.com, we guarantee accurate and reliable information. Our content, validated by Expert Board Contributors, is crafted following stringent Editorial Policies. We're committed to providing you with well-researched, expert-backed insights for all your informational needs.


0 thoughts on “How To Wire A Doorbell”