Home>Articles>How To Change Electrical Cord On A Bose Acoustic Music System
Articles
How To Change Electrical Cord On A Bose Acoustic Music System
Modified: October 19, 2024
Learn how to easily change the electrical cord on your Bose Acoustic Music System with this informative article. Get step-by-step instructions and helpful tips.
(Many of the links in this article redirect to a specific reviewed product. Your purchase of these products through affiliate links helps to generate commission for Storables.com, at no extra cost. Learn more)
Introduction
Welcome to this guide on how to change the electrical cord on a Bose Acoustic Music System. Over time, the electrical cords of our favorite music systems can become frayed and damaged, posing a safety risk and affecting the performance of the device. If you’ve noticed any issues with your Bose Acoustic Music System’s electrical cord, it’s important to address the problem promptly.
In this comprehensive guide, we’ll take you through the step-by-step process of changing the electrical cord on your Bose Acoustic Music System. Before we delve into the specifics, it’s crucial to prioritize safety throughout the process. We’ll discuss some important precautions you should keep in mind before getting started.
Remember, working with electrical components can be hazardous, and we strongly recommend that you exercise caution and consult a professional if you are not confident in your abilities. With that said, let’s dive into the safety precautions to follow before embarking on this project.
Key Takeaways:
- Prioritize safety by unplugging the device, wearing protective gear, and working in a well-ventilated area when changing the electrical cord on your Bose Acoustic Music System. Having the right tools on hand will make the process smoother and more efficient.
- Follow the step-by-step guide to successfully replace the cord and enjoy uninterrupted music experiences. Remember to consult the manufacturer’s guidelines and seek professional help if needed to ensure a safe and successful cord replacement.
Read more: How To Change Electrical Cord On A Dryer
Safety Precautions
Before attempting to change the electrical cord on your Bose Acoustic Music System, it’s crucial to prioritize your safety. Here are some important precautions to keep in mind:
- Unplug the device: Before starting any work, make sure to disconnect the Bose Acoustic Music System from the power source. This will help prevent any electrical shocks or accidents.
- Wear protective gear: It’s advisable to wear protective gear, such as gloves and safety glasses, to protect yourself from any potential harm.
- Work in a well-ventilated area: Ensure that you have ample ventilation to prevent any build-up of fumes, especially if you need to use soldering equipment or heat-shrink tubing during the process.
- Inspect the replacement cord: Before installing the new electrical cord, thoroughly inspect it for any signs of damage or defects. Ensure that it is the correct replacement cord specified for your Bose Acoustic Music System.
- Follow manufacturer guidelines: Refer to the user manual or documentation provided by Bose for any specific instructions or guidelines on changing the electrical cord. Following the manufacturer’s recommendations is important to ensure proper installation and the integrity of the system.
- Seek professional help if needed: If you are unsure about any aspect of the process or lack the necessary skills and tools, it is highly recommended to consult a professional electrician or technician who can assist you with the task.
By adhering to these safety precautions, you can minimize the risk of accidents and ensure a safe working environment while changing the electrical cord on your Bose Acoustic Music System.
Tools Needed
Before you begin changing the electrical cord on your Bose Acoustic Music System, it’s important to have the necessary tools on hand. Gathering these tools ahead of time will help make the process smoother and more efficient. Here are the tools you will need:
- Screwdriver: Depending on the specific model of your Bose Acoustic Music System, you may need a screwdriver to remove any screws or panels that secure the electrical cord.
- Wire cutters/strippers: These tools are essential for cutting and stripping the wires of the old electrical cord and preparing the new one for installation.
- Soldering iron: If your electrical cord requires soldering, a soldering iron will be necessary to securely join the wires.
- Solder and flux: These materials are used in the soldering process and help create a strong and reliable connection between the wires of the electrical cord.
- Heat-shrink tubing: Heat-shrink tubing provides insulation and protection for the wires that are soldered together. It can be used to cover the soldered joints and ensure a professional and secure connection.
- Electrical tape: Electrical tape can be used to secure and insulate the newly installed electrical cord.
- Utility knife: A utility knife can come in handy for cutting and trimming the heat-shrink tubing and electrical tape.
- Multi-meter: A multi-meter is an electrical testing device that can be used to check the continuity and proper functioning of the electrical connections.
- Cord strain relief: This component helps prevent tension on the electrical cord and provides a secure connection to the music system.
Having these tools readily available will save you time and ensure that you have everything you need to successfully change the electrical cord on your Bose Acoustic Music System.
Step 1: Unplug the Bose Acoustic Music System
Before you begin working on the electrical cord of your Bose Acoustic Music System, it’s vital to unplug the device from the power source. This step is crucial in ensuring your safety and preventing any potential electrical accidents.
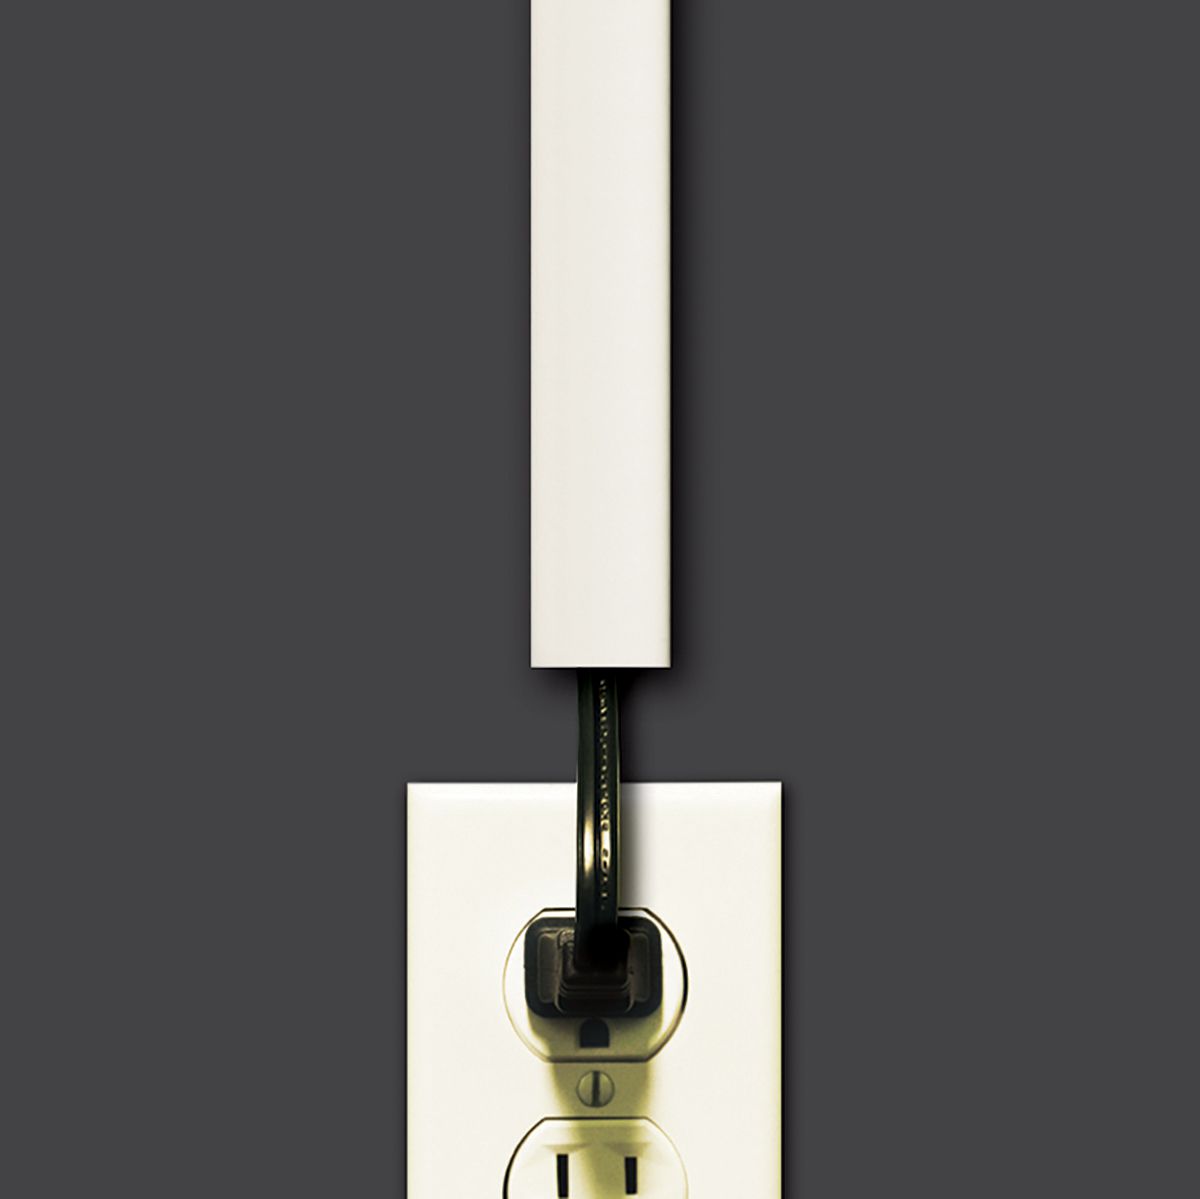
Locate the power cord that is connected to your Bose Acoustic Music System. It is typically located at the back of the unit and is easily identifiable by its three-pronged plug. Gently but firmly grip the plug and pull it out from the power outlet.
Make sure to set the power cord aside in a safe location, away from any potential hazards or obstructions. By unplugging the device, you eliminate the risk of an electrical shock while you work on replacing the electrical cord.
Double-check that the device is completely disconnected from the power source by inspecting the power indicator on the unit. If the indicator is off, it confirms that the Bose Acoustic Music System is no longer receiving power.
It’s important to leave the device unplugged throughout the entire process of changing the electrical cord, even during subsequent steps. This ensures your safety and prevents any accidental electrocution.
Now that you’ve taken the necessary precaution of unplugging the Bose Acoustic Music System, you can proceed with the next steps of replacing the electrical cord. These steps will guide you through the entire process, ensuring a safe and successful cord replacement.
Step 2: Locate the Faulty Electrical Cord
Once you have safely unplugged the Bose Acoustic Music System, the next step is to locate the faulty electrical cord that needs to be replaced. The cord may have become damaged due to wear and tear, fraying, or other issues that can affect its performance and safety.
Take a close look at the entire length of the electrical cord, examining it for any visible signs of damage such as cuts, exposed wires, or frayed insulation. These signs indicate that the cord is faulty and needs to be replaced.
If the damage to the electrical cord is apparent, it will be relatively easy to identify the section that needs to be replaced. However, sometimes the damage is not visible externally. In such cases, you may need to perform a hands-on inspection along the length of the cord, feeling for any abnormalities or inconsistencies in the texture or flexibility of the cord.
The faulty section of the electrical cord may be located anywhere along its length, including near the power plug or closer to the music system itself. Carefully inspect the cord, bending it gently and examining both sides to ensure a thorough inspection.
It’s important to note that if the entire cord appears to be damaged or if you are unable to pinpoint the exact location of the fault, it may be necessary to replace the entire electrical cord to ensure the safety and proper functioning of the Bose Acoustic Music System.
Once you have located the area of the electrical cord that needs to be replaced, you can proceed to the next step of removing the old cord from the music system.
Note: If you are unsure about the extent of the damage or need further guidance, it’s advisable to consult a professional or contact Bose customer support for assistance.
When changing the electrical cord on a Bose Acoustic Music System, always make sure to unplug the system from the power source before attempting any repairs. This will ensure your safety and prevent any electrical accidents.
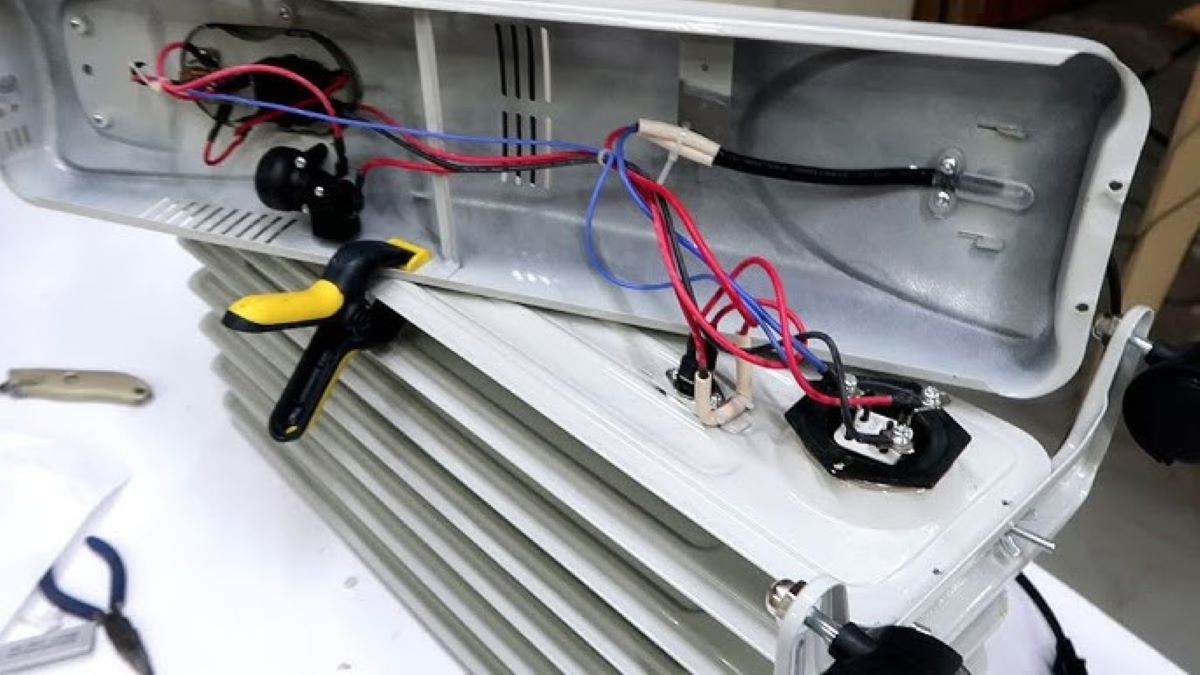
Step 3: Remove the Old Electrical Cord
Now that you have identified the faulty section of the electrical cord, it’s time to remove it from the Bose Acoustic Music System. Carefully follow these steps to ensure a safe and proper removal:
- Locate the area on the music system where the electrical cord is attached. This is typically near the rear panel or bottom of the device.
- Depending on the model of your Bose Acoustic Music System, there may be screws or fasteners securing the electrical cord in place. Use the appropriate screwdriver or tool to remove these screws.
- Gently disconnect any connectors or plugs that are attached to the electrical cord. Carefully examine the connectors to identify any latches or locking mechanisms that need to be released before unplugging.
- Once the connectors are detached, grasp the damaged section of the electrical cord firmly and pull it out from the music system, guiding it through any cable management channels or openings.
- As you remove the old cord, take note of its routing and any cable management clips or ties that may be in place. This will help when installing the new electrical cord.
- Ensure that the end of the removed electrical cord is clear from any obstructions, and set it aside for proper disposal or recycling.
By following these steps, you should be able to successfully remove the old electrical cord from your Bose Acoustic Music System. Remember to handle the cord with care, as it may still be connected to internal components of the device.
Now that the old cord has been removed, you can proceed to the next step, where we will prepare the new electrical cord for installation.
Step 4: Prepare the New Electrical Cord
With the old electrical cord safely removed from your Bose Acoustic Music System, it’s now time to prepare the new cord for installation. Follow these steps to ensure a smooth and successful preparation:
- Inspect the new electrical cord to ensure that it is the correct replacement for your Bose Acoustic Music System. Verify that it matches the specifications provided by the manufacturer.
- If necessary, measure and cut the new electrical cord to the appropriate length required for your specific device. Use a pair of wire cutters specifically designed for cutting electrical wires. Make the cut as clean and straight as possible.
- Once the cord is cut to size, use a wire stripper to remove around half an inch of the outer insulation from both ends of the cord. This will expose the inner wires for proper connection.
- Inspect the exposed wires for any signs of fraying or damage. If any wires appear faulty, trim them carefully to expose fresh and undamaged wire ends.
- If soldering is required for your specific model, strip about 1/4 inch of insulation from each individual wire end. Twist the wire strands together to ensure a firm and secure connection during the soldering process.
- Apply a small amount of flux to each of the twisted wire ends. Flux helps promote the flow of solder and improves the solder joint’s strength and reliability.
- If your model doesn’t require soldering, ensure that the stripped wire ends are clean and tangle-free for the next step of connecting the new electrical cord to the music system.
- Consider using heat-shrink tubing to insulate the exposed wire connections. Cut the heat-shrink tubing to an appropriate length, making sure it is long enough to cover the soldered or twisted wire ends. Slide the tubing onto the wire ends before making any connections.
By following these steps, you will be well prepared to connect the new electrical cord to your Bose Acoustic Music System. Properly preparing the cord is important for a secure and reliable connection, ensuring the efficient performance of your device.
Now that the new electrical cord is ready, we can move on to the next step of attaching it to the music system.
Step 5: Attach the New Electrical Cord to the Bose Acoustic Music System
Now that you have prepared the new electrical cord, it’s time to attach it to your Bose Acoustic Music System. Follow these steps to ensure a secure and proper connection:
- Locate the area on the music system where the old electrical cord was previously attached.
- Depending on the model of your Bose Acoustic Music System, there may be connectors or plugs that need to be connected to the new electrical cord. If so, align the connectors and ensure they are properly inserted into each other, applying gentle pressure until a secure connection is made.
- If soldering is required for your specific model, carefully align the stripped wire ends of the new electrical cord with the corresponding connections on the music system. Apply the soldering iron to the wire joint, melting the solder onto the exposed wires. Hold the wires firmly in place until the solder cools and forms a solid connection.
- If heat-shrink tubing was used, carefully slide the heat-shrink tubing over the soldered wire joint. Use a heat source like a heat gun or a lighter to apply heat evenly to the tubing. As the tubing heats up, it will shrink and form a tight, protective seal around the wire joint.
- If your model doesn’t require soldering, twist the bare wire ends of the new electrical cord securely around the corresponding connection points on the music system. Use wire nuts or electrical tape to insulate and secure the connections, ensuring a stable and safe connection.
- Guide the new electrical cord through any cable management channels or openings, following the same path as the previous cord if possible. Use any cable management clips or ties to secure the cord in place, providing strain relief and preventing tangling or accidental disconnection.
By following these steps, you will successfully attach the new electrical cord to your Bose Acoustic Music System. A proper and secure connection is essential for the efficient functioning and safety of your device.
Now that the new electrical cord is securely attached, it’s time to move on to the final step of testing the functionality of the cord and ensuring that everything is working correctly.
Step 6: Test the New Electrical Cord
After successfully attaching the new electrical cord to your Bose Acoustic Music System, it’s important to test its functionality before fully reassembling the device. Testing the new cord ensures that it is properly connected and functioning as expected. Follow these steps to test the new electrical cord:
- Plug in the device: Insert the power plug of the new electrical cord into a power outlet.
- Power on the music system: Use the power button or switch on your Bose Acoustic Music System to turn it on. If the device has a display or indicator lights, check if they are functioning properly.
- Confirm power supply: Ensure that the music system is receiving power from the new cord. Look for any signs of instability, flickering, or interruption in power delivery.
- Test audio playback: Play some music or audio through the device to verify that the sound is clear, balanced, and without any distortion or unusual noises.
- Check all functions: Test all the functions and features of your Bose Acoustic Music System to make sure they are working correctly. This includes adjusting volume, changing audio sources, and utilizing any additional features offered by your specific model.
- Inspect for heat or odor: While the music system is operating, check for any unusual heat or odor coming from the cord or the device itself. Excessive heat or a strange odor may indicate a problem with the connection or faulty components.
If at any point during the testing process, you encounter any issues or notice any signs of malfunction, it is advisable to unplug the device immediately and consult a professional or contact Bose customer support for further assistance.
If the new electrical cord passes the testing phase and everything is functioning properly, you can proceed to reassemble any panels or covers that were removed during the cord replacement process.
By following these steps and conducting a thorough test, you can ensure the successful installation of the new electrical cord and enjoy uninterrupted music experiences with your Bose Acoustic Music System.
Finally, remember to exercise caution and follow all safety guidelines whenever working with electrical components.
Conclusion
Changing the electrical cord on your Bose Acoustic Music System is a necessary task to maintain its performance and ensure your safety. By following the step-by-step guide outlined in this article, you can successfully replace the cord and enjoy uninterrupted music experiences.
Throughout the process, it is crucial to prioritize safety by unplugging the device, wearing protective gear, and working in a well-ventilated area. Taking safety precautions will minimize the risk of accidents and ensure a safe working environment.
Having the right tools on hand, including a screwdriver, wire cutters/strippers, soldering iron, solder, flux, heat-shrink tubing, electrical tape, utility knife, multi-meter, and cord strain relief, will make the cord replacement process smoother and more efficient.
Each step of the process, from unplugging the device to testing the new cord, should be followed carefully and with attention to detail. Locating the faulty cord, removing the old cord, preparing the new cord, attaching it to the music system, and testing its functionality are all essential steps for a successful cord replacement.
Remember to consult the manufacturer’s guidelines and seek professional help if needed. If you are unsure about any aspect of the process or lack the necessary skills, it is always better to seek assistance from a professional electrician or technician.
By following this comprehensive guide, you can confidently change the electrical cord on your Bose Acoustic Music System and enjoy a safe and uninterrupted music experience. Remember to prioritize safety, exercise caution, and refer to the manufacturer’s guidelines throughout the process.
Now, it’s time to plug in your newly installed electrical cord, crank up the volume, and enjoy the music!
Frequently Asked Questions about How To Change Electrical Cord On A Bose Acoustic Music System
Was this page helpful?
At Storables.com, we guarantee accurate and reliable information. Our content, validated by Expert Board Contributors, is crafted following stringent Editorial Policies. We're committed to providing you with well-researched, expert-backed insights for all your informational needs.


0 thoughts on “How To Change Electrical Cord On A Bose Acoustic Music System”