Articles
How To Install Wired Nest Doorbell
Modified: August 31, 2024
Learn how to install the Nest Doorbell Wired with this helpful article. Find step-by-step instructions and tips for a successful installation.
(Many of the links in this article redirect to a specific reviewed product. Your purchase of these products through affiliate links helps to generate commission for Storables.com, at no extra cost. Learn more)
Introduction
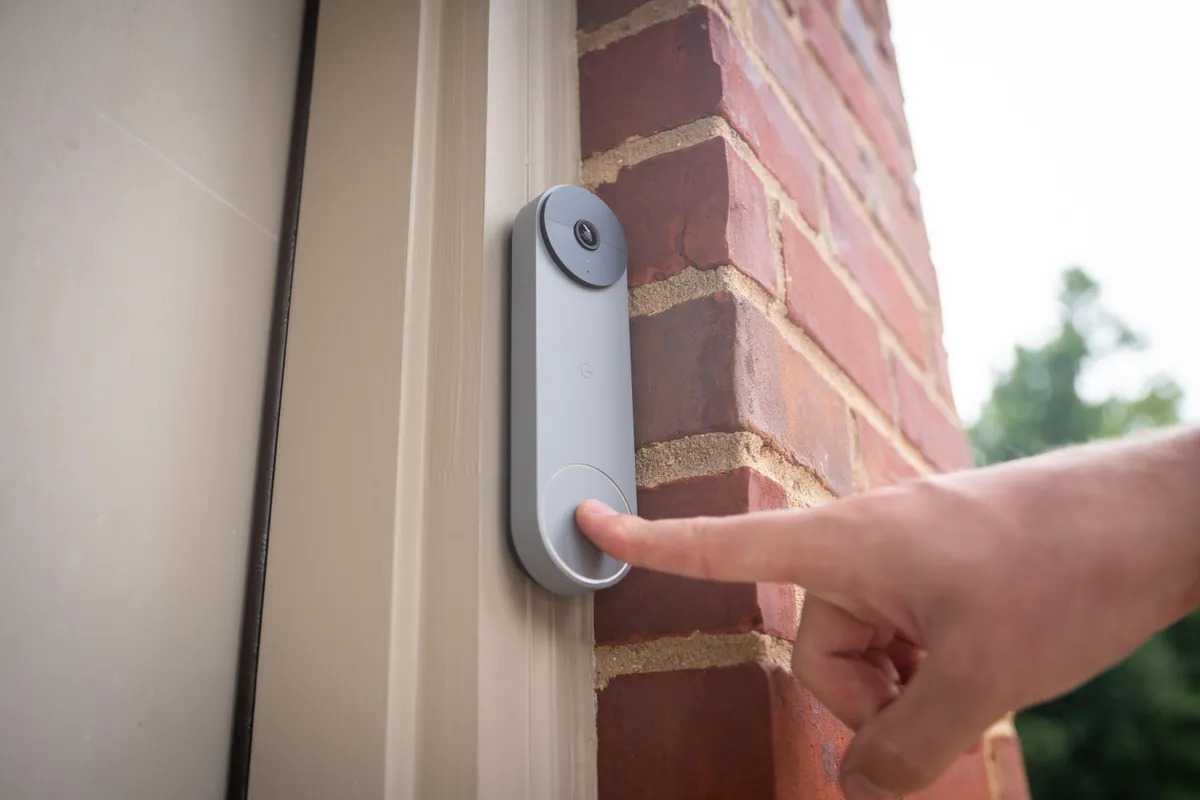
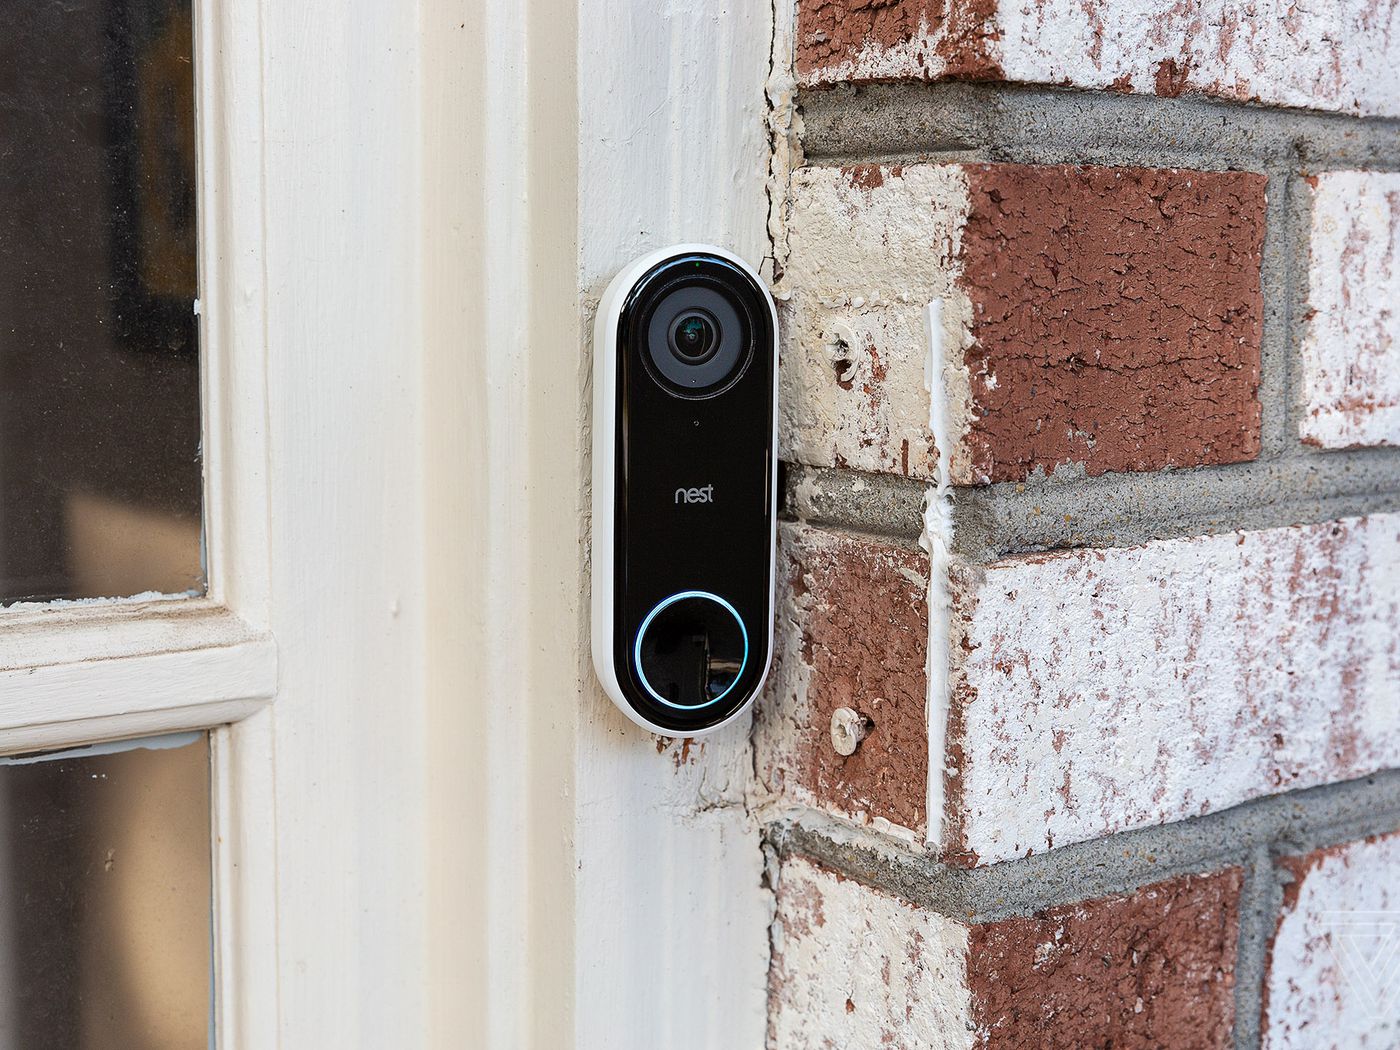
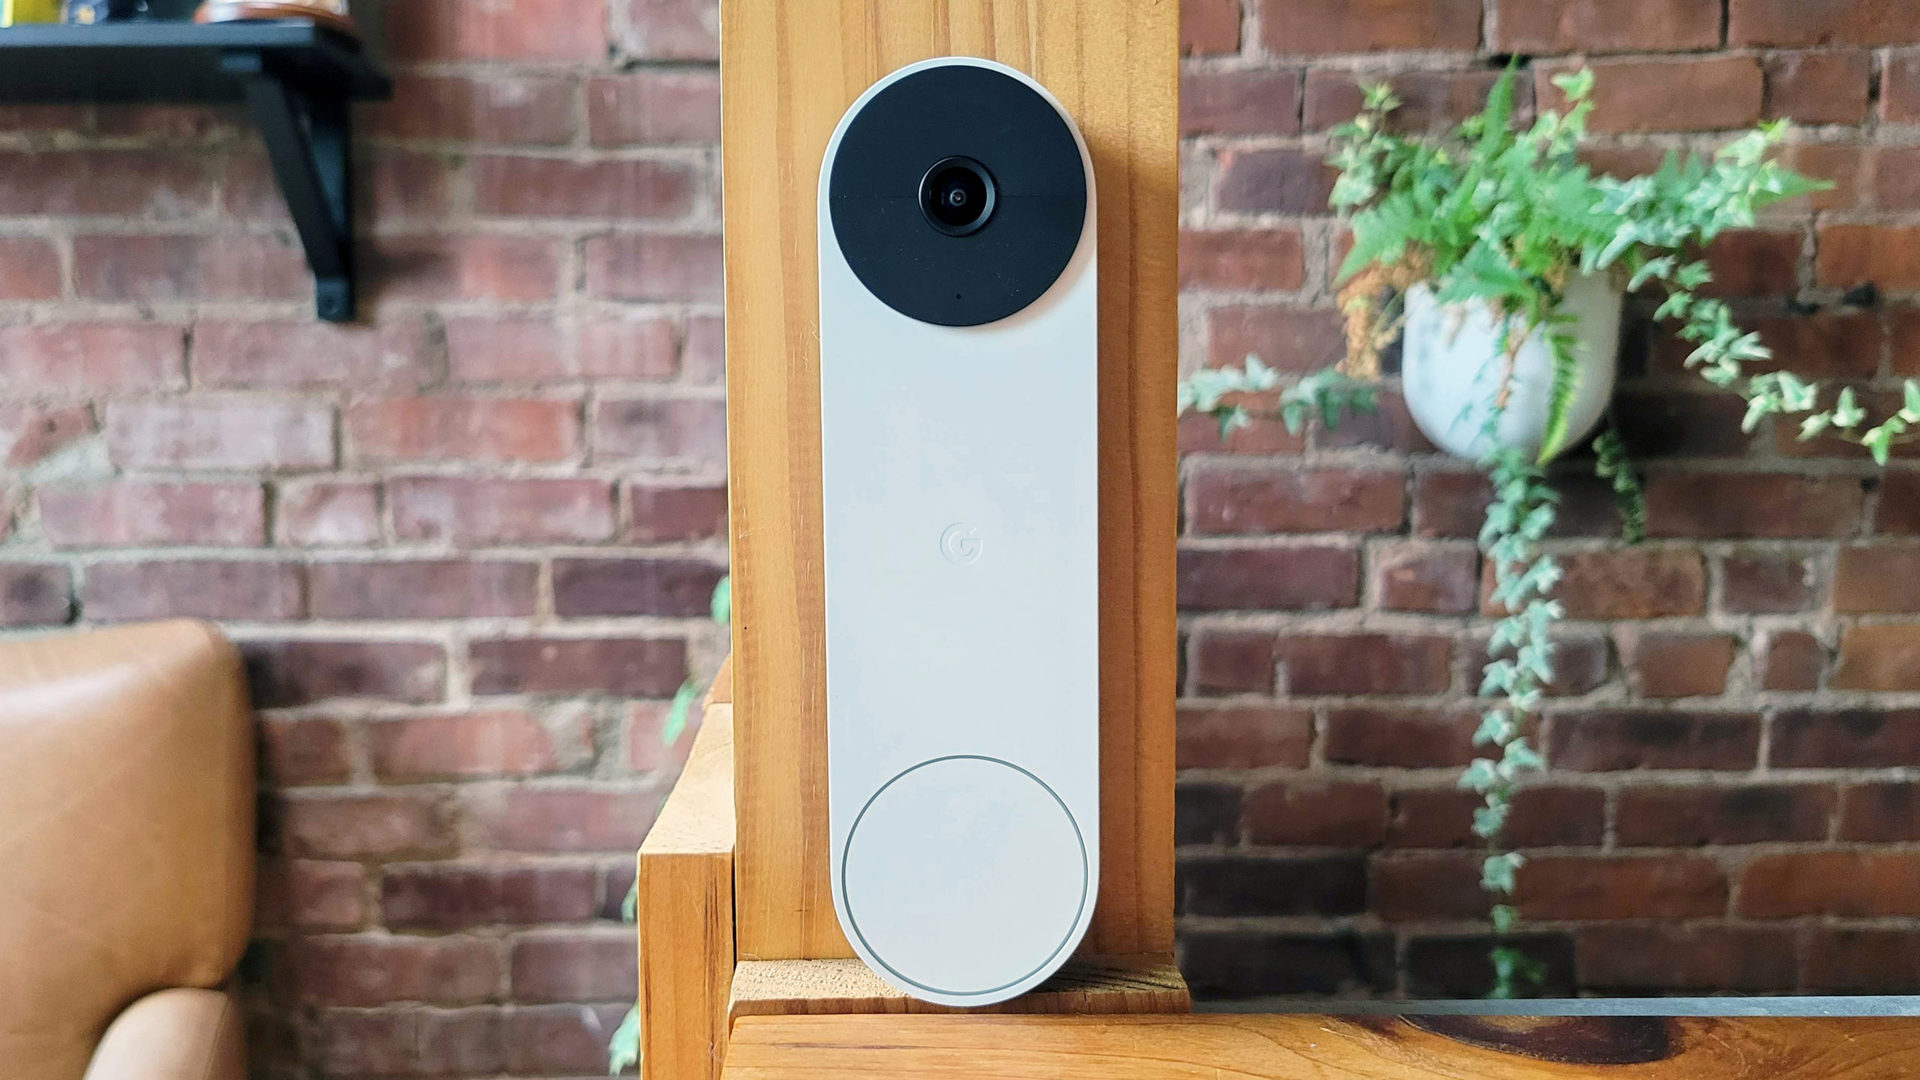
Welcome to this step-by-step guide on how to install the Nest Doorbell Wired! With its advanced features and sleek design, the Nest Doorbell Wired is a great addition to any home. Whether you’re a DIY enthusiast or a homeowner looking to upgrade their doorbell system, this guide will walk you through the installation process.
Before we begin, it’s important to note that working with electrical systems can be dangerous. If you’re not comfortable or familiar with electrical work, it’s recommended to hire a professional electrician to assist you. Safety should always be a top priority.
Installing the Nest Doorbell Wired involves a few key steps, including gathering the necessary tools, removing the existing doorbell, installing the doorbell mount, connecting the wires, attaching the doorbell, and configuring the device. By following these steps carefully, you’ll have your Nest Doorbell Wired up and running in no time.
Now, let’s get started with step 1: gathering the necessary tools and materials.
Key Takeaways:
- Enhance Home Security and Convenience
Installing the Nest Doorbell Wired provides real-time video streaming, motion detection, and remote communication with visitors, offering increased security and peace of mind for homeowners. - Prioritize Safety and Professional Assistance
Safety is paramount when working with electrical systems. If uncomfortable, hiring a professional electrician ensures correct and safe installation of the Nest Doorbell Wired.
Read more: How To Install A Wired Ring Doorbell
Step 1: Gather the necessary tools and materials
Before you begin the installation process, it’s essential to gather all the tools and materials you’ll need. Having everything prepared ahead of time will ensure a smooth and efficient installation. Here’s a list of the necessary tools and materials:
- Screwdriver or drill with a screwdriver bit
- Wire stripper
- Electrical tape
- Level
- Nest Doorbell Wired
- Doorbell wires (usually 18-22 gauge)
- Mounting plate
- Screws and anchors
- Chime connector (if necessary)
- Smartphone or tablet with the Nest app installed
Make sure you have all these items on hand before proceeding. If any additional tools or materials are required based on your specific installation scenario, consult the Nest Doorbell Wired’s user manual for more information.
Once you’ve gathered all the necessary tools and materials, you’ll be ready to move on to step 2: turning off power to your existing doorbell.
Step 2: Turn off power to your existing doorbell
Before you begin uninstalling your existing doorbell, it’s crucial to turn off the power to ensure your safety. Here’s how to do it:
- Locate your circuit breaker panel. It is usually in the basement, garage, or utility room.
- Identify the circuit that powers your doorbell. Look for labels or markings that indicate the doorbell circuit.
- Switch off the corresponding circuit breaker for the doorbell. Flip the switch to the “off” position.
Turning off the power will prevent any accidental electrical shocks or surges during the installation process.
After switching off the power, it’s a good practice to double-check if the doorbell is functioning properly. Press the doorbell button and verify that it does not ring. This step ensures that you’ve successfully cut off power to the doorbell.
In the next step, we will guide you on how to remove the existing doorbell safely.
Step 3: Remove the existing doorbell
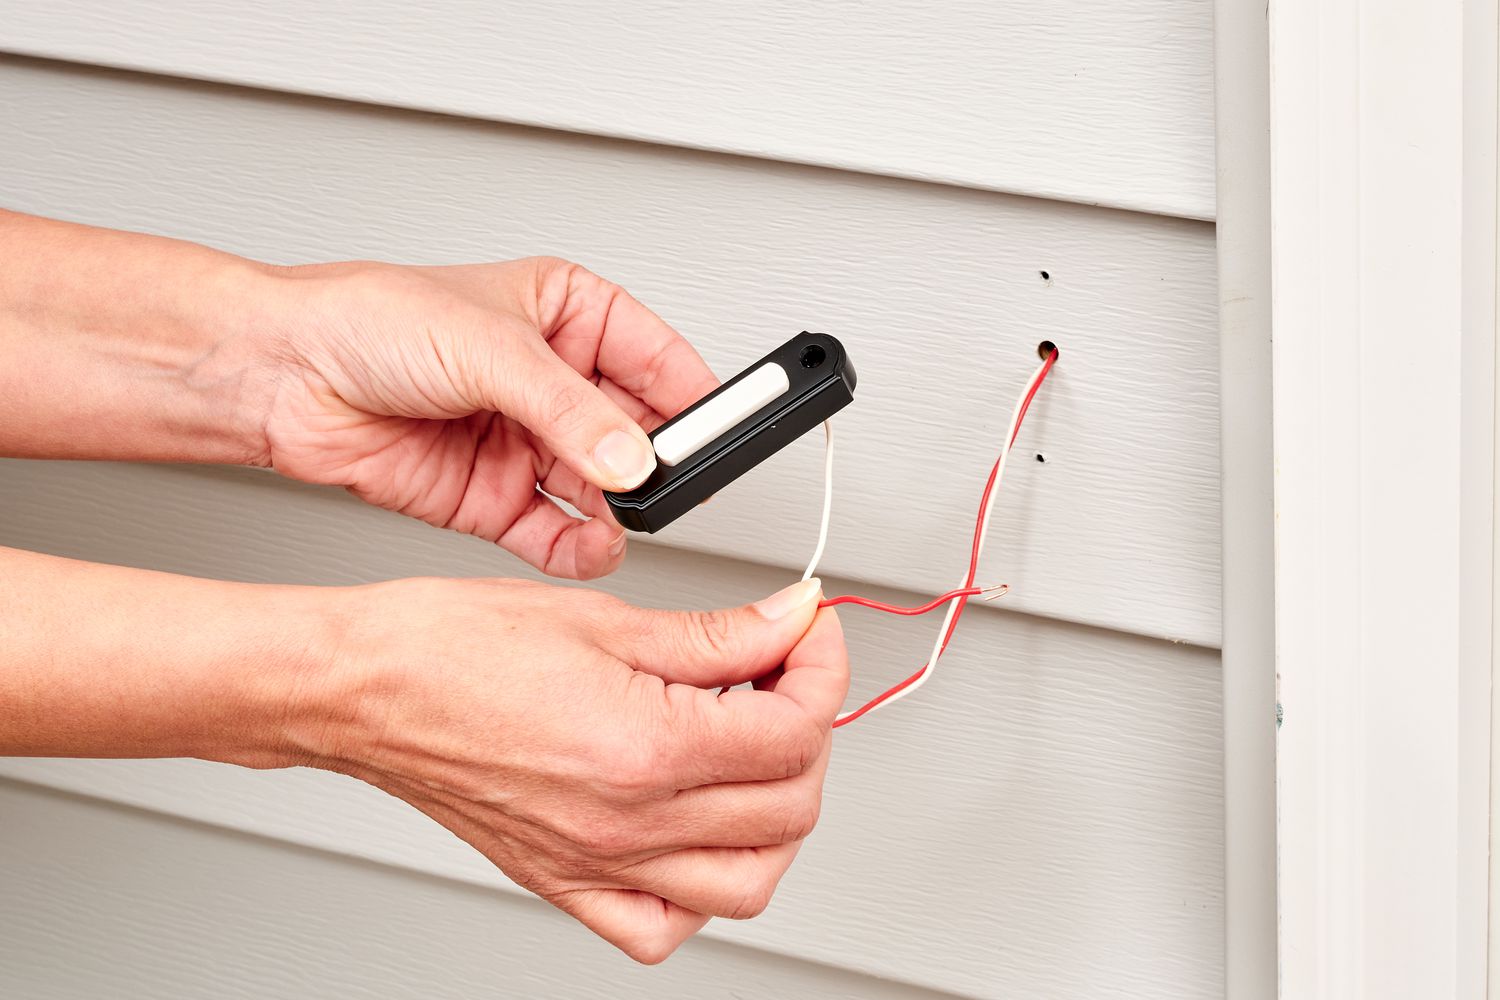
Now that you’ve turned off the power to your existing doorbell, it’s time to remove it from the mounting location. Follow these steps:
- First, take a close look at your existing doorbell. You’ll notice mounting screws that secure it to the wall or door frame.
- Using a screwdriver or a drill with a screwdriver bit, carefully remove the mounting screws. Set them aside in a safe place, as you’ll need them later.
- Gently pull the doorbell away from the wall or door frame, taking care not to strain or damage the wires behind it.
- If there is a cover or housing for the doorbell, remove it as well.
With the existing doorbell removed, you’ll now have access to the doorbell wires and the space where you’ll be installing the Nest Doorbell Wired.
It’s important to inspect the wires at this stage. Look for any signs of damage or wear. If the wires are in poor condition, it’s advisable to replace them or seek professional assistance.
With the existing doorbell removed and the wires ready, we can move on to step 4: installing the doorbell mount.
Step 4: Install the doorbell mount
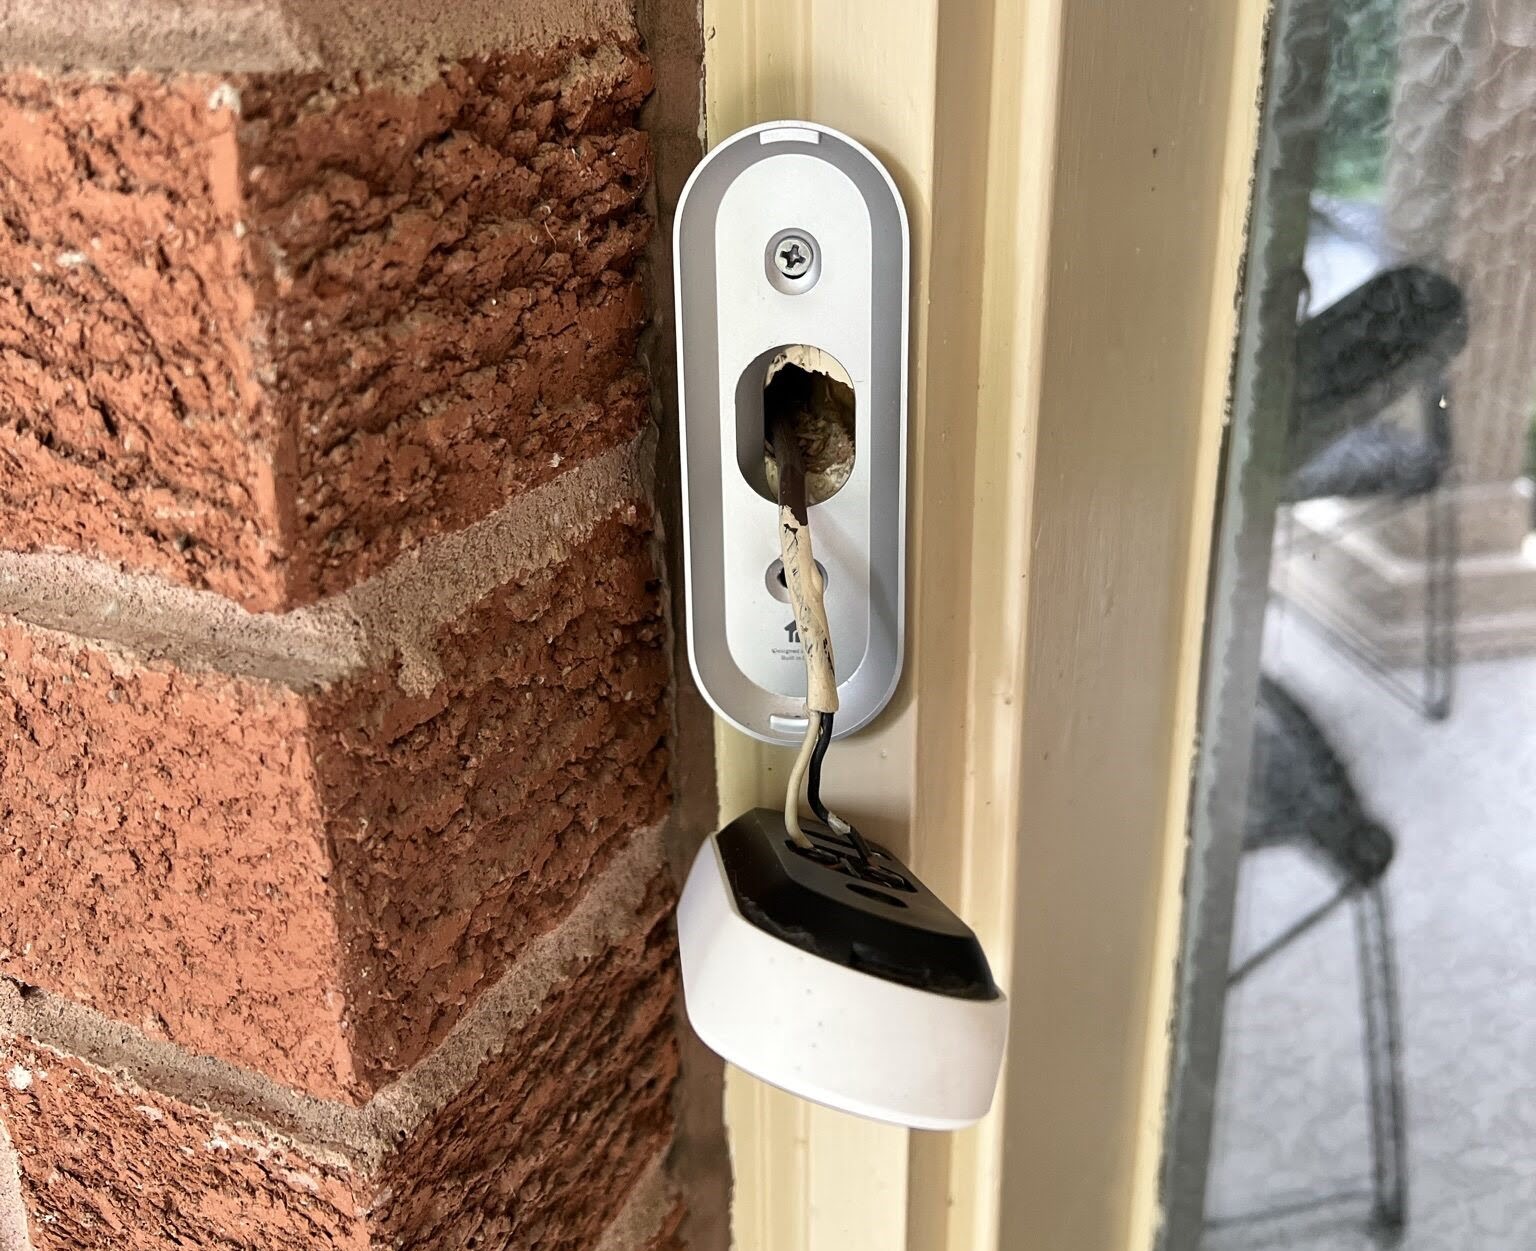
Now that you’ve removed the existing doorbell, it’s time to install the doorbell mount for the Nest Doorbell Wired. The mount serves as the base for the doorbell. Follow these steps to install it:
- Take the doorbell mount and align it with the holes or marks left by the previous doorbell’s mounting screws.
- Using the mounting screws that were removed earlier, secure the doorbell mount to the wall or door frame. Make sure it is level and firmly attached.
- Double-check that the mount is securely in place and able to support the weight of the Nest Doorbell Wired.
It’s important to ensure that the doorbell mount is positioned correctly and securely installed. A properly installed mount will provide a stable foundation for your Nest Doorbell Wired.
With the doorbell mount securely installed, we can now proceed to step 5: connecting the wires to the doorbell mount.
Before installing the Nest Doorbell Wired, ensure that your existing doorbell wiring is compatible with the device. Check the voltage and transformer compatibility to avoid any issues during installation.
Read more: How To Reboot Nest Doorbell
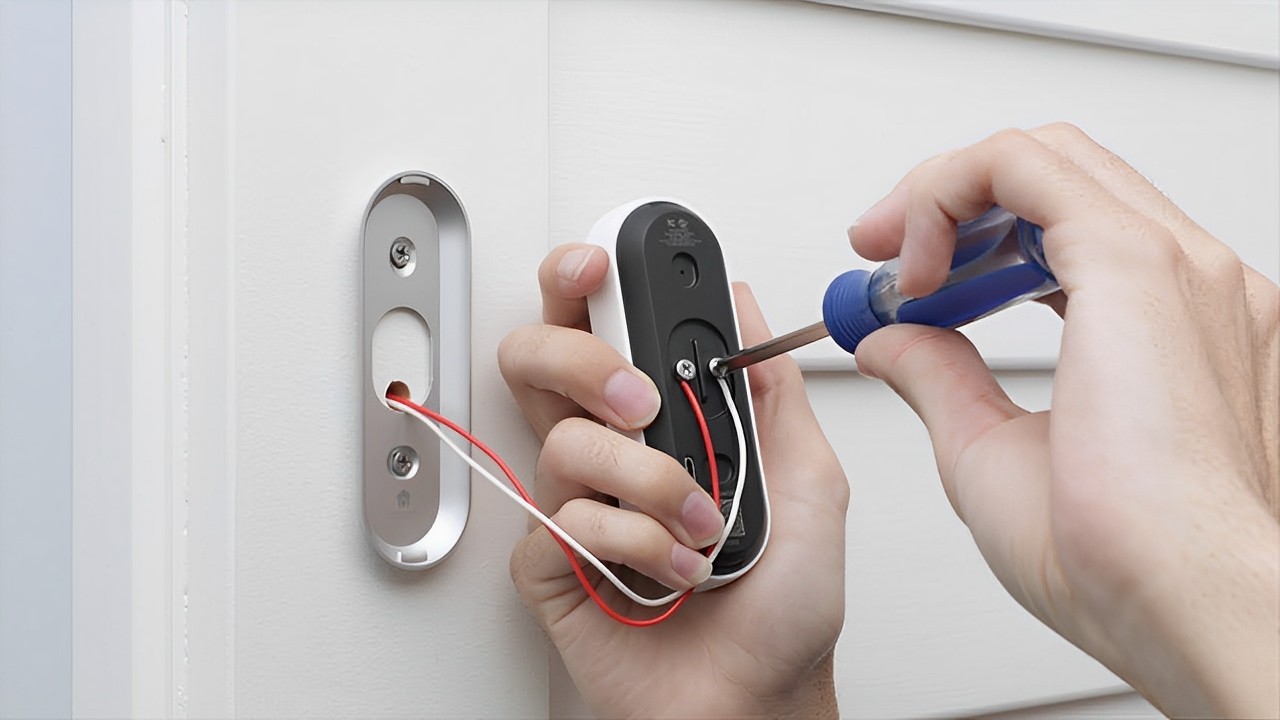
Step 5: Connect the wires to the doorbell mount
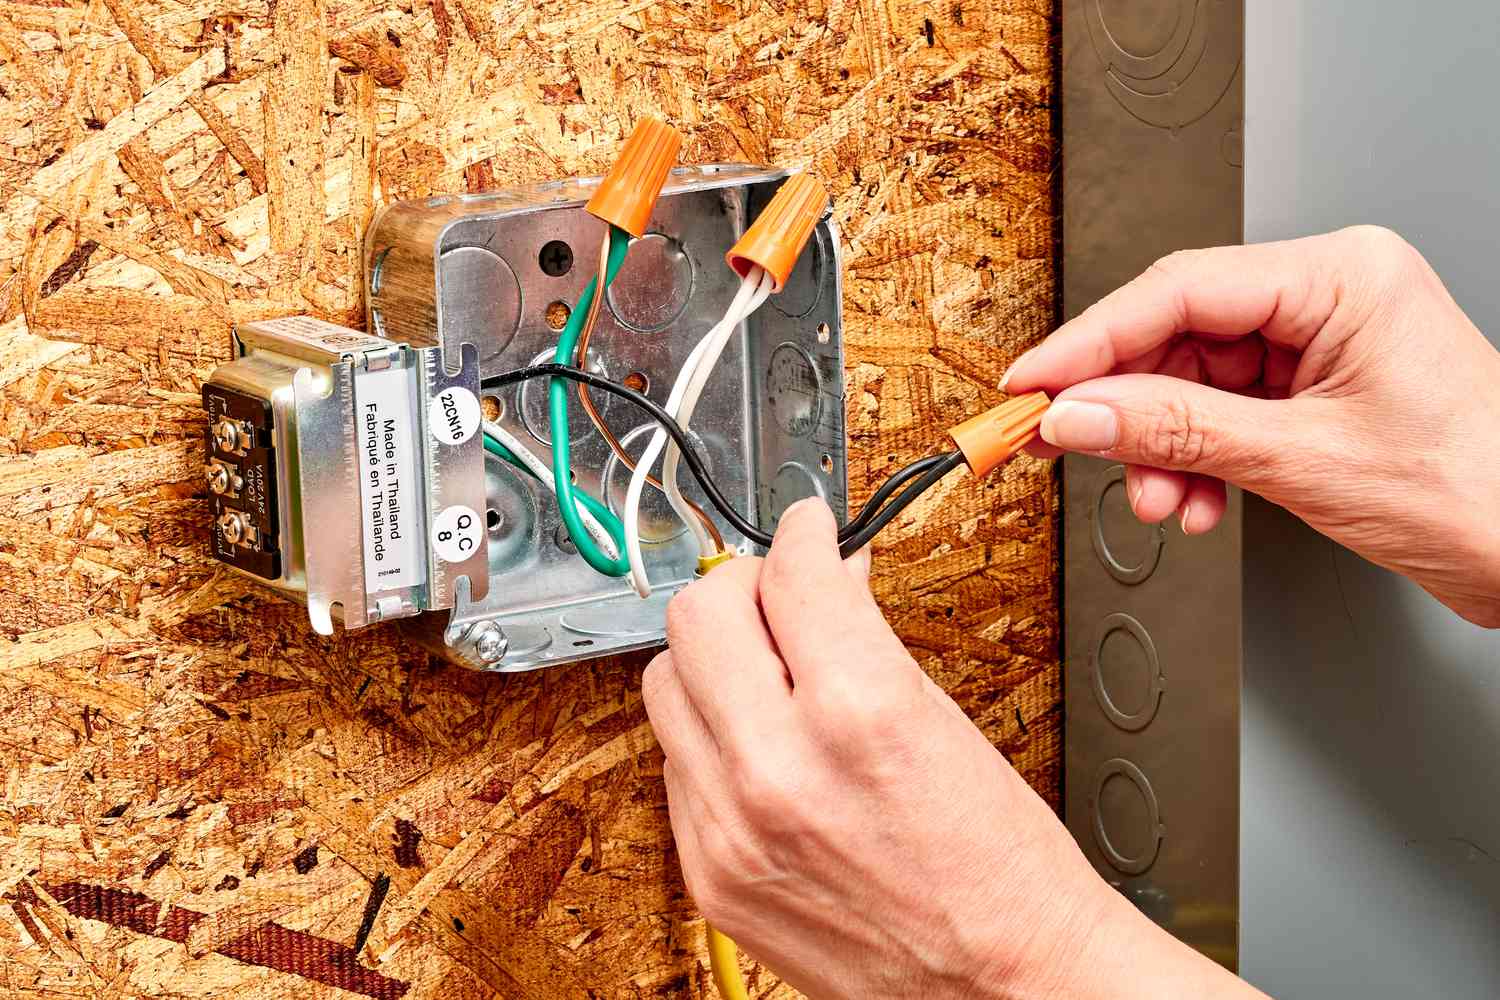
With the doorbell mount securely in place, it’s time to connect the wires to the mount. The Nest Doorbell Wired uses existing doorbell wiring for power and connectivity. Follow these steps to connect the wires:
- Locate the two wires coming out of the wall or door frame. These are typically color-coded, with one wire being red or marked “R” for the transformer wire, and the other wire being white or marked “C” for the common wire.
- Using wire strippers, strip a small section of insulation from the end of each wire, exposing the copper conductors.
- Insert the exposed copper ends of the wires into the corresponding terminals on the doorbell mount. The red wire should be connected to the “R” or transformer terminal, and the white wire should be connected to the “C” or common terminal.
- Tighten the terminals to secure the wires in place. Make sure the connections are tight and free from any loose strands.
- If your existing doorbell system includes a chime, you may need to install a chime connector between the doorbell wires and the doorbell mount. Consult the Nest Doorbell Wired’s user manual for specific instructions on connecting the chime connector, if required.
Once you’ve connected the wires to the doorbell mount, it’s important to double-check the connections to ensure they are secure and properly seated in the terminals. Pull gently on the wires to verify that they are firmly connected.
With the wires securely connected, we can proceed to step 6: attaching the doorbell to the mount.
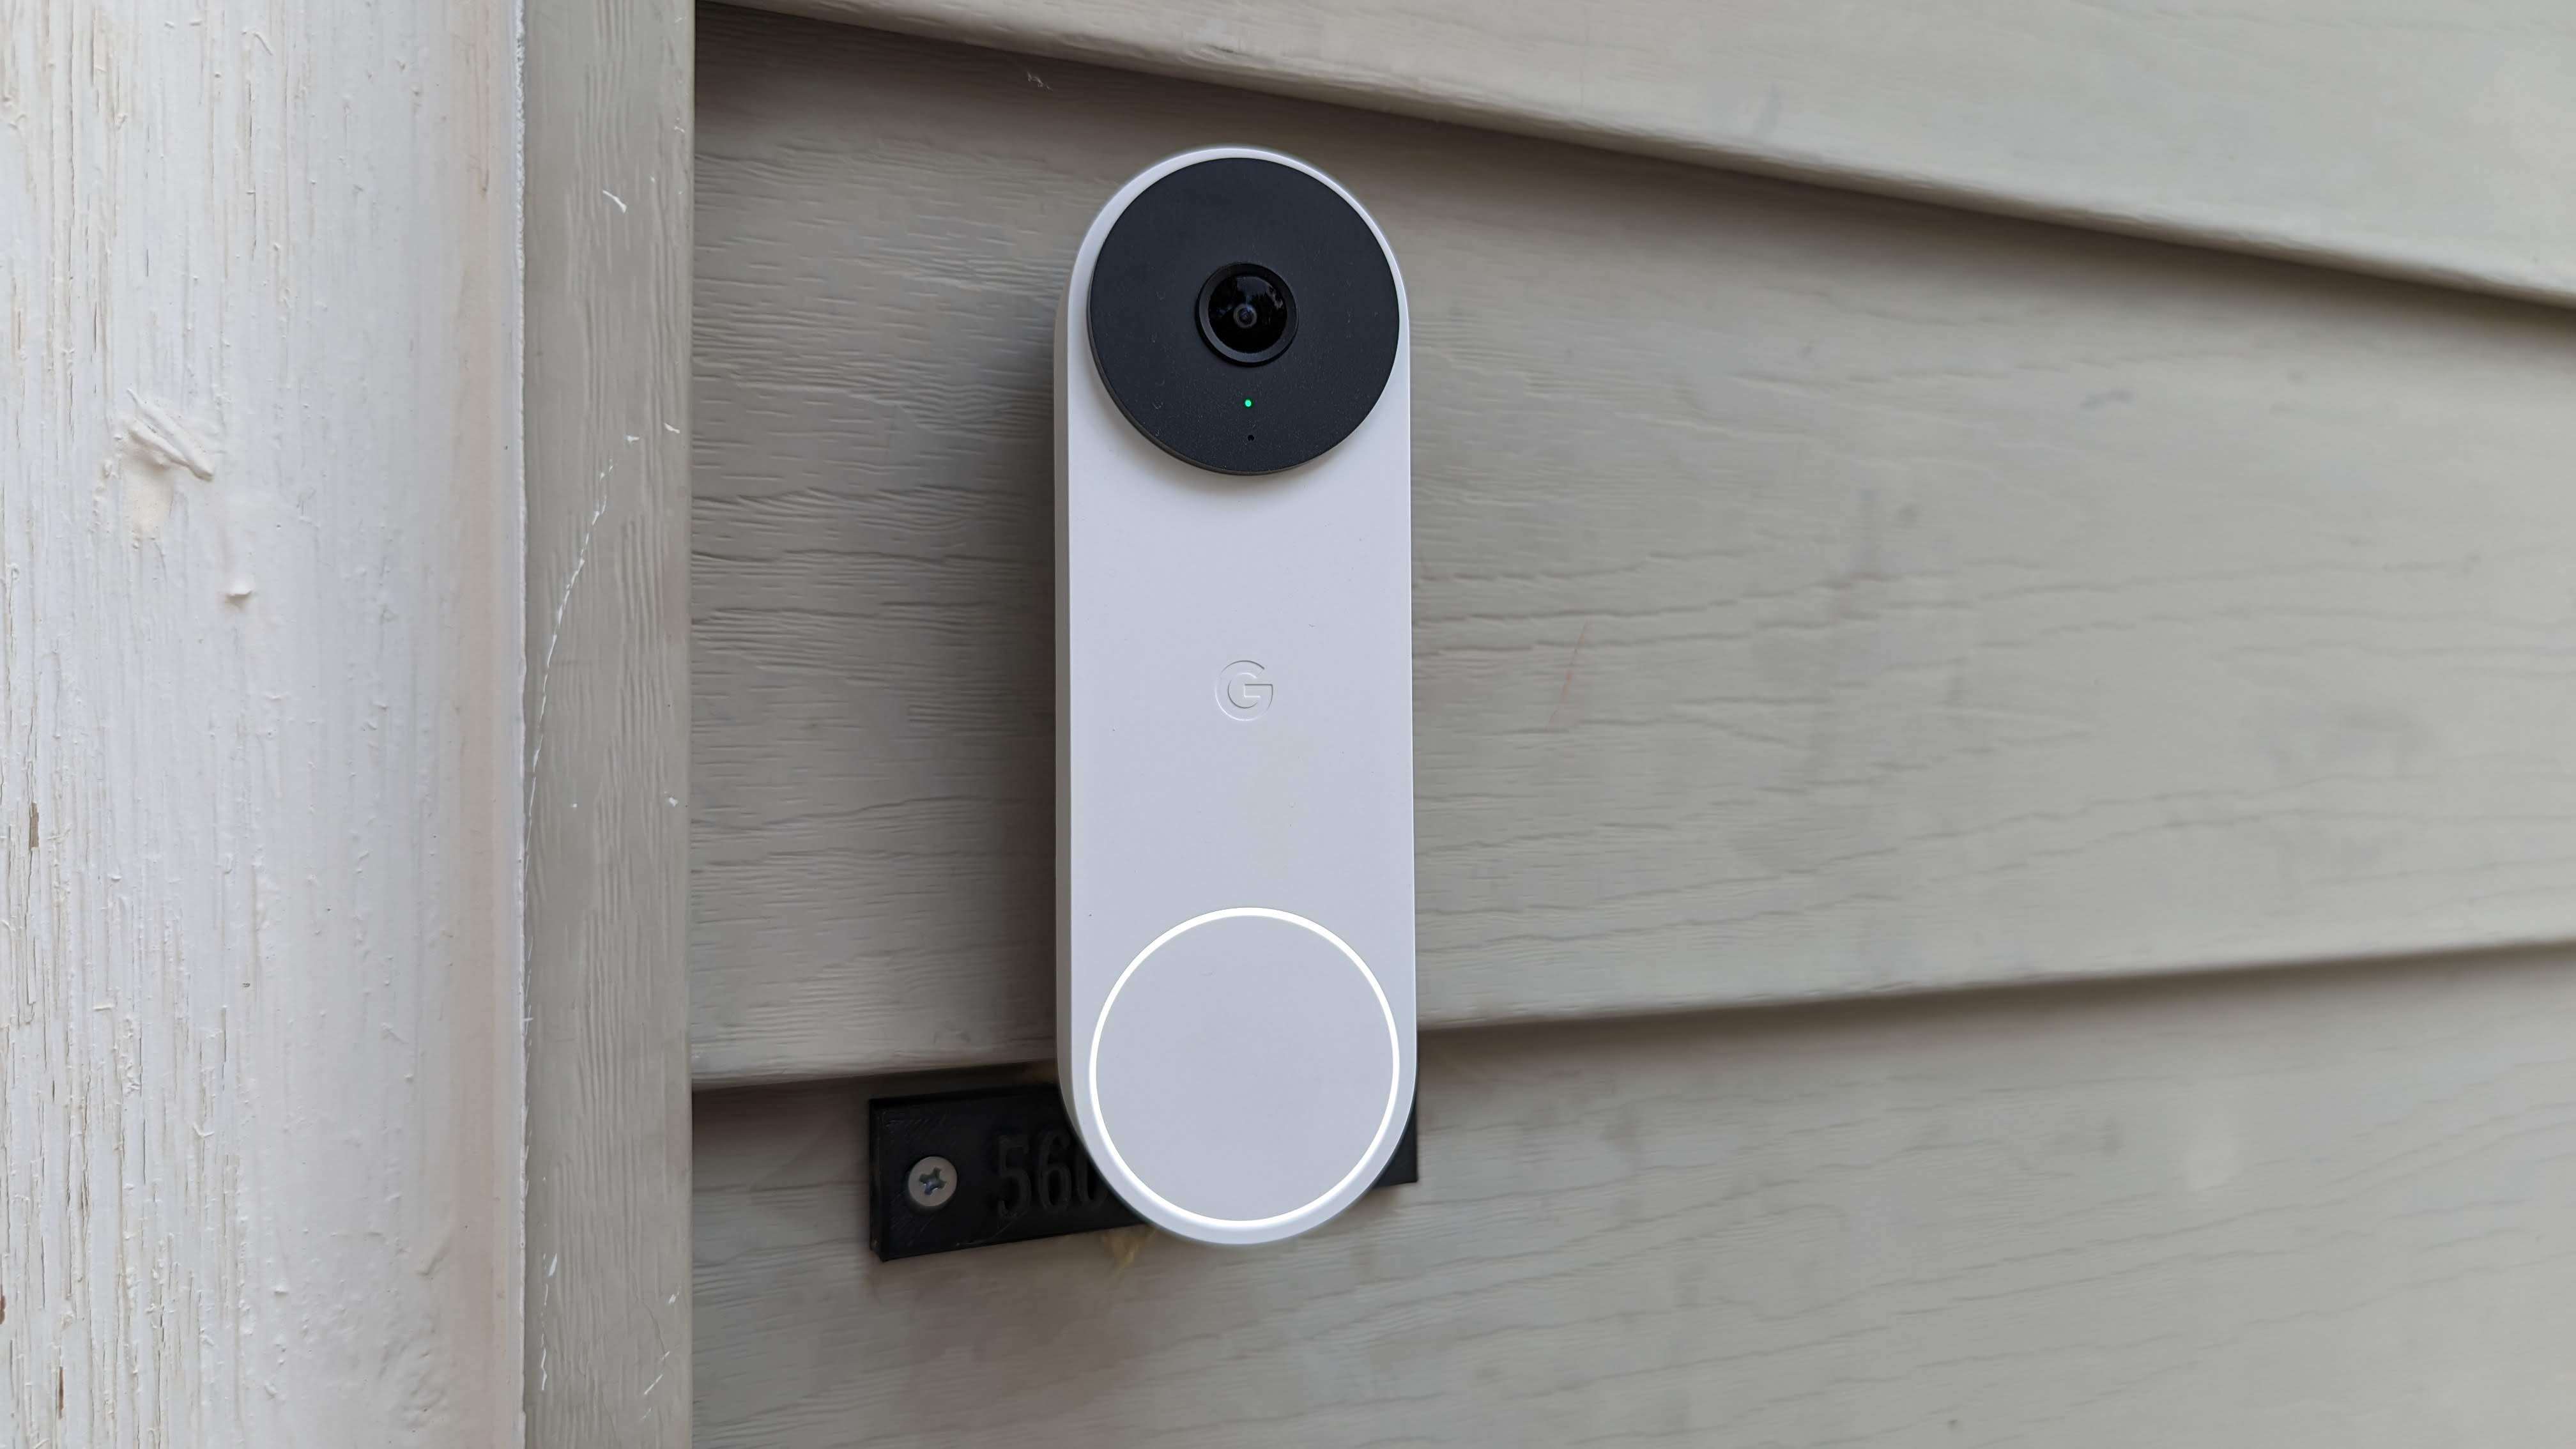
Step 6: Attach the doorbell to the mount
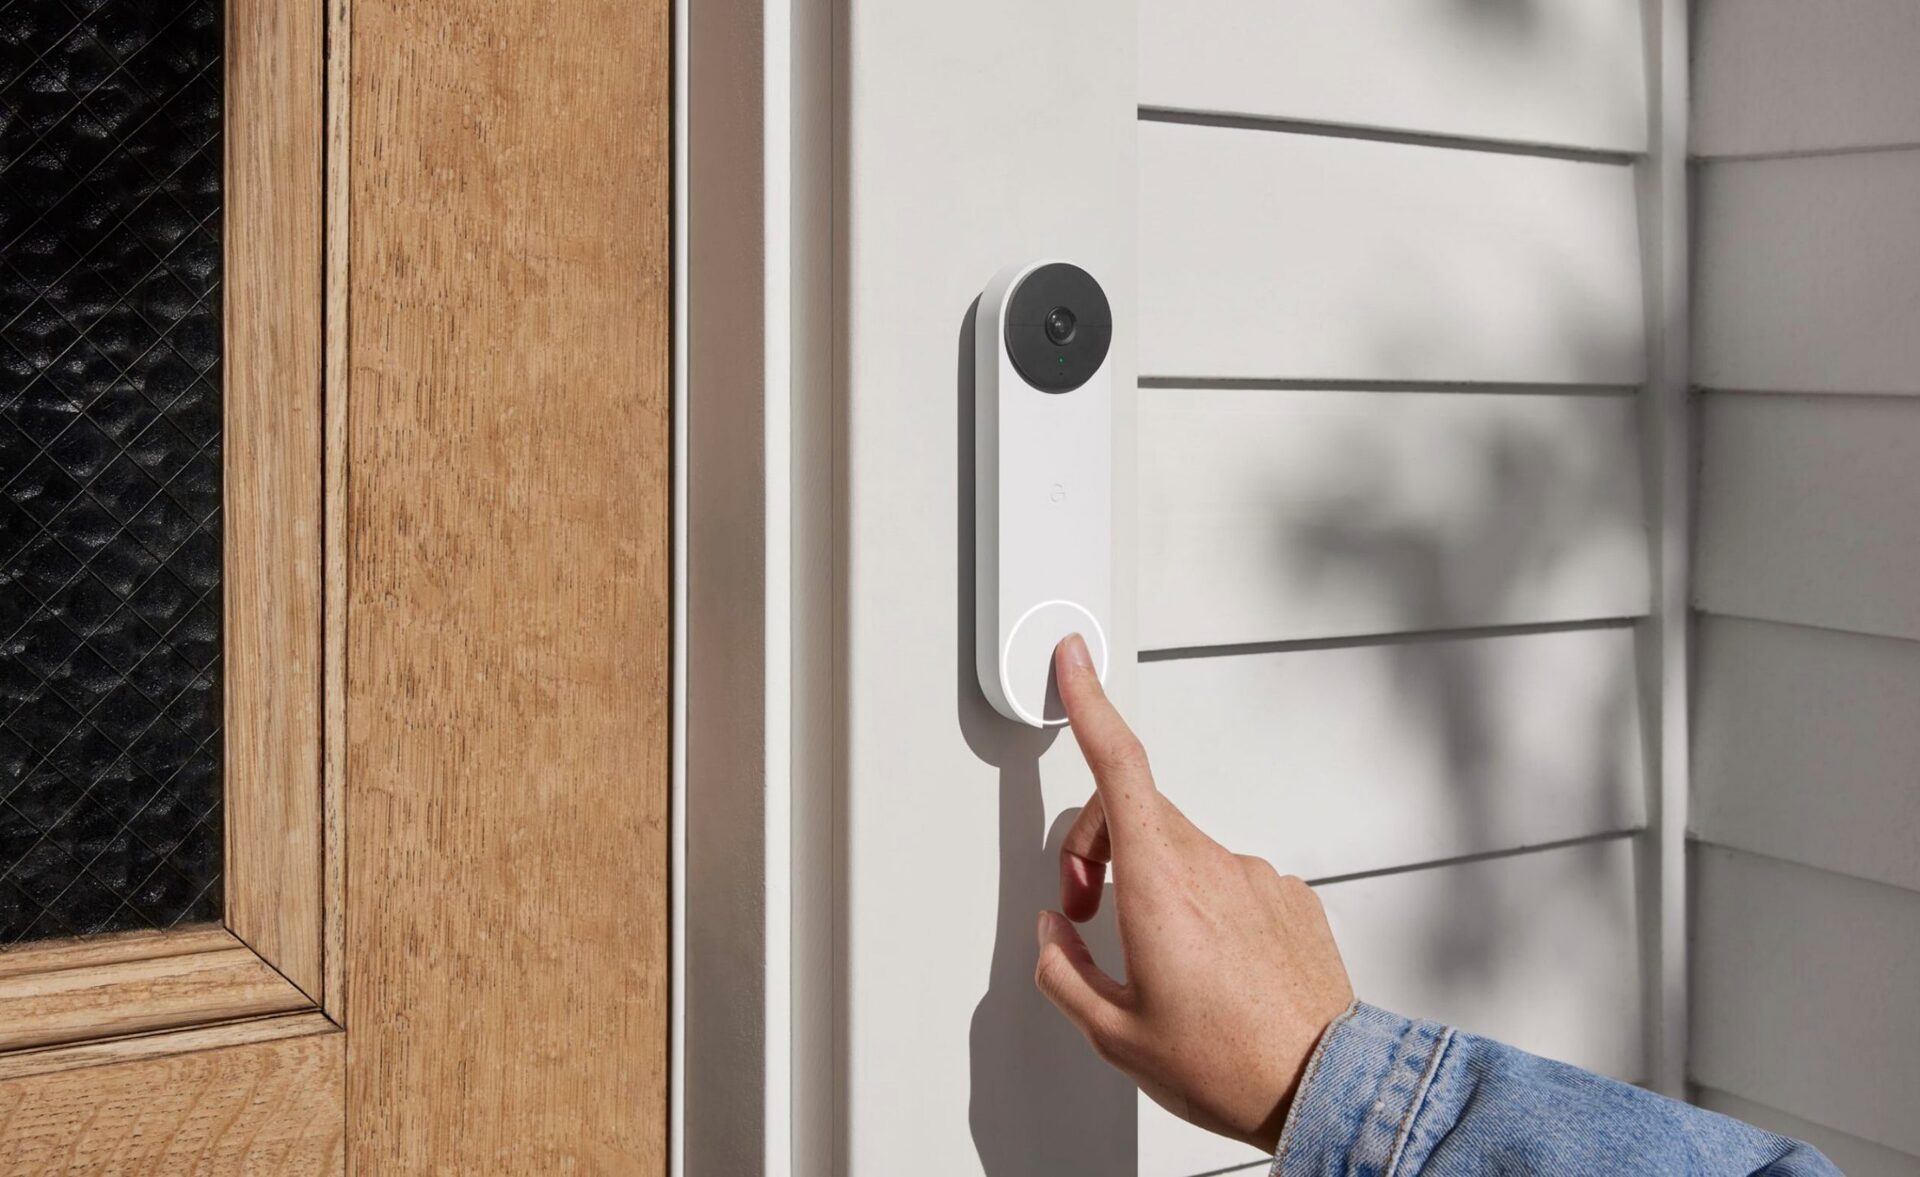
Now that the doorbell wires are securely connected to the mount, it’s time to attach the Nest Doorbell Wired. Follow these steps to complete the installation:
- Take the Nest Doorbell Wired and align it with the mount.
- Gently push the doorbell onto the mount, ensuring that it fits snugly and securely.
- Give the doorbell a gentle tug to ensure it is firmly attached to the mount.
Once the doorbell is attached, take a step back and visually inspect the installation. Make sure the doorbell is level and properly aligned with your doorframe or wall.
It’s important to note that the Nest Doorbell Wired requires a power source to function. If the power to your doorbell system is off, you’ll need to restore it before moving on to the next step.
With the Nest Doorbell Wired securely in place, it’s time to restore power and test the doorbell functionality. This will be covered in step 7.
Step 7: Restore power and test the doorbell
Now that the Nest Doorbell Wired is securely installed, it’s time to restore power and test its functionality. Follow these steps:
- Return to your circuit breaker panel and locate the circuit breaker that powers your doorbell.
- Switch the corresponding circuit breaker back to the “on” position to restore power to the doorbell.
- Wait for a few moments to allow the Nest Doorbell Wired to power up.
- Now, it’s time to test the doorbell. With power restored, press the doorbell button to check if the doorbell chimes or generates a notification on your smartphone or tablet.
If your doorbell does not activate or if you encounter any issues during testing, double-check the wiring connections to ensure they are secure. Review the Nest Doorbell Wired’s user manual for troubleshooting tips and guidance.
During the testing phase, take a moment to assess the audio and video quality of the Nest Doorbell Wired. Ensure that you have a clear view of the camera feed and that the audio is clear and audible.
If everything is working properly, congratulations! You have successfully restored power to your doorbell and tested its functionality. Now, in the final step, we’ll guide you on how to configure and set up your Nest Doorbell Wired using the Nest app.
Step 8: Configure and set up the Nest Doorbell Wired
After successfully testing the Nest Doorbell Wired, it’s time to configure and set it up using the Nest app. Follow these steps to complete the process:
- Download and install the Nest app on your smartphone or tablet. The app is available for both iOS and Android devices.
- Open the Nest app and create an account if you don’t have one already. If you already have a Nest account, log in using your credentials.
- In the app, tap on the “Add” or “+” symbol to add a new device.
- Follow the on-screen instructions to set up the Nest Doorbell Wired. This typically involves scanning a QR code on the device or entering a unique setup code.
- During the setup process, you’ll have the option to customize various settings, such as adjusting motion detection sensitivity, setting up alerts, and configuring other advanced features offered by the Nest Doorbell Wired.
- Once the setup is complete, the Nest Doorbell Wired will be connected to your Wi-Fi network and accessible through the Nest app.
- Make sure to test the functionality of the Nest Doorbell Wired through the app. Check if you receive motion alerts, live video feed, and two-way audio.
By configuring and setting up the Nest Doorbell Wired using the Nest app, you’ll have full control over its features and settings. You’ll be able to monitor your front door remotely, receive alerts, and interact with visitors even when you’re not at home.
Congratulations! You’ve successfully completed the installation and setup process for the Nest Doorbell Wired. Enjoy the enhanced security and convenience it brings to your home.
Remember to refer to the Nest Doorbell Wired’s user manual or visit the Nest support website for any additional information or troubleshooting tips.
That concludes our comprehensive guide on how to install the Nest Doorbell Wired. Thank you for following along, and we hope you found this guide helpful!
Read more: How To Wire A Doorbell
Conclusion
Installing the Nest Doorbell Wired is a great way to enhance the security and convenience of your home. By following the step-by-step guide outlined in this article, you’ve learned how to install the doorbell mount, connect the wires, and attach the doorbell securely. Additionally, you’ve successfully restored power, tested the functionality, and configured the Nest Doorbell Wired using the Nest app.
Throughout the installation process, it’s important to prioritize safety. If you’re not comfortable working with electrical systems, it’s best to hire a professional electrician for assistance. They will ensure that the installation is done correctly and safely.
Once installed, the Nest Doorbell Wired provides you with real-time video streaming, motion detection, and the ability to communicate with visitors from anywhere through your smartphone or tablet. It adds an extra layer of security to your home and allows you to have peace of mind, even when you’re away.
Remember to refer to the Nest Doorbell Wired’s user manual or visit the Nest support website if you have any specific questions or encounter any issues during the installation or setup process.
We hope you found this guide comprehensive and informative. Enjoy the benefits of your newly installed Nest Doorbell Wired, and may it bring you increased security and convenience for years to come.
Frequently Asked Questions about How To Install Wired Nest Doorbell
Was this page helpful?
At Storables.com, we guarantee accurate and reliable information. Our content, validated by Expert Board Contributors, is crafted following stringent Editorial Policies. We're committed to providing you with well-researched, expert-backed insights for all your informational needs.


0 thoughts on “How To Install Wired Nest Doorbell”