Articles
Ice Maker Says Full When Empty
Modified: August 19, 2024
Get informative articles on troubleshooting your ice maker when it says "full" even when it's empty. Find tips and solutions to fix the issue and get your ice maker working again.
(Many of the links in this article redirect to a specific reviewed product. Your purchase of these products through affiliate links helps to generate commission for Storables.com, at no extra cost. Learn more)
Introduction
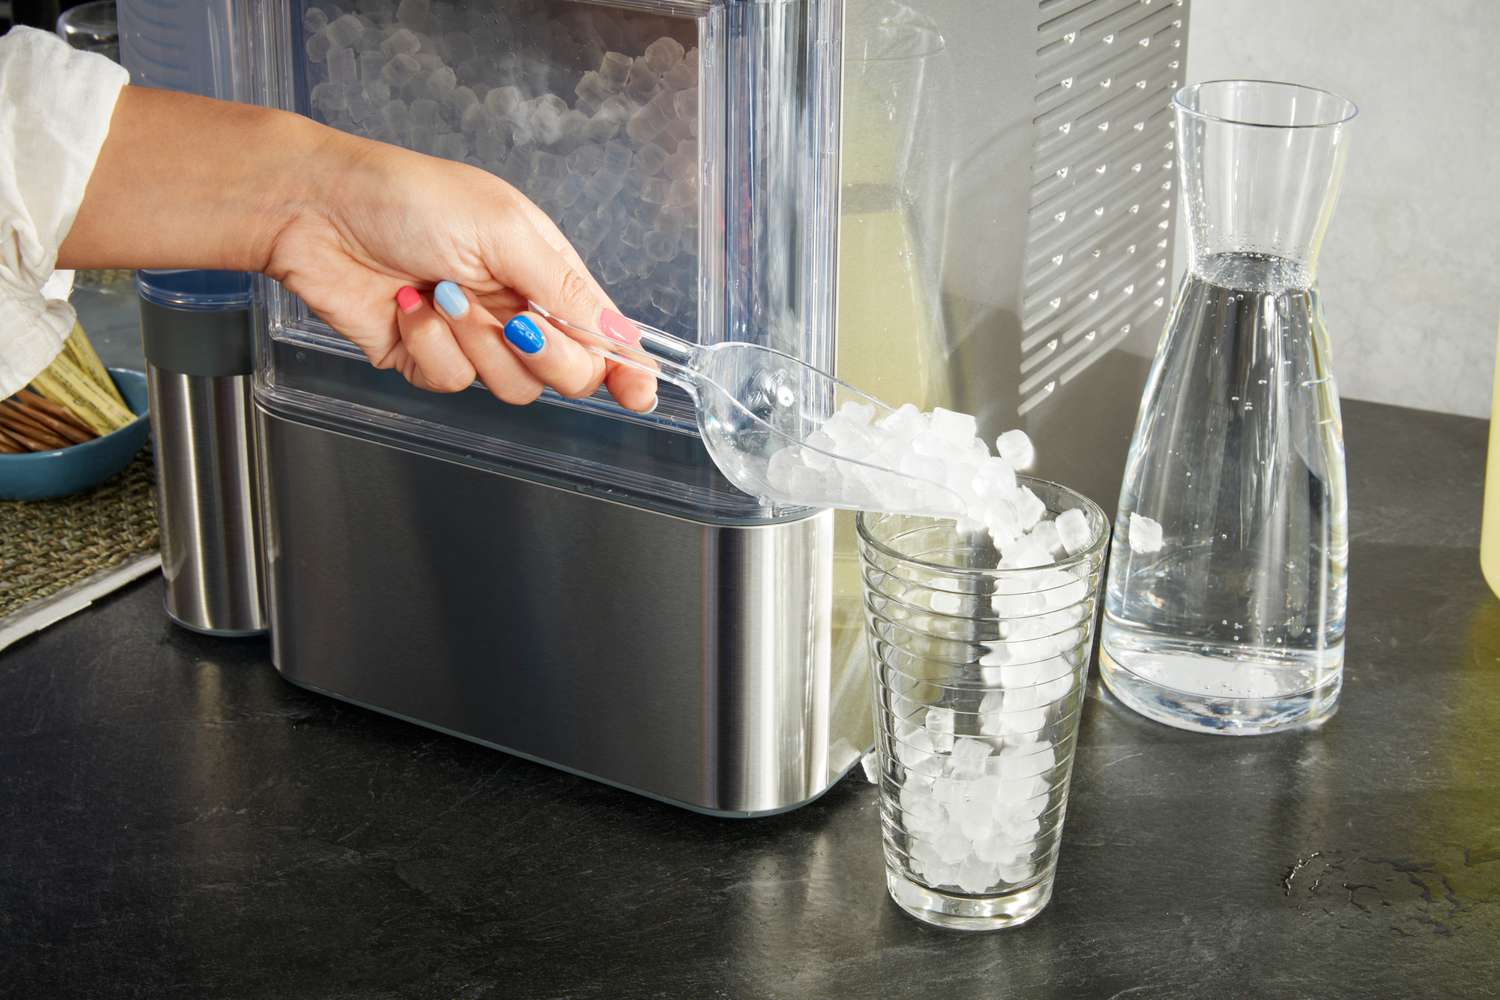
An ice maker is a convenient appliance found in many households and commercial establishments. It provides a continuous supply of ice cubes, allowing you to enjoy cold beverages or keep perishable items fresh. However, there may come a time when your ice maker starts behaving oddly, such as indicating it is full when, in fact, it is empty.
This issue can be frustrating and confusing, but fear not! In this article, we will explore the common causes behind an ice maker saying it’s full when it’s actually empty. We will also provide troubleshooting tips on how to fix this problem and restore your ice maker to its proper functionality.
Now, let’s delve into the possible reasons for this perplexing situation and learn how to resolve it.
Key Takeaways:
- Troubleshoot and fix your ice maker by inspecting the sensor, checking the water valve, clearing clogs, examining the control board, and testing the motor to resolve the “full when empty” issue.
- Regular maintenance and care for your ice maker can prevent issues, ensuring optimal performance and a continuous supply of ice for your needs.
Read more: When Was The Ice Maker Invented
Common Causes of Ice Maker Saying Full When Empty
When your ice maker consistently tells you it’s full, even when there’s no ice in the bin, it can be attributed to a few common causes. Understanding these causes can help you pinpoint the issue and take appropriate steps to fix it.
- Defective Ice Level Sensor: The ice level sensor is responsible for detecting the level of ice in the bin. If it becomes faulty or malfunctions, it may inaccurately indicate that the bin is full, even when it’s empty.
- Faulty Water Inlet Valve: The water inlet valve controls the flow of water into the ice maker. If it gets stuck in the open position or fails to close properly, it can cause water to continuously fill the ice maker, triggering the “full” signal.
- Clogged Drainage System: A clogged drainage system can lead to water accumulation in the ice maker, making it seem like the bin is full when it’s actually not. This can happen due to mineral deposits or debris obstructing the drainage tubes.
- Faulty Control Board: The control board is the brain of the ice maker, regulating its various functions. If the control board malfunctions, it might send incorrect signals to the ice level sensor, causing it to indicate the bin is full.
- Malfunctioning Ice Maker Motor: The ice maker motor is responsible for rotating the ice ejector arm, allowing the ice cubes to be released into the bin. If the motor becomes faulty or stops working altogether, it can result in the ice maker always thinking it’s full.
These are just a few of the potential causes behind an ice maker incorrectly stating that it’s full when it’s actually empty. By identifying the root cause, you can take the necessary steps to fix the problem and enjoy a fully functional ice maker once again.
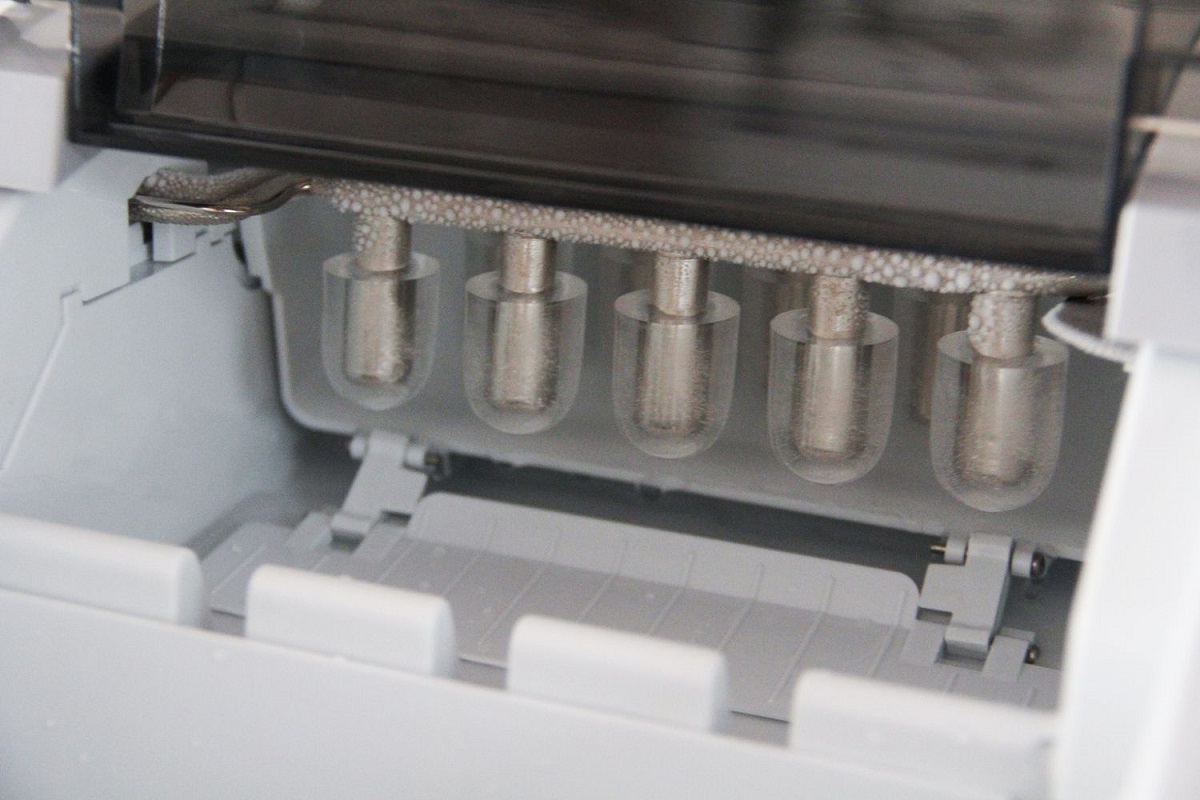
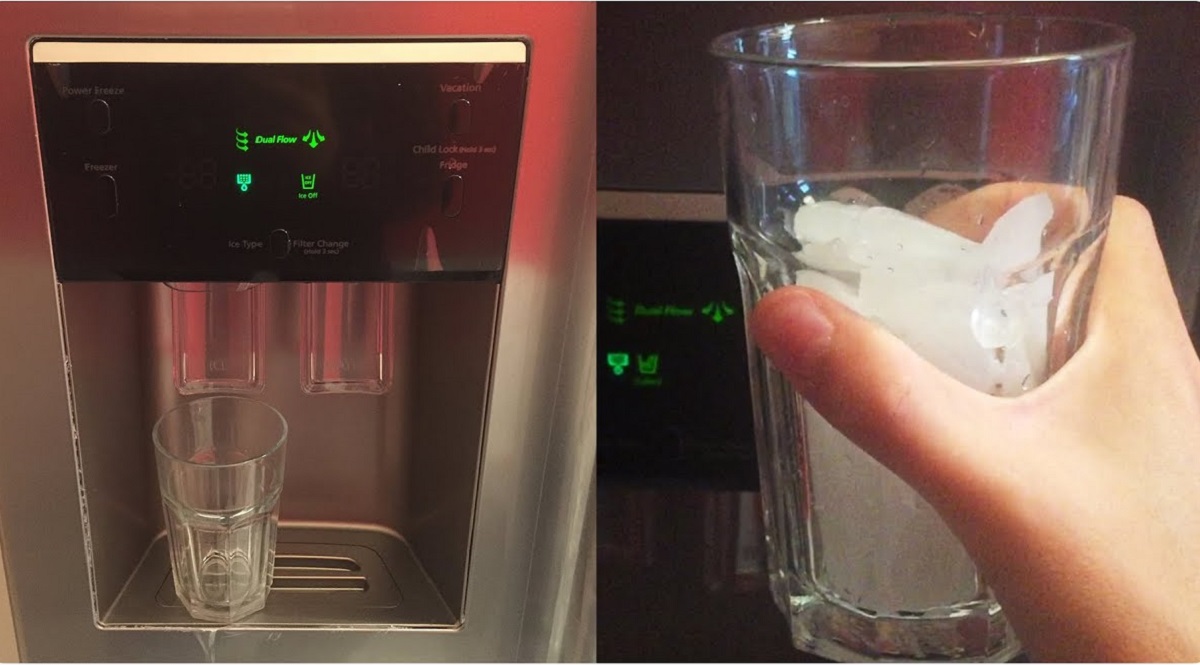
Defective Ice Level Sensor
The ice level sensor plays a crucial role in determining the amount of ice in the bin of your ice maker. When this sensor becomes defective, it can result in the ice maker displaying a “full” message even when there is no ice present.
The ice level sensor is typically located near the top of the ice maker assembly. It uses infrared technology or a mechanical arm to detect the ice level in the bin. If it malfunctions, it may not accurately gauge the ice level or may send incorrect signals to the control board.
Several factors can cause an ice level sensor to become defective. One common issue is ice buildup on the sensor itself. Over time, water droplets can freeze on the sensor, obstructing its function and leading to inaccurate readings. Another potential cause is a faulty electrical connection between the sensor and the control board.
To troubleshoot and fix a defective ice level sensor, follow these steps:
- Locate the ice level sensor on your ice maker assembly. It is typically located near the top and may resemble a small black plastic module or a thin metal arm.
- If the sensor is covered in ice or frost, use a soft cloth or warm water to gently clean it. Ensure that it is completely dry before reattaching it.
- If cleaning the sensor doesn’t resolve the issue, you may need to test it for continuity using a multimeter. Consult your ice maker’s manual or manufacturer’s instructions for guidance on how to perform this test.
- If the sensor fails the continuity test or shows other signs of damage, it may need to be replaced. Contact the manufacturer or a professional technician to obtain a replacement sensor and follow the instructions provided to install it correctly.
- After replacing the sensor, monitor the ice maker to ensure it now accurately detects the ice level in the bin.
Fixing a defective ice level sensor often resolves the issue of the ice maker indicating it’s full when it’s actually empty. However, if the problem persists, further troubleshooting and repairs may be necessary.
Faulty Water Inlet Valve
The water inlet valve is a critical component of your ice maker, controlling the flow of water into the ice-making system. When this valve becomes faulty, it can lead to the ice maker constantly indicating that it’s full when there is no ice present.
The water inlet valve has two main solenoid valves—one for the ice maker and another for the water dispenser. If the valve gets stuck in the open position or fails to close properly, water will continuously fill the ice mold, triggering the “full” signal even when it’s empty.
To troubleshoot and fix a faulty water inlet valve, follow these steps:
- Locate the water inlet valve, typically found at the back of the ice maker or behind the refrigerator.
- Ensure the ice maker is disconnected from the power source before proceeding.
- Inspect the water inlet valve for any signs of physical damage or debris clogging the valve. Clean the valve using a soft brush or cloth to remove any obstructions that may be affecting its functionality.
- If cleaning the valve doesn’t resolve the issue, you may need to test it for continuity using a multimeter. Refer to the ice maker’s manual or manufacturer’s instructions for guidance on performing this test.
- If the water inlet valve fails the continuity test or shows other signs of malfunction, it will likely need to be replaced. Contact the manufacturer or a professional technician to obtain a replacement valve and follow the provided instructions for installation.
- Once the new water inlet valve is installed, reconnect the power to the ice maker and monitor its operation to ensure it no longer indicates it’s full when it’s empty.
Fixing a faulty water inlet valve can often resolve the issue of the ice maker constantly saying it’s full. However, if the problem persists, further troubleshooting or professional assistance may be required.
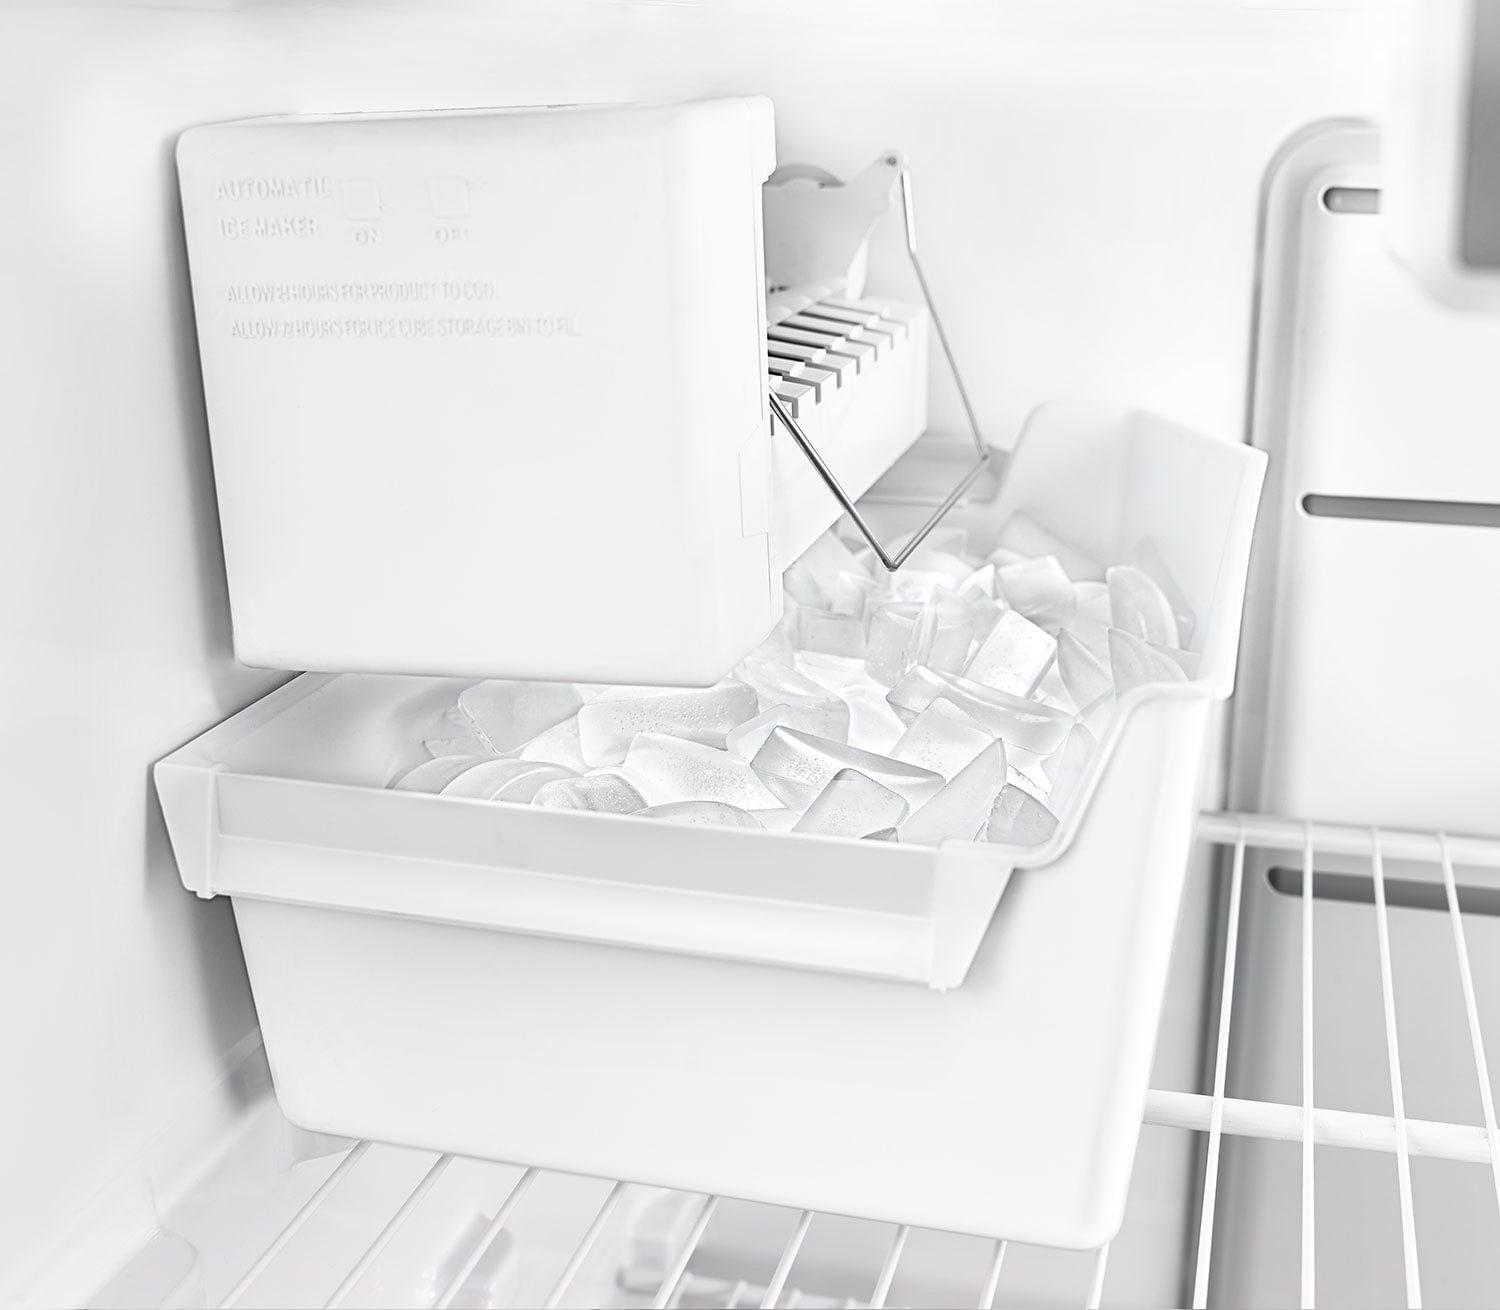
Clogged Drainage System
A clogged drainage system can be another common cause of an ice maker indicating it’s full when it’s actually empty. When the drainage system becomes obstructed, water can accumulate in the ice maker, leading to the false “full” message.
The drainage system in an ice maker consists of drainage tubes and a drain pump or gravity drain. Over time, mineral deposits, debris, or ice buildup can obstruct the drainage path, preventing water from properly flowing out of the ice maker.
To troubleshoot and fix a clogged drainage system, follow these steps:
- Locate the drainage system components, including the drainage tubes and drain pump (if applicable). They are typically located at the back or bottom of the ice maker.
- Disconnect the ice maker from the power source before attempting any repairs.
- Inspect the drainage tubes for any clogs or obstructions. Use a pipe cleaner, a small brush, or a gentle stream of warm water to clear away any debris or ice buildup that may be blocking the tubes.
- If your ice maker has a drain pump, make sure it is functioning correctly. Check for any signs of damage or obstruction and clean the pump if necessary.
- If the drainage system utilizes a gravity drain, ensure that the drain hose is properly positioned and free from kinks or blockages.
- Once you have cleared any clogs and ensured the drainage system is free from obstructions, reconnect the power to the ice maker and observe its operation. The false “full” message should no longer appear if the drainage system was the cause.
Regular maintenance, such as cleaning the drainage system and removing any debris, can help prevent future clogs and ensure the smooth operation of your ice maker.
If clearing the drainage system doesn’t resolve the issue, it’s advisable to consult the ice maker’s manual or seek professional assistance to further diagnose and fix the problem.
Read more: Ice Maker is Loud When Filling With Water
Faulty Control Board
The control board, also known as the main control or PCB (Printed Circuit Board), is the central component that controls the various functions of your ice maker. If the control board becomes faulty, it can send incorrect signals to the ice level sensor, resulting in the ice maker consistently indicating it’s full when it’s actually empty.
There are several reasons why a control board may malfunction. It could be due to electrical surges, water damage, or general wear and tear over time. When the control board fails, it can disrupt the communication between different components of the ice maker, leading to inaccurate readings and operation.
To troubleshoot and address a faulty control board, follow these steps:
- Disconnect the ice maker from the power source before working on the control board to ensure your safety.
- Locate the control board, which is usually located behind the front panel or access panel of the ice maker.
- Inspect the control board for any visible signs of damage, such as burnt marks, corrosion, or loose connections. If you notice any physical damage, the control board is likely the culprit and may need to be replaced.
- If there are no visible signs of damage, try resetting the control board by disconnecting the power supply for a few minutes and then reconnecting it. This can sometimes clear any temporary glitches or errors in the system.
- If the issue persists, it’s recommended to consult the ice maker’s manual or contact the manufacturer for further guidance. They may provide specific troubleshooting steps or recommend professional assistance to diagnose and repair the control board.
- If replacing the control board is necessary, carefully follow the manufacturer’s instructions and ensure that you install a compatible replacement. Improper installation can lead to further issues or damage to the ice maker.
Fixing a faulty control board may resolve the incorrect “full” indication on your ice maker. However, if the problem persists after attempting these troubleshooting steps, it is advisable to seek professional help to accurately diagnose and address the issue.
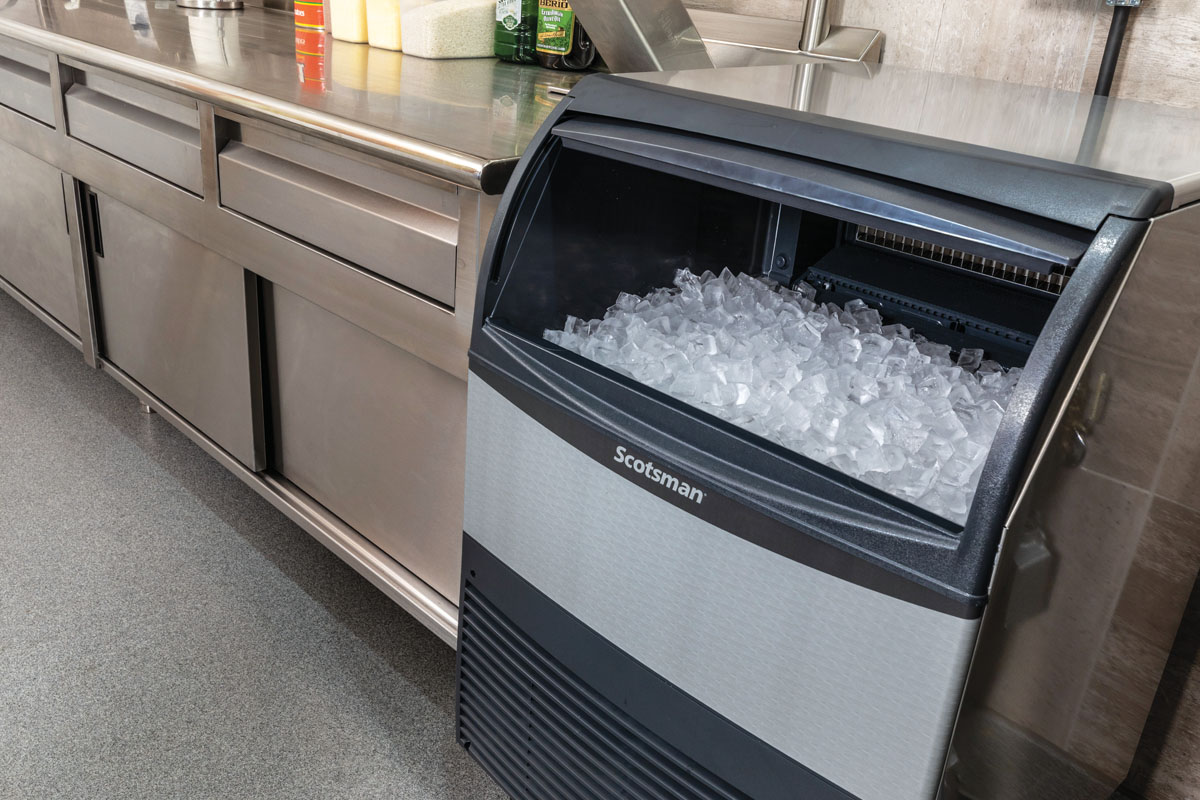
Malfunctioning Ice Maker Motor
The ice maker motor is responsible for powering the ice ejector arm, which releases the ice cubes into the storage bin. If the ice maker motor malfunctions or stops working, it can result in the ice maker consistently indicating that it’s full, even when it’s empty.
The ice maker motor can experience various issues that may lead to its malfunction. These can include mechanical failures, electrical problems, or simply wear and tear over time. When the motor fails to function correctly, the ice ejector arm may not move, preventing the ice cubes from being dispensed into the bin.
To troubleshoot and fix a malfunctioning ice maker motor, you can follow these steps:
- Disconnect the ice maker from the power source to ensure your safety while working on the motor.
- Locate the ice maker motor, which is typically located near the ice ejector arm.
- Inspect the motor for any visible signs of damage, such as burnt wires, loose connections, or worn-out components. If you notice any physical damage, it’s likely that the motor needs to be replaced.
- If there are no visible signs of damage, test the motor using a multimeter to check for continuity. Follow the instructions provided in the ice maker’s manual or consult the manufacturer’s guidelines to perform the test correctly.
- If the motor fails the continuity test or shows other signs of malfunction, it will need to be replaced. Contact the manufacturer or a professional technician to obtain a compatible replacement motor and follow the provided instructions for installation.
- Once the new motor is installed, reconnect the power to the ice maker and monitor its operation. The ice maker should now properly dispense ice into the bin without indicating it’s full when it’s empty.
Fixing a malfunctioning ice maker motor can resolve the issue of the ice maker consistently saying it’s full. However, if the problem persists or if you are unsure about the motor replacement process, it’s recommended to seek professional assistance to accurately diagnose and fix the issue.
Check the ice level sensor for any obstructions or damage. Clean the sensor and the area around it to ensure proper function. If the issue persists, consult the user manual for troubleshooting steps or contact the manufacturer for assistance.How to Troubleshoot and Fix Ice Maker Saying Full When Empty
Experiencing an ice maker that consistently indicates it’s full when it’s actually empty can be frustrating. However, with some troubleshooting steps, you can try to identify and fix the issue. Here’s a step-by-step guide to help you troubleshoot and resolve the problem:
Step 1: Inspect the Ice Level Sensor: Start by locating the ice level sensor, usually found near the top of the ice maker. Clean the sensor using a soft cloth to remove any ice build-up or debris that may interfere with its operation. If cleaning doesn’t work, the sensor may be defective and require replacement.
Step 2: Check the Water Inlet Valve: Inspect the water inlet valve, typically located at the back of the ice maker. Ensure it is free from any obstructions and visually check for any damage or leaks. If the valve is faulty, it may need to be replaced to resolve the issue.
Step 3: Clear any Clogs in the Drainage System: Examine the drainage tubes and clear any clogs or obstructions that may be preventing proper water flow. Use a pipe cleaner or a gentle stream of warm water to remove debris or ice buildup. Make sure the drainage system is clear for water to flow freely.
Step 4: Examine the Control Board: Inspect the control board for any visible signs of damage, such as burnt marks or loose connections. If you notice any issues, consider resetting the control board by disconnecting the power supply for a few minutes and then reconnecting it. If the problem persists, the control board may need to be replaced.
Step 5: Test the Ice Maker Motor: Locate the ice maker motor and inspect it for any damage. Test the motor for continuity using a multimeter, following the manufacturer’s instructions. If the motor fails the continuity test or shows signs of malfunction, consider replacing it as it may be the cause of the false “full” indication.
By following these troubleshooting steps, you can potentially identify and resolve the issue causing your ice maker to say it’s full when it’s empty. However, if you’re unable to determine the problem or if the issue persists after attempting these steps, it’s recommended to consult the ice maker’s manual or seek professional assistance for further diagnosis and repair.
Step 1: Inspect the Ice Level Sensor
When your ice maker says it’s full even when it’s empty, the first step in troubleshooting the issue is to inspect the ice level sensor. The ice level sensor is responsible for detecting the amount of ice in the storage bin and relaying that information to the control board.
Follow these steps to inspect the ice level sensor:
- Locate the ice level sensor in your ice maker. It is typically situated near the top of the ice maker assembly.
- Observe the sensor for any visible signs of damage or obstruction. Look for ice buildup, debris, or any other foreign objects that may be interfering with its operation.
- If the sensor appears to be covered in ice or frost, use a soft cloth or warm water to gently clean it. Be sure to dry it thoroughly before reattaching it. Ice buildup can disrupt the sensor’s functionality and lead to inaccurate readings.
- If cleaning the sensor does not resolve the issue, you may need to test its continuity using a multimeter. Refer to your ice maker’s manual or manufacturer’s instructions for the specific procedures to follow.
- If the sensor fails the continuity test or shows signs of damage, it may need to be replaced. Contact the manufacturer or a professional technician to obtain a compatible replacement sensor and carefully install it.
After inspecting the ice level sensor and taking the appropriate measures, monitor the ice maker to see if it now accurately detects the ice level in the bin.
Remember, a faulty or malfunctioning ice level sensor is a common cause of the ice maker indicating it’s full when it’s actually empty. By inspecting and addressing any issues with the sensor, you increase the chances of resolving the problem and restoring the normal functionality of your ice maker.
Step 2: Check the Water Inlet Valve
In the troubleshooting process of an ice maker indicating it’s full when it’s empty, the next step is to examine the water inlet valve. The water inlet valve controls the flow of water into the ice maker, ensuring a continuous supply for ice production.
Here’s how you can check the water inlet valve:
- Locate the water inlet valve, typically located at the back of the ice maker or behind the refrigerator where the water supply line connects.
- Inspect the valve for any visible signs of damage, such as leaks, cracks, or corrosion. Ensure that the valve is securely attached and that all connections are tight.
- If the water inlet valve appears to be in good condition, check the water supply line for any obstructions. Make sure the water flow is not restricted by kinks or clogs.
- Next, turn off the water supply to the ice maker. Disconnect the water supply line from the valve.
- Inspect the screen filter located inside the valve for any debris or sediment buildup. Clean the filter using a soft brush or toothbrush to remove any obstructions.
- Reconnect the water supply line to the valve and turn on the water supply.
- Observe the water inlet valve while the ice maker is running and check for any leaks or abnormal water flow.
If the water inlet valve is faulty or if you notice any leaks or abnormal water flow, it may need to be replaced. Contact the manufacturer or a professional technician to obtain a compatible replacement valve and follow the provided instructions for installation.
The water inlet valve plays a crucial role in delivering water to the ice maker. By checking and ensuring its proper functioning, you can prevent issues that may cause the ice maker to incorrectly indicate it’s full when it’s actually empty.
Step 3: Clear any Clogs in the Drainage System
When your ice maker continues to say it’s full even though it’s empty, a clogged drainage system could be the culprit. A blocked drainage system can cause water to accumulate in the ice maker and trigger the false “full” message. Clearing any clogs in the drainage system can help resolve this issue.
Follow these steps to clear any clogs in the drainage system:
- Locate the drainage system components, including the drainage tubes and the drain pump (if applicable). These can typically be found at the back or bottom of the ice maker.
- Turn off the ice maker and unplug it from the power source for safety.
- Inspect the drainage tubes for any visible clogs or obstructions. Look for mineral deposits, debris, or ice buildup that may be blocking the flow of water.
- Use a pipe cleaner or a soft brush to gently clear away any debris or buildup inside the drainage tubes. Be careful not to damage the tubes or the surrounding components.
- If necessary, you can flush the drainage tubes with warm water to help dislodge any stubborn clogs. Ensure that the water flows freely through the tubes and drains away properly.
- If your ice maker has a drain pump, check it for any clogs or obstructions. Clean the pump according to the manufacturer’s instructions to ensure it operates smoothly.
- Once you have cleared any clogs and verified that the drainage system is free from obstructions, plug in the ice maker and turn it back on.
After clearing the clogs in the drainage system, monitor the ice maker to see if the false “full” indication has been resolved. Proper drainage is crucial for the ice maker to function correctly and accurately detect the ice level in the bin.
If clearing the clogs does not fix the problem, you may need to seek further assistance. Consult the ice maker’s manual or contact a professional technician to diagnose and address any persistent issues with the drainage system.
Step 4: Examine the Control Board
When your ice maker constantly indicates it’s full despite being empty, it’s time to examine the control board. The control board is the main component responsible for regulating the functions of your ice maker. If the control board malfunctions, it can disrupt communication with other parts of the ice maker, leading to inaccurate readings and false “full” indications.
Follow these steps to examine the control board:
- Disconnect the ice maker from the power source to ensure your safety while working on the control board.
- Locate the control board, usually found behind the front panel or access panel of the ice maker. Refer to the manufacturer’s instructions or the ice maker’s manual if you’re uncertain about the exact location.
- Inspect the control board for any visible signs of damage. Look for burnt marks, corrosion, loose connections, or any other irregularities that may indicate a problem.
- If you notice any physical damage, it’s likely that the control board is faulty and may need to be replaced. Contact the manufacturer or a professional technician to obtain a compatible replacement control board and follow the provided instructions for installation.
- If there are no visible signs of damage, try resetting the control board. Disconnect the power supply to the ice maker for a few minutes, and then reconnect it. This simple reset can sometimes clear any temporary glitches or errors in the system.
- After resetting the control board, observe the operation of the ice maker. Pay attention to whether it now accurately detects the ice level in the bin.
Proper functioning of the control board is crucial for the accurate operation of an ice maker. If issues with the control board persist even after reset or replacement, it’s advisable to consult the ice maker’s manual or seek professional assistance for further diagnosis and repair.
By examining the control board, you can identify any visible damage or try a reset to potentially resolve the false “full” indication problem with your ice maker.
Step 5: Test the Ice Maker Motor
If your ice maker continues to indicate it’s full even when it’s empty, a malfunctioning ice maker motor could be the issue. The motor is responsible for powering the ice ejector arm, which releases ice cubes into the storage bin. Testing the motor can help determine if it’s functioning properly or if it needs to be replaced.
Follow these steps to test the ice maker motor:
- Disconnect the ice maker from the power source to ensure safety during the testing process.
- Locate the ice maker motor, typically found near the ice ejector arm. Refer to the manufacturer’s instructions or the ice maker’s manual for assistance in identifying the motor.
- Inspect the motor for any visible signs of damage, such as burnt wires, loose connections, or worn-out components. If you notice any physical damage, it’s likely that the motor needs to be replaced.
- Using a multimeter, test the motor for continuity. Set the multimeter to the appropriate continuity setting and touch the probes to the motor’s terminals. If the meter shows continuity, the motor is functioning properly. If there is no continuity or erratic readings, the motor is likely faulty and needs to be replaced.
- If the motor fails the continuity test or shows signs of malfunction, contact the manufacturer or a professional technician to obtain a compatible replacement motor. Follow the provided instructions to carefully install the new motor.
- After replacing the motor, reconnect the power to the ice maker and observe its operation. The ice maker should now properly rotate the ice ejector arm and dispense ice into the bin without incorrectly indicating it’s full.
Testing the ice maker motor can help determine if it is the cause of the false “full” indication. By replacing a faulty motor, you can restore proper functionality to your ice maker and ensure it accurately dispenses ice as needed.
If testing the motor does not resolve the issue, it’s recommended to consult the ice maker’s manual or seek professional assistance to accurately diagnose and address any persistent problems.
Read more: Why Is My Ice Maker Not Dropping Ice
Conclusion
Experiencing an ice maker that says it’s full when it’s actually empty can be frustrating, but fortunately, there are steps you can take to troubleshoot and fix the issue. By understanding the common causes and following the appropriate steps, you can get your ice maker back to its proper functionality.
In this article, we discussed several common causes of an ice maker indicating it’s full when it’s actually empty, including a defective ice level sensor, faulty water inlet valve, clogged drainage system, faulty control board, and a malfunctioning ice maker motor.
To troubleshoot and resolve this issue, we provided step-by-step instructions for each possible cause. Inspecting the ice level sensor, checking the water inlet valve, clearing any clogs in the drainage system, examining the control board, and testing the ice maker motor are essential steps to identify and address the problem.
If you’ve followed the troubleshooting steps and the false “full” indication persists, it may be necessary to seek professional assistance for further diagnosis and repair. Consulting the ice maker’s manual or contacting the manufacturer can provide additional guidance.
Remember, regular maintenance and care for your ice maker can help prevent these issues from occurring. Regularly cleaning the ice maker, monitoring the water supply, and ensuring proper ventilation are all essential in maintaining the optimal performance of the appliance.
By taking the time to troubleshoot and address any issues with your ice maker, you can enjoy its full potential and continue to enjoy cold beverages or preserve perishable items without the frustration of a false “full” message.
So go ahead and follow the steps outlined in this article to troubleshoot and fix your ice maker, and soon enough, you’ll have a fully functional ice maker once again!
After tackling ice maker issues, why not dive deeper into maintaining your fridge's best buddy? Discover practical ways to extend your appliance's lifespan with our guide on cleaning refrigerator ice makers. Maintaining these units regularly not only ensures fresh, clean ice but also prevents future problems. Ready to give your ice maker some TLC? Check out our detailed cleaning instructions next.
Frequently Asked Questions about Ice Maker Says Full When Empty
Was this page helpful?
At Storables.com, we guarantee accurate and reliable information. Our content, validated by Expert Board Contributors, is crafted following stringent Editorial Policies. We're committed to providing you with well-researched, expert-backed insights for all your informational needs.


0 thoughts on “Ice Maker Says Full When Empty”