Articles
How To Test An Ice Maker
Modified: January 6, 2024
Learn how to test an ice maker with our helpful articles. Find step-by-step instructions and troubleshooting tips for common issues.
(Many of the links in this article redirect to a specific reviewed product. Your purchase of these products through affiliate links helps to generate commission for Storables.com, at no extra cost. Learn more)
Introduction
An ice maker is a valuable appliance that provides the convenience of having ice readily available in your home or office. Whether you rely on ice for refreshing beverages or for keeping your food and drinks cool, a properly functioning ice maker is essential. However, like any other appliance, ice makers can experience issues that affect their performance.
If you notice that your ice maker is not producing ice or is producing ice of poor quality, it may be time to troubleshoot the problem. Testing your ice maker can help identify the underlying issue, allowing you to make any necessary repairs or adjustments. In this article, we will guide you through the process of testing an ice maker step by step.
Before we begin, it’s important to note that ice maker designs can vary, so it’s always best to consult your appliance’s user manual for specific instructions. Additionally, ensure that you follow all safety precautions and unplug the ice maker before performing any tests. Now, let’s dive into the different steps involved in testing an ice maker.
Key Takeaways:
- Troubleshoot ice maker issues by visually inspecting for damage, testing ice production, and checking temperature, water supply, and components. Regular cleaning and maintenance are essential for optimal performance and longevity.
- Ensure your ice maker functions properly by testing components such as the water inlet valve, ice mold thermostat, harvesting mechanism, motor, and control board. Follow manufacturer’s guidelines and prioritize safety during testing and maintenance.
Read more: How Do I Test My Ice Maker Water Line
Step 1: Visual Inspection
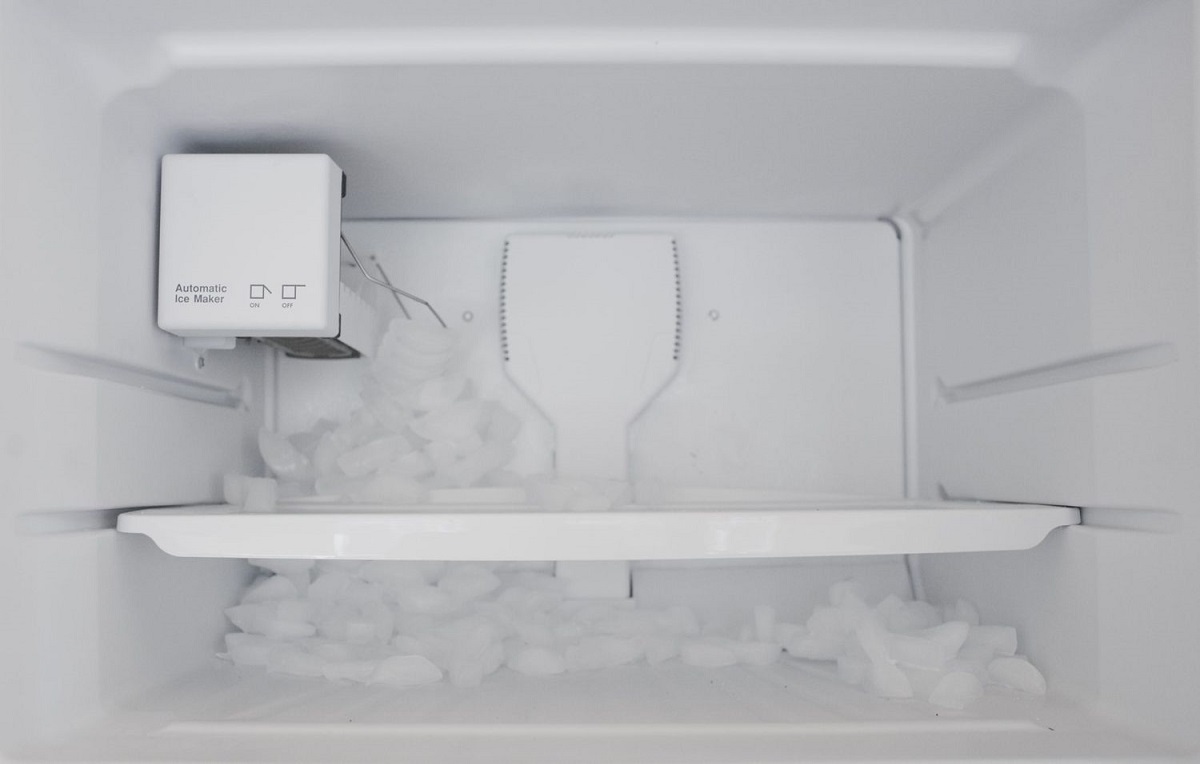
The first step in testing your ice maker is to visually inspect the unit for any obvious signs of damage or blockage. Start by checking the ice maker’s exterior, looking for any visible cracks, leaks, or loose connections. Ensure that the unit is properly connected to the water supply and that there are no kinks or leaks in the water line.
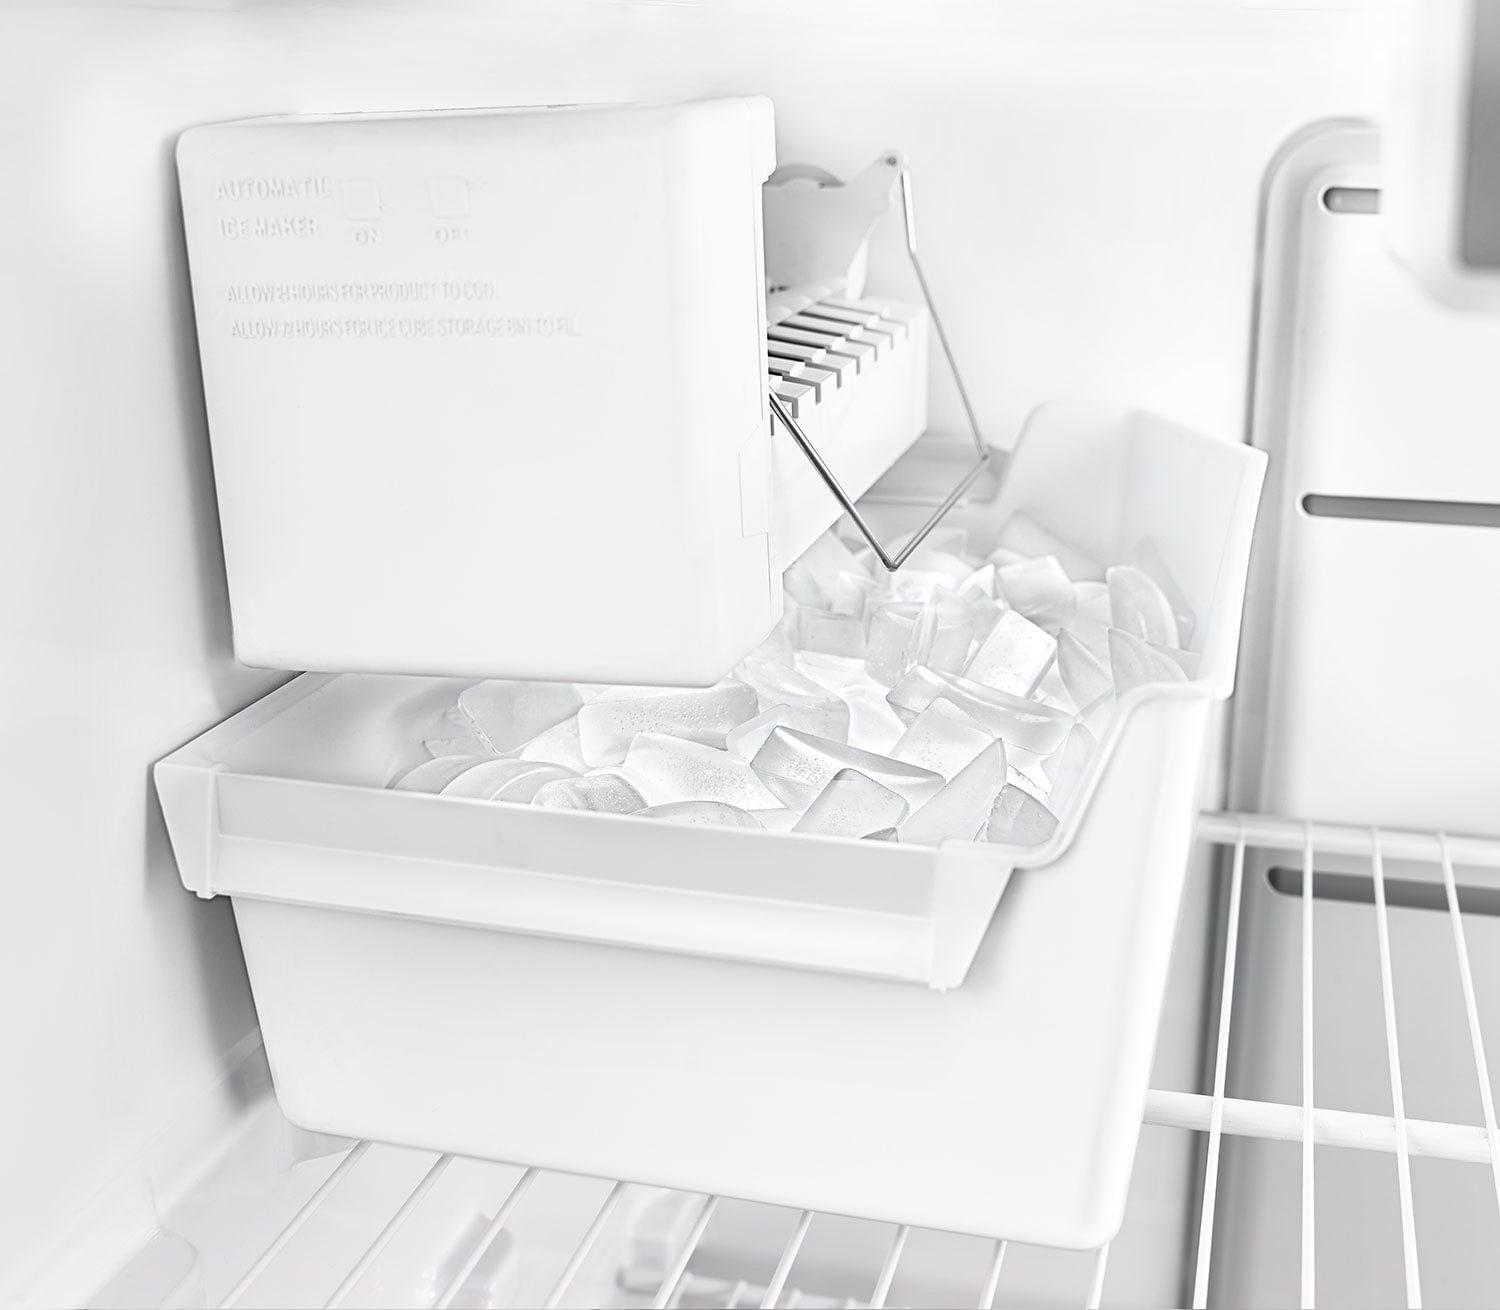
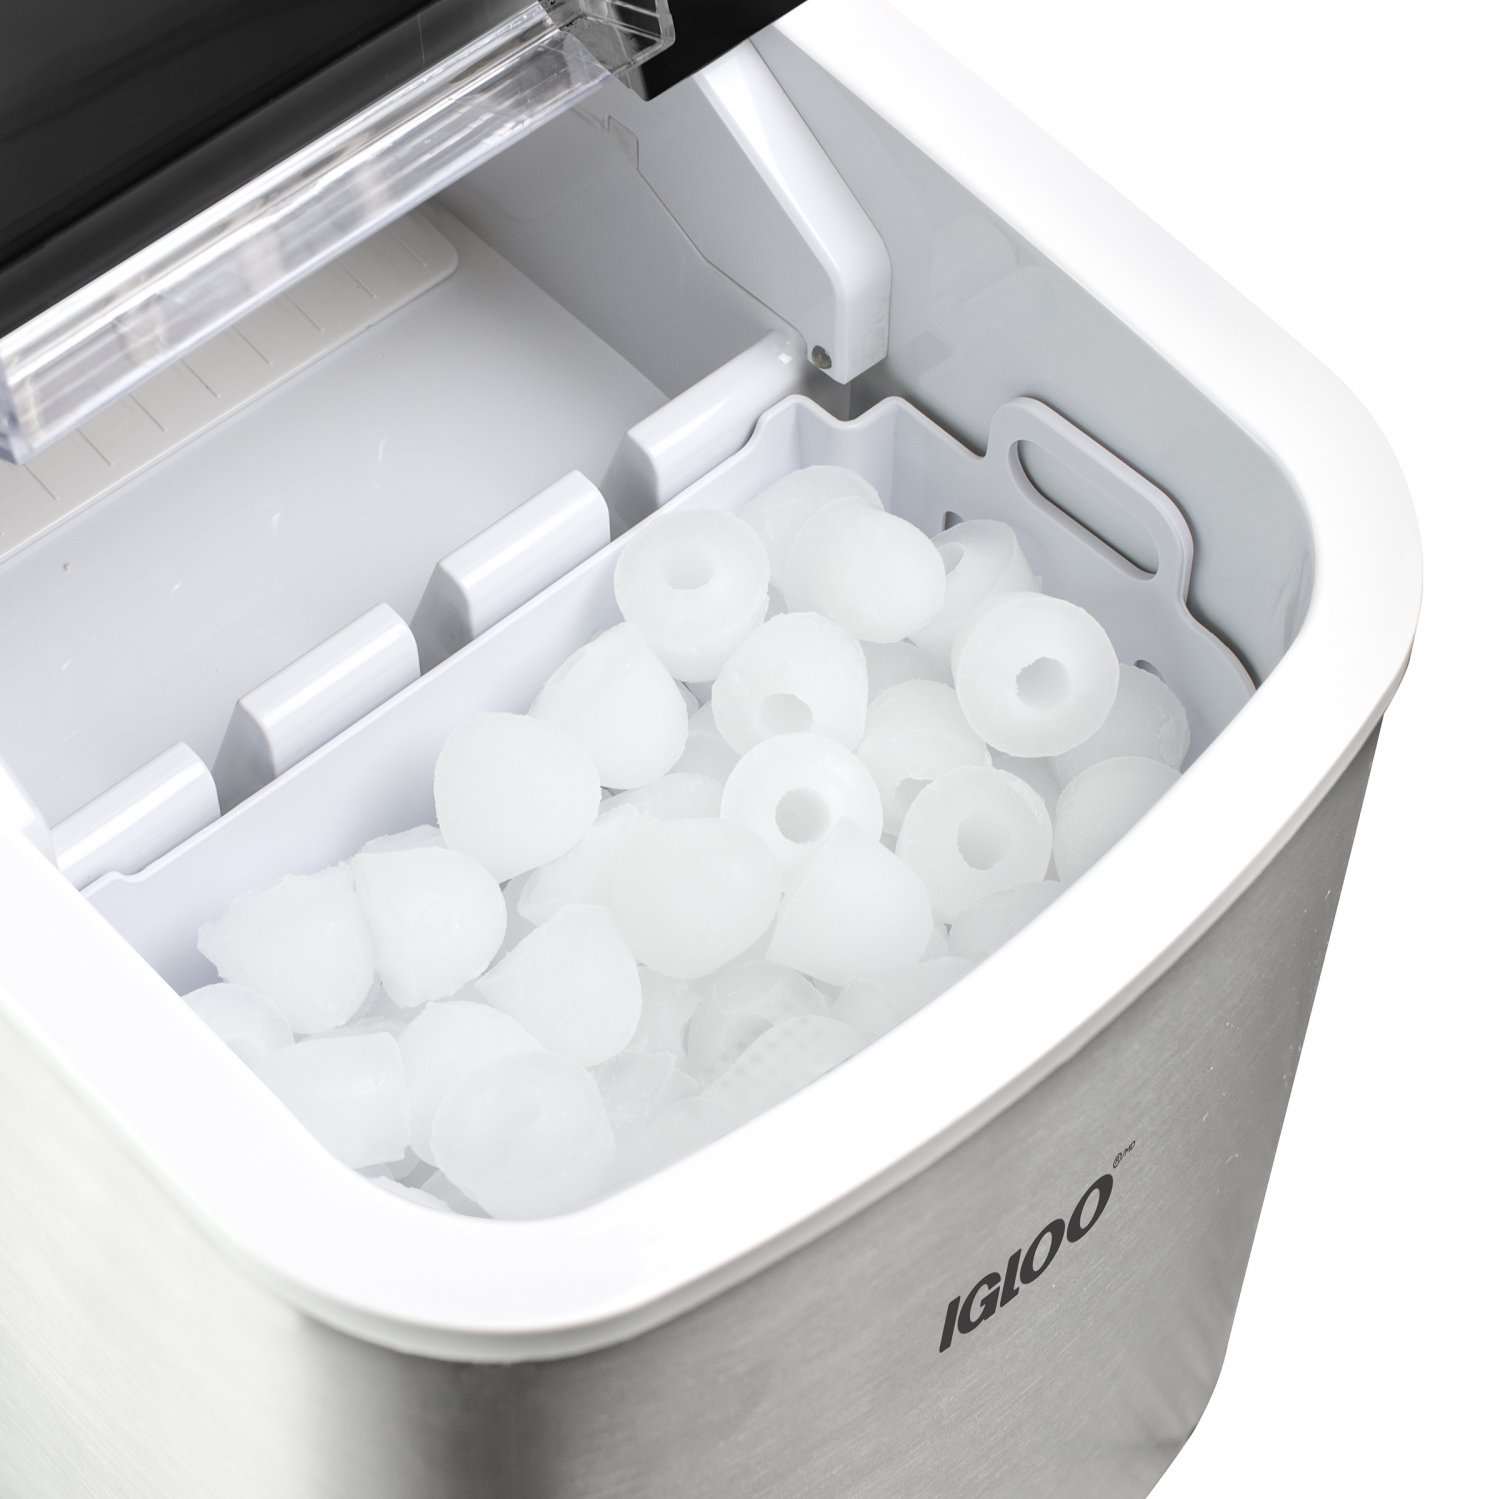
Next, remove the ice bin and visually inspect the ice mold and ice maker components. Look for any ice build-up, debris, or foreign objects that may obstruct the ice-making process. Clear out any ice or debris using a soft brush or cloth.
Inspect the ice mold for any cracks or damage that may hinder the ice-making process. If you notice any issues, it may be necessary to replace the ice mold or other damaged components.
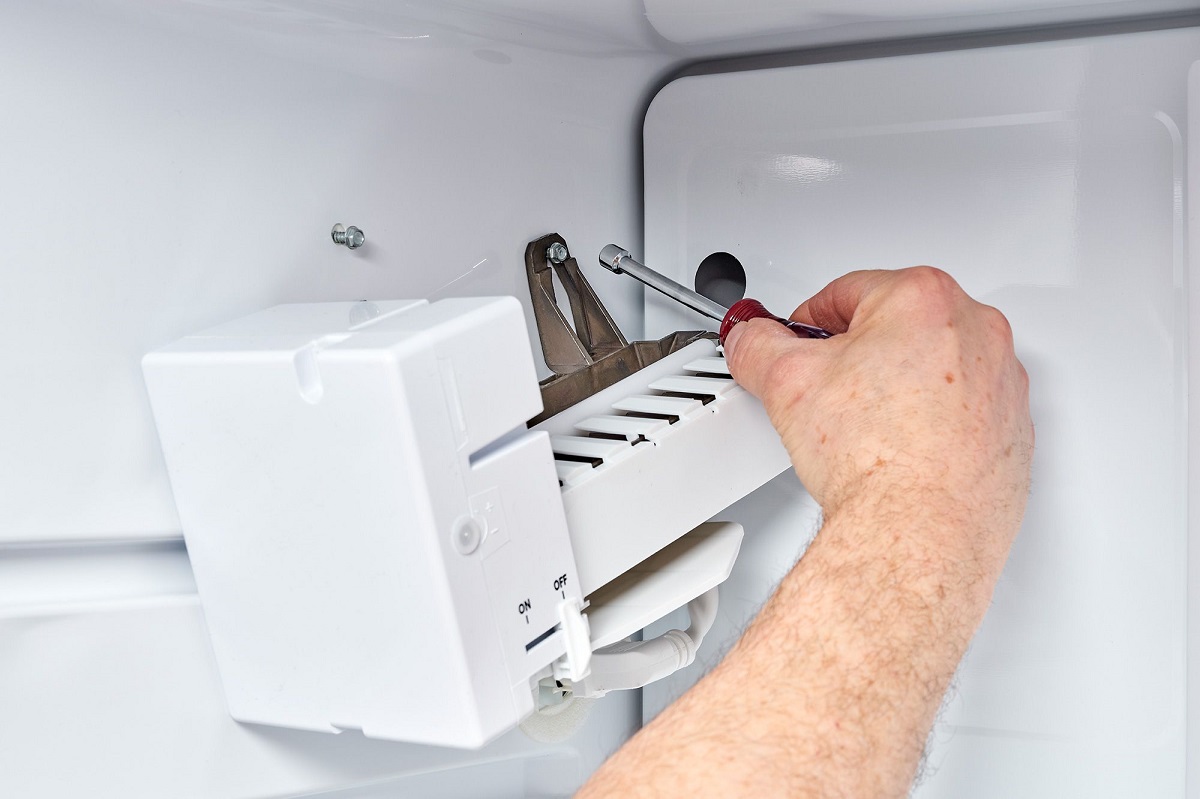
Additionally, check the water inlet valve located behind the refrigerator for any clogs or blockages. Clear out any obstructions to ensure proper water flow to the ice maker.
By conducting a thorough visual inspection, you can often identify and resolve simple issues that may be preventing your ice maker from functioning properly. If no visual issues are found, proceed to the next step.
Step 2: Ice Production Test
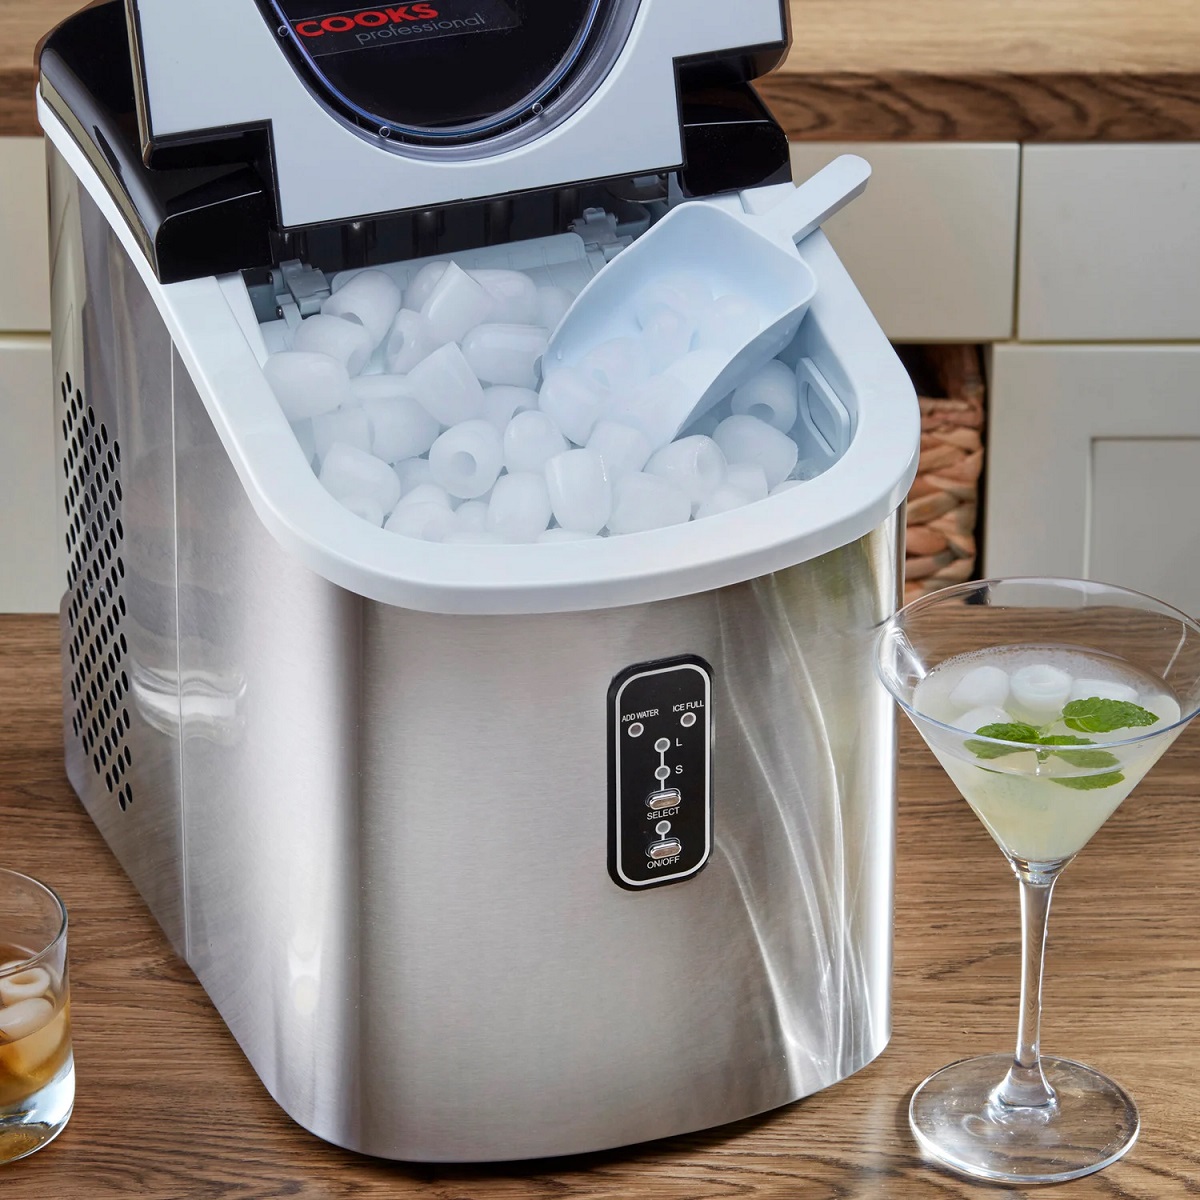
The second step in testing your ice maker is to perform an ice production test. This test will determine if the ice maker is producing ice as expected.
To begin, ensure that the ice maker is turned on and the water supply is connected and flowing properly. Allow the ice maker to run for at least one cycle, usually around 6 to 8 hours, to ensure that it has enough time to produce ice.
If the ice maker is not producing ice, check the water supply and verify that it is reaching the ice maker. If the water supply is connected and working, but no ice is being produced, there may be an issue with the water inlet valve, the ice mold thermostat, or other internal components. It is recommended to proceed to the next steps for further testing and troubleshooting.
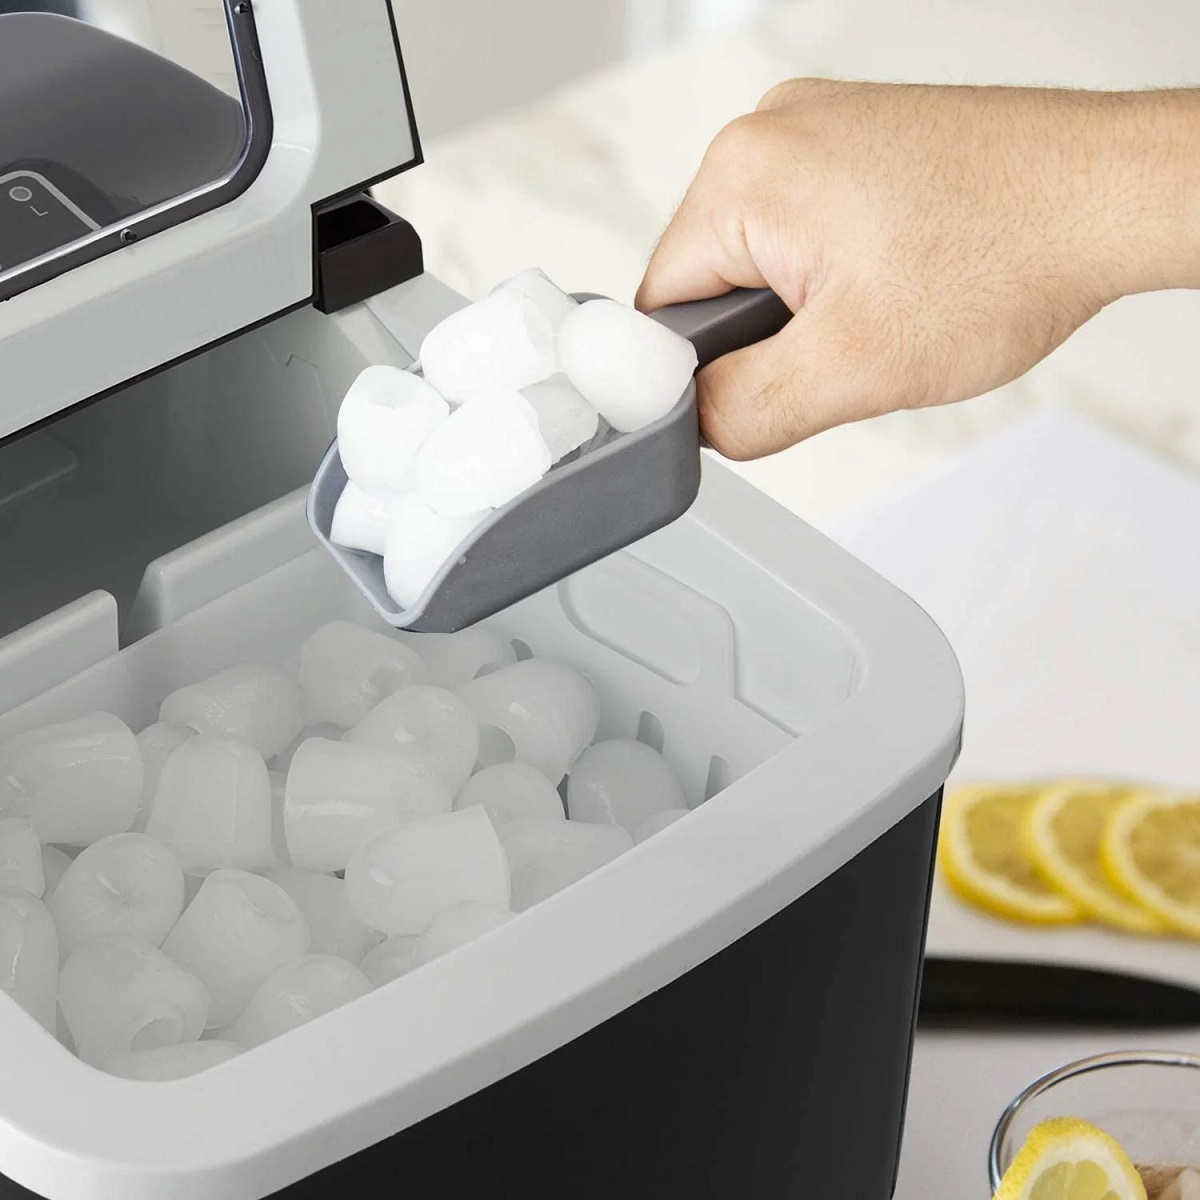
If the ice maker is producing ice, carefully inspect the quality of the ice. Ideally, the ice cubes should be clear and solid. Cloudy or hollow ice cubes can be a sign of improper water flow or temperature issues. Any abnormality in the ice cubes should be noted for further investigation.
It’s important to note that the ice maker typically has a production rate that varies depending on the model and brand. Refer to the manufacturer’s specifications to determine the expected amount of ice produced in a given time frame. If the ice maker is producing ice within the expected range, it indicates that the basic ice-making function is working correctly.
Proceed to the next step to perform additional tests to further pinpoint any potential issues with your ice maker.
Step 3: Temperature Test
The temperature of your ice maker plays a crucial role in its performance. If the temperature is too high or too low, it can impact the ice-making process. In this step, we will conduct a temperature test to ensure that the ice maker is operating within the appropriate temperature range.
Start by checking the freezer temperature. The recommended freezer temperature for ice maker operation is typically between 0°F and 5°F (-18°C to -15°C). Use a digital thermometer to measure the temperature accurately. If the temperature is too high or too low, adjust the freezer settings accordingly and allow it to stabilize for a few hours before retesting.
Next, check the temperature of the ice maker itself. Many ice makers have a built-in thermostat that monitors and regulates the temperature. Locate the ice mold thermostat within the ice maker, usually near the ice mold itself. Use a multimeter set to the Ohms setting to test the thermostat for continuity. If the thermostat does not show continuity, it may be faulty and require replacement.
Additionally, ensure that the ice maker and the surrounding area are free from excessive heat sources such as direct sunlight, hot appliances, or nearby vents. High temperatures can affect the ice maker’s ability to produce ice properly.
By conducting a temperature test, you can identify any temperature-related issues that might be hindering your ice maker’s performance. If the temperature is within the recommended range and the ice maker is still not functioning correctly, proceed to the next step to further troubleshoot the issue.
Step 4: Water Inlet Valve Test
The water inlet valve is responsible for supplying water to the ice maker. If there is an issue with the water inlet valve, it can result in a lack of water flow, leading to a decrease in ice production or no ice production at all. In this step, we will test the water inlet valve to ensure it is functioning properly.
Start by locating the water inlet valve, which is usually located at the back of the refrigerator. Disconnect the water line from the inlet valve to access it for testing. With a multimeter set to the Ohms setting, check the continuity of the solenoid valve coils on the water inlet valve. If there is no continuity, it indicates a faulty valve that needs to be replaced.
If the water inlet valve shows continuity, inspect it for any signs of blockage or debris that may be obstructing the water flow. Remove any visible obstructions and reconnect the water line to the inlet valve.
Next, turn on the water supply and observe if water flows into the ice maker when a cycle is initiated. If no water flows, there may be an issue with the water supply or the water inlet valve itself. Check the water supply to ensure it is connected correctly and that there is no blockage. If the water supply is fine, it is likely that the water inlet valve needs to be replaced.
Performing a water inlet valve test helps identify any issues with the valve that may be causing your ice maker problems. If the water inlet valve appears to be functioning properly and the ice maker is still not working correctly, proceed to the next step for further troubleshooting.
Read more: New Ice Maker How Long To Make Ice
Step 5: Ice Mold Thermostat Test
The ice mold thermostat is responsible for monitoring the temperature of the ice mold and regulating the freezing process. If the thermostat is not functioning correctly, it can lead to issues with ice production. In this step, we will test the ice mold thermostat to ensure it is operating within the proper temperature range.
Start by locating the ice mold thermostat within the ice maker. It is typically located near the ice mold itself. Using a multimeter set to the Ohms setting, carefully test the thermostat for continuity. If there is no continuity, it indicates a faulty thermostat that needs to be replaced.
If the ice mold thermostat shows continuity, it is important to ensure that it is reading the temperature accurately. Test the thermostat’s temperature sensing ability by using a hairdryer or a heat gun to apply gentle heat to the thermostat. Monitor the multimeter readings to see if the thermostat responds to the change in temperature. If there is no change in the readings, it suggests a malfunctioning thermostat that requires replacement.
Additionally, check the position of the ice mold thermostat. It should be in direct contact with the ice mold to accurately sense the temperature. If the thermostat is not in contact with the ice mold, adjust its position accordingly.
By testing the ice mold thermostat, you can determine if it is functioning properly and accurately regulating the freezing process. If the thermostat is working correctly but the ice maker is still experiencing issues, proceed to the next step to further diagnose the problem.
When testing an ice maker, ensure that the water supply is connected and the water inlet valve is functioning properly. Check for any leaks or unusual noises during the ice-making process.
Step 6: Harvesting Mechanism Test
The harvesting mechanism of the ice maker is responsible for releasing the ice cubes from the mold and transferring them to the ice bin. If there are issues with the harvesting mechanism, it can lead to improperly released or stuck ice cubes. In this step, we will test the harvesting mechanism to ensure it is functioning properly.
Start by manually initiating a harvest cycle on your ice maker. This can typically be done by pressing a button or flipping a switch, depending on the model. Observe if the harvesting mechanism engages and moves the ice cubes out of the mold.
If the harvesting mechanism does not initiate or if it fails to move the ice cubes, there may be an issue with the mechanism itself. Inspect the harvesting mechanism for any visible obstructions or defects. Clean off any ice or debris that may be preventing the mechanism from operating smoothly.
Some ice makers have a motor or gear assembly that drives the harvesting mechanism. Check the motor and gears for proper operation and signs of damage. If you notice any issues, the motor or gears may need to be replaced.
Additionally, ensure that the harvesting fingers or blades, which push the ice cubes out of the mold, are not bent or damaged. Straighten or replace any damaged fingers to allow for proper ice cube release.
By testing the harvesting mechanism, you can identify any issues that may be hindering the proper release of ice cubes from the mold. If the harvesting mechanism appears to be functioning correctly and the ice maker is still not working properly, proceed to the next step for further troubleshooting.
Step 7: Motor Test
The motor in your ice maker is responsible for powering various components, such as the harvesting mechanism and the water inlet valve. If the motor is not functioning properly, it can result in issues with ice production or other malfunctions. In this step, we will test the motor to ensure it is operating correctly.
Start by identifying the motor within your ice maker. Refer to the manufacturer’s manual for precise instructions on locating the motor. Once located, visually inspect the motor for any visible signs of damage or overheating, such as burnt wires or melted plastic. If you notice any issues, it is recommended to have the motor replaced.
Next, check the motor’s electrical connections to ensure they are secure and undamaged. Loose or damaged connections can affect the motor’s performance. Disconnect the power supply and carefully inspect the terminals for any signs of corrosion or loose wires. Clean the terminals if necessary and reattach them securely.
To test the motor, reconnect the power supply and manually initiate an ice-making cycle. Listen for any unusual noises coming from the motor, such as grinding or excessive buzzing. If the motor is making odd sounds or if it does not start at all, it is an indication of a faulty motor that needs to be replaced.
If the motor appears to be functioning properly, ensure that it is receiving the appropriate power supply. Use a multimeter to measure the voltage at the motor’s electrical connections. Compare the reading to the manufacturer’s specifications to ensure it is within the correct range.
By testing the motor, you can pinpoint any issues that may be affecting its performance and potentially causing ice maker problems. If the motor tests indicate a problem or if the ice maker is still not working as expected, proceed to the next step for further troubleshooting.
Step 8: Control Board Test
The control board in your ice maker is responsible for controlling various functions and operations. If there is an issue with the control board, it can lead to erratic behavior or a complete failure of the ice maker. In this step, we will test the control board to ensure it is functioning properly.
Start by locating the control board within your ice maker. Refer to the manufacturer’s manual for precise instructions on locating the control board. Inspect the control board visually for any signs of damage, such as burnt components or disconnected wires. If you notice any issues, it is recommended to have the control board replaced.
To test the control board, disconnect the power supply to the ice maker and remove the control board from its housing. Carefully examine the board for any signs of corrosion or burnt connections. Clean any corrosion and ensure all connections are secure before reinstalling the board.
Once the control board is reinstalled, reconnect the power supply and observe the display or LED lights on the control panel. Check if the display is functioning and if any error codes are displayed. Take note of any error codes or malfunctions for further troubleshooting.
If the control board has a self-diagnostic feature, initiate the self-diagnosis by following the manufacturer’s instructions. This process will test various components of the ice maker and provide error codes or indications of specific issues. Refer to the manual to interpret the error codes and take appropriate action.
By testing the control board, you can identify any malfunctions or errors that may be affecting the operation of your ice maker. If the control board tests indicate an issue or if the ice maker is still not functioning correctly, proceed to the next step to further troubleshoot the problem.
Read more: How To Make Ice in Frigidaire Ice Maker
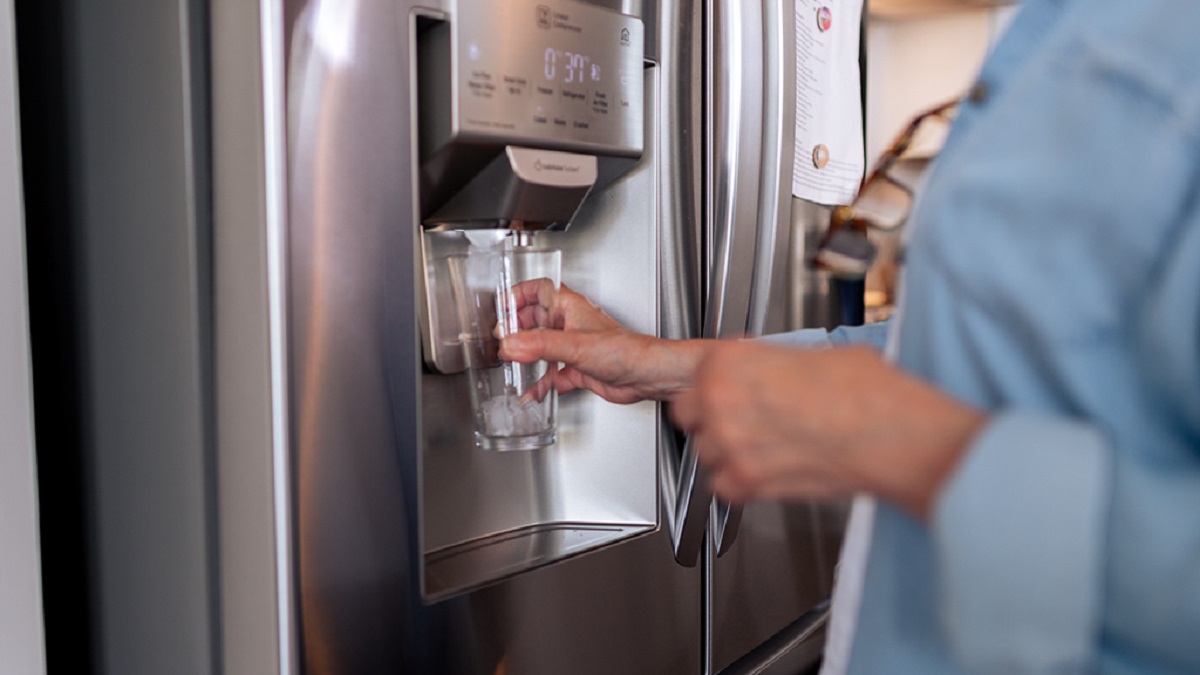
Step 9: Water Supply Test
The water supply to your ice maker is essential for proper ice production. If there are issues with the water supply, it can lead to a decrease in ice production or no ice production at all. In this step, we will test the water supply to ensure it is delivering water as it should.
Start by checking the water supply line connected to your ice maker. Inspect the line for any signs of kinks, twists, or blockages. Straighten any kinks and ensure the water line is clear of any obstructions.
Next, turn off the water supply to the ice maker and disconnect the water line. Place the disconnected end of the water line into a container or bucket, and then turn the water supply back on. Observe if water flows freely from the water line into the container.
If no water flows or if the flow is weak, there may be an issue with the water supply itself. Check the water supply valve to ensure it is fully open and functioning correctly. If the water supply valve is functioning properly but no water is flowing, there may be a blockage or a defect in the water line that requires further investigation.
Additionally, check the water filter, if your ice maker is equipped with one. Ensure the filter is clean and not clogged, as a blocked filter can impede water flow to the ice maker. If the filter is dirty or clogged, replace it according to the manufacturer’s instructions.
By testing the water supply, you can identify any issues that may be affecting the delivery of water to your ice maker. If the water supply tests indicate a problem or if the ice maker is still not receiving water, proceed to the next step for further troubleshooting.
Step 10: Cleaning and Maintenance Tips
Regular cleaning and maintenance of your ice maker are essential to ensure optimal performance and longevity. In this step, we will provide some cleaning and maintenance tips to keep your ice maker in top shape.
1. Clean the ice maker regularly: Remove the ice bin and clean it with warm water and mild soap. Rinse thoroughly and dry before reinstalling. Wipe down the interior of the ice maker with a soft cloth to remove any residue or buildup.
2. Descale the ice maker: Over time, minerals can build up inside the ice maker, affecting its performance. Use a descaling solution or a mixture of equal parts water and vinegar to descale the ice maker. Follow the manufacturer’s instructions for descaling and rinse thoroughly to remove any remaining solution.
3. Check the water filter: If your ice maker has a water filter, it is important to check and replace it as recommended by the manufacturer. A dirty or clogged filter can hinder water flow and affect ice production.
4. Clear the drain line: The drain line in your ice maker can sometimes become clogged with debris or ice. Inspect the drain line and clear any blockages using a soft brush or pipe cleaner. Ensure that the drain line is free to allow proper drainage.
5. Keep the surrounding area clean: Dust and debris can accumulate around the ice maker, affecting its performance and air circulation. Regularly clean the area around the ice maker to prevent any obstructions.
6. Check the water supply line: Periodically inspect the water supply line for any signs of damage, leaks, or kinks. Replace the water supply line if necessary to maintain a steady flow of water to the ice maker.
7. Follow manufacturer’s guidelines: Always refer to the manufacturer’s instructions and guidelines for specific cleaning and maintenance recommendations for your ice maker model. Different models may have unique requirements.
By incorporating these cleaning and maintenance tips into your routine, you can keep your ice maker operating smoothly and efficiently. Regular maintenance not only improves ice production but also extends the lifespan of your appliance.
Conclusion
Testing your ice maker is an important step in troubleshooting and maintaining its performance. By following the steps outlined in this guide, you can identify and address issues that may be affecting your ice maker’s functionality.
Starting with a visual inspection, you can check for any visible damage, blockages, or loose connections. Proceeding to the ice production test, you can determine if your ice maker is producing ice within the expected range. Temperature testing helps ensure that the freezer and ice maker are operating at optimal temperatures.
Testing the water inlet valve and ice mold thermostat allows you to identify any issues with water flow and temperature regulation. Additionally, testing the harvesting mechanism, motor, and control board helps pinpoint any mechanical or electrical problems.
If you determine that your ice maker is not functioning properly, it is important to refer to the manufacturer’s instructions and consult a professional if needed. Regular cleaning and maintenance of your ice maker can also help prevent issues and maintain its performance.
Remember to always prioritize safety and follow the necessary precautions when testing and troubleshooting your ice maker. Unplug the appliance and take proper care to avoid any injuries or damage.
By taking the time to test and maintain your ice maker, you can ensure that it continues to provide you with a steady supply of ice, keeping you cool and refreshed whenever you need it.
Frequently Asked Questions about How To Test An Ice Maker
Was this page helpful?
At Storables.com, we guarantee accurate and reliable information. Our content, validated by Expert Board Contributors, is crafted following stringent Editorial Policies. We're committed to providing you with well-researched, expert-backed insights for all your informational needs.

0 thoughts on “How To Test An Ice Maker”