
Articles
Kegerator Tap Not Pouring Full When Wide Open
Modified: February 20, 2024
Troubleshoot kegerator tap pouring issues with helpful articles. Learn how to fix a tap that's not pouring full when wide open.
(Many of the links in this article redirect to a specific reviewed product. Your purchase of these products through affiliate links helps to generate commission for Storables.com, at no extra cost. Learn more)
Introduction
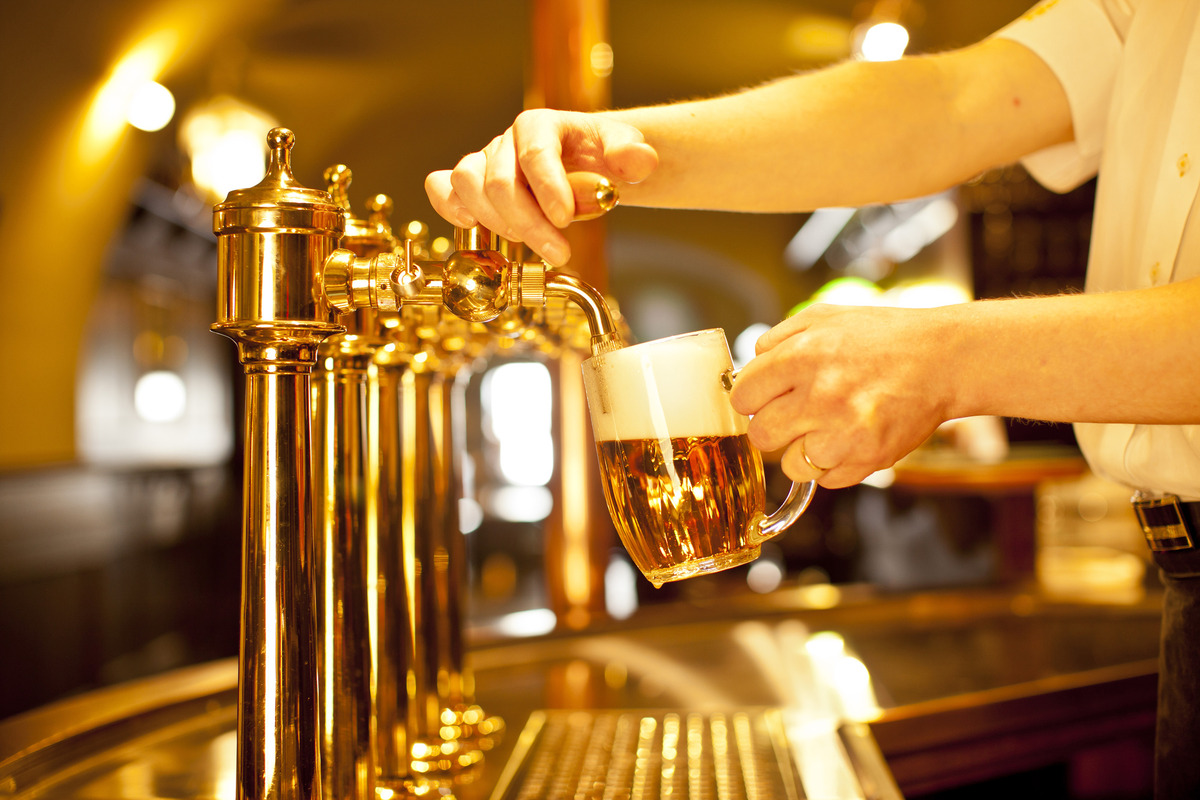
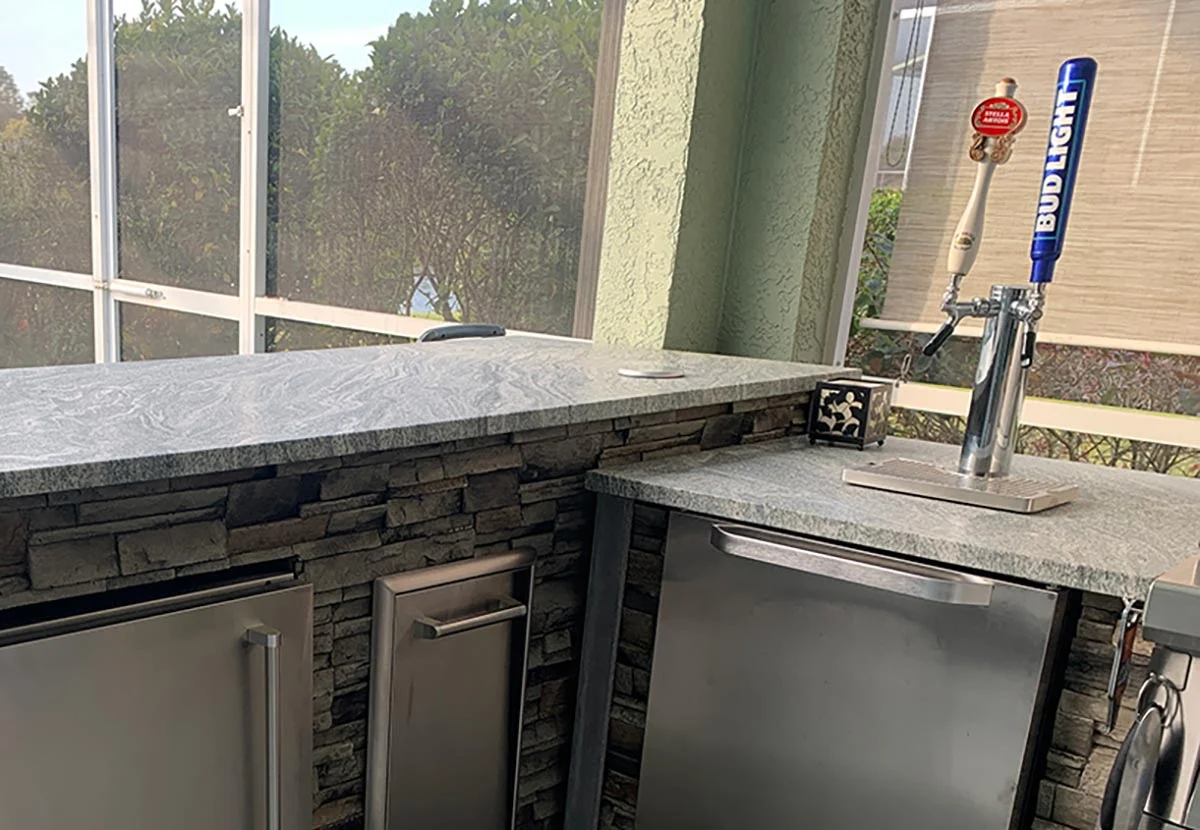
A kegerator is a fantastic addition to any home bar or entertainment area. It allows you to enjoy draft beer at the perfect temperature and eliminates the need for cans or bottles. However, if you’re experiencing issues with your kegerator tap not pouring a full glass of beer when it’s wide open, it can be frustrating and ruin the overall draft beer experience.
There are several common causes for this problem, ranging from simple issues like dirty tap lines to more complex problems like incorrect CO2 pressure. In this article, we will explore the possible causes of a kegerator tap not pouring full and provide troubleshooting steps to help you fix the issue and get back to enjoying a proper pour of your favorite beer.
Key Takeaways:
- Regularly cleaning the tap system and checking for beer line obstructions are crucial for maintaining optimal kegerator performance and ensuring a full, satisfying pour of draft beer.
- Examining and adjusting CO2 pressure, as well as resolving issues with the faucet, are essential steps to achieving a well-balanced and smooth pour from your kegerator tap.
Read more: Why Is My Kegerator Not Pouring
Common Causes for Kegerator Tap Not Pouring Full
When your kegerator tap is not pouring a full glass of beer, there are several common causes that you should be aware of. Understanding these causes can help you troubleshoot and resolve the issue more effectively. Let’s take a closer look at some of the possible culprits.
- Dirty Tap Lines: One of the most common reasons for a kegerator tap not pouring full is dirty tap lines. Over time, beer residue, yeast, and bacteria can build up in the lines, causing a blockage. This can restrict the flow of beer and lead to a poor pour. Regular cleaning of the tap lines is crucial to maintain optimal performance.
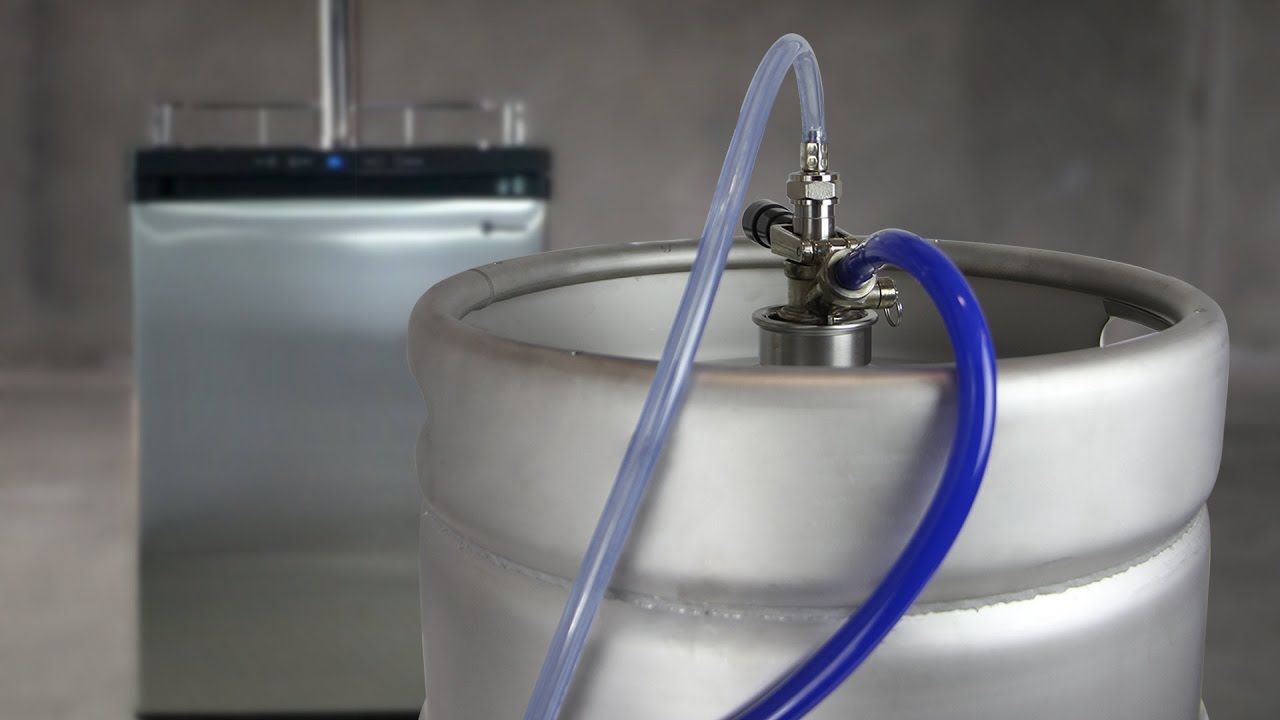
- Beer Line Obstructions: Another possible cause is obstructions in the beer lines. This could be due to kinks or bends in the lines, or even foreign objects that have entered the system. These obstructions can disrupt the smooth flow of beer and result in an incomplete pour.
- Incorrect CO2 Pressure: The CO2 pressure in your kegerator plays a crucial role in dispensing beer. If the pressure is too low, it can result in a weak and foamy pour. On the other hand, if the pressure is too high, it can lead to an excessive amount of carbonation and a glass overflowing with foam. Proper adjustment of the CO2 pressure is essential for achieving a full and well-balanced pour.
- Temperature Fluctuations: Temperature fluctuations in your kegerator can also impact the quality of the pour. If the temperature is too warm, it can cause excessive foam, resulting in a less full glass of beer. Conversely, if the temperature is too cold, it may cause the beer to pour slowly or even freeze. Maintaining a consistent and appropriate temperature is crucial for optimal beer dispensing.
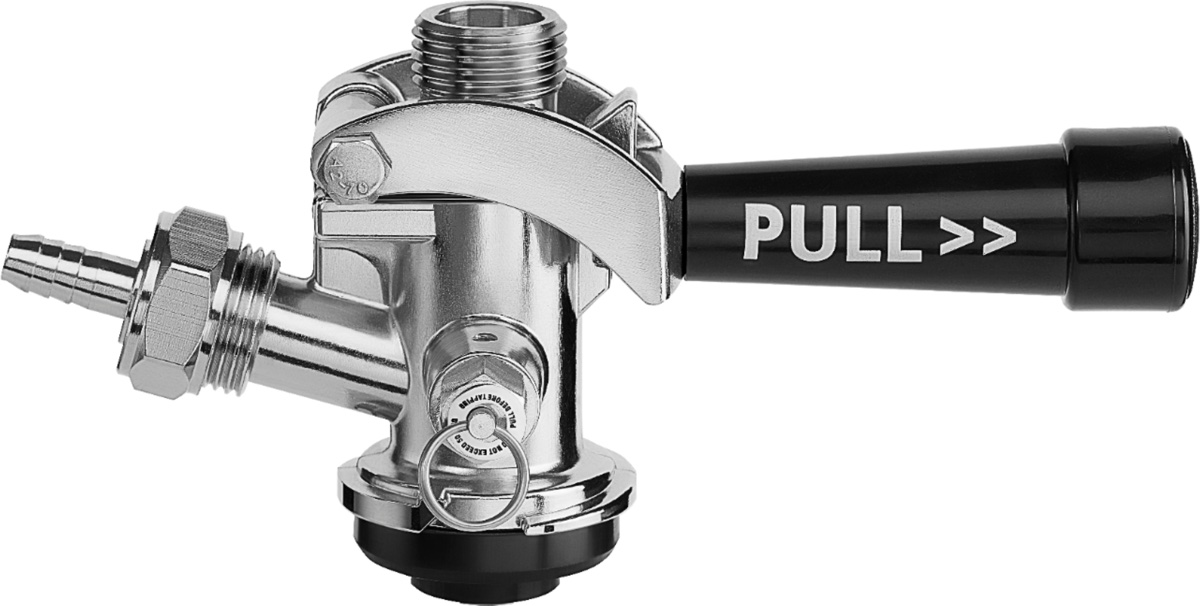
- Faucet Issues: Problems with the faucet itself can also lead to an inadequate pour. Worn-out or faulty faucet components, such as the O-rings or seals, can cause leaks, air introduction, or improper flow. Inspecting and maintaining the faucet regularly can help prevent these issues.
Identifying the specific cause of your kegerator tap not pouring full may require some troubleshooting. In the following sections, we will outline steps to help you address these common causes and restore your kegerator to its optimal performance.
Troubleshooting Steps
When faced with a kegerator tap not pouring full, it’s important to go through a systematic troubleshooting process to identify and address the underlying issue. Follow these steps to help diagnose and resolve the problem:
Step 1: Check for Beer Line Obstructions
Inspect the beer lines for any kinks, bends, or foreign objects that may be obstructing the flow of beer. Straighten out any kinks and remove any obstructions to ensure a smooth and unrestricted pour.
Step 2: Clean the Tap System
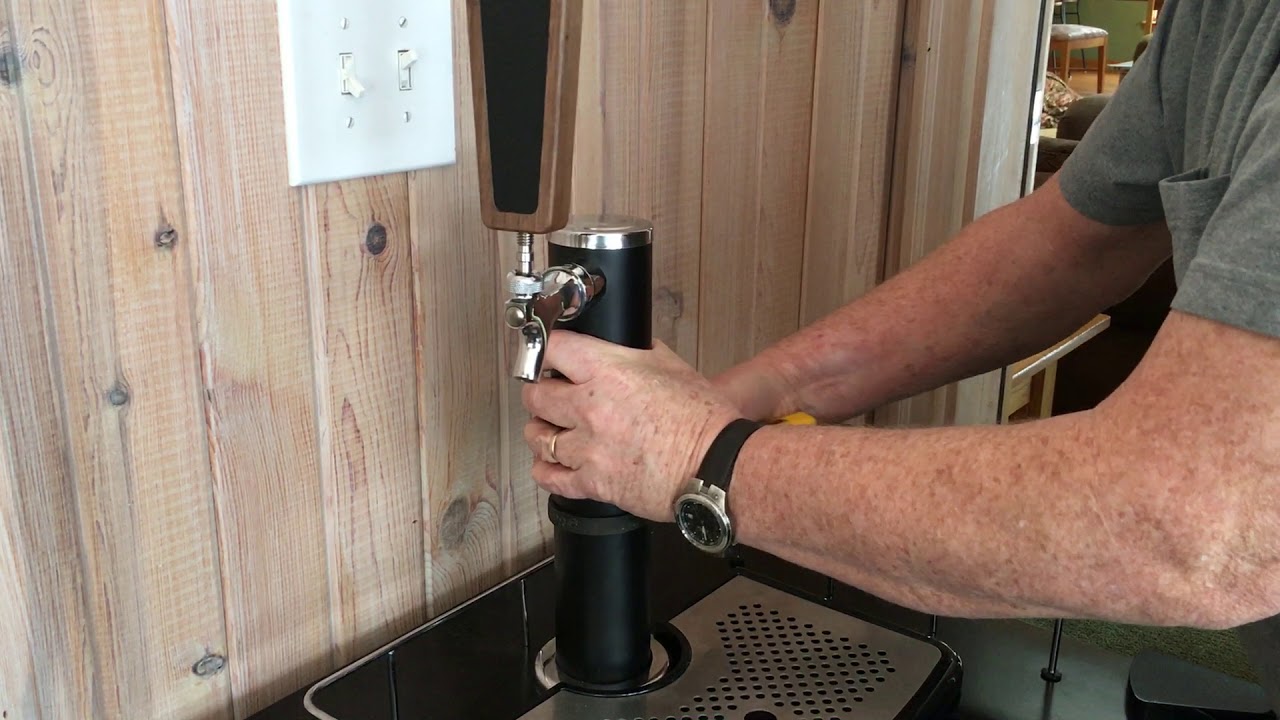
Regularly cleaning the tap system is essential to maintain optimal performance. Start by disassembling the faucet, tap handle, and beer lines. Soak them in a cleaning solution specifically designed for draft systems. Scrub the components gently to remove any built-up residue or bacteria. Rinse the parts thoroughly and reassemble the tap system.
Step 3: Examine CO2 Pressure
Check the CO2 pressure gauge on your kegerator to ensure it is set at the correct pressure for the style of beer you are dispensing. Consult the beer supplier or manufacturer’s guidelines for the recommended pressure. Make adjustments as necessary to achieve the desired pour consistency.
Step 4: Adjust Kegerator Temperature
Verify that the temperature inside the kegerator is set to the ideal range for the type of beer you are serving. Refer to the beer manufacturer’s recommendations for the optimal temperature. Make adjustments to the temperature control dial as needed to maintain a consistent and suitable temperature.
Step 5: Inspect the Faucet
Take a close look at the faucet for any signs of wear or damage. Check the O-rings, seals, and other components for cracks, leaks, or deterioration. Replace any worn-out parts to ensure a proper seal and smooth flow of beer.
By systematically going through these troubleshooting steps, you should be able to identify and resolve most issues causing your kegerator tap not to pour a full glass of beer. However, if the problem persists, it may be necessary to consult a professional for further assistance.
Cleaning the Tap System
Regularly cleaning the tap system of your kegerator is crucial for maintaining the taste and quality of your beer. Over time, beer residue, yeast, and bacteria can build up in the lines and components, leading to off-flavors and poor pours. Follow these steps to effectively clean your kegerator tap system:
1. Gather Cleaning Supplies
Collect the necessary cleaning supplies, including a cleaning solution specifically designed for draft systems, a cleaning brush or sponge, and a bucket or sink for soaking the components.
2. Disassemble the Tap System
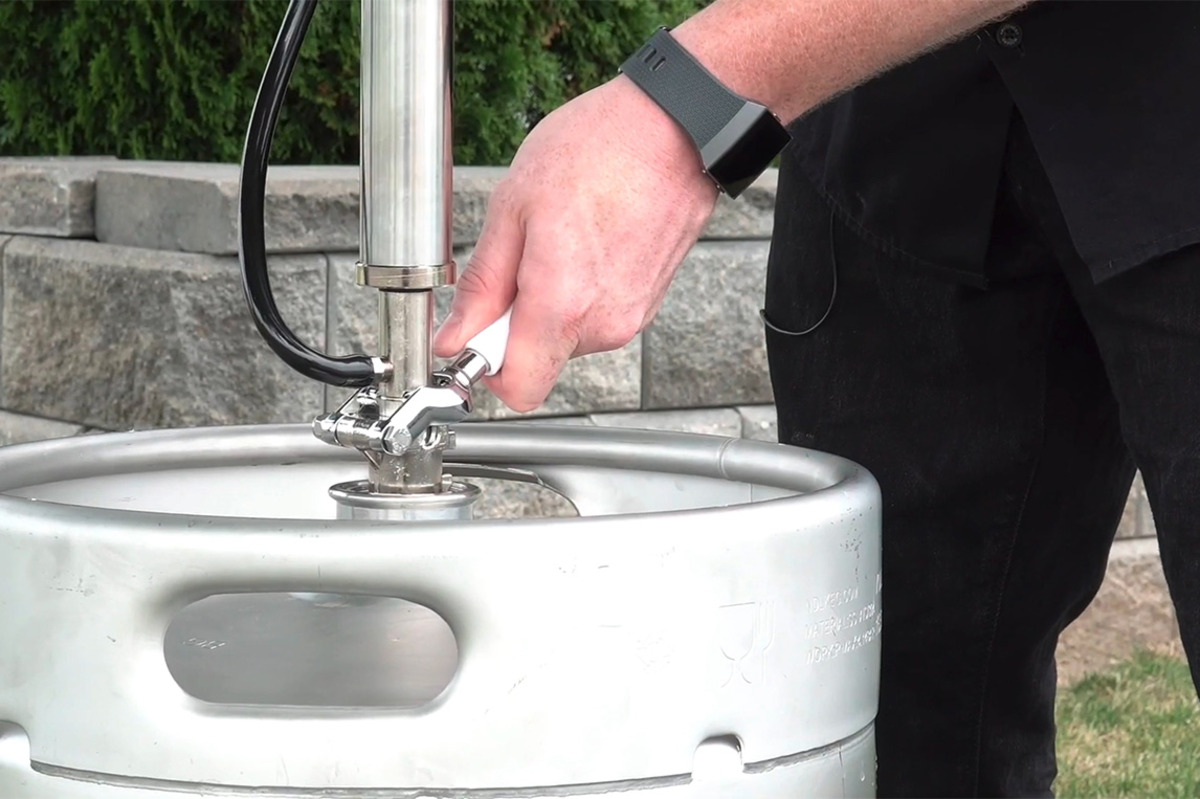
Disconnect the keg and remove the faucet, tap handle, and beer lines from the kegerator. Take note of the order and orientation of the components to ensure proper reassembly later.
3. Soak the Components
Fill a bucket or sink with warm water and add the recommended amount of cleaning solution. Place the faucet, tap handle, and beer lines into the solution, making sure they are fully submerged. Allow them to soak for the recommended duration, usually around 15-30 minutes, to loosen any buildup.
4. Clean the Components
Using a cleaning brush or sponge, scrub the faucet, tap handle, and beer lines gently to remove any residue or bacteria. Pay close attention to hard-to-reach areas and ensure thorough cleaning. Rinse the components with clean water to remove any remaining cleaning solution.
5. Reassemble the Tap System
Once the components are clean and dry, reassemble the tap system in the correct order and orientation. Make sure all connections are secure and tight. Replace any worn-out parts, such as O-rings or seals, if necessary.
6. Flush the System
Reconnect the keg and flush the system with clean water to remove any residual cleaning solution. This is done by running the water through the tap and beer lines until it flows clear and free of any soapy residues.
7. Test the Pour
Pour a small sample of beer to test the pour quality. If the beer flows smoothly and without excessive foam, you have successfully cleaned the tap system. If any issues persist, repeat the cleaning process or consider seeking professional assistance.
Regularly cleaning your kegerator tap system, ideally every two to three months, will help maintain the taste, quality, and performance of your draft beer. It ensures that you can enjoy a refreshing and satisfying pint every time you pour.
Checking for Beer Line Obstructions
If your kegerator tap is not pouring a full glass of beer, one possible culprit could be obstructions in the beer lines. These obstructions can disrupt the smooth flow of beer and result in an incomplete pour. Here are the steps to check for and address beer line obstructions:
1. Visually Inspect the Beer Lines
Start by visually inspecting the beer lines for any visible signs of kinks, bends, or twists. These can restrict the flow of beer and lead to a poor pour. Straighten out any kinks or bends in the lines to ensure a clear path for the beer.
2. Feel for Blockages
Run your fingertips along the length of the beer lines to feel for any blockages. These obstructions could be foreign objects that have entered the system or build-up of debris inside the lines. Gently massage the lines to dislodge any blockages or use a flexible cleaning brush designed for beer lines to remove any obstructions.
3. Flush the Lines
If you suspect that there might be debris or sediment in the beer lines, it’s a good idea to flush them out. Disconnect the keg and attach a cleaning bottle filled with clean water to the tap faucet. Run the water through the lines to flush out any remaining particles. Repeat this process until the water runs clear.
4. Replace Damaged Beer Lines
If you notice any significant damage to the beer lines, such as cracks, leaks, or holes, it’s best to replace them. Damaged lines can impede the flow of beer and affect the pour quality. Purchase new beer lines of the appropriate size and material, and carefully install them following the manufacturer’s instructions.
5. Avoid Line Lengths that are Too Long
Excessive line lengths can cause pressure drops and affect the pour quality. Ideally, the beer lines should be as short as possible while still allowing proper installation and operation. Consult the manufacturer’s guidelines or a keg line length calculator to determine the optimal length for your specific setup.
By checking for beer line obstructions and addressing them accordingly, you can ensure a smooth and complete pour from your kegerator tap. If the issue persists, you can move on to other troubleshooting steps to pinpoint and resolve the problem.
Check for obstructions in the tap line, such as ice or debris. Clean the tap and lines thoroughly to ensure proper flow. If the issue persists, consider checking the CO2 pressure and adjusting as needed.
Read more: How To Two Tap Kegerator
Examining CO2 Pressure
When your kegerator tap is not pouring a full glass of beer, one possible cause is incorrect CO2 pressure. The CO2 pressure plays a crucial role in dispensing beer, and if it is not properly adjusted, it can result in a weak and foamy pour. Here are the steps to examine and adjust the CO2 pressure:
1. Check the CO2 Pressure Gauge
Start by checking the CO2 pressure gauge on your kegerator. It will indicate the current pressure setting. Compare this with the recommended pressure for the style of beer you are dispensing. The ideal pressure will vary depending on factors such as beer style and carbonation level.
2. Adjust the CO2 Regulator
If the current CO2 pressure is not within the recommended range, you will need to adjust the CO2 regulator. Locate the regulator, which is typically attached to the CO2 tank. Depending on the type of regulator, you may need to use a flathead screwdriver or a dial to make adjustments.
3. Increase or Decrease Pressure
If the pressure is too low, you will need to increase it. Turn the adjustment screw or dial clockwise to increase the pressure gradually. If the pressure is too high, you will need to decrease it. Turn the adjustment screw or dial counterclockwise to lower the pressure. Make small adjustments and wait a few minutes between each adjustment to allow the pressure to stabilize.
4. Test the Pour
After making the necessary adjustments, it’s time to test the pour. Dispense a small sample of beer into a glass and observe the pour quality. If the beer flows smoothly without excessive foam and fills the glass as desired, you have achieved the correct CO2 pressure. If the pour is still not satisfactory, continue making small adjustments until you achieve the desired result.
5. Monitor and Fine-Tune as Needed
Once you have achieved the proper CO2 pressure and a satisfactory pour, it’s important to monitor and fine-tune the pressure as needed. Factors such as changes in temperature or carbonation levels might require adjustments to maintain the ideal pressure. Regularly check and adjust the CO2 pressure to ensure consistent and optimal pouring performance.
By examining and adjusting the CO2 pressure, you can significantly improve the pour quality and enjoy a full glass of delicious draft beer from your kegerator tap. If issues persist, you may need to troubleshoot other potential causes or seek professional assistance.
Adjusting Kegerator Temperature
Temperature plays a vital role in ensuring the quality of your kegerator tap pour. If the temperature is not properly set, it can lead to issues such as excessive foam or slow pouring. Adjusting the kegerator temperature can help optimize the pour and ensure a full glass of beer. Follow these steps to adjust the temperature:
1. Consult the Beer Manufacturer’s Recommendations
Start by referring to the beer manufacturer’s recommendations for the ideal serving temperature. Different beer styles have specific temperature requirements to bring out their flavors and aromas. Consulting the guidelines will give you a target temperature to aim for.
2. Locate the Temperature Control Dial
Locate the temperature control dial or knob on your kegerator. It is usually located on the front or side of the unit. The dial may have temperature settings or a numerical scale. Take note of the current temperature setting before making any adjustments.
3. Make Incremental Adjustments
When adjusting the temperature, make small and gradual changes. Turn the dial or knob slightly in the desired direction to increase or decrease the temperature. It is important to make incremental adjustments to allow the kegerator to stabilize at each new temperature setting. Small adjustments are more effective in achieving the desired temperature without causing abrupt fluctuations.
4. Give Time for Temperature Stabilization
After making an adjustment, allow the kegerator sufficient time to stabilize at the new temperature setting. Depending on the model and surrounding conditions, this can take several hours. Avoid making frequent changes to the temperature setting, as it can disrupt the cooling process and lead to inconsistent temperature control.
5. Check the Temperature with a Thermometer
To ensure accuracy, use a thermometer specifically designed for refrigeration to measure the temperature inside the kegerator. Place the thermometer near the keg or in a similar location where the beer will be stored. This will give you an accurate reading of the temperature and allow you to make any necessary further adjustments if needed.
6. Monitor and Fine-Tune as Needed
Once you have achieved the desired temperature, it’s important to monitor it regularly and make any fine-tuning adjustments as needed. Factors such as changes in ambient temperature or the number of kegs in the kegerator may require slight temperature adjustments. Aim for consistency to ensure a consistently full and enjoyable pour.
By adjusting the kegerator temperature, you can optimize the pour and ensure a full glass of beer with the desired taste and carbonation. Remember to follow the beer manufacturer’s recommendations and allow for temperature stabilization between adjustments. With proper temperature control, you can enjoy the perfect pour from your kegerator tap.
Resolving Issues with Faucet
If you are experiencing problems with your kegerator tap not pouring a full glass of beer, issues with the faucet may be to blame. A faulty or worn-out faucet can result in leaks, air introduction, and improper flow, causing an inadequate pour. Here are the steps to resolve issues with the faucet:
1. Inspect the Faucet
Perform a thorough inspection of the faucet to identify any visible signs of wear, damage, or misalignment. Check for loose connections, cracks, or leaks. Pay close attention to the O-rings, seals, and other components for signs of deterioration.
2. Clean the Faucet
Remove the faucet from the kegerator and disassemble it according to the manufacturer’s instructions. Soak the components in a cleaning solution specifically designed for draft systems to dissolve any built-up residue or bacteria. Use a soft brush to gently scrub the faucet parts and ensure they are thoroughly cleaned. Rinse the components with clean water and allow them to dry completely before reassembling.
3. Replace Faulty Components
If you identify any faulty or worn-out components during the inspection, such as damaged O-rings or seals, it’s important to replace them. These parts are crucial for a proper seal and smooth flow. Purchase replacement parts that are compatible with your specific faucet model and follow the manufacturer’s instructions for installation.
4. Check Faucet Alignment
Improper alignment of the faucet can cause pouring issues. Ensure that the faucet is securely attached and aligned properly with the beer line. Make any necessary adjustments to ensure a tight and straight connection.
5. Lubricate Moving Parts
Apply a food-grade lubricant to the moving parts of the faucet, such as the shaft and handle, to ensure smooth operation. This can help prevent sticking or seizing, allowing for a better pour.
6. Test the Pour
After cleaning and making any necessary repairs or adjustments, test the kegerator tap by pouring a small sample of beer. Observe the pour quality and ensure that it fills the glass properly without excessive foam or interruptions. If the pour is still not satisfactory, repeat the cleaning and inspection process, or consider consulting a professional for additional assistance.
By addressing issues with the faucet, you can improve the performance and pour quality from your kegerator tap. Regular maintenance, cleaning, and replacing worn-out components are key to ensuring a full and enjoyable glass of beer every time you pour.
Conclusion
A properly functioning kegerator tap is essential for enjoying a full glass of beer with the perfect pour. If you find that your kegerator tap is not pouring a full glass of beer when it’s wide open, it can be frustrating. However, by understanding the common causes and following the troubleshooting steps outlined in this article, you can resolve the issue and get back to enjoying your favorite brew.
We explored common causes for a kegerator tap not pouring full, including dirty tap lines, beer line obstructions, incorrect CO2 pressure, temperature fluctuations, and faucet issues. By systematically troubleshooting these potential problems, you can identify and address the underlying issues.
Cleaning the tap system is essential to remove beer residue, yeast, and bacteria that can build up and obstruct the flow of beer. Regular maintenance and cleaning will ensure optimal performance and a better pour. Checking for beer line obstructions and clearing any foreign objects or debris will also help improve pour quality.
Examining and adjusting the CO2 pressure is crucial to achieving a balanced pour. CO2 pressure that is too low or too high can result in weak or excessively foamy pours. Adjusting the kegerator temperature to the recommended range for your beer style will help ensure optimal pouring performance and taste.
Resolving issues with the faucet, such as cleaning, replacing faulty components, and ensuring proper alignment, can greatly improve the pour quality and prevent leaks or air introduction. Regular maintenance and lubrication of moving parts will help maintain smooth operation.
In conclusion, troubleshooting and resolving issues with your kegerator tap not pouring a full glass require attentiveness and patience. By following the steps outlined in this article, you can diagnose and address common problems, resulting in a satisfying pour every time. Remember to consult manufacturer guidelines and seek professional assistance if needed. Cheers and enjoy your perfectly poured draft beer!
Frequently Asked Questions about Kegerator Tap Not Pouring Full When Wide Open
Was this page helpful?
At Storables.com, we guarantee accurate and reliable information. Our content, validated by Expert Board Contributors, is crafted following stringent Editorial Policies. We're committed to providing you with well-researched, expert-backed insights for all your informational needs.



0 thoughts on “Kegerator Tap Not Pouring Full When Wide Open”