Articles
What Is The Switch On The Ceiling Fan For
Modified: January 6, 2024
Discover the purpose of the switch on the ceiling fan with this helpful article. Learn what it does and how to use it for maximum comfort and convenience.
(Many of the links in this article redirect to a specific reviewed product. Your purchase of these products through affiliate links helps to generate commission for Storables.com, at no extra cost. Learn more)
Introduction
Have you ever looked up at your ceiling fan and wondered what the switch on it is for? It’s not uncommon to be unfamiliar with the different functions and settings of a ceiling fan switch. Many people simply turn on their fan using the switch without realizing its full potential. In this article, we will explore the purpose of the switch on a ceiling fan and how it can enhance your comfort and energy efficiency. So, let’s dive in and uncover the mysteries of the ceiling fan switch.
Before we delve into the specifics of the switch, let’s first understand the primary function of a ceiling fan. A ceiling fan is an essential component of any room, providing a cooling breeze during warm months and circulating warm air during cold months. By understanding how the switch operates, you’ll be able to optimize your fan’s performance and create a comfortable environment all year round.
Key Takeaways:
- The switch on a ceiling fan controls speed, direction, and overall functionality, allowing you to optimize comfort and energy efficiency in your space.
- Understanding the different positions and functions of the switch empowers you to customize airflow, troubleshoot common issues, and maximize the potential of your ceiling fan.
Read more: How To Replace Ceiling Fan Light Switch
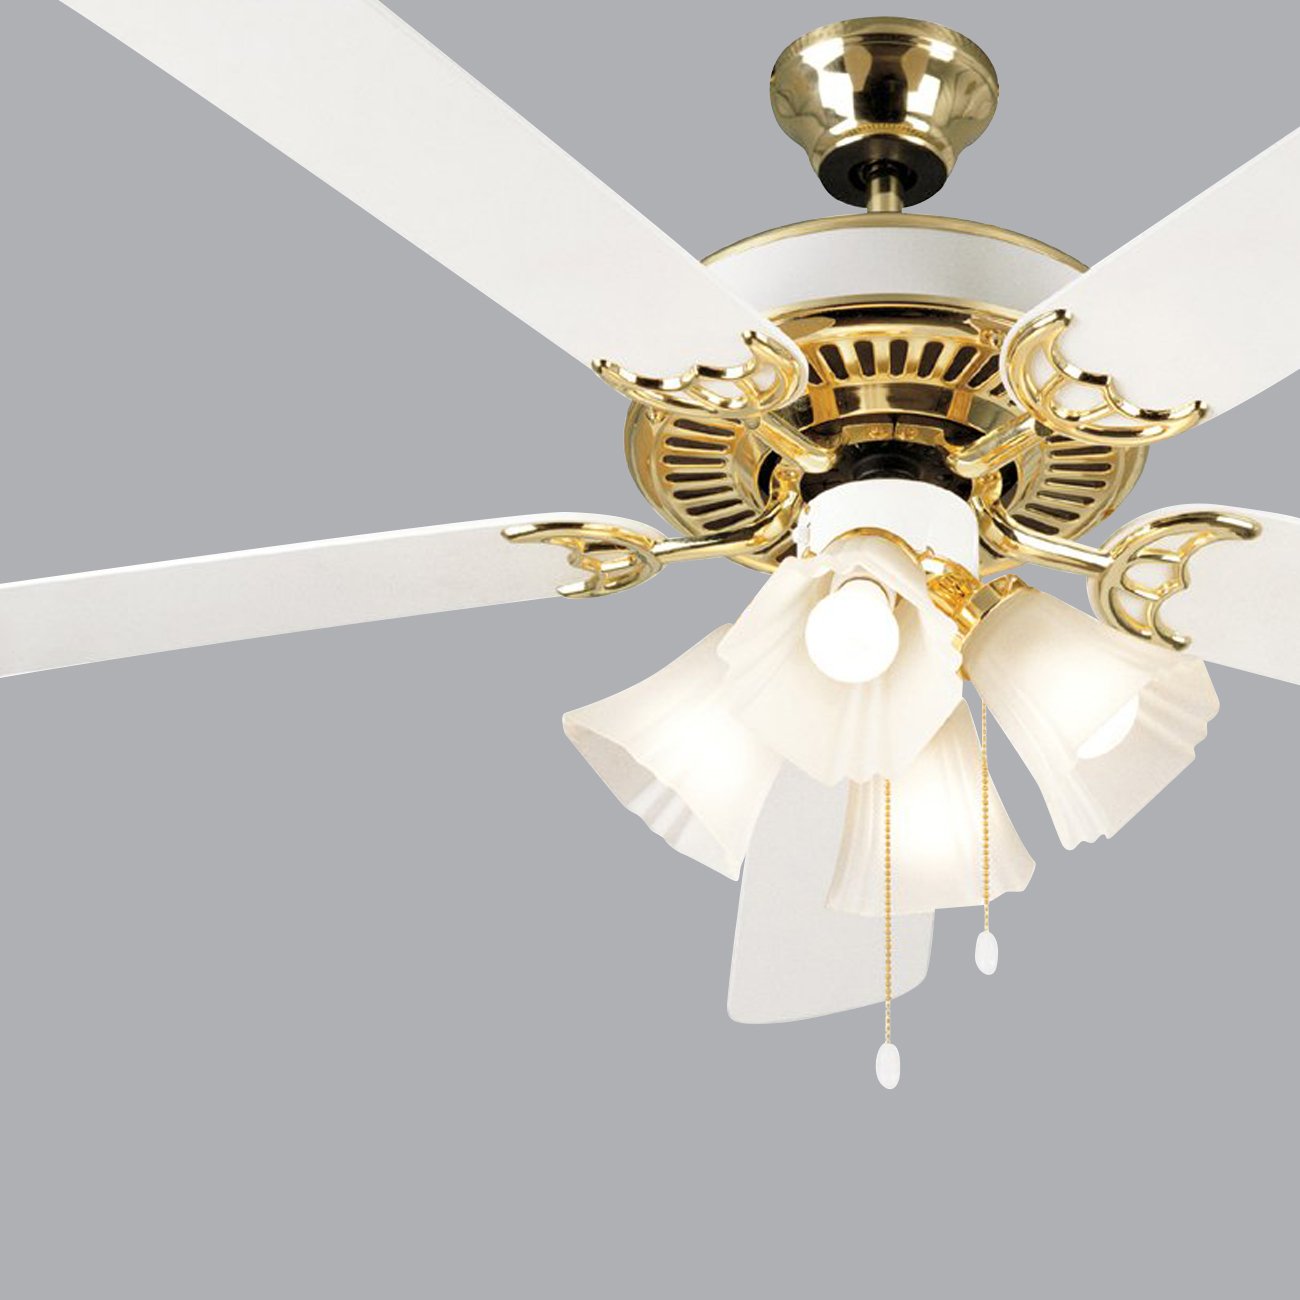
Function of a Ceiling Fan
A ceiling fan serves multiple purposes in a room. Its main function is to provide airflow, which helps to regulate the temperature and create a comfortable indoor environment. During hot weather, a ceiling fan creates a cooling effect through the wind chill effect, making you feel cooler by increasing the evaporation of sweat from your skin. This can create a perceived temperature reduction of up to 4 degrees Fahrenheit.
Additionally, a ceiling fan can be used in conjunction with an air conditioner to improve energy efficiency. By using a ceiling fan along with your AC, you can set the thermostat a few degrees higher without sacrificing comfort. The air circulation created by the fan helps to distribute the cooled air more effectively, reducing the workload on your air conditioning system and potentially lowering your energy bills.
Besides providing airflow and temperature regulation, a ceiling fan can also enhance the aesthetics of a room. With a variety of styles, sizes, and finishes to choose from, ceiling fans can complement the décor and become a focal point in any space.
Now that we understand the primary function of a ceiling fan, let’s explore the switch located on it and unravel its purpose.
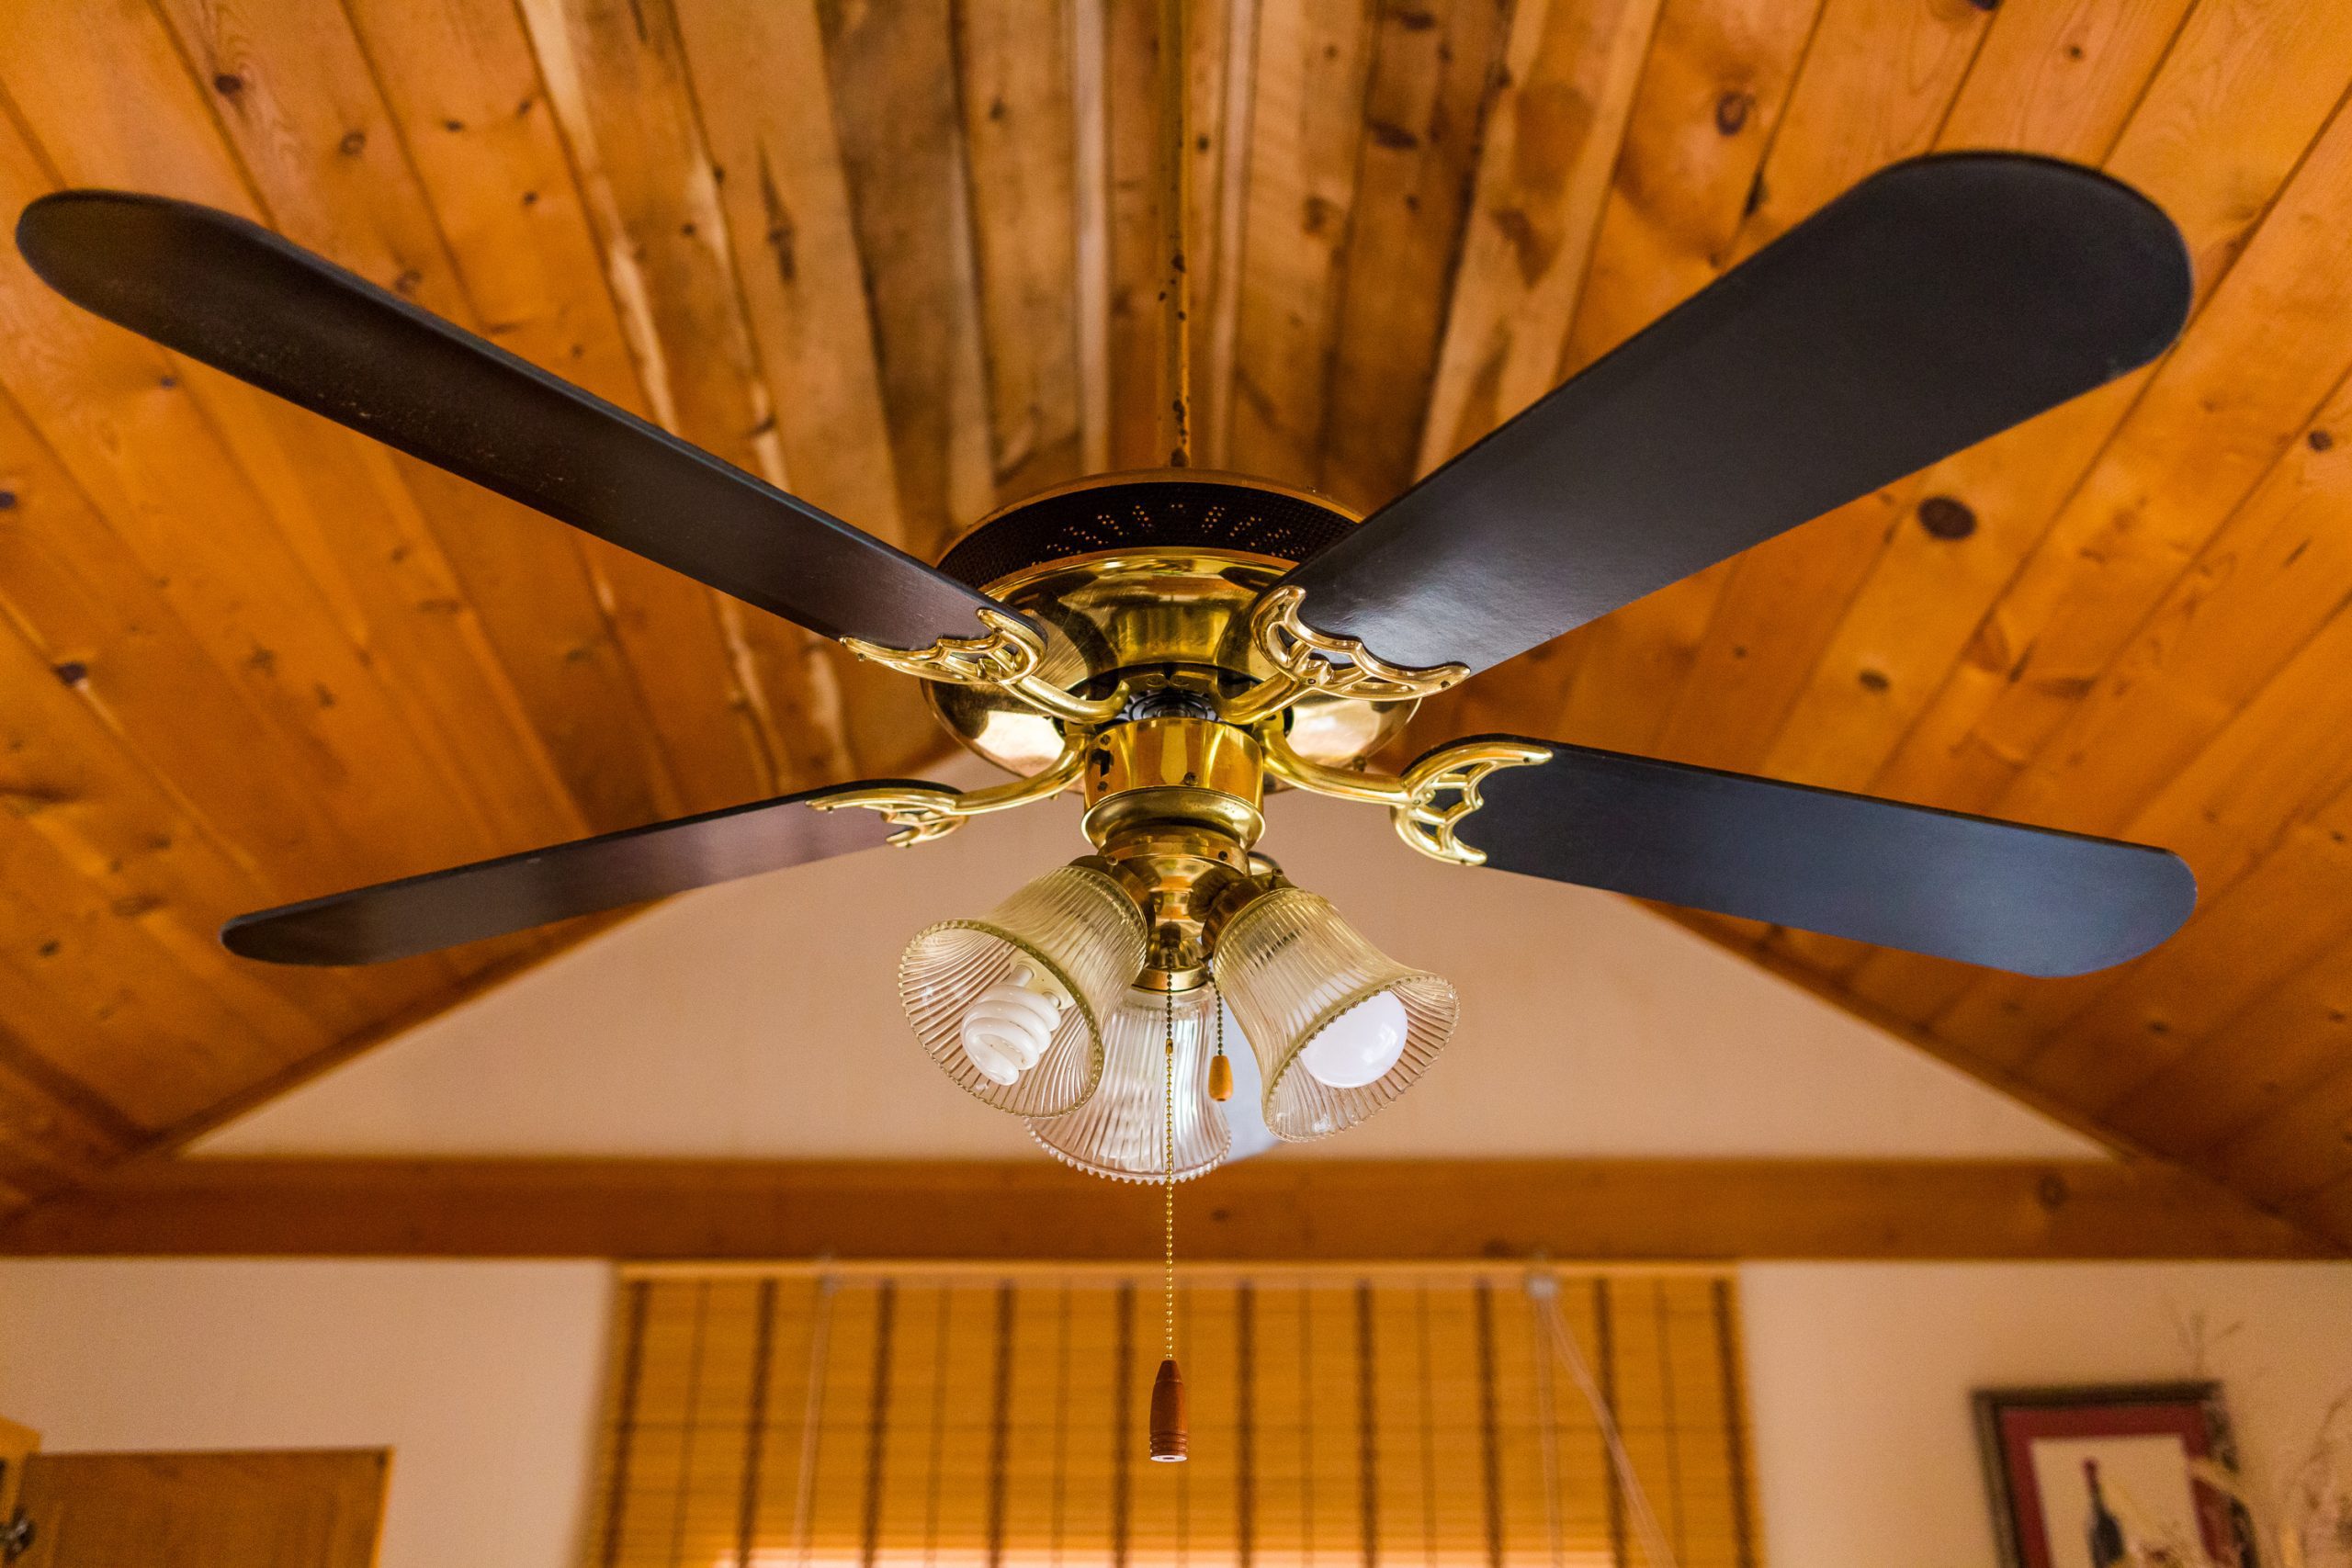
Understanding the Switch on a Ceiling Fan
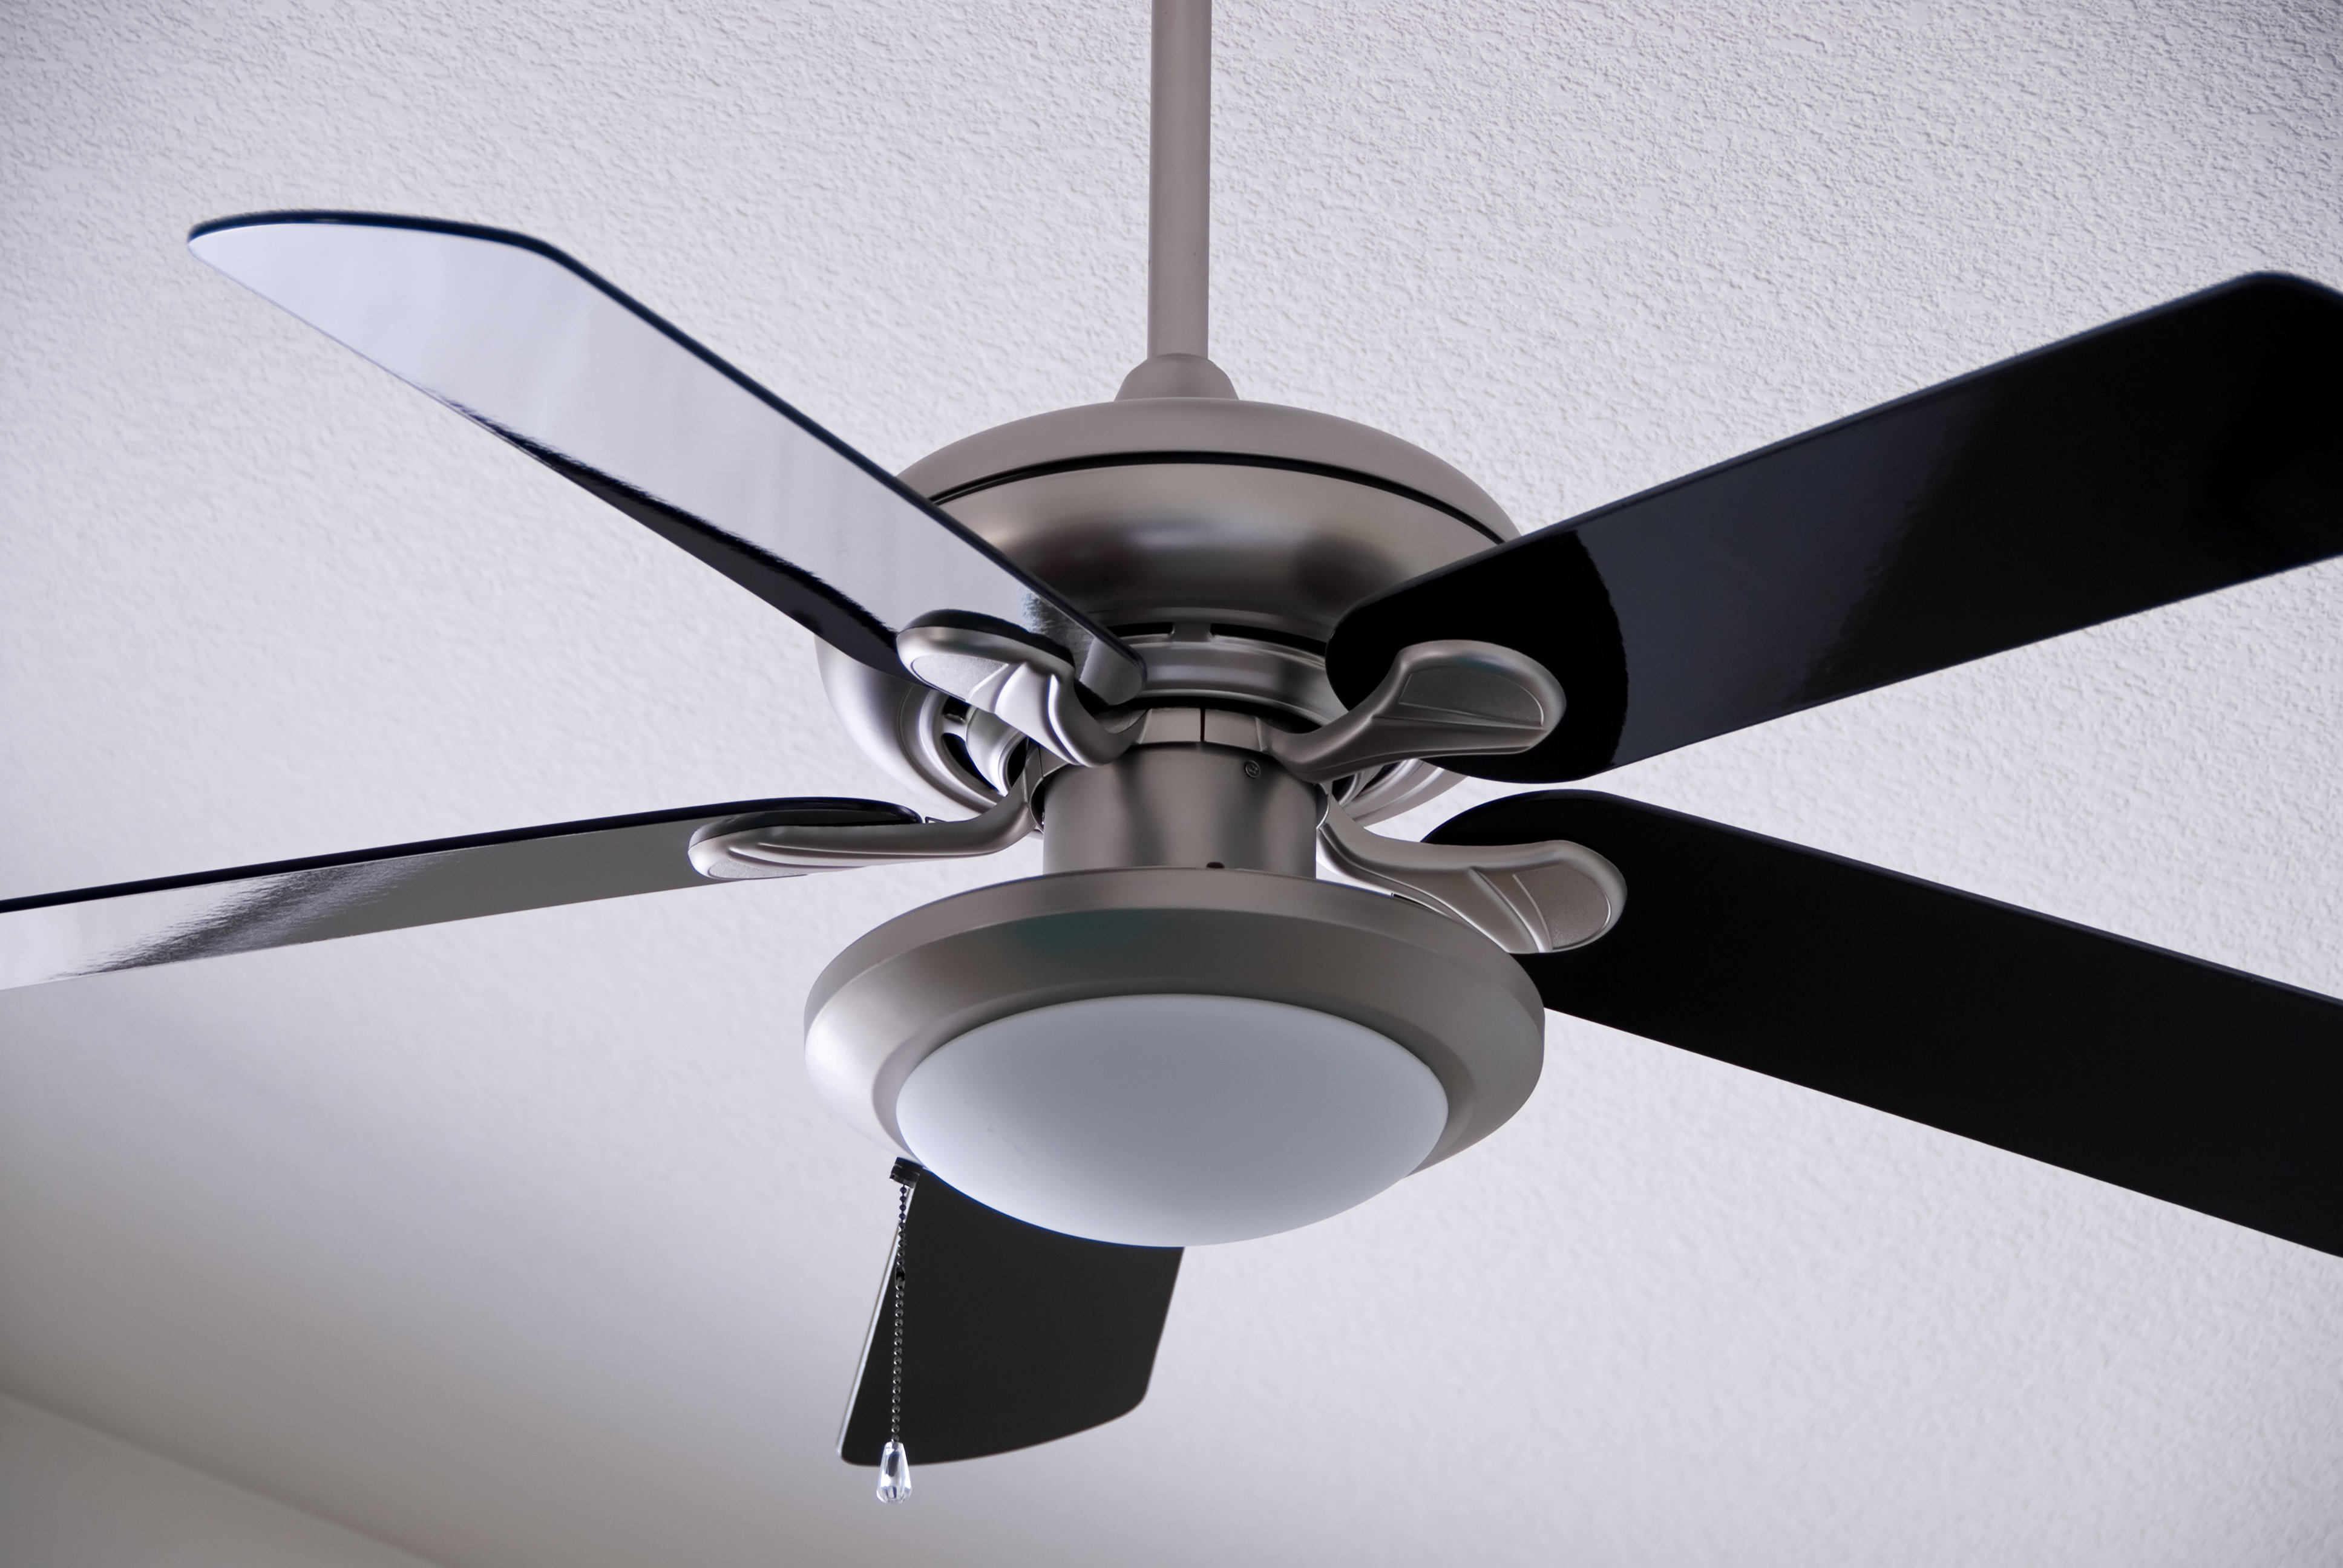
The switch on a ceiling fan is the control mechanism that allows you to turn the fan on or off, adjust its speed, and even change the direction of the airflow. It is usually located either on the fan itself or on the wall, depending on the type of fan you have.
The switch is typically a toggle switch with multiple positions, each representing a different function or setting. Understanding these different positions is key to harnessing the full capabilities of your ceiling fan. Let’s break down the components of the ceiling fan switch and explore what each position signifies.
1. Off: This position turns the fan off completely. The blades will stop spinning, and the fan will not generate any airflow. It is essential to switch the fan off when not in use to save energy and prevent unnecessary wear and tear.
2. Low Speed: Moving the switch to the first position after the off position will set the fan to its lowest speed setting. This speed is ideal for gentle airflow and creating a subtle breeze in the room. It is suitable for mild weather conditions or when you want a gentle cooling effect.
3. Medium Speed: The second position on the switch represents the medium speed setting of the fan. This speed generates a slightly stronger airflow compared to the low speed setting. It provides a comfortable breeze without being too overpowering. This speed is commonly used for everyday cooling purposes.
4. High Speed: Moving the switch to the third position activates the high speed setting on the fan. This setting generates a powerful breeze, making it ideal for hot or humid weather conditions when you need maximum cooling. It is also helpful for larger rooms or areas where you want to distribute air more effectively.
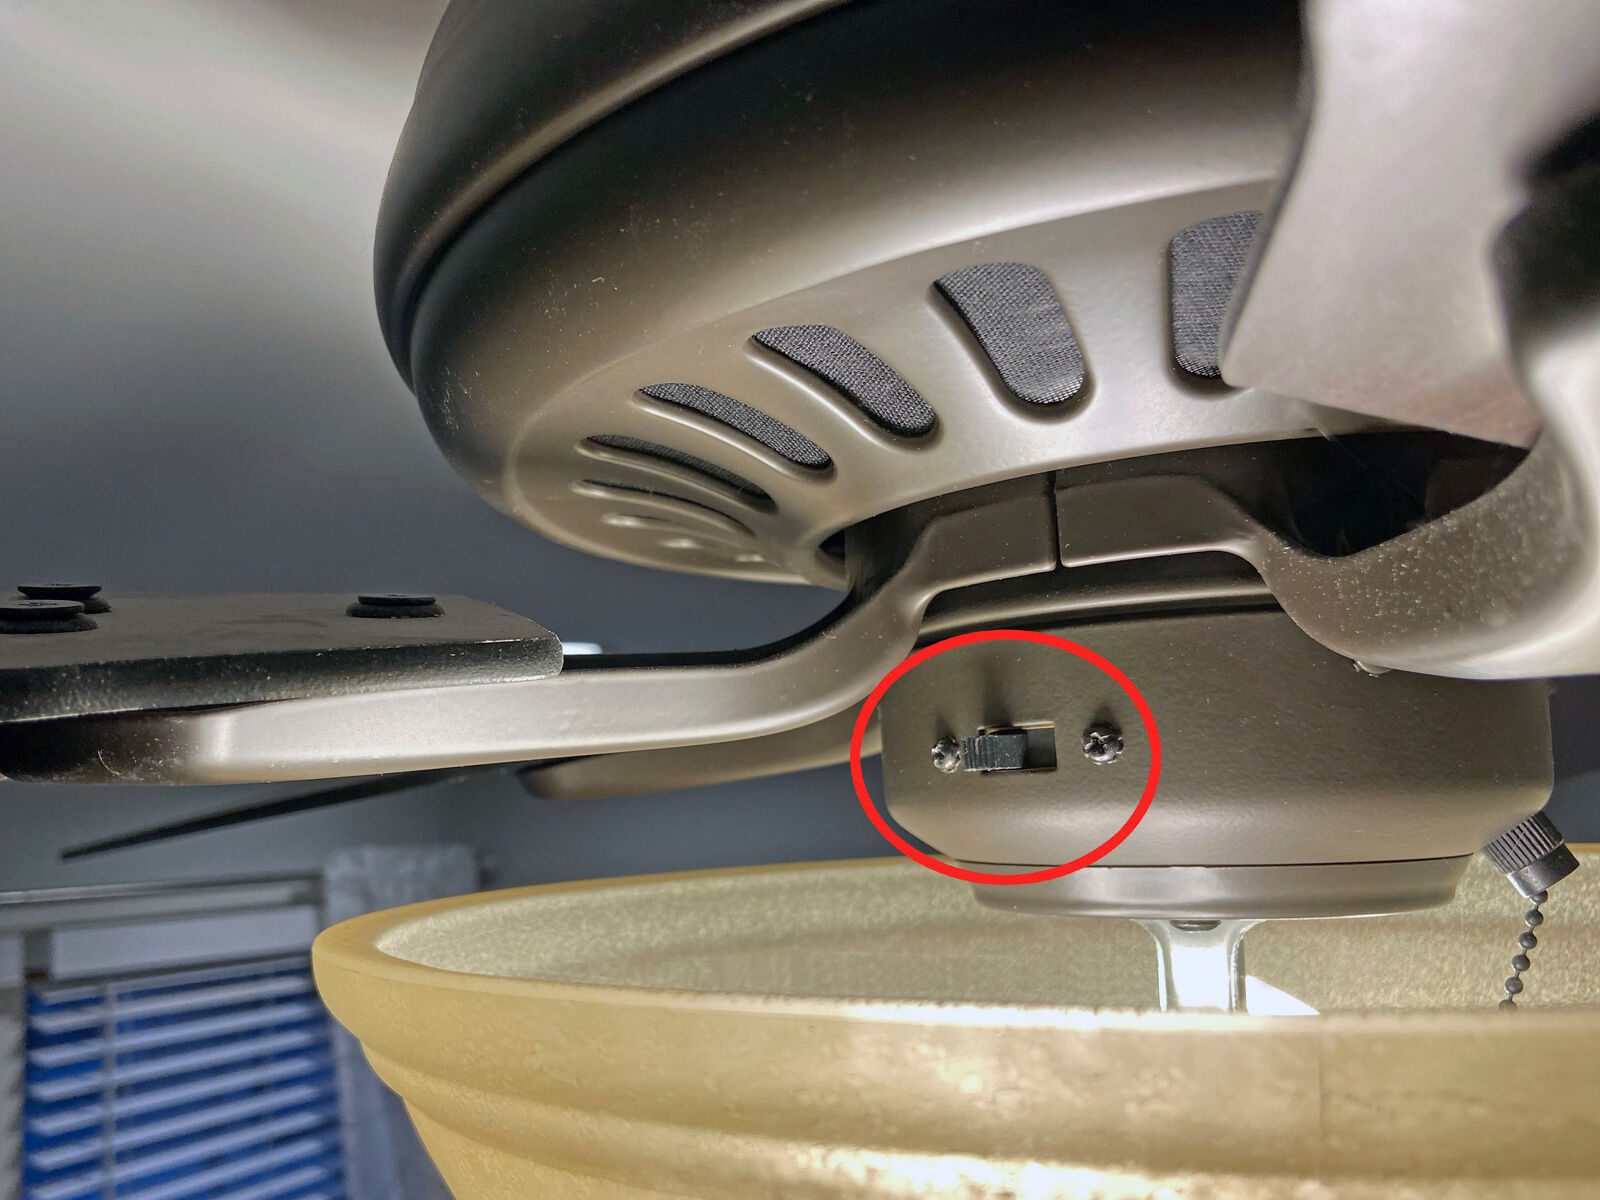
5. Reverse: Many ceiling fans have a reverse function, which allows you to change the direction of the airflow. This position is usually marked with an “R” or an arrow pointing in the opposite direction. By switching to the reverse mode, the fan blades rotate in the opposite direction, creating an upward airflow. This is beneficial during colder months as it helps to circulate warm air trapped near the ceiling back down into the room, improving heating efficiency.
Now that we have covered the different positions of the ceiling fan switch, let’s explore how you can use it to control the fan speed and direction of airflow.
Components of the Ceiling Fan Switch
To understand the functioning of the ceiling fan switch, it’s important to familiarize yourself with its components. The switch consists of several key elements that allow you to control the fan’s various settings. Let’s take a closer look at these components:
- Toggle: The toggle is the main switch mechanism that you interact with to change the fan’s settings. It typically has a lever or button-like structure that you can flip or press to activate a specific function. The toggle is designed to be easily accessible and user-friendly.
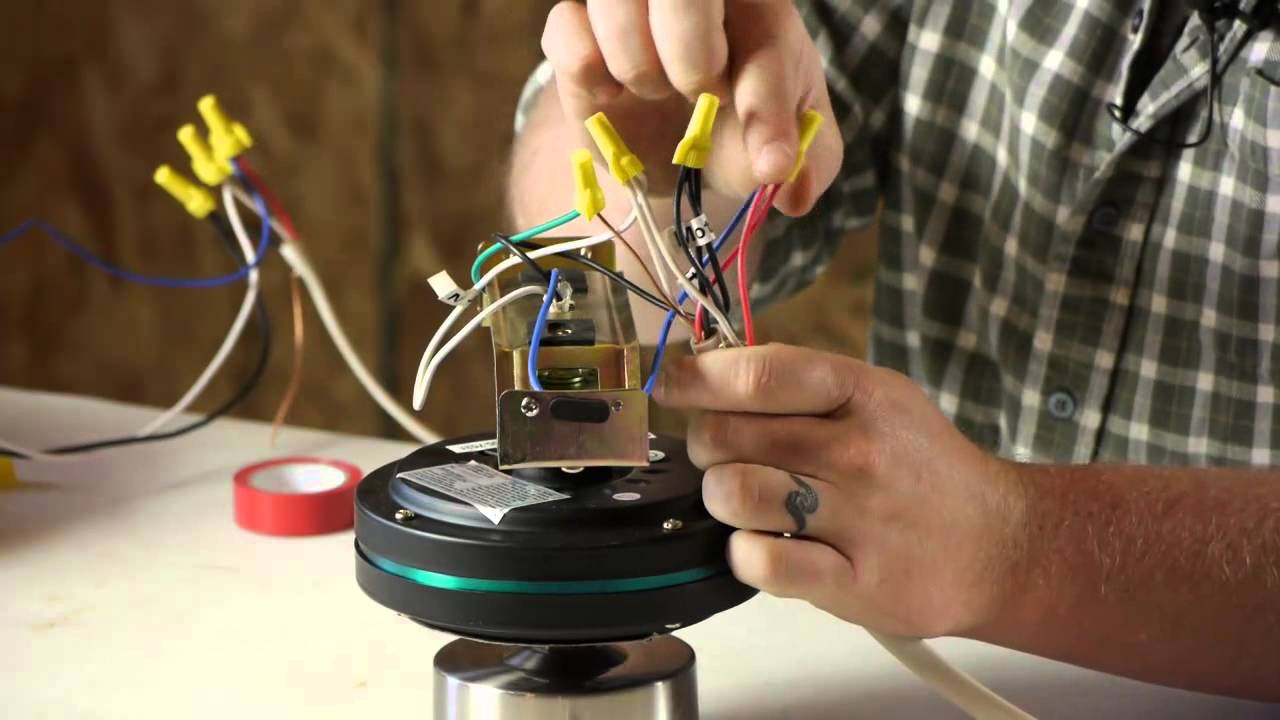
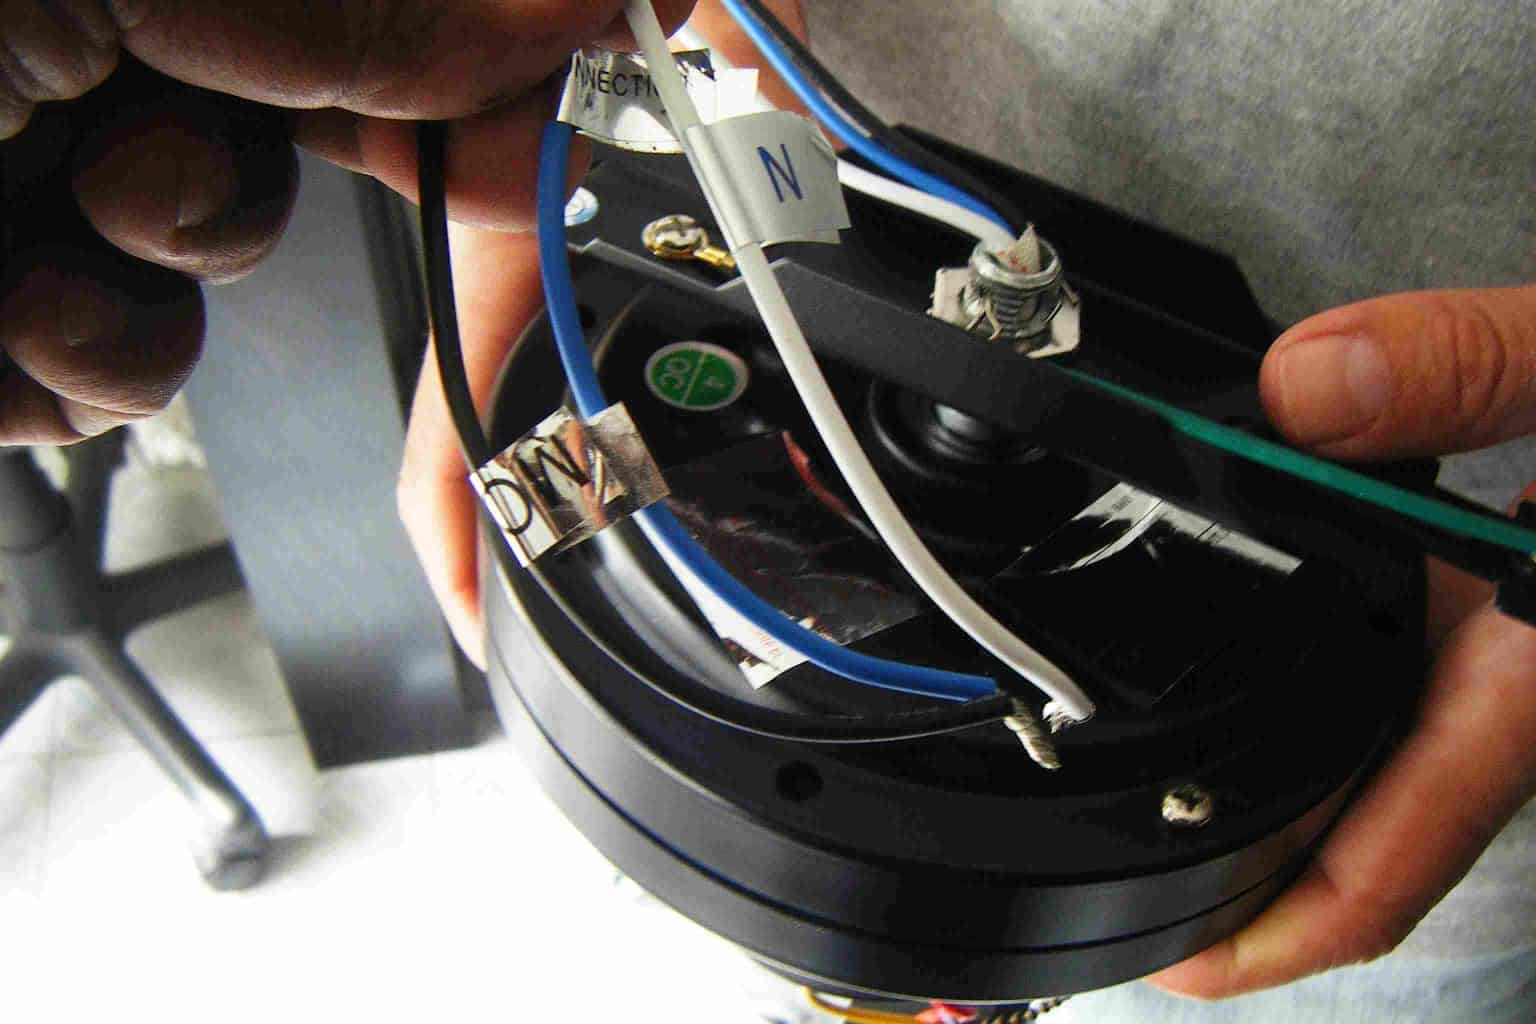
- Poles and Contacts: Inside the switch, you’ll find poles and contacts that facilitate the electrical connections necessary for the fan to function. These poles and contacts are responsible for transmitting the electricity and controlling the fan’s speed and direction.
- Wires: The switch is connected to the fan’s electrical system via wires. These wires carry the electrical current to the switch, allowing it to control the fan’s operation. Different wires are responsible for different functions, such as powering the fan, adjusting the speed, and changing the direction of the airflow.
- Capacitor: Some ceiling fans may have a capacitor connected to the switch. The capacitor stores electrical energy and helps regulate the fan’s motor speed. It acts as a temporary power source, providing the necessary boost to start the fan and maintain its speed.
Now that we’ve explored the components of the ceiling fan switch, let’s examine the different positions it can be set to and how they control the fan’s speed and direction.
Different Positions of the Ceiling Fan Switch
The switch on a ceiling fan typically has several positions that correspond to different functions and settings. Understanding these positions is essential for effectively controlling your fan’s speed and direction. Let’s take a closer look at the different positions of the ceiling fan switch:
- Off: This is the starting position of the switch. When the switch is in the “Off” position, the fan is completely turned off, and there is no airflow.
- Low Speed: Moving the switch to the first position after “Off” sets the fan to its lowest speed. In this setting, the fan blades rotate at a slow pace, creating a gentle breeze. This is ideal for mild weather conditions or when you just want a subtle cooling effect.
- Medium Speed: The next position on the switch represents the medium speed setting. When the switch is in this position, the fan blades rotate faster, generating a more noticeable airflow. This setting provides a comfortable breeze without being too overpowering and is suitable for everyday use.
- High Speed: Moving the switch to the third position activates the high-speed setting. In this position, the fan blades rotate at their fastest speed, creating a powerful breeze. This setting is beneficial during hot summer days or when you need maximum cooling power. It is also useful for larger rooms or areas where you want to circulate the air more effectively.
- Reverse: Some ceiling fans offer a reverse function, indicated by an “R” or an arrow pointing in the opposite direction. When the switch is in reverse mode, the fan blades rotate in the opposite direction. This creates an upward airflow, which is useful during colder months. By circulating the warm air that accumulates near the ceiling down into the room, the reverse mode helps improve heating efficiency and keeps you warm and comfortable.
By understanding the different positions of the ceiling fan switch and their corresponding functions, you can easily adjust your fan’s speed and direction to suit your comfort needs and the prevailing weather conditions.
The switch on the ceiling fan is used to control the fan’s direction. In the summer, the fan should rotate counterclockwise to create a cooling breeze, while in the winter, it should rotate clockwise to circulate warm air.
Read also: 12 Amazing Ceiling Fan Switch for 2024
Controlling Fan Speed with the Switch
The switch on a ceiling fan plays a crucial role in controlling the speed of the fan. With its multiple positions, the switch allows you to adjust the fan’s speed to your desired level of airflow. Let’s explore how you can effectively control the fan speed with the switch:
1. Low Speed: To set the fan at its lowest speed, move the switch to the first position after the “Off” position. This setting is ideal for creating a gentle airflow and a subtle breeze in the room. It is suitable for mild weather conditions or when you want a gentle cooling effect.
2. Medium Speed: The next position on the switch represents the medium speed setting. When you move the switch to this position, the fan blades rotate faster, generating a more noticeable airflow. This speed provides a comfortable breeze without being too overpowering. It is commonly used for everyday cooling purposes.
3. High Speed: Moving the switch to the third position activates the high-speed setting of the fan. In this setting, the fan blades rotate at their maximum speed, creating a powerful and refreshing breeze. This speed is ideal for hot summer days or when you need maximum cooling power. It is also useful for larger rooms or areas where you want to circulate the air more effectively.
By adjusting the switch to the desired speed setting, you can easily control the fan’s airflow and create the level of comfort that suits your preferences. Whether you prefer a gentle breeze or a powerful cooling effect, the switch allows you to customize the fan’s speed accordingly.
It’s important to note that the number of speed options may vary depending on the model of the ceiling fan. Some fans may have additional speed settings, allowing for more precise airflow control. Refer to the manufacturer’s instructions or the fan’s documentation to familiarize yourself with the specific speed options available for your fan.
Now that we’ve explored how to control the fan’s speed with the switch, let’s move on to another important function of the ceiling fan switch: changing the direction of the airflow.
Using the Switch for Fan Direction
In addition to controlling the speed of a ceiling fan, the switch also allows you to change the direction of the airflow. This feature is particularly useful during different seasons and can enhance the overall efficiency and comfort of your fan. Let’s explore how you can use the switch to change the fan’s direction:
1. Forward Direction: The forward direction is the default setting for most ceiling fans. In this position, the fan blades rotate in a counterclockwise direction, pushing air downward. This creates a cooling effect by creating a breeze that helps evaporate moisture on your skin, making you feel cooler. The forward direction is ideal for warm weather conditions when you want to experience the cooling benefits of a ceiling fan.
2. Reverse Direction: Many ceiling fans offer a reverse function, indicated by an “R” or an arrow pointing in the opposite direction on the switch. When you switch the fan to the reverse mode, the blades rotate in a clockwise direction, creating an upward airflow. This mode is beneficial during colder months. By circulating the warm air that rises to the ceiling back down into the room, the reverse direction helps improve heating efficiency and keeps you warm and comfortable.
Changing the direction of the fan’s blades is a simple and effective way to optimize your fan’s performance according to the prevailing weather conditions. During the summer, use the forward direction to create a cooling breeze, while in the winter, switch to the reverse direction to circulate warm air and improve heating efficiency.
It is worth noting that not all ceiling fans have a reverse function. If you are unsure whether your fan has this feature, refer to the manufacturer’s documentation or consult a professional electrician.
Now that we have explored how to change the direction of the fan’s airflow using the switch, let’s move on to troubleshooting common issues that may arise with the ceiling fan switch.
Troubleshooting Common Issues with the Ceiling Fan Switch
While the ceiling fan switch is designed to function smoothly, like any electrical component, it can sometimes encounter issues. Fortunately, many common problems with the switch can be resolved with a few simple troubleshooting steps. Let’s take a look at some common issues and how to troubleshoot them:
1. Fan not turning on: If the fan does not turn on when you flip the switch, check if it is properly connected to a power source. Ensure that the switch is in the “On” position and that the circuit breaker or fuse for the fan is not tripped or blown. If the wiring appears to be intact and the power supply is functioning correctly, there may be a faulty switch that needs to be replaced.
2. Inconsistent or erratic fan speed: If you notice that the fan speed is inconsistent or the fan operates at an erratic speed, it could indicate a problem with the switch or the fan’s electrical system. Check the wiring connections between the switch and the fan to ensure they are secure. If the issue persists, it may be necessary to replace the switch or seek professional assistance.
3. Switch feels hot or sparks: If the switch feels hot to the touch or if you notice sparks coming from the switch, immediately turn off the fan and disconnect the power supply. This could be a sign of a wiring problem or a faulty switch. It is crucial to address this issue promptly to prevent any potential fire hazards. Contact a licensed electrician to inspect and repair the switch.
4. Switch not changing fan direction: If the switch does not effectively change the direction of the fan’s blades, first ensure that the switch is in the proper position for reverse mode. If the blades still rotate in the same direction, there may be a problem with the switch’s wiring or the reverse function within the fan itself. Refer to the manufacturer’s instructions or consult a professional for further assistance.
5. Switch feels loose or wobbly: If the switch feels loose or wobbly, it may have come loose from its mounting or have a broken internal mechanism. In such cases, you may need to tighten the switch or replace it with a new one to ensure proper functionality.
If you encounter any of these issues or have other concerns about the ceiling fan switch, it is always recommended to consult the manufacturer’s instructions or contact a professional electrician. They have the expertise to diagnose and resolve any electrical issues with your ceiling fan switch.
Now that we have covered troubleshooting common issues, let’s summarize what we’ve learned and conclude our exploration of the ceiling fan switch.
Conclusion
The switch on a ceiling fan may seem like a simple component, but it plays a vital role in controlling the fan’s operation and enhancing your comfort. By understanding the various positions and functions of the switch, you can optimize the performance of your ceiling fan and create a comfortable environment all year round.
We learned that the primary function of a ceiling fan is to provide airflow and regulate temperature. The switch on the fan allows you to turn the fan on or off, adjust its speed, and change the direction of the airflow.
The different positions of the ceiling fan switch, such as low, medium, and high speed, provide options to customize the airflow according to your preference and the prevailing weather conditions. Additionally, the reverse mode allows you to circulate warm air during colder months, improving heating efficiency.
Understanding the components of the switch, such as the toggle, poles, contacts, wires, and capacitor, helps us appreciate how these elements work together to control the fan’s operation.
It is essential to troubleshoot common issues with the ceiling fan switch, including fan not turning on, inconsistent speed, switch feeling hot, and switch not changing fan direction. By diagnosing and addressing these problems, you can ensure the optimal functionality and safety of your ceiling fan.
In conclusion, the switch on a ceiling fan serves as the control hub, allowing you to adjust the fan’s speed, direction, and overall functionality. By harnessing the power of the switch and understanding its capabilities, you can create a comfortable and energy-efficient environment in your space.
Now that you have a comprehensive understanding of the ceiling fan switch, you can confidently utilize its features and maximize the potential of your ceiling fan for years to come.
Frequently Asked Questions about What Is The Switch On The Ceiling Fan For
Was this page helpful?
At Storables.com, we guarantee accurate and reliable information. Our content, validated by Expert Board Contributors, is crafted following stringent Editorial Policies. We're committed to providing you with well-researched, expert-backed insights for all your informational needs.


0 thoughts on “What Is The Switch On The Ceiling Fan For”