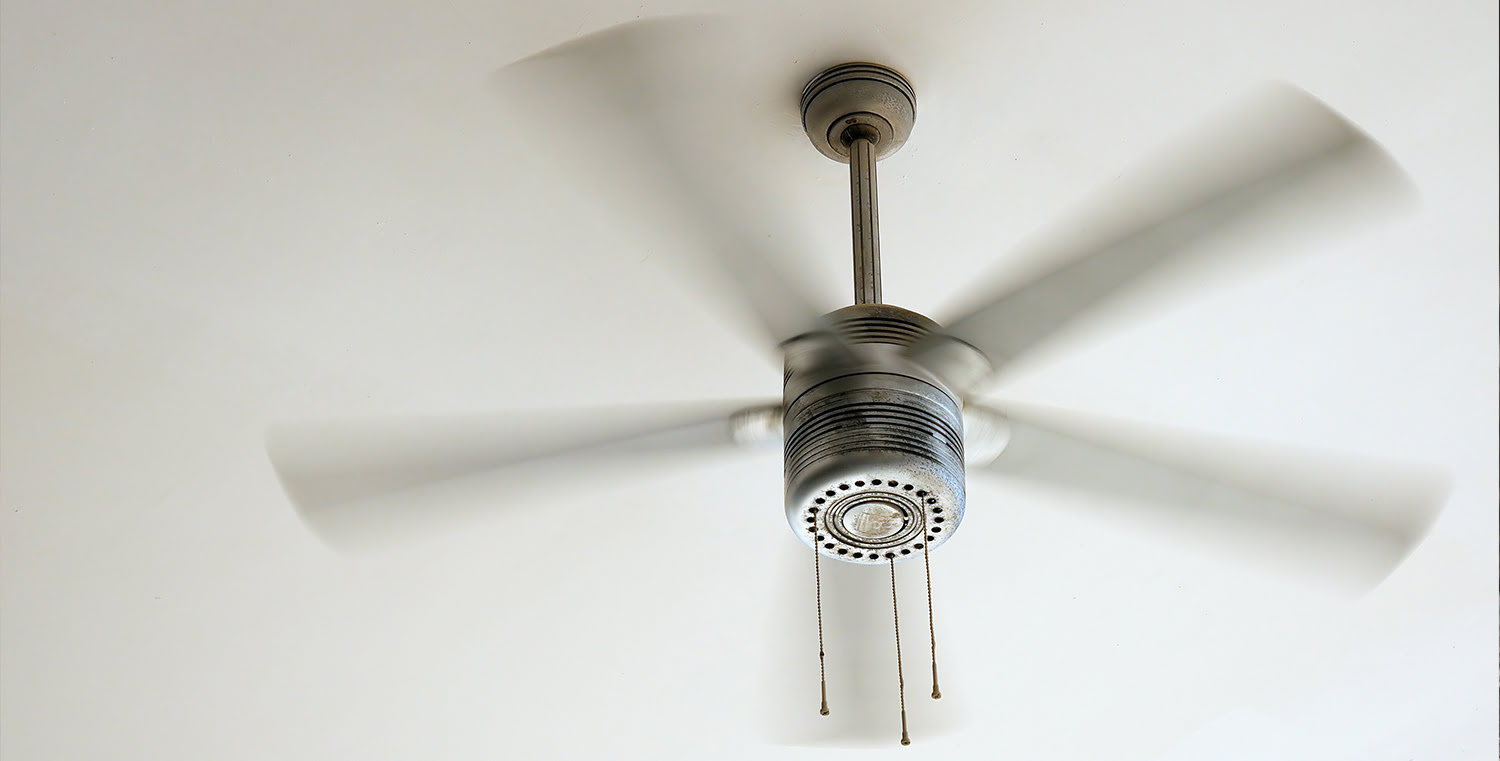
Home>Articles>How To Hook Up A Dimmer Switch To A Ceiling Fan
Articles
How To Hook Up A Dimmer Switch To A Ceiling Fan
Modified: August 27, 2024
Learn how to easily hook up a dimmer switch to a ceiling fan with our informative articles. Enhance the ambiance and control the brightness with ease.
(Many of the links in this article redirect to a specific reviewed product. Your purchase of these products through affiliate links helps to generate commission for Storables.com, at no extra cost. Learn more)
Introduction
Adding a dimmer switch to a ceiling fan can greatly enhance the ambiance and functionality of a room. By installing a dimmer switch, you can easily adjust the lighting intensity and create the desired mood for any occasion. Whether you want to enjoy a soft and relaxing glow during a cozy evening or need bright lighting for a task, a dimmer switch offers flexibility and control.
However, it’s important to follow safety precautions and properly connect the dimmer switch to ensure smooth operation. This article will guide you through the steps to successfully hook up a dimmer switch to a ceiling fan. By following these instructions and using the right tools, you can transform the lighting experience in your space.
Before diving into the installation process, it’s crucial to prioritize safety. Make sure to turn off the power to the circuit you’ll be working on, and use appropriate safety gear, such as gloves and goggles. Additionally, if you’re unsure about any step or encounter unfamiliar electrical wiring, it’s always a good idea to consult a professional electrician.
Now, let’s take a look at the tools and materials you’ll need to complete this project.
Key Takeaways:
- Transform the ambiance and functionality of any room by adding a dimmer switch to a ceiling fan. Enjoy the flexibility to adjust lighting intensity for any occasion, creating the perfect atmosphere.
- Prioritize safety, gather the right tools, and follow the step-by-step guide to successfully hook up a dimmer switch to a ceiling fan. Enjoy enhanced lighting control and ambiance in your space.
Read more: How To Hook Up A Ceiling Fan
Safety Precautions
Before starting any electrical project, safety should be your top priority. Here are some important safety precautions to follow when hooking up a dimmer switch to a ceiling fan:
- Turn off the power: Before beginning any work, ensure that the power to the circuit you’ll be working on is turned off. Locate the breaker switch or fuse for the circuit and turn it off to prevent any electrical accidents.
- Use appropriate safety gear: Safety should never be compromised. Wear protective gear such as gloves and safety goggles to protect yourself from any potential hazards.
- Double-check the power: After turning off the circuit breaker, use a voltage tester to verify that there is no electrical current flowing through the wires before proceeding with any work.
- Read the manufacturer’s instructions: Every dimmer switch may have specific installation instructions provided by the manufacturer. Make sure to read and understand these instructions before starting the installation process.
- Avoid working in wet conditions: Moisture and electricity are a dangerous combination. Avoid working on electrical projects in wet or damp conditions to prevent the risk of electric shocks.
- Keep children and pets away: It’s important to create a safe work environment by ensuring that children and pets are kept away from the work area. This will prevent any accidental injuries or disturbances during the installation process.
- Don’t overload the circuit: Dimmer switches have specific wattage limitations. Make sure that the total wattage of the bulbs connected to the dimmer switch doesn’t exceed the maximum wattage allowed. Overloading the circuit can cause overheating and fire hazards.
- Secure wire connections properly: When connecting wires, make sure they are properly stripped and securely connected. Loose or exposed wires can lead to electrical malfunctions or short circuits.
- If in doubt, consult a professional: If you’re unsure about any aspect of the installation, it’s always best to consult a professional electrician to ensure the job is done safely and correctly.
By following these safety precautions, you can minimize the risk of accidents and ensure a safe and successful installation of your dimmer switch.
Required Tools and Materials
Before you begin hooking up a dimmer switch to a ceiling fan, gather the necessary tools and materials. Having everything prepared beforehand will help make the installation process smooth and efficient. Here’s a list of the tools and materials you’ll need:
Tools:
- Screwdriver (flathead and Phillips head)
- Wire stripper
- Wire cutter
- Pliers
- Voltage tester
- Electrical tape
- Adjustable wrench (if required)
Materials:
- Dimmer switch
- Wire connectors or wire nuts
- Electrical box or retrofit kit
- Safety goggles
- Gloves
It’s important to note that the specific tools and materials required may vary depending on your specific ceiling fan and electrical setup. Make sure to read the manufacturer’s instructions and consult any additional resources for your specific dimmer switch and ceiling fan model.
Once you have gathered all the necessary tools and materials, you’ll be ready to start the installation process. Remember to always prioritize safety and follow the guidelines laid out in the manufacturer’s instructions for a successful installation.
Step 1: Turn off the Power
Before you begin working on any electrical project, it’s crucial to turn off the power to the circuit you’ll be working on. This step ensures your safety and prevents the risk of electric shock.
- Locate the main electrical panel in your home. This panel usually contains circuit breakers or fuses for each circuit in your house.
- Identify the circuit that powers the ceiling fan you’ll be installing the dimmer switch on. You can refer to the circuit breaker panel diagram or use a non-contact voltage tester to confirm the correct circuit.
- Turn off the circuit breaker or remove the corresponding fuse to cut power to the circuit. This prevents any electrical current from flowing through the wires while you work.
- Once the power is turned off, use a voltage tester to double-check that there is no electrical current present in the wires. Touch the voltage tester to the wires to ensure they are not live. If the voltage tester indicates the presence of electricity, stop and investigate further to ensure the circuit is properly powered off.
Keep in mind that some homes may have multiple electrical panels or subpanels. Make sure you have identified the correct panel and circuit before proceeding with any work. If you’re unsure about any electrical connections or the power source, it’s best to consult a professional electrician.
By following this first step and ensuring that the power to the circuit is turned off, you can safely move on to the next steps of installing the dimmer switch to your ceiling fan.
Step 2: Remove the Existing Switch
Before you can install the dimmer switch, you’ll need to remove the existing switch that controls the ceiling fan. Follow these steps to safely remove the switch:
- Start by turning off the power to the circuit at the breaker box.
- Once the power is turned off, use a screwdriver to remove the screws holding the switch plate in place.
- Gently pull the switch plate away from the wall to expose the switch and wiring behind it.
- Using a screwdriver, remove the screws securing the switch to the electrical box.
- With the screws removed, carefully pull the switch away from the electrical box, exposing the wires connected to it.
- Take note of the wire colors and the way they are connected to the switch. This will help you when connecting the dimmer switch later.
- Once you have removed the existing switch, use a voltage tester to confirm that the wires are no longer live before proceeding.
It’s important to handle the switch and wiring with care during this process. Avoid pulling or yanking on the wires to prevent any damage. If you encounter any difficulties or are unsure about any connections, consult a professional electrician to assist you.
With the existing switch removed, you’re now ready to identify the wires connected to the switch in the next step.
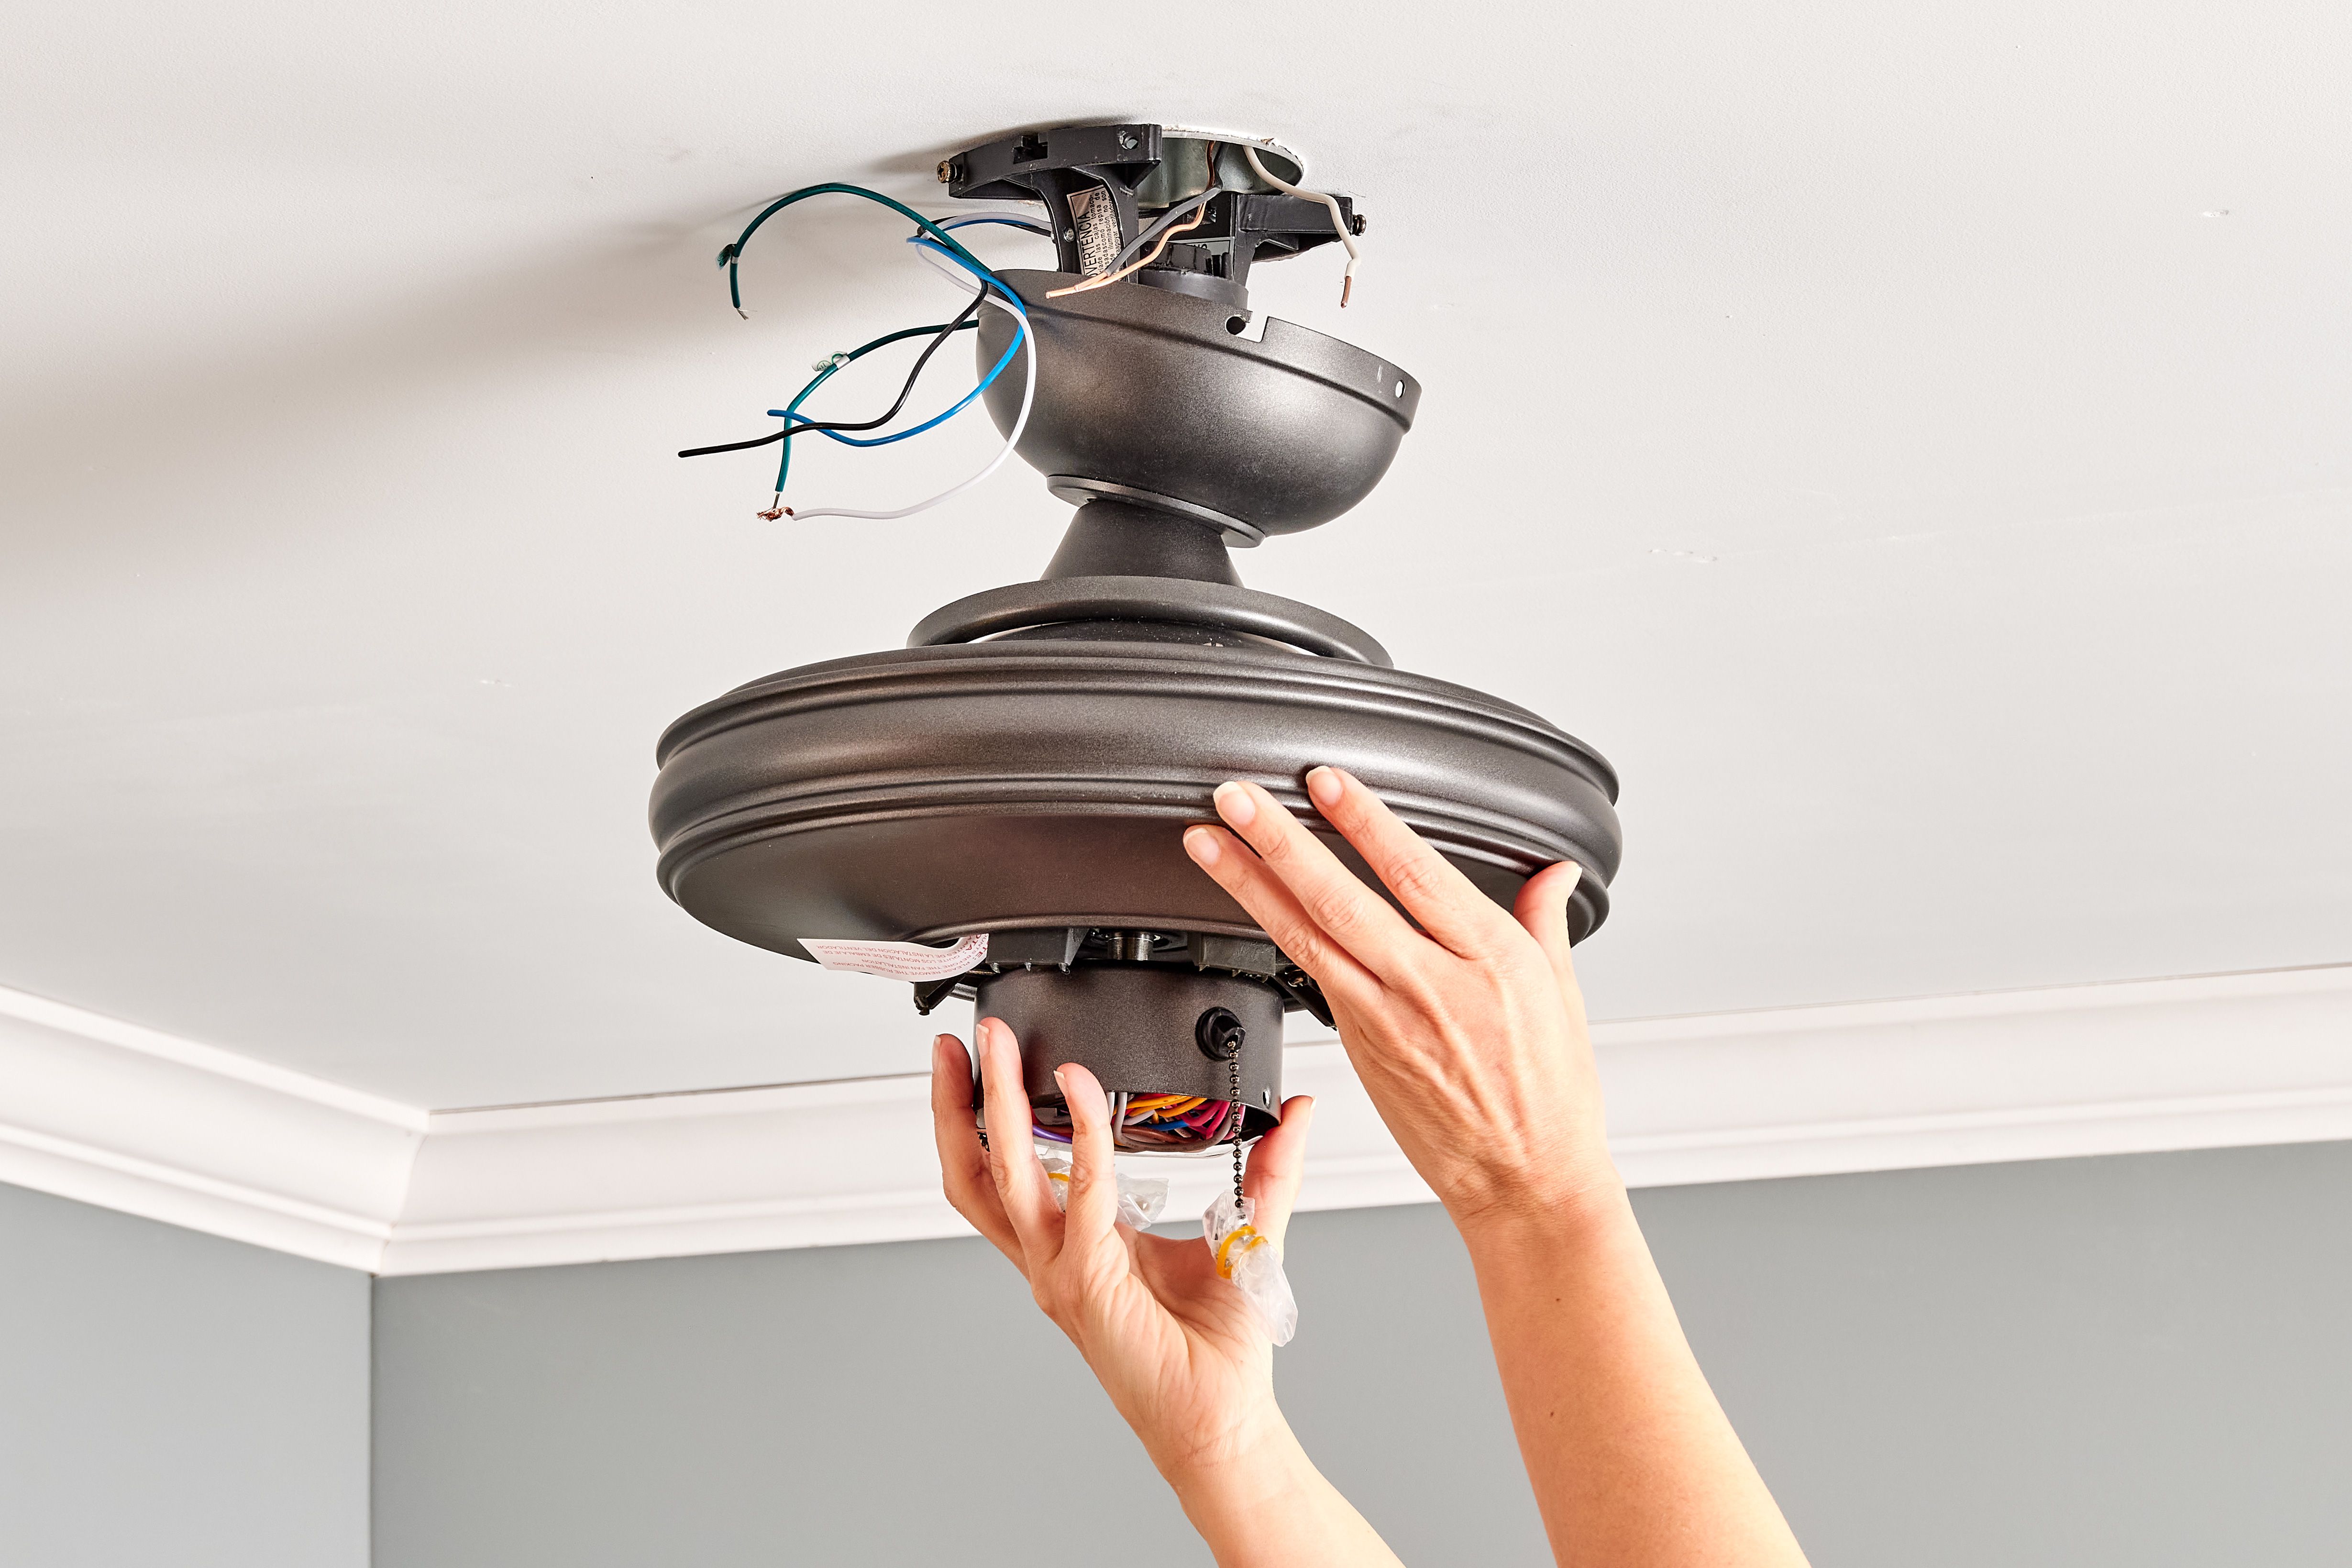
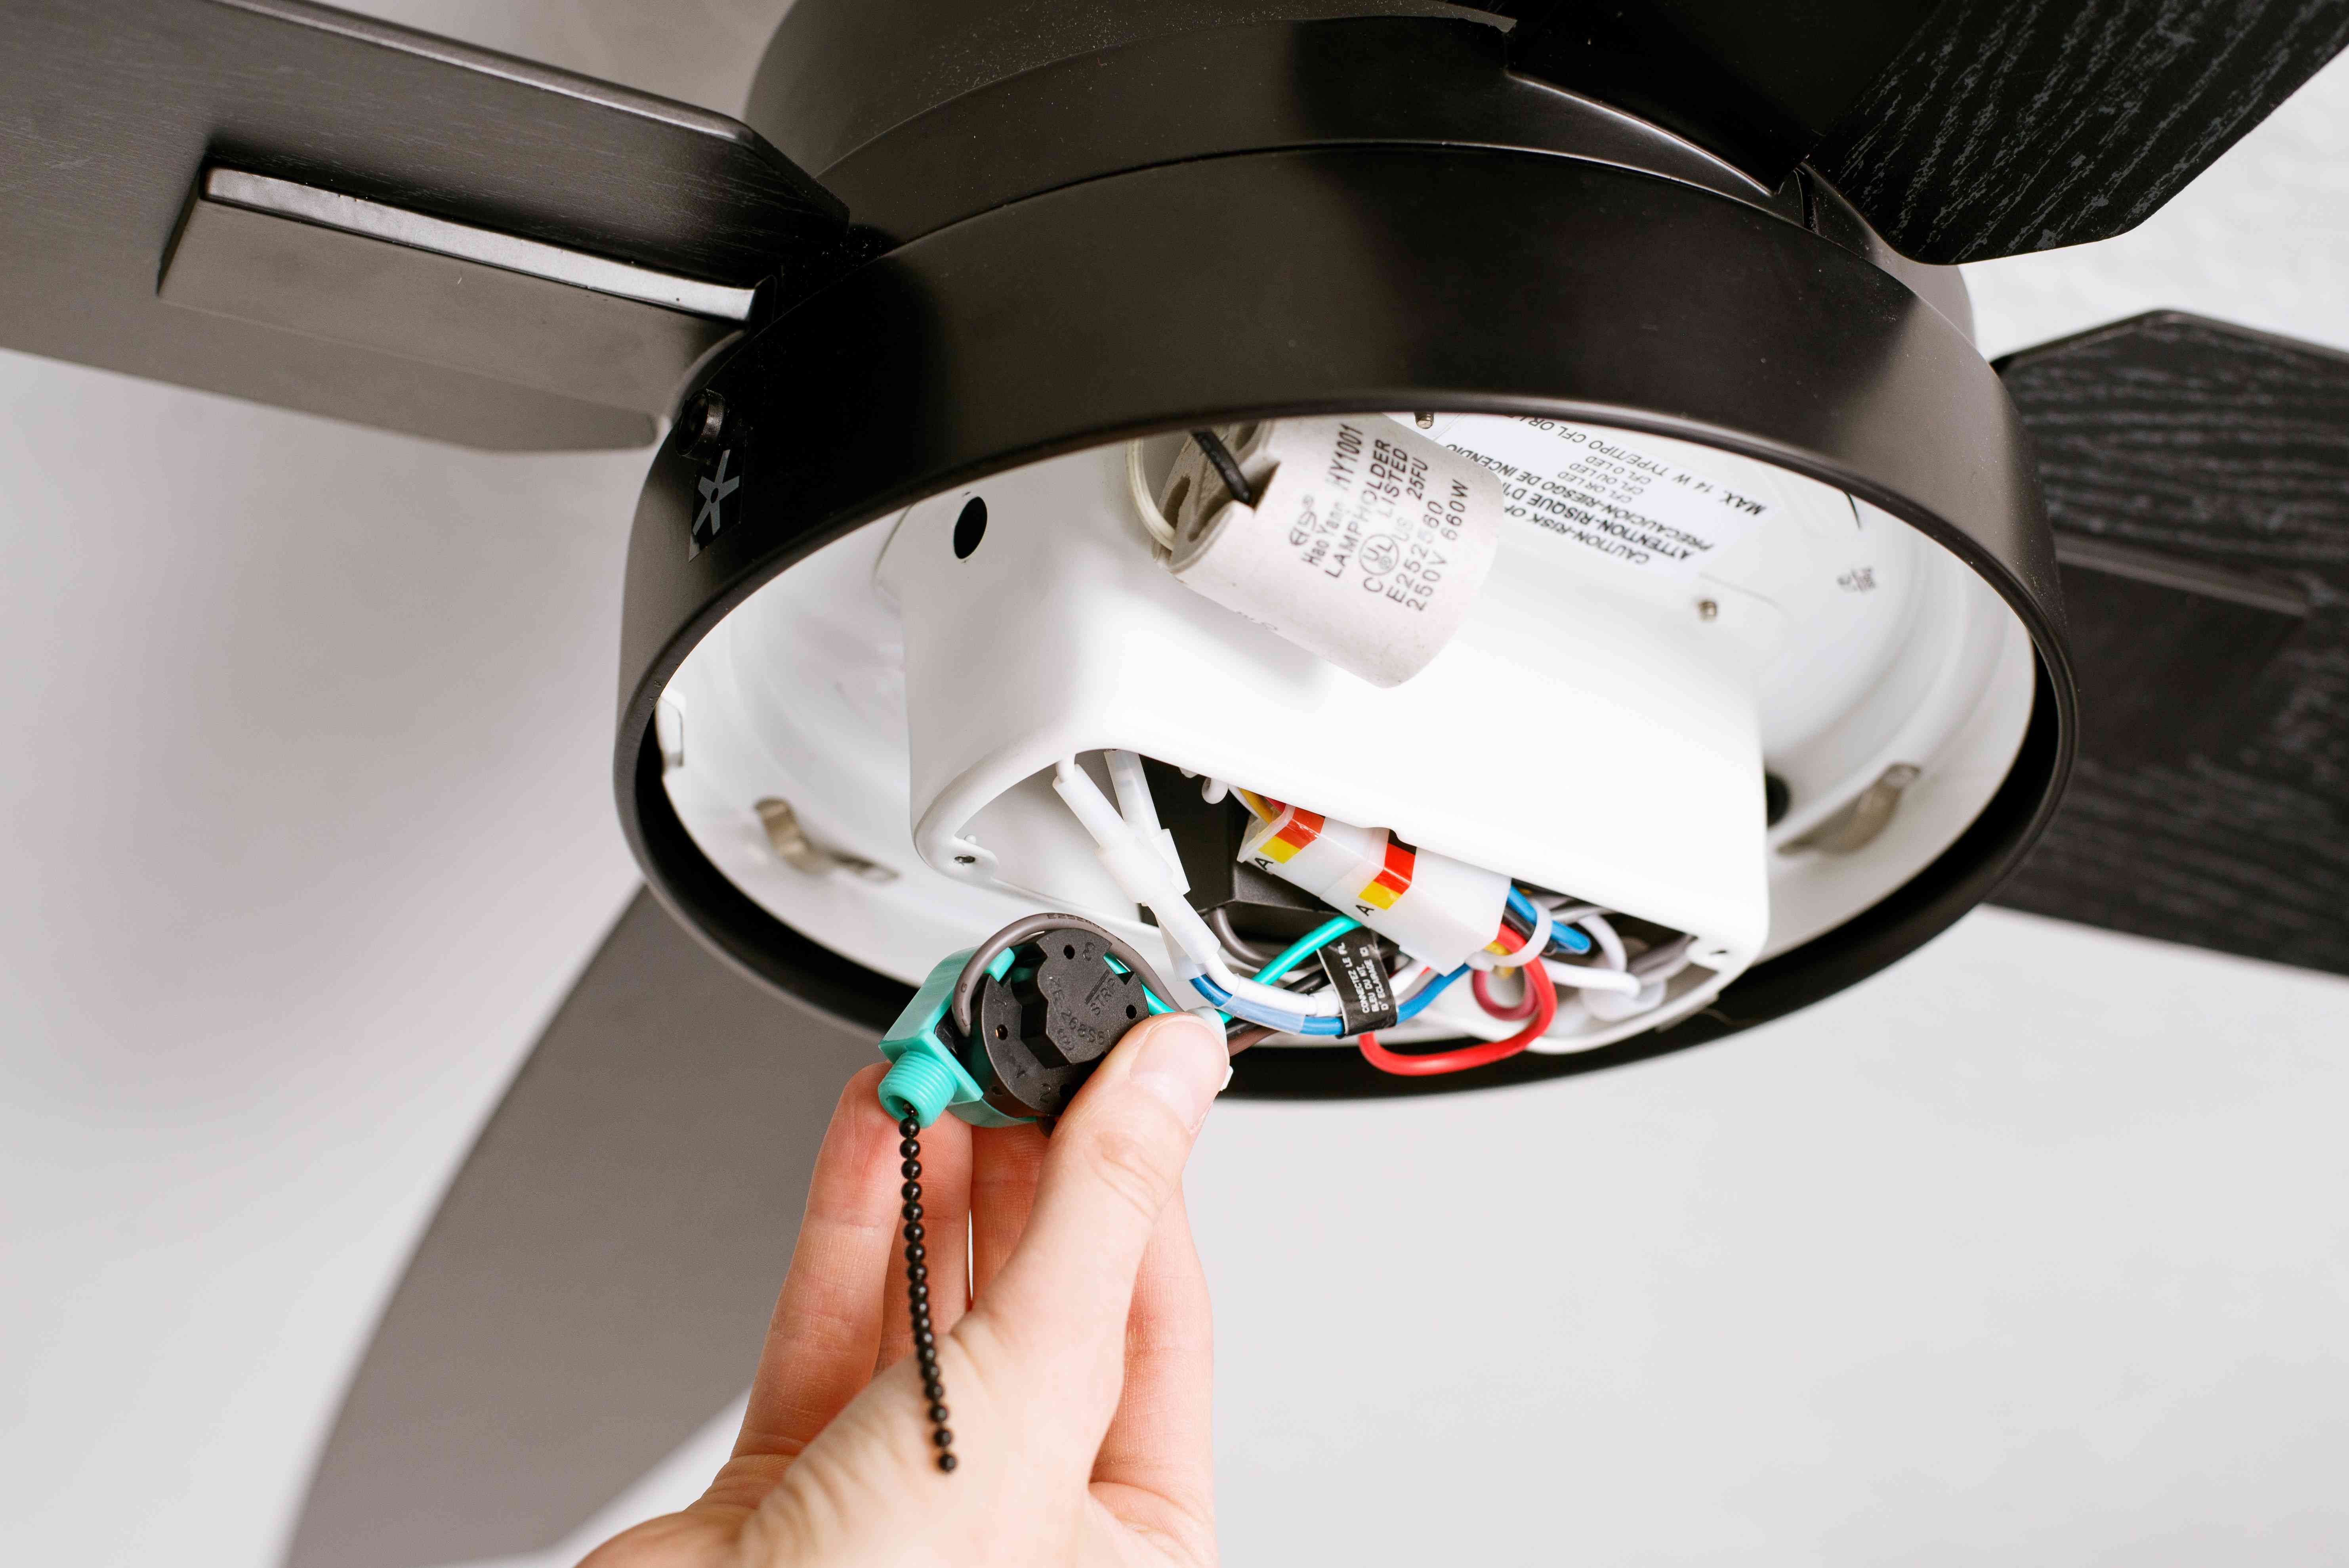
Step 3: Identify the Wires
Before you can connect the dimmer switch, it’s important to properly identify the wires that were connected to the existing switch. This step will help you understand the wiring configuration and ensure a successful installation. Follow these steps to identify the wires:
- Start by examining the wires connected to the back of the existing switch. You will typically find three wires: black (hot), white (neutral), and green or bare (ground).
- Use a voltage tester to confirm which wire is the hot wire. This wire will be carrying the current from the electrical panel to the switch. It is usually the black wire.
- The neutral wire, typically white, provides the return path for the electrical current. It is usually connected to other white wires in the electrical box.
- The ground wire, usually green or bare, is for safety and should be connected to the grounding system of the electrical box.
- If your ceiling fan also has a separate wire for controlling the fan speed, it will be labeled as the “fan wire.” This wire may be a different color, such as red or blue.
- Make note of the wire colors and their respective functions. This will help you when connecting the dimmer switch in the next step.
If you’re unsure about the wiring or have difficulty identifying the wires, it’s always a good idea to consult a professional electrician to avoid any mistakes or safety risks. Understanding the wiring is crucial for a successful installation of your dimmer switch.
Once you have identified the wires, you’re ready to move on to connecting the dimmer switch in the next step.
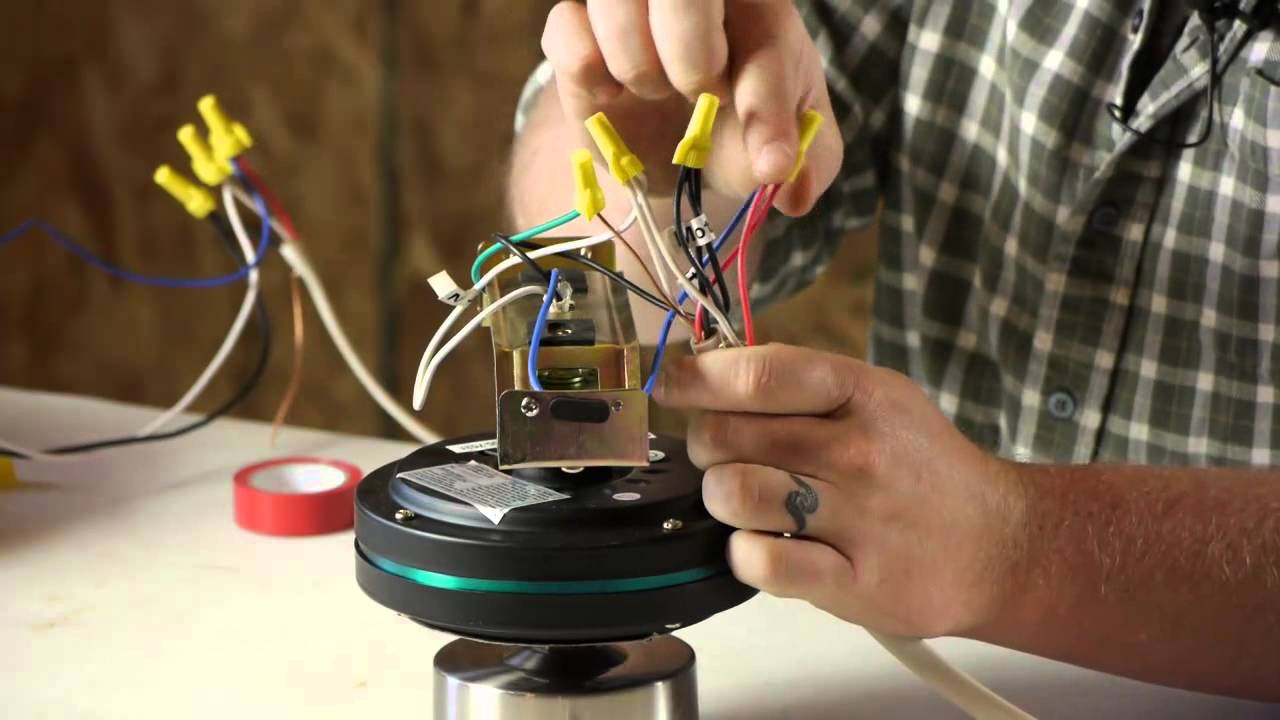
Step 4: Connect the Dimmer Switch
With the existing switch removed and the wires identified, it’s time to connect the dimmer switch. Follow these steps to properly connect the dimmer switch to the identified wires:
- Start by turning off the power to the circuit at the breaker box.
- Once the power is turned off, carefully detach the wires from the existing switch. If necessary, use wire strippers to remove a small portion of the insulation from the ends of the wires.
- Take note of the wire colors and their corresponding functions.
- Proceed to connect the wires to the dimmer switch. Most dimmer switches will have three screw terminals labeled: “hot,” “neutral,” and “ground.
- Attach the black wire (hot) to the hot terminal on the dimmer switch.
- Connect the white wire (neutral) to the neutral terminal on the dimmer switch.
- If there is a separate fan wire (such as red or blue), connect it to the appropriate terminal on the dimmer switch.
- If necessary, connect the ground wire to the ground terminal on the dimmer switch. Some dimmer switches may have a separate grounding screw.
- Secure the wire connections by tightening the screws on the dimmer switch.
- Double-check all wire connections to ensure they are secure and properly aligned.
It’s important to follow the manufacturer’s instructions provided with the dimmer switch for specific wiring requirements. If you’re unsure about any connections or run into any difficulties, consult a professional electrician to ensure a safe and proper installation.
Once the wires are securely connected to the dimmer switch, you’re ready to proceed to the next step of installing the dimmer switch.
Make sure to turn off the power to the ceiling fan at the circuit breaker before attempting to install the dimmer switch. Always follow the manufacturer’s instructions for proper installation.
Read more: How To Hook Up A Ceiling Light
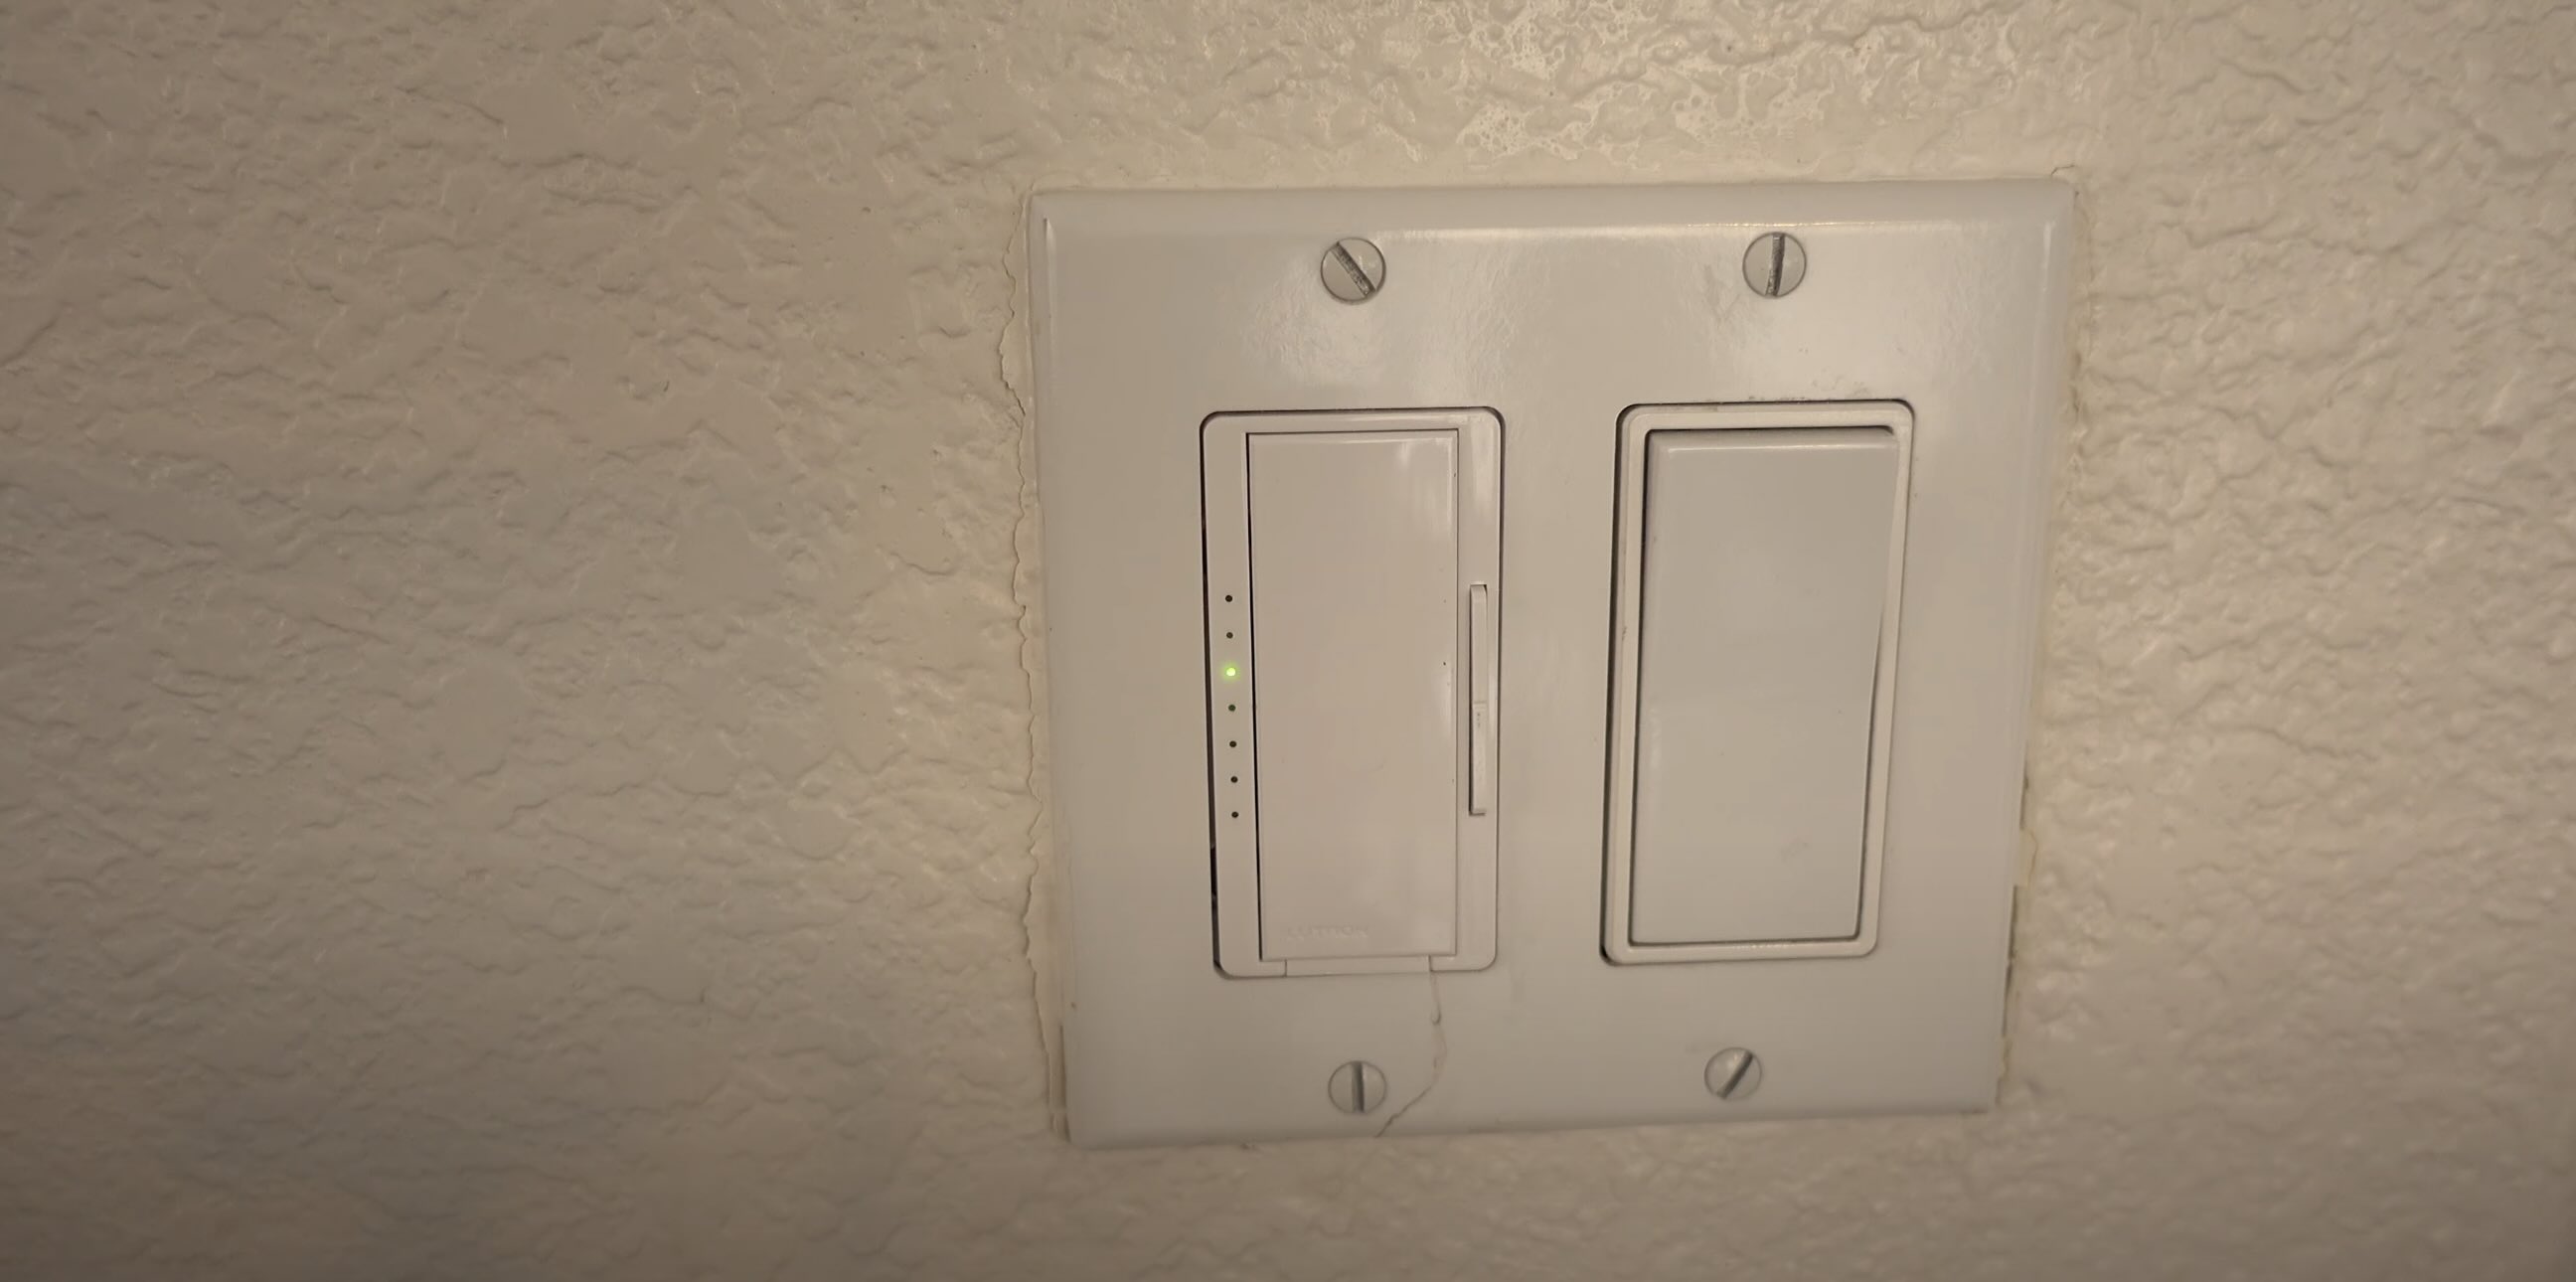
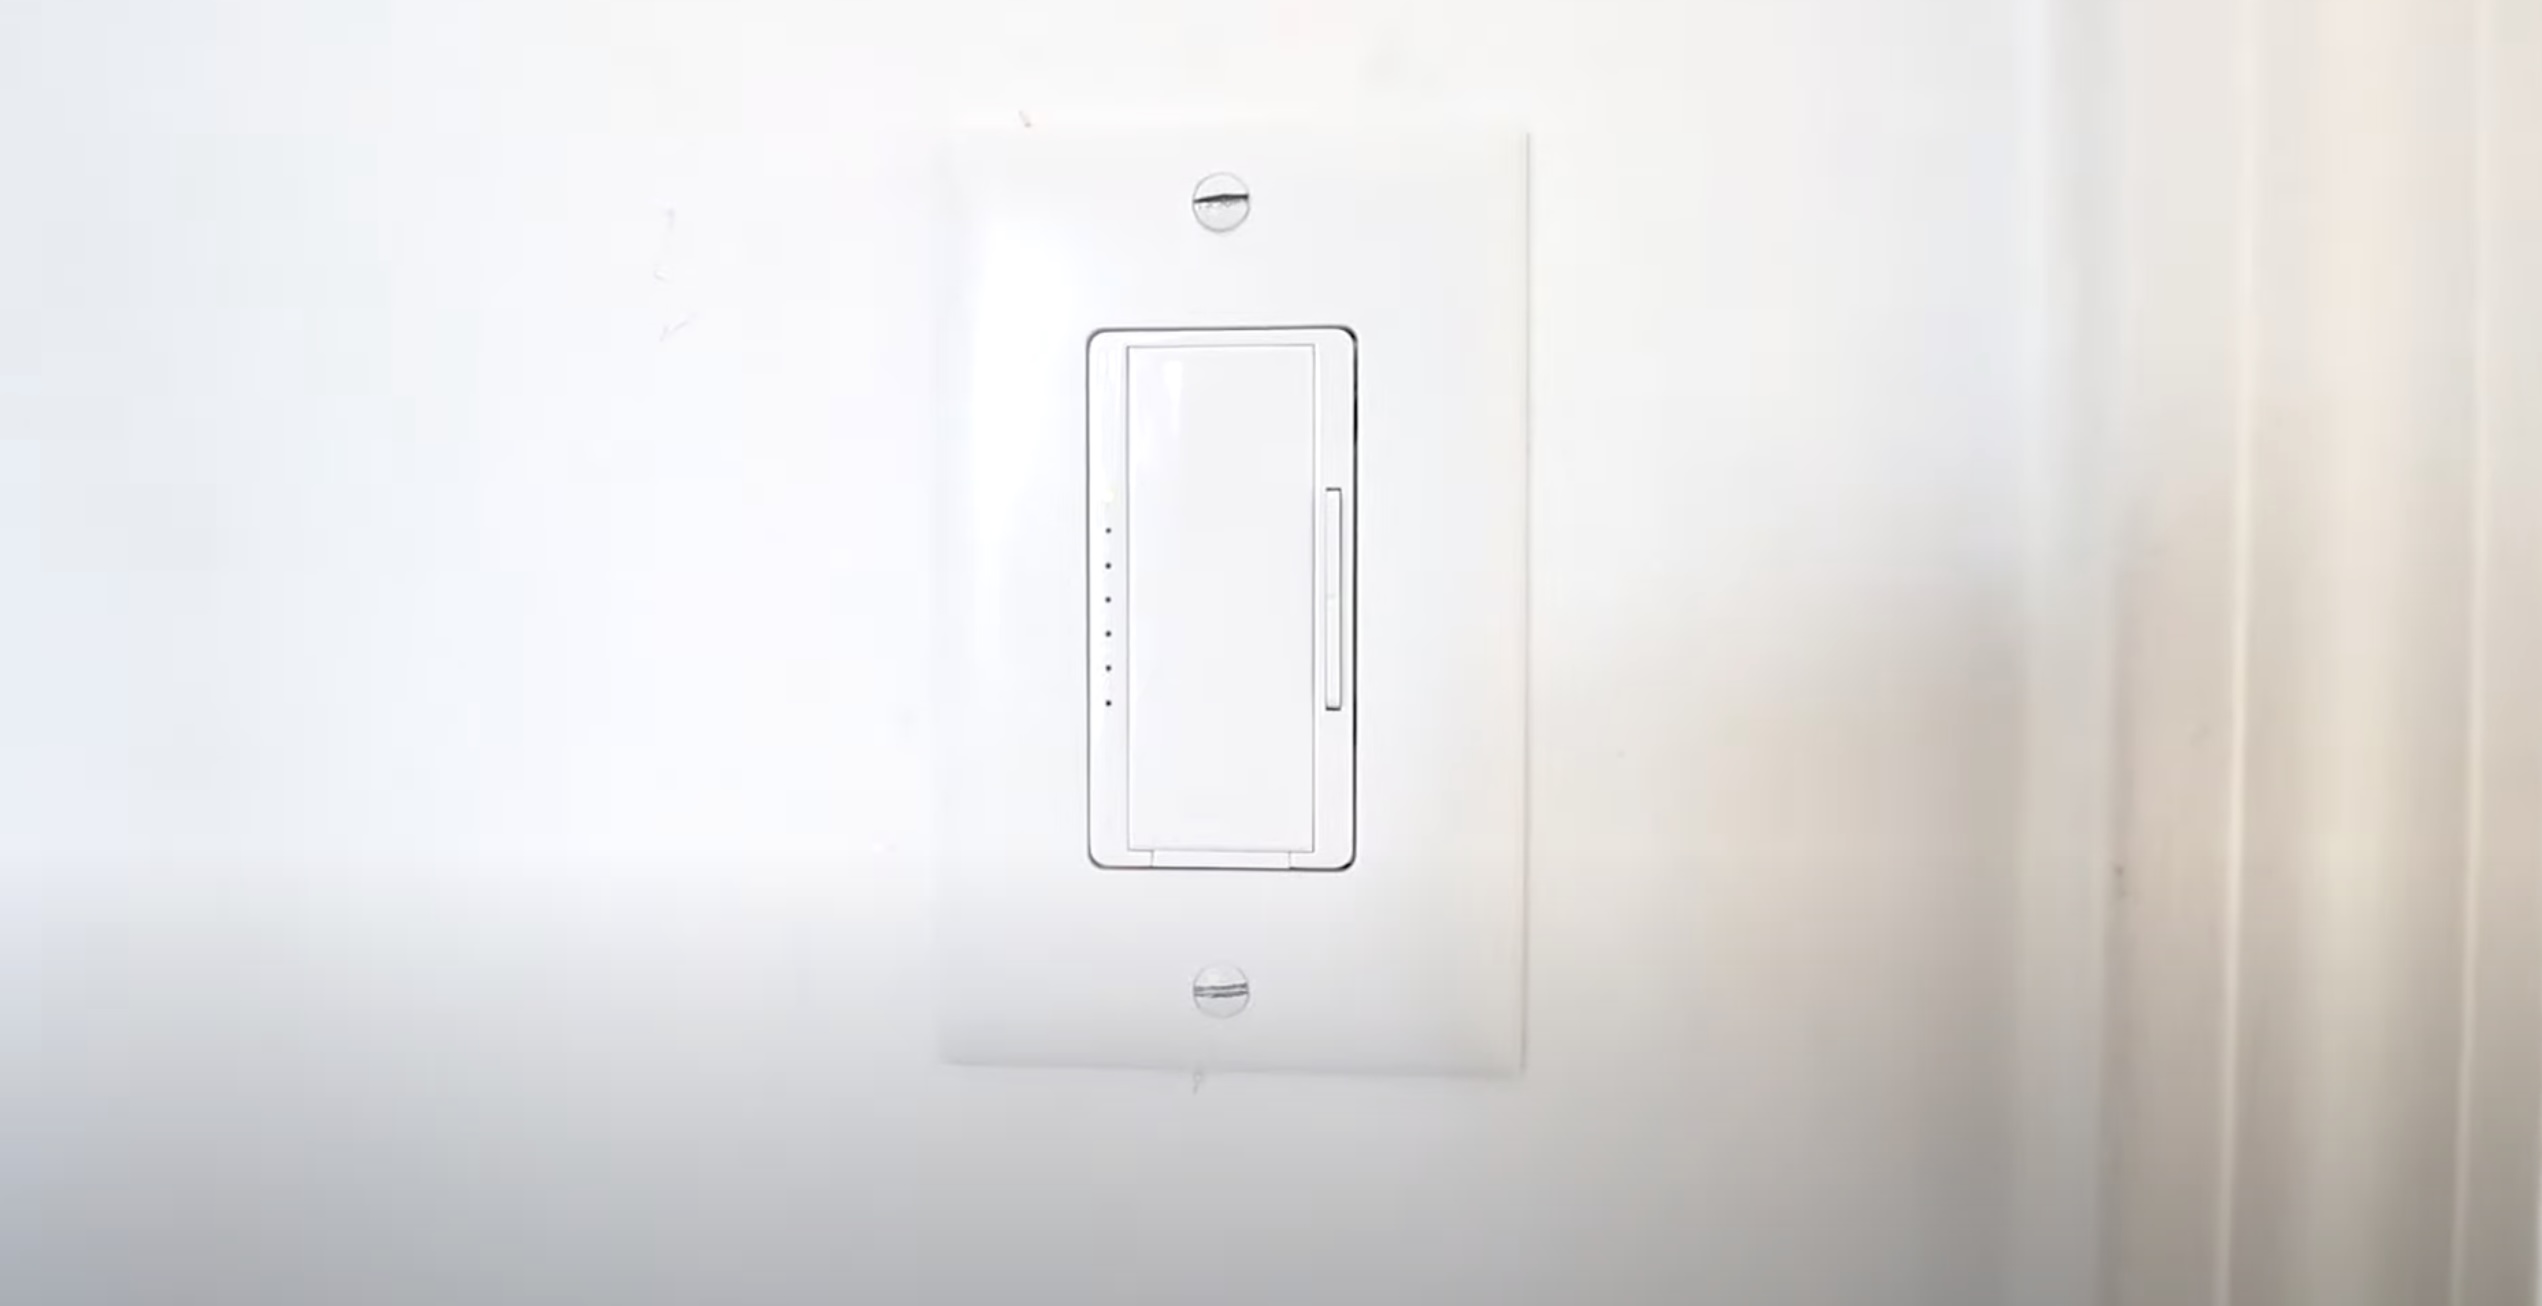
Step 5: Install the Dimmer Switch
After connecting the wires to the dimmer switch, you’re now ready to install the switch into the electrical box. Follow these steps to properly install the dimmer switch:
- Start by gently pushing the wires and the dimmer switch into the electrical box.
- Align the screw holes on the dimmer switch with the holes on the electrical box.
- Insert the screws provided with the dimmer switch into the screw holes and tighten them using a screwdriver.
- Ensure that the dimmer switch is securely fastened and flush against the wall.
- Take care not to over-tighten the screws, as this can damage the switch or the electrical box.
As you install the dimmer switch, be cautious not to pinch or crimp the wires. Ensure that there is enough space for the wires to comfortably fit within the electrical box.
If your dimmer switch comes with a faceplate or decorative cover, follow the manufacturer’s instructions to properly attach it to the switch.
Once the dimmer switch is securely installed, you’re ready to move on to the next step and test the functionality of the dimmer switch.
Note: If you encounter any difficulties during the installation process or are unsure about any steps, it’s recommended to consult a professional electrician for assistance.
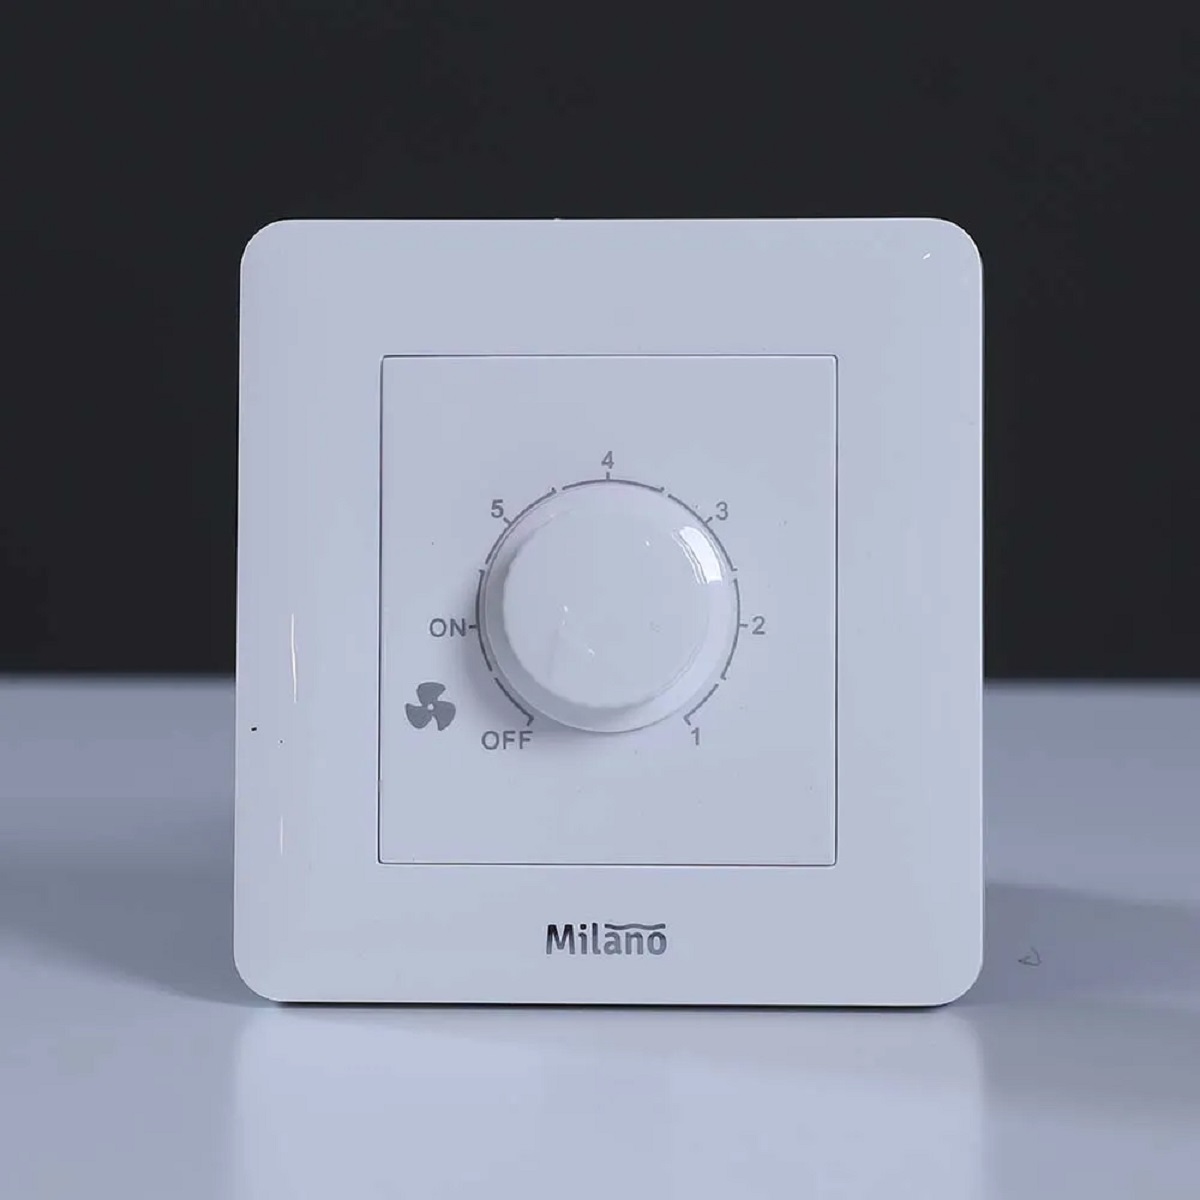
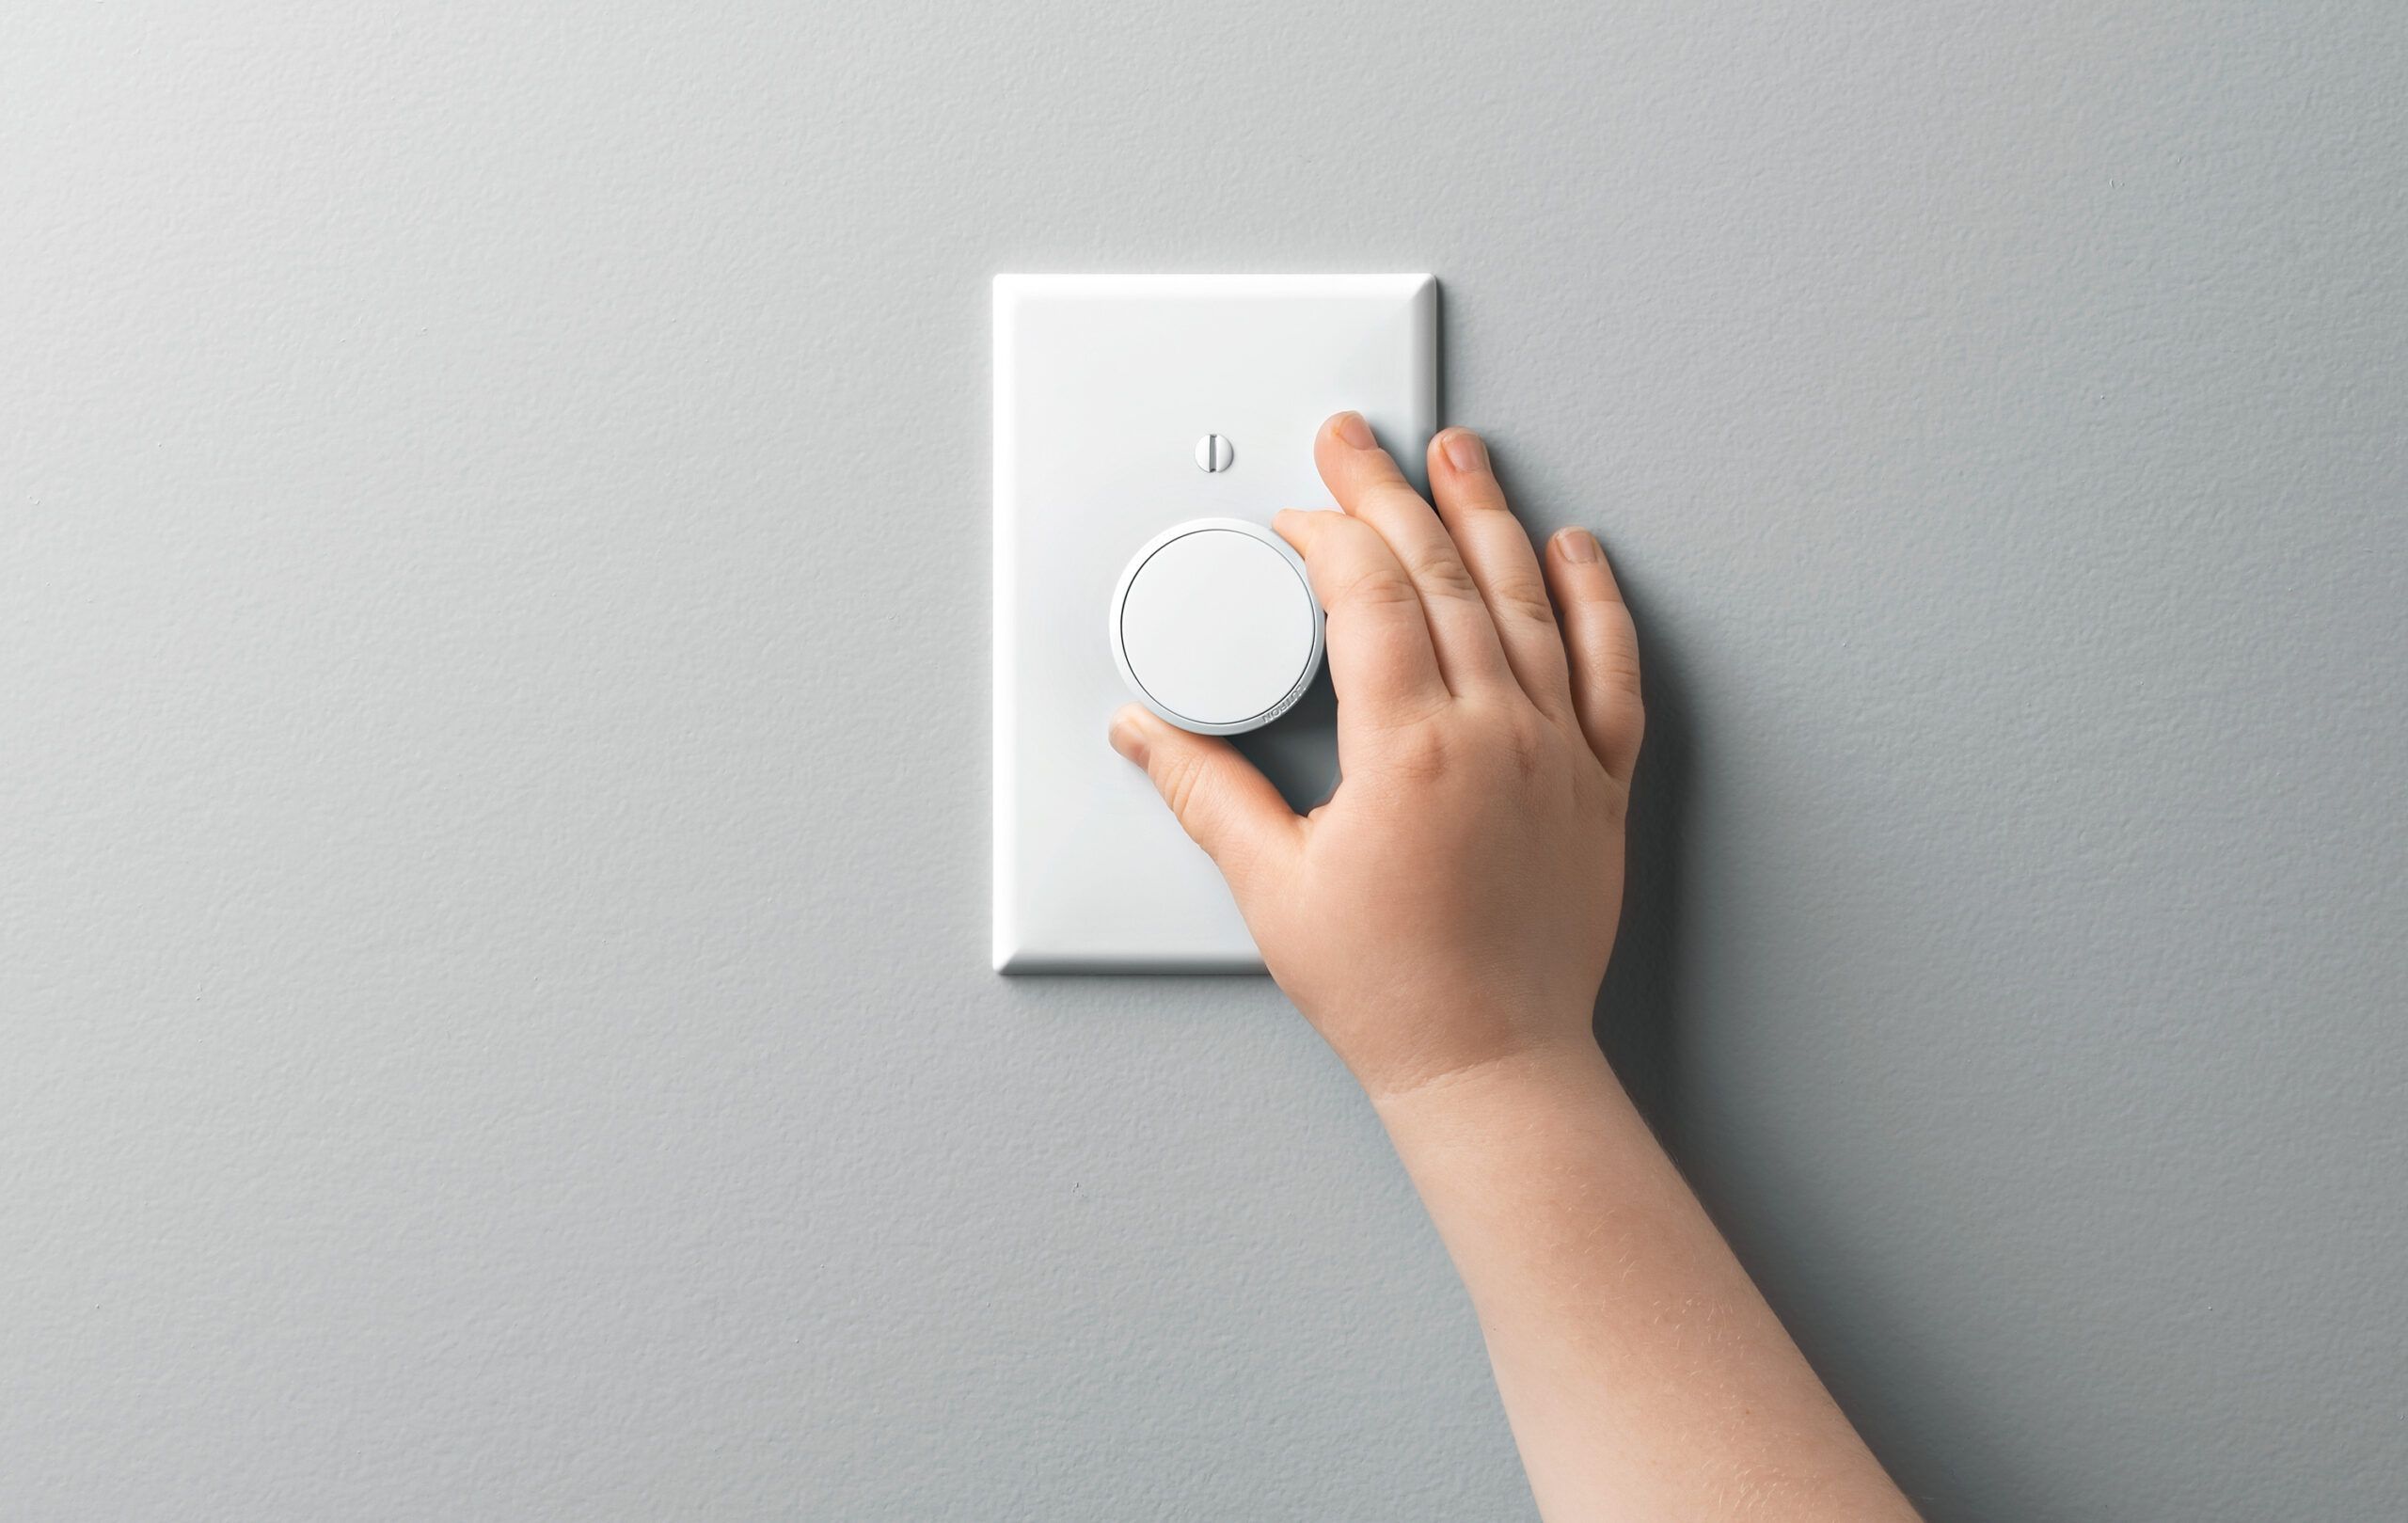
Step 6: Test the Dimmer Switch
After successfully installing the dimmer switch, it’s important to test its functionality to ensure everything is working properly. Follow these steps to test the dimmer switch:
- Restore power to the circuit by turning on the breaker or replacing the fuse.
- Gently press the switch button on the dimmer switch to turn on the ceiling fan lights.
- Gradually adjust the dimmer switch by sliding or rotating the switch control. Observe the lights to see if they brighten or dim accordingly.
- Ensure that the dimmer switch smoothly adjusts the brightness without any flickering, buzzing, or unusual behavior.
- If the dimmer switch fails to control the lights properly or exhibits any issues, turn off the power and double-check the wire connections. Make sure all connections are secure and properly aligned.
- If the dimmer switch still doesn’t function correctly, consult the manufacturer’s instructions or seek professional assistance to troubleshoot the issue.
It’s important to test the dimmer switch’s functionality to verify that it’s functioning as intended. This will ensure that you can properly control the brightness levels of your ceiling fan lights. If at any point you are uncertain or experience any problems, it’s always advisable to consult a professional electrician for assistance.
Once you have confirmed that the dimmer switch is working correctly, you can proceed to the final step of attaching the switch plate.
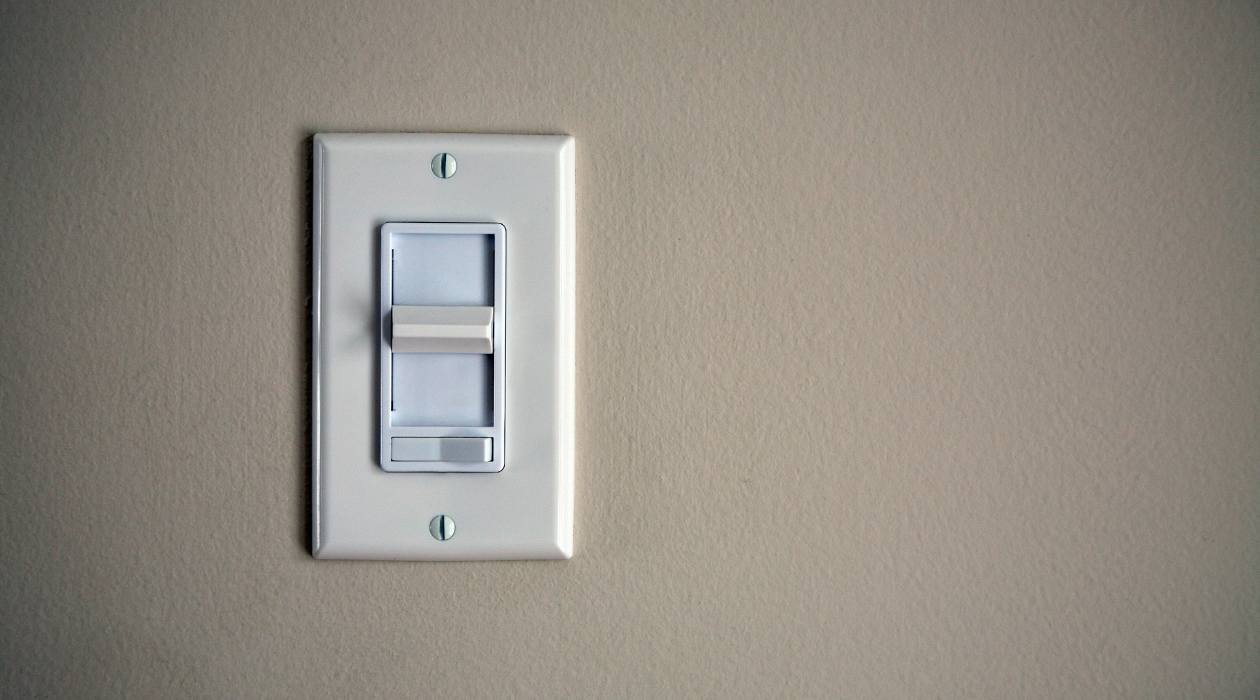
Step 7: Attach the Switch Plate
The final step in hooking up a dimmer switch to a ceiling fan is attaching the switch plate. The switch plate not only adds a finishing touch to the installation but also provides protection for the dimmer switch. Follow these steps to properly attach the switch plate:
- Ensure that the dimmer switch is securely installed in the electrical box.
- Select the appropriate switch plate that matches the style and design of your room.
- Align the screw holes on the switch plate with the screw holes on the dimmer switch.
- Insert the screws provided with the switch plate into the screw holes and tighten them using a screwdriver.
- Avoid over-tightening the screws as it may damage the switch plate.
- Once the switch plate is securely attached, give it a gentle tug to ensure it is firmly in place.
Take a moment to review the switch plate and ensure that it is level and aligned properly. If needed, adjust the position of the switch plate before tightening the screws completely.
With the switch plate properly attached, the installation of your dimmer switch to the ceiling fan is complete. It’s now time to enjoy the versatility and ambiance that the dimmer switch brings to your space.
Remember, if you encounter any issues or are unsure about any step of the installation process, it’s always best to consult a professional electrician for guidance and assistance.
Conclusion
Adding a dimmer switch to a ceiling fan can transform not only the lighting but also the overall ambiance of a room. With the ability to adjust the brightness levels, you can create the perfect atmosphere for any occasion. By following the steps outlined in this guide, you can successfully hook up a dimmer switch to your ceiling fan and enjoy the benefits it brings.
Start by prioritizing safety and ensuring that the power to the circuit is turned off before beginning any work. Gather the necessary tools and materials, and proceed with caution throughout the installation process. Take the time to properly identify and connect the wires, following the manufacturer’s instructions and guidelines.
Once the dimmer switch is connected, secure it in place within the electrical box and attach the switch plate. Test the functionality of the dimmer switch to ensure that it adjusts the brightness levels smoothly and without any issues. If you encounter any difficulties or are unsure about any step, it’s best to consult a professional electrician for assistance.
By following these steps, you can achieve a successful installation of a dimmer switch to your ceiling fan. Enjoy the flexibility and control it provides, enhancing your lighting experience in the room. Whether you want a bright and energetic atmosphere or a soft and relaxing ambiance, the dimmer switch allows you to set the perfect lighting scene.
Remember, safety is paramount when working with electrical projects. If you are uncomfortable or inexperienced with electrical work, always seek the help of a qualified professional to ensure the job is done correctly and safely.
Now that you know how to hook up a dimmer switch to a ceiling fan, you can transform your space and create the ideal lighting environment for any occasion.
Frequently Asked Questions about How To Hook Up A Dimmer Switch To A Ceiling Fan
Was this page helpful?
At Storables.com, we guarantee accurate and reliable information. Our content, validated by Expert Board Contributors, is crafted following stringent Editorial Policies. We're committed to providing you with well-researched, expert-backed insights for all your informational needs.


0 thoughts on “How To Hook Up A Dimmer Switch To A Ceiling Fan”