
Articles
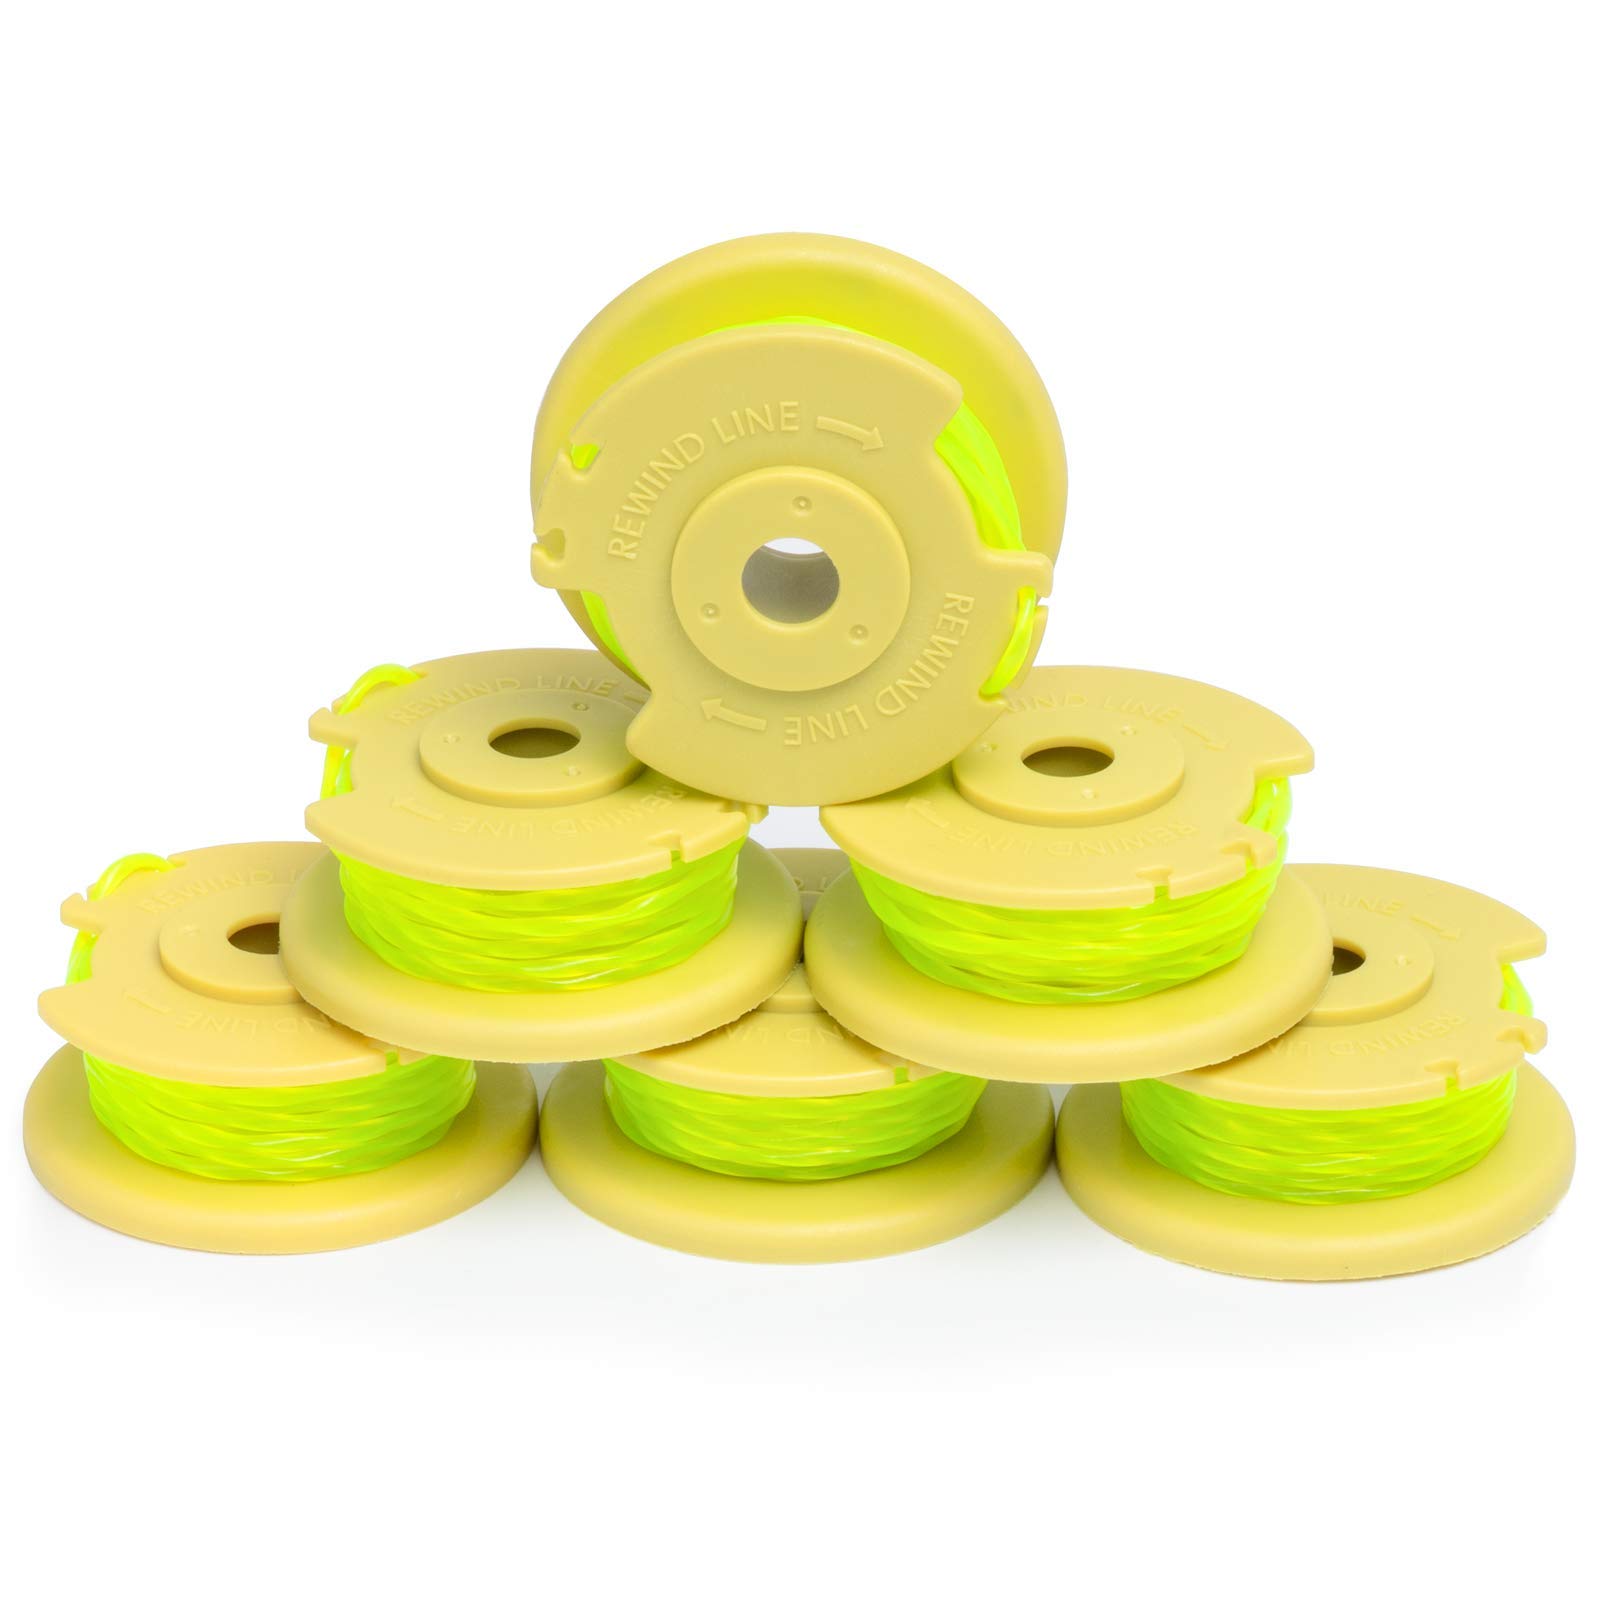
What Size Trimmer Line For Ryobi 40V
Modified: October 19, 2024
Looking for articles on what size trimmer line to use for your Ryobi 40V? Find all the information you need to make the right choice here.
(Many of the links in this article redirect to a specific reviewed product. Your purchase of these products through affiliate links helps to generate commission for Storables.com, at no extra cost. Learn more)
Introduction
When it comes to maintaining a well-groomed lawn or garden, a quality trimmer is an essential tool for cutting grass and weeds with precision. One popular choice among homeowners and professionals alike is the Ryobi 40V trimmer. With its powerful performance and cordless convenience, the Ryobi 40V trimmer is designed to make your trimming tasks easier and more efficient.
However, to make the most out of your Ryobi 40V trimmer, it’s crucial to choose the right trimmer line size. The trimmer line, also known as string, is what does the cutting work. Selecting the appropriate trimmer line size ensures optimal performance and prevents damage to your trimmer.
In this article, we will delve into the world of trimmer line sizes and guide you on choosing the right trimmer line size for your Ryobi 40V trimmer. We will also provide insights on how to replace the trimmer line and offer tips for ensuring optimal trimmer line performance.
So, if you’re ready to take your trimming game to the next level, let’s dive in and explore the world of trimmer line sizes for Ryobi 40V trimmers!
Key Takeaways:
- Choose a trimmer line size of 0.080 to 0.095 inches for your Ryobi 40V trimmer to achieve a balanced combination of cutting power and durability, ensuring optimal performance for your trimming needs.
- Regularly inspect and maintain your trimmer line, follow proper cutting techniques, and store the trimmer correctly to maximize its performance and longevity, allowing you to achieve professional-looking results with ease.
Read more: How To Start Ryobi 40V Lawn Mower
Understanding Trimmer Line Sizes
Trimmer line sizes are measured in diameter, typically ranging from 0.065 inches to 0.105 inches. The diameter of the trimmer line affects its cutting power and durability. Understanding the different trimmer line sizes will help you choose the right one for your Ryobi 40V trimmer.
A thinner trimmer line, such as 0.065 inches, is suitable for light trimming tasks like cutting grass and small weeds. It is less likely to damage delicate plants and is ideal for maintaining small lawns and gardens. However, it may struggle with tougher, thicker vegetation.
On the other hand, a thicker trimmer line, such as 0.095 inches or 0.105 inches, offers more cutting power and durability. It can handle dense grass, tough weeds, and even small brush. This makes it perfect for larger yards and more demanding trimming jobs. However, it may leave more visible lines and may require more power to use.
It’s important to note that the recommended trimmer line size may vary depending on the model of your Ryobi 40V trimmer. Always consult the user manual or manufacturer’s guidelines to ensure you choose a trimmer line size that is compatible with your specific trimmer model.
Now that we have a basic understanding of trimmer line sizes, let’s move on to exploring the Ryobi 40V trimmers and their features.
Overview of Ryobi 40V Trimmers
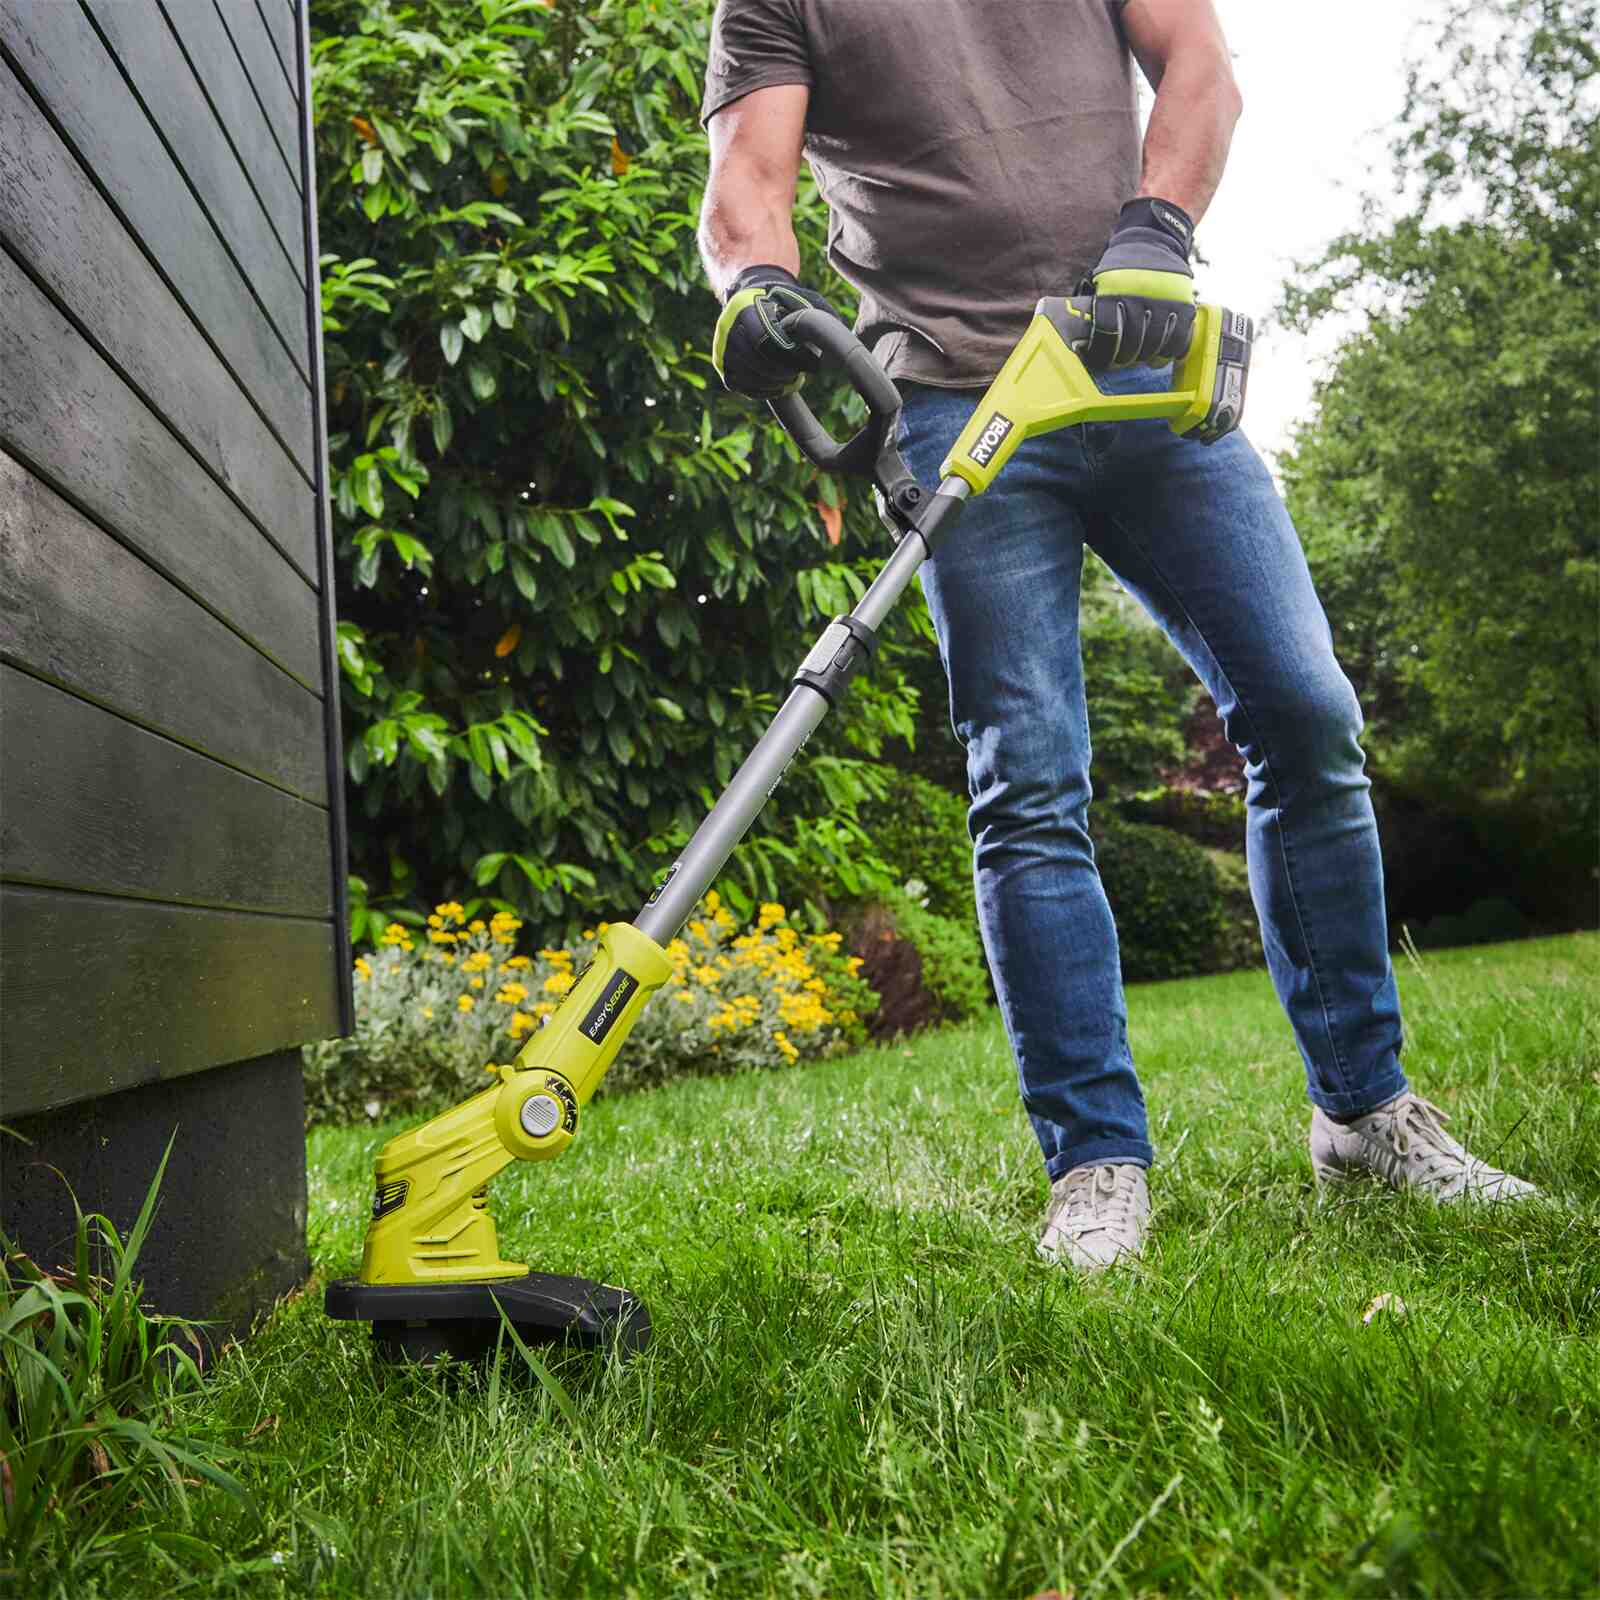
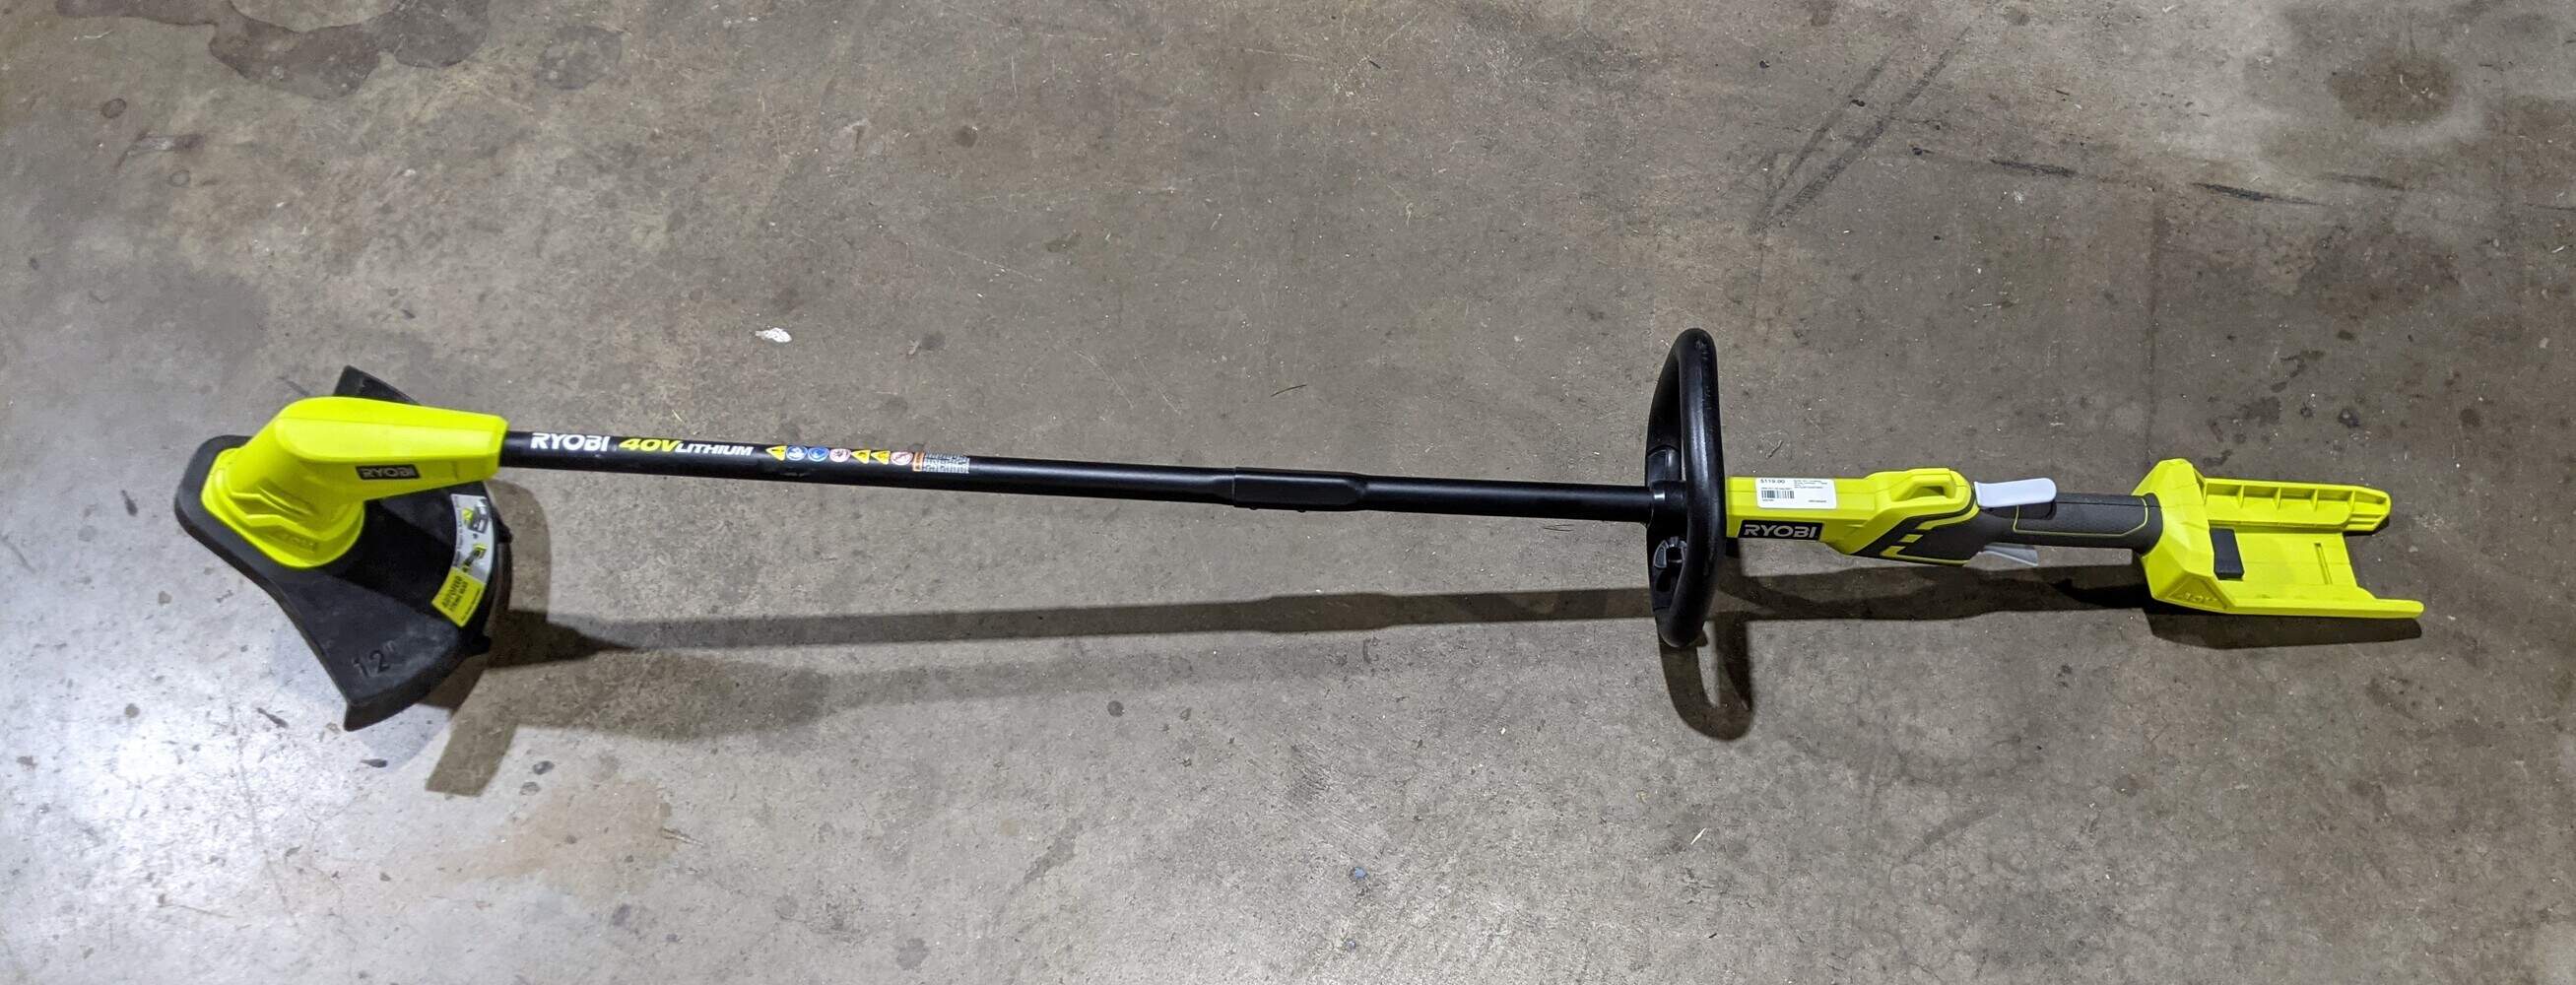
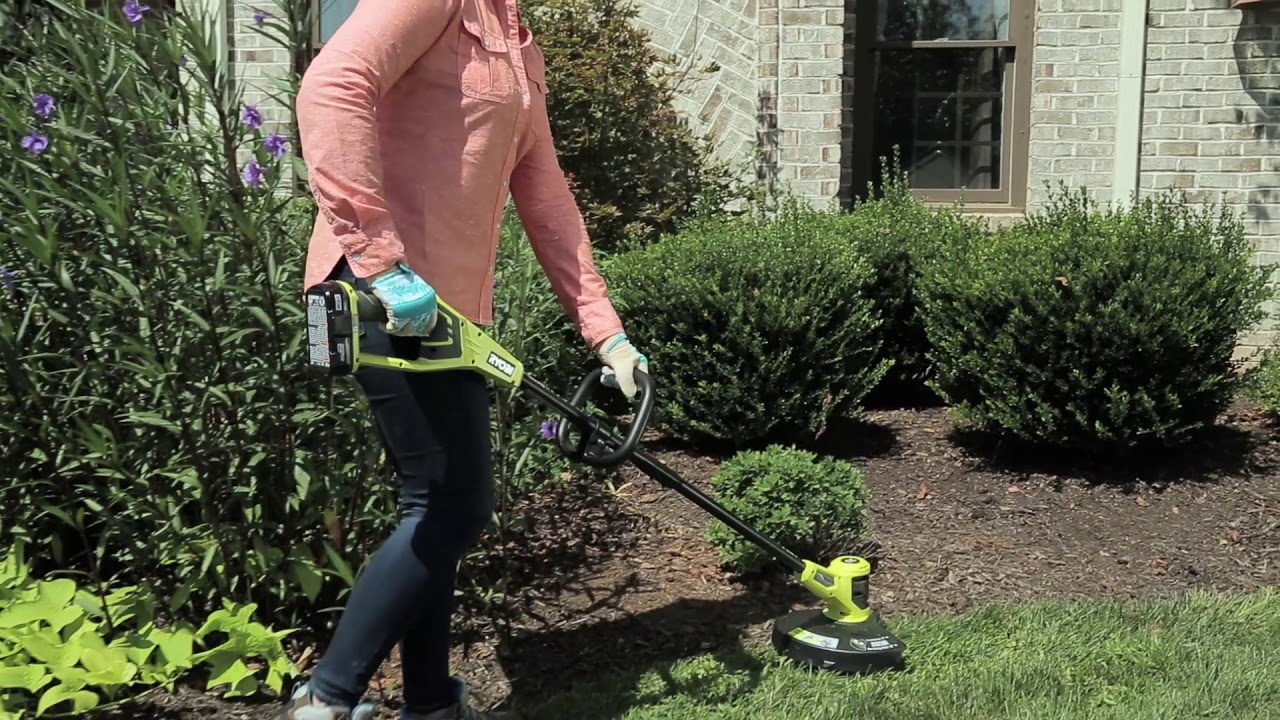
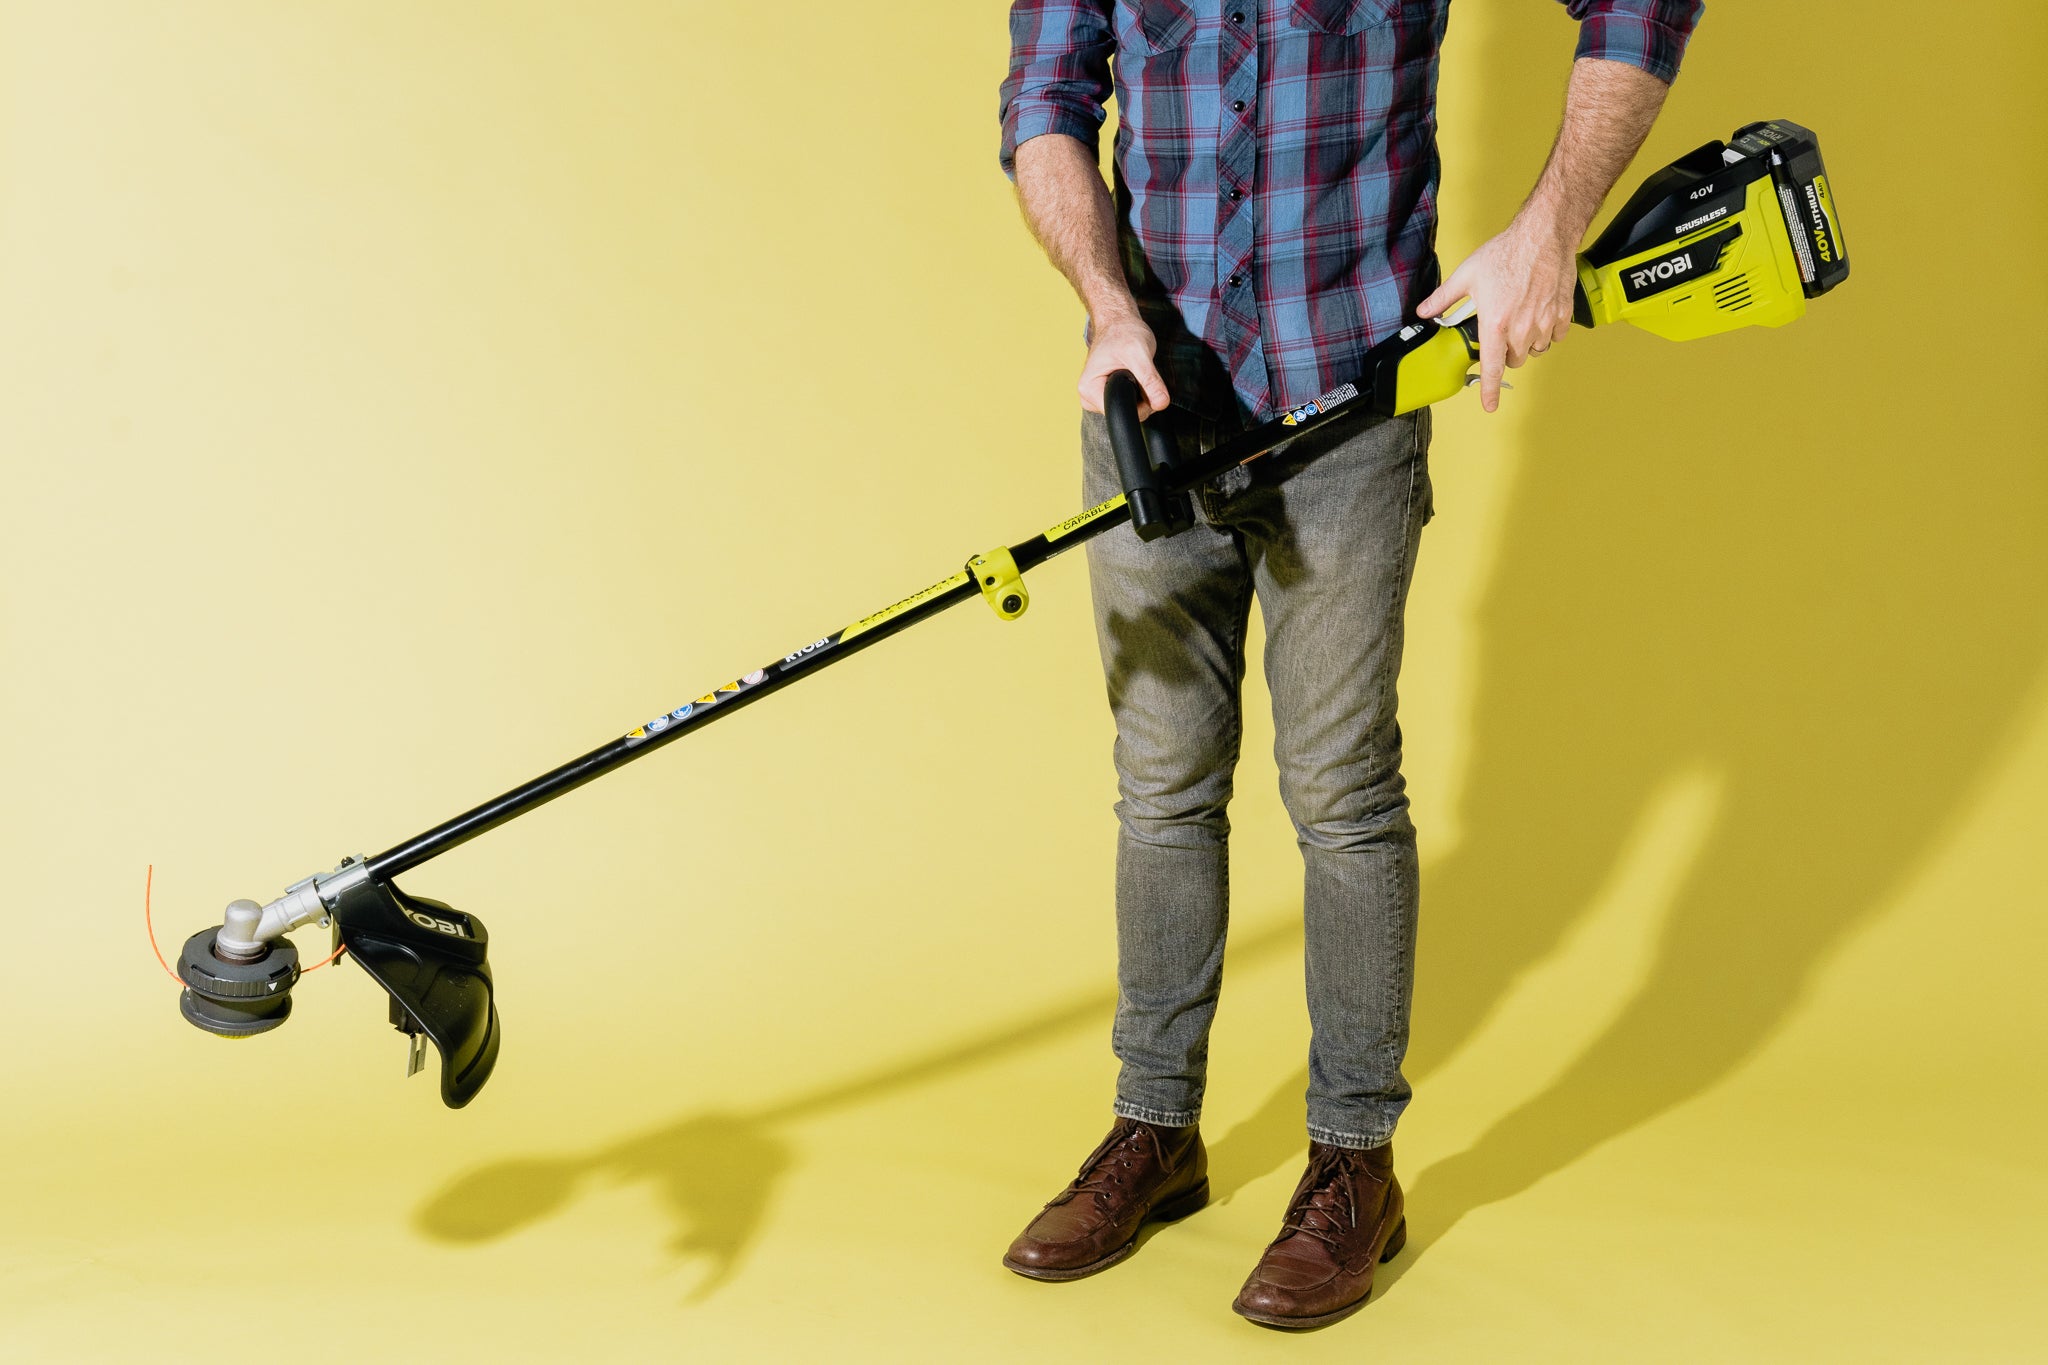
Ryobi is a well-known brand in the outdoor power tool industry, and their 40V trimmers are highly regarded for their reliability and performance. These cordless trimmers offer the convenience of no cords or cords to trip over, providing the freedom to roam and trim without any limitations.
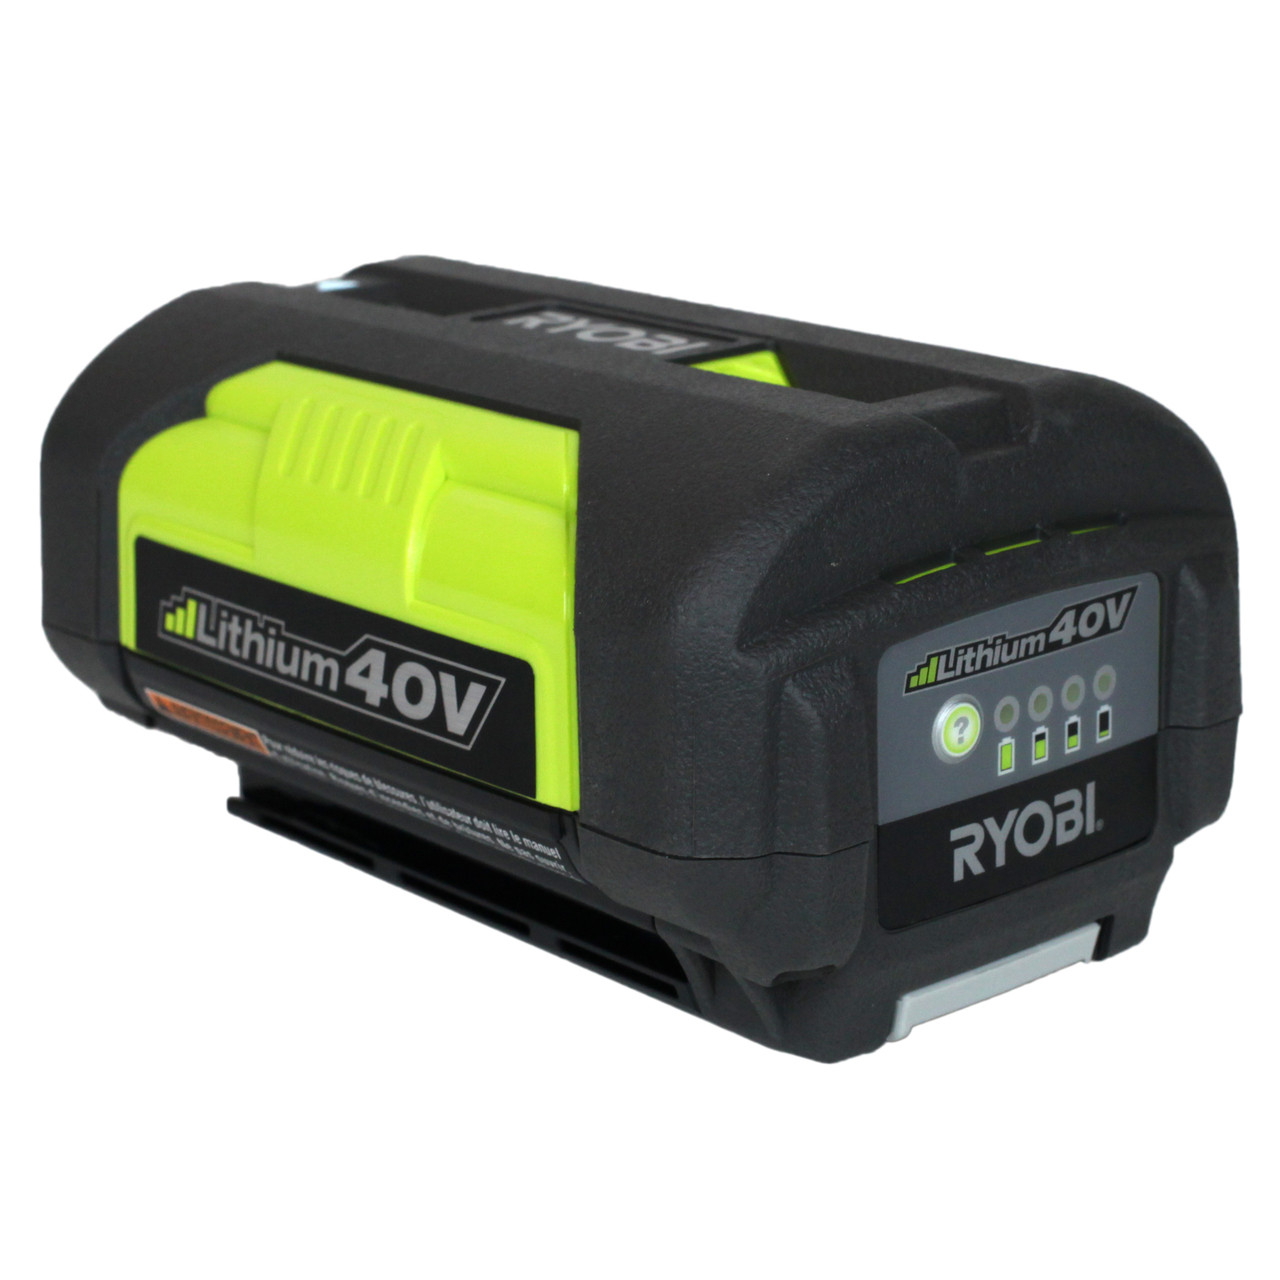
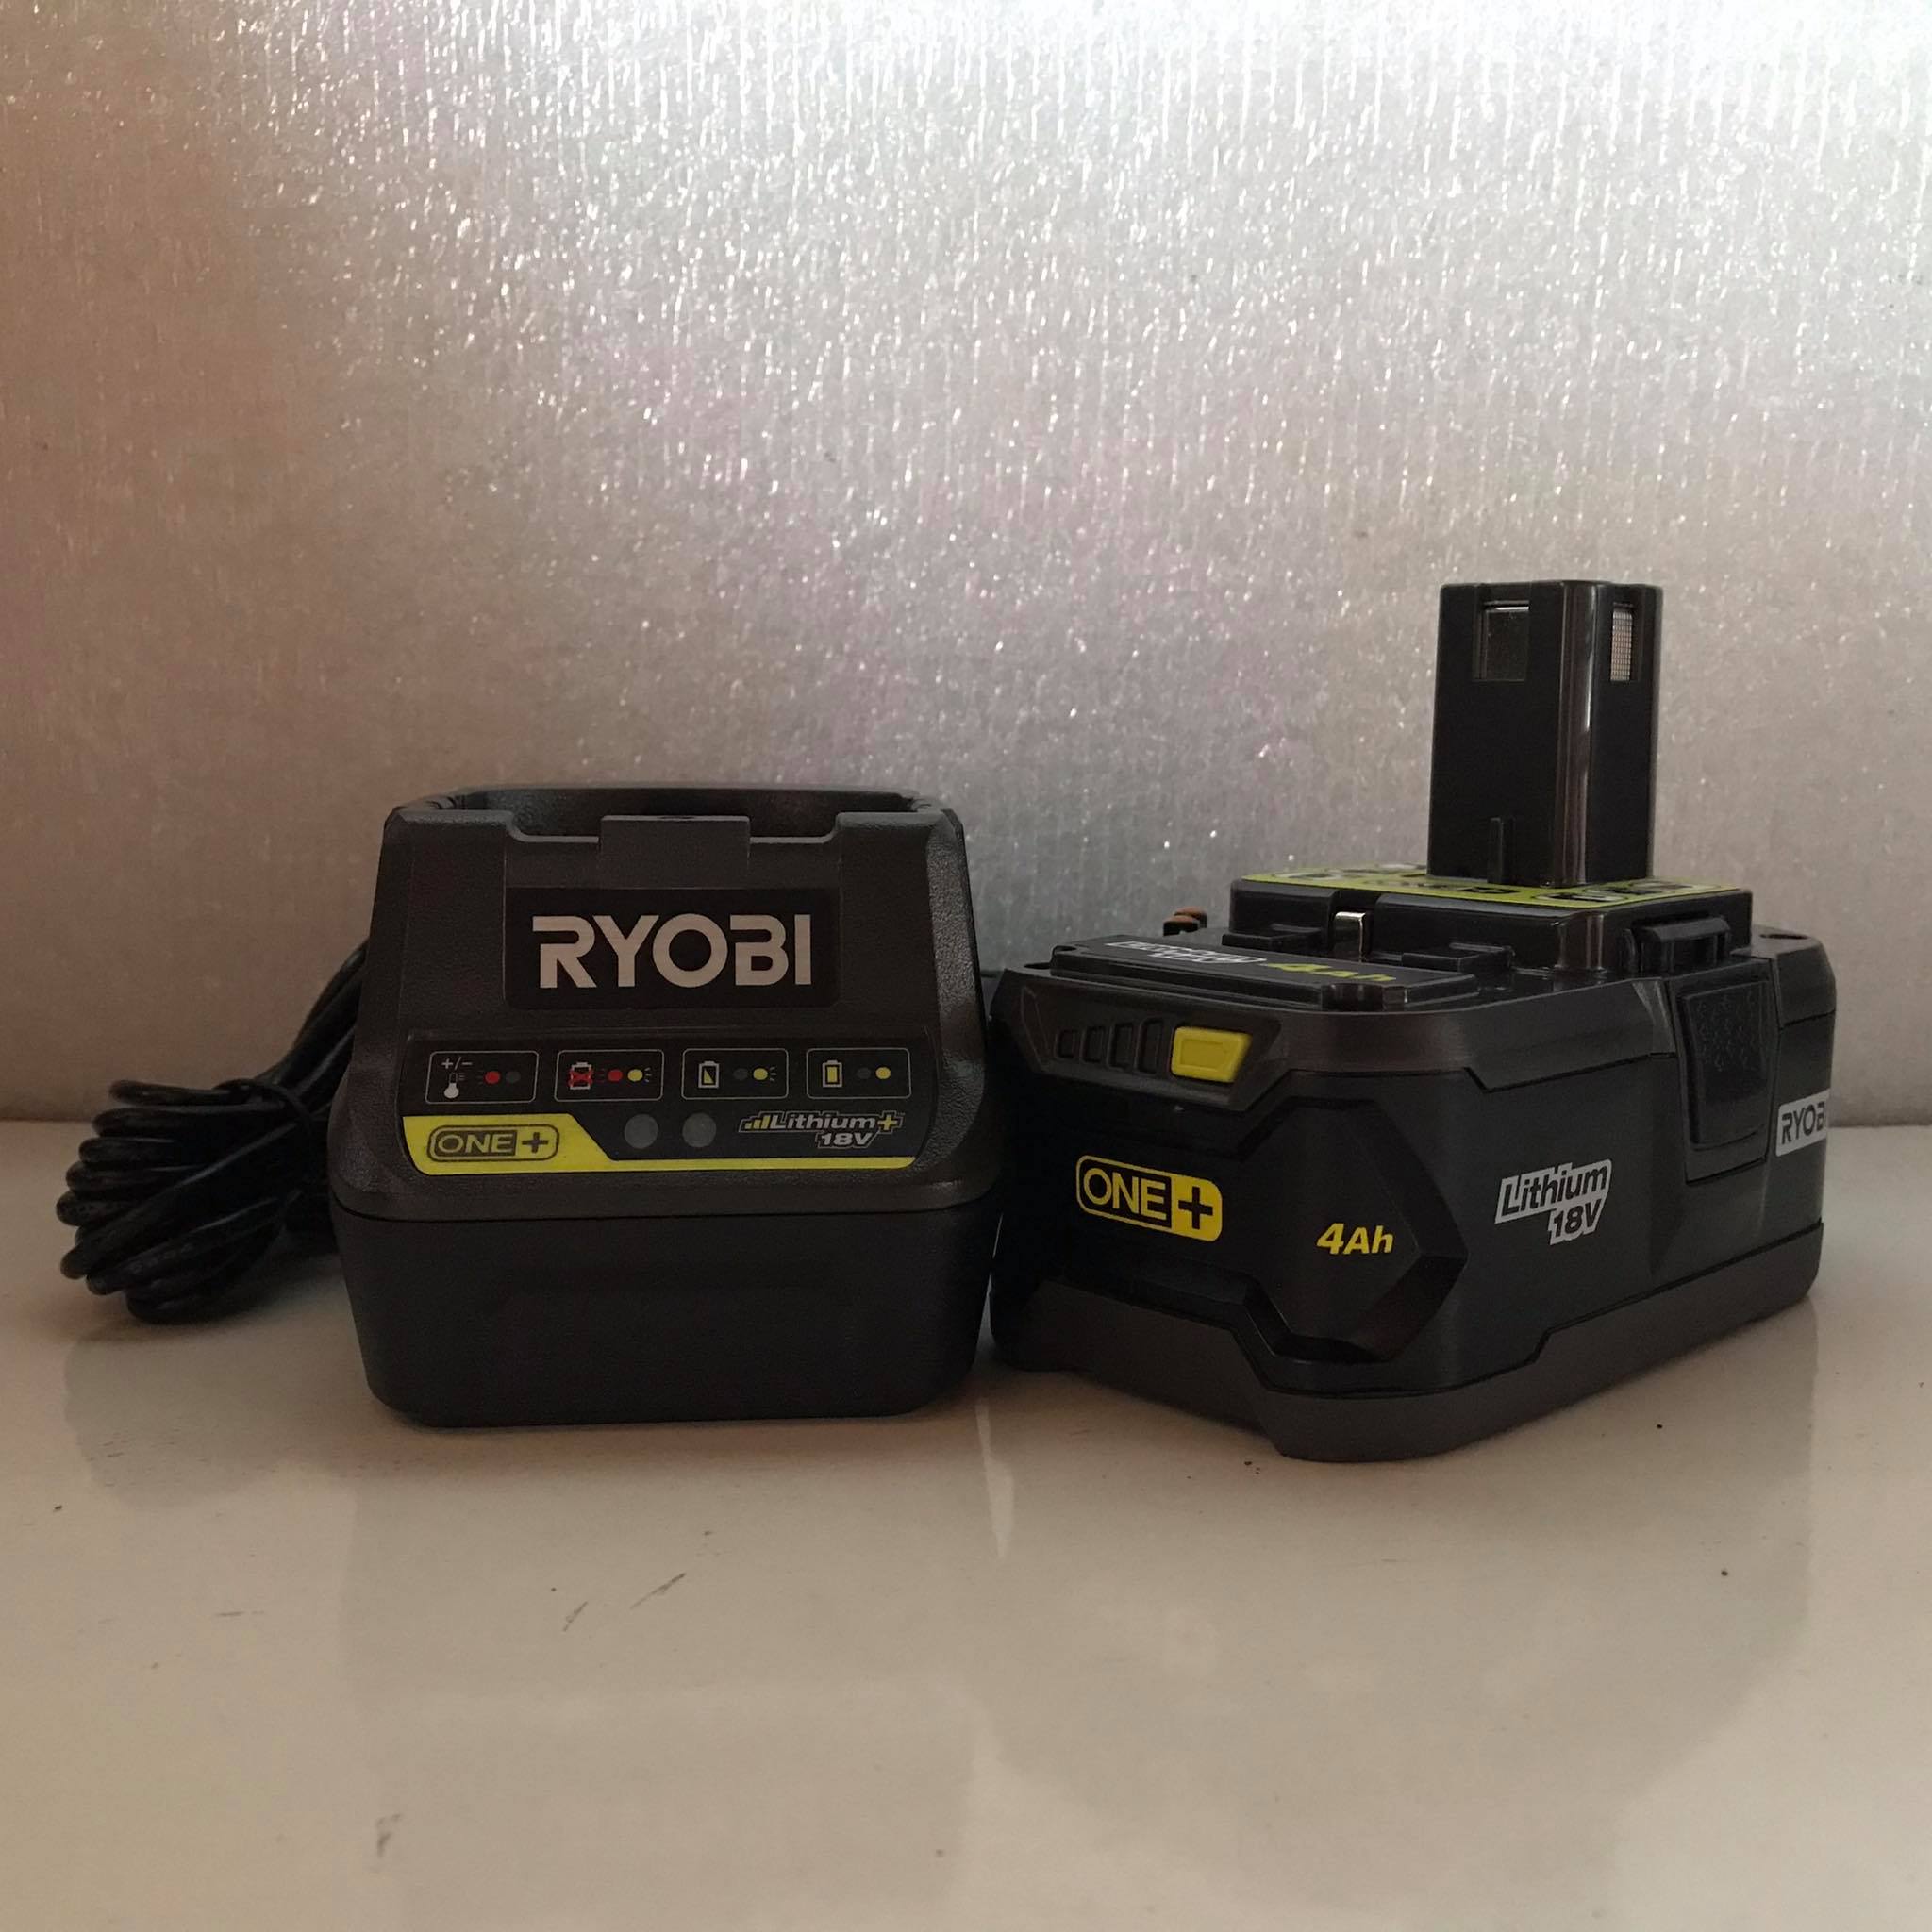
Ryobi 40V trimmers are powered by a 40-volt lithium-ion battery, which provides consistent power and long runtime. This allows you to tackle larger trimming jobs without interruption. With a quick recharge time, you can easily get back to work with minimal downtime.
One of the key features of Ryobi 40V trimmers is their versatility. They come with adjustable cutting widths, allowing you to switch between trimming and edging modes effortlessly. This makes it convenient to maintain not only your lawn but also edges along driveways, sidewalks, and flower beds.
The ergonomic design of Ryobi 40V trimmers ensures comfortable operation, reducing fatigue during extended trimming sessions. The lightweight construction and balanced weight distribution make it easy to maneuver around obstacles and reach tight spots. Additionally, some models offer adjustable handles and shafts to accommodate users of different heights.
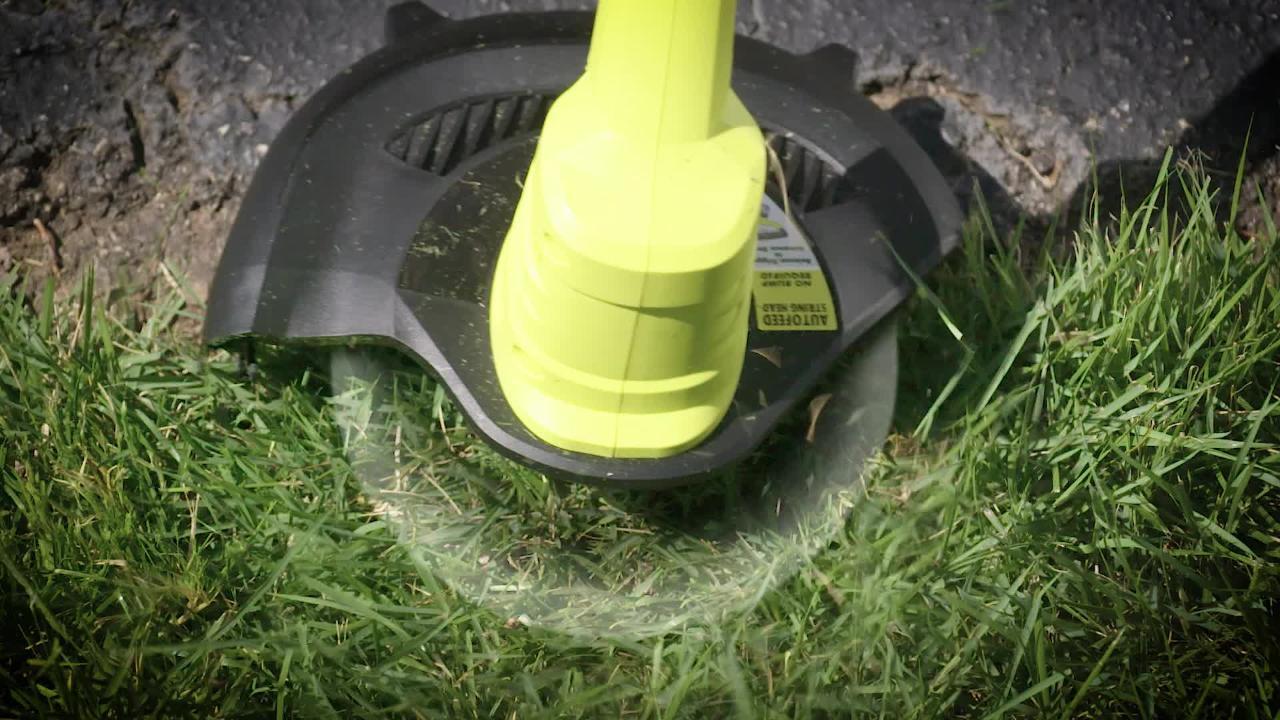
Ryobi 40V trimmers also prioritize user safety. They come equipped with a safety guard to protect against debris and have a safety lock feature that prevents accidental start-ups. These safety features provide peace of mind while using the trimmer.
With various models available, Ryobi offers a range of features to suit different needs. Whether you’re a homeowner with a small yard or a professional landscaper tackling larger properties, there is a Ryobi 40V trimmer to meet your requirements.
Now that we have an overview of Ryobi 40V trimmers, let’s discuss the recommended trimmer line size specifically for these trimmers.
Recommended Trimmer Line Size for Ryobi 40V Trimmers
When it comes to selecting the right trimmer line size for your Ryobi 40V trimmer, it’s essential to consider the specific model and the type of vegetation you’ll be trimming. While Ryobi 40V trimmers are versatile and can handle a range of trimmer line sizes, it’s generally recommended to use a line diameter between 0.080 inches and 0.095 inches for optimal performance.
The 0.080-inch trimmer line is a popular choice and offers a good balance between cutting power, durability, and efficiency. It can handle most residential trimming tasks, including grass, weeds, and light brush, without putting excessive strain on the trimmer motor.
If you have a larger yard or encounter more demanding trimming conditions, such as thick grass or tougher weeds, you may want to consider a thicker trimmer line. The 0.095-inch trimmer line provides increased cutting power and durability, making it suitable for heavier trimming jobs.
It’s worth noting that using a trimmer line size that is too thin or too thick for your Ryobi 40V trimmer can result in subpar performance. A line that is too thin may break easily or struggle to cut through thicker vegetation, while a line that is too thick may put excessive strain on the trimmer motor and reduce battery life.
Ultimately, the recommended trimmer line size for your Ryobi 40V trimmer will depend on the specific model and the type of trimming you’ll be doing. Consult the user manual or contact Ryobi customer support for any model-specific recommendations or guidelines.
Now that we know the recommended trimmer line sizes, let’s explore some factors to consider when choosing the right trimmer line size for your specific trimming needs.
For a Ryobi 40V trimmer, use 0.080-inch diameter trimmer line for best performance. Thicker lines may cause strain on the motor, while thinner lines may not be as effective for cutting.
Factors to Consider When Choosing Trimmer Line Size
Choosing the right trimmer line size for your Ryobi 40V trimmer goes beyond the recommended diameter. Here are some key factors to consider when selecting the trimmer line size:
- Trimmer Line Compatibility: Ensure that the trimmer line size you choose is compatible with your specific model of Ryobi 40V trimmer. Different trimmers may have different requirements, so refer to the user manual or manufacturer’s guidelines for compatibility information.
- Trimmer Line Strength: Consider the strength and durability of the trimmer line. If you’re dealing with thicker vegetation or more challenging trimming conditions, a thicker line with a higher strength rating may be necessary to handle the workload.
- Trimming Frequency and Lawn Size: Think about how often you’ll be using your trimmer and the size of your lawn or garden. If you have a large yard or frequently trim overgrown areas, a thicker trimmer line may be more suitable to handle the demands of heavy-duty trimming.
- Vegetation Type: The type of vegetation you’ll be trimming plays a significant role in determining the appropriate trimmer line size. For lighter tasks involving grass and small weeds, a thinner line may suffice. However, for thicker grass, tough weeds, or light brush, a thicker line will provide the cutting power needed.
- Personal Preference: Consider your personal preferences and comfort level when selecting the trimmer line size. Some users prefer a thinner line for its ease of use and reduced strain on the trimmer motor, while others prefer a thicker line for its cutting power and durability.
By taking these factors into account, you can make an informed decision when choosing the trimmer line size that best suits your needs and ensures optimal performance with your Ryobi 40V trimmer.
Now that we understand the factors to consider, let’s move on to discussing how to replace the trimmer line on your Ryobi 40V trimmer.
Read more: How Long Does A 40V Ryobi Battery Last
How to Replace Trimmer Line on Ryobi 40V Trimmers
Replacing the trimmer line on your Ryobi 40V trimmer is a straightforward process. Here’s a step-by-step guide to help you:
- Prepare your trimmer: Before replacing the trimmer line, ensure that your Ryobi 40V trimmer is turned off and the battery is removed to avoid any accidents or injuries.
- Unwind the existing trimmer line: Locate the trimmer head on your trimmer. Unwind any remaining trimmer line from the spool, removing any debris or tangled line in the process.
- Remove the spool: Depending on your trimmer model, you may need to press a release button or twist the spool counterclockwise to remove it from the trimmer head. Follow the instructions in your user manual if you’re unsure.
- Prepare the new trimmer line: Measure and cut a suitable length of trimmer line based on the recommended size for your Ryobi 40V trimmer. Leave enough excess line to feed through the trimmer head easily.
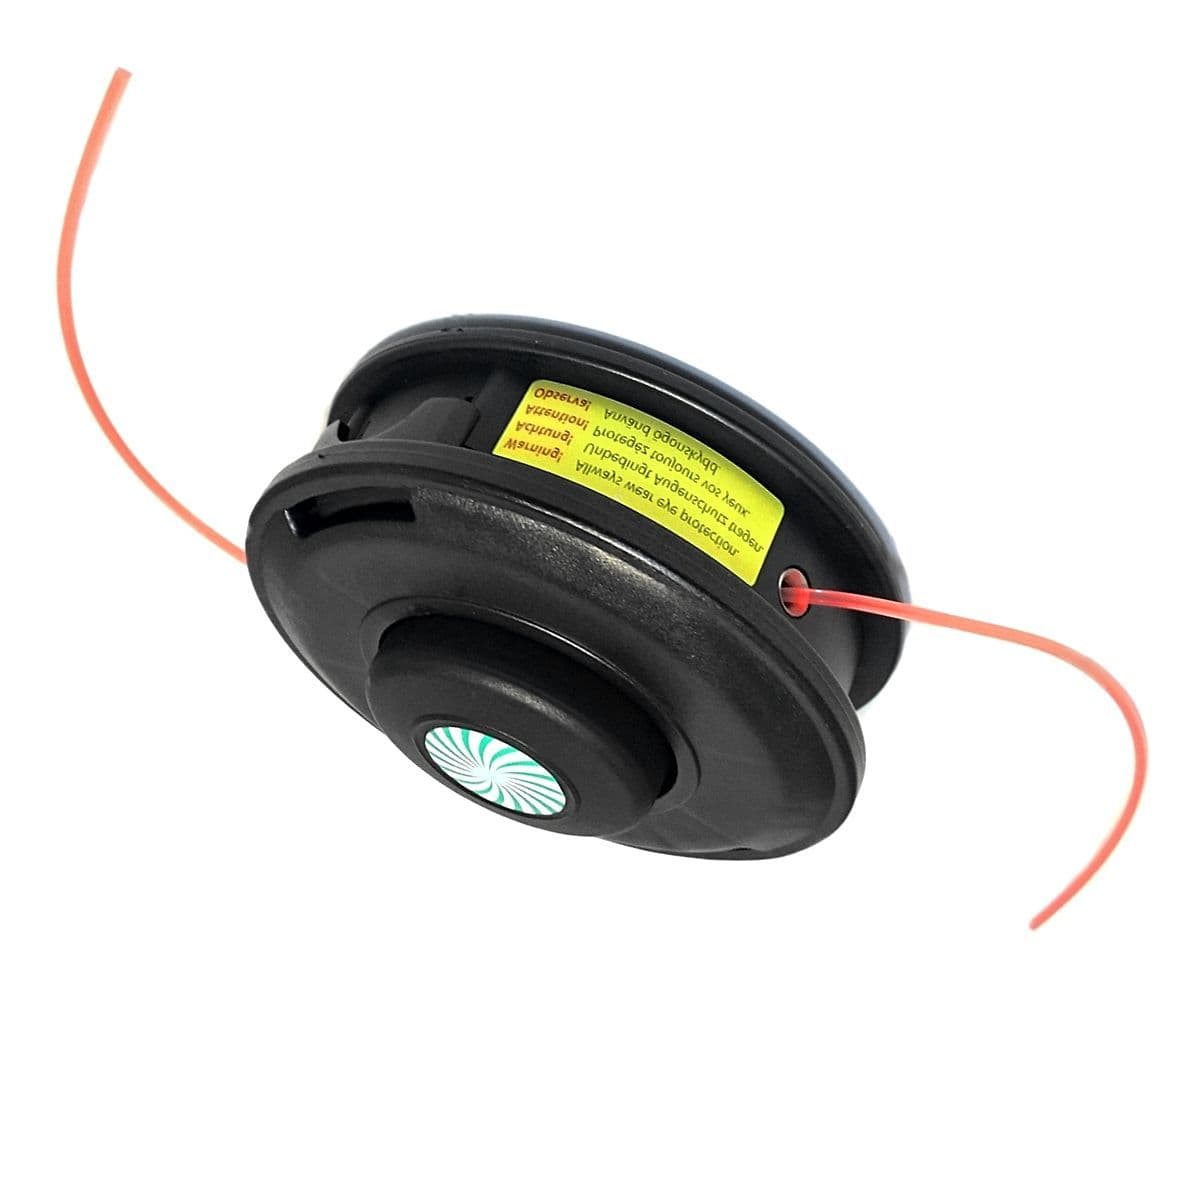
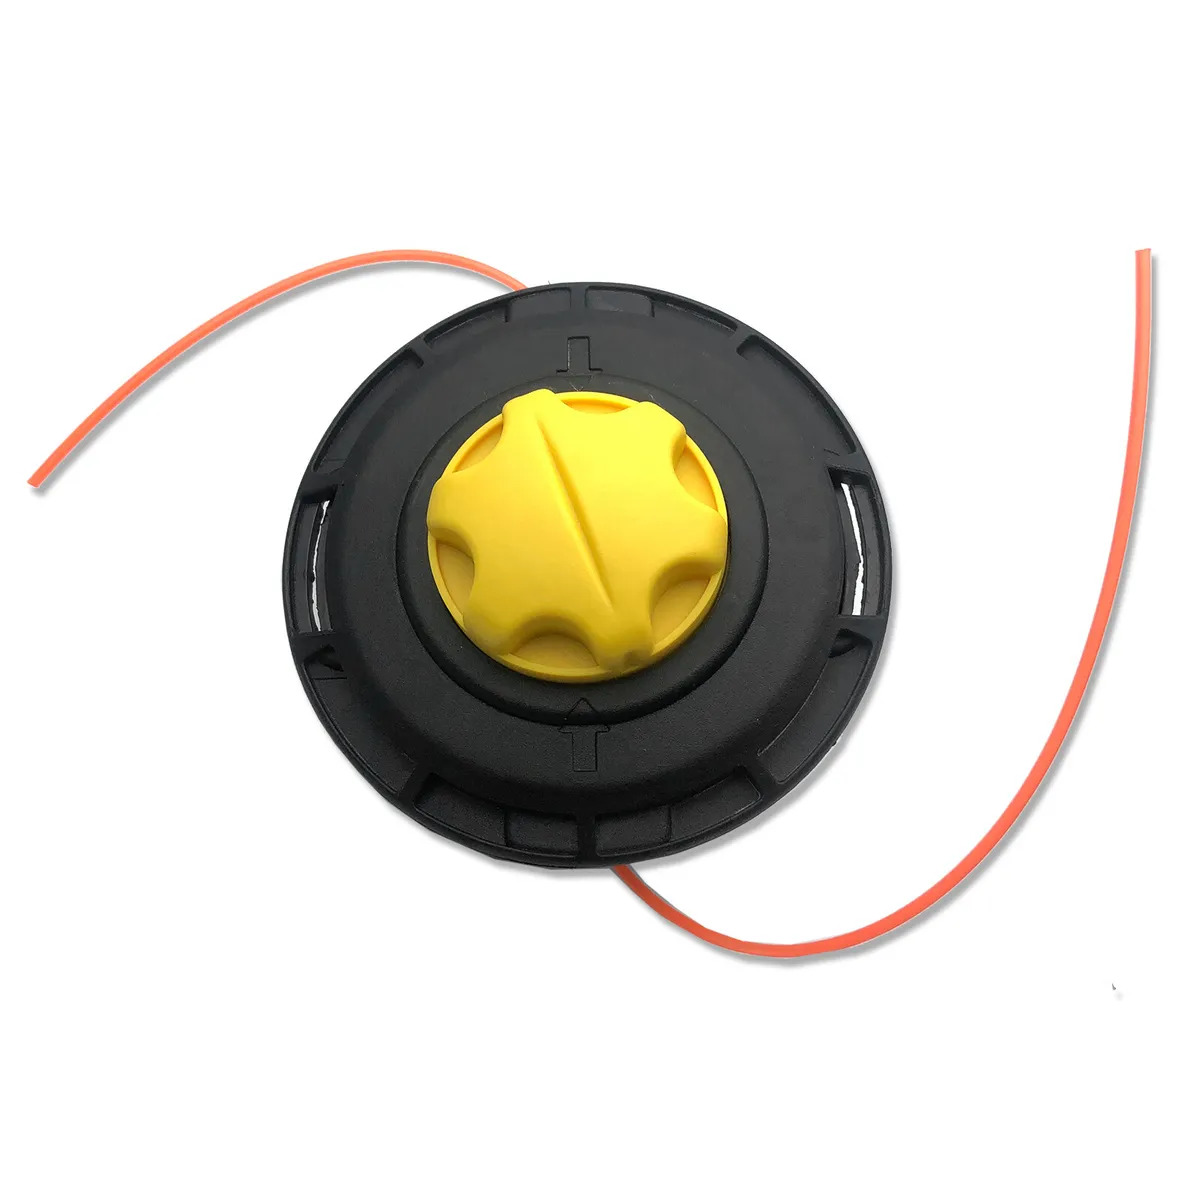
- Thread the trimmer line: Insert one end of the trimmer line into the small hole or eyelet located on the trimmer head. Follow the directional arrows or instructions on the trimmer head to ensure proper line insertion.
- Wind the trimmer line: Wind the trimmer line evenly and tightly onto the spool, following any directional arrows or guidelines on the spool. Take care not to overlap the line or leave any gaps. Ensure the line is snugly wound but not too tight to impede rotation.
- Secure the trimmer line: Once the spool is fully wound, insert the other end of the trimmer line into the notch or slot on the spool. This will help secure the line in place during operation.
- Reinstall the spool: Place the spool back into the trimmer head, aligning any notches or tabs. Twist or press the spool clockwise until it locks securely in place.
- Test the trimmer line: Once the new trimmer line is installed, give it a gentle tug to ensure it is securely seated in the trimmer head. Reattach the battery, turn on the trimmer, and test the trimmer line by trimming a small patch of grass or weeds.
Remember to refer to your Ryobi 40V trimmer’s user manual for any model-specific instructions or precautions. Replacing the trimmer line regularly will maintain optimal cutting performance and ensure your Ryobi 40V trimmer operates at its best.
Now that you know how to replace the trimmer line, let’s explore some tips for ensuring optimal trimmer line performance.
Tips for Ensuring Optimal Trimmer Line Performance
To get the most out of your trimmer line and ensure optimal performance with your Ryobi 40V trimmer, consider implementing the following tips:
- Keep the trimmer line at the recommended length: Over time, the trimmer line will wear down and become shorter. Make sure to regularly check and adjust the line length as needed to maintain the recommended length. A shorter line may reduce cutting efficiency, while an excessively long line could overload the trimmer motor.
- Inspect the trimmer line regularly: Before each use, visually inspect the trimmer line for signs of wear, damage, or fraying. Replace the line if you notice any significant wear or breakage. Damaged trimmer line can compromise cutting performance and safety.
- Trim in the right conditions: Trim when the grass or vegetation is dry, as damp conditions can make it more challenging for the trimmer line to cut effectively. Avoid trimming in excessively hot weather, as the heat can cause the trimmer line to become too flexible and lose its cutting power.
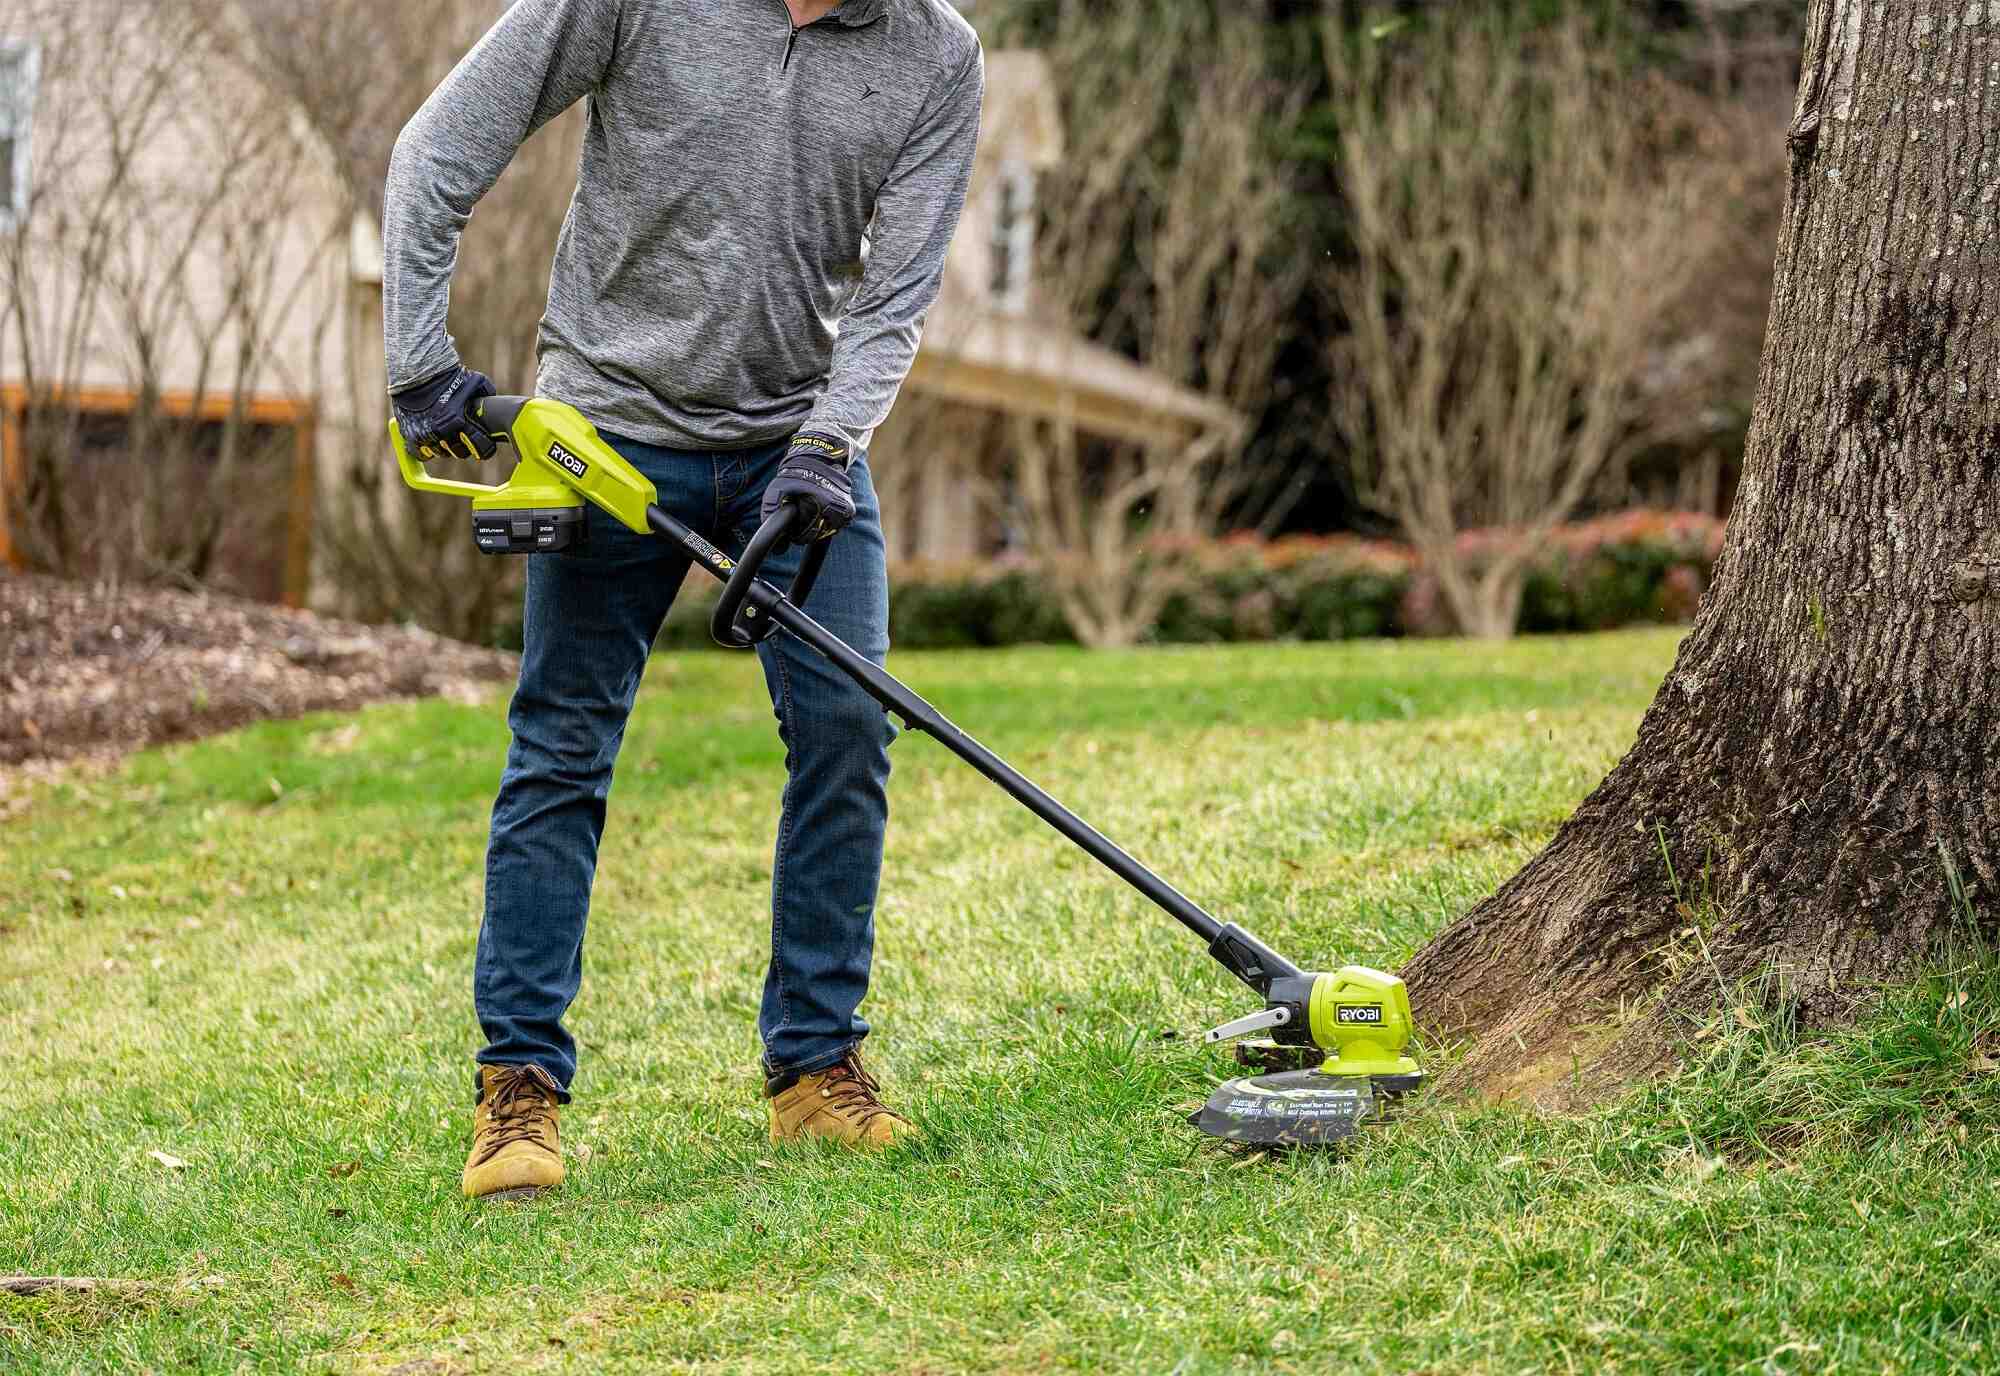
- Use the appropriate cutting technique: Hold the trimmer parallel to the ground and guide it in a sweeping motion for grass trimming. For edging, hold the trimmer vertically and carefully allow the trimmer line to make contact with the edge. Avoid swinging the trimmer line forcefully into hard surfaces, as this can cause the line to break or wear down quickly.
- Store the trimmer properly: After each use, clean the trimmer and store it in a dry and secure place. Protecting the trimmer line from moisture and UV exposure can help prolong its lifespan and maintain its cutting performance.
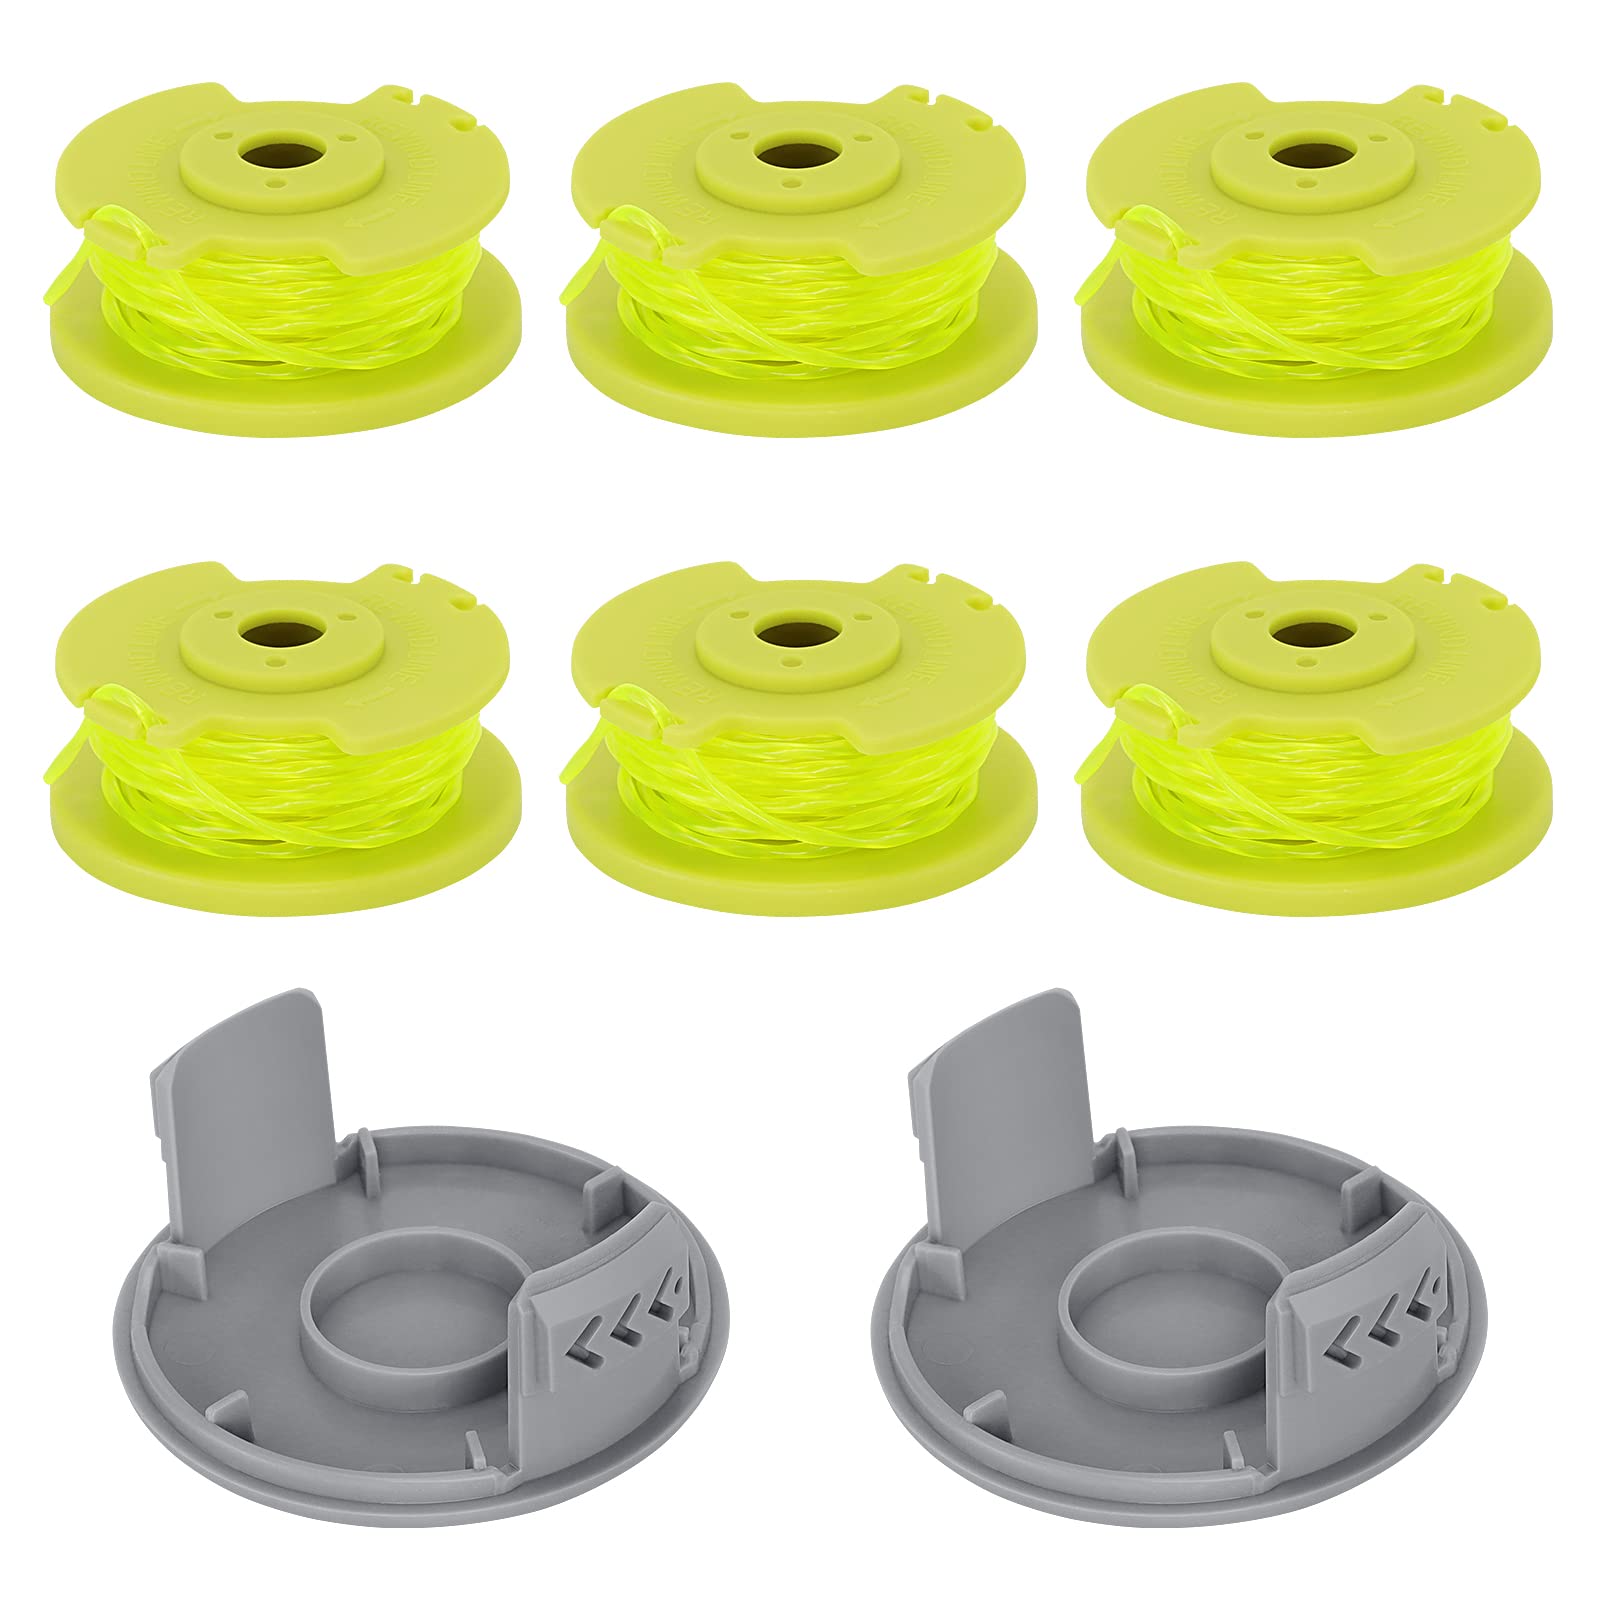
- Consider using pre-cut trimmer line: If winding and replacing trimmer line is a hassle for you, consider using pre-cut trimmer line cartridges. These cartridges are ready to use and eliminate the need for manual winding.
- Follow manufacturer recommendations: Always refer to the user manual or manufacturer’s guidelines for specific care and maintenance instructions for your Ryobi 40V trimmer. Following their recommendations will ensure optimal performance and prolong the life of your trimmer and trimmer line.
By implementing these tips, you can maximize the performance and efficiency of your trimmer line, allowing you to achieve clean and precise cuts with your Ryobi 40V trimmer.
Now, let’s wrap up our discussion.
Conclusion
Choosing the right trimmer line size is crucial for ensuring optimal performance and efficiency with your Ryobi 40V trimmer. By understanding the different trimmer line sizes and considering factors such as compatibility, cutting power, and vegetation type, you can select the ideal trimmer line size for your specific trimming needs.
We recommend using a trimmer line size of 0.080 inches to 0.095 inches for your Ryobi 40V trimmer, as this range provides a balanced combination of cutting power and durability.
Replacing the trimmer line on your Ryobi 40V trimmer is a simple process, and by following the step-by-step instructions, you can quickly and easily replace the line as needed. Regularly inspecting and maintaining your trimmer line, as well as following proper cutting techniques and storing the trimmer correctly, will help ensure optimal trimmer line performance and longevity.
Remember to refer to your Ryobi 40V trimmer’s user manual for any model-specific recommendations and guidelines.
With the right trimmer line size and proper maintenance, your Ryobi 40V trimmer will continue to be a reliable tool for keeping your lawn and garden well-groomed, allowing you to achieve professional-looking results with ease.
So, equip your Ryobi 40V trimmer with the recommended trimmer line size, follow the tips for optimal performance, and enjoy effortless trimming that will make your yard the envy of the neighborhood.
Happy trimming!
Frequently Asked Questions about What Size Trimmer Line For Ryobi 40V
Was this page helpful?
At Storables.com, we guarantee accurate and reliable information. Our content, validated by Expert Board Contributors, is crafted following stringent Editorial Policies. We're committed to providing you with well-researched, expert-backed insights for all your informational needs.

0 thoughts on “What Size Trimmer Line For Ryobi 40V”