Home>Articles>How To Replace String On Ryobi 40 Volt Trimmer
Articles
How To Replace String On Ryobi 40 Volt Trimmer
Modified: December 7, 2023
Learn how to replace the string on your Ryobi 40 Volt Trimmer with our comprehensive articles. Expert tips and step-by-step instructions to keep your trimmer in top shape.
(Many of the links in this article redirect to a specific reviewed product. Your purchase of these products through affiliate links helps to generate commission for Storables.com, at no extra cost. Learn more)
Introduction
Keeping your yard well-manicured and free from overgrown grass and weeds is essential for maintaining a neat and tidy outdoor space. A reliable tool for this job is a string trimmer, which can help you easily trim and cut grass in areas that a lawnmower may not be able to reach.
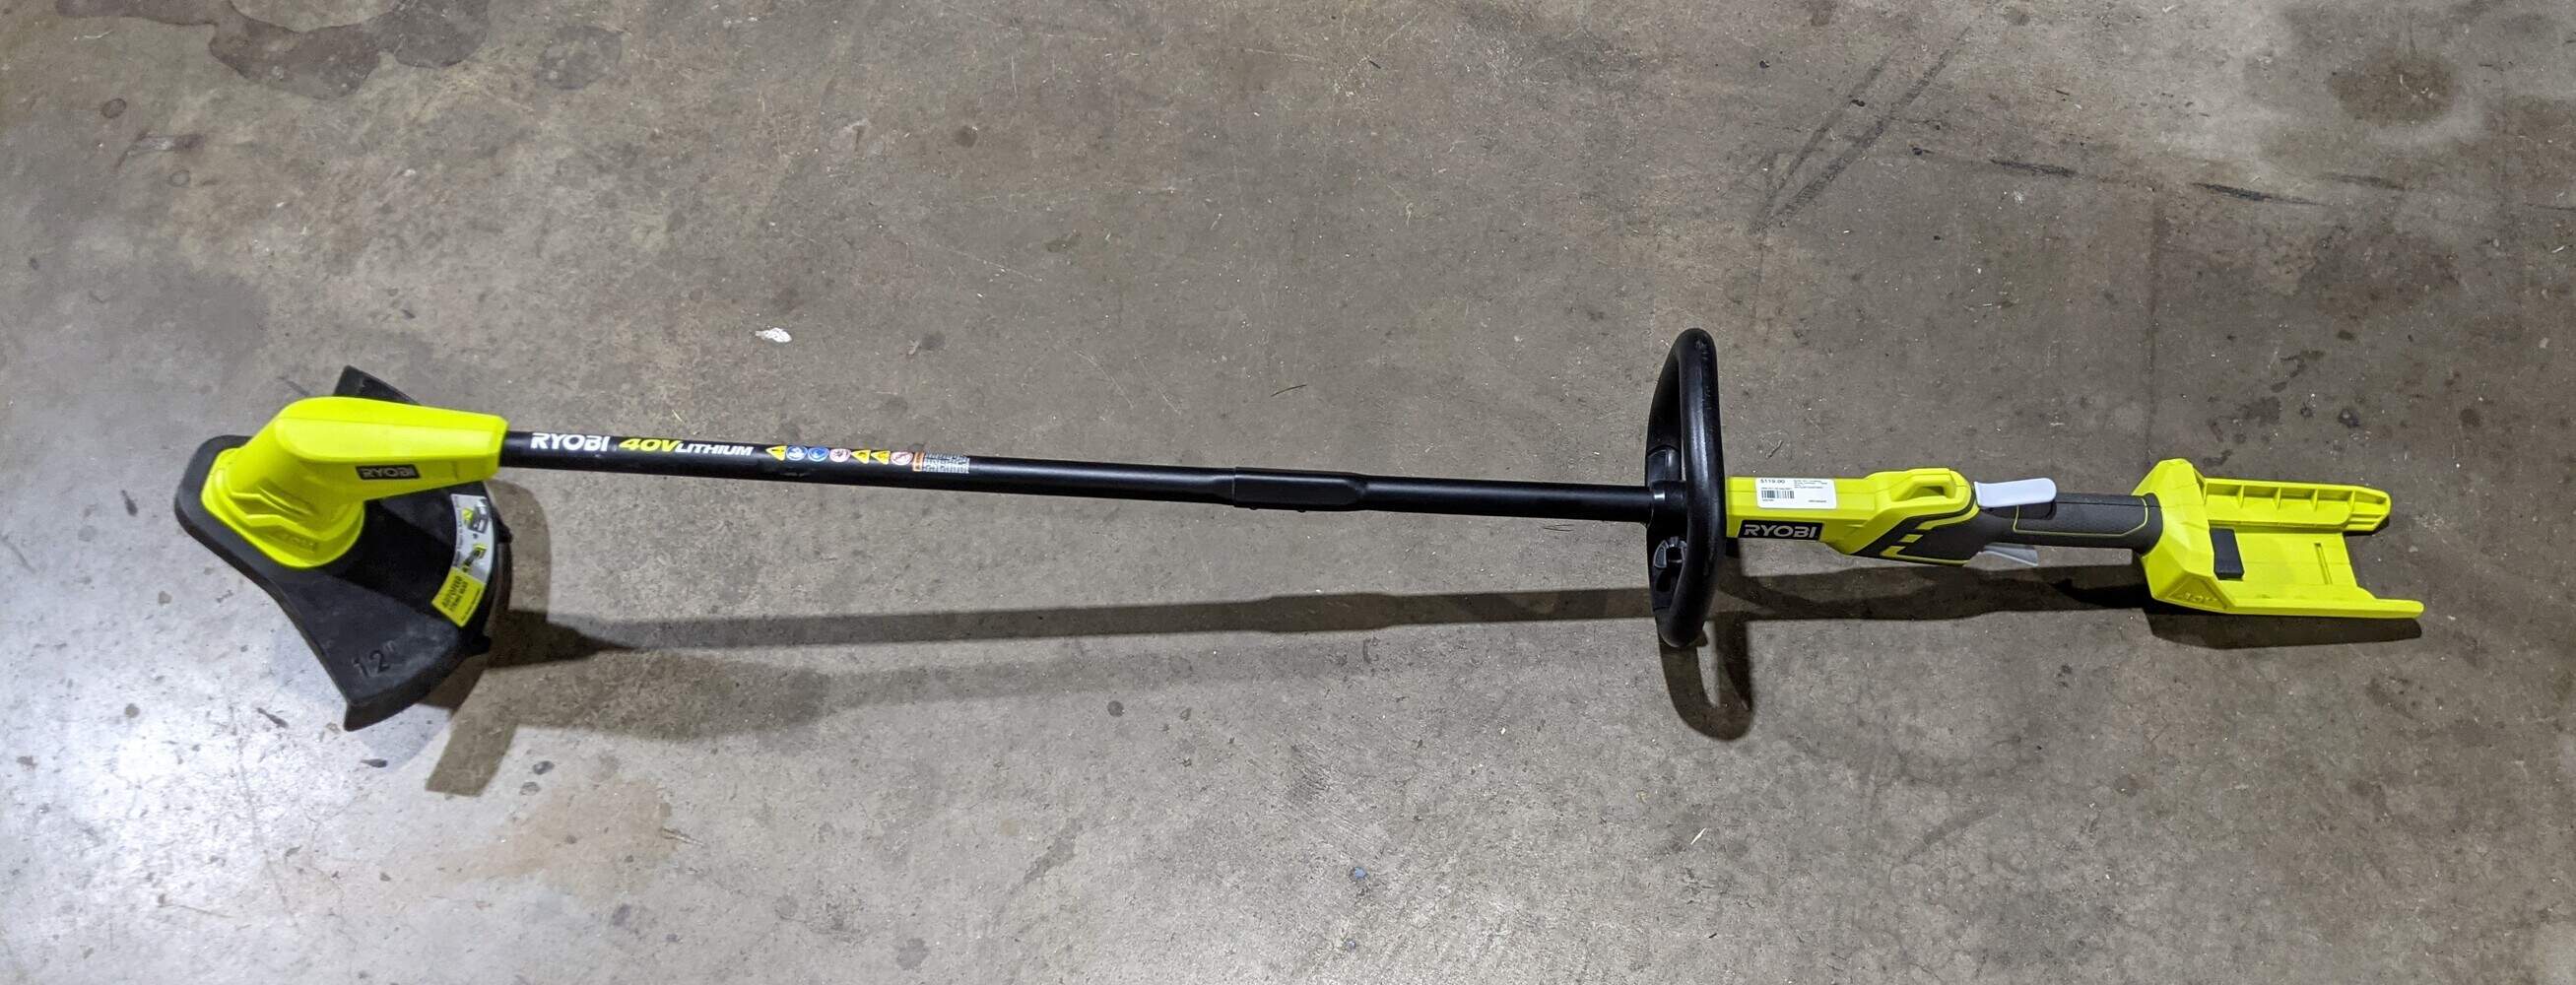
One popular option is the Ryobi 40 Volt Trimmer, known for its lightweight design and easy maneuverability. Over time, the string on your trimmer may wear out or break, requiring you to replace it. Fortunately, replacing the string on the Ryobi 40 Volt Trimmer is a simple process that can be done in just a few steps.
In this guide, you will learn how to replace the string on your Ryobi 40 Volt Trimmer, ensuring that it remains in optimal condition for all your trimming needs. By following these steps, you can save time and money by performing the replacement yourself, without the need for professional assistance.
Before we dive into the step-by-step process, let’s gather the necessary tools and materials you will need:
- Ryobi 40 Volt Trimmer
- New replacement string
- Protective gloves
- Eye protection
Key Takeaways:
- Easily replace the string on your Ryobi 40 Volt Trimmer in just a few steps, saving time and money on professional assistance. Keep your yard well-manicured with this simple DIY maintenance task.
- Ensure optimal performance of your Ryobi 40 Volt Trimmer by following the step-by-step guide to replace the string. Enjoy a neat and tidy outdoor space with a well-maintained trimmer.
Read more: How To Replace Ryobi String Trimmer Line
Step 1: Gather necessary tools and materials
Before starting the string replacement process, it’s important to ensure you have all the necessary tools and materials at hand. This will help you complete the task smoothly and efficiently.
Here is a list of the tools and materials you will need:
- Ryobi 40 Volt Trimmer: This is the main tool needed for the string replacement process. Make sure your trimmer is in good working condition and has a compatible string head.
- New replacement string: Purchase a replacement string that is specifically designed for your Ryobi 40 Volt Trimmer. Look for the appropriate diameter and length specified by the manufacturer.
- Protective gloves: It is vital to wear protective gloves to shield your hands from any potential cuts or injuries during the string replacement process. Choose a pair of gloves that fit well and provide adequate dexterity.
- Eye protection: To protect your eyes from flying debris, wear safety goggles or glasses. This will help prevent any potential eye injuries while operating the trimmer.
Once you have gathered all the necessary tools and materials, you can proceed to the next step of preparing the trimmer for the string replacement process.
Step 2: Prepare the trimmer
Before replacing the string on your Ryobi 40 Volt Trimmer, it’s important to prepare the trimmer by following these steps:
- Turn off the trimmer: Ensure that the trimmer is completely powered off and disconnected from any power source. This will help prevent any accidents or injuries during the string replacement process.
- Clean the trimmer: Remove any dirt, debris, or grass clippings from the trimmer head and surrounding areas. A clean trimmer will make it easier to access and replace the string.
- Inspect the trimmer head: Take a close look at the trimmer head to ensure that it is in good condition. Check for any signs of damage or wear, such as cracks or broken parts. If necessary, replace the trimmer head before proceeding with the string replacement.
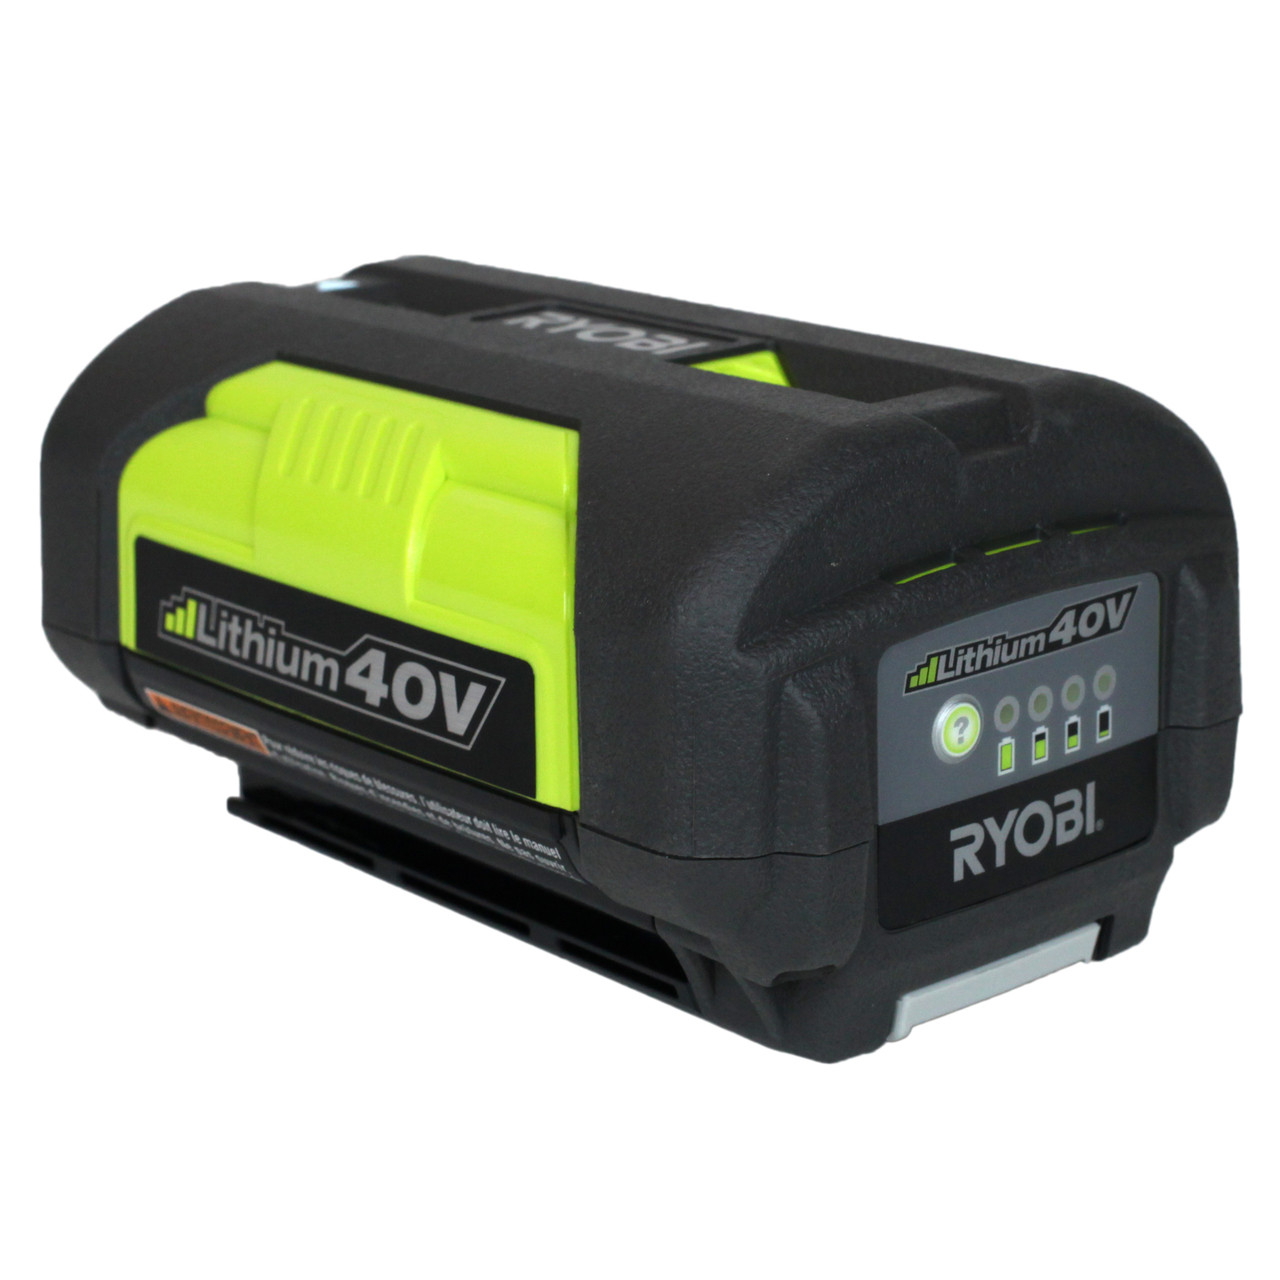
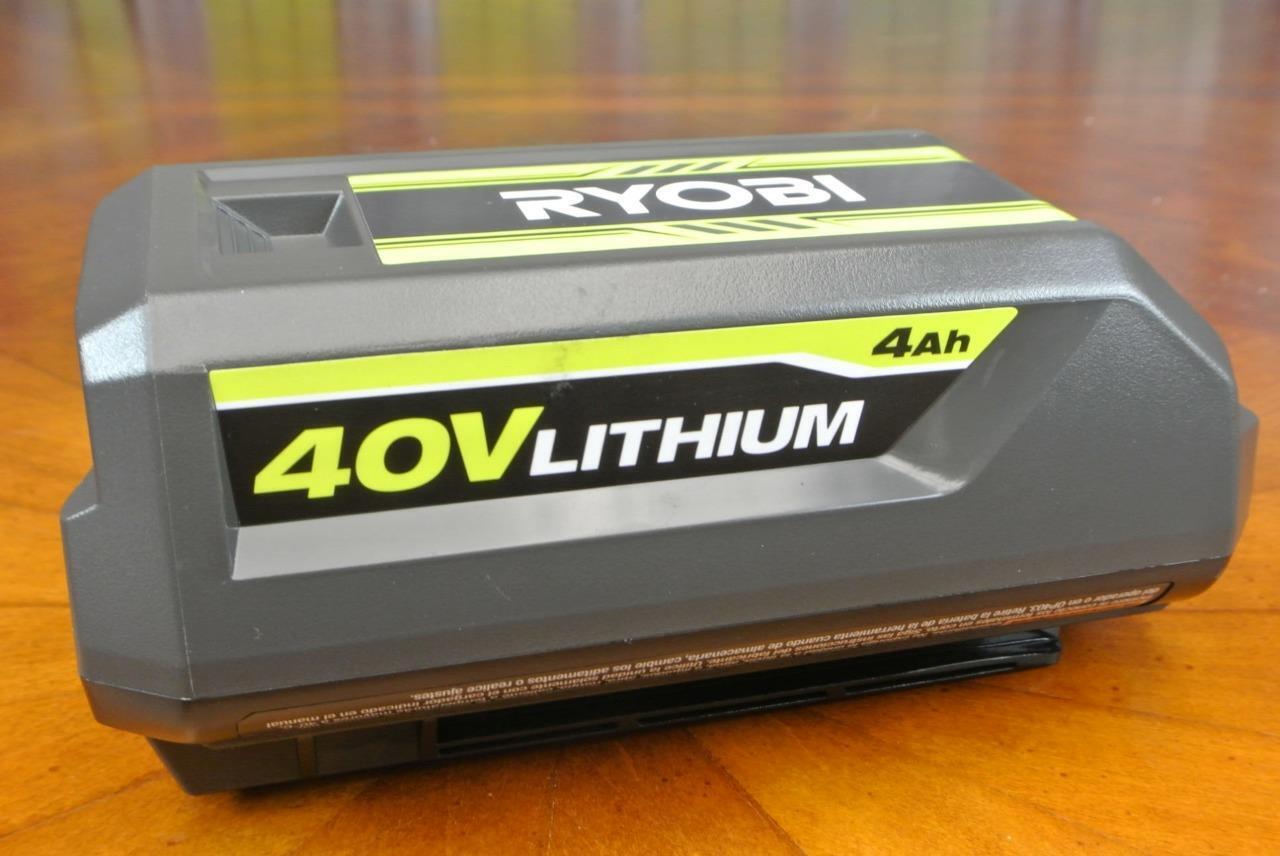
- Remove the battery: If your Ryobi 40 Volt Trimmer uses a battery, disconnect and remove it from the trimmer. This step is important to prevent any accidental activation of the trimmer while replacing the string.
- Study the user manual: Familiarize yourself with the user manual that came with your Ryobi 40 Volt Trimmer. This will provide you with specific instructions and guidance on how to replace the string on your particular model.
By preparing the trimmer beforehand, you are ensuring a safe and efficient string replacement process. Once you have completed the preparation steps, you can proceed to the next step of removing the old string.
Step 3: Remove the old string
Now that you have prepared the trimmer, it’s time to remove the old string. Follow these steps to successfully remove the old string from your Ryobi 40 Volt Trimmer:
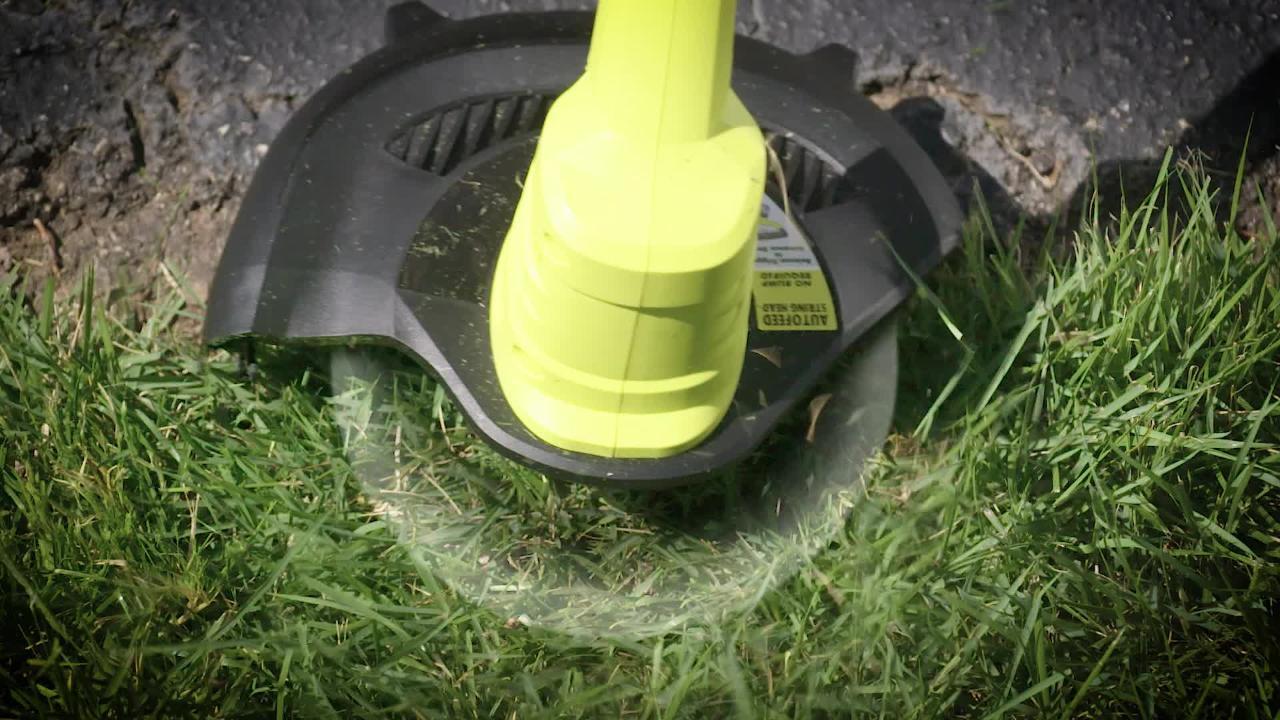
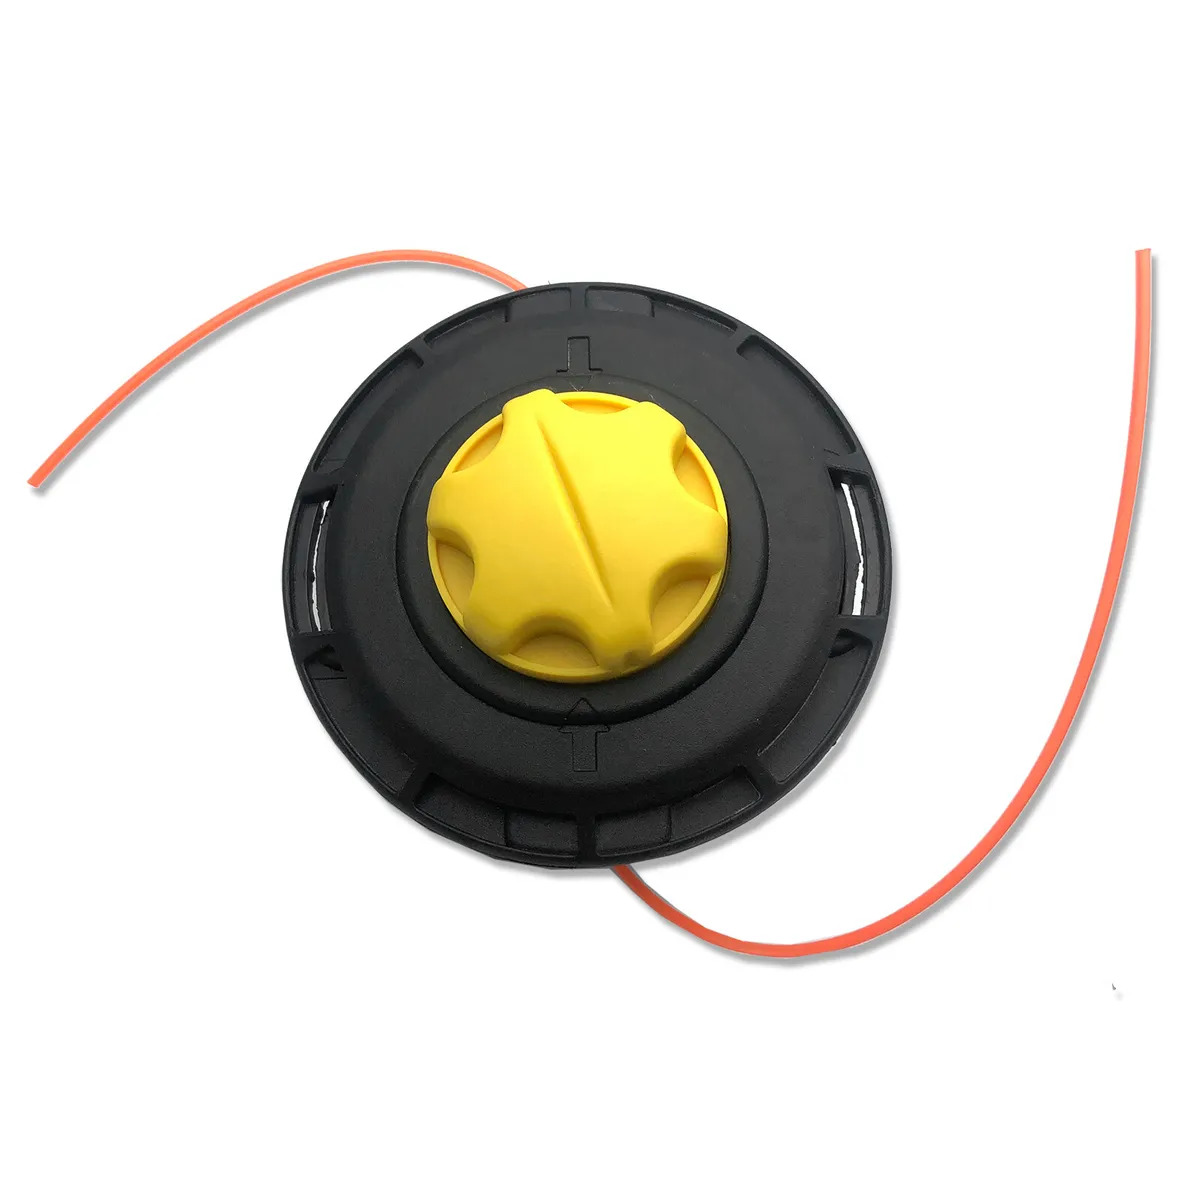
- Locate the spool: The spool is the part of the trimmer head that holds the string. Locate the spool on your trimmer head and identify the tabs or buttons that secure it in place.
- Press the tabs or buttons: Use your fingers or a small tool to press the tabs or buttons that lock the spool in place. This will release the spool and allow you to remove it from the trimmer head.
- Remove the old string: Once the spool is detached from the trimmer head, carefully remove the old string from the spool. Untangle any knots or snags, and discard the old string properly.
- Clean the spool: Take a moment to clean the spool to remove any debris or leftover string fragments. This will ensure a smooth and hassle-free installation of the new string.
- Inspect the trimmer head: While the spool is removed, inspect the trimmer head for any signs of wear or damage. If you notice any issues, consider replacing the trimmer head to ensure optimal performance.
By following these steps, you have successfully removed the old string from your Ryobi 40 Volt Trimmer. The next step is to replace it with a new string, which we’ll cover in the following section.
When replacing the string on a Ryobi 40 volt trimmer, make sure to follow the manufacturer’s instructions carefully. Use the correct size and type of trimmer line for your specific model to ensure optimal performance.
Step 4: Replace with new string
With the old string removed, it’s time to replace it with a new one. Follow these steps to properly install the new string on your Ryobi 40 Volt Trimmer:
- Prepare the new string: Take your new replacement string and measure the appropriate length specified by the manufacturer. Cut the string to the required length using a pair of scissors or a cutting tool.
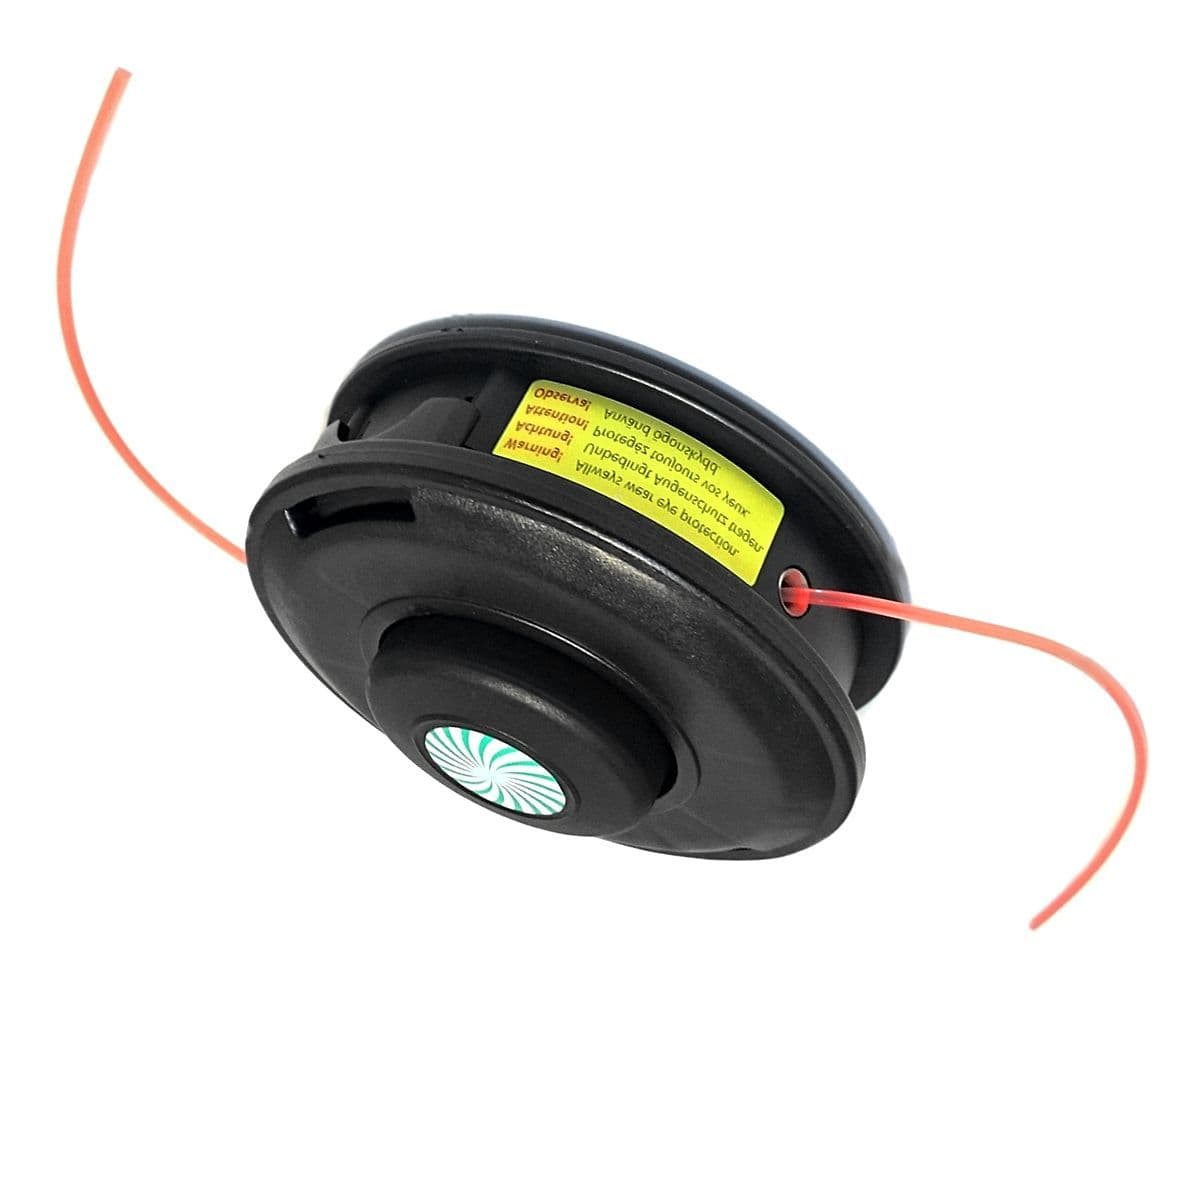
- Thread the new string: Locate the string anchor holes or notches on the trimmer head. Thread the ends of the new string through these holes or notches, making sure they are securely held in place.
- Wind the string: Rotate the spool in the direction indicated by the arrow or according to the trimmer’s user manual. Wind the new string evenly around the spool, making sure to keep tension on the string as you wind it.
- Secure the string: Once the string is completely wound around the spool, secure the ends in the notches or slots designed for this purpose. Ensure that the string is properly in place and will not come loose during operation.
- Reassemble the spool: Place the spool back into the trimmer head, aligning it with the tabs or buttons that secure it in place. Press the spool firmly until it locks into position and is securely attached to the trimmer head.
By following these steps, you have successfully replaced the old string on your Ryobi 40 Volt Trimmer with a new one. The next step is to test the trimmer to ensure that the new string is functioning correctly.
Read more: How To Advance String On Ryobi Trimmer
Step 5: Test the trimmer
After replacing the string on your Ryobi 40 Volt Trimmer, it’s important to test the trimmer to ensure that the new string is functioning properly. Follow these steps to test the trimmer:
- Reconnect the power source: If you removed the battery during the string replacement process, reconnect it to the trimmer. Make sure the trimmer is properly powered and ready for use.
- Adjust the string length: If necessary, adjust the length of the new string by tapping the trimmer head on the ground. This will release additional string and allow you to trim with the desired length.
- Activate the trimmer: Depending on your trimmer model, either press a button or pull a trigger to activate the trimmer. Start the trimmer and listen for any unusual noises or vibrations that may indicate a problem.
- Test on a small area: Find a small area in your yard or garden to test the trimmer. Hold the trimmer at a comfortable angle and trim the grass or weeds, ensuring that the string is cutting cleanly and effectively.
- Check for proper cutting: After trimming, inspect the cutting results. Ensure that the trimmer has effectively cut through the grass or weeds and that the string is feeding out properly from the trimmer head.
If you encounter any issues during the testing phase, such as uneven cutting or a malfunctioning trimmer head, recheck the string installation. Make any necessary adjustments and test the trimmer again until you are satisfied with its performance.
Once you have successfully tested the trimmer and are confident in its operation, you can proceed to use it for the desired trimming tasks in your yard or garden.
Conclusion
Replacing the string on your Ryobi 40 Volt Trimmer is a straightforward process that can be done in just a few steps. By following the steps outlined in this guide, you can successfully replace the old string with a new one and ensure that your trimmer is ready for all your trimming needs.
Remember to gather all the necessary tools and materials before you begin and take the time to prepare the trimmer by cleaning it and inspecting the trimmer head. Removing the old string is a simple process, and it’s important to take care not to damage the trimmer head in the process.
Once the old string is removed, carefully thread and wind the new string onto the spool, following the manufacturer’s instructions. Ensure that the string is properly secured and the spool is reassembled onto the trimmer head. Finally, test the trimmer to ensure that the new string is cutting effectively and feeding properly.
Proper maintenance of your Ryobi 40 Volt Trimmer, including regular string replacements, will ensure that the trimmer continues to perform optimally and provide you with a well-manicured yard. By following the steps outlined in this guide, you can confidently replace the string yourself and save time and money on professional assistance.
Remember to always refer to the user manual that came with your trimmer for specific instructions and guidelines. Take proper safety precautions by wearing protective gloves and eye protection throughout the process, and always operate the trimmer in a safe and controlled manner.
With the new string installed and the trimmer tested, you’re ready to tackle any trimming tasks that come your way. Enjoy the ease and efficiency of your Ryobi 40 Volt Trimmer as you maintain a neat and tidy outdoor space.
Frequently Asked Questions about How To Replace String On Ryobi 40 Volt Trimmer
Was this page helpful?
At Storables.com, we guarantee accurate and reliable information. Our content, validated by Expert Board Contributors, is crafted following stringent Editorial Policies. We're committed to providing you with well-researched, expert-backed insights for all your informational needs.


0 thoughts on “How To Replace String On Ryobi 40 Volt Trimmer”