Articles
How To Replace Ryobi Cordless Trimmer Line
Modified: December 7, 2023
Learn the step-by-step process of replacing the cordless trimmer line on your Ryobi tool with our informative articles. Get the job done easily and efficiently!
(Many of the links in this article redirect to a specific reviewed product. Your purchase of these products through affiliate links helps to generate commission for Storables.com, at no extra cost. Learn more)
Introduction
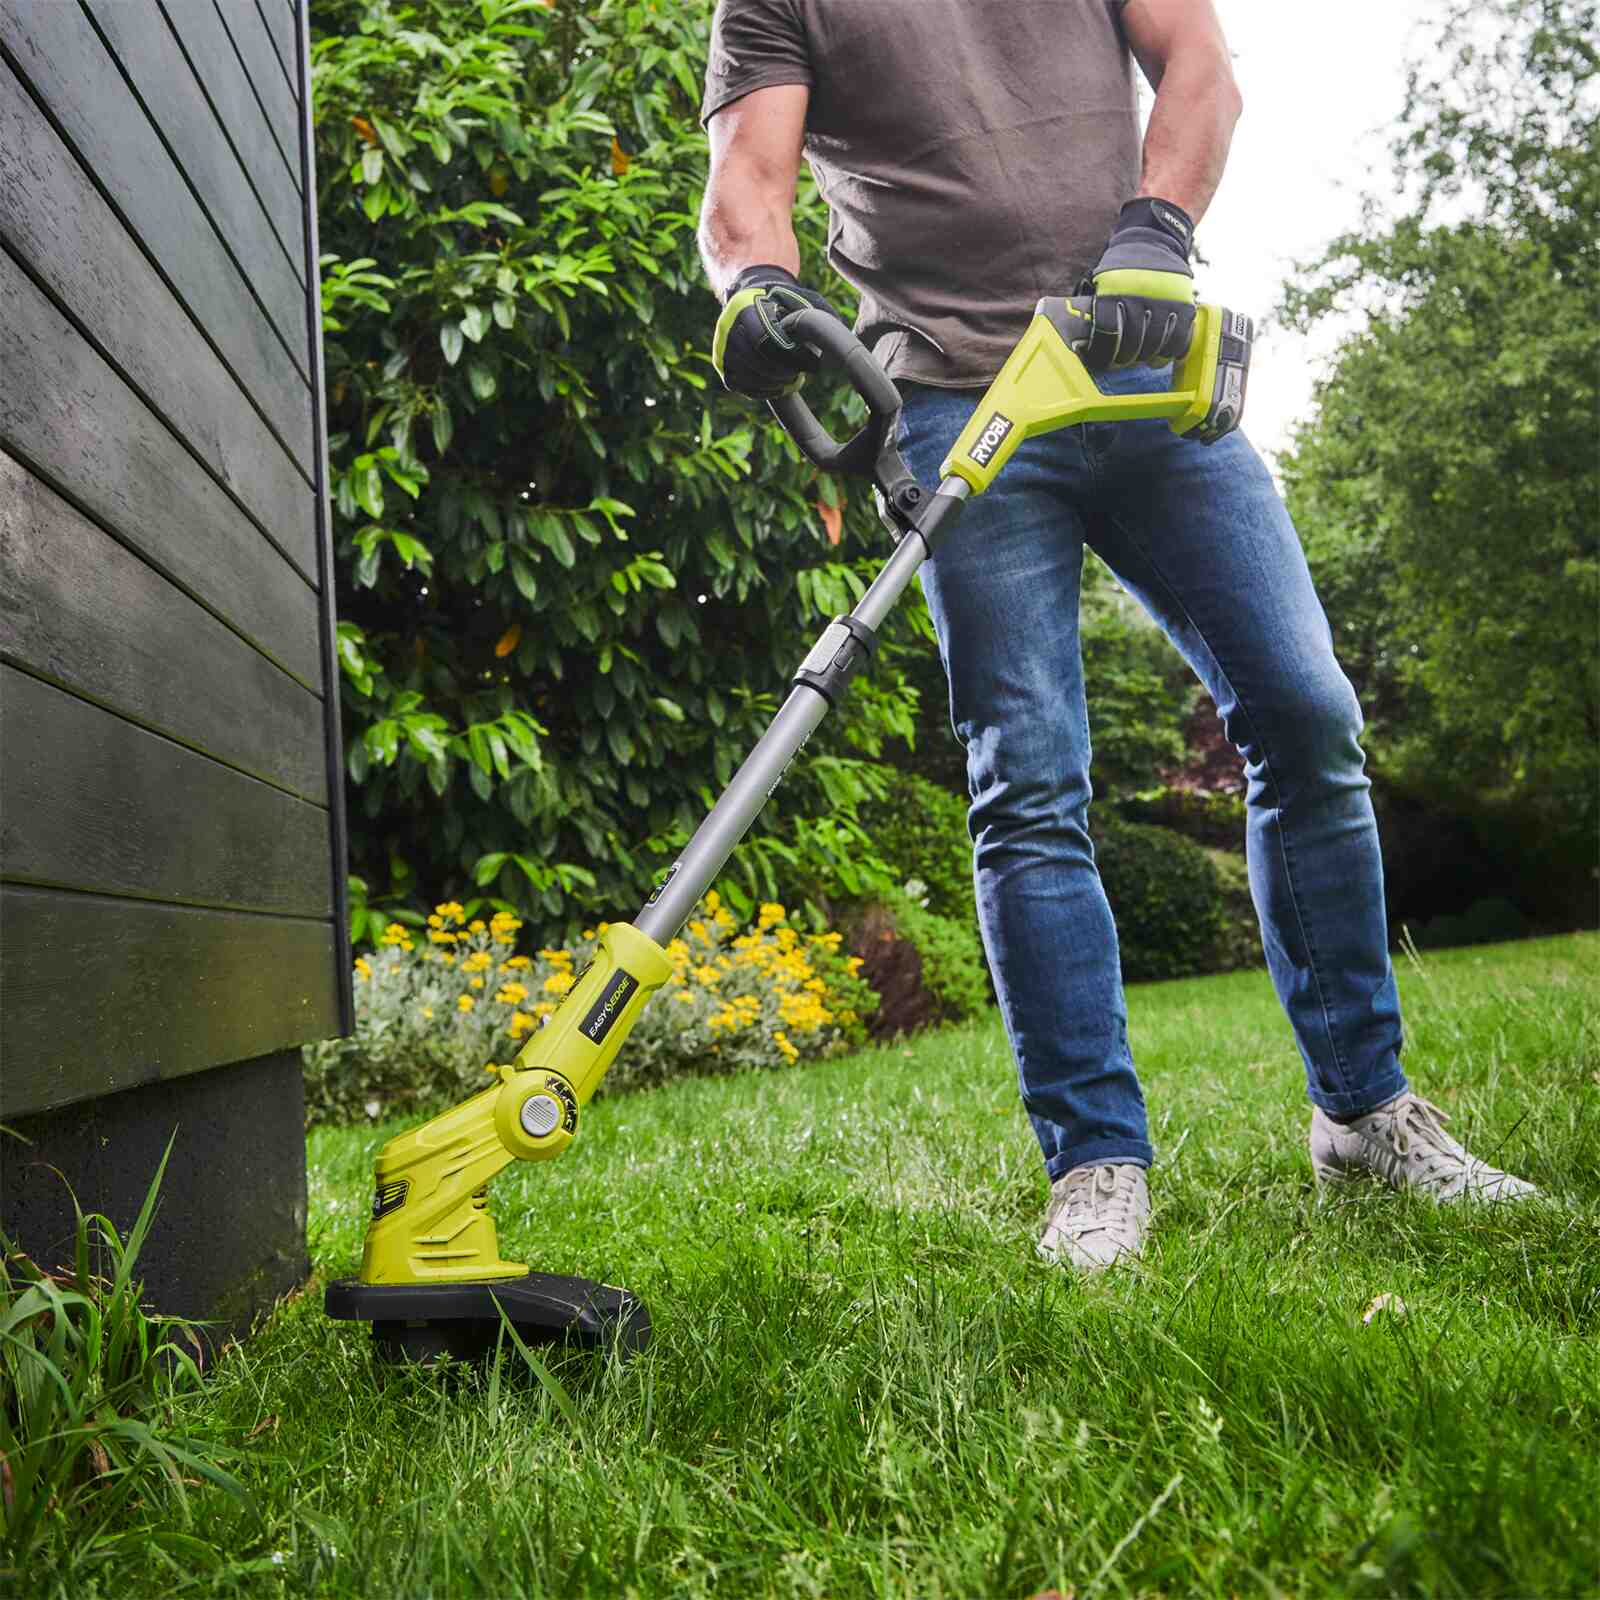
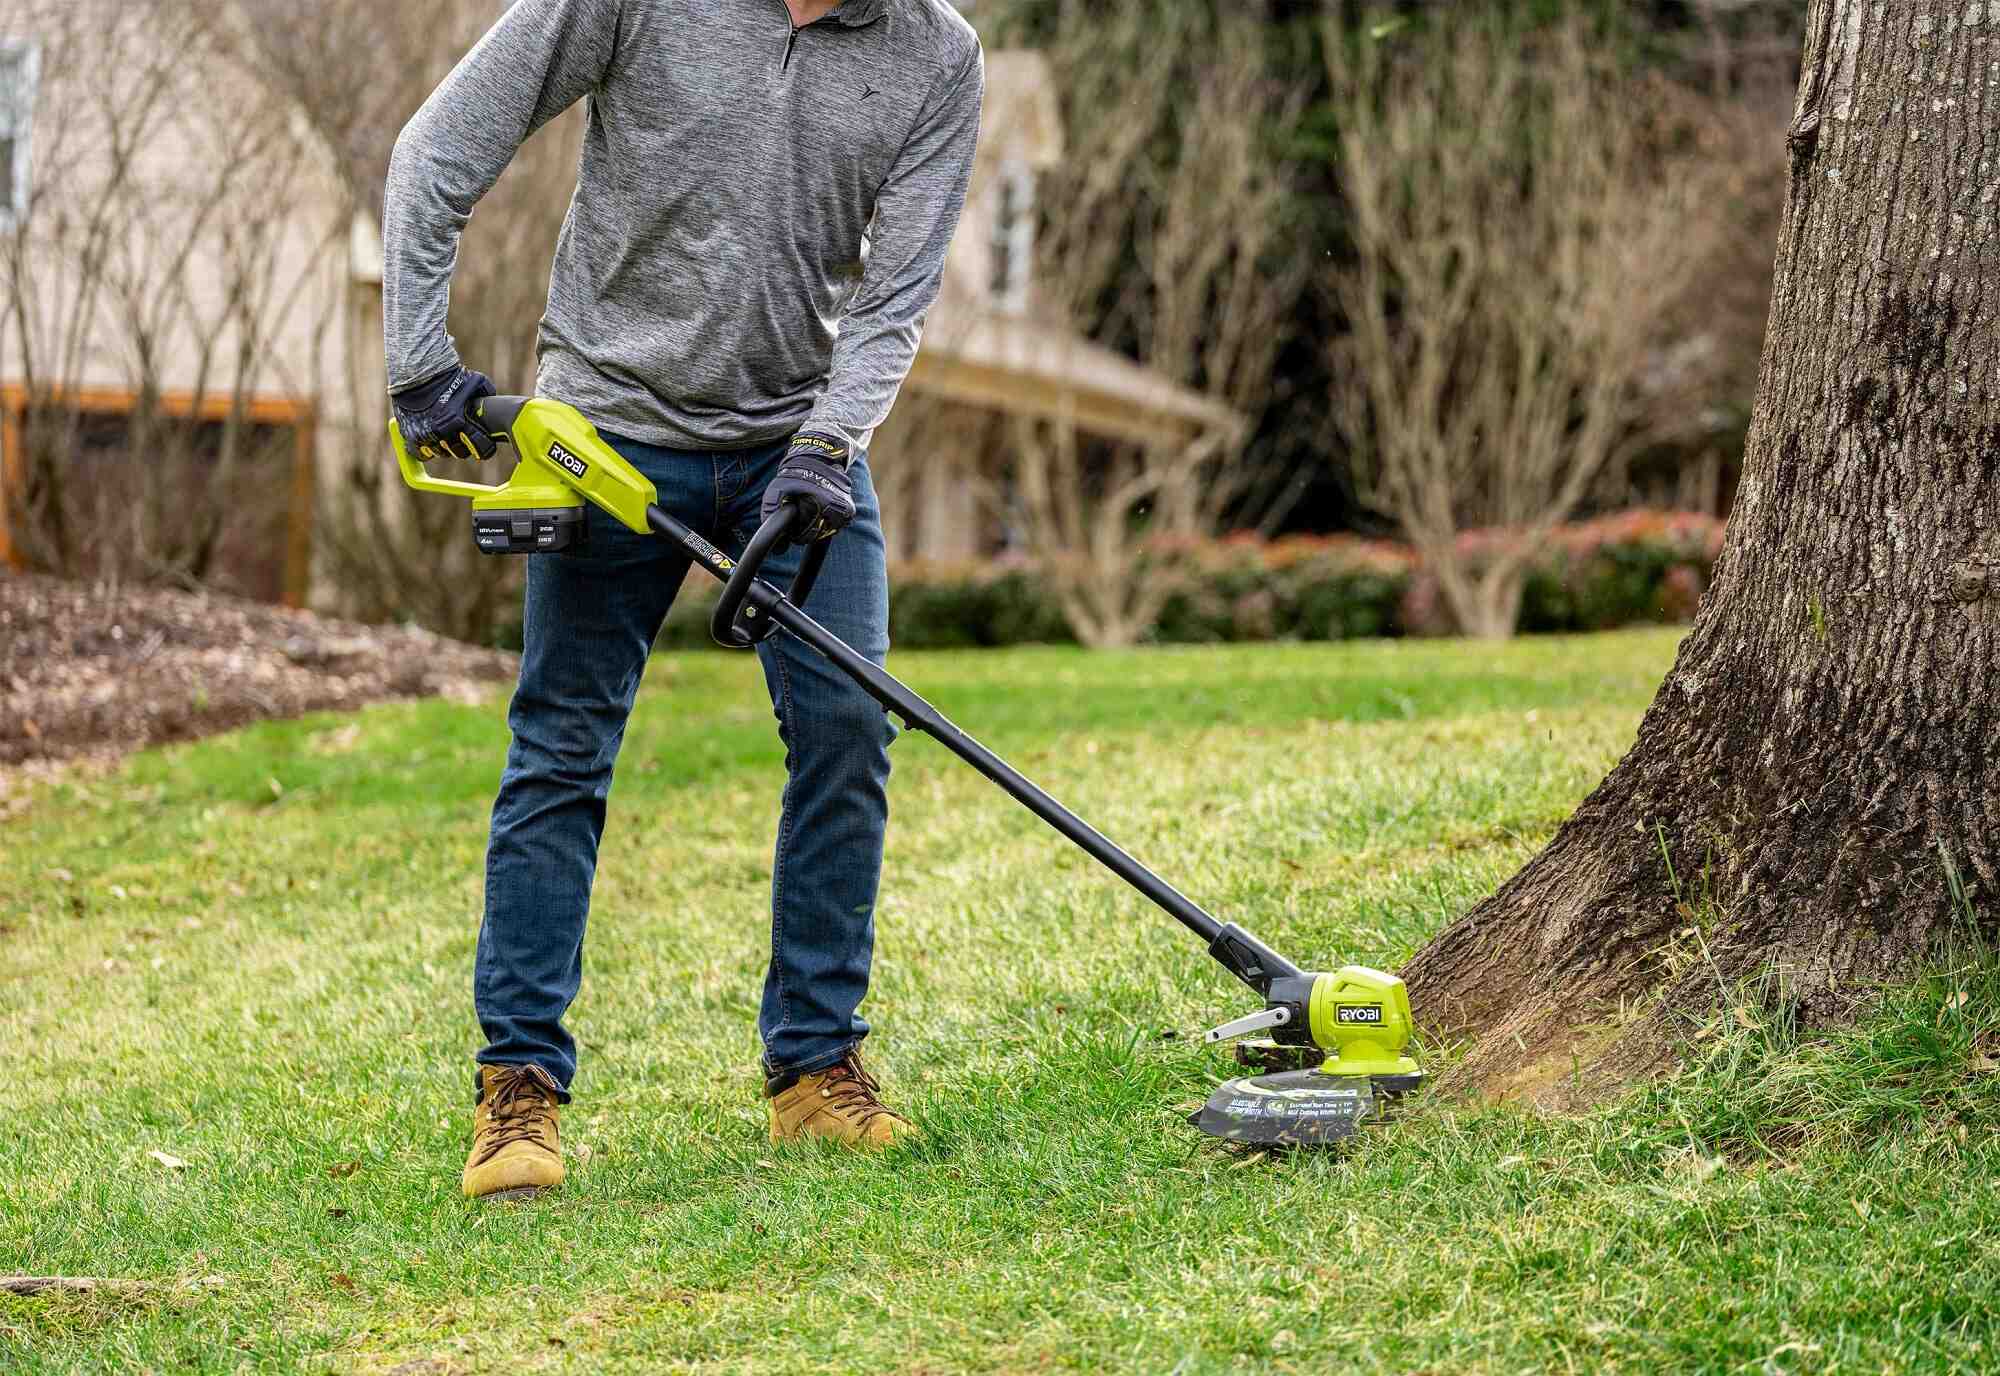
When it comes to maintaining a neatly trimmed lawn or garden, a reliable trimmer is a must-have tool. Ryobi cordless trimmers are popular among homeowners for their ease of use and convenience. However, over time, the trimmer line may wear out, requiring replacement. Knowing how to replace the trimmer line on your Ryobi cordless trimmer can save you time and money.
In this guide, we will walk you through the step-by-step process of replacing the trimmer line on your Ryobi cordless trimmer. By following these instructions, you can ensure that your trimmer continues to perform at its best, leaving your lawn looking neat and well-groomed.
Before we get started, please note that safety is of utmost importance. Be sure to wear safety goggles and gloves to protect your eyes and hands throughout the process.
Key Takeaways:
- Regularly replacing the trimmer line on your Ryobi cordless trimmer is crucial for maintaining a well-groomed lawn or garden. Follow the step-by-step guide to ensure optimal performance and efficient trimming.
- Prioritize safety by wearing goggles and gloves, and refer to your trimmer’s manual for specific instructions. With a fresh trimmer line, your Ryobi cordless trimmer will make lawn maintenance a breeze.
Read more: How To Replace Ryobi String Trimmer Line
Step 1: Gather the necessary tools and materials
Before you begin the trimmer line replacement process, it’s essential to gather all the required tools and materials. This will help ensure a smooth and efficient replacement process. Here are the items you will need:
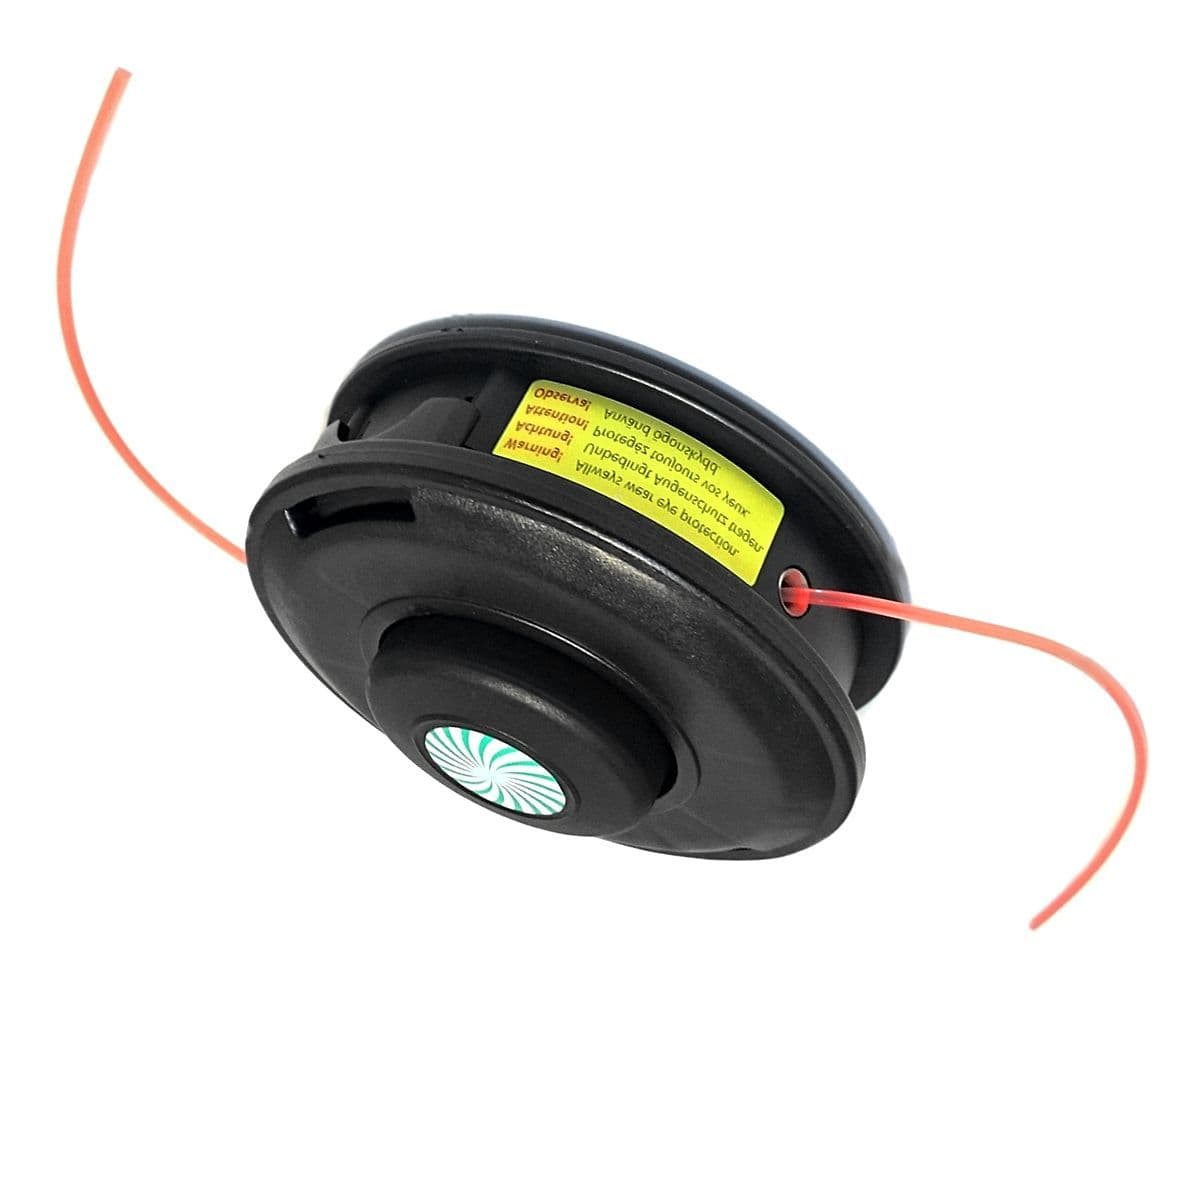
- Trimmer line replacement spool: You can find replacement spools specifically designed for Ryobi cordless trimmers at most home improvement stores or online. Make sure to choose the correct size and type of line for your trimmer model.
- Safety goggles: Protecting your eyes is crucial when working with power tools. Safety goggles will shield your eyes from any debris or flying trimmer line fragments.
- Gloves: It’s important to keep your hands safe while replacing the trimmer line. Wear a pair of sturdy gloves to protect your hands from any sharp edges or potential cuts.
Once you have gathered these tools and materials, you are ready to begin the trimmer line replacement process. Ensure that you have a clean and well-lit workspace to work comfortably and effectively.
Step 2: Prepare the trimmer for line replacement
Before you start replacing the trimmer line, it’s crucial to prepare the trimmer by following these steps:
- Power off the trimmer: Before removing any parts or working on the trimmer, make sure it is powered off and unplugged. This will prevent any accidental starts or injuries.
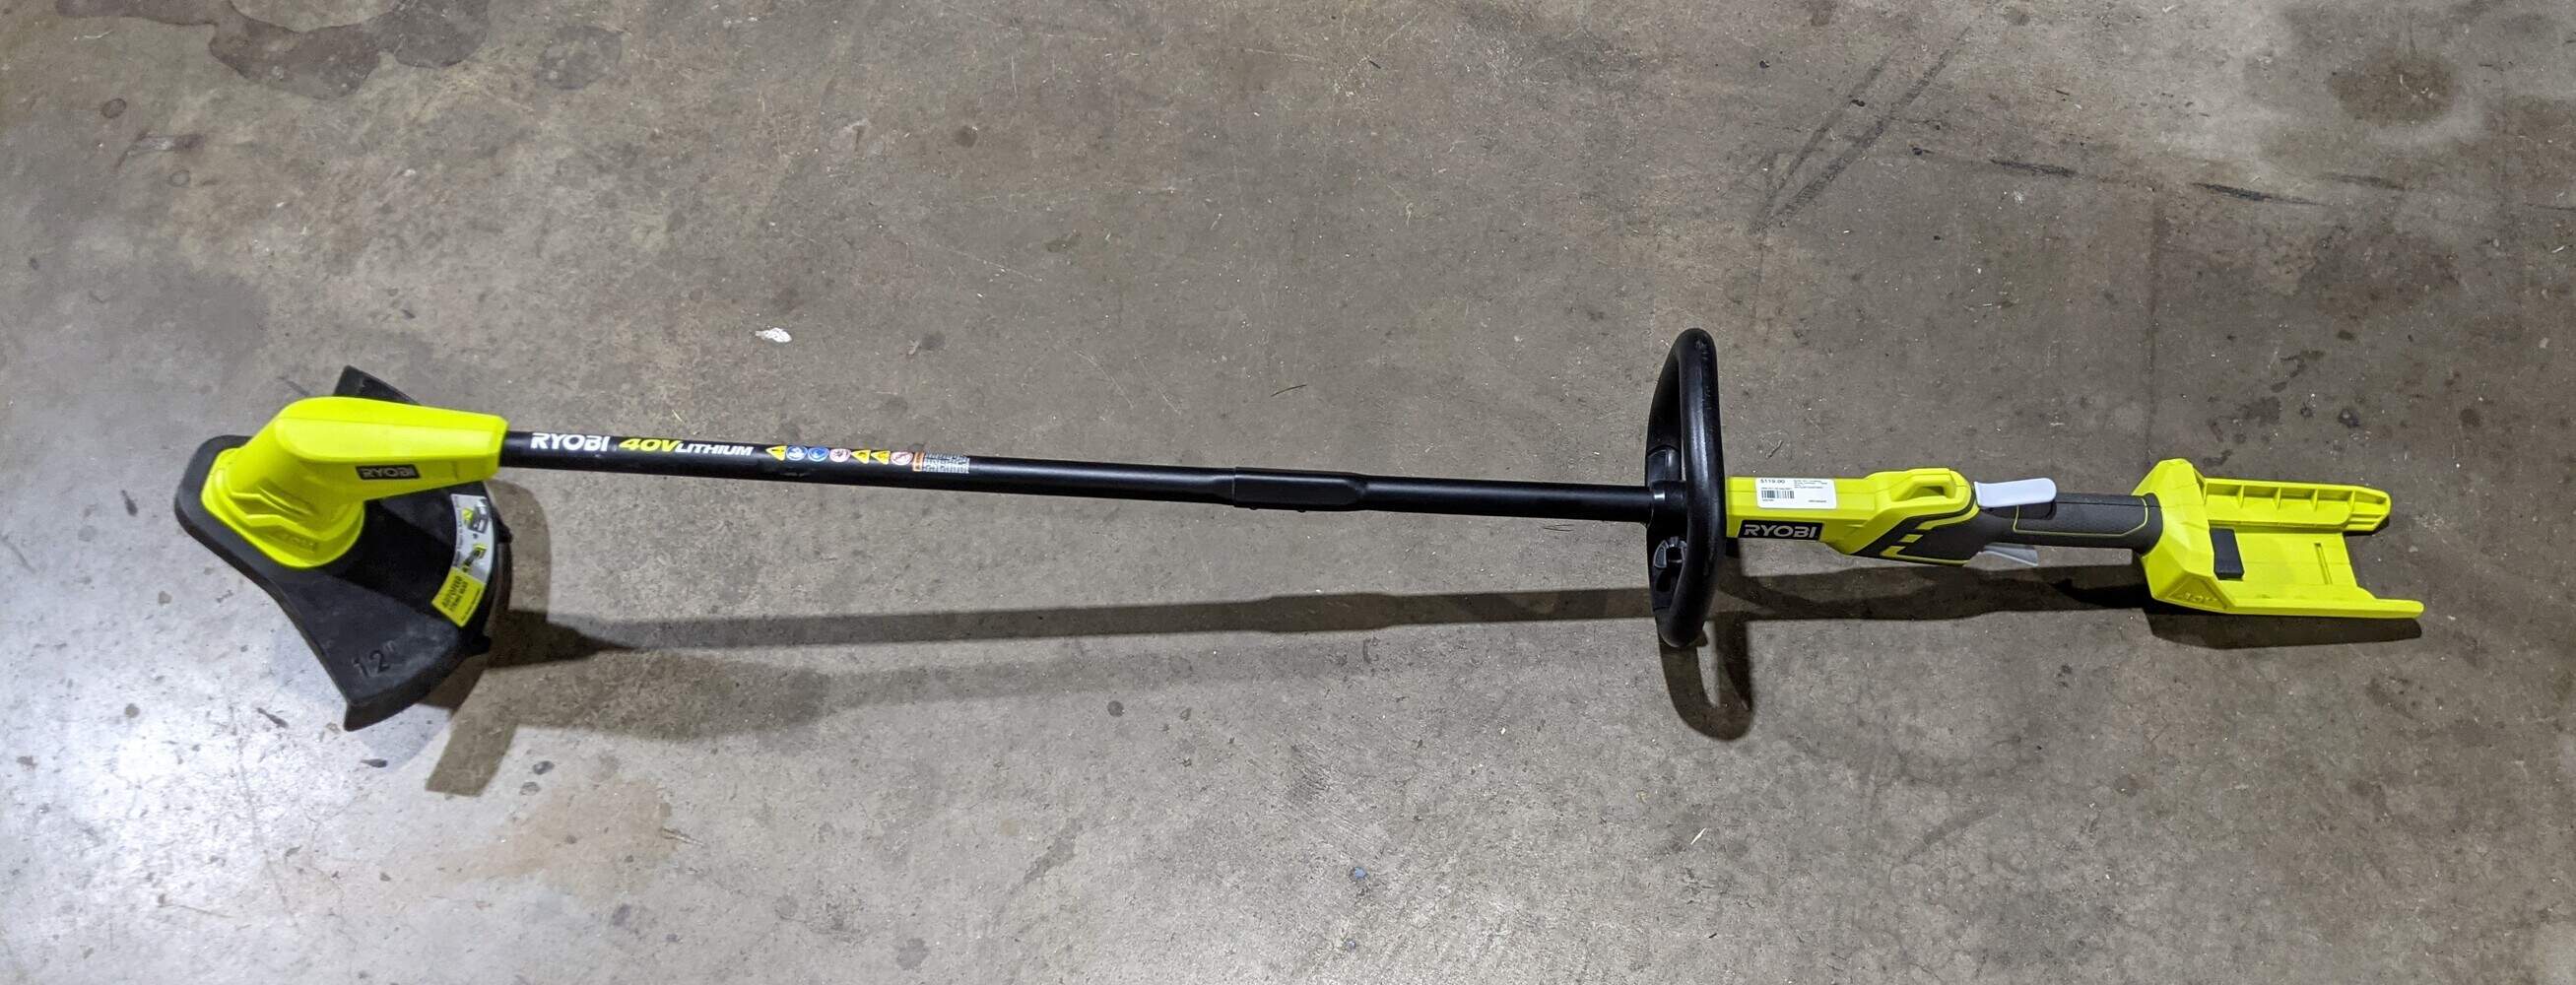
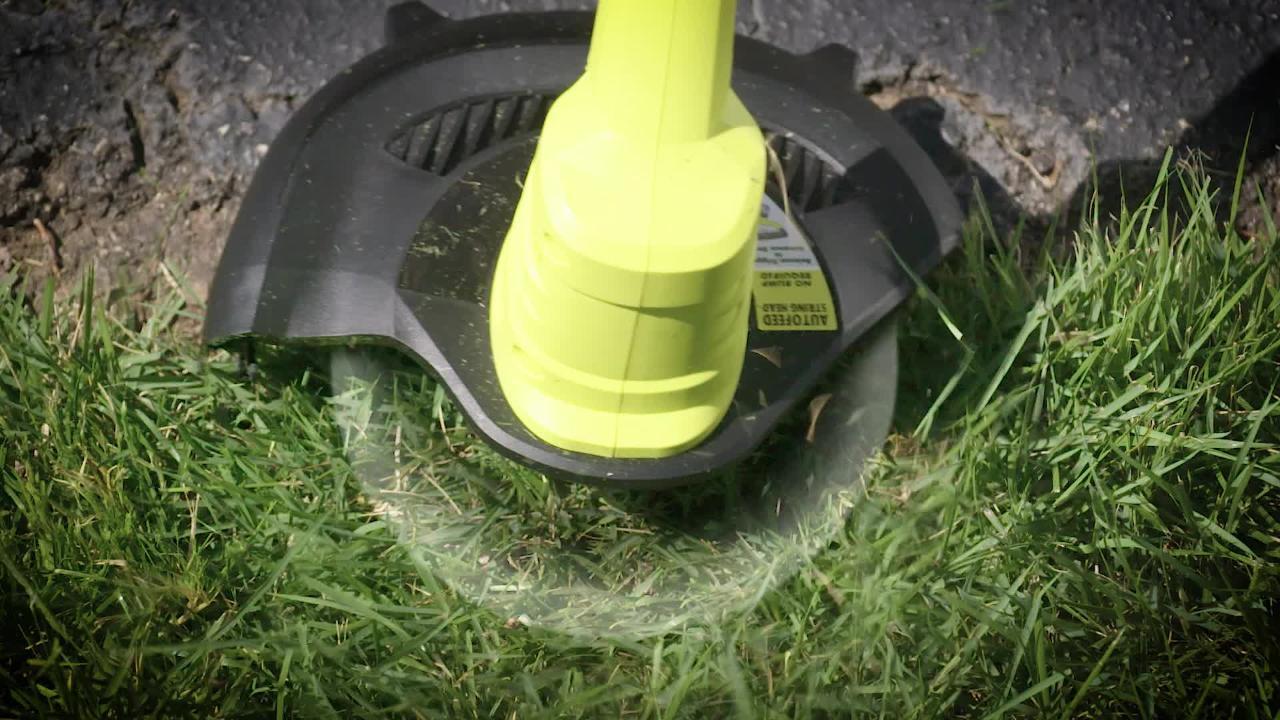
- Remove the trimmer head: Locate the trimmer head, which is the part that holds the trimmer line. Depending on your Ryobi trimmer model, the process for removing the trimmer head may vary. Refer to your trimmer’s user manual for specific instructions. Generally, you will need to unscrew or unlock the trimmer head by turning it counterclockwise.
- Clean the trimmer head and spindle: Once the trimmer head is removed, take a moment to clean it and the spindle underneath. Use a cloth or brush to remove any grass clippings, debris, or old trimmer line remnants. Cleaning the trimmer head will ensure smooth operation and prevent any blockages.
By following these steps, you will have a trimmer that is ready for the trimmer line replacement process. Keeping your trimmer clean and well-maintained will contribute to its longevity and optimal performance.
Step 3: Remove the old trimmer line
Now that the trimmer is prepared, it’s time to remove the old trimmer line. Follow these steps carefully:
- Unwind the old line from the trimmer spool: Locate the trimmer spool, which houses the trimmer line. Unwind the old line from around the spool by pulling it gently. Be cautious as the line may be tangled or knotted.
- Cut off any remaining line: Once the old line is unwound, inspect the trimmer head for any remaining line. Use a pair of scissors or garden shears to cut off any leftover line. This will ensure a clean start for the replacement process.
- Remove the spool from the trimmer head: After removing the old line, carefully lift the spool from the trimmer head. Depending on your Ryobi trimmer model, the spool may simply pull off or require a specific unlocking mechanism. Refer to your trimmer’s user manual for detailed instructions.
By following these steps, you will successfully remove the old trimmer line and prepare the trimmer head for the installation of the new line. Ensure that you dispose of the old line properly and keep the trimmer head free from any debris or obstructions.
When replacing the trimmer line on your Ryobi cordless trimmer, make sure to use the correct line size and wind it tightly and evenly to prevent tangles and jams.
Step 4: Install the new trimmer line
With the old trimmer line removed, it’s time to install the new line. Follow these steps to ensure a successful installation:
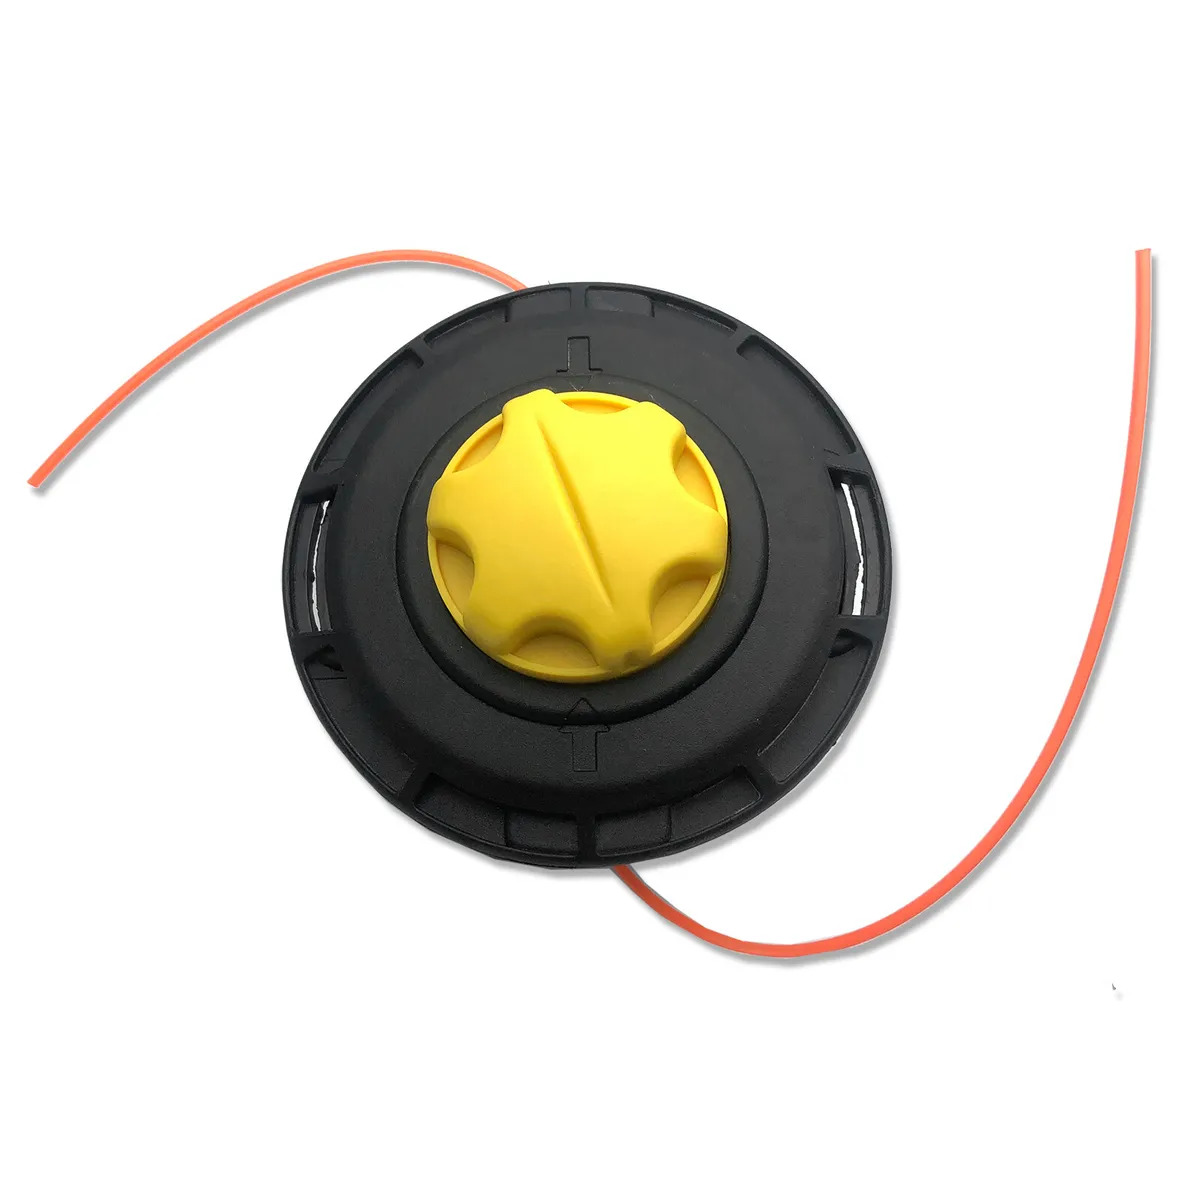
- Insert the replacement spool into the trimmer head: Take the new trimmer line replacement spool and insert it into the trimmer head. Align the spool correctly with any guide notches or grooves to ensure proper placement.
- Feed the trimmer line through the trimmer head: Locate the starting point on the trimmer head for the trimmer line insertion. Depending on your Ryobi trimmer model, this may be a specific hole or groove. Feed the trimmer line through the designated entry point and push it through until it emerges from the other side.
- Secure the trimmer line in place: Once the trimmer line is through the trimmer head, ensure that it is taut and positioned correctly. Follow any instructions provided by your trimmer’s user manual to lock or secure the line in place. This may involve winding the line clockwise around the spool or engaging a locking mechanism.
By carefully following these steps, you will successfully install the new trimmer line on your Ryobi cordless trimmer. Take your time to ensure that the line is properly inserted and secured, as a well-installed trimmer line will contribute to efficient and effective trimming.
Read more: What Size Trimmer Line For Ryobi 40V
Step 5: Reassemble and test the trimmer
After successfully installing the new trimmer line, it’s time to reassemble the trimmer and test the line. Follow these final steps to complete the process:
- Reattach the trimmer head: Take the trimmer head and align it with the spindle on the trimmer. Carefully push the head onto the spindle and turn it clockwise to secure it in place. Ensure that the head is firmly attached, but be cautious not to overtighten it.
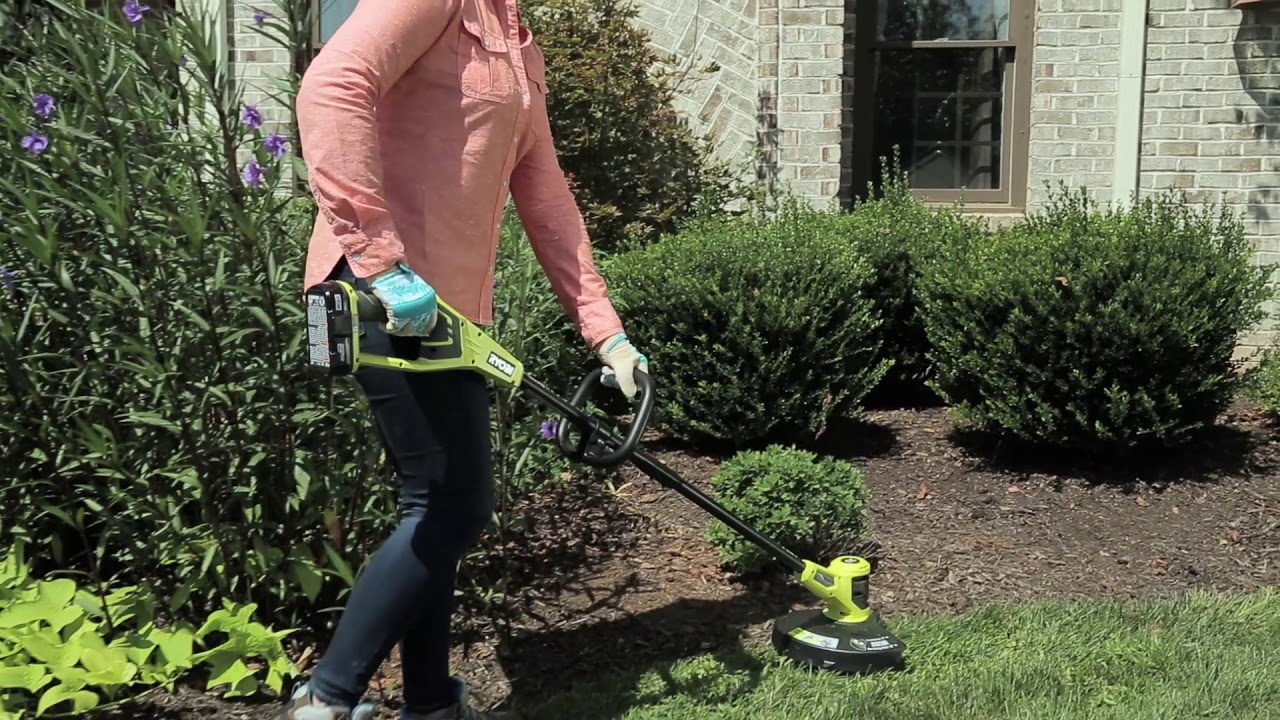
- Power on the trimmer and test the line: Once the trimmer head is reattached, it’s time to power on the trimmer and test the new trimmer line. Follow the instructions in your trimmer’s user manual to safely power on the trimmer. Start trimming a small area and observe the line for proper functionality. Check for any signs of tangling or irregular line feed. Adjust the tension or reposition the line if necessary.
By reassembling the trimmer and testing the line, you can ensure that your Ryobi cordless trimmer is ready for use. Take the time to make any necessary adjustments and ensure that the trimmer line is functioning smoothly.
Congratulations! You have successfully replaced the trimmer line on your Ryobi cordless trimmer. With proper maintenance and regular replacement of the trimmer line, your trimmer will continue to help you maintain a well-manicured lawn or garden.
Remember, always refer to your trimmer’s user manual for specific instructions and safety precautions. Happy trimming!
Conclusion
Replacing the trimmer line on your Ryobi cordless trimmer is a simple yet important maintenance task that will ensure optimal performance and a well-groomed lawn or garden. By following the step-by-step instructions outlined in this guide, you can easily replace the trimmer line and keep your trimmer in top-notch condition.
Remember to gather all the necessary tools and materials before starting the process, including a trimmer line replacement spool, safety goggles, and gloves. Take the time to prepare the trimmer by powering it off, removing the trimmer head, and cleaning the trimmer head and spindle.
Next, carefully remove the old trimmer line by unwinding it from the spool, cutting off any remaining line, and removing the spool from the trimmer head. Insert the new trimmer line replacement spool into the trimmer head, feed the line through the trimmer head, and secure it in place.
Finally, reassemble the trimmer by reattaching the trimmer head and power on the trimmer to test the new trimmer line. Make any necessary adjustments to ensure smooth line feed and proper functionality.
Remember that safety should always be your top priority. Wear safety goggles and gloves throughout the process to protect your eyes and hands. Additionally, refer to your trimmer’s user manual for specific instructions and safety precautions.
With your Ryobi cordless trimmer equipped with a fresh trimmer line, you can confidently tackle your lawn or garden maintenance with ease. Regularly replacing the trimmer line will ensure efficient trimming and maintain a well-manicured outdoor space.
Thank you for reading our guide on how to replace the trimmer line on your Ryobi cordless trimmer. Happy trimming!
Frequently Asked Questions about How To Replace Ryobi Cordless Trimmer Line
Was this page helpful?
At Storables.com, we guarantee accurate and reliable information. Our content, validated by Expert Board Contributors, is crafted following stringent Editorial Policies. We're committed to providing you with well-researched, expert-backed insights for all your informational needs.


0 thoughts on “How To Replace Ryobi Cordless Trimmer Line”