Articles
How To Install Ryobi Bump Feed Trimmer Line
Modified: December 7, 2023
Learn how to install Ryobi bump feed trimmer line with our helpful articles. Get step-by-step guides and tips for maintaining your trimmer effectively.
(Many of the links in this article redirect to a specific reviewed product. Your purchase of these products through affiliate links helps to generate commission for Storables.com, at no extra cost. Learn more)
Introduction
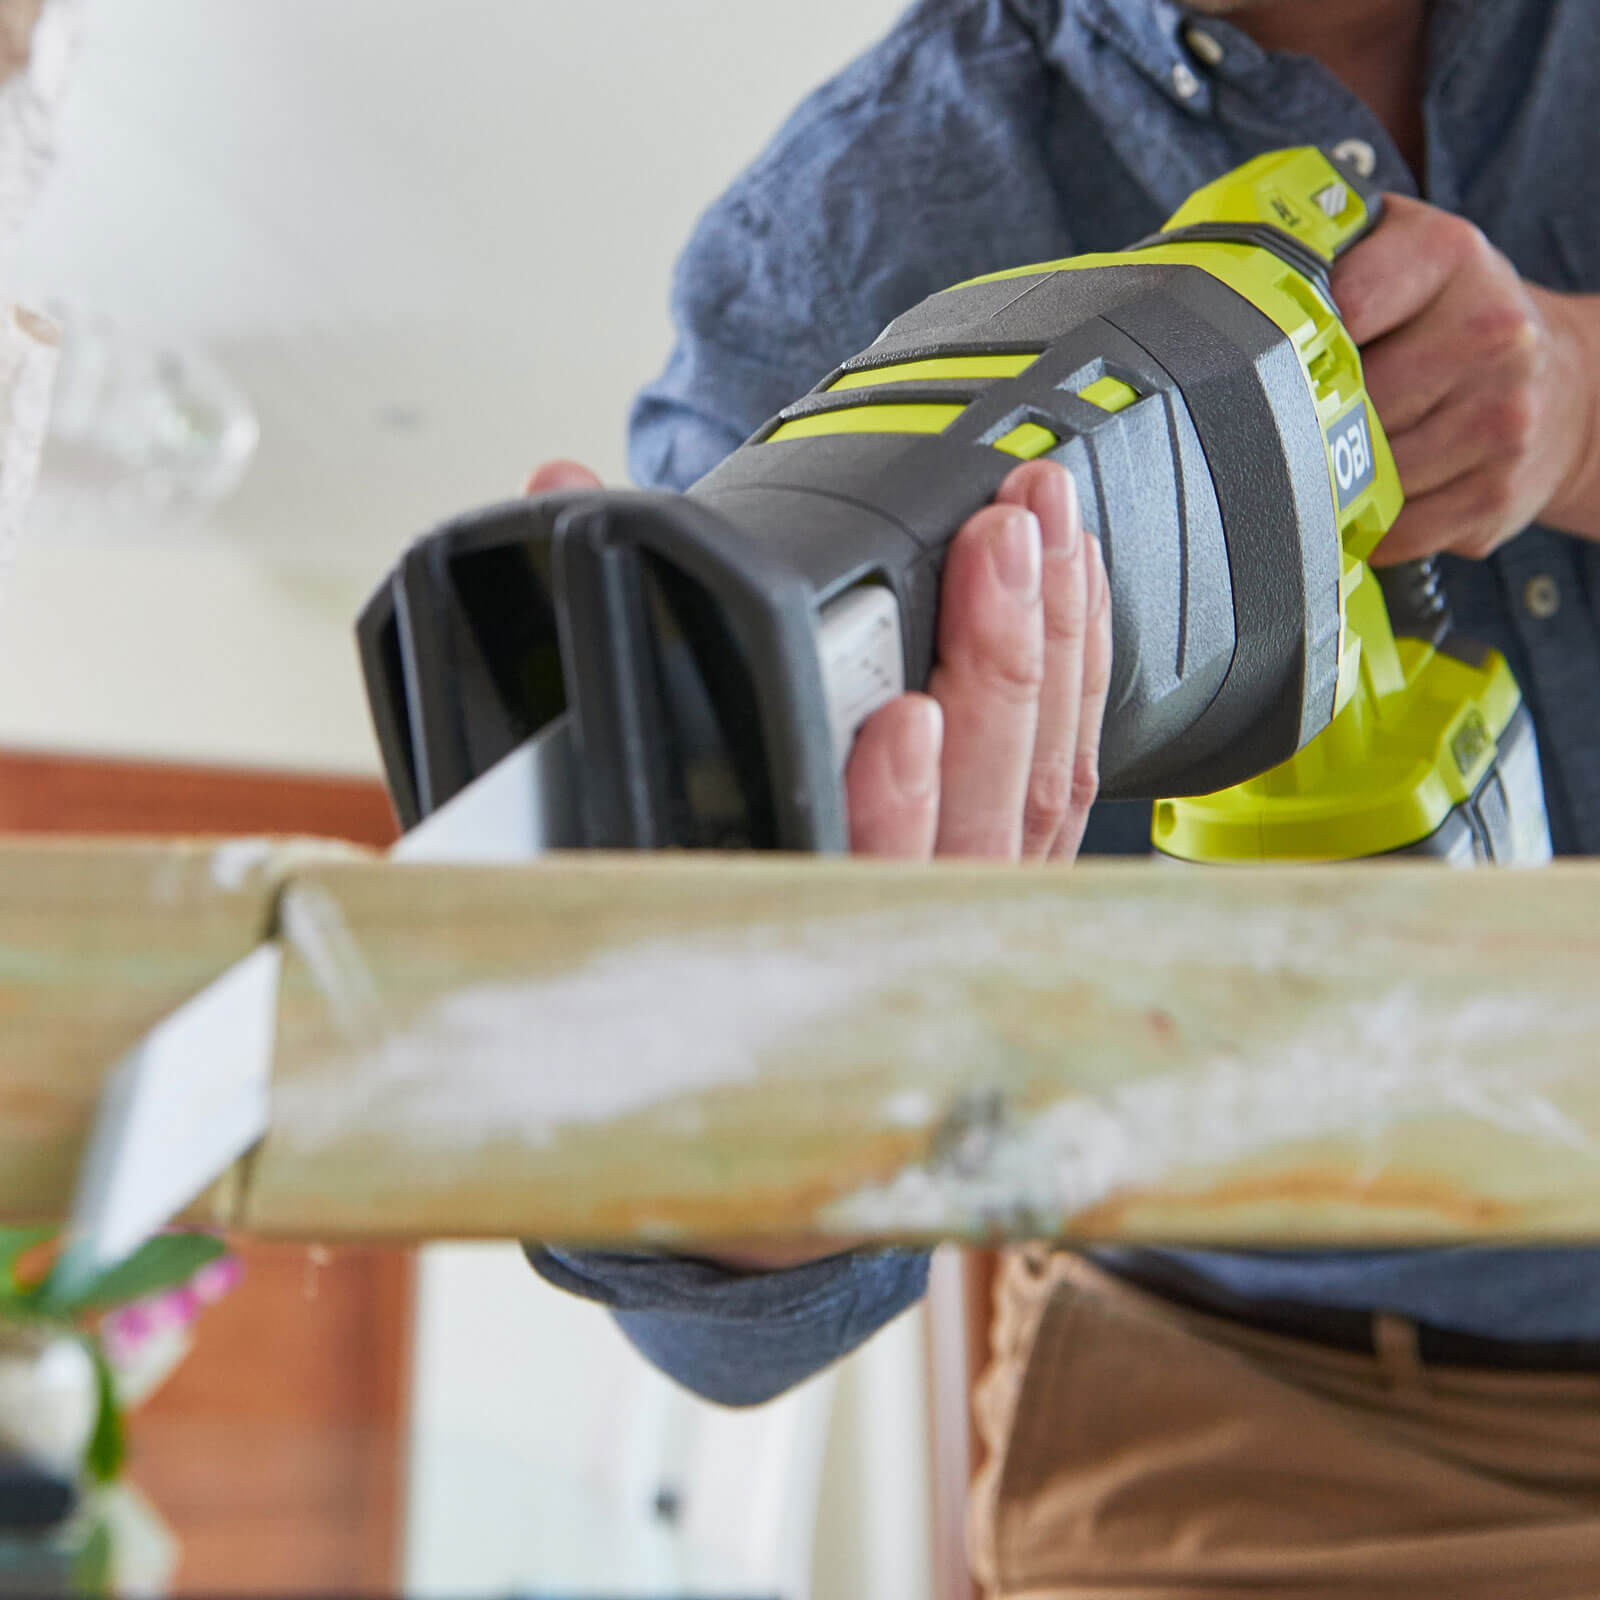
Welcome to our guide on how to install Ryobi bump feed trimmer line. Ryobi trimmers are a popular choice among homeowners and professionals alike for their reliability and performance. A crucial aspect of maintaining your Ryobi trimmer’s cutting capabilities is ensuring the trimmer line is properly installed.
Over time, the trimmer line can wear out or break, requiring you to replace it. While it may seem daunting at first, installing a new trimmer line is a simple process that can be completed with just a few tools and some basic knowledge. In this article, we will walk you through the step-by-step process of installing the bump feed trimmer line on your Ryobi trimmer.
By following our guide, you will be able to keep your Ryobi trimmer in excellent working condition, ensuring effortless trimming and precision cuts. So, let’s dive into the steps for installing Ryobi bump feed trimmer line!
Key Takeaways:
- Properly maintaining and installing a new trimmer line is crucial for ensuring optimal performance and cutting efficiency of your Ryobi trimmer. Follow the step-by-step guide to keep your trimmer in excellent working condition.
- Always choose the right trimmer line for your Ryobi trimmer, remove the old line effectively, and test the new line’s performance to achieve beautifully manicured landscapes. Remember to prioritize safety and wear protective gear during operation.
Read more: How To Replace Ryobi Cordless Trimmer Line
Step 1: Gather the necessary tools and materials
Before you start the process of installing the new trimmer line on your Ryobi trimmer, it’s important to gather all the necessary tools and materials. Having everything prepared beforehand will save you time and ensure a smooth installation process. Here’s what you’ll need:
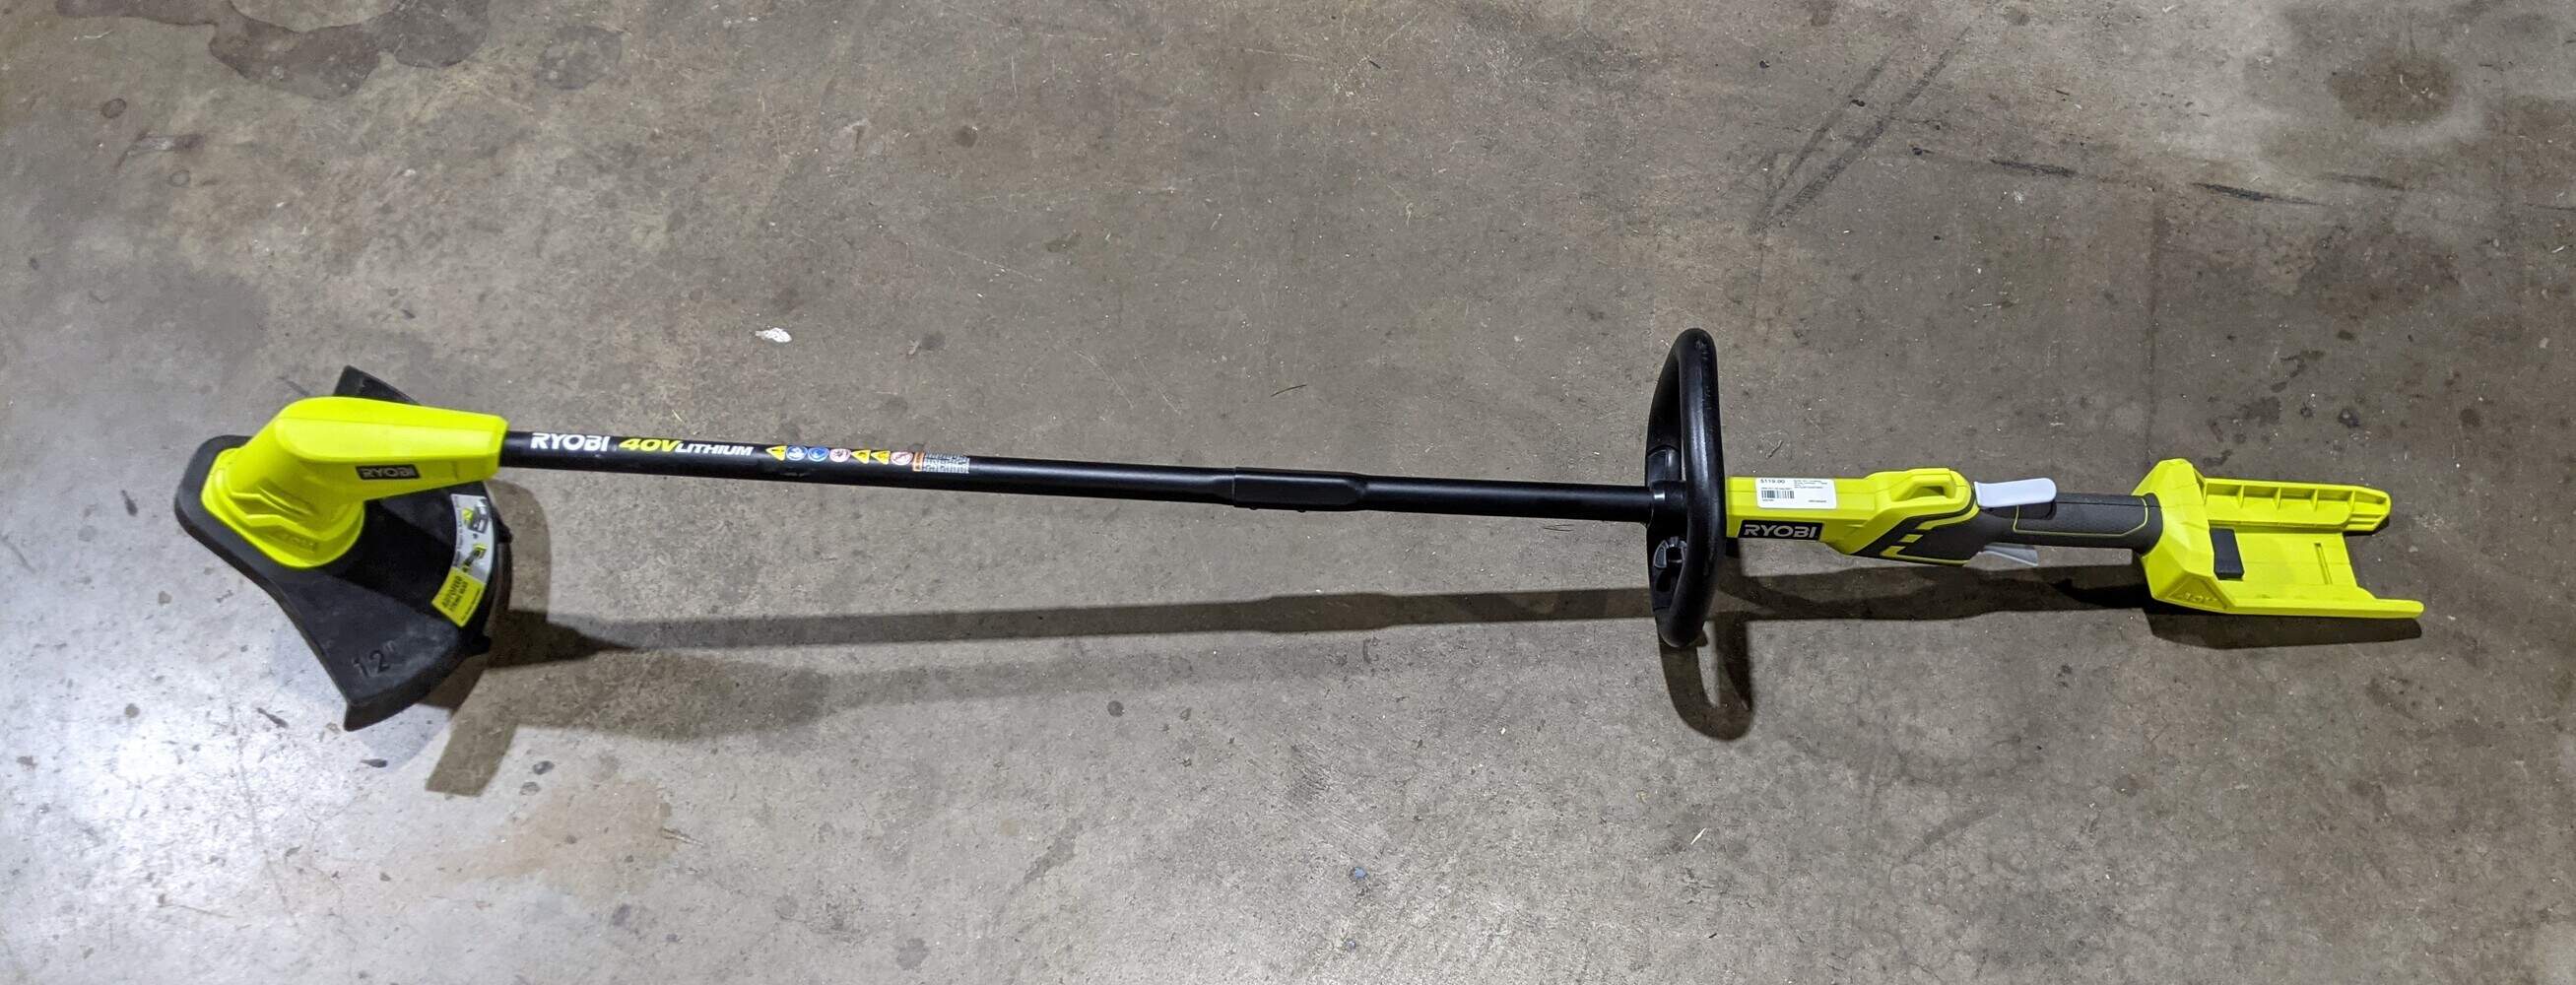
- Ryobi trimmer: Make sure you have your Ryobi trimmer ready for the line installation.
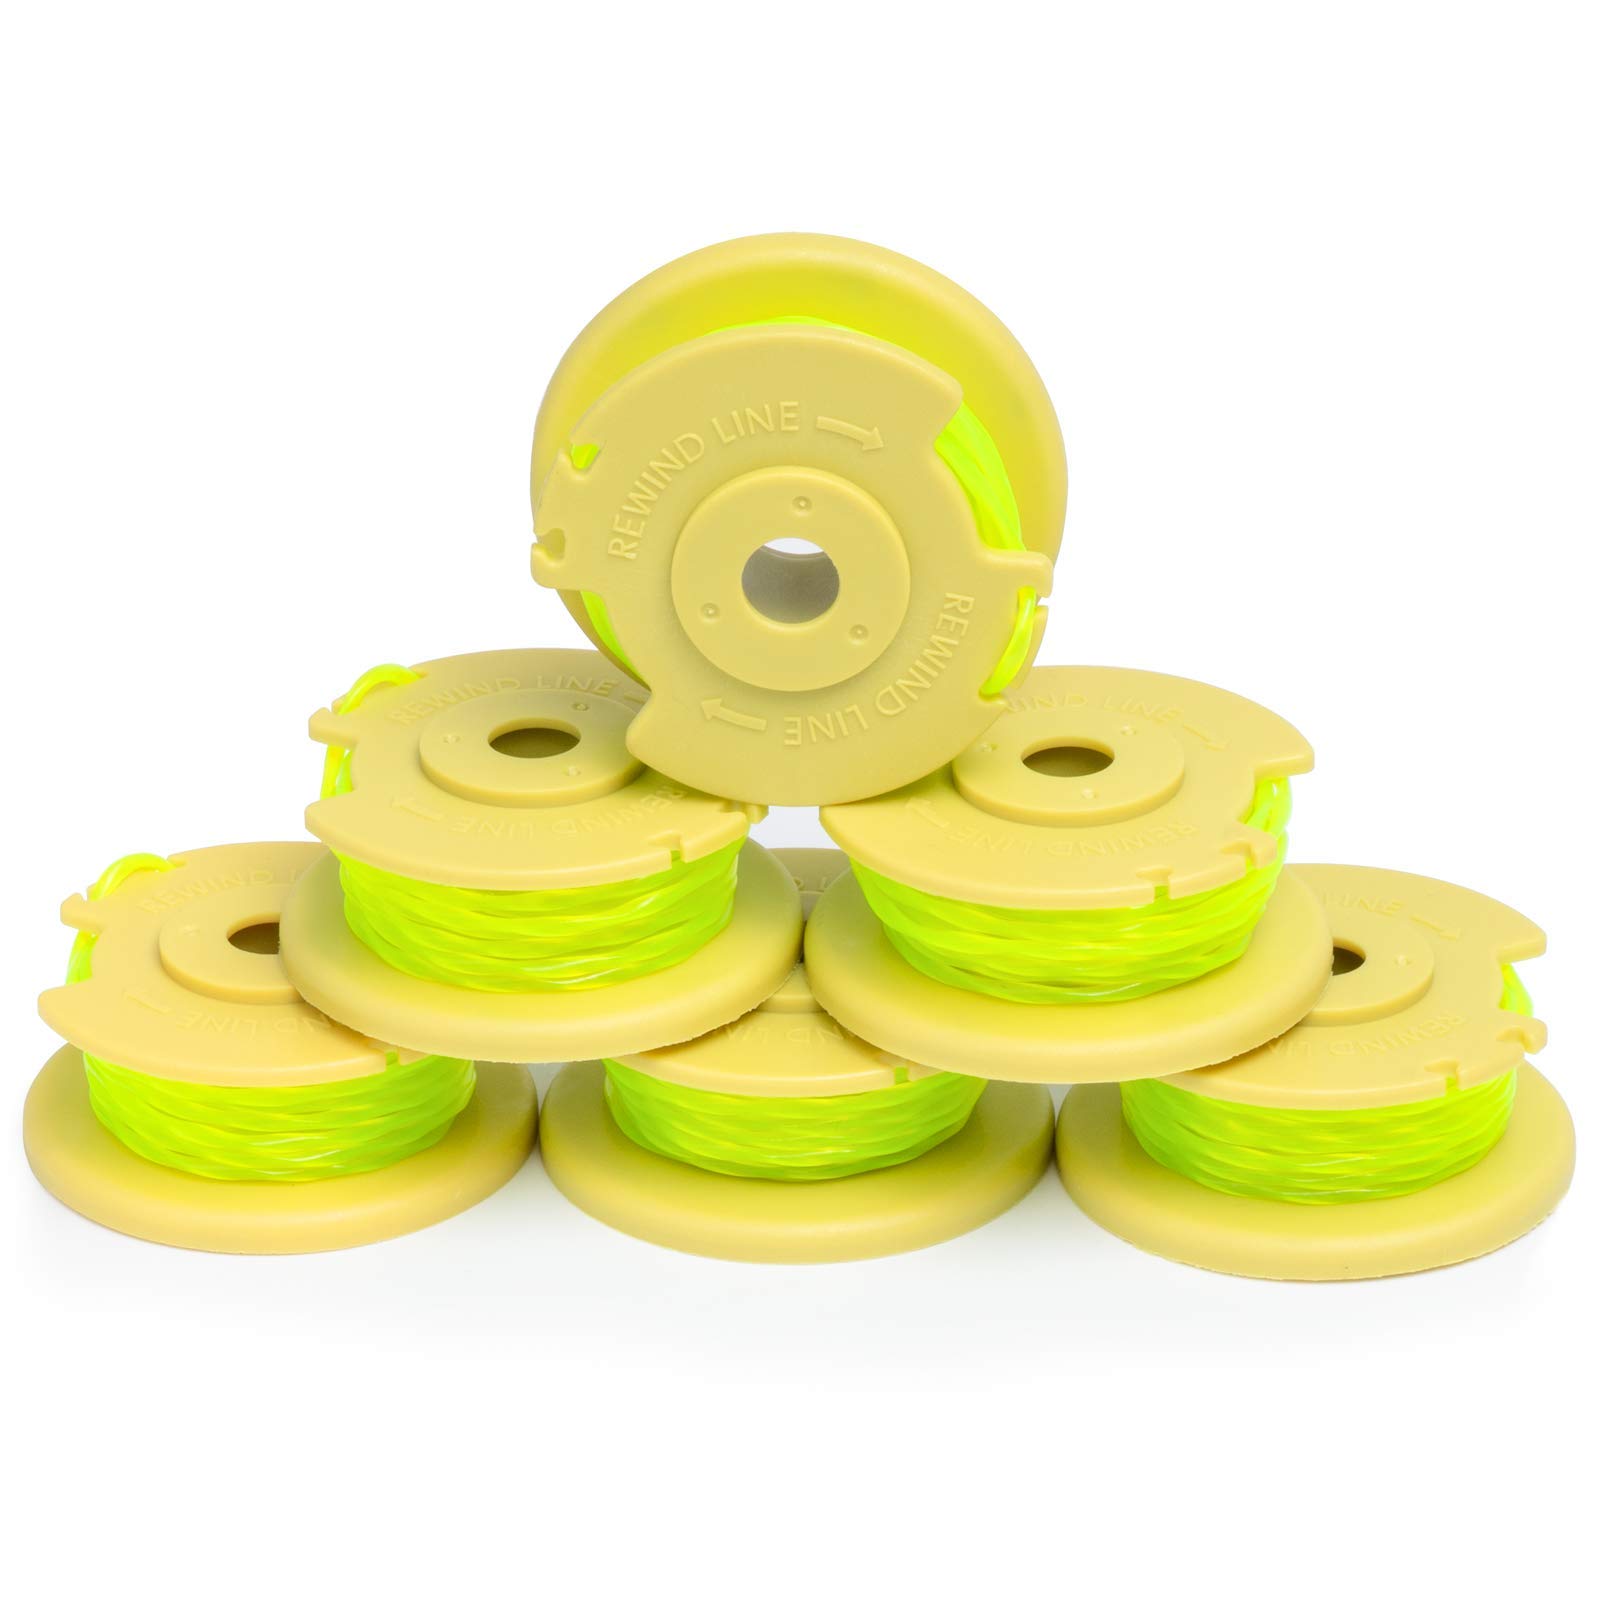
- New trimmer line: Purchase a replacement trimmer line that is compatible with your specific Ryobi trimmer model. Refer to the user manual or consult the manufacturer’s website to determine the correct size and shape.
- Protective gloves: It’s always a good idea to wear protective gloves to safeguard your hands during the installation process.
- Eye protection: Safety goggles or glasses are essential for protecting your eyes from any debris or trimmer line fragments that may be dislodged during the installation.
- Scissors or trimmer line cutter: You’ll need a pair of scissors or a trimmer line cutter to cut the new trimmer line to the appropriate length.
Once you have gathered all the necessary tools and materials, you’re ready to move on to the next step: preparing the trimmer for line installation.
Step 2: Preparing the trimmer for line installation
Before you can install the new trimmer line on your Ryobi trimmer, it’s important to prepare the trimmer for the installation process. This step involves ensuring the trimmer is turned off and safely removing any existing trimmer line. Follow these steps:
- Turn off the trimmer: Make sure the trimmer is powered off and disconnected from any power source to avoid any accidental start-ups.
- Remove the trimmer cap: Locate the trimmer cap on the trimmer head, which covers the spool that holds the trimmer line. Depending on your Ryobi trimmer model, the cap can usually be twisted, unscrewed, or released using a locking mechanism. Refer to your user manual for specific instructions.
- Inspect the trimmer head: Once the cap is removed, inspect the trimmer head to check for any debris or excess trimmer line. Clear out any debris if present and remove any old trimmer line remnants.
- Clean the trimmer head: Use a clean cloth or brush to wipe off any dirt or grime from the trimmer head and spool, ensuring a clean surface for the new trimmer line installation.
By preparing the trimmer for line installation, you will ensure a clean and smooth process. Now that the trimmer is ready, it’s time to move on to the next step: choosing the right trimmer line.
Step 3: Choosing the right trimmer line
Choosing the correct trimmer line for your Ryobi trimmer is crucial for optimal performance and cutting efficiency. There are several factors to consider when selecting the right trimmer line:
- Trimmer line diameter: The diameter of the trimmer line determines its cutting ability. Thicker lines are suitable for cutting heavier vegetation, while thinner lines work well for lighter tasks. Refer to your Ryobi trimmer’s user manual or consult the manufacturer’s recommendations to determine the appropriate diameter for your trimmer.
- Trimmer line shape: Trimmer lines come in various shapes, such as round, square, or twisted. The shape of the trimmer line affects its cutting performance and durability. Round lines are versatile and work well for general-purpose trimming, while square or twisted lines offer increased cutting power and efficiency for tougher vegetation.
- Trimmer line material: Trimmer lines are typically made from nylon or a combination of materials. Nylon lines are durable and suitable for most trimming tasks, while composite lines offer increased durability and resistance to breakage. Consider the type of vegetation you’ll be trimming and choose a trimmer line material that can withstand the demands of your specific trimming needs.
It’s essential to check your Ryobi trimmer’s user manual or consult the manufacturer’s website for specific recommendations on the appropriate trimmer line diameter, shape, and material. Investing in the right trimmer line will ensure optimal performance and longevity for your Ryobi trimmer.
Once you have selected the appropriate trimmer line, it’s time to move on to the next step: removing the old trimmer line.
When installing Ryobi bump feed trimmer line, make sure to follow the manufacturer’s instructions carefully to ensure proper installation and avoid any potential issues with the trimmer.
Step 4: Removing the old trimmer line
Before installing the new trimmer line on your Ryobi trimmer, you need to remove the old trimmer line. Follow these steps to effectively remove the old trimmer line:
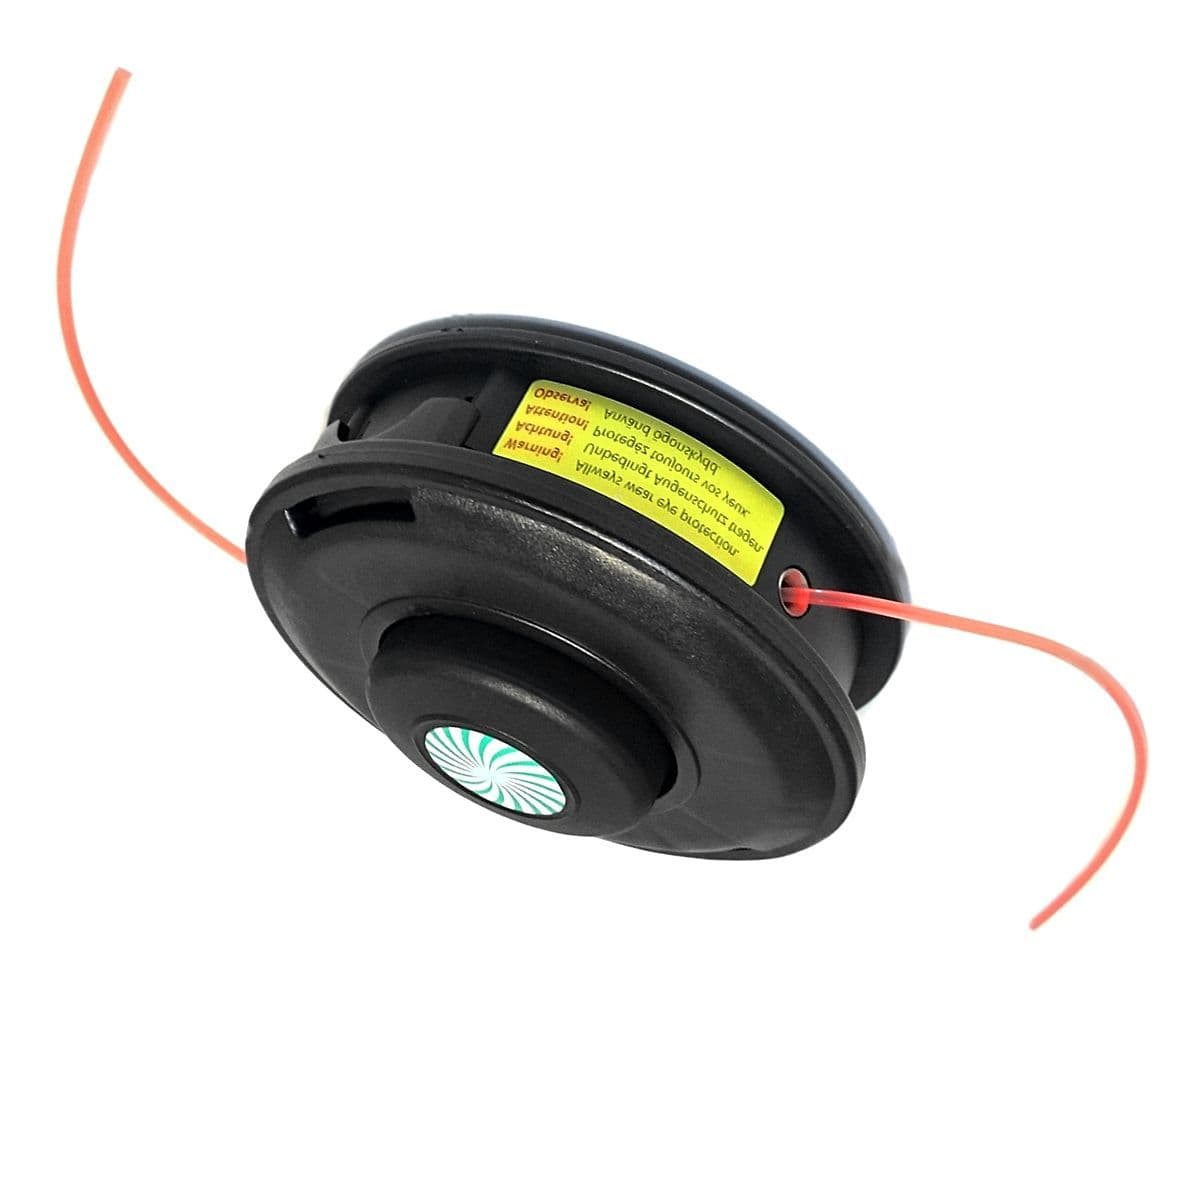
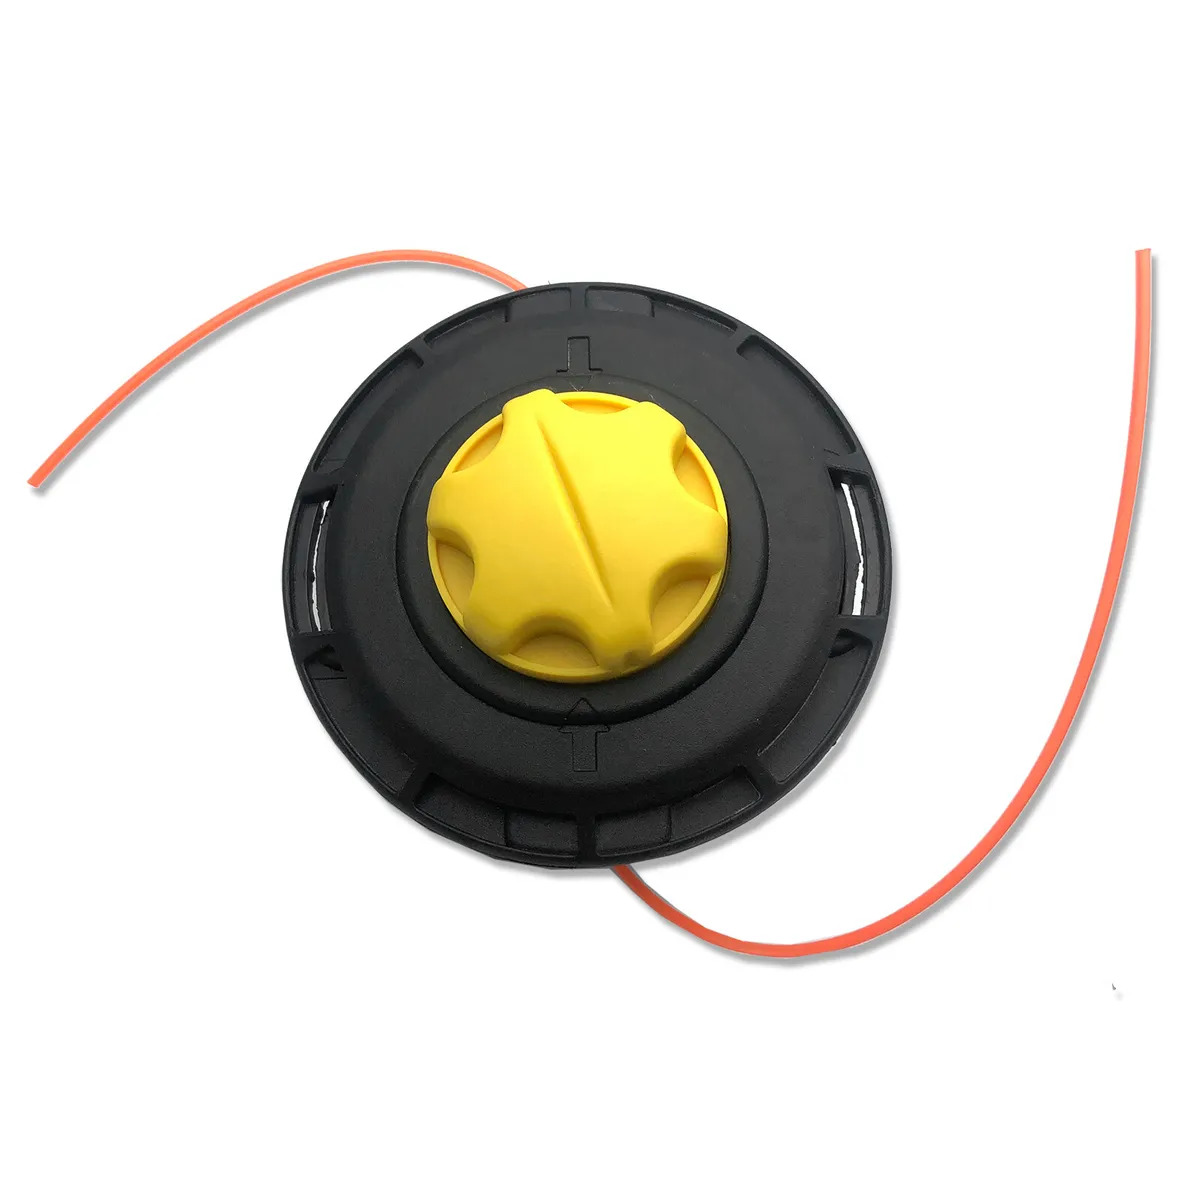
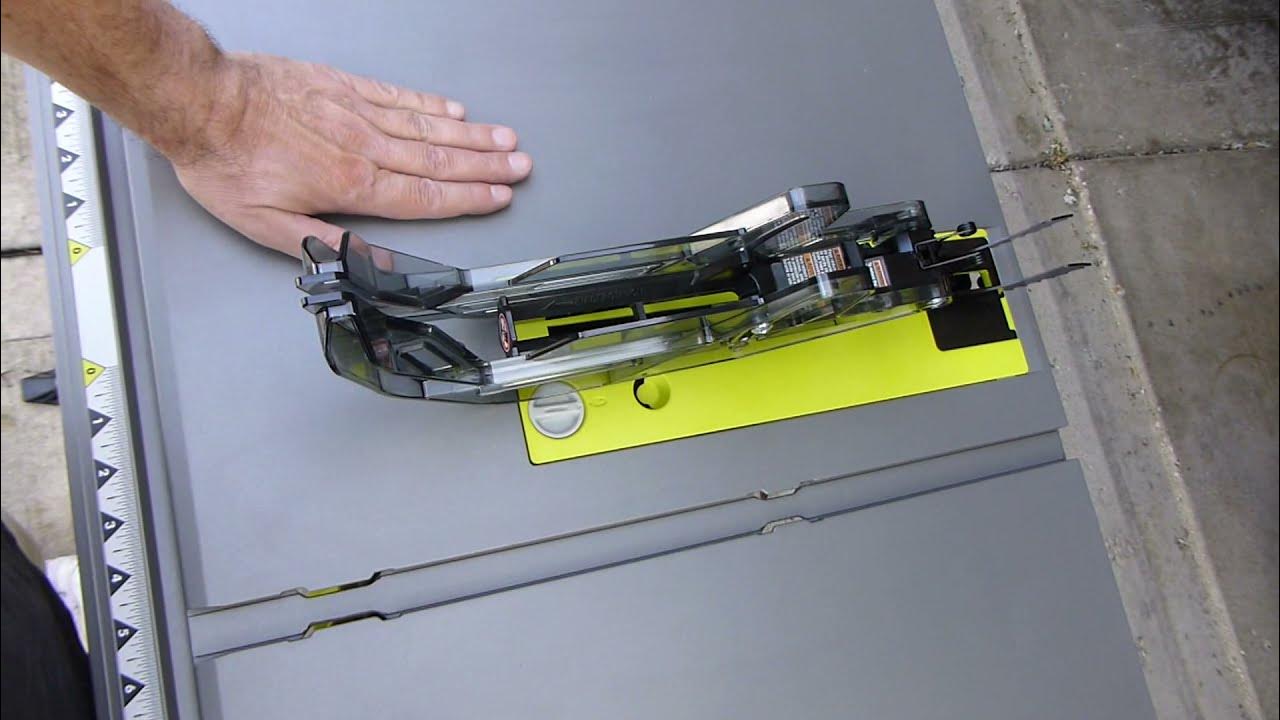
- Locate the trimmer spool: On your Ryobi trimmer, locate the spool that holds the trimmer line. It is usually located inside the trimmer head, underneath the trimmer cap.
- Release the old trimmer line: Depending on your Ryobi trimmer model, there may be different methods to release the old trimmer line. It could involve pressing a release button, unlocking a mechanism, or manually unwinding the line from the spool. Refer to the user manual or manufacturer’s instructions specific to your trimmer model.
- Cut the old trimmer line: Once the old trimmer line is released, use a pair of scissors or a trimmer line cutter to cut off any remaining line from the spool. This will free up space for the new trimmer line installation.
- Inspect the spool: Take a moment to inspect the spool for any damage or wear. If the spool is damaged or worn out, consider replacing it to ensure optimal performance.
By effectively removing the old trimmer line, you are ready for the next step in the process: installing the new trimmer line on your Ryobi trimmer.
Read more: How To Replace Ryobi String Trimmer Line
Step 5: Installing the new trimmer line
Now that you have prepared your Ryobi trimmer and removed the old trimmer line, it’s time to install the new trimmer line. Follow these steps to ensure a proper installation:
- Measure and cut the trimmer line: Refer to your Ryobi trimmer’s user manual or the manufacturer’s instructions to determine the recommended length for the new trimmer line. Use a pair of scissors or a trimmer line cutter to cut the line to the appropriate length.
- Locate the trimmer line loading area: Identify the area on the trimmer head where the trimmer line needs to be loaded. It may be marked or indicated by icons on your Ryobi trimmer.
- Insert the trimmer line: Insert one end of the trimmer line into the designated hole or slot on the trimmer head. Follow any directional arrows or guidelines for proper line placement. Push the line in until it is securely held in place.
- Wind the trimmer line: Begin winding the trimmer line onto the spool, following the directional arrows. Make sure to wind the line tightly and evenly to prevent tangles or jams during use.
- Leave enough line: Leave a small amount of trimmer line extending beyond the trimmer head, as recommended by your Ryobi trimmer’s instructions. This will ensure optimal cutting performance.
- Secure the trimmer line: Once the trimmer line is fully wound, secure it in the designated line retainers or notches on the trimmer head. This will prevent the line from unraveling during operation.
By following these steps, you will successfully install the new trimmer line on your Ryobi trimmer. Now, it’s time to move on to the final step: testing the trimmer line.
Step 6: Testing the trimmer line
After installing the new trimmer line on your Ryobi trimmer, it’s important to test its performance before engaging in any trimming tasks. Follow these steps to ensure the trimmer line is working properly:
- Reassemble the trimmer head: Place the trimmer cap back onto the trimmer head and securely fasten it according to your Ryobi trimmer’s instructions. Make sure it is properly tightened to avoid any accidents during operation.
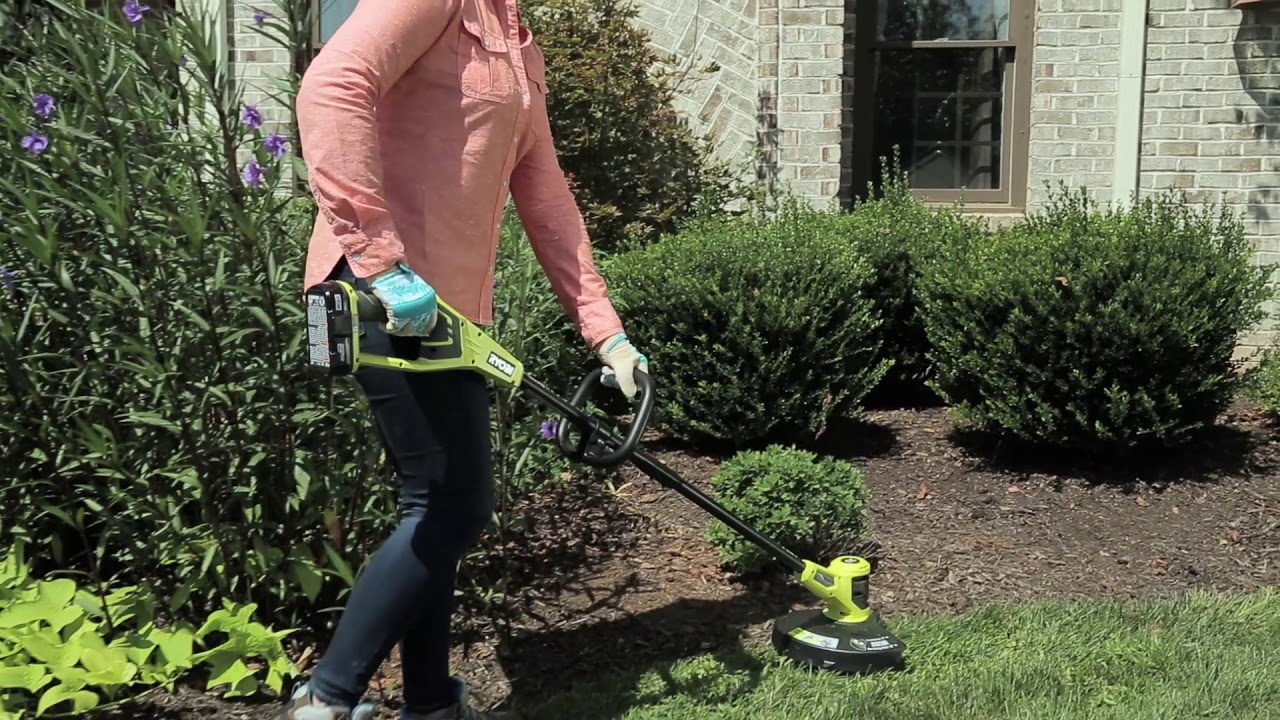
- Power on the trimmer: Connect the trimmer to a power source and turn it on. Ensure the trimmer is in a safe and open area, away from any obstacles or people.
- Engage the trimmer line: Hold the trimmer with a firm grip and engage the trimmer line by squeezing the trigger or activating the power switch, depending on the model. The trimmer line should extend and spin at a high speed.
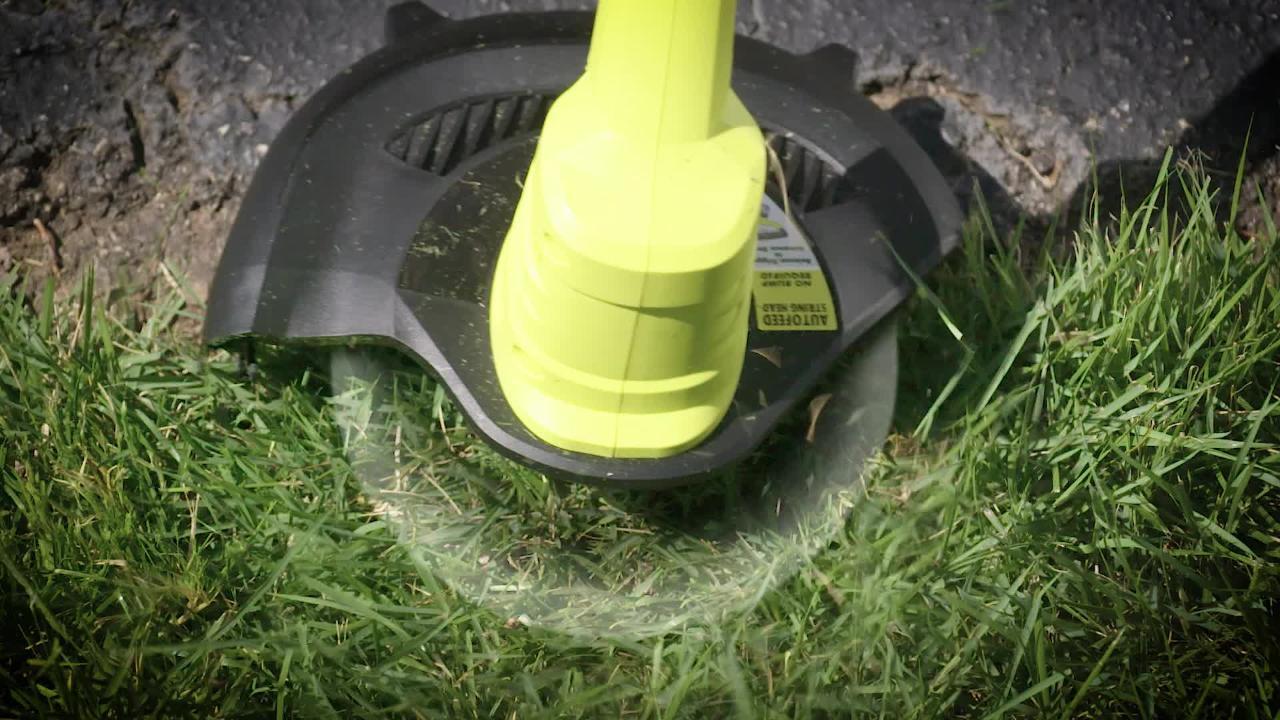
- Observe the cutting performance: Slowly move the trimmer close to long grass, weeds, or other vegetation to test the cutting performance of the trimmer line. The line should cut cleanly and effectively through the vegetation, providing a neat trim.
- Adjust the line if necessary: If you notice any issues with the cutting performance, such as the line not extending or feeding properly, stop the trimmer and make any necessary adjustments. Recheck the line installation and make sure it is securely fastened and properly wound onto the spool.
- Ensure safety precautions: Always follow safety guidelines and precautions while operating the trimmer. Wear protective gear, such as gloves, eye protection, and long pants, to minimize the risk of injury from trimmings or debris.
By testing the trimmer line and ensuring its performance, you can confidently use your Ryobi trimmer for various trimming tasks. Regularly inspect the trimmer line for wear and replace it as needed to maintain optimal cutting results.
Congratulations! You have successfully installed and tested the new trimmer line on your Ryobi trimmer. Now you can enjoy effortless trimming and achieve beautifully manicured landscapes.
If you encounter any difficulties or have further questions, consult your Ryobi trimmer’s user manual or contact the manufacturer’s customer support for assistance.
Conclusion
Congratulations on successfully learning how to install Ryobi bump feed trimmer line! By following the step-by-step guide provided in this article, you should now have the knowledge and confidence to replace the trimmer line on your Ryobi trimmer whenever it becomes worn or breaks.
Properly maintaining and installing a new trimmer line is essential for ensuring the optimal performance and cutting efficiency of your Ryobi trimmer. By preparing the trimmer, choosing the right trimmer line, removing the old line, installing the new line, and testing its performance, you can keep your Ryobi trimmer in excellent working condition.
Remember to always follow safety precautions when operating your trimmer and wear appropriate protective gear. Regularly inspect the trimmer line for wear and replace it as needed to ensure the best trimming results and avoid any potential damage to your trimmer.
If you encounter any difficulties or have further questions, consult your Ryobi trimmer’s user manual or reach out to the manufacturer’s customer support for assistance. They will be more than happy to help you troubleshoot any issues or provide additional guidance.
With your newly installed trimmer line, you’re now ready to tackle your trimming tasks with ease, precision, and efficiency. Enjoy the benefits of a well-maintained Ryobi trimmer and achieve beautifully manicured landscapes.
Happy trimming!
Frequently Asked Questions about How To Install Ryobi Bump Feed Trimmer Line
Was this page helpful?
At Storables.com, we guarantee accurate and reliable information. Our content, validated by Expert Board Contributors, is crafted following stringent Editorial Policies. We're committed to providing you with well-researched, expert-backed insights for all your informational needs.


0 thoughts on “How To Install Ryobi Bump Feed Trimmer Line”