Articles
How To Replace Ryobi String Trimmer Line
Modified: December 7, 2023
Looking for articles on how to replace Ryobi string trimmer line? Check out our comprehensive guide and get your trimmer back in action!
(Many of the links in this article redirect to a specific reviewed product. Your purchase of these products through affiliate links helps to generate commission for Storables.com, at no extra cost. Learn more)
Introduction
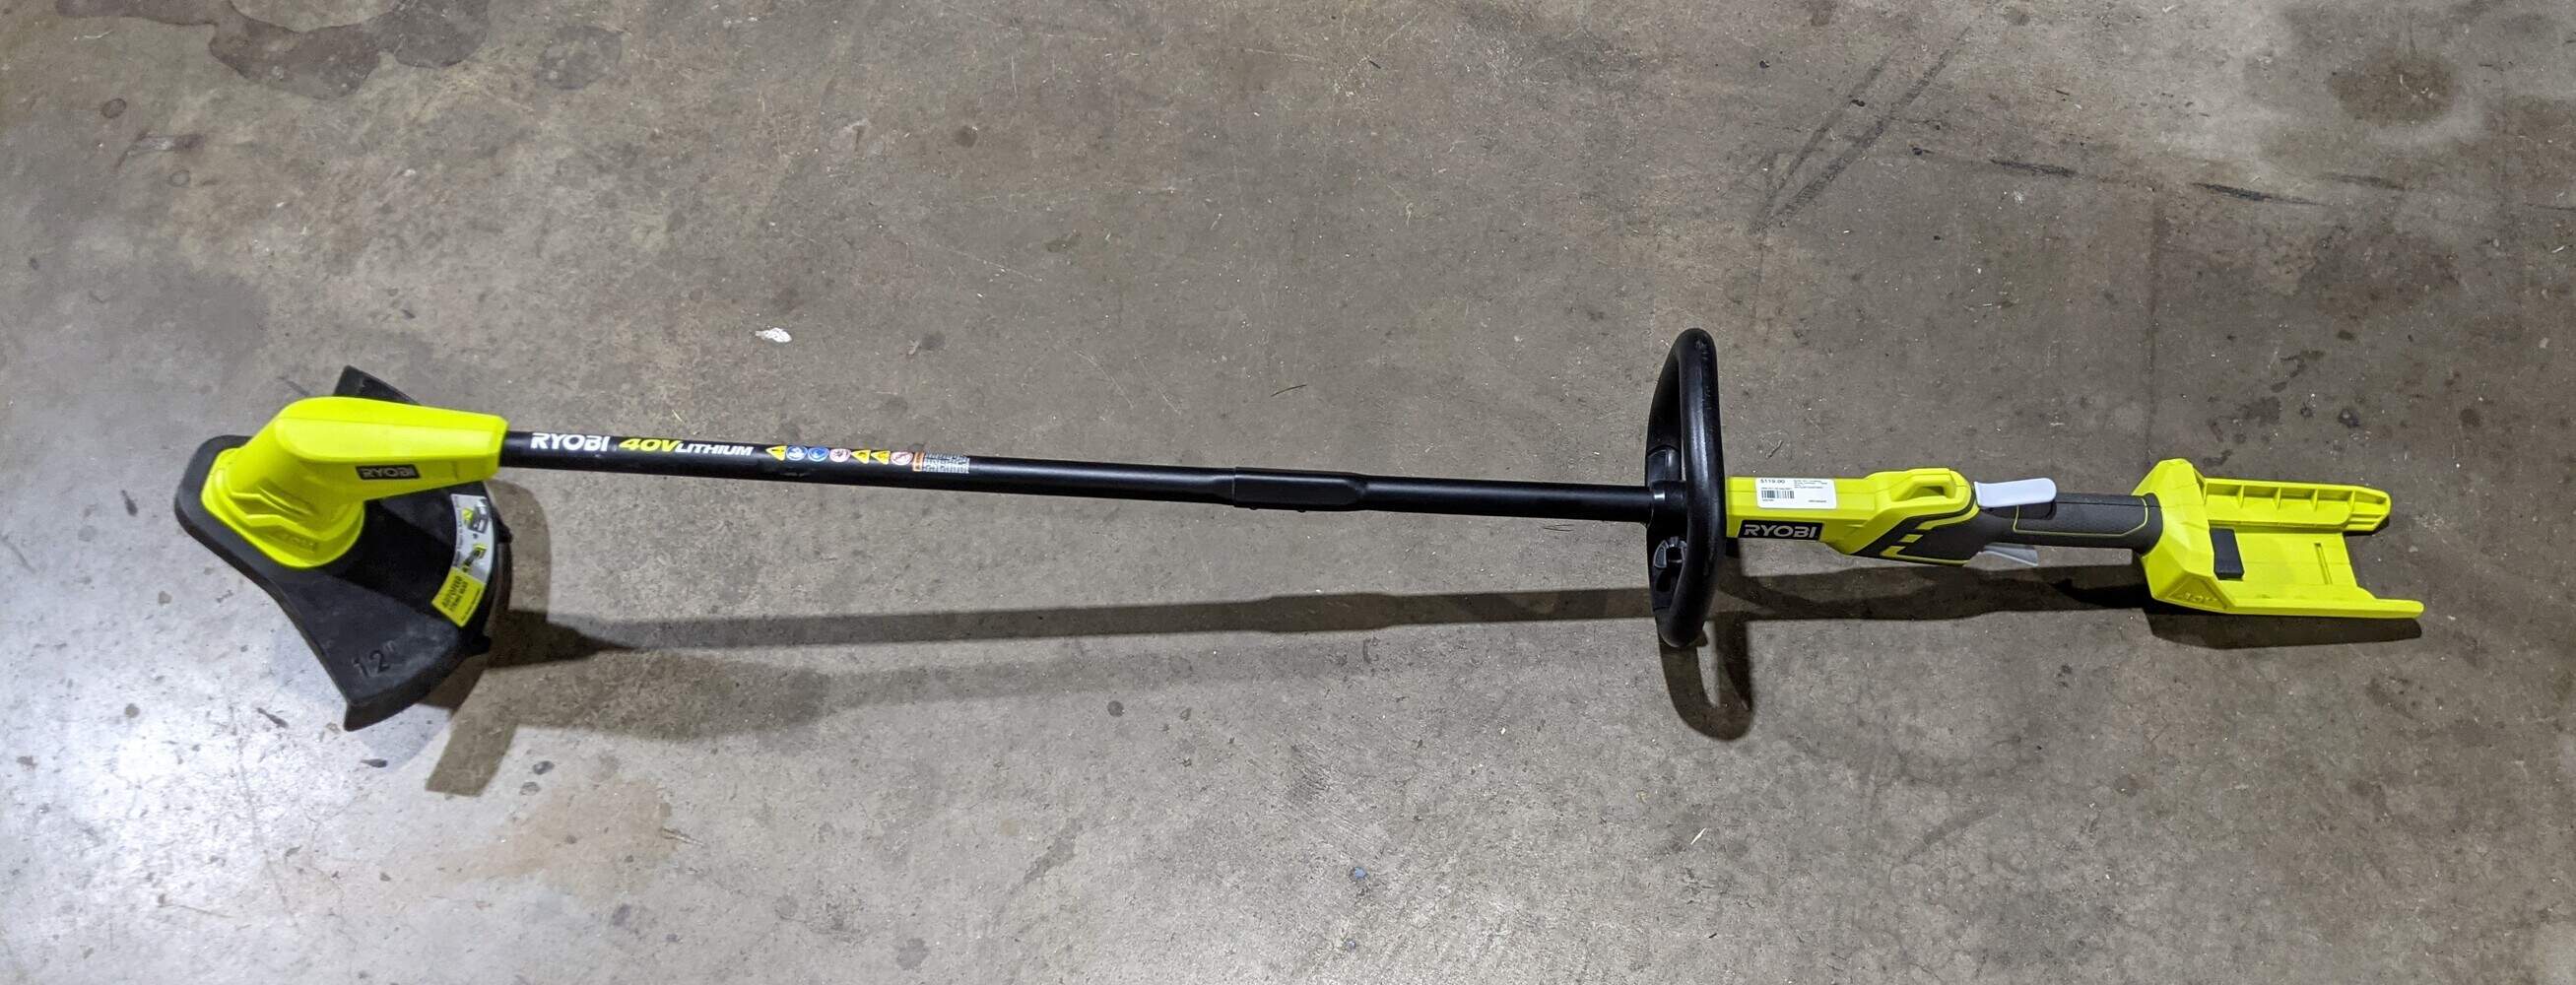
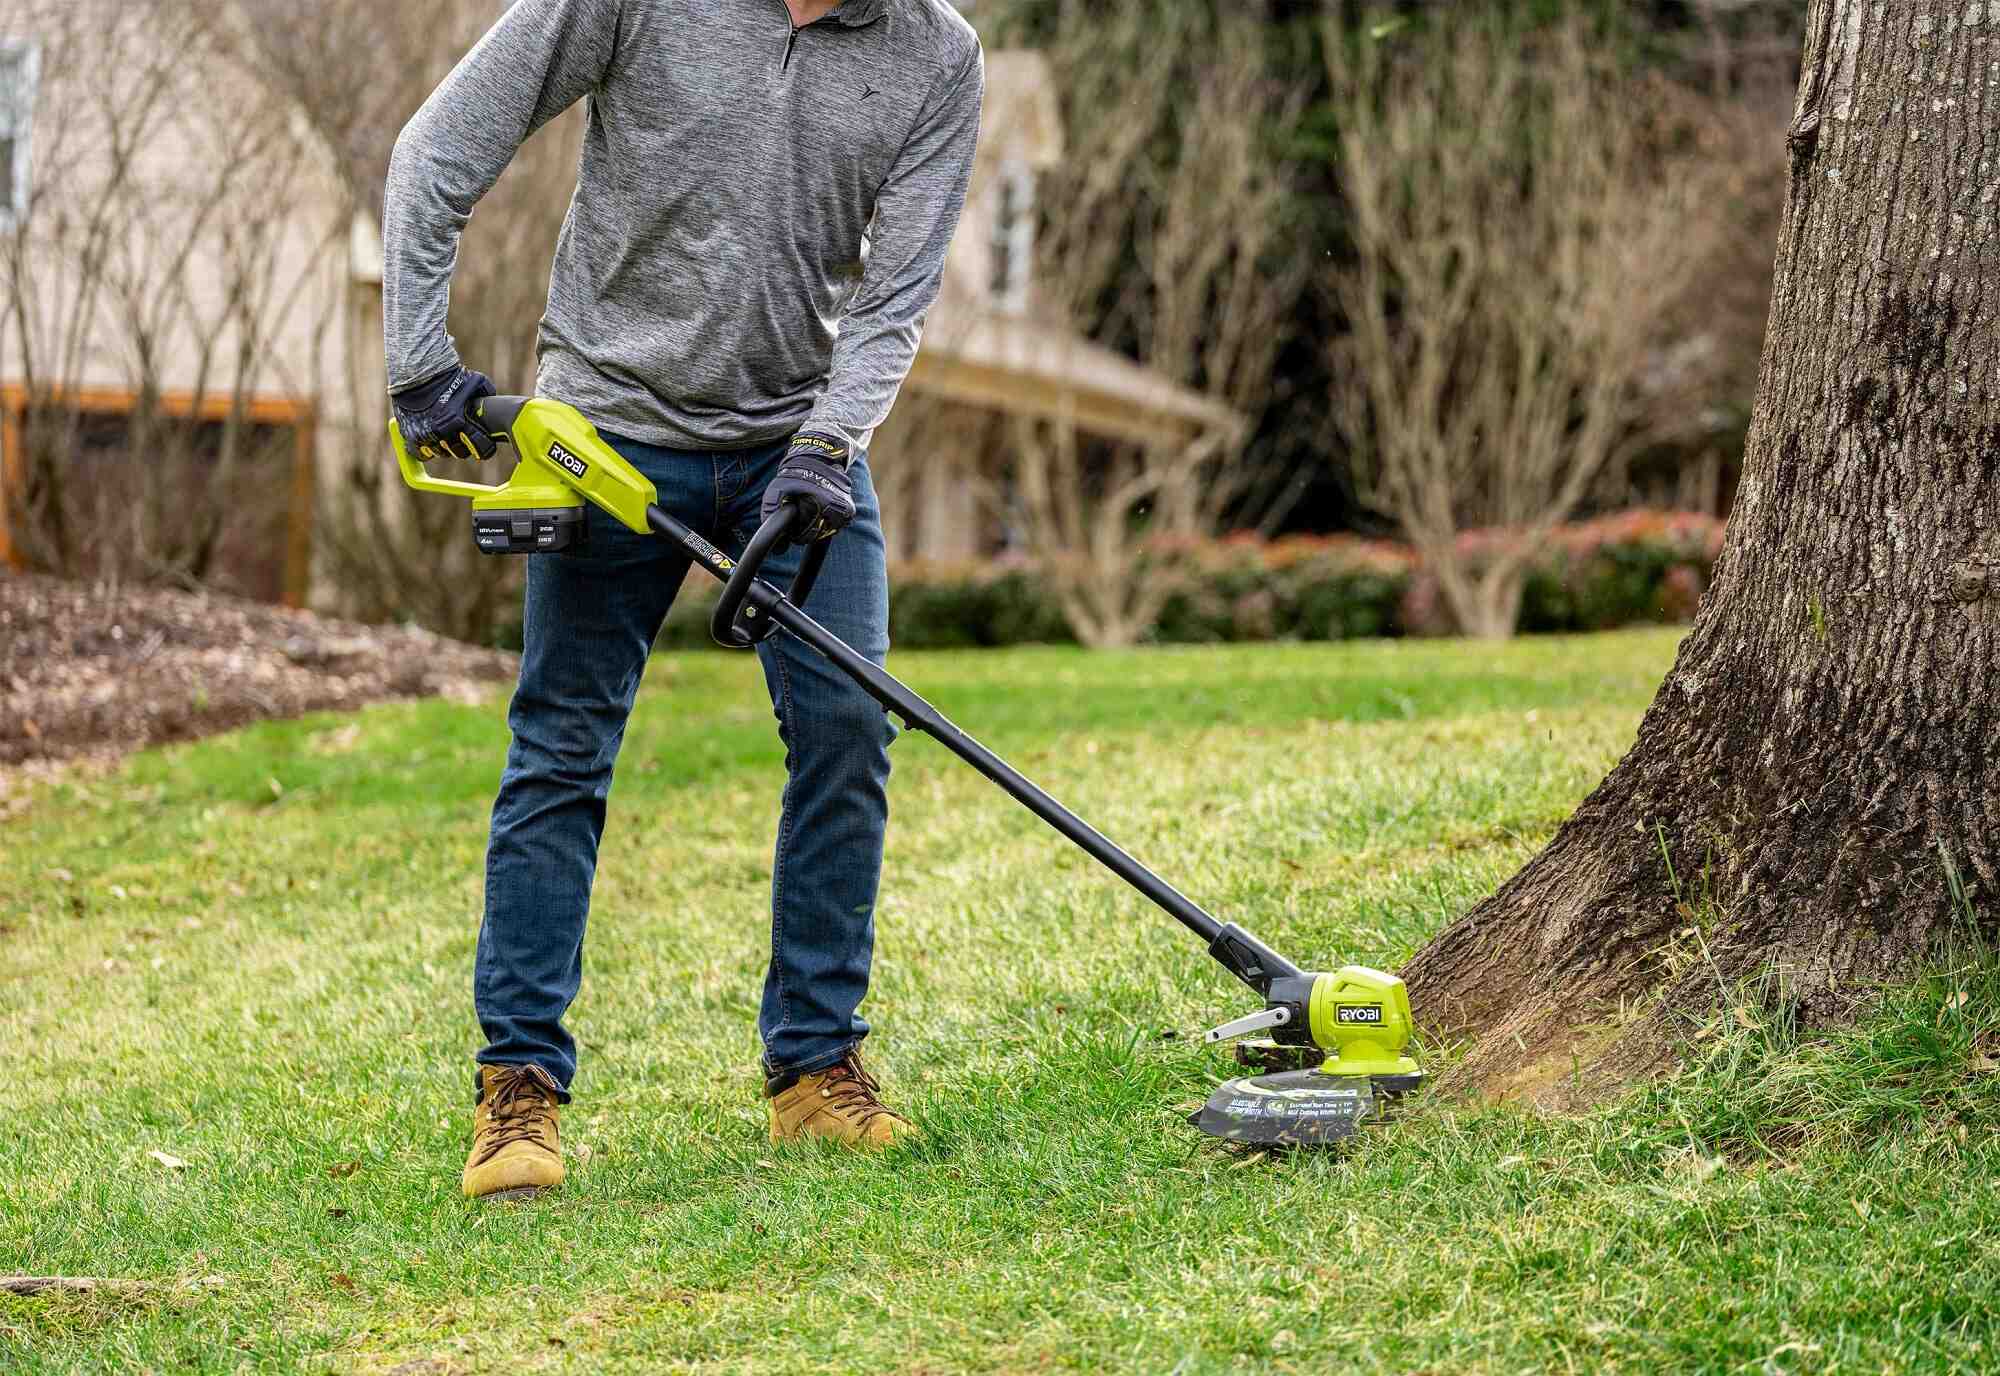
Welcome to our guide on how to replace the string trimmer line on your Ryobi trimmer. The string trimmer line is an essential component of the trimmer, responsible for cutting through grass and weeds with ease. Over time, the line can wear down or break, requiring you to replace it for optimal performance.
Replacing the string trimmer line may seem daunting, but fear not! In this step-by-step guide, we will walk you through the process, ensuring that you have the proper tools and knowledge to complete the job effectively. By following these instructions, you’ll be back to trimming your lawn in no time.
Before we dive into the steps, it’s important to note that different Ryobi string trimmer models may have slightly different mechanisms for replacing the line. However, the overall process remains similar. Always refer to your specific trimmer’s user manual for any model-specific details.
Key Takeaways:
- Replacing the string trimmer line on your Ryobi trimmer is a simple process that can greatly enhance your trimming performance. Follow the steps outlined to effortlessly maintain your lawn with ease.
- Prioritize safety, gather the necessary tools, and follow the step-by-step guide to ensure a successful string trimmer line replacement. With proper preparation and attention to detail, you can achieve optimal cutting performance for a beautifully manicured lawn.
Read more: How To Replace Ryobi Cordless Trimmer Line
Step 1: Gather the necessary tools and materials
Before you begin, it’s important to gather all the tools and materials you’ll need to replace the string trimmer line on your Ryobi trimmer. Having everything ready will make the process smoother and more efficient. Here’s what you’ll need:
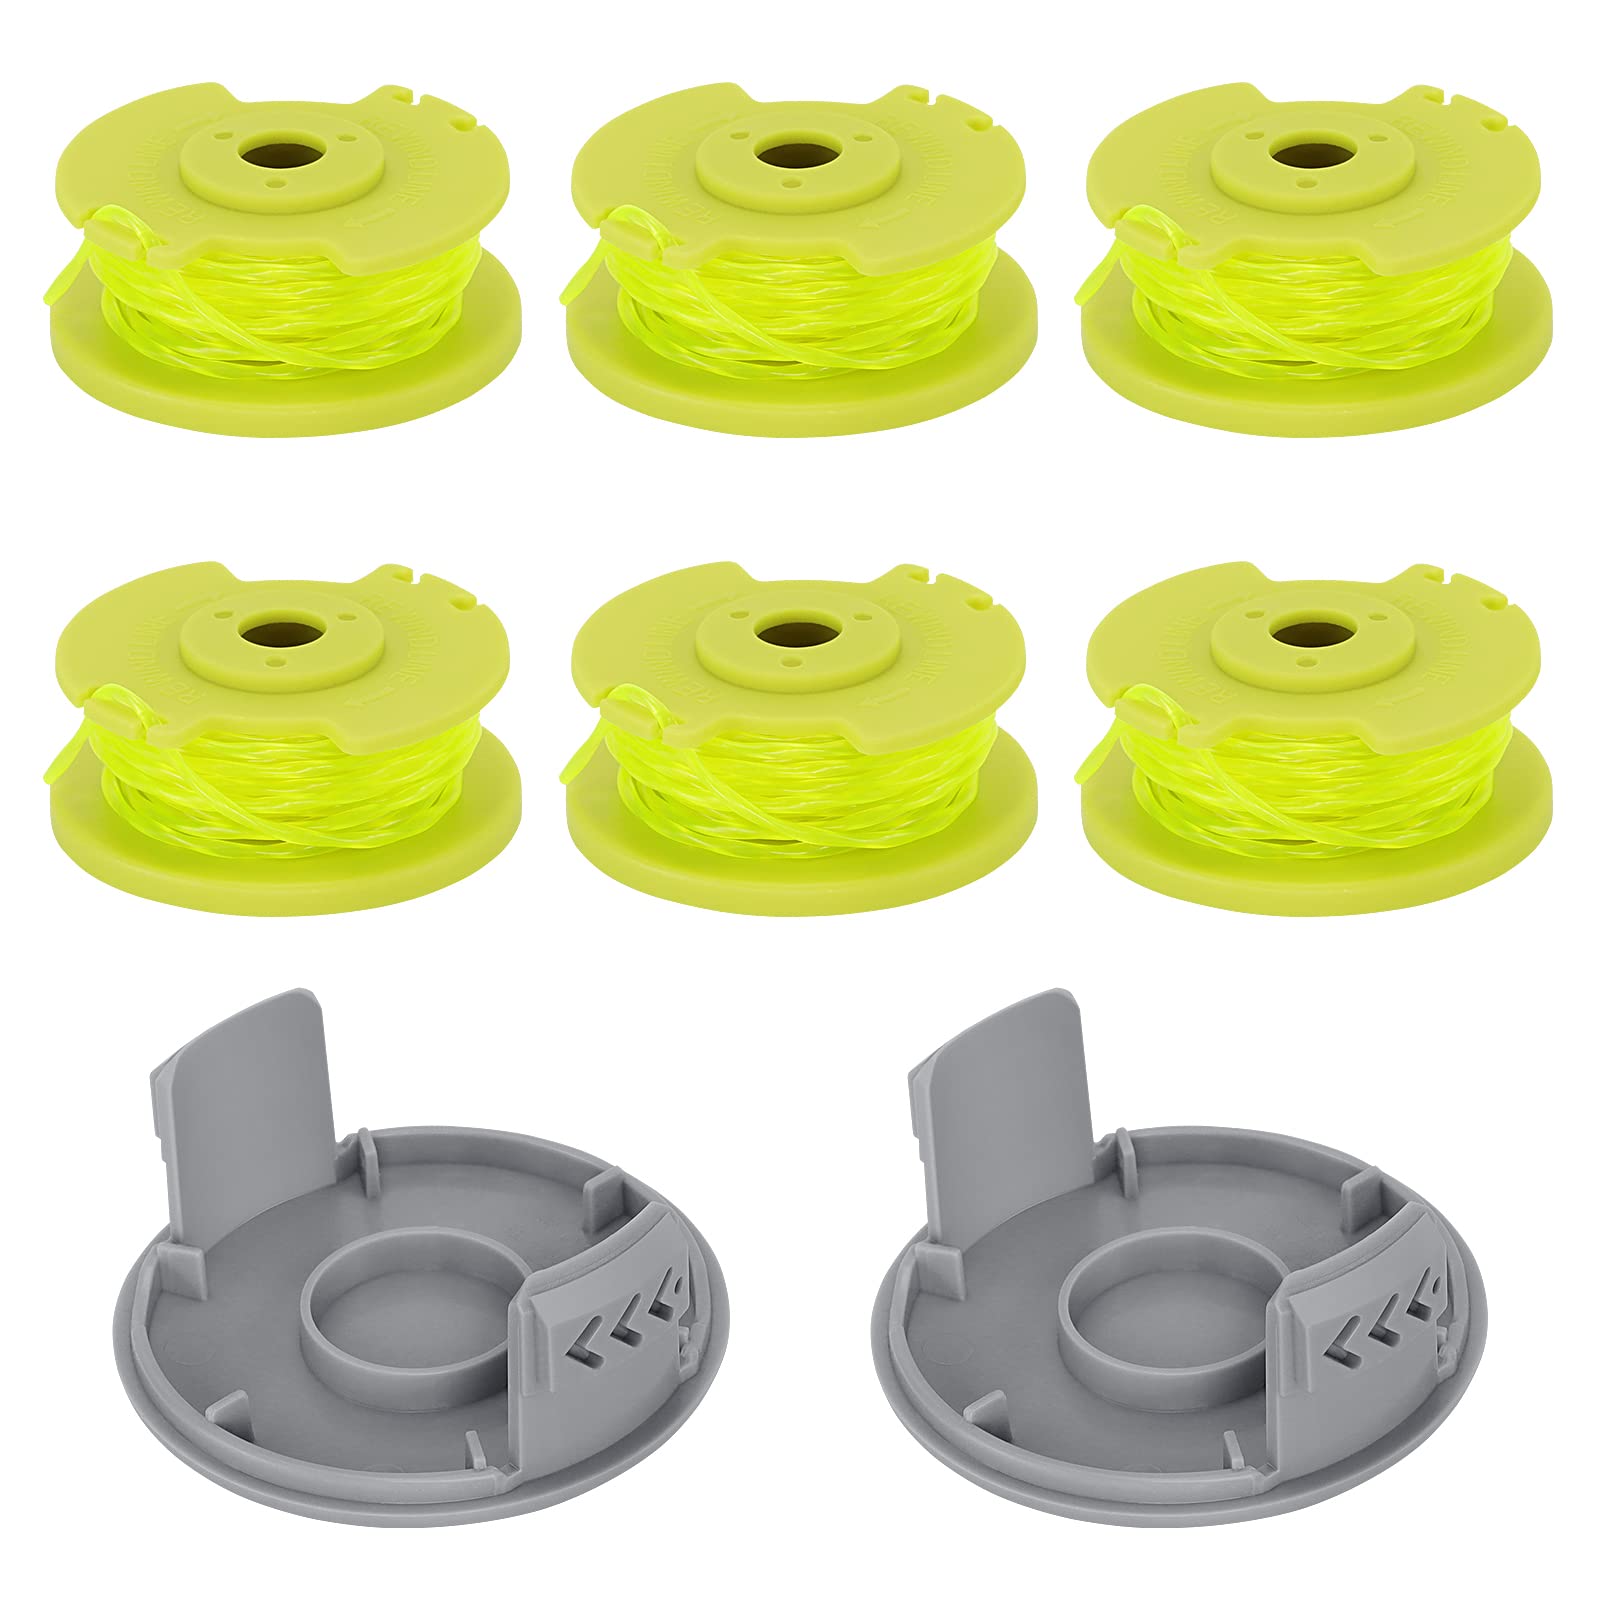
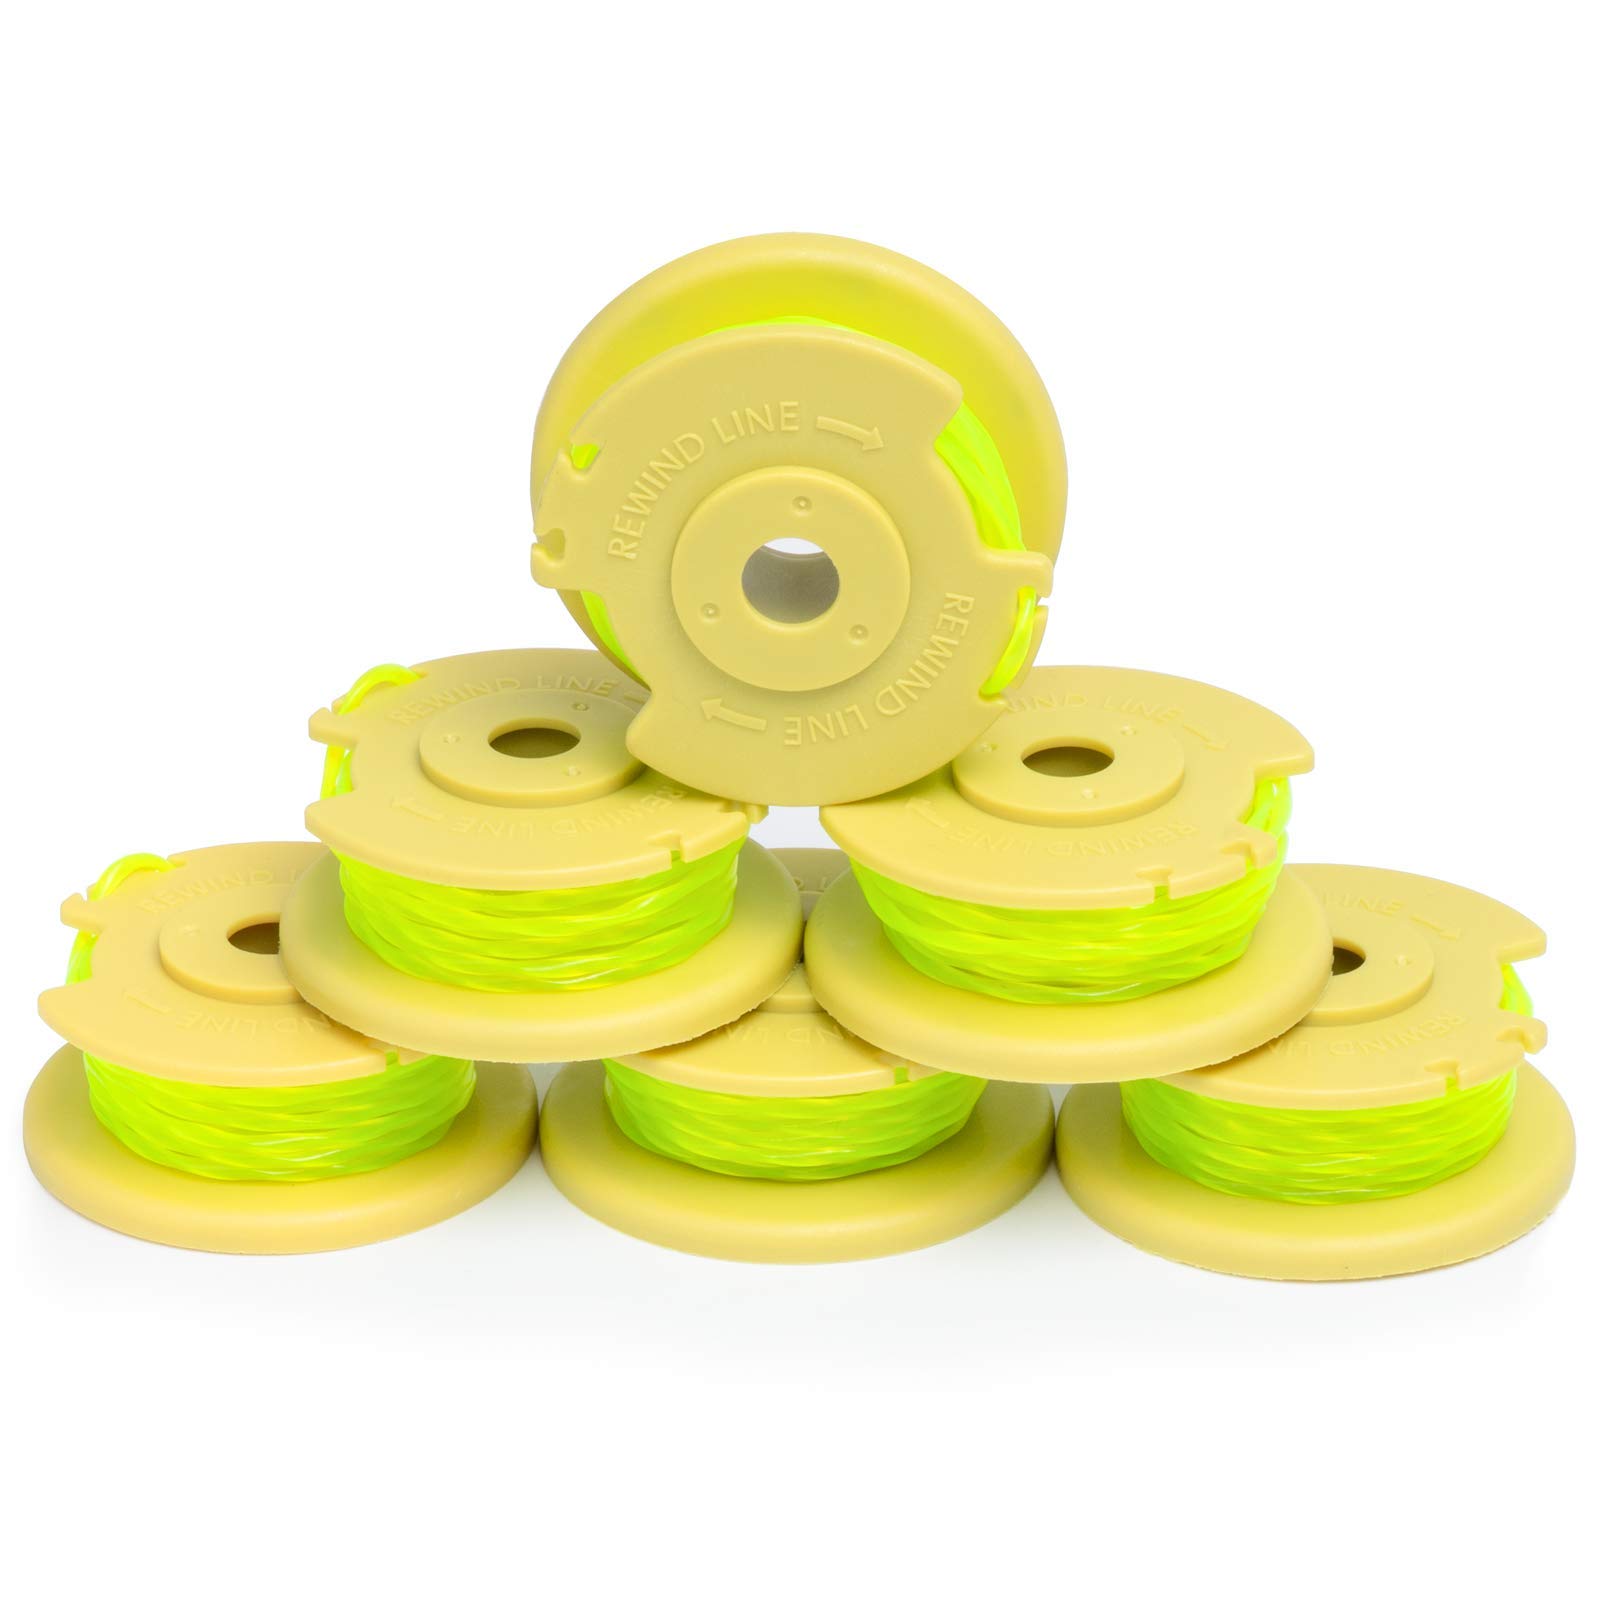
- A replacement spool of trimmer line specific to your Ryobi trimmer model. You can find this at your local hardware store or order it online.
- A pair of safety gloves to protect your hands from any sharp edges.
- Safety glasses or goggles to protect your eyes from debris.
- A clean cloth or rag for wiping away any dirt or debris from the trimmer.
- A workbench or flat surface to work on, preferably with good lighting.
- A small screwdriver or a trimmer line replacement tool, depending on your trimmer model.
- A pair of scissors or wire cutters to trim the new trimmer line to the appropriate length.
Once you have gathered all the necessary tools and materials, you can proceed to the next step of preparing the string trimmer for line replacement. Make sure you have read and understood all the safety precautions in your trimmer’s user manual before starting any work.
Step 2: Prepare the string trimmer
Before diving into the process of replacing the string trimmer line, it’s important to properly prepare the trimmer to ensure a smooth and efficient line replacement. Follow these steps:
- Turn off the trimmer and disconnect it from the power source. This is crucial for your safety.
- If your trimmer has a removable battery, remove it to prevent accidental activation while working on the trimmer.
- Lay the trimmer down on a flat surface, ensuring that the trimmer head is easily accessible.
- If there is any existing trimmer line on the spool, gently pull it out and discard it. This will make it easier to replace the line later on.
- Take a clean cloth or rag and wipe away any dirt or debris from the trimmer head. This will help prevent any contaminants from interfering with the line replacement.
- Inspect the trimmer head for any signs of damage or wear. If you notice any issues, such as cracks or missing parts, it may be necessary to replace the entire trimmer head before proceeding.
By properly preparing the string trimmer, you are setting yourself up for a successful line replacement process. Now that the trimmer is clean and in good condition, you can move on to the next step of removing the old trimmer line.
Step 3: Remove the old string trimmer line
Now that the trimmer is prepared, it’s time to remove the old string trimmer line. Follow these steps:
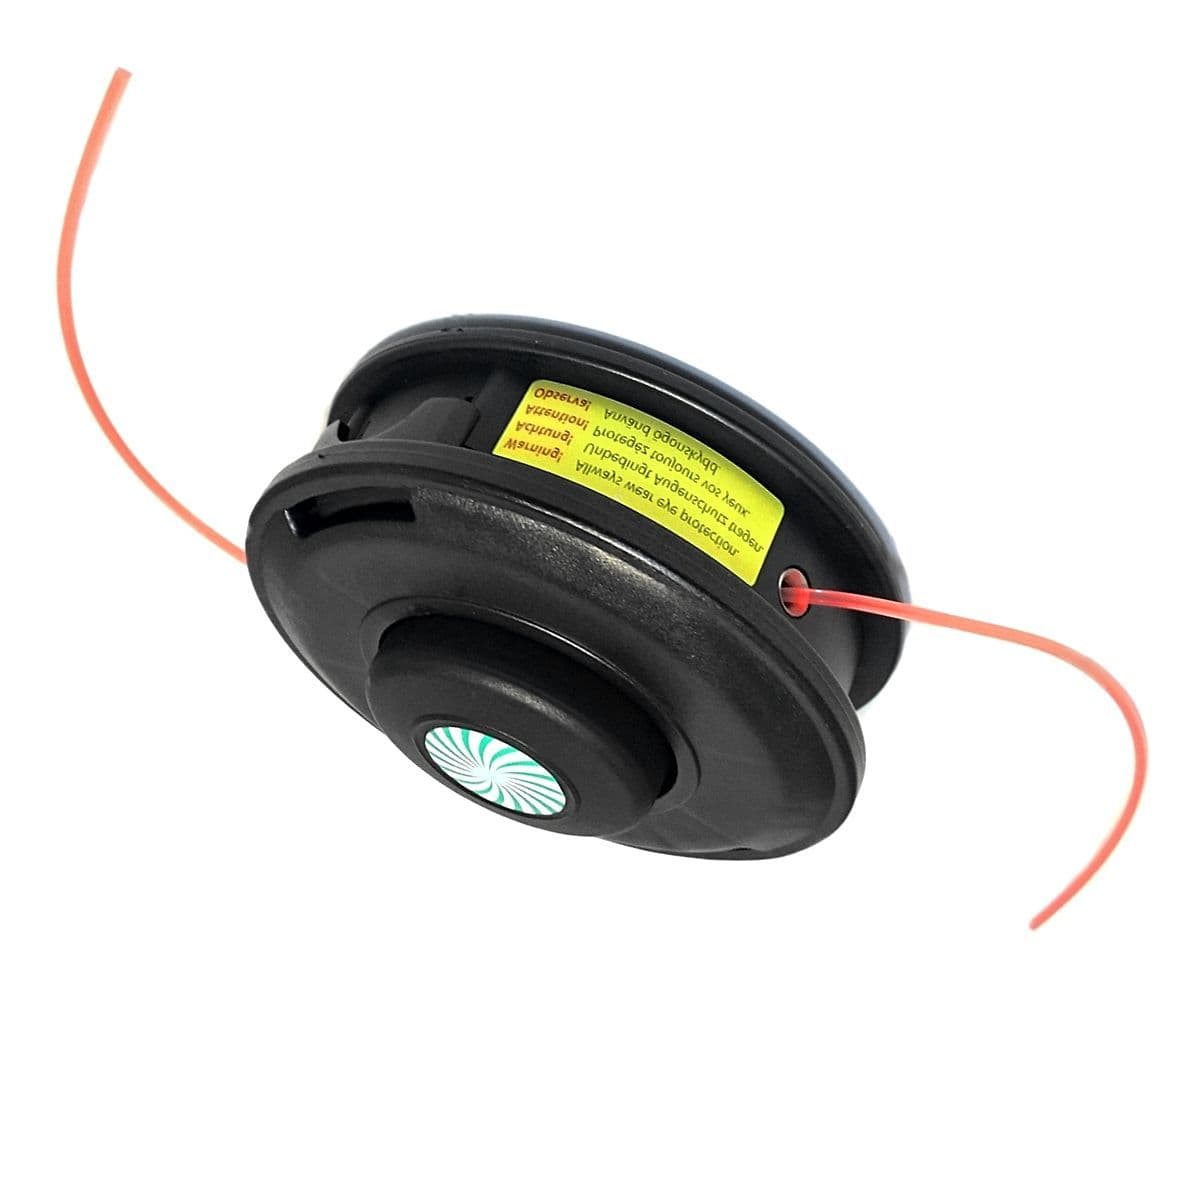
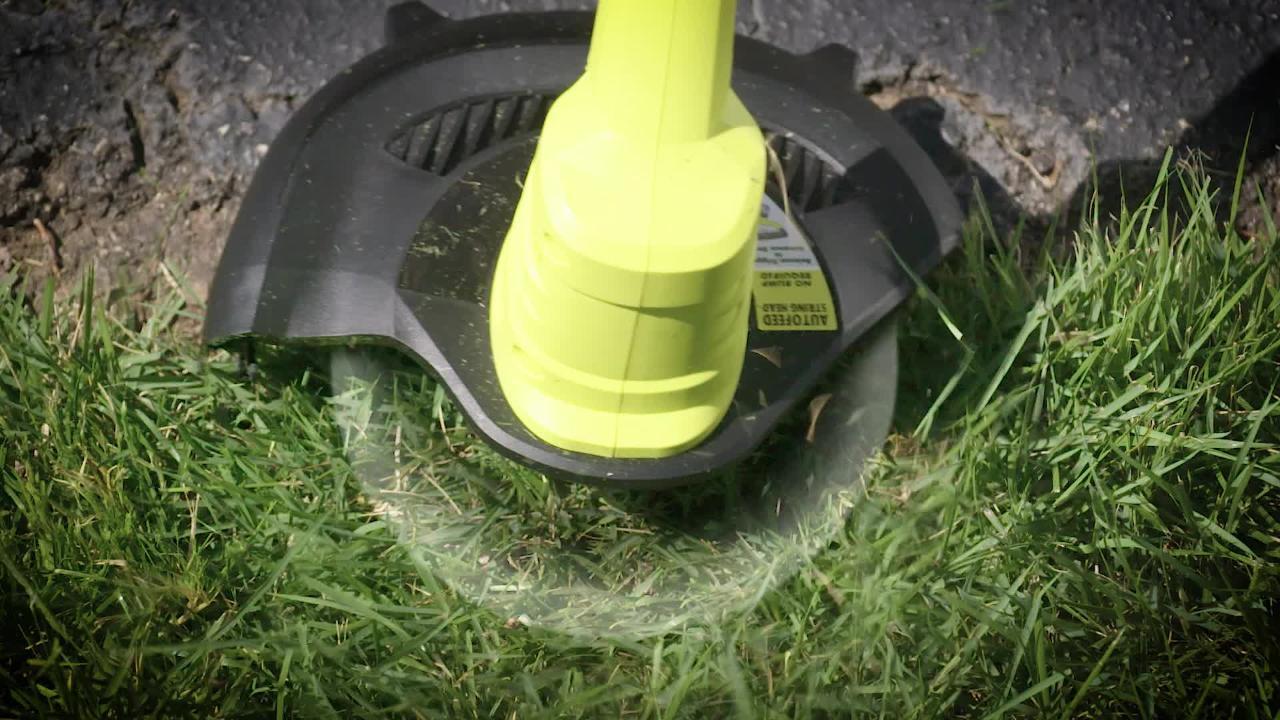
- Locate the bump knob on the trimmer head. This is typically a round or oval-shaped component that protrudes from the head.
- Using your hand or a small screwdriver, rotate the bump knob counterclockwise to loosen it. This will allow you to remove the trimmer head cover.
- Once the bump knob is loose, carefully remove the trimmer head cover by pulling it straight off. Be cautious as there may be springs or other small components inside.
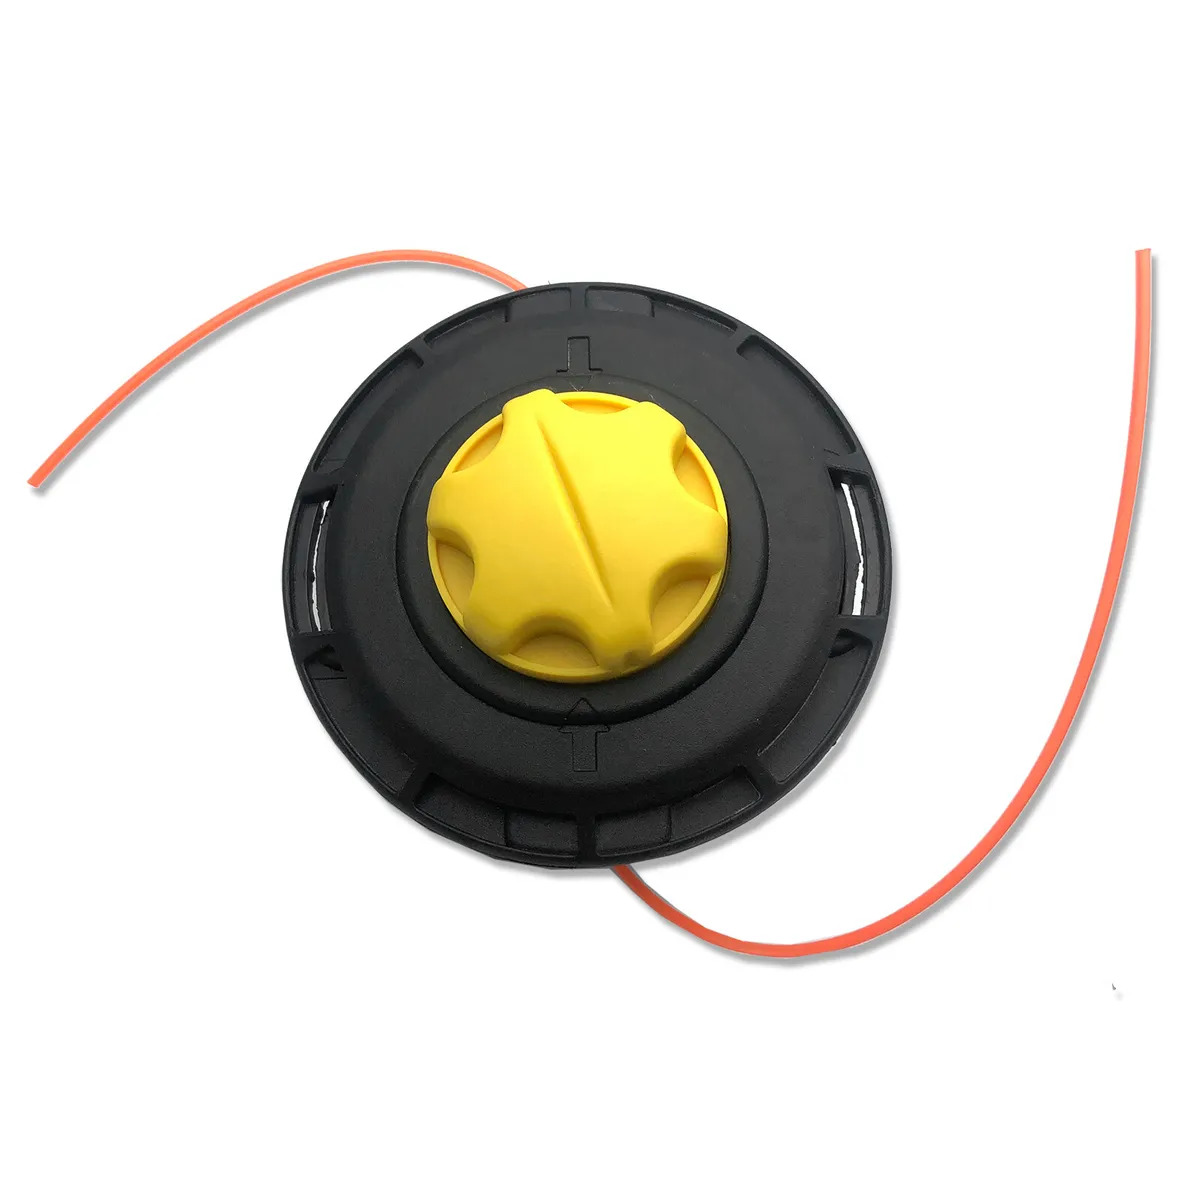
- With the trimmer head cover removed, you will now see the spool that contains the old trimmer line. Gently pull out any remaining line from the spool and discard it.
- If the spool is still attached to the trimmer head, lift it out by grasping the spool and pulling it straight up. If there is resistance, check for any additional screws or clips keeping it in place.
- Inspect the spool for any signs of damage or wear. If the spool is damaged, it may need to be replaced before installing new trimmer line.
By following these steps, you will successfully remove the old string trimmer line from your Ryobi trimmer. Remember to handle the components with care and keep track of any small pieces for reassembly later on. Now, it’s time to move on to the next step of measuring and cutting the new trimmer line.
When replacing the string trimmer line on a Ryobi trimmer, make sure to use the correct size and type of line recommended by the manufacturer to ensure proper performance and avoid damaging the trimmer.
Step 4: Measure and cut the new string trimmer line
With the old string trimmer line removed, it’s time to measure and cut the new line to the appropriate length. Follow these steps:
- Refer to your trimmer’s user manual or manufacturer guidelines to determine the recommended length for the new trimmer line. This will vary depending on your specific trimmer model.
- Unroll a sufficient length of the new trimmer line from the replacement spool.
- Using scissors or wire cutters, carefully cut the line to the recommended length. It is better to start with a slightly longer length to avoid running out of line during use.
- Take one end of the cut trimmer line and find the center point.
- If your trimmer has a dual-line system, thread both ends of the line through the corresponding holes in the trimmer head. For a single-line system, thread only one end of the line through the appropriate hole.
- Pull the line through until the center point reaches the line holding notches or eyelets in the trimmer head.
- Make sure the line is positioned securely in the notches or eyelets to prevent it from slipping out during operation.
By carefully measuring and cutting the new string trimmer line, you are ensuring that it is the correct length for optimal trimming performance. Now, it’s time to move on to the next step of installing the new string trimmer line on the trimmer head.
Read more: How To Advance String On Ryobi Trimmer
Step 5: Install the new string trimmer line
With the new string trimmer line measured and cut, it’s time to install it onto the trimmer head. Follow these steps:
- If the spool was removed in a previous step, reattach it to the trimmer head by aligning the notches or tabs on the spool with the corresponding slots on the trimmer head. Press the spool down firmly until it clicks into place.
- If your trimmer has a dual-line system, thread the ends of the trimmer line through the appropriate holes on the trimmer head. For a single-line system, thread only one end of the line through the appropriate hole.
- Make sure the line is inserted into the holes or notches securely, allowing a small portion of the line to extend beyond the trimmer head.
- Rotate the bump knob counterclockwise to loosen it. Place one hand on the trimmer head to hold it steady while using your other hand to wind the trimmer line onto the spool.
- Wind the trimmer line onto the spool in the direction indicated by the arrow on the spool. Keep the line taut and evenly distributed to avoid tangling or overlapping.
- Continue winding the line until you have reached the desired length or until the line fits flush against the outer edge of the spool.
- Once the line is properly wound onto the spool, rotate the bump knob clockwise to tighten it and secure the trimmer head cover back into place.
By following these steps, you will successfully install the new string trimmer line onto your Ryobi trimmer. Take your time to ensure the line is wound tightly and evenly onto the spool for optimal cutting performance. Now, it’s time to move on to the final step of testing the trimmer and making any adjustments if needed.
Step 6: Test the trimmer and make adjustments if needed
Now that you have installed the new string trimmer line, it’s important to test the trimmer and make any necessary adjustments to ensure optimal performance. Follow these steps:
- Reconnect the trimmer to the power source or insert the battery if it was removed earlier.
- Turn on the trimmer and allow it to run for a few seconds to ensure everything is working correctly.
- Hold the trimmer at a comfortable angle and engage the cutting head.
- Take note of how the trimmer line performs. Is it cutting through the grass and weeds smoothly? Is the line extending and retracting properly?
- If you notice any issues, such as insufficient cutting or line breakage, you may need to make adjustments.
- To adjust the line length, turn off the trimmer and disconnect it from the power source.
- Remove the trimmer head cover once again and carefully inspect the line.
- If the line is too short, you can release more line by rotating the bump knob counterclockwise and gently tapping the trimmer head on the ground. This will release more line from the spool.
- If the line is too long, you can cut off the excess with scissors or wire cutters to achieve the desired length.
- After making any necessary adjustments, reinstall the trimmer head cover and secure it with the bump knob.
- Test the trimmer again to ensure the adjustments have resolved the issues.
By testing the trimmer and making adjustments if needed, you can fine-tune the performance of the new string trimmer line. This will ensure you achieve clean and efficient trimming results. Congratulations on successfully replacing the trimmer line on your Ryobi trimmer!
Conclusion
Replacing the string trimmer line on your Ryobi trimmer is a straightforward process that can greatly improve the trimming performance of your tool. By following the steps outlined in this guide, you can easily replace the old, worn-out line with a fresh one and get back to maintaining your lawn with ease.
Remember to always refer to your specific trimmer’s user manual for any model-specific instructions or precautions. Additionally, prioritize safety by wearing gloves and protective eyewear throughout the process to prevent any injuries.
With the proper tools and materials at hand, you can gather everything you need to complete the line replacement. Take care to prepare the trimmer, remove the old line, measure and cut the new line to size, install it onto the trimmer head, and test the trimmer’s performance. If necessary, make adjustments to achieve the optimal line length.
By properly maintaining and replacing the trimmer line on your Ryobi trimmer, you can ensure that your lawn remains beautifully manicured. So, equip yourself with the necessary tools and get started on replacing the string trimmer line today!
Frequently Asked Questions about How To Replace Ryobi String Trimmer Line
Was this page helpful?
At Storables.com, we guarantee accurate and reliable information. Our content, validated by Expert Board Contributors, is crafted following stringent Editorial Policies. We're committed to providing you with well-researched, expert-backed insights for all your informational needs.


0 thoughts on “How To Replace Ryobi String Trimmer Line”