
Articles
Whirlpool Washer Top Loader How To Use
Modified: October 20, 2024
Learn how to use Whirlpool top loader washer with our informative articles. Get step-by-step instructions and tips for optimal performance and efficiency.
(Many of the links in this article redirect to a specific reviewed product. Your purchase of these products through affiliate links helps to generate commission for Storables.com, at no extra cost. Learn more)
Introduction
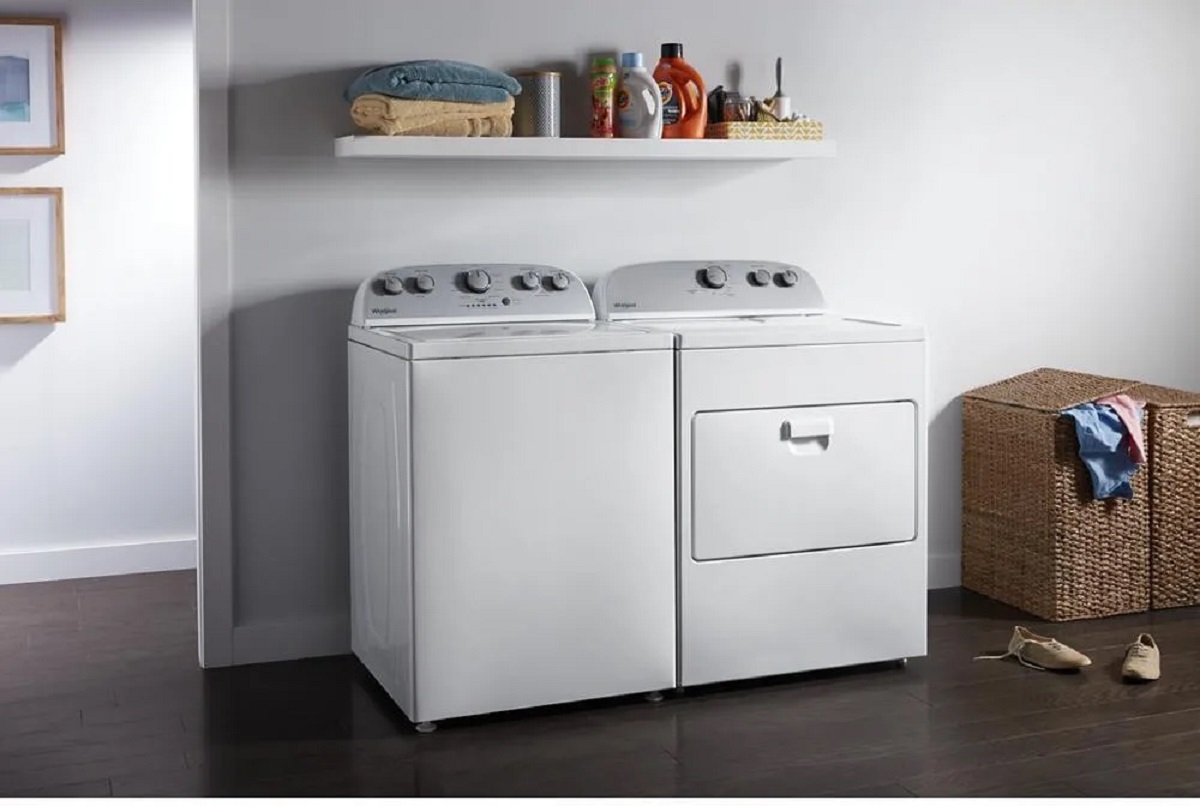
Using a Whirlpool washer top loader is a convenient and efficient way to keep your clothes clean. Whether you are new to using this type of washing machine or simply looking for a refresher, this article will guide you through the step-by-step process of using a Whirlpool washer top loader.
Whirlpool washers are known for their durability, performance, and innovative features that make laundry day a breeze. With a variety of wash cycles, adjustable settings, and options to choose from, you can customize each wash to meet your specific needs.
Before we delve into the steps of using a Whirlpool washer top loader, it’s important to familiarize yourself with the machine’s control panel and settings. Take a moment to locate and understand the different buttons and knobs, as this will make the process much easier.
Now, let’s dive into the step-by-step guide on how to use a Whirlpool washer top loader to get your laundry clean and fresh.
Key Takeaways:
- Master the art of using your Whirlpool washer top loader by preparing the machine, loading laundry, adding detergent, selecting the right wash cycle, and monitoring the wash for optimal results and efficiency.
- Keep your Whirlpool washer top loader in top-notch condition by following cleaning and maintenance tips, ensuring longevity, and reliable performance for years to come.
Step 1: Preparing the Washer
Before you start loading your laundry into the Whirlpool washer top loader, it’s important to ensure that the machine is ready for use. Here are the steps to prepare the washer:
- Check the power supply: Make sure that the washer is properly plugged into a grounded electrical outlet. Check the power cord for any damage or signs of wear. If you notice any issues, it’s best to have a qualified technician inspect and repair the washer.
- Check the water supply: Ensure that the water supply valves are fully open and that there are no kinks in the hoses. This will ensure a steady flow of water during the wash cycle.
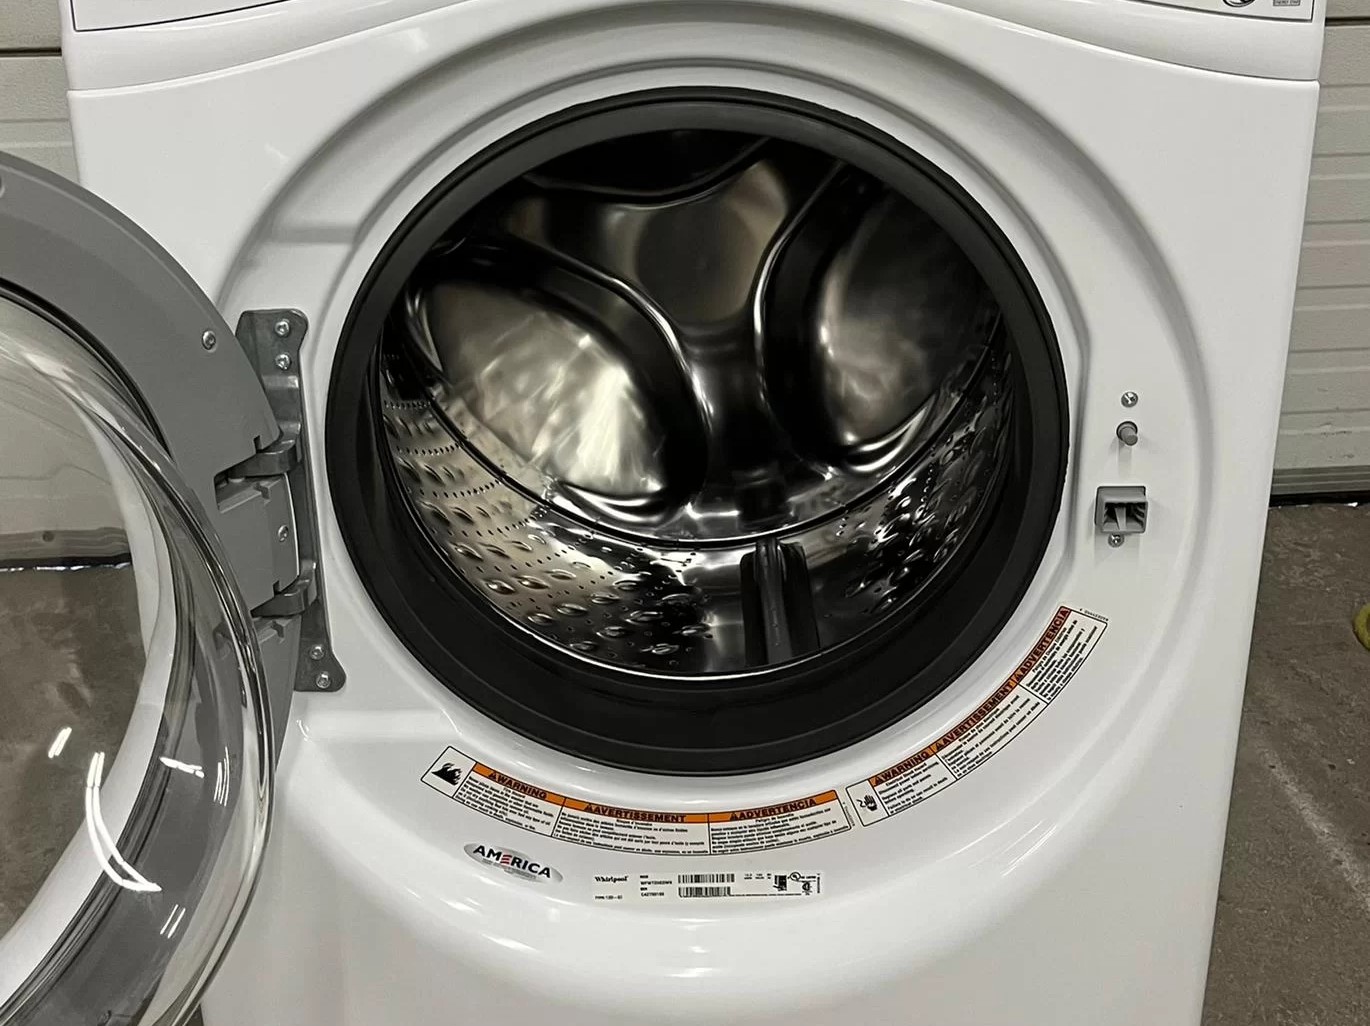
- Inspect the drum: Take a quick look inside the drum to ensure that there are no items left from the previous wash. Remove any foreign objects, such as coins or small pieces of clothing, to prevent damage to the washer.
Once you have completed these steps, your Whirlpool washer top loader is ready to be loaded with laundry.
It’s worth noting that some Whirlpool washers come with additional features like a water filtration system or a built-in detergent dispenser. If your washer has these features, make sure to follow the manufacturer’s instructions for proper usage and maintenance.
Now that you have prepared the washer, let’s move on to the next step: loading the laundry.
Step 2: Loading the Laundry
Now that the Whirlpool washer top loader is prepared, it’s time to start loading the laundry. Here are the steps to follow:
- Sort your laundry: Separate your laundry into different piles based on color, fabric type, and wash cycle requirements. This will prevent color bleeding and ensure that each item receives the appropriate care.
- Check the load capacity: Refer to the manufacturer’s guidelines or the markings inside the drum to determine the maximum load capacity for your specific washer model. Avoid overloading the washer, as it can affect the cleaning performance and put unnecessary strain on the machine.
- Open the washer lid or door: Depending on your Whirlpool washer model, lift the lid or open the door to access the drum.
- Add the laundry: Place the sorted laundry items one by one into the drum. Distribute the load evenly to maintain balance during the wash cycle.
Pro tip: Remember to empty all pockets and check for any loose items, like buttons or accessories, that could potentially damage the washer or get tangled during the wash cycle.
Once you have loaded the laundry, close the washer lid or door firmly. Now, let’s move on to the next step: adding detergent and fabric softener.
Step 3: Adding Detergent and Fabric Softener
Adding the right amount of detergent and fabric softener is crucial to achieve optimal cleaning results and keep your clothes fresh and soft. Here’s how to add detergent and fabric softener to your Whirlpool washer top loader:
- Locate the detergent dispenser: Depending on your washer model, the detergent dispenser can either be a drawer or a compartment located near the top of the agitator.
- Measure the detergent: Consult the detergent packaging for guidelines on the recommended amount to use based on the load size and soil level. Using too much detergent can lead to excessive suds and poor rinsing, while using too little may not effectively clean your laundry.
- Add the detergent: Pour the measured detergent into the designated compartment in the dispenser. Make sure to follow any specific instructions provided by the detergent manufacturer.
- Add fabric softener (optional): If you prefer using fabric softener, locate the fabric softener dispenser on your washer model. Measure the recommended amount based on the fabric softener packaging instructions and pour it into the designated compartment.
Note: If your Whirlpool washer doesn’t have a built-in dispenser for fabric softener, you can manually add it during the rinse cycle. Simply wait for the washer to fill with water during the rinse cycle, then pour the fabric softener directly into the water.
Once you have added the detergent and fabric softener, close the dispenser drawer or compartment. Now, let’s move on to the next step: selecting the wash cycle.
Step 4: Selecting the Wash Cycle
Whirlpool washers offer a variety of wash cycles to suit different types of fabric and levels of dirtiness. Here’s how to select the appropriate wash cycle for your laundry:
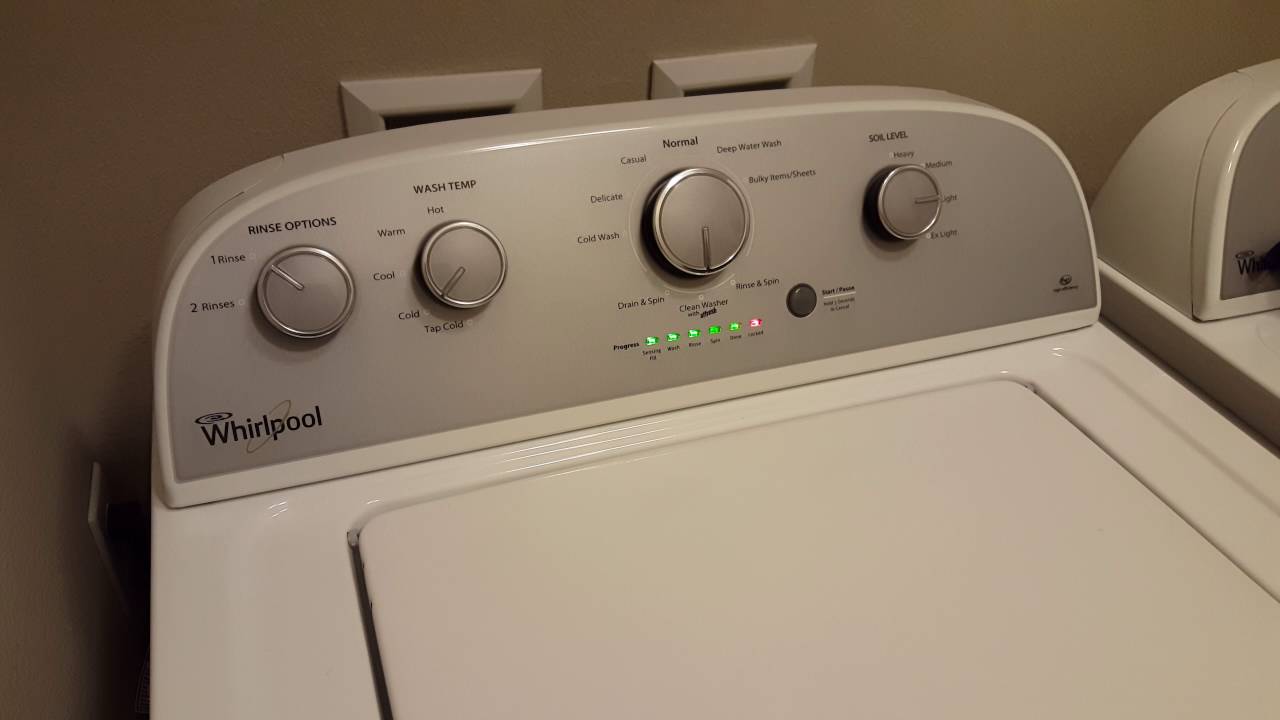
- Refer to the control panel: Take a look at the control panel of your Whirlpool washer top loader. You’ll find a range of wash cycle options displayed, such as “Normal,” “Delicate,” “Heavy Duty,” “Quick Wash,” and more.
- Consider your laundry needs: Think about the type of fabric you’re washing, the level of dirt or stains on your clothes, and any specific requirements or recommendations from the clothing manufacturer. This will help you determine the most suitable wash cycle.
- Select the desired wash cycle: Turn the cycle selector knob or press the corresponding button on the control panel to choose the wash cycle you want. The selected wash cycle will be illuminated or indicated on the control panel.
Remember that different wash cycles vary in their duration, agitation level, and water temperature. For example, the “Delicate” cycle is gentle and uses lower temperatures for delicate fabrics, while the “Heavy Duty” cycle is more robust and suitable for heavily soiled items.
Once you have selected the appropriate wash cycle, you can adjust additional settings and options to further customize the wash. Let’s proceed to the next step to learn more about adjusting settings and options.
Step 5: Adjusting Settings and Options
In addition to selecting the wash cycle, your Whirlpool washer top loader allows you to adjust various settings and options to tailor the wash to your specific needs. Here’s how to make further adjustments:
- Refer to the control panel: Take a look at the control panel to locate the additional settings and options available.
- Temperature selection: Depending on your washer model, you may have the option to adjust the water temperature. Choose between hot, warm, or cold water, depending on the fabric and stain type. Hot water is great for whites and heavily soiled items, while cold water is ideal for delicate fabrics.
- Spin speed selection: Some Whirlpool washers allow you to adjust the spin speed. Higher spin speeds extract more water from the laundry, reducing drying time, while lower spin speeds are gentler on delicate fabrics.
- Soil level selection: If your washer offers this option, choose the appropriate soil level based on how dirty your laundry is. Options may include light, normal, or heavy soil.
- Additional options: Depending on your model, you may have additional options like pre-soak, extra rinse, or a delay start timer. These options can enhance the cleaning performance and meet specific laundry requirements.
Remember to refer to the user manual or instructions provided by Whirlpool for detailed information on the available settings and options for your specific washer model.
Once you have made the desired adjustments, you’re ready to start the wash cycle. Let’s move on to the next step: starting the wash cycle.
When using a Whirlpool top loader washer, always distribute the clothes evenly around the agitator to ensure balanced and efficient washing.
Step 6: Starting the Wash Cycle
After you have selected the appropriate wash cycle and adjusted the necessary settings, it’s time to start the Whirlpool washer top loader. Follow these steps to begin the wash cycle:
- Close the washer lid or door: Ensure that the lid or door is securely closed before proceeding.
- Press the “Start” button: Locate the “Start” button on the control panel and press it to initiate the wash cycle. Some models may require you to turn the cycle selector knob to start the cycle.
- Listen for the water filling: Once the wash cycle starts, you will hear the sound of water filling the washer. This indicates that the machine is working as intended.
Keep in mind that the duration of the wash cycle will vary depending on the selected cycle, load size, and additional options chosen. Whirlpool washers typically display an estimated time remaining for the cycle on the control panel.
During the wash cycle, avoid opening the washer lid or door, as it can interrupt the cycle and affect the cleaning performance. Instead, patiently wait for the cycle to complete.
Now that the wash cycle is underway, let’s move on to the next step: monitoring the wash.
Step 7: Monitoring the Wash
While the Whirlpool washer top loader is running, it’s important to monitor the progress of the wash cycle to ensure everything is running smoothly. Here are some tips for effectively monitoring the wash:
- Observe the machine: Pay attention to the sounds and movements of the washer during the cycle. Whirlpool washers are designed to operate quietly and smoothly, so any unusual noises or vibrations may indicate an issue.
- Check the water level: Glance inside the washer occasionally to ensure that there is an adequate amount of water covering the laundry. If you notice that the water level is too high or too low, it may require adjustment using the water level selectors or contacting Whirlpool customer support for assistance.
- Address any issues: If you encounter any problems during the wash cycle, such as a power outage, water leakage, or an error code appearing on the control panel, it’s essential to stop the cycle immediately and refer to the user manual or contact Whirlpool customer support for guidance.
- Be mindful of time: Keep an eye on the estimated time remaining displayed on the control panel. This will give you an idea of when the wash cycle will be completed.
During the wash cycle, you can utilize this time to attend to other household tasks or take a moment for yourself until the cycle is finished.
Now that you’re monitoring the wash, let’s proceed to the next step: removing the clean laundry.
Step 8: Removing the Clean Laundry
Once the wash cycle is complete, it’s time to remove the clean and freshly laundered clothes from the Whirlpool washer top loader. Follow these steps to safely retrieve your laundry:
- Wait for the cycle to finish: Before opening the washer lid or door, make sure that the washer has completed the entire cycle. You can refer to the control panel, which will indicate that the cycle is finished.
- Open the washer lid or door: Carefully lift the lid or open the door of the washer. Be prepared for a burst of steam, especially if you had selected a hot water cycle.
- Take out the laundry: Gently remove the clean laundry from the washer drum. If there are any items stuck to the drum or tangled together, carefully separate them to avoid any damage.
- Shake out excess water or wrinkles: Depending on your preference, you can shake out the clothes to remove excess water or smooth out any wrinkles.
It’s important to note that leaving your laundry in the washer for an extended period after the cycle completes can lead to mildew or unpleasant odors. Therefore, it’s recommended to promptly remove the clean laundry and transfer it to a drying area or prepare for the next steps in your laundry routine.
With the clean clothes in hand, you can now proceed to fold, hang, or further process them according to your personal preference. Congratulations on successfully completing the wash cycle!
Lastly, let’s move on to the final step: cleaning and maintenance tips for your Whirlpool washer top loader.
Step 9: Cleaning and Maintenance Tips
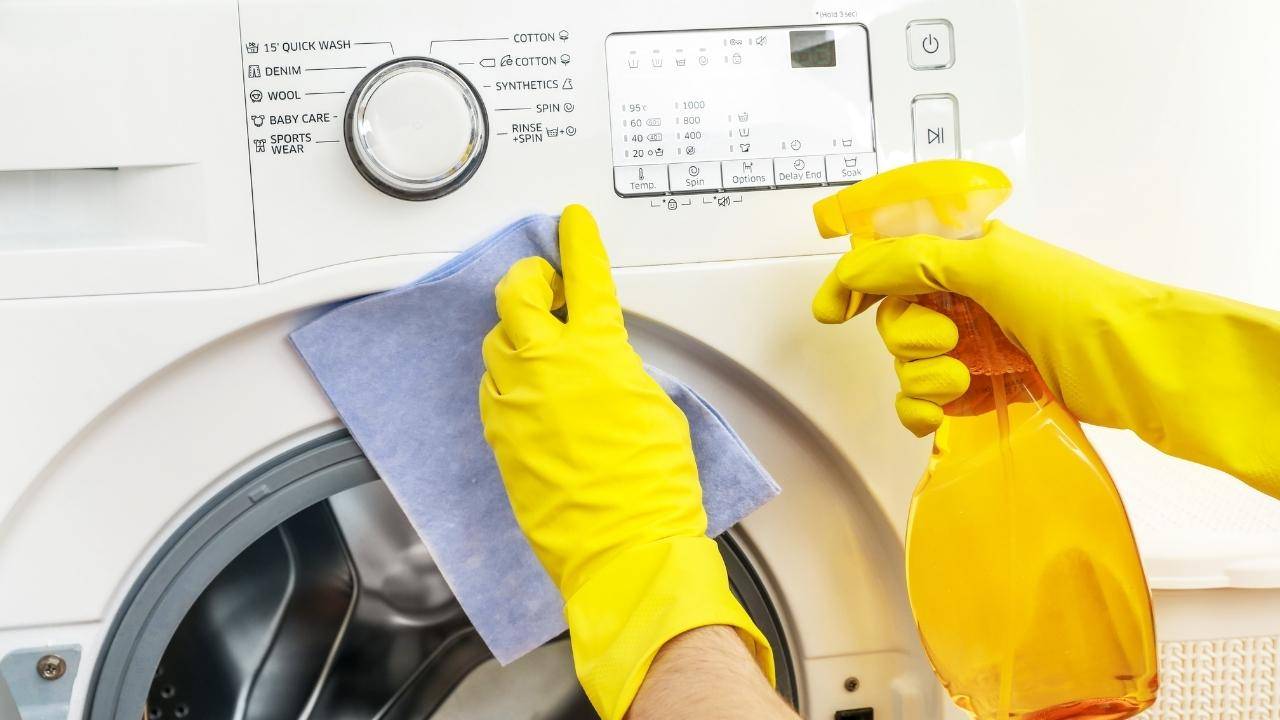
Keeping your Whirlpool washer top loader clean and well-maintained is essential to ensure its longevity and optimal performance. Here are some cleaning and maintenance tips to follow:
- Regularly clean the drum and detergent dispenser: After completing each wash cycle, wipe down the drum and detergent dispenser to remove any residue or buildup. You can use a damp cloth or sponge with mild detergent to clean these areas.
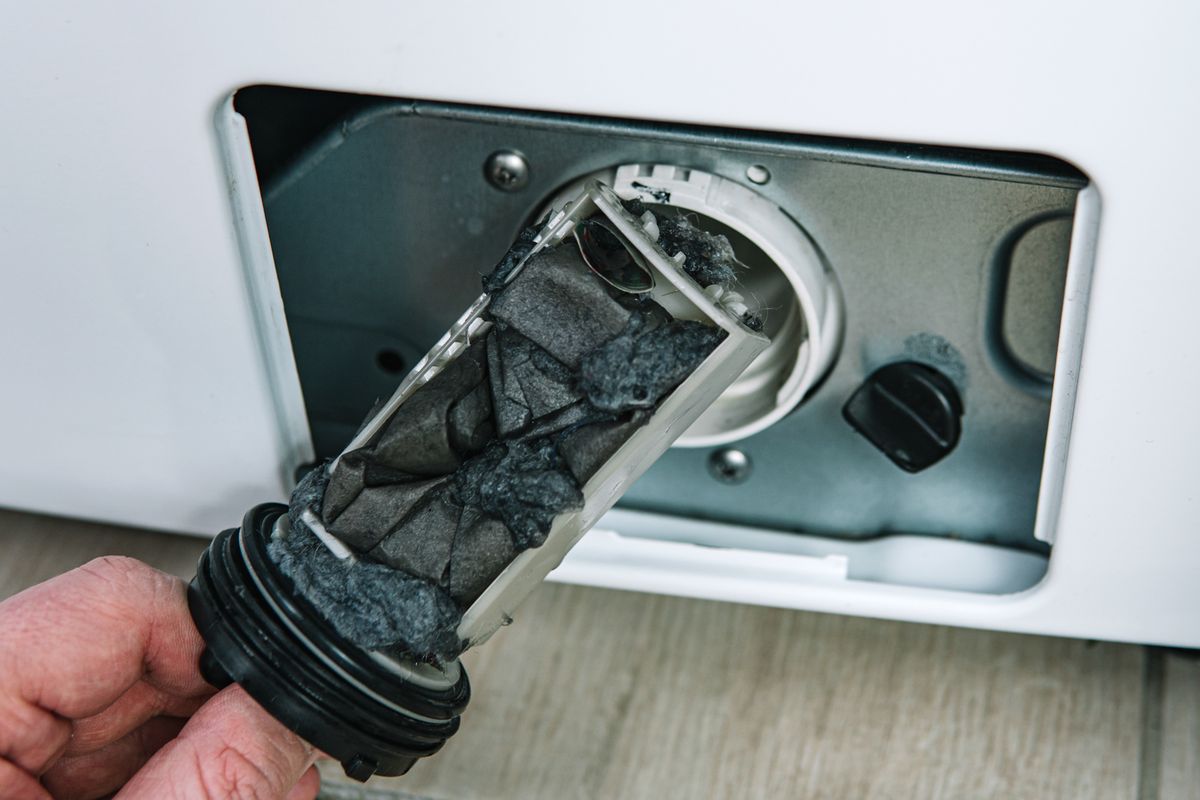
- Check and clean the drain pump filter: Over time, debris, lint, and foreign objects may accumulate in the drain pump filter, affecting the washer’s efficiency. Periodically check the filter and clean it according to the manufacturer’s instructions.
- Inspect and clean the exterior: Wipe down the exterior of the washer with a damp cloth to remove any dirt, dust, or spills. Avoid using harsh chemicals or abrasive cleaners that can damage the surface.
- Leave the lid or door open after use: To allow moisture to evaporate and prevent odors or mildew, leave the lid or door of the washer open for some time after each use.
- Run regular cleaning cycles: Whirlpool washers often include a cleaning cycle option. Running this cycle periodically with a washing machine cleaner can help remove any residue, eliminate odors, and keep the interior of the washer fresh.
- Inspect hoses and connections: Regularly examine the water inlet hoses and connections for any signs of wear, leaks, or damage. If you notice any issues, promptly replace or repair them to prevent further damage.
Following these cleaning and maintenance tips will help ensure that your Whirlpool washer top loader remains in excellent condition and provides efficient and reliable performance for years to come.
With these steps and tips, you should now feel confident in using and maintaining your Whirlpool washer top loader. Enjoy the convenience and effectiveness it brings to your laundry routine!
Thank you for reading this comprehensive guide. If you have any further questions or concerns, don’t hesitate to consult the user manual or contact Whirlpool customer support for assistance. Happy washing!
Conclusion
Using a Whirlpool washer top loader is a straightforward and efficient way to keep your clothes clean and fresh. By following the step-by-step guide provided in this article, you can confidently navigate through each stage of the washing process.
We began by preparing the washer, ensuring that the power and water supply were properly connected and inspecting the drum for any foreign objects. We then moved on to loading the laundry, emphasizing the importance of sorting the clothes and distributing the load evenly in the drum.
Adding the right amount of detergent and fabric softener was the next step, with a focus on the detergent dispenser and measuring the appropriate quantities for effective and efficient cleaning.
Selecting the wash cycle and adjusting settings and options allowed you to customize the wash based on fabric type, stain level, and personal preferences. These choices, along with monitoring the wash cycle for any issues, ensured the best cleaning results.
Once the wash cycle was complete, we explored the process of removing the clean laundry from the washer, taking care to avoid tangling or damage. We also emphasized the importance of promptly transferring the laundry to prevent mildew or odors.
To keep your Whirlpool washer top loader in optimal condition, we provided cleaning and maintenance tips, including regularly cleaning the drum and detergent dispenser, checking and cleaning the drain pump filter, and inspecting hoses and connections for any issues.
By following the steps and tips outlined in this guide, you can make the most out of your Whirlpool washer top loader, enjoy clean and fresh laundry, and prolong the lifespan of your machine.
Thank you for reading this comprehensive guide, and we hope it has provided you with valuable insights and information. Happy washing!
Frequently Asked Questions about Whirlpool Washer Top Loader How To Use
Was this page helpful?
At Storables.com, we guarantee accurate and reliable information. Our content, validated by Expert Board Contributors, is crafted following stringent Editorial Policies. We're committed to providing you with well-researched, expert-backed insights for all your informational needs.


0 thoughts on “Whirlpool Washer Top Loader How To Use”