Articles
Why Did My Ice Maker Quit Working
Modified: February 28, 2024
Discover why your ice maker suddenly stopped working and learn helpful tips and articles to fix the issue efficiently.
(Many of the links in this article redirect to a specific reviewed product. Your purchase of these products through affiliate links helps to generate commission for Storables.com, at no extra cost. Learn more)
Introduction
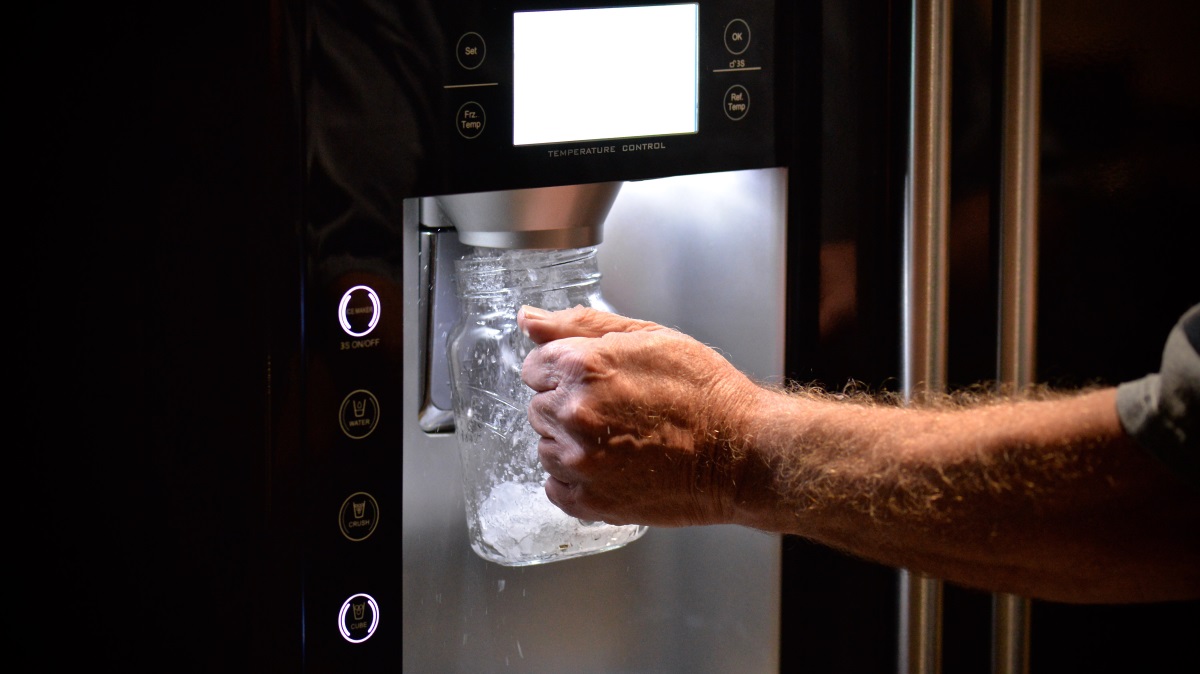
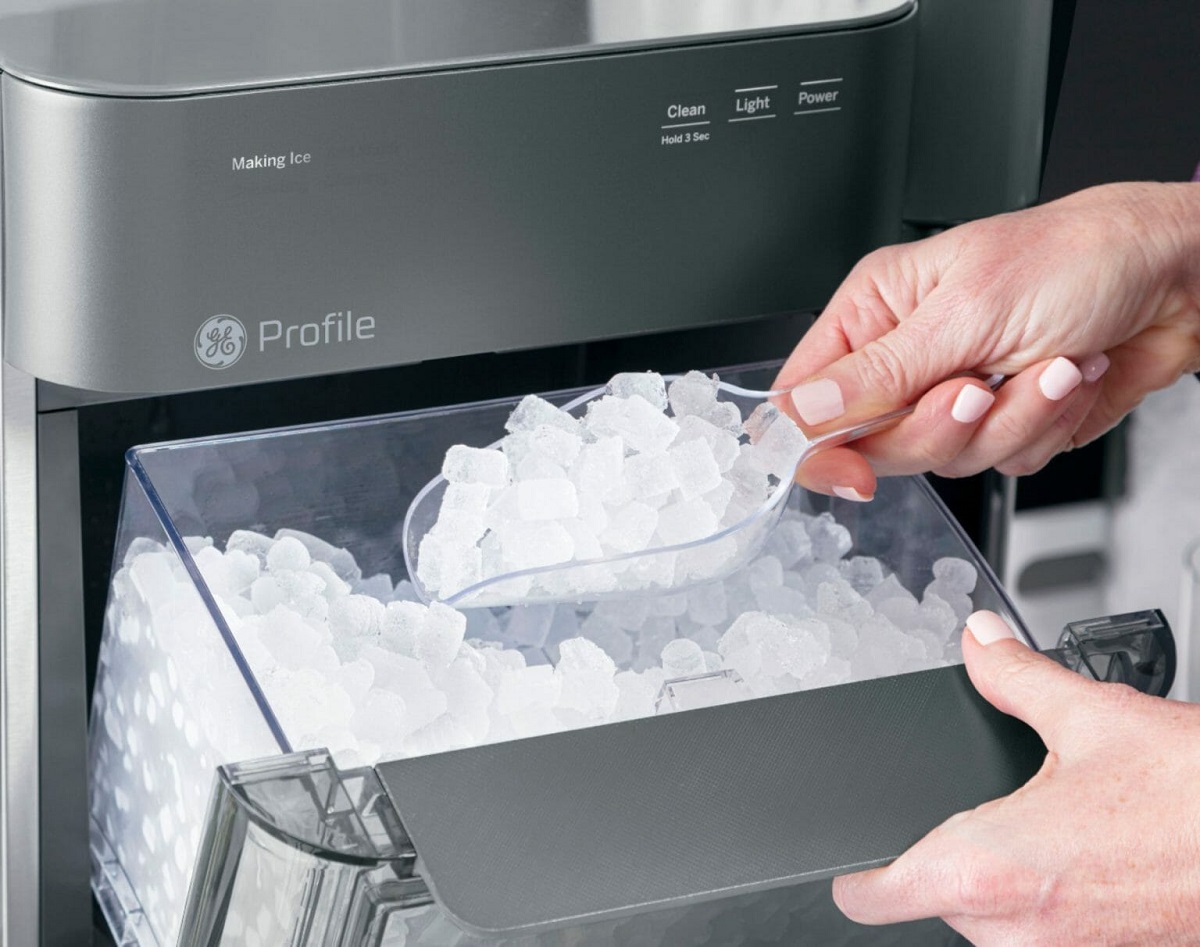
Ice makers are a convenient and essential appliance in many households. They provide us with a steady supply of ice, whether it’s for cooling drinks on a hot summer day or serving chilled beverages at a party. However, it can be frustrating when your ice maker suddenly stops working.
There can be several reasons why your ice maker is not functioning as it should. Understanding these common issues can help you troubleshoot the problem and potentially save you from the hassle of calling a repair technician.
In this article, we will explore the most common reasons why your ice maker may have quit working and discuss possible solutions to get it back up and running.
Key Takeaways:
- Troubleshoot common ice maker issues like clogged water supply lines and faulty sensors to restore ice production and avoid costly repairs.
- Regular maintenance, such as cleaning components and adjusting temperature settings, can prevent ice maker failures and ensure a steady supply of ice.
Read more: Why Will My Ice Maker Not Work
Common Reasons for Ice Maker Failure
Ice makers rely on a combination of water supply, electrical components, and mechanical processes to produce ice. When any of these components experience issues, it can lead to a malfunctioning ice maker. Here are some of the most common reasons why your ice maker may have stopped working:
- Clogged Water Supply Line: A clogged water supply line is one of the primary culprits behind ice maker failure. Over time, mineral deposits and debris can accumulate in the supply line, obstructing the flow of water. This can prevent the ice maker from receiving the necessary water to produce ice.
- Malfunctioning Water Inlet Valve: The water inlet valve controls the flow of water into the ice maker. If it malfunctions or fails, it can result in a lack of water supply to the ice maker, causing it to stop producing ice.
- Faulty Ice Maker Sensor: Ice makers are equipped with sensors that detect the ice level in the storage bin. If the sensor is faulty or blocked, it may incorrectly indicate that the bin is full, causing the ice maker to shut off. Cleaning or replacing the sensor can help resolve this issue.
- Defective Ice Maker Motor: The motor is responsible for driving the various mechanical components of the ice maker, such as the ice mold and dispenser. If the motor is defective or worn out, it can prevent the ice maker from functioning properly.
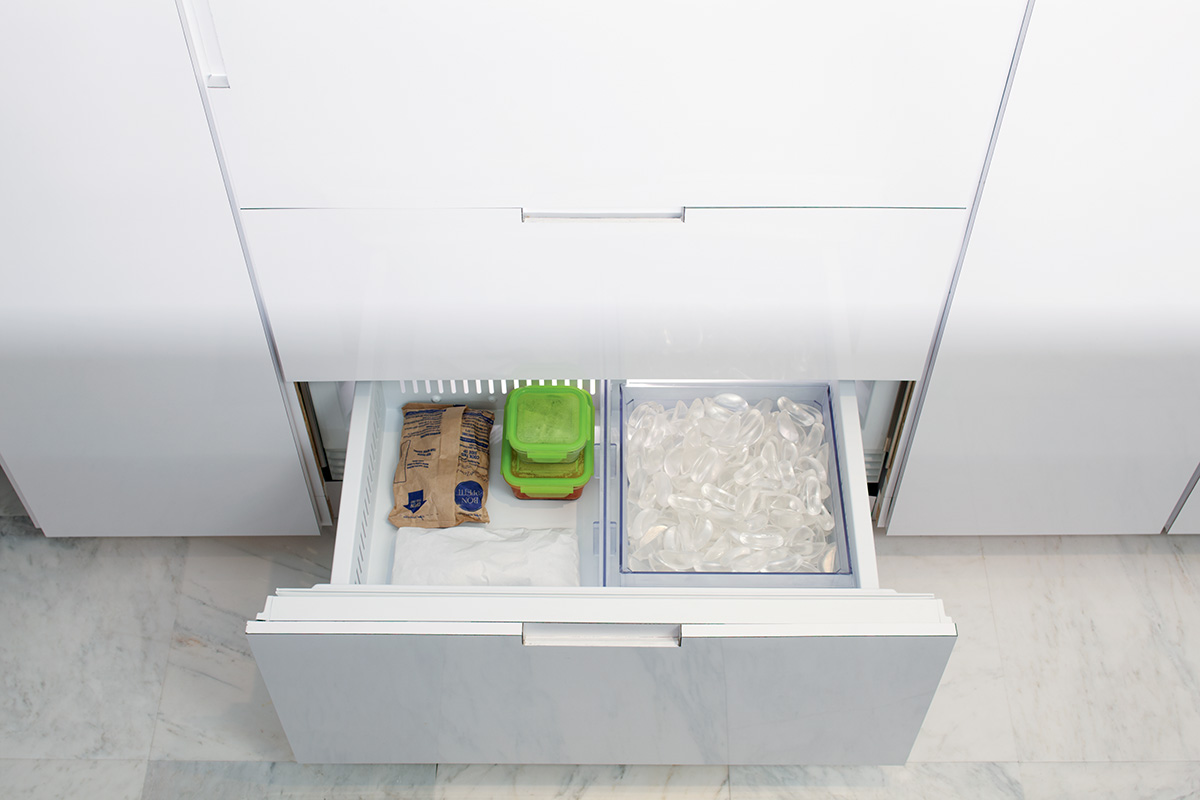
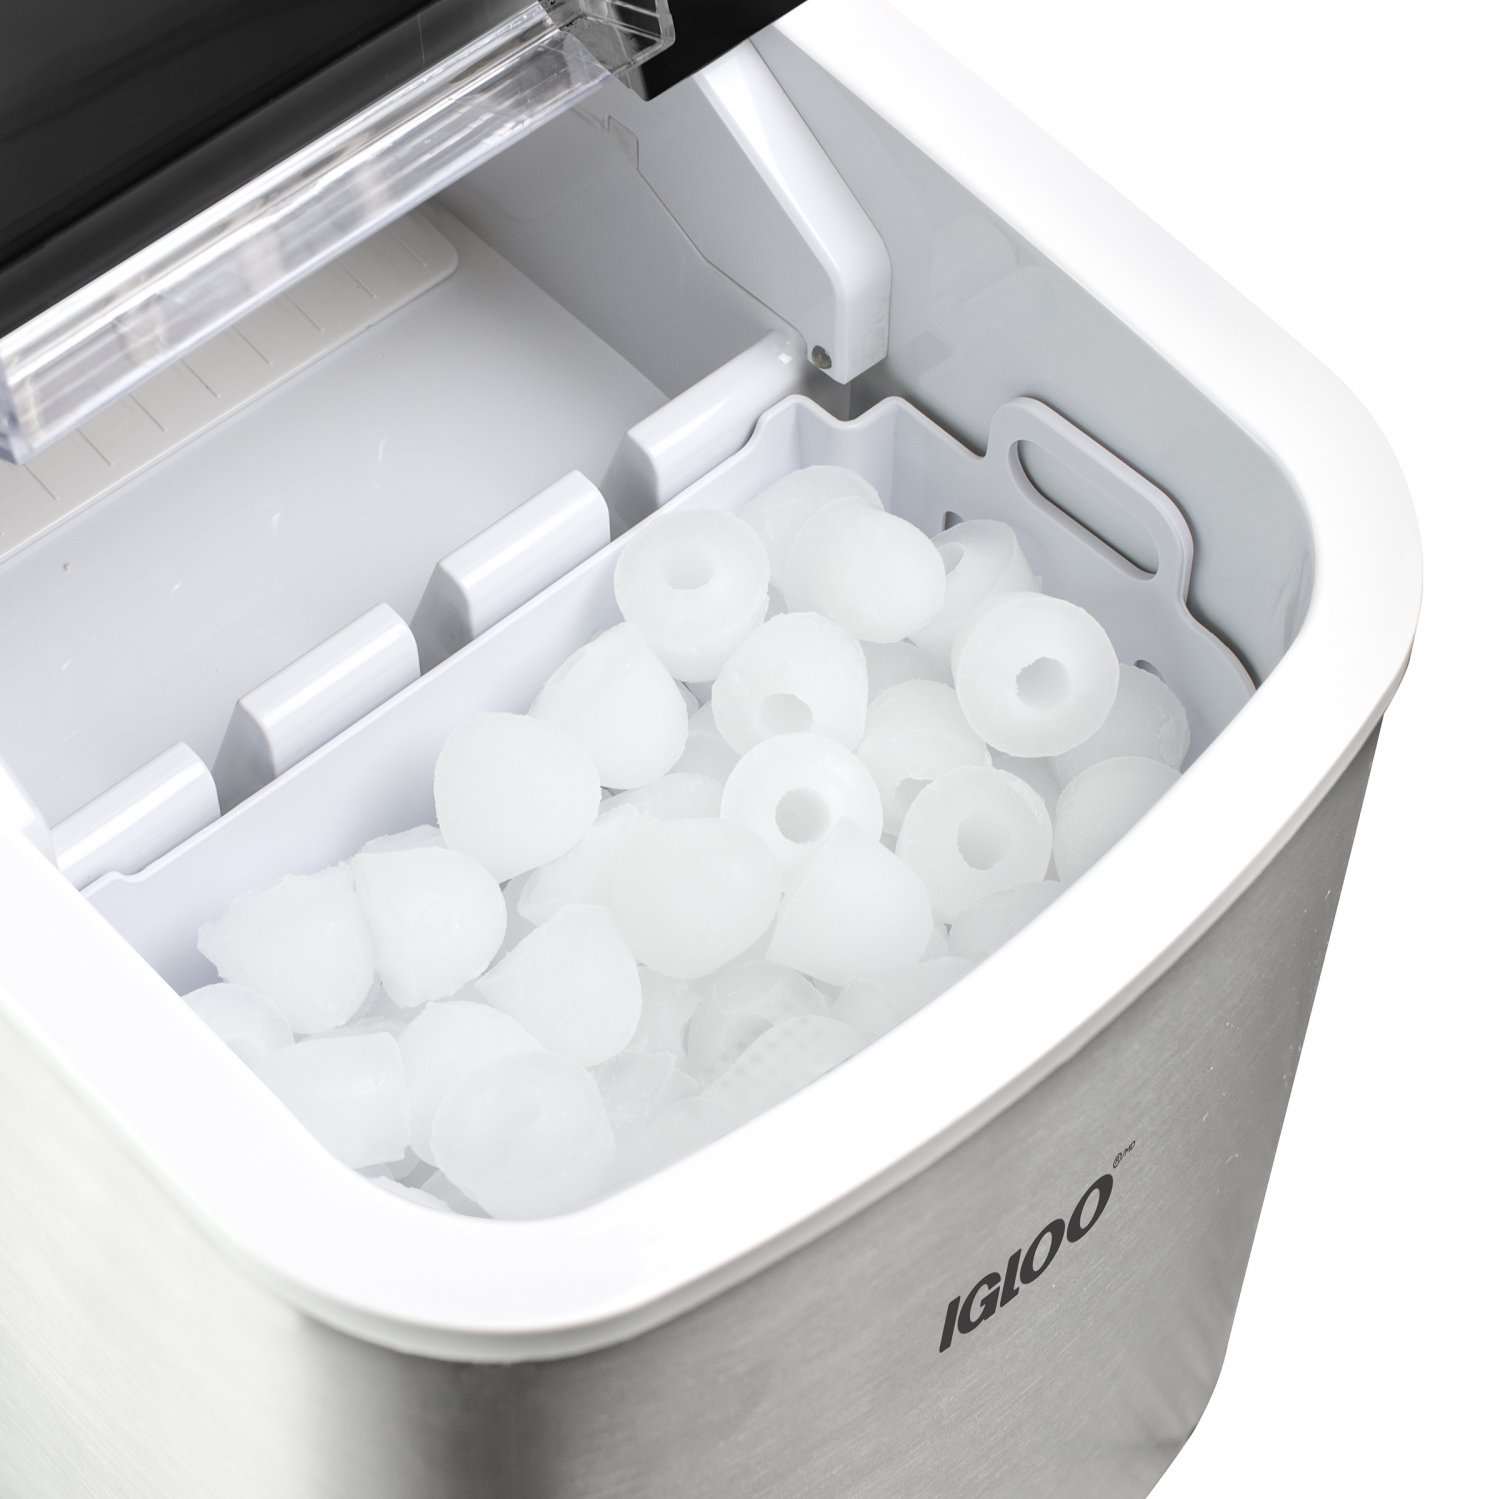
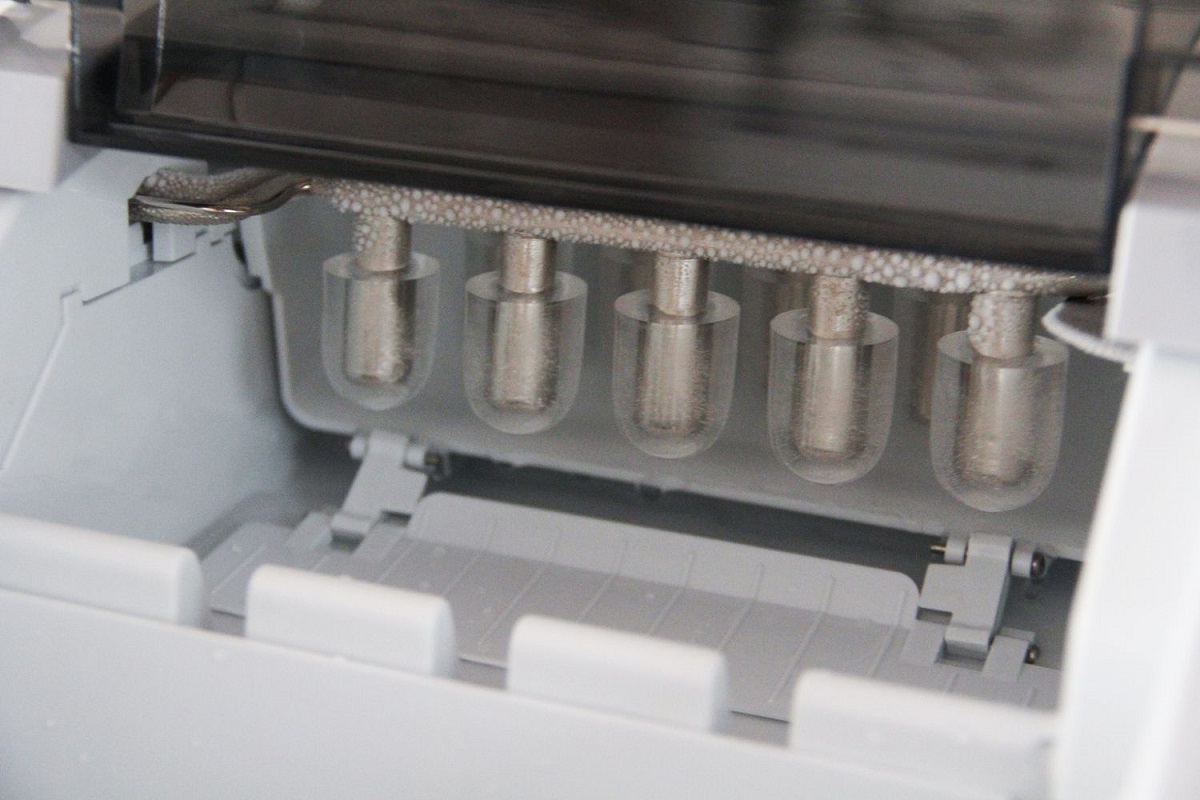
- Blocked or Frozen Ice Mold: The ice mold is the tray where water is frozen to form ice cubes. A blocked or frozen ice mold can hinder the release of ice cubes, resulting in a malfunctioning ice maker. Thawing and cleaning the ice mold can often restore normal operation.
- Incorrect Temperature Settings: Ice makers require a specific temperature range to produce ice effectively. If the freezer temperature is too high or too low, it can affect the ice maker’s performance. Adjusting the temperature settings can sometimes resolve the issue.
- Insufficient Water Pressure: Inadequate water pressure can impede the proper functioning of the ice maker. Low water pressure can prevent the water inlet valve from opening fully, restricting the flow of water into the ice maker.
- Damaged or Worn-out Ice Maker Components: Over time, the various components of an ice maker can become damaged or worn out. This can include parts such as the motor, water inlet valve, or dispenser mechanisms. Damaged components may need to be replaced to restore the ice maker’s functionality.
Identifying the specific issue causing your ice maker to fail is the first step toward resolving the problem. In the following sections, we will delve deeper into each of these reasons and provide potential solutions to get your ice maker working again.
Clogged Water Supply Line
A clogged water supply line is a common issue that can cause your ice maker to stop working. Over time, mineral deposits, sediment, or debris can accumulate in the water supply line, obstructing the flow of water to the ice maker. This can result in little or no water reaching the ice maker, preventing it from producing ice cubes.
If you suspect that a clogged water supply line is the culprit, here’s how to troubleshoot and resolve the issue:
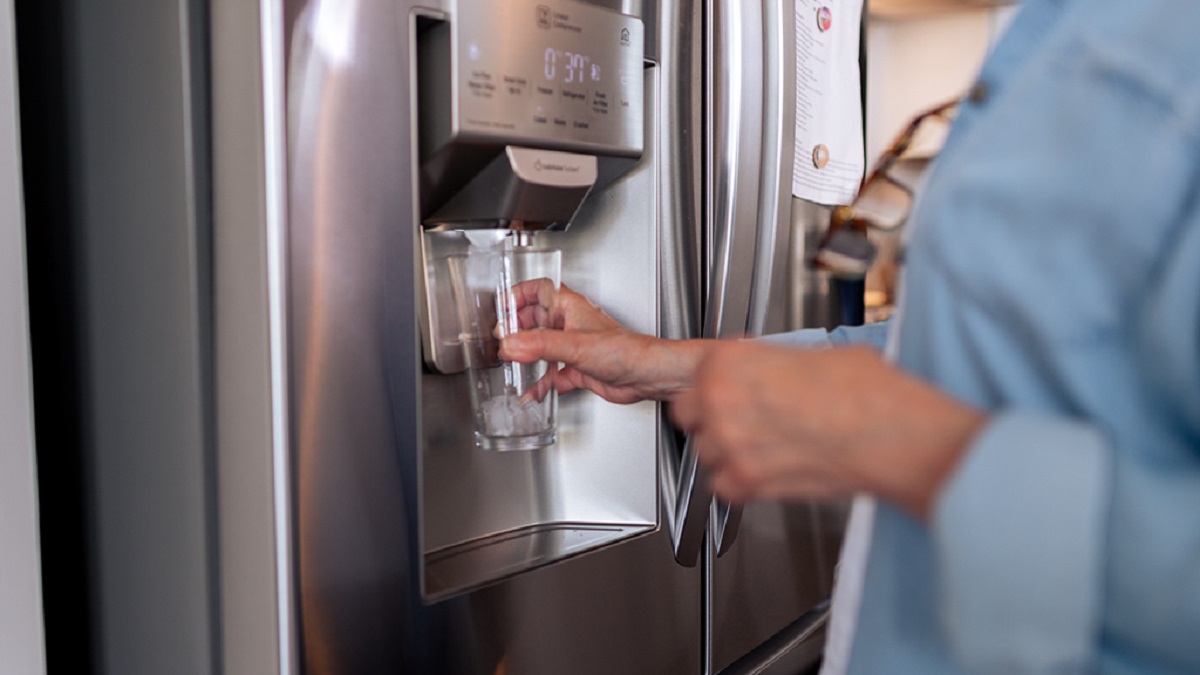
- Locate the water supply line: The water supply line is typically connected to the back of the refrigerator, leading to the ice maker. It is usually made of a flexible plastic or copper tubing.
- Turn off the water supply: Before attempting to unclog the water supply line, it is important to turn off the water supply. This can usually be done by shutting off the water valve connected to the refrigerator. Ensure that no water is flowing into the ice maker during the process.
- Inspect and clean the water supply line: Examine the water supply line for any visible obstructions such as mineral deposits or debris. Use a soft cloth or brush to gently scrub away any buildup. If the clog is severe, you can try using a pipe cleaner or a small, flexible brush to dislodge the blockage.
- Flush the water supply line: Once you have cleaned the water supply line, it is essential to flush it to ensure there are no remaining particles or debris. Reconnect the water supply line to the refrigerator and place the open end into a bucket or sink.
- Turn on the water supply: Gradually turn on the water supply valve and allow the water to flow through the line, flushing out any remaining debris. Check for any leaks or unusual sounds during this process.
- Test the ice maker: After flushing the water supply line, turn on the ice maker and check if it is now producing ice cubes. It may take a couple of hours for the ice maker to begin functioning again.
If the clog persists or if you are unable to locate or access the water supply line, it may be best to consult a professional appliance technician for further assistance.
Regular maintenance, such as periodically cleaning the water supply line, can help prevent clogs and ensure the smooth operation of your ice maker. Additionally, using a water filter or installing a water softener can help reduce the buildup of mineral deposits and prolong the life of your ice maker.
Malfunctioning Water Inlet Valve
The water inlet valve is an essential component of the ice maker that controls the flow of water into the ice mold. If the valve malfunctions or fails, it can cause your ice maker to stop producing ice.
If you suspect that a malfunctioning water inlet valve is the reason for your ice maker failure, here’s how you can troubleshoot and potentially resolve the issue:
- Locate the water inlet valve: The water inlet valve is typically located at the back of the refrigerator, near where the water supply line connects to the fridge. It may be necessary to move the fridge away from the wall to access the valve.
- Inspect the water inlet valve: Examine the water inlet valve for any signs of damage or visible blockages. Check for cracks, loose connections, or mineral deposits that may be hindering the proper functioning of the valve.
- Test the water inlet valve: Disconnect the water supply line from the valve and place a container to catch any water that may leak. With the water supply turned on, use a multimeter to test the valve’s electrical continuity. If the reading on the multimeter indicates no continuity, it indicates a faulty valve that needs to be replaced.
- Replace the water inlet valve: If you have determined that the water inlet valve is indeed malfunctioning, you will need to replace it. Consult the manufacturer’s instructions or seek professional assistance to ensure proper installation of the new valve.
- Test the ice maker: Once the new water inlet valve is installed, reconnect the water supply line and turn on the water supply. Then, test the ice maker to check if it is now producing ice cubes. It may take a few hours for the ice maker to start working again.
If you are unsure about performing any of these steps or if the problem persists even after replacing the water inlet valve, it is recommended to contact a professional technician for further diagnosis and repair.
Regular maintenance and cleaning of the water inlet valve can help prevent blockages and extend its lifespan. Additionally, ensuring that the water supply is clean and free from debris can help maintain the proper functioning of the valve and the overall performance of your ice maker.
Faulty Ice Maker Sensor
The ice maker sensor is a crucial component that detects the level of ice in the storage bin. It helps prevent the ice maker from overfilling and ensures efficient ice production. If the sensor is faulty or blocked, it can cause your ice maker to stop working or produce less ice than usual.
If you suspect that a faulty ice maker sensor is the reason behind your ice maker failure, here are the steps you can take to troubleshoot and potentially resolve the issue:
- Locate the ice maker sensor: The ice maker sensor is typically located near the ice mold or within the storage bin. Refer to your refrigerator’s manual or manufacturer’s instructions to locate the sensor.
- Inspect the sensor: Examine the ice maker sensor for any visible blockages or damage. Sometimes, ice or debris can accumulate around the sensor, causing it to malfunction. Carefully clean the sensor with a soft cloth or brush to remove any obstructions.
- Check the sensor alignment: Ensure that the ice maker sensor is properly aligned and in contact with the ice or bin level. If it is misaligned, adjust it so that it can accurately detect the ice level.
- Test the sensor: Activate the ice maker and observe the sensor during its operation. If the sensor fails to detect the ice level correctly or if the ice maker does not respond to the sensor’s signals, it may indicate a faulty sensor that needs to be replaced.
- Replace the ice maker sensor: If you have determined that the ice maker sensor is indeed faulty, you will need to replace it. Refer to the manufacturer’s instructions or consult a professional technician for assistance in replacing the sensor.
- Test the ice maker: Once the new sensor is installed, activate the ice maker and check if it is now producing ice cubes as expected. It may take some time for the ice maker to resume normal function.
If the problem persists even after cleaning or replacing the ice maker sensor, it is advisable to seek the help of a professional appliance technician. They can diagnose the issue more accurately and provide the necessary repair or replacement solutions.
Maintaining a regular cleaning routine for your ice maker can help prevent sensor issues. Additionally, being mindful of any blockages or obstructions around the sensor area can contribute to its proper functioning and optimize your ice maker’s performance.
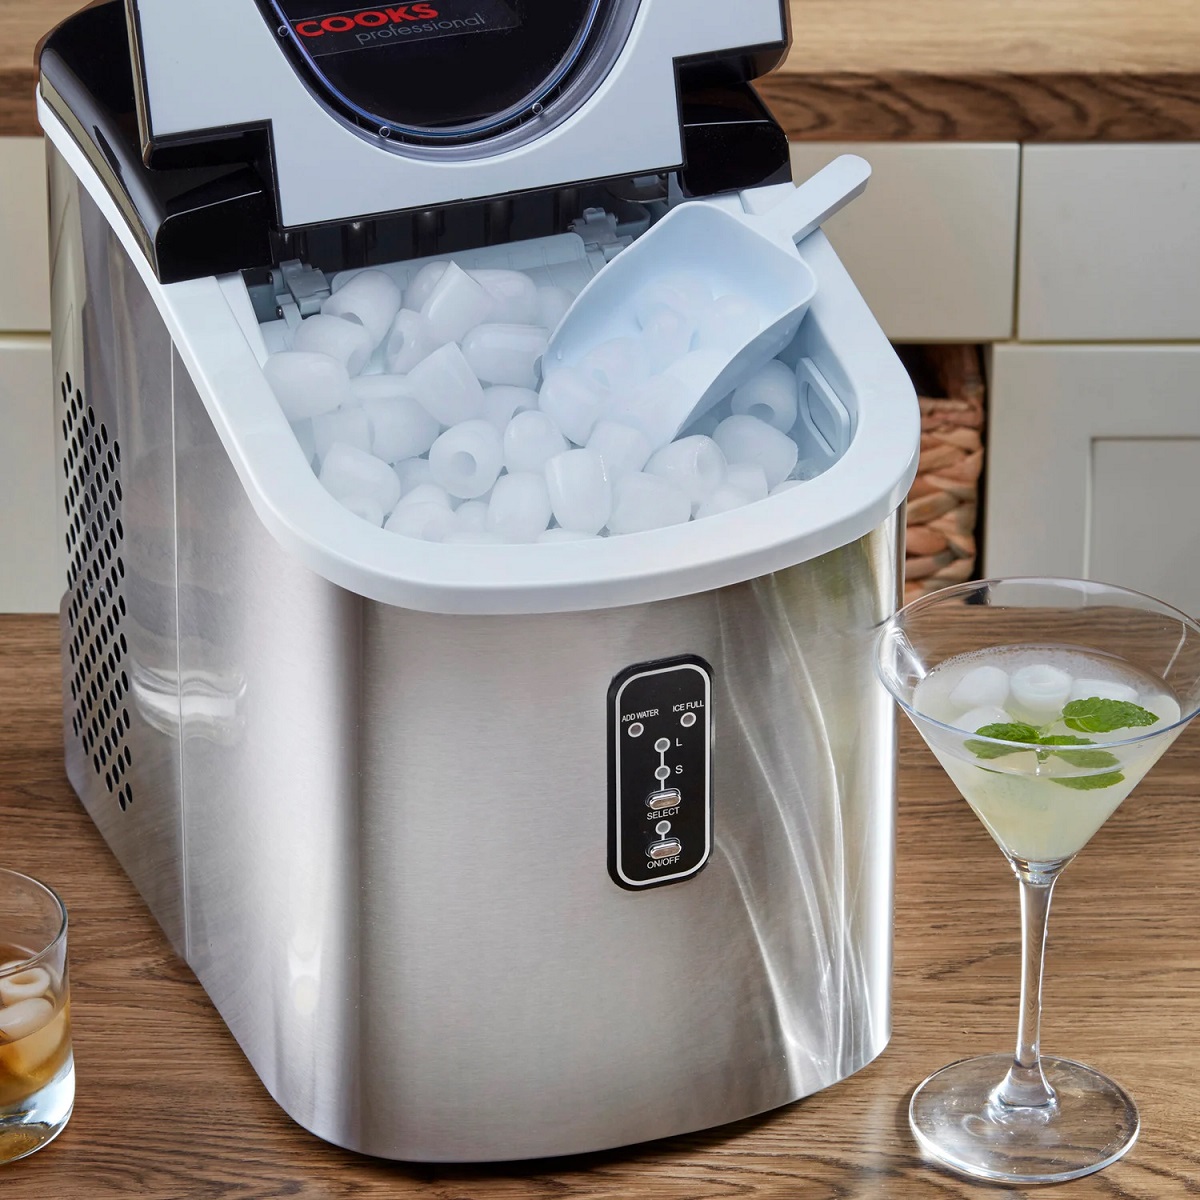
Read more: Why Is My Portable Ice Maker Not Working
Defective Ice Maker Motor
The ice maker motor plays a crucial role in the operation of your ice maker. It is responsible for driving the mechanical components that facilitate the ice-making process, such as the ice mold and dispenser mechanisms. If the motor is defective or worn out, it can cause your ice maker to stop working altogether.
If you suspect that a defective ice maker motor is the reason behind your ice maker failure, here are the steps you can take to troubleshoot and potentially resolve the issue:
- Listen for unusual sounds: When your ice maker is activated, listen for any unusual sounds coming from the motor. A grinding or squeaking noise could indicate that the motor is not functioning correctly.
- Inspect the motor: Locate the ice maker motor, usually found behind the ice maker. Check for any signs of damage or wear, such as loose wires, burned-out components, or a visibly malfunctioning motor.
- Test the motor: Using a multimeter, test the continuity of the motor to determine if it has failed. If the multimeter indicates no continuity, it indicates a defective motor that needs to be replaced.
- Replace the ice maker motor: If you have determined that the ice maker motor is indeed defective, you will need to replace it. Consult the manufacturer’s instructions or enlist the help of a professional technician to ensure proper installation of the new motor.
- Test the ice maker: Once the new motor is installed, activate the ice maker and observe if the motor is running smoothly. Check if the ice maker is now producing ice cubes as expected.
If the problem persists, or if you are unsure about performing any of these steps, it is recommended to seek the assistance of a professional appliance technician. They will have the knowledge and expertise to accurately diagnose the issue and provide the necessary repair or replacement solutions.
Regular maintenance, such as cleaning the motor area and ensuring it is free from debris or obstructions, can help prevent motor issues. Additionally, following the manufacturer’s guidelines for usage and maintaining the appropriate temperature settings can contribute to a longer lifespan for your ice maker motor.
Check the water supply to the ice maker, as a lack of water flow can cause it to stop working. Also, clean the ice maker regularly to prevent clogs and ensure proper functioning.
Blocked or Frozen Ice Mold
The ice mold is the tray or compartment where water is frozen to form ice cubes. A blocked or frozen ice mold can cause your ice maker to stop producing ice or prevent the ice cubes from being released properly.
If you suspect that a blocked or frozen ice mold is the reason behind your ice maker failure, here are the steps you can take to troubleshoot and potentially resolve the issue:
- Inspect the ice mold: Locate the ice mold inside your ice maker. Check for any visible blockages, such as ice buildup, debris, or foreign objects that may be obstructing the movement of the ice cubes.
- Thaw and clean the ice mold: If the ice mold is frozen, the first step is to thaw it. Unplug the ice maker or turn off the power supply. Allow the ice mold to defrost naturally, or you can use a hairdryer on a low heat setting to speed up the process. Once thawed, clean the ice mold using warm water and a mild detergent. Rinse thoroughly to ensure all residue is removed.
- Inspect the water fill tube: The water fill tube delivers water into the ice mold. Check for any blockages or ice buildup in the tube. Use a soft brush or cloth to remove any debris or ice that may be obstructing the flow of water.
- Check the water inlet valve: Ensure that the water inlet valve is functioning correctly and delivering the right amount of water to the ice mold. Refer to the section on “Malfunctioning Water Inlet Valve” earlier in this article for detailed troubleshooting steps.
- Monitor the ice maker: Once you have cleared any blockages and cleaned the ice mold, monitor the ice maker to see if it starts producing ice cubes correctly. It may take a few hours for the ice maker to begin working again.
If the problem persists or if you are unable to clear the blockage yourself, it is advisable to contact a professional appliance technician for further assistance. They will have the expertise and tools necessary to resolve more complex issues related to the ice mold or other components of the ice maker.
Regular maintenance, such as cleaning the ice mold and ensuring proper water flow, can help prevent blockages and optimize the performance of your ice maker. Additionally, being mindful of any debris or foreign objects that may fall into the ice maker can help prevent future blockages and ensure a steady supply of ice cubes.
Incorrect Temperature Settings
The temperature settings of your freezer play a vital role in the proper functioning of your ice maker. If the temperature is too high or too low, it can affect the ice maker’s performance and cause it to stop producing ice.
If you suspect that incorrect temperature settings are the reason behind your ice maker failure, here’s how you can troubleshoot and potentially resolve the issue:
- Check the freezer temperature: Use a thermometer to check the temperature inside your freezer. The ideal temperature for the freezer compartment, where the ice maker is located, is between 0°F and 5°F (-18°C to -15°C). Adjust the temperature setting if necessary.
- Allow the freezer to stabilize: After adjusting the temperature setting, it may take a few hours for the freezer to reach the desired temperature and stabilize. Avoid opening the freezer frequently during this time to maintain a consistent temperature.
- Inspect the freezer vents: Ensure that the vents in the freezer are not blocked or obstructed by food items. Proper airflow is essential for maintaining the appropriate temperature throughout the freezer, including the ice maker compartment.
- Verify the door seal: Check the door seal of the freezer for any gaps or damage. A faulty door seal can allow warm air to enter the freezer, disrupting the temperature balance and affecting the ice maker’s performance. Replace the seal if necessary.
- Monitor the ice maker: After making any adjustments or repairs, monitor the ice maker to see if it starts producing ice cubes correctly. It may take a few hours for the ice maker to resume normal operation.
If the problem persists or if you are unable to adjust the temperature settings effectively, it is recommended to consult the refrigerator’s manual or contact the manufacturer for specific instructions. Additionally, consider contacting a professional appliance technician for further assistance.
Regular maintenance, such as defrosting the freezer and cleaning the vents, can help optimize the performance of your ice maker. It is also important to keep the freezer stocked but not overcrowded, allowing for proper airflow and temperature regulation.
Insufficient Water Pressure
Insufficient water pressure can be a common issue that prevents your ice maker from producing ice. When the water pressure is too low, it hinders the fill cycle of the ice maker, resulting in inadequate water supply for ice production.
If you suspect that insufficient water pressure is causing your ice maker to fail, here are the steps you can take to troubleshoot and potentially resolve the issue:
- Check the water supply: Ensure that the water supply to your refrigerator is fully turned on and providing adequate water pressure. Verify that the shut-off valve, usually located near the water source or underneath the sink, is fully open.
- Inspect the water line: Examine the water supply line that connects to your refrigerator. Look for any kinks, bends, or damage that may be restricting the water flow. Straighten out any kinks and repair or replace any damaged sections of the water line.
- Check the water filter: If your refrigerator has a water filter, make sure it is not clogged or overdue for replacement. A clogged filter can restrict the water flow and result in insufficient pressure. Replace the filter following the manufacturer’s guidelines.
- Clear any blockages: Check for any blockages in the water line or the inlet valve. Mineral deposits, debris, or ice buildup can hinder the water flow. Use a soft brush or cloth to clean the water line and remove any obstructions. Thaw any frozen areas if necessary.
- Check for water pressure regulator: Some homes may have a water pressure regulator installed near the main water supply line. If you have one, make sure it is set to the appropriate pressure for your refrigerator’s requirements. Consult a professional plumber if necessary.
- Test the water pressure: Use a water pressure gauge to measure the water pressure coming into the refrigerator. Follow the manufacturer’s guidelines to determine the acceptable pressure range for your specific ice maker model. If the pressure is below the recommended range, contact a plumber to address the issue.
If the problem persists or if you are unable to resolve the insufficient water pressure issue on your own, it is recommended to seek the assistance of a professional plumber or appliance technician. They can diagnose and address any underlying plumbing or water supply issues that may be affecting your ice maker.
Regular maintenance, such as cleaning the water line and changing the water filter as recommended, can help prevent blockages and ensure proper water pressure for your ice maker. Additionally, consider using a water softener if your area has hard water, as it can help minimize mineral buildup and optimize the performance of your ice maker.
Read more: Why Is My Whirlpool Ice Maker Not Working
Damaged or Worn-Out Ice Maker Components
Over time, the various components of an ice maker can become damaged or worn out, which can result in the ice maker failing to produce ice. These components may include the motor, water inlet valve, ice mold, or dispenser mechanisms.
If you suspect that damaged or worn-out ice maker components are causing your ice maker to fail, here’s how you can troubleshoot and potentially resolve the issue:
- Inspect the components: Carefully examine the different components of the ice maker for any visible signs of damage, such as cracks, frayed wires, or loose connections. Pay close attention to the motor, water inlet valve, ice mold, and dispenser mechanisms.
- Test the motor: If you suspect a faulty motor, listen for any unusual sounds when the ice maker is activated, such as grinding or squeaking noises. Additionally, use a multimeter to check the continuity of the motor. If the multimeter indicates no continuity, it likely means that the motor needs to be replaced.
- Check the water inlet valve: Inspect the water inlet valve for any signs of damage or malfunction. If the valve is not opening or closing properly, or if water is not flowing through it, it may need to be replaced.
- Examine the ice mold: Look for any cracks or damage in the ice mold that may be preventing the ice cubes from forming properly. If the ice mold is damaged, it will need to be replaced to restore the ice maker’s functionality.
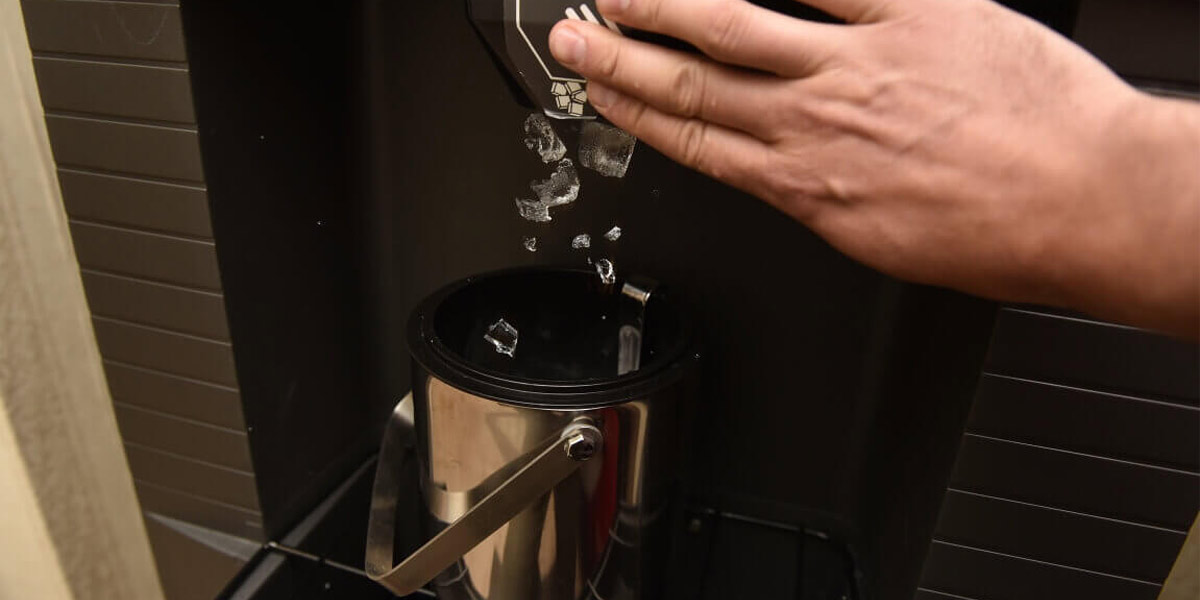
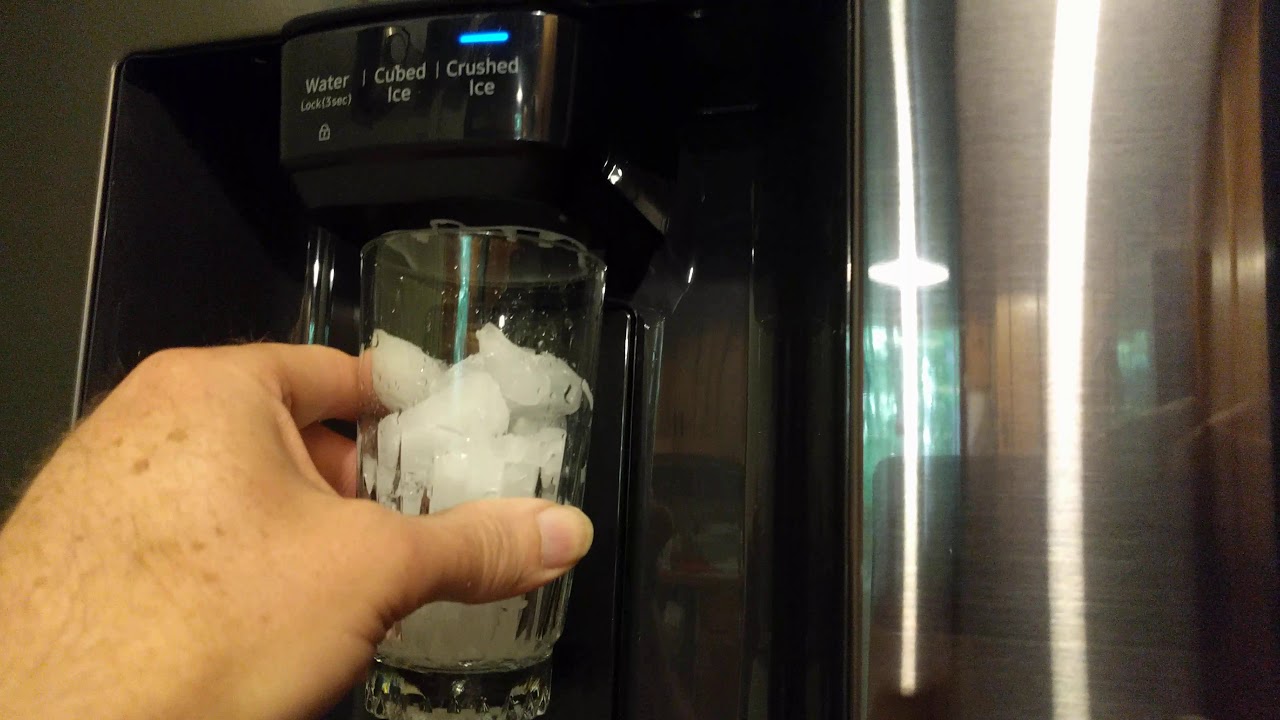
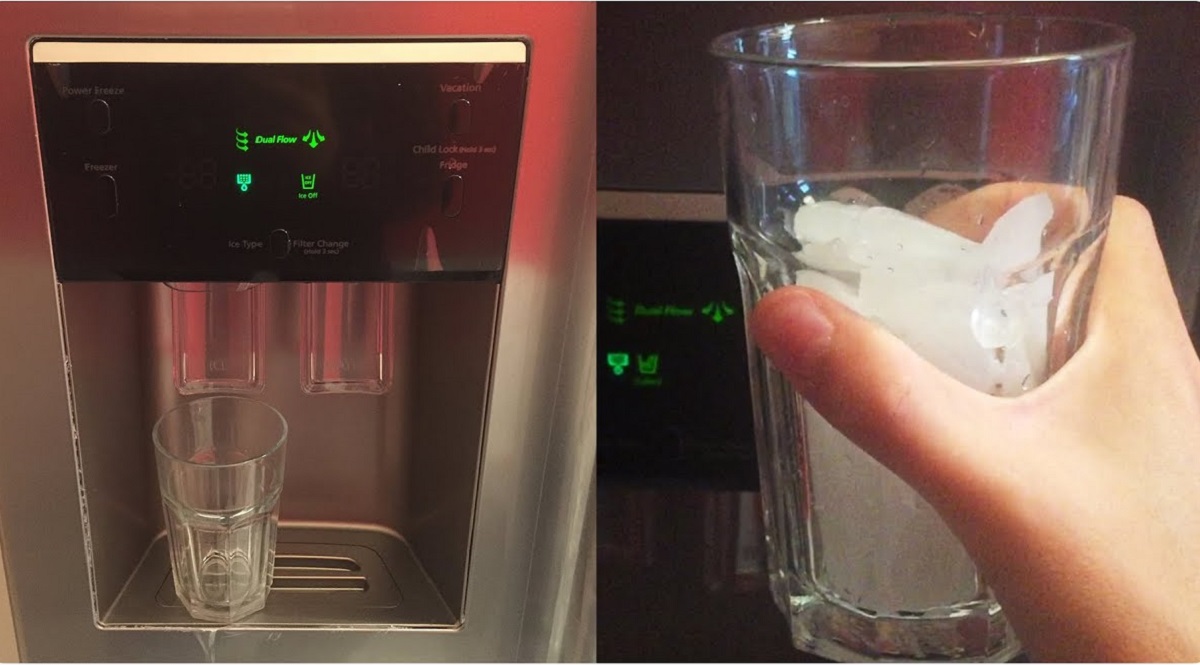
- Inspect the dispenser mechanisms: If the ice maker has a dispenser for crushed or cubed ice, check the mechanisms responsible for dispensing the ice. Ensure that they are functioning correctly and not obstructed or damaged in any way.
- Replace the damaged components: If you have identified any damaged or worn-out components, you will need to replace them. Refer to the manufacturer’s instructions or seek the assistance of a professional technician to ensure proper installation and compatibility.
- Test the ice maker: Once the damaged components have been replaced, activate the ice maker and observe if it is now producing ice cubes as expected. It may take some time for the ice maker to resume normal operation.
If the problem persists even after replacing the damaged components, it is advisable to contact a professional appliance technician for further diagnosis and repair. They will have the expertise to identify any other underlying issues and provide the necessary solutions.
Regular maintenance and careful handling of the ice maker components can help prevent damage and prolong their lifespan. Additionally, following the manufacturer’s guidelines for usage and cleaning will contribute to the optimal performance of your ice maker.
Conclusion
A malfunctioning ice maker can be frustrating, especially when you rely on it to provide a steady supply of ice. However, many common issues can lead to ice maker failure, and understanding these reasons can help you troubleshoot and potentially resolve the problem.
We discussed some of the most common reasons behind ice maker failure, such as a clogged water supply line, malfunctioning water inlet valve, faulty ice maker sensor, defective motor, blocked or frozen ice mold, incorrect temperature settings, insufficient water pressure, and damaged or worn-out components.
By following the troubleshooting steps provided for each issue, you can take the necessary actions to get your ice maker back up and running. Whether it’s cleaning the water supply line, replacing a faulty component, adjusting the temperature settings, or checking the water pressure, these steps can help you identify and resolve the problem.
However, if you are unsure about performing any of these steps or if the problem persists after attempting the troubleshooting methods, it is best to contact a professional technician. They have the expertise and knowledge to diagnose and repair more complex issues with your ice maker.
Remember, regular maintenance and proper care of your ice maker can help prevent many of these common issues. This includes cleaning the ice mold, checking the water supply line for blockages, maintaining the correct temperature settings, and replacing filters as recommended by the manufacturer.
By addressing these common reasons for ice maker failure and maintaining your ice maker properly, you can ensure a continuous supply of ice and enjoy the convenience it offers in your home.
Frequently Asked Questions about Why Did My Ice Maker Quit Working
Was this page helpful?
At Storables.com, we guarantee accurate and reliable information. Our content, validated by Expert Board Contributors, is crafted following stringent Editorial Policies. We're committed to providing you with well-researched, expert-backed insights for all your informational needs.


0 thoughts on “Why Did My Ice Maker Quit Working”