Home>Articles>Why Is My Water Pressure Low After Installing Water Heater
Articles
Why Is My Water Pressure Low After Installing Water Heater
Modified: October 22, 2024
Discover why your water pressure is low after installing a water heater with our informative articles. Get expert advice and solutions to restore optimal water flow.
(Many of the links in this article redirect to a specific reviewed product. Your purchase of these products through affiliate links helps to generate commission for Storables.com, at no extra cost. Learn more)
Introduction
Installing a water heater is an important upgrade for any home, ensuring a constant supply of hot water for daily activities such as showering, washing dishes, and doing laundry. However, it can be frustrating to discover that your water pressure has suddenly dropped after installing a new water heater. Low water pressure can affect the functionality and efficiency of various household tasks, causing inconvenience and frustration.
There can be several reasons why your water pressure is low after installing a water heater. Understanding these causes and learning how to troubleshoot and fix them can help restore your water pressure to its normal levels. In this article, we will explore the possible reasons behind low water pressure after installing a water heater and provide practical solutions to address the issue.
Key Takeaways:
- Don’t let low water pressure after installing a water heater dampen your spirits. Follow troubleshooting steps and seek professional help to restore optimal water flow and pressure for a satisfying hot water supply.
- From flushing pipes to checking water heater size, addressing pressure relief valve issues, and contacting the water utility company, there are various effective solutions to combat low water pressure after installing a water heater.
Read more: Why My Water Heater Is Not Working
Possible Causes of Low Water Pressure After Installing a Water Heater
1. Sediment Buildup in Pipes:
Over time, sediment can accumulate in the pipes, restricting the flow of water and reducing water pressure. When a new water heater is installed, the disturbance caused by the installation process can dislodge sediment particles, causing them to move through the pipes and potentially clogging them.
2. Incorrectly Sized Water Heater:
If the water heater you installed is smaller than the previous one, it may struggle to supply the required amount of hot water, leading to decreased pressure. Conversely, if the new water heater is larger than the previous one, it may overwhelm the pipes, causing a reduction in water pressure.
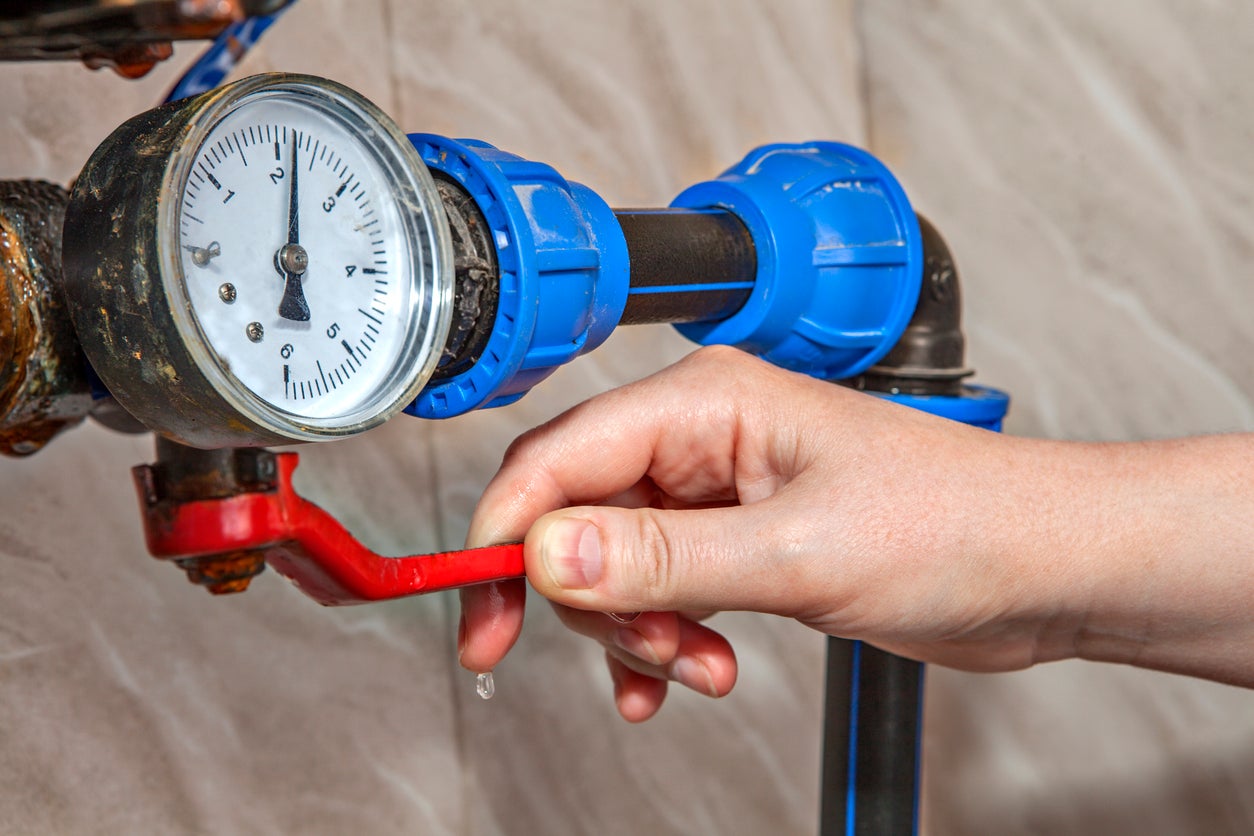
3. Pressure Relief Valve Issues:
The pressure relief valve is an essential safety feature of a water heater. If the pressure relief valve is faulty or incorrectly adjusted, it can release excess pressure, leading to a decrease in water pressure throughout the system.
4. Clogged Aerators or Faucet Screens:
Aerators and faucet screens can accumulate debris, sediment, or mineral deposits over time, resulting in reduced water flow. When a new water heater is installed, the increased water pressure can dislodge these particles, causing them to clog the aerators and faucet screens, and subsequently lowering the water pressure.
5. Pipe Corrosion:
Corrosion in the pipes can cause the inner diameter to decrease, leading to restricted water flow. If the installation of a new water heater causes a change in water pressure, it can exacerbate existing pipe corrosion or expose weakened areas of the pipes, further decreasing water pressure.
6. Plumbing Leaks:
A new water heater installation can put additional stress on the plumbing system, potentially causing leaks. Even small leaks can significantly reduce water pressure throughout the house.
7. Reduced Pressure from Municipal Water Supply:
In some cases, the low water pressure issue may not be related to the water heater installation at all. Municipal water supply systems can experience fluctuations in pressure, which can affect water pressure in your home.
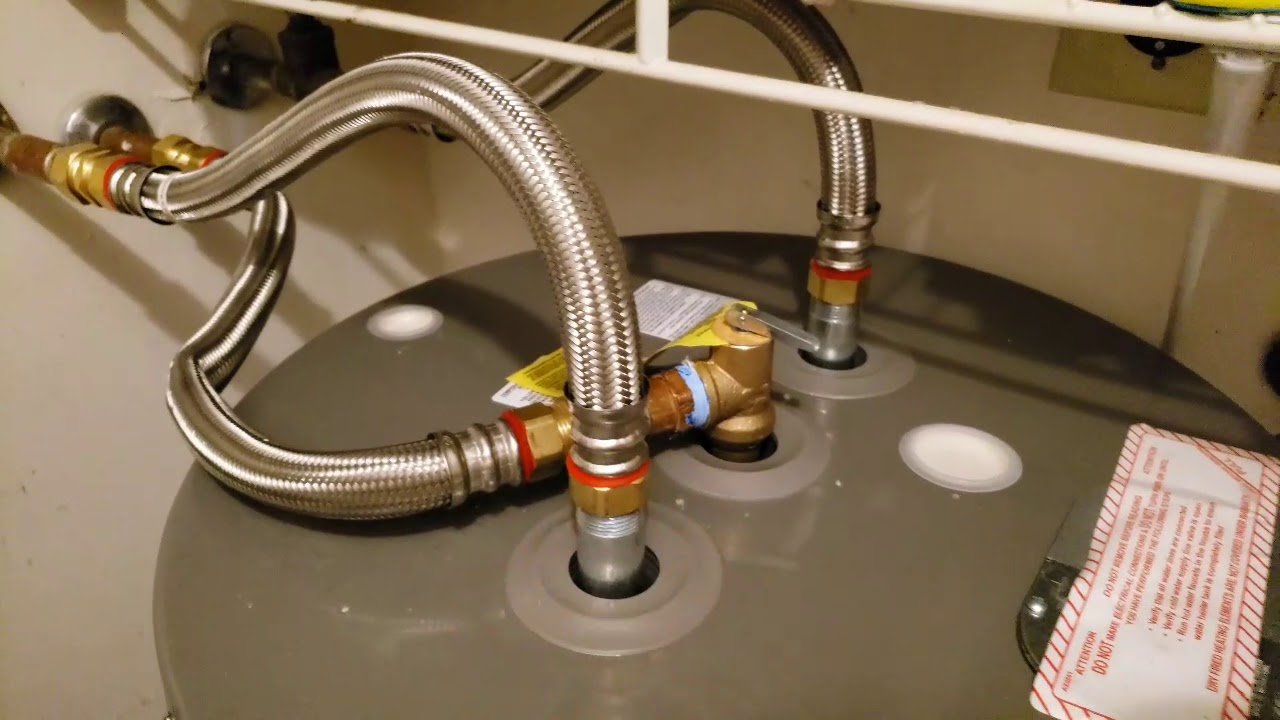
Sediment Buildup in Pipes
Sediment buildup in pipes is a common cause of low water pressure after installing a water heater. Over time, minerals and debris can accumulate in the pipes, narrowing the passageways and restricting the flow of water. This buildup can occur due to several factors, including the age of the plumbing system, the quality of the water supply, and the presence of hard water.
When a new water heater is installed, the disruption caused by the installation process can dislodge some of the sediment particles, causing them to move through the pipes. As these particles clog the pipes, it leads to reduced water pressure throughout the house.
To address sediment buildup, you can perform a process called flushing the pipes. Flushing involves running a large volume of water through the plumbing system to dislodge and flush out the accumulated sediment. Here’s a step-by-step guide on how to flush your pipes:
- Turn off the water heater and shut off the water supply to the house.
- Open all the faucets in your house, both hot and cold water, to release any remaining pressure in the pipes.
- Locate the main water valve for your house, usually found near the water meter or where the main water line enters your home.
- Attach a hose to the drain valve of the water heater and place the other end of the hose in a drain or outside where the water can safely flow.
- Open the drain valve of the water heater to allow the water to flow out.
- Open the main water valve gradually to allow a steady flow of water through the system. You may need to open the hot and cold faucets in each room to release any trapped air.
- Continue flushing the pipes for several minutes or until the water runs clear without any signs of sediment.
- Once the flushing process is complete, close the drain valve of the water heater and turn off all the faucets.
- Restore the water supply by fully opening the main water valve.
- Finally, turn on the water heater and allow it to refill and reheat.
This flushing process helps remove the accumulated sediment from the pipes, restoring proper water flow and improving water pressure. It is recommended to perform this procedure periodically to prevent future sediment buildup and maintain optimal water pressure in your home.
Incorrectly Sized Water Heater
An improperly sized water heater can also lead to low water pressure after installation. If the new water heater is smaller than the previous one, it may struggle to provide an adequate amount of hot water, resulting in reduced pressure. On the other hand, if the new water heater is larger than necessary, it can overwhelm the plumbing system, leading to a decrease in water pressure throughout the house.
To determine the appropriate size for your water heater, you need to consider the number of occupants in your home and their hot water usage. The size of the water heater is typically measured in terms of its storage capacity, measured in gallons.
If you find that your water pressure has dropped significantly after installing a new water heater, it may be worth checking if the new unit is the correct size for your household needs. To do this, you can consult with a plumbing professional or refer to the manufacturer’s guidelines for selecting the appropriate size based on your specific requirements.
If you’ve determined that the water heater is indeed oversized or undersized, you may need to consider replacing it with a properly sized unit. This will ensure that you have the right amount of hot water while maintaining adequate water pressure throughout your home.
It’s important to note that selecting the right size water heater is not only crucial for maintaining water pressure but also for energy efficiency. An oversized water heater will consume more energy than necessary, while an undersized one may struggle to meet your hot water demands efficiently.
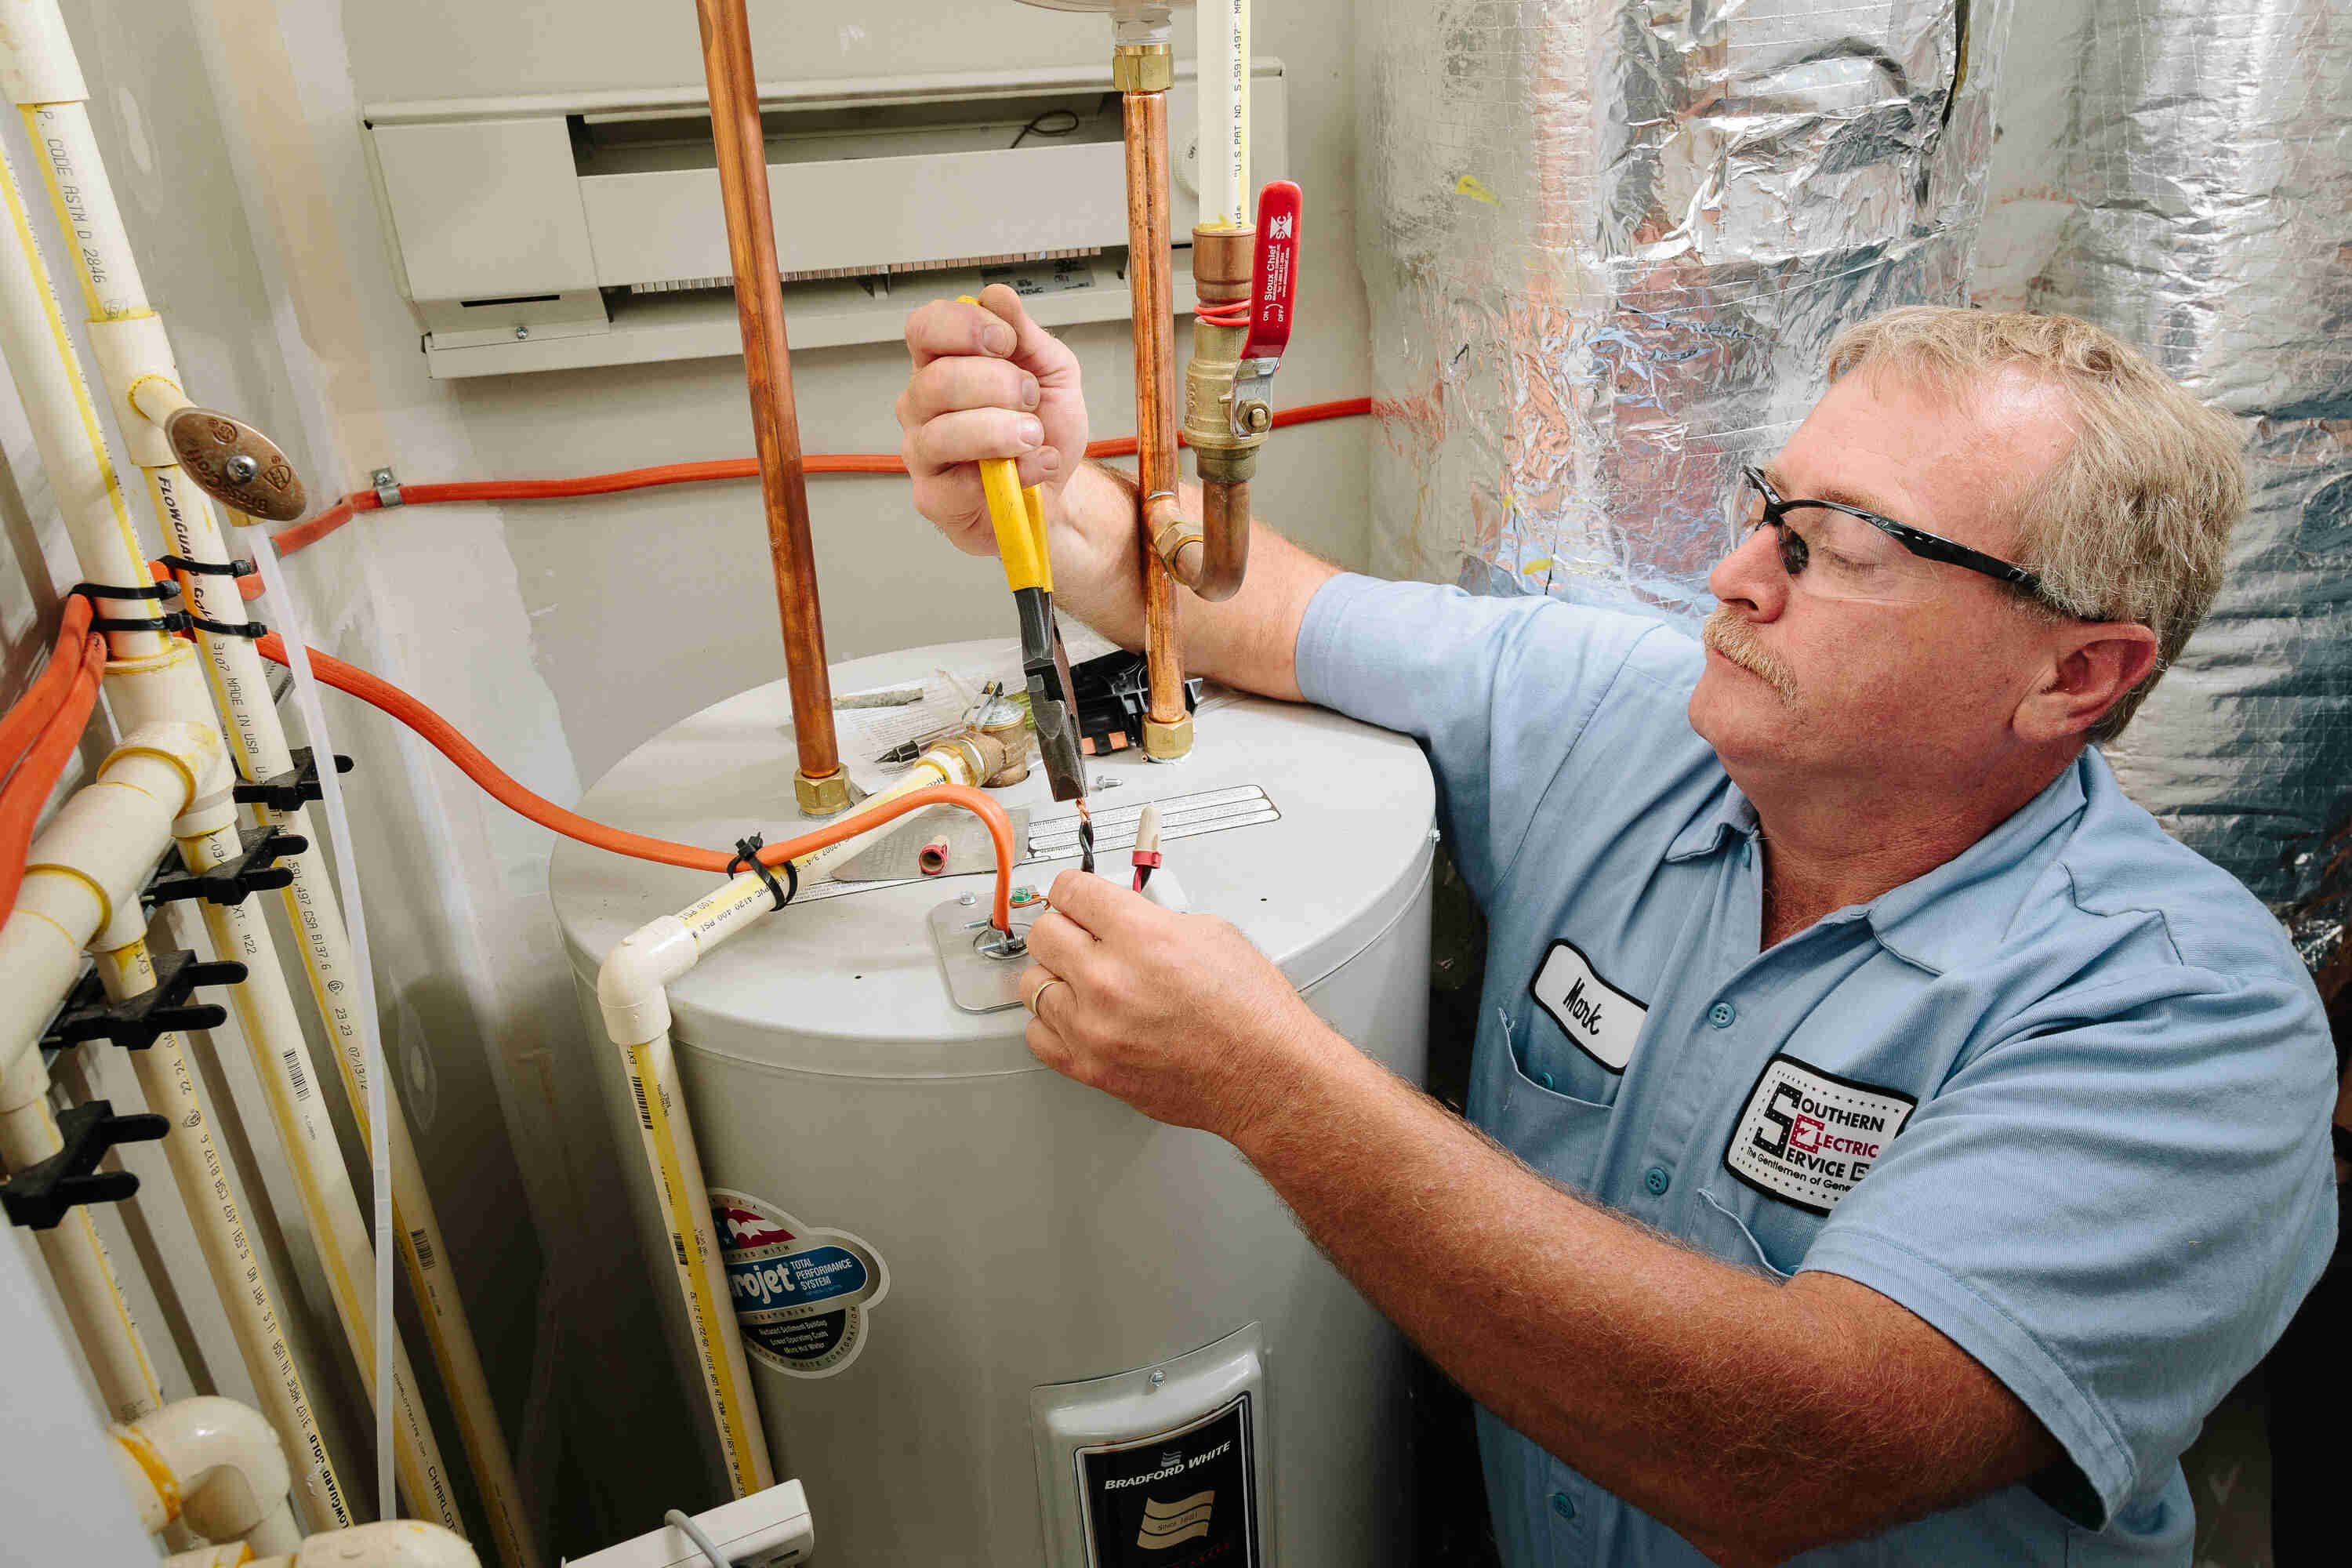
If you’re uncertain about the size requirements for your water heater or need assistance with installation or replacement, it is advisable to consult a professional plumber. They can assess your specific situation and provide expert advice to ensure you have a properly sized water heater that meets your needs, both in terms of hot water supply and water pressure.
Pressure Relief Valve Issues
The pressure relief valve is an essential component of a water heater, designed to ensure the safety and proper functioning of the unit. It is responsible for releasing excess pressure that can build up inside the tank, preventing potential explosions or damage.
If the pressure relief valve is faulty or incorrectly adjusted, it can lead to a decrease in water pressure throughout the plumbing system. There are a few possible issues related to the pressure relief valve that can cause low water pressure after installing a water heater:
Firstly, the pressure relief valve may be stuck open or partially open, allowing water to continuously leak out. This constant leakage can reduce water pressure as the water is being diverted from the main supply.
Secondly, the valve may be stuck closed, preventing the release of excess pressure. As a result, the pressure inside the water heater tank increases, which can cause a decrease in water pressure throughout the system.
If you suspect that the pressure relief valve is causing the low water pressure issue, it’s important to handle it with caution. The pressure relief valve is an important safety feature, and tampering with it improperly can result in serious damage or injury. It is best to consult a professional plumber to inspect and repair or replace the pressure relief valve if necessary.
During the inspection, the plumber will check if the valve is operating correctly. They may also adjust the valve to ensure it is releasing pressure at the appropriate level. If the valve is faulty or cannot be repaired, the plumber will replace it with a new one that meets the specifications of your water heater.
It’s worth noting that regular maintenance and inspection of the pressure relief valve can help prevent issues with water pressure. The valve should be tested periodically to ensure it is in proper working condition and provide peace of mind knowing that your water heater is functioning safely and efficiently.
Remember, when working with the pressure relief valve or any other components of your water heater, always follow safety precautions and consult a professional if you are unsure or uncomfortable performing the tasks yourself.
Read more: Why Is My Water Heater Whistling
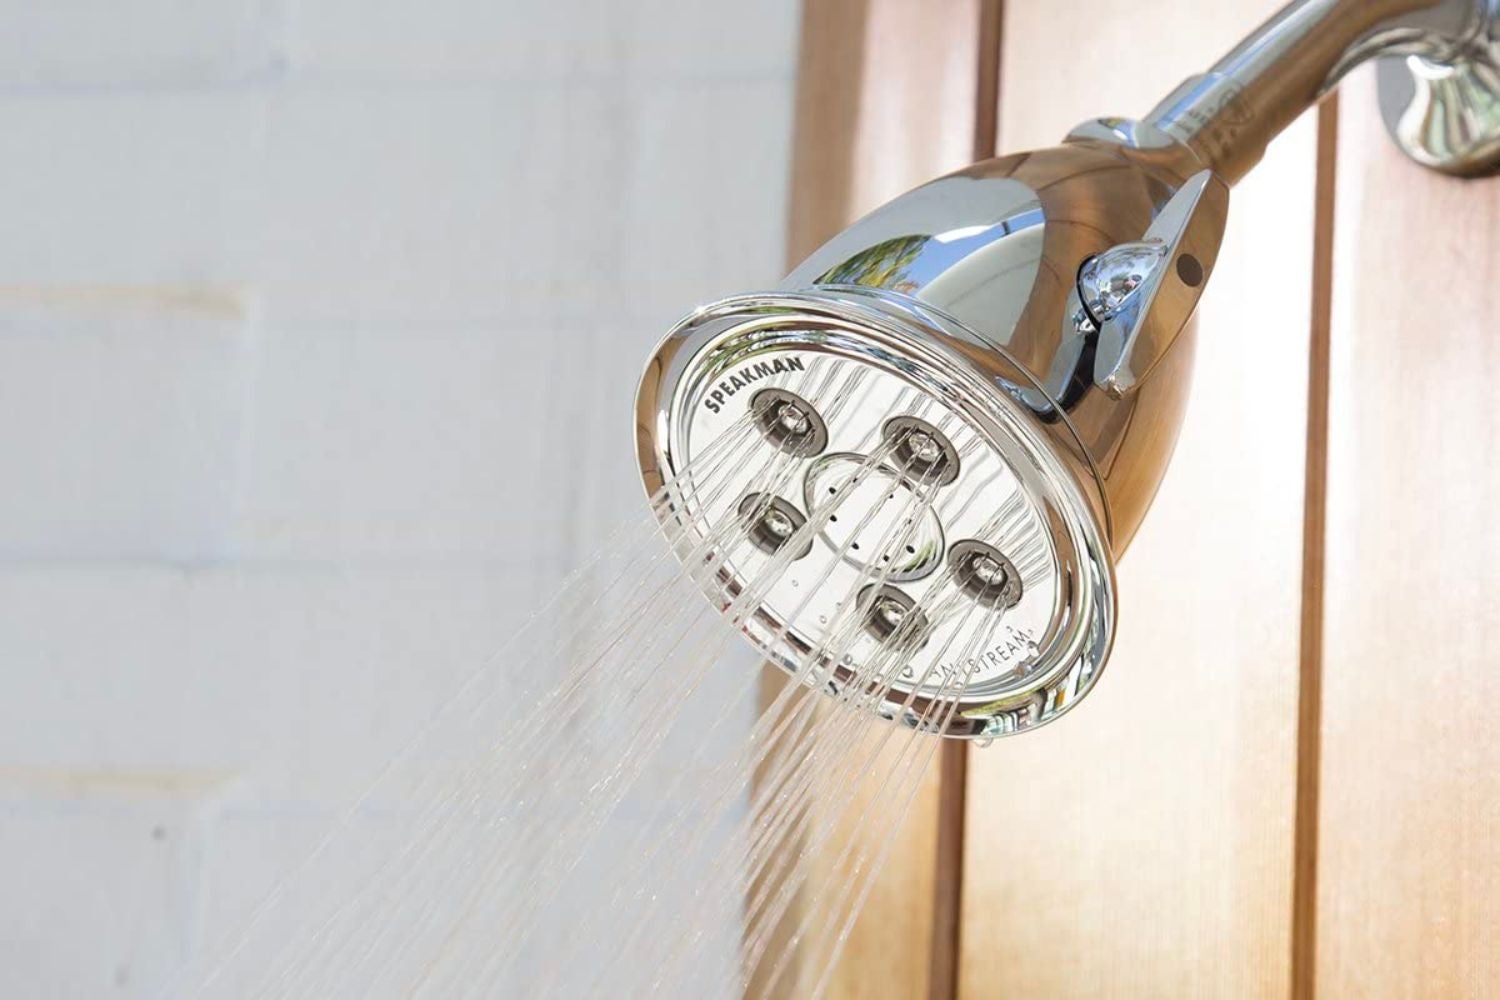
Clogged Aerators or Faucet Screens
A common cause of low water pressure after installing a water heater is clogged aerators or faucet screens. Aerators and faucet screens are small mesh attachments located at the end of faucets. They help regulate the flow of water and prevent splashing.
Over time, sediment, debris, and mineral deposits can accumulate in these aerators and faucet screens, restricting water flow and causing a decrease in water pressure. When a new water heater is installed, the increased water pressure can dislodge these particles, causing them to clog the aerators and faucet screens.
To determine if clogged aerators or faucet screens are the cause of low water pressure, follow these steps:
- Turn off the water supply to the affected faucets.
- Twist the aerator counterclockwise to remove it from the faucet spout.
- Inspect the aerator for any debris, sediment, or mineral deposits.
- Rinse the aerator under running water or soak it in a vinegar solution to dissolve any stubborn deposits.
- Use a small brush, such as a toothbrush, to scrub away any remaining debris.
- Inspect the faucet screen for clogs or buildup and clean it using the same process as the aerator.
- Once cleaned, reattach the aerator and faucet screen securely.
- Turn on the water supply and test the faucet for improved water pressure.
If cleaning the aerators and faucet screens doesn’t resolve the low water pressure issue, it’s possible that the sediment or debris has moved further into the plumbing system. In such cases, it may be necessary to flush the pipes, as mentioned earlier, to remove the accumulated particles.
Regular maintenance of aerators and faucet screens is recommended to prevent future clogging. You can incorporate this step into your routine cleaning to ensure consistent water flow and optimal water pressure throughout your home.
Remember to be cautious when removing and reattaching aerators and faucet screens, as they are delicate components that can break if mishandled. If you encounter any difficulties or are unsure about the process, it’s best to seek the assistance of a professional plumber.
Pipe Corrosion
Pipe corrosion is another possible cause of low water pressure after installing a water heater. Over time, the interior of pipes can deteriorate due to various factors such as age, water quality, and chemical reactions. This corrosion can lead to reduced water flow and subsequently decreased water pressure throughout your home.
When a new water heater is installed, it can change the dynamics within the plumbing system, potentially exacerbating existing pipe corrosion. The increased water pressure or temperature variations caused by the water heater can further weaken already corroded pipes, leading to leaks and a decrease in water pressure.
To address pipe corrosion and restore water pressure, there are a few potential solutions:
Firstly, if you suspect pipe corrosion as the cause of low water pressure, it is recommended to have your plumbing system inspected by a professional plumber. They can identify the extent of the corrosion and determine the best course of action.
If the corrosion is localized to a specific area or a few pipes, the plumber may recommend replacing those corroded sections. This involves cutting out the affected portion of the pipe and installing new, corrosion-resistant pipes in its place. By eliminating the corroded sections, you can improve water flow and restore water pressure.
In cases where pipe corrosion is widespread throughout the plumbing system, a more comprehensive repiping project may be necessary. This involves replacing all the corroded pipes in your home with new ones. While it may require more time and investment, repiping can provide long-term benefits by ensuring optimal water pressure and the longevity of your plumbing system.
Regular maintenance and preventive measures can also help reduce the likelihood of pipe corrosion. For instance, installing a whole-house water filtration system can improve water quality by removing impurities that contribute to corrosion. Additionally, regular inspections and maintenance checks by a professional plumber can help identify any signs of corrosion early on and address them promptly.
Remember, pipe corrosion is a complex issue that should be handled by a trained professional to ensure proper diagnosis and effective solutions. Attempting DIY repairs or modifications on corroded pipes can lead to further damage and potentially compromise the integrity of your plumbing system.
Plumbing Leaks
Plumbing leaks are a common culprit behind low water pressure after installing a water heater. The installation process can put additional stress on the plumbing system, potentially causing leaks to develop. Even small leaks, such as those in hidden pipes or fittings, can result in a significant decrease in water pressure throughout your home.
If you suspect that plumbing leaks are causing the low water pressure issue, it’s important to address them promptly to prevent further damage and water wastage. Here are some steps to troubleshoot and fix plumbing leaks:
1. Visual Inspection: Check visible pipes, fittings, and connections for any signs of water leaks, such as drips, puddles, or water stains.
2. Water Meter Test: Turn off all faucets and water-consuming appliances in your home. Take note of the water meter reading and wait for an hour or two without using any water. If the meter reading has changed, it indicates a leak somewhere in the plumbing system.
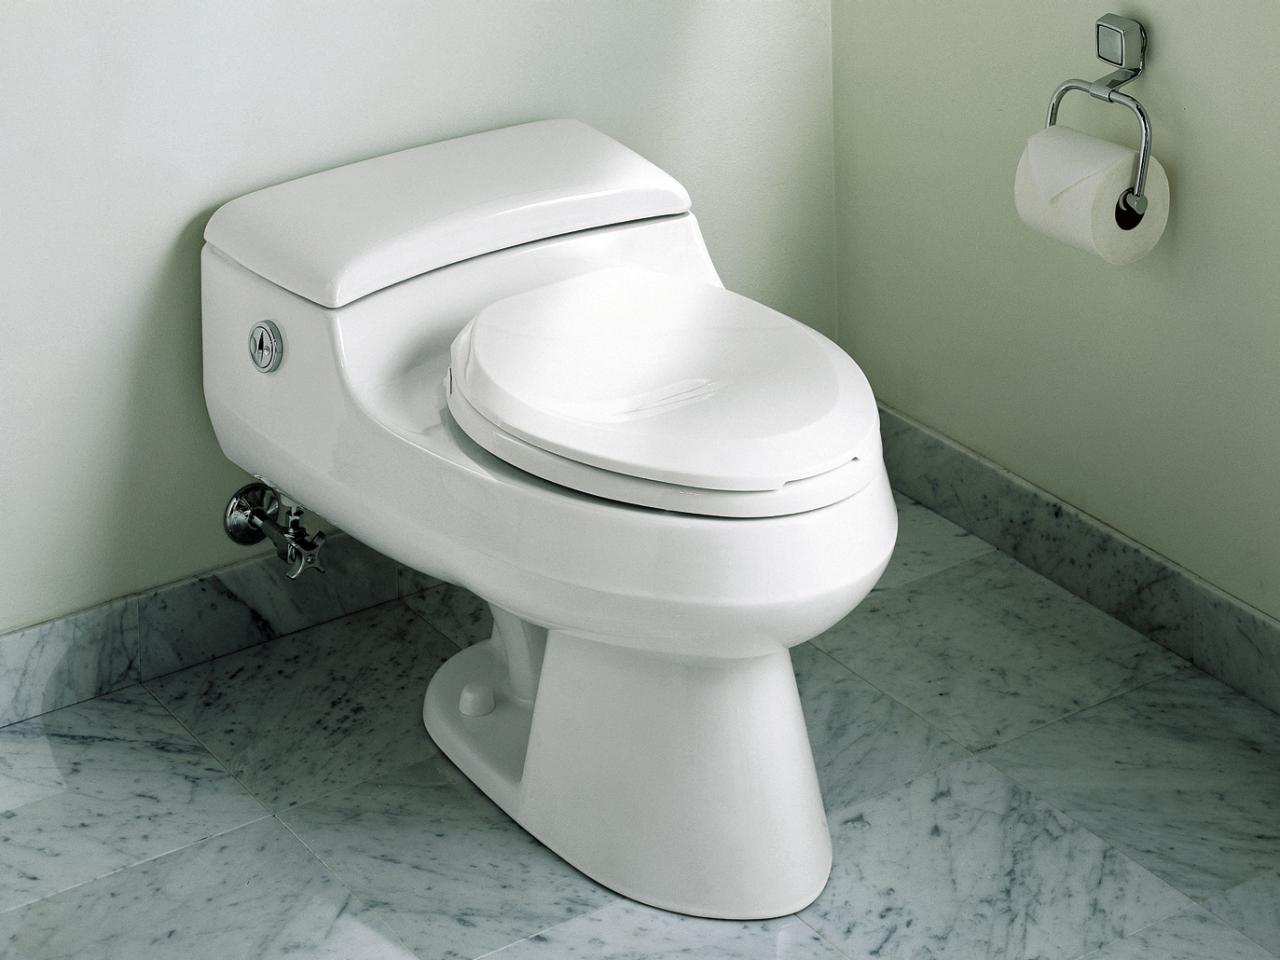
3. Check Toilet Tank: Remove the toilet tank lid and inspect the components inside. Look for any signs of continuous water flow or hissing sounds, which may indicate a leak in the toilet tank or flapper valve.
4. Listen for Water Sounds: Stand near fixtures, pipes, and walls, and listen for the sound of running water. Even a small pinhole leak can create an audible sound of water flowing.
5. Hire a Professional: If you’re unable to locate the source of the leak or need assistance with repairs, it’s best to call a professional plumber. They have the expertise and equipment to detect hidden leaks and recommend the most appropriate solutions.
Once the leaks have been identified, the plumber will take necessary action to repair or replace the damaged pipes or fittings. This may involve patching small leaks, tightening loose connections, or replacing corroded or damaged sections of plumbing.
It’s important to remember that even a small leak can have a significant impact on water pressure and cause other issues such as water damage, mold growth, and increased utility bills. Addressing leaks promptly will not only restore water pressure but also help maintain the integrity of your plumbing system and prevent further damage.
Regular maintenance checks and inspections by a professional plumber can help detect and address potential leaks before they become major problems. They can also provide advice on preventative measures, such as installing leak detection systems or water shut-off valves, to minimize the risk of future leaks.
If you suspect plumbing leaks but are unsure of how to proceed, it’s recommended to consult a professional plumber to ensure the most effective and appropriate solutions for your specific situation.
Reduced Pressure from Municipal Water Supply
In some cases, the low water pressure issue after installing a water heater may have nothing to do with the installation itself. Instead, it could be related to reduced pressure from the municipal water supply.
Municipal water supply systems are responsible for delivering water to homes and businesses in a particular area. These systems rely on a network of pipes, pumps, and reservoirs to maintain consistent water pressure. However, certain factors can cause temporary or ongoing pressure reductions, leading to low water pressure in your home.
Some common causes of reduced pressure from the municipal water supply include:
1. Maintenance or Repairs: Water utilities occasionally perform maintenance work or repairs on their infrastructure, which may require water pressure to be temporarily reduced for a specific area or entire neighborhood.
2. Water Main Breaks: Burst water mains can disrupt the water supply and cause a significant drop in water pressure. These breaks often require immediate attention and repair by the water utility company.
3. Increased Water Demand: During peak usage times, such as mornings or evenings when many households are simultaneously using water, the water pressure may naturally decrease due to the high demand on the system.
4. Water Source Issues: Problems with the water source itself, such as droughts or water source contamination, can lead to reduced pressure as the water utility company adjusts distribution to conserve resources or ensure water quality.
If you suspect that the low water pressure issue is related to the municipal water supply, there are a few steps you can take:
1. Check with Neighbors: Reach out to your neighbors and see if they are also experiencing low water pressure. If they are, it may indicate a system-wide issue, likely related to the municipal water supply.
2. Contact the Water Utility Company: Get in touch with your local water utility company to inquire about any known water pressure issues or maintenance work in your area. They can provide you with information on scheduled repairs or updates on the water supply status.
3. Take Note of Patterns: Pay attention to when the low water pressure occurs. If it consistently happens during certain times of the day or on specific days, it may be related to peak water usage times.
4. Install a Pressure Booster System: If the low water pressure issue persists and is negatively impacting your daily activities, you may consider installing a pressure booster system. These systems can help increase water pressure within your home independently of the municipal water supply.
Remember, resolving issues related to the municipal water supply is typically the responsibility of the water utility company. By contacting them and staying informed about water supply updates, you can gain clarity on the cause of the low water pressure and the estimated time for resolution.
It’s important to differentiate between low water pressure caused by the municipal supply and issues originating from your home’s plumbing system. If all other possible causes have been eliminated and the low pressure persists, it may be worth consulting a professional plumber to inspect your plumbing system for any internal issues that could affect water pressure.
Check for any obstructions or debris in the water lines that may have been dislodged during the installation of the water heater. Flushing the lines or cleaning the aerators may help restore water pressure.
Read more: Why Is The Water In My Toilet Bowl Low
How to Troubleshoot and Fix Low Water Pressure After Installing a Water Heater
Experiencing low water pressure after installing a water heater can be frustrating, but there are several steps you can take to troubleshoot and fix the issue. Here are some practical solutions:
1. Flushing the Pipes:
Flushing the pipes can help remove any sediment or debris that may be causing a restriction in water flow. Follow the steps mentioned earlier in this article to flush the pipes and clear any obstructions.
2. Checking the Water Heater Size:
Verify that the water heater you installed is appropriately sized for your household needs. An undersized or oversized water heater can contribute to low water pressure. Consult a professional plumber or refer to manufacturer guidelines to determine the correct size for your hot water demands.
3. Inspecting and Replacing the Pressure Relief Valve:
If you suspect an issue with the pressure relief valve, have it inspected by a professional plumber. They can determine if it is functioning properly and make any necessary adjustments or replacements to ensure it is releasing pressure effectively.
4. Cleaning Aerators and Faucet Screens:
If clogged aerators or faucet screens are causing low water pressure at specific fixtures, remove and clean them thoroughly. Use a vinegar solution or a descaling agent to dissolve any debris or mineral deposits, and then reattach them securely.
5. Addressing Pipe Corrosion:
If pipe corrosion is the underlying cause of low water pressure, consult a professional plumber to assess the extent of the corrosion and recommend appropriate repair or replacement options. This may involve patching small leaks, replacing damaged sections, or, in severe cases, repiping the affected areas.
6. Repairing Plumbing Leaks:
Identify and repair any plumbing leaks in your system. Conduct a visual inspection, check for audible sounds of running water, and monitor the water meter for any changes indicating hidden leaks. If necessary, enlist the help of a professional plumber to locate and fix the leaks.
7. Contacting the Water Utility Company:
If all other troubleshooting steps have been exhausted, contact your local water utility company to inquire about any known issues with the municipal water supply that may be causing low water pressure. They can provide information on scheduled maintenance or repairs that may affect water pressure.
Remember, it’s essential to exercise caution and, if needed, seek the assistance of a professional plumber when dealing with water heater or plumbing system issues. They have the expertise and knowledge to diagnose and address the problem effectively, ensuring optimal water pressure and the efficient functioning of your water heater.
By following these troubleshooting steps and seeking professional assistance when necessary, you can identify and resolve the underlying causes of low water pressure after installing a water heater, restoring normal water flow and improving your overall plumbing system performance.
Flushing the Pipes
Flushing the pipes is a fundamental step in troubleshooting and addressing low water pressure after installing a water heater. This process helps remove any sediment, debris, or mineral deposits that may have accumulated within the pipes, obstructing the flow of water and causing a decrease in water pressure.
Here’s a step-by-step guide on how to flush your pipes:
- Turn off the water heater and shut off the water supply to the house. This ensures that no hot water or additional water enters the plumbing system during the flushing process.
- Open all the faucets in your house, both hot and cold water, to release any remaining pressure in the pipes. This step allows for a smoother flow of water during the flushing process.
- Locate the main water valve for your house, usually found near the water meter or where the main water line enters your home. Close the faucets once the water stops flowing, and make sure they remain closed throughout the flushing process.
- Attach a hose to the drain valve of the water heater and place the other end of the hose in a nearby drain or outside where the water can safely flow. This prevents any water and debris from entering the water heater and allows the flushed water to drain properly.
- Open the drain valve of the water heater by turning it counterclockwise. This will allow the water to flow out of the tank.
- Open the main water valve gradually to allow a steady flow of water through the system. You may need to open the hot and cold faucets in each room to release any trapped air.
- Allow the water to run through the pipes for several minutes or until the water runs clear without any signs of sediment or debris. Flushing the pipes thoroughly helps dislodge and remove any accumulated particles.
- Once the flushing process is complete, close the drain valve of the water heater. Make sure the faucet in each room is turned off.
- Restore the water supply by fully opening the main water valve. This will allow water to flow back into the system.
- Finally, turn on the water heater and allow it to refill and reheat. Once the water heater is up to the desired temperature, check the water pressure at various faucets to ensure it has been restored.
Flushing the pipes should be performed periodically to prevent sediment buildup and maintain optimal water pressure. However, keep in mind that if you have an older plumbing system or suspect severe sediment accumulation, it may be best to consult a professional plumber for a more thorough inspection and cleaning.
By following these steps and flushing the pipes, you can remove obstructions and improve water flow, ultimately restoring your water pressure after installing a water heater.
Checking the Water Heater Size
Checking the water heater size is crucial when troubleshooting low water pressure after installing a water heater. An incorrectly sized water heater can result in inadequate hot water supply and contribute to decreased water pressure throughout your home.
Here’s a step-by-step guide on how to check if your water heater is the appropriate size for your household needs:
- Consult the Manufacturer’s Guidelines: Review the manufacturer’s guidelines or specifications for your water heater model. They will provide information on the recommended size based on factors such as the number of occupants in your home and their hot water usage.
- Assess Hot Water Demand: Evaluate your household’s hot water demand. Consider the number of bathrooms, showers, sinks, and appliances that require hot water. This will help you determine the appropriate size required to meet your daily needs.
- Calculate Peak Demand: Estimate the peak demand for hot water in your home. Determine the maximum number of hot water outlets that can be used simultaneously, such as multiple showers running at the same time. This will give you an idea of the volume of hot water needed during times of high usage.
- Compare Current Water Heater Size: Check the capacity of your current water heater. The capacity is typically measured in gallons. Compare it to the recommended size for your household’s hot water demands. If the current water heater is significantly smaller or larger, it may be contributing to the low water pressure issue.
- Consider Flow Rate: In addition to the size of the water heater, consider the flow rate capability. A water heater with a lower flow rate may struggle to provide sufficient hot water, affecting water pressure in the process.
- Consult a Professional Plumber: If you still have doubts or need expert advice, it’s recommended to consult a professional plumber. They can assess your specific hot water needs, evaluate the existing water heater, and recommend the most suitable size for optimal performance.
If you find that your water heater is undersized for your household’s hot water demands, it may struggle to supply an adequate amount of hot water, leading to decreased water pressure. Conversely, if the water heater is oversized, it can overwhelm the plumbing system, causing a drop in water pressure throughout your home.
Ensuring the right size water heater is not only essential for maintaining water pressure but also for energy efficiency. An appropriately sized water heater will provide the necessary hot water while avoiding unnecessary energy consumption.
If you determine that the current water heater size is incorrect for your household’s needs, it may be necessary to consider replacing it with a properly sized unit. This will help restore your water pressure and ensure an efficient and reliable hot water supply.
Remember, checking the water heater size is an important factor in troubleshooting low water pressure after installing a water heater. By following these steps and seeking professional assistance if needed, you can ensure that your water heater aligns with your hot water demands, resulting in improved water pressure and overall performance.
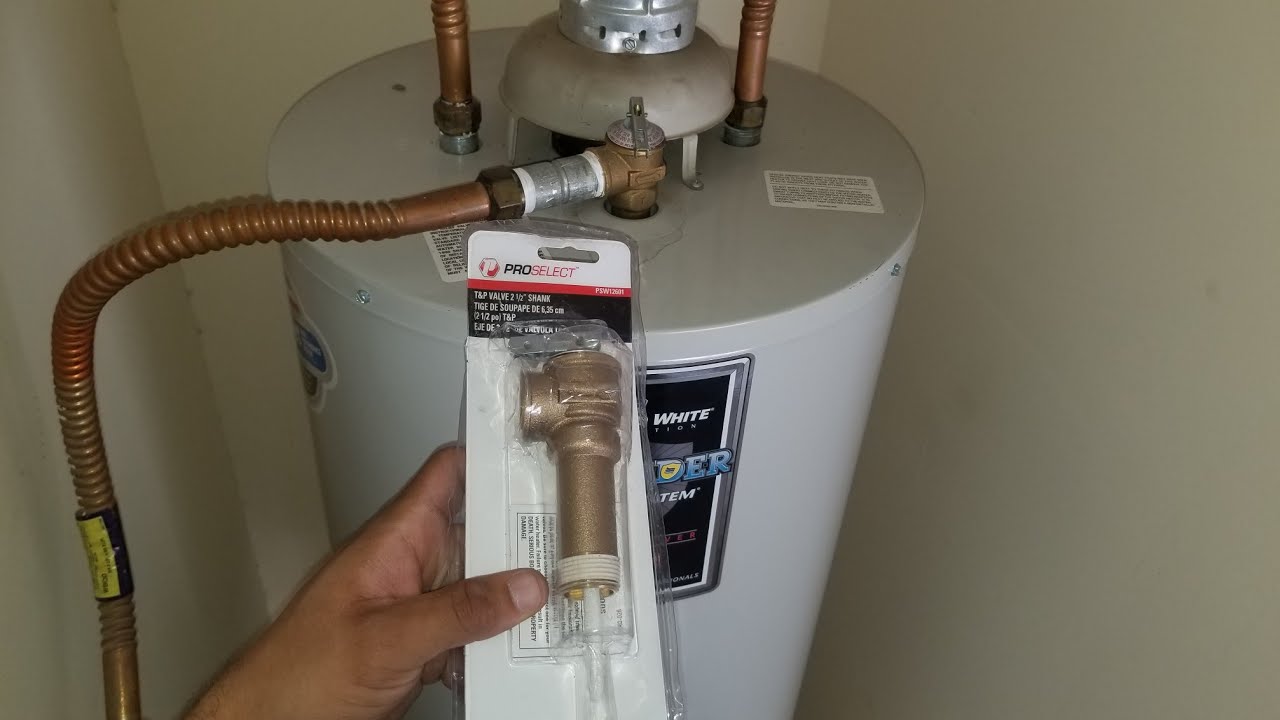
Inspecting and Replacing the Pressure Relief Valve
The pressure relief valve is a critical component of a water heater, responsible for releasing excess pressure to prevent potential damage or explosions. If the pressure relief valve is malfunctioning, it can contribute to low water pressure after installing a water heater.
Here’s a step-by-step guide on how to inspect and replace the pressure relief valve:
- Ensure Safety Precautions: Before working on the pressure relief valve, turn off the power supply to the water heater and shut off the water supply.
- Locate the Pressure Relief Valve: The pressure relief valve is typically located on the top or side of the water heater. It has a lever or a dial and may be labeled for easy identification.
- Inspect the Valve: Visually examine the pressure relief valve for any signs of damage or leaks. Look for corrosion, mineral buildup, or any other visible issues that may impact its performance.
- Test the Valve: Carefully lift the lever or turn the dial on the pressure relief valve. This action should release some water and allow pressure to escape. If nothing happens or if water continues to leak from the valve after closing it, the valve may be faulty and needs to be replaced.
- Purchase a Replacement Valve: Visit a local hardware store or contact the water heater manufacturer to purchase a compatible replacement pressure relief valve. Ensure you select a valve that matches the specifications and size of your water heater.
- Turn Off the Water Heater: Before replacing the valve, make sure the power to the water heater is turned off. This will prevent any accidental heat-related injuries during the replacement process.
- Drain Some Water: To relieve any pressure in the tank, open a hot water faucet near the water heater and let a small amount of hot water drain out.
- Replace the Valve: Disconnect the old pressure relief valve from the water heater by unscrewing it in a counterclockwise direction. Screw in the replacement valve in a clockwise direction, ensuring it is securely tightened.
- Turn on the Water Supply: Slowly open the water supply valve to refill the water heater tank. Check for any leaks around the newly installed pressure relief valve.
- Test the New Valve: After re-establishing power to the water heater, test the new pressure relief valve by lifting the lever or turning the dial. Ensure that it releases water and relieves pressure as intended.
Regular inspection and maintenance of the pressure relief valve are crucial for optimal performance and safety. If the valve appears damaged, leaks persist, or you encounter any difficulties during the replacement process, it’s advisable to contact a professional plumber.
Remember, the pressure relief valve is an important safety feature of your water heater. Properly inspecting, maintaining, and replacing it when necessary will not only help restore water pressure but also ensure the safe and efficient operation of your water heater.
Read more: Why Is My Water Pump Not Building Pressure
Cleaning Aerators and Faucet Screens
Clogged aerators and faucet screens can significantly contribute to low water pressure after installing a water heater. These small mesh attachments are located at the end of faucets and serve to regulate water flow and prevent splashing. Over time, sediment, debris, or mineral deposits can accumulate in these aerators and faucet screens, obstructing water flow and reducing water pressure.
Here’s a step-by-step guide on how to clean aerators and faucet screens:
- Turn Off the Water: Before cleaning the aerators and faucet screens, make sure to turn off the water supply to the affected faucet. This prevents water from flowing and ensures a controlled environment for cleaning.
- Remove the Aerator or Faucet Screen: Depending on the type of faucet, you may need to unscrew the aerator or gently pry off the faucet screen. Use a pair of pliers or a wrench if necessary, being careful not to damage the components.
- Inspect the Aerator or Faucet Screen: Examine the removed aerator or faucet screen for any visible signs of debris, sediment, or mineral buildup. These deposits may appear as a grime-like substance or a white, crusty layer.
- Soak in Vinegar Solution: Prepare a solution of equal parts water and vinegar in a small bowl or container. Submerge the aerator or faucet screen in the solution, ensuring that the deposits are fully covered. Let it soak for at least 15 to 30 minutes to loosen the buildup.
- Scrub with a Brush: After soaking, use a small brush, such as an old toothbrush, to gently scrub the aerator or faucet screen. Focus on the areas with visible deposits, being careful not to damage the mesh or delicate parts. The vinegar solution helps dissolve and loosen the debris, making it easier to remove.
- Rinse and Reassemble: Thoroughly rinse the aerator or faucet screen under warm water to remove any remaining debris or vinegar solution. Inspect it to ensure all blockages are cleared. Reassemble the aerator or faucet screen by screwing it back onto the faucet in a clockwise direction, or by snapping it back into place.
- Turn On the Water: Once the aerator or faucet screen is securely in place, turn on the water supply to the faucet. Gradually increase the water flow and check if the water pressure has improved. If necessary, repeat the process for other faucets throughout your home.
Cleaning aerators and faucet screens periodically helps maintain optimal water flow and prevents future blockages that can lead to low water pressure. Consider incorporating this task into your regular cleaning routine to ensure consistent water pressure and smooth operation of your faucets.
If cleaning the aerators and faucet screens does not resolve the low water pressure issue or if you encounter any difficulties during the process, it’s advisable to consult a professional plumber. They can provide expert assistance and address any underlying plumbing issues that may be contributing to the problem.
Addressing Pipe Corrosion
Pipe corrosion is a common cause of low water pressure after installing a water heater. Over time, pipes can corrode due to various factors such as the age of the plumbing system, water quality, and chemical reactions. This corrosion can lead to a decrease in water flow and subsequently result in reduced water pressure throughout your home.
To address pipe corrosion and restore water pressure, follow these steps:
- Inspect the Plumbing System: Begin by visually inspecting visible pipes for signs of corrosion such as discoloration, flaking, or rust. Focus on areas where pipes are exposed or prone to moisture, such as basements, crawl spaces, or under sinks.
- Identify the Extent of Corrosion: Determine the extent of corrosion by examining both supply pipes and pipes connected to the water heater. Pay attention to areas where pipes are joined or joined to fittings, as corrosion often occurs at these connections.
- Consult a Professional Plumber: If you suspect pipe corrosion as the cause of low water pressure, it is advisable to consult a professional plumber. They have the expertise and equipment to assess the situation accurately and recommend the appropriate course of action.
- Repair or Replace Affected Pipes: Depending on the severity of the corrosion, the plumber may recommend repairing or replacing the affected pipes. This could involve patching small leaks or replacing corroded sections with new pipes.
- Consider Repiping: In cases where pipe corrosion is widespread and severe throughout your plumbing system, a comprehensive repiping project may be necessary. This involves replacing all the corroded pipes in your home with new, corrosion-resistant pipes.
- Maintain Water Quality: To prevent future pipe corrosion, consider installing a water filtration system or water softener. These systems help remove impurities and minerals that contribute to corrosion and ensure cleaner and healthier water for your plumbing system.
It’s important to note that addressing pipe corrosion often requires the expertise of a professional plumber. They can accurately assess the situation, provide guidance on the best course of action, and perform the necessary repairs or replacements efficiently and effectively.
Regular maintenance, such as checking for and promptly addressing any plumbing leaks, can help minimize the chance of pipe corrosion. Additionally, monitoring the quality of your water and taking steps to mitigate potential corrosive factors will help prolong the lifespan of your pipes and maintain water pressure throughout your home.
Remember, pipe corrosion is a complex issue that should be handled by a trained professional. By addressing pipe corrosion and maintaining the integrity of your plumbing system, you can restore water pressure and ensure the long-term efficiency and functionality of your water heater and overall plumbing system.
Repairing Plumbing Leaks
Plumbing leaks can be a significant cause of low water pressure after installing a water heater. The installation process can put additional stress on the plumbing system, potentially leading to leaks. Even small leaks can result in a noticeable decrease in water pressure throughout your home.
Here are the steps to repair plumbing leaks and restore water pressure:
- Identify the Leaks: Conduct a visual inspection of your plumbing system to locate any visible signs of leaks, such as water stains, dampness, or drips. Pay attention to areas where water supply lines connect to fixtures, appliances, or walls.
- Isolate the Water Supply: To begin the repair process, it’s important to shut off the water supply to the affected area. Locate the nearest shutoff valve or turn off the main water supply valve to ensure no water is flowing before proceeding with the repairs.
- Fix Minor Leaks: For small leaks, you may be able to patch them temporarily using leak repair tape or pipe sealant. Wrap the affected area with the tape or use the sealant according to the manufacturer’s instructions. However, keep in mind that these are temporary solutions and it’s essential to address the underlying issue permanently.
- Replace Damaged Pipes or Fittings: If the leak is more severe or the temporary fix doesn’t resolve the issue, it may be necessary to replace the damaged section of the pipe or fittings. Cut out the affected area and insert a new pipe or fitting in its place. Use suitable connectors and tools or consult a professional plumber for assistance.
- Check Joints and Connections: Leaks can also occur at joints and connections throughout your plumbing system. Inspect and tighten any loose fittings. If any connections are significantly damaged, they may need to be replaced entirely.
- Test for Leaks: After making the necessary repairs, turn on the water supply and check for any signs of new leaks. Pay attention to the repaired areas and surrounding connections. If you notice any leakage, double-check the fittings and connections for proper tightness or seek professional help to ensure the repairs are adequate.
- Monitor Water Pressure: Once the leaks are repaired, monitor the water pressure in your home to ensure it has improved. Check various faucets and fixtures to ensure consistent and satisfactory water flow.
If you encounter difficulties in identifying or repairing plumbing leaks, or if the low water pressure persists even after fixing the leaks, it’s advisable to consult a professional plumber. They have the skills and experience to locate hidden leaks and ensure proper repairs, leading to restored water pressure and an efficiently functioning plumbing system.
Remember, addressing plumbing leaks promptly not only helps restore water pressure but also prevents further damage to your plumbing system and potential water wastage. Regular maintenance checks and timely repairs are essential for maintaining optimal water pressure and ensuring the overall performance and longevity of your water heater and plumbing system.
Contacting the Water Utility Company
If you’ve gone through the troubleshooting steps and have not been able to identify the cause of low water pressure after installing a water heater, it may be time to reach out to your local water utility company. In some cases, the issue may be related to reduced pressure from the municipal water supply, rather than a problem with your plumbing system or the water heater itself.
Here’s what you can do when contacting the water utility company:
- Document the Issue: Before contacting the water utility company, gather information about the low water pressure you are experiencing. Note the date, time, and duration of the problem. Check if the low pressure occurs consistently or at specific times of the day.
- Call the Water Utility Company: Look up the phone number for your local water utility company and speak with a customer service representative. Explain the issue you’re experiencing, specifically mentioning that you’ve noticed low water pressure after installing a water heater.
- Inquire About Known Issues: Ask the representative if there are any known issues with the municipal water supply that could be causing the low water pressure. They may be aware of scheduled maintenance, repairs, or other factors affecting water pressure in your area.
- Request a Water Pressure Check: You can also request that the water utility company carry out a water pressure check at your property. They may have equipment to measure water pressure levels or be able to send a technician to assess the situation.
- Report Any Other Symptoms: Provide additional details about any other symptoms you’ve noticed, such as discolored water, strange odors, or fluctuating pressure. These details can help the water utility company pinpoint the issue.
- Follow Their Recommendations: Based on your conversation with the water utility company, they may provide instructions or recommendations for further action. Follow their guidance and ask any questions you have to ensure a clear understanding of the next steps.
- Consider Pressure Boosting Systems: If the water utility company determines that the low water pressure issue lies solely within your property, they may suggest installing a pressure boosting system. These systems can be used to increase water pressure independently from the municipal supply, helping to alleviate the low pressure problem.
By contacting the water utility company, you can verify if the low water pressure is a shared issue affecting your area or if it’s isolated to your property. Their expertise and resources can help identify and address any potential municipal supply-related issues that may be contributing to the problem.
Remember, if all other plumbing-related causes for low water pressure have been ruled out and the issue persists, it’s essential to consult a professional plumber. They can further investigate and determine if there are any internal plumbing issues that require attention.
Resolving low water pressure issues requires a systematic approach, and contacting the water utility company ensures that all possibilities are explored for an accurate diagnosis and resolution.
Read more: Why Is My Water Heater Leaking From The Top
Conclusion
Experiencing low water pressure after installing a water heater can be frustrating, but with the right troubleshooting steps and solutions, you can restore optimal water flow and pressure throughout your home. By understanding the possible causes and following the appropriate actions, you can address the issue effectively.
We explored various potential causes of low water pressure after installing a water heater, including sediment buildup in pipes, an incorrectly sized water heater, pressure relief valve issues, clogged aerators or faucet screens, pipe corrosion, plumbing leaks, and reduced pressure from the municipal water supply. Understanding these causes is crucial for proper troubleshooting.
To resolve low water pressure issues, we discussed several solutions. Flushing the pipes can help remove sediment and debris. Checking the water heater size ensures it meets your household’s hot water demands. Inspecting and replacing the pressure relief valve can address faulty or incorrectly adjusted valves. Cleaning aerators and faucet screens removes obstructions. Addressing pipe corrosion may involve minor repairs or even repiping in severe cases. Repairing plumbing leaks and contacting the water utility company are other essential steps to consider.
However, it’s important to note that some issues may require the expertise of a professional plumber. They have the knowledge and experience to accurately diagnose the problem and recommend the most appropriate and effective solutions.
In conclusion, if you experience low water pressure after installing a water heater, don’t panic. Follow the troubleshooting steps outlined in this article and seek professional help when needed. By taking the necessary actions, you can restore adequate water pressure, ensuring efficient and satisfactory hot water supply throughout your home.
Remember, proper maintenance and regular inspections of your plumbing system can help prevent and address potential issues early on, maintaining optimal water pressure and extending the life of your water heater and overall plumbing system.
After sorting out your water pressure woes, why not dive deeper into keeping your house in tip-top shape? Our next article tackles all you need to know about regular upkeep and fixes that can save you headaches down the road. Whether you're a seasoned homeowner or just starting out, understanding basic home maintenance is key to a smooth-running household. Don't miss out on practical tips that ensure your dwelling remains safe, efficient, and welcoming for years to come.
Frequently Asked Questions about Why Is My Water Pressure Low After Installing Water Heater
Was this page helpful?
At Storables.com, we guarantee accurate and reliable information. Our content, validated by Expert Board Contributors, is crafted following stringent Editorial Policies. We're committed to providing you with well-researched, expert-backed insights for all your informational needs.

0 thoughts on “Why Is My Water Pressure Low After Installing Water Heater”