Articles
How To Install A Heat Pump Water Heater
Modified: October 20, 2024
Learn how to install a heat pump water heater with our informative articles. Make the switch to energy-efficient heating today!
(Many of the links in this article redirect to a specific reviewed product. Your purchase of these products through affiliate links helps to generate commission for Storables.com, at no extra cost. Learn more)
Introduction
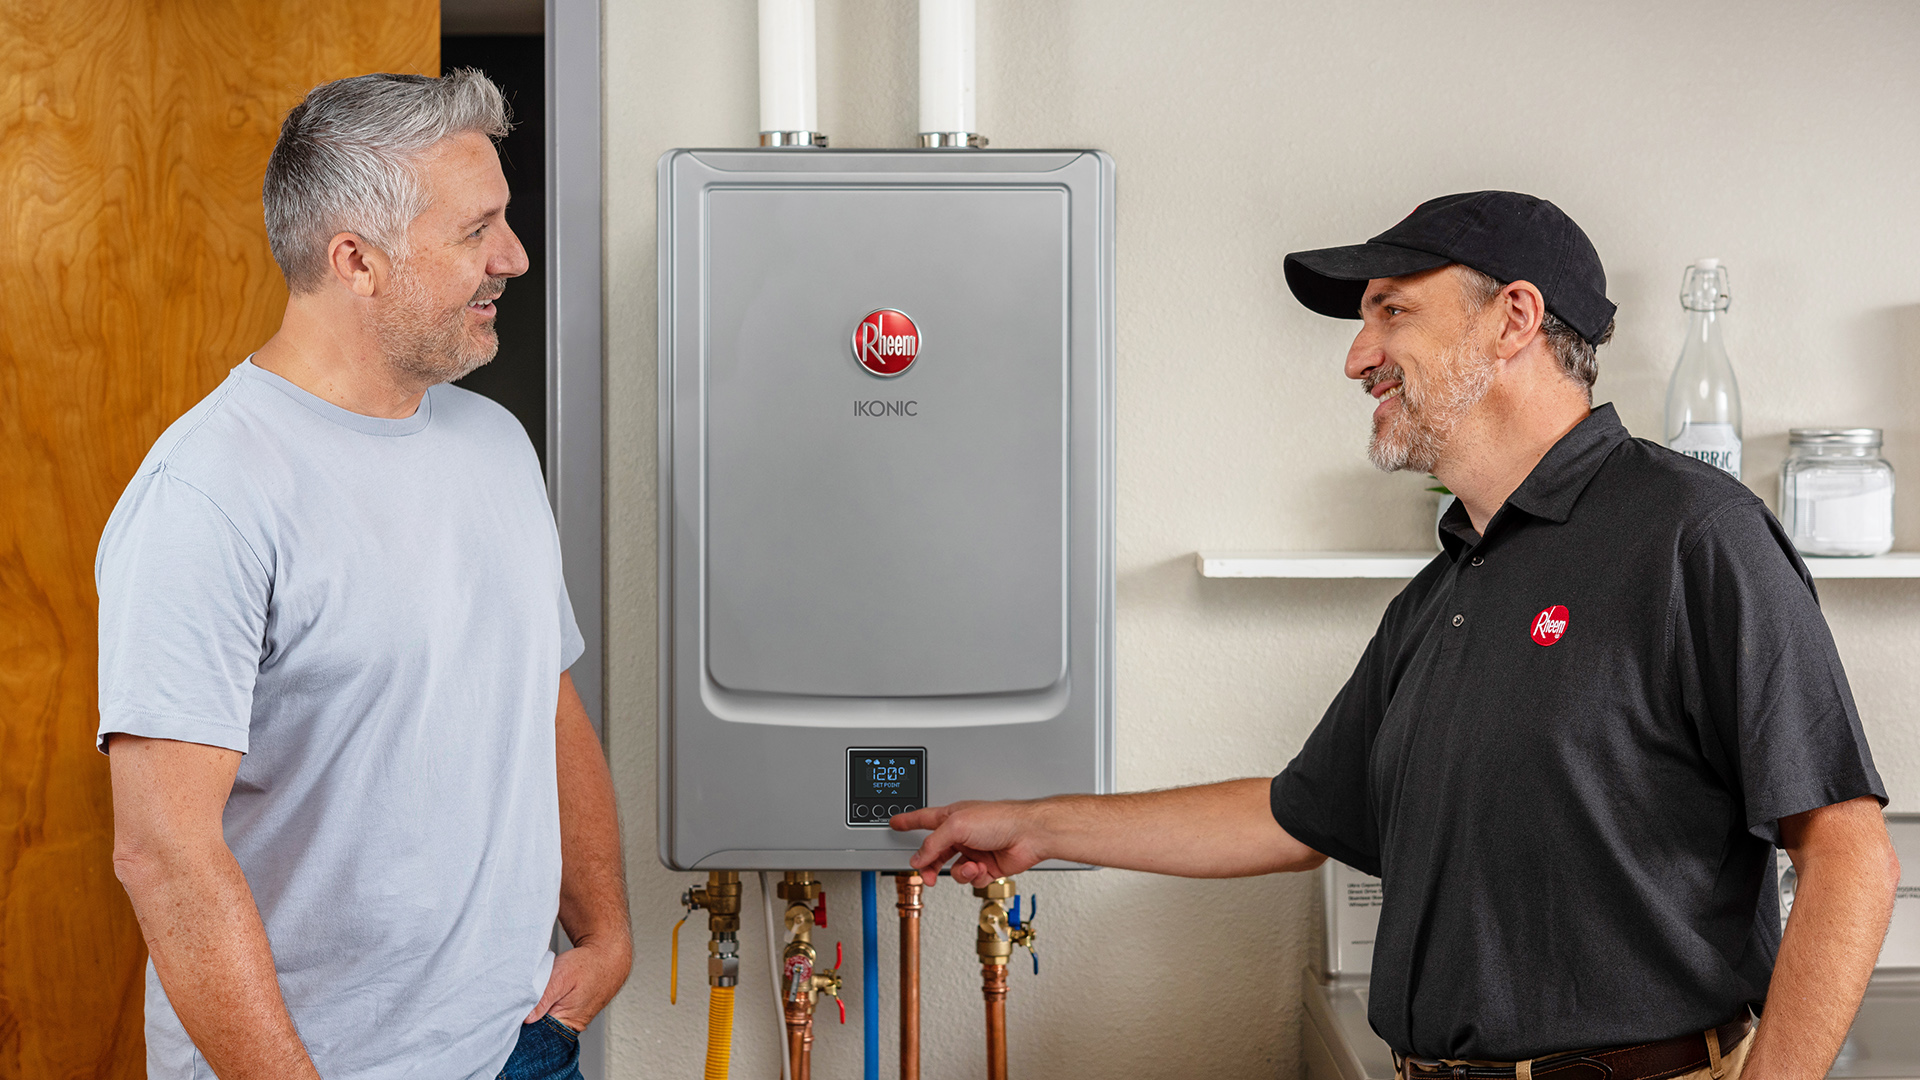
Installing a heat pump water heater is an excellent way to upgrade your home and improve its energy efficiency. A heat pump water heater works by extracting heat from the air surrounding it and using it to warm up the water in the tank. This technology not only helps lower your energy bills but also reduces greenhouse gas emissions compared to traditional water heaters.
In this article, we will guide you through the step-by-step process of installing a heat pump water heater in your home. Before you begin, it’s essential to gather all the necessary tools and materials to ensure a smooth installation. Additionally, you’ll need to choose a suitable location for the water heater, prepare the area, and connect the necessary water supply and drainage connections.
Once the basic installation is complete, you will need to mount the heat pump water heater securely and connect the electrical wiring. Afterward, insulating the water pipes and thoroughly testing the unit will be crucial to ensure everything is functioning correctly.
By following these installation steps, you can enjoy the benefits of a heat pump water heater, such as energy savings, reduced environmental impact, and a reliable and efficient source of hot water for your household. So let’s dive in and learn how to install a heat pump water heater efficiently and effectively.
Key Takeaways:
- Installing a heat pump water heater involves gathering tools, choosing a suitable location, preparing the area, connecting water and electrical components, and insulating pipes. Thorough testing ensures efficient and reliable hot water supply.
- Proper installation and maintenance of a heat pump water heater offer energy savings, reduced environmental impact, and a consistent hot water source. Following manufacturer’s guidelines and seeking professional assistance when needed are crucial for optimal performance.
Read more: How To Vent Tankless Water Heater
Step 1: Gather necessary tools and materials
Before you begin the installation process, it’s essential to gather all the necessary tools and materials. Having everything on hand will make the installation smoother and more efficient. Here is a list of items you will need:
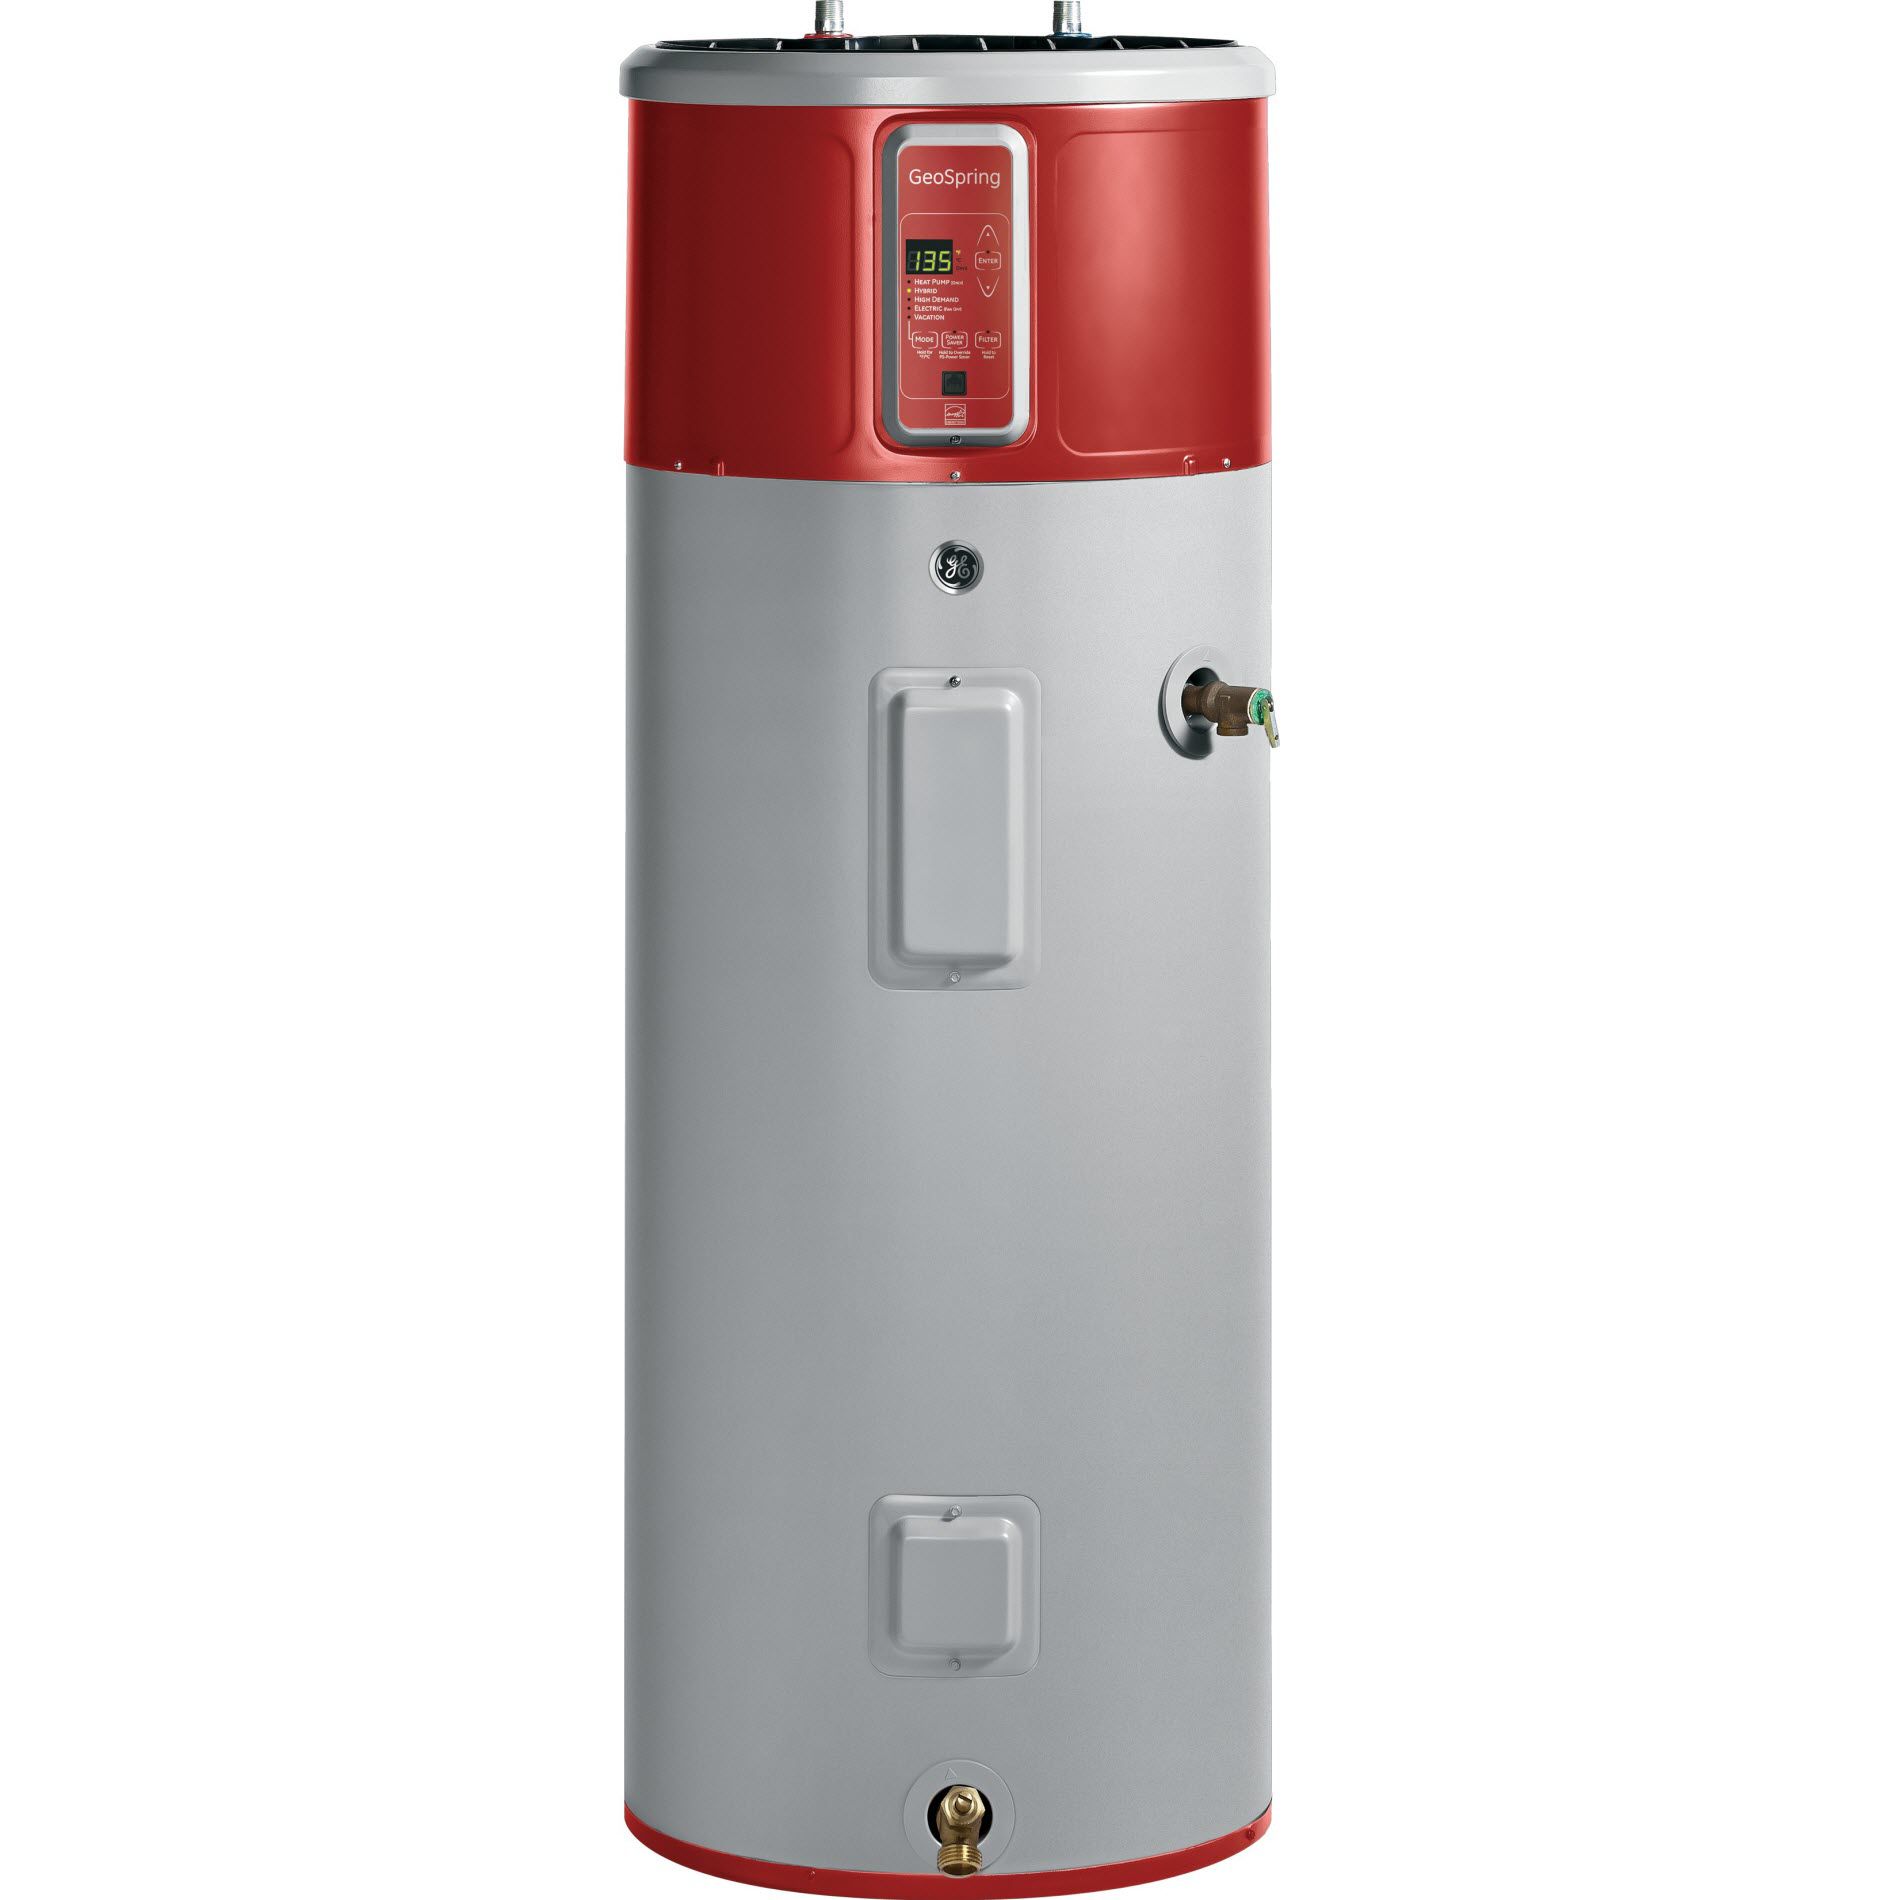
1. Heat pump water heater unit: Purchase a high-quality heat pump water heater that suits your household’s hot water needs. Consider factors like tank size, energy efficiency ratings, and brand reputation when selecting the unit.
2. Safety equipment: Ensure you have the appropriate safety equipment, including gloves, safety glasses, and protective clothing, to protect yourself during the installation process.
3. Basic hand tools: Prepare a set of basic hand tools such as a wrench, pliers, screwdrivers, and a utility knife. These tools will be used for various tasks throughout the installation process.
4. Pipe fittings and connectors: Depending on the specific requirements of your water supply system, you may need to purchase pipe fittings and connectors to ensure proper connections between the heat pump water heater and the existing plumbing.
5. Electrical wiring components: If electrical wiring is required for the heat pump water heater, gather the necessary electrical components, including wire nuts, electrical tape, and wire strippers.
6. Insulation materials: Insulate the water pipes connected to the heat pump water heater to maximize energy efficiency and prevent heat loss. Purchase pipe insulation materials such as foam sleeves or fiberglass wraps.
7. Mounting brackets or straps: Depending on the manufacturer’s recommendations, you may need mounting brackets or straps to secure the heat pump water heater in place.
8. Sealant or caulk: Have a high-quality sealant or caulk on hand to seal any gaps or openings during the installation process. This will help prevent water leakage and ensure a tight seal.
9. Level and measuring tools: Use a level to ensure the heat pump water heater is installed correctly and measure the area to determine the appropriate location for installation.
10. Instruction manual: Always refer to the manufacturer’s instruction manual for specific guidelines and requirements during the installation process. It will provide detailed information on the tools and materials needed, as well as step-by-step instructions.
By gathering these necessary tools and materials beforehand, you will be well-prepared to undertake the installation process smoothly. Proceed to the next step once you have everything you need at your disposal.
Step 2: Choose a suitable location for the heat pump water heater
Choosing the right location for your heat pump water heater is crucial for its optimal performance and efficiency. Here are some factors to consider when selecting a suitable location:
1. Space requirements: Heat pump water heaters require adequate space for installation and maintenance. Ensure you have enough room both vertically and horizontally to accommodate the unit. Refer to the manufacturer’s guidelines for specific space requirements.
2. Access to air circulation: Heat pump water heaters rely on extracting heat from the surrounding air. It is essential to place the unit in an area with sufficient air circulation to maximize its efficiency. Avoid cramped spaces or areas with limited ventilation.
3. Proximity to plumbing connections: Locate the heat pump water heater near existing plumbing connections to minimize the distance and reduce the complexity of connecting the water supply lines and drainage pipes. This will ensure a more straightforward and efficient installation process.
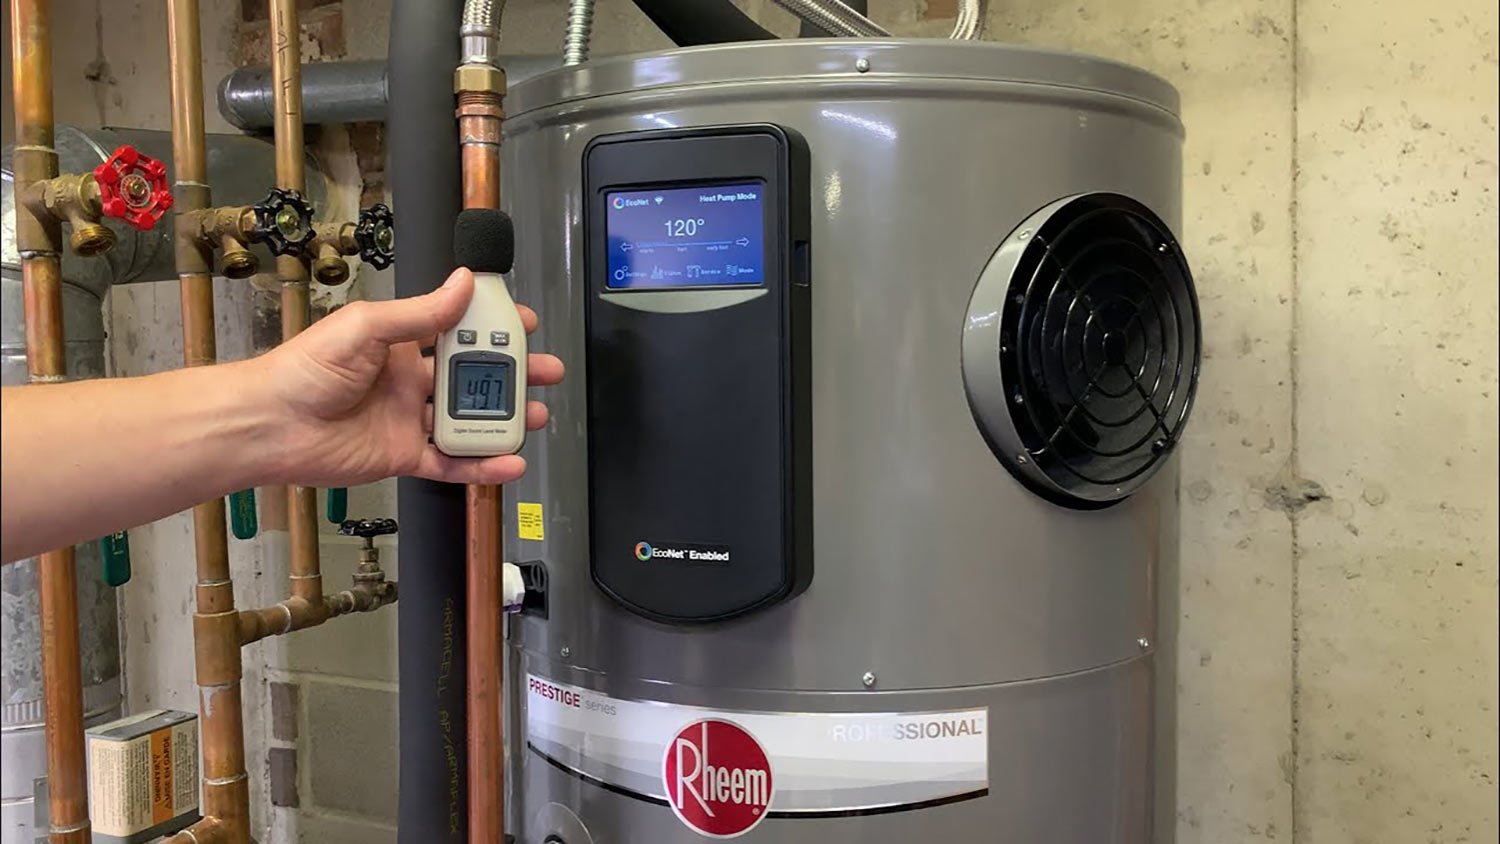
4. Noise considerations: Heat pump water heaters produce some level of noise during operation. While the noise is minimal compared to traditional water heaters, consider placing the unit in an area that is not in close proximity to frequently occupied living spaces to minimize potential disturbances.
5. Accessibility for maintenance: Ensure that the chosen location allows adequate space and accessibility for routine maintenance tasks such as cleaning the air filters and inspecting the unit. Easy access to the heat pump water heater will make future maintenance more convenient.
6. Structural support: Heat pump water heaters can be heavy, especially when filled with water. Ensure that the selected location has adequate structural support to bear the weight of the unit. This may require reinforcing the floor or utilizing mounting brackets or straps for additional stability.
7. Insulation considerations: If you live in an area with extreme temperature variations, consider locating the heat pump water heater in a well-insulated area. This will help prevent excessive heat loss during colder months and maximize the unit’s energy efficiency.
Once you have considered these factors, select a suitable location for your heat pump water heater. Remember to take accurate measurements and ensure all necessary connections can be made effortlessly. The right location will contribute to the effective and efficient operation of your heat pump water heater for years to come.
Step 3: Prepare the area for installation
Preparing the area for the installation of a heat pump water heater is an important step in ensuring a smooth and successful installation process. Follow these guidelines to effectively prepare the area:
1. Clear the space: Remove any obstacles or clutter from the installation area. This includes furniture, appliances, and storage items that may hinder access to the water heater or obstruct proper operation. Clearing the space will provide a clean and unobstructed area for installation.
2. Check the flooring: Inspect the flooring in the designated installation area. Ensure that it is level and capable of supporting the weight of the heat pump water heater. If the floor is uneven, consider using shims or other leveling methods to create a stable foundation for the unit.
3. Check for leaks: Before proceeding with the installation, inspect the existing water supply and drainage connections for any signs of leaks. It is crucial to address any leaks or plumbing issues beforehand to prevent future complications or water damage.
4. Ensure proper ventilation: Heat pump water heaters require adequate ventilation to operate efficiently. Check for proper airflow in the installation area. If necessary, consider installing vents or providing additional ventilation to ensure proper function and prevent overheating.
5. Provide access to electrical connections: If your heat pump water heater requires an electrical connection, ensure that the installation area has access to the required power source. Consult with a professional electrician if additional electrical work is needed to meet the unit’s power requirements.
6. Consider condensate drain: Heat pump water heaters produce condensation during operation. Check if a condensate drain is required and ensure that the area has access to a suitable drainage point. If needed, install a condensate pump or direct the drain to an appropriate location.
7. Take safety precautions: Install the heat pump water heater in an area that is safe and away from potential hazards. Keep in mind any local building codes or regulations regarding installation clearances. Maintain a safe distance from combustible materials and ensure proper exhaust ventilation if required.
By thoroughly preparing the installation area, you can minimize complications and create an optimal environment for your heat pump water heater. Taking the time to ensure a clean, accessible, and safe installation area will contribute to the long-term performance and efficiency of your unit.
Step 4: Install the water supply and drainage connections
Once you have prepared the installation area, it’s time to install the water supply and drainage connections for your heat pump water heater. Follow these steps to ensure proper installation:
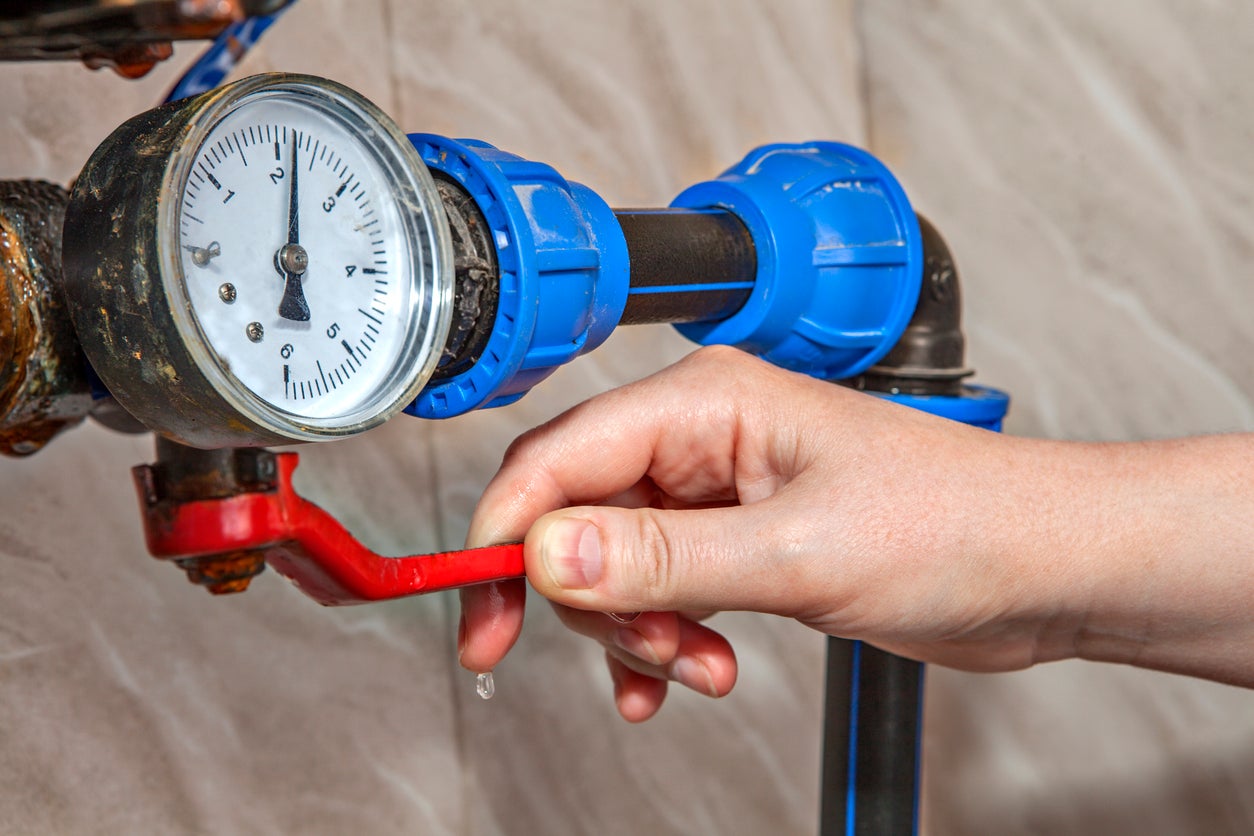
1. Shut off the water supply: Locate the main water shut-off valve for your property and turn it off to prevent any water flow during the installation process. This will help avoid any potential leaks or water damage.
2. Assess existing plumbing: Evaluate the existing plumbing connections in the installation area. Determine if any modifications or additions are necessary to connect the heat pump water heater. This may involve cutting and soldering pipes or installing connectors or adapters.
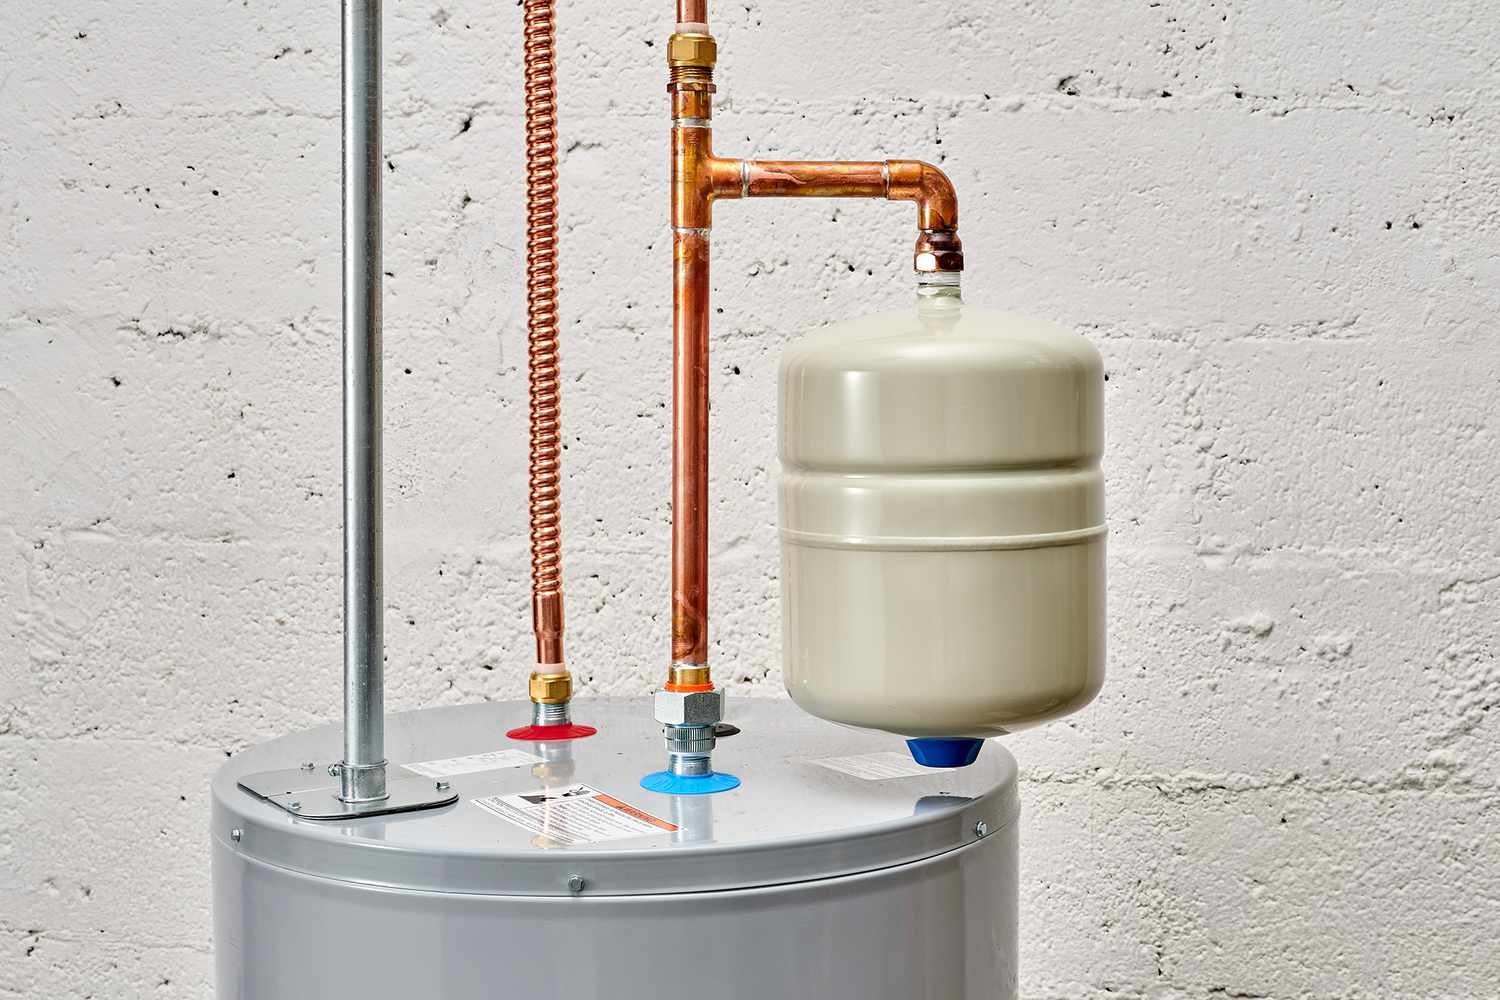
3. Connect the cold water supply line: Install a shut-off valve on the cold water supply line near the heat pump water heater location. Connect the water supply line to the inlet port on the unit using appropriate fittings and pipe sealant. Ensure a secure and leak-free connection.
4. Install the hot water outlet line: Connect the hot water outlet line from the heat pump water heater to the appropriate plumbing fixture or distribution point. Use the appropriate fittings and pipe sealant to ensure a secure and leak-free connection.
5. Install a pressure relief valve: Install a pressure relief valve on the hot water outlet line to prevent excessive pressure build-up inside the water heater tank. Follow the manufacturer’s instructions for proper installation and positioning of the valve.
6. Install the condensate drain line: If your heat pump water heater produces condensation, install a condensate drain line to direct the condensate away from the unit. Ensure the drain line has a suitable slope towards the drainage point and adequately secure it to prevent leaks.
7. Test for leaks: Once all the connections are made, open the main water supply valve and check for any leaks. Inspect all the joints and connections for any signs of water seepage. If any leaks are detected, tighten the connections or apply pipe sealant as necessary.
8. Insulate the pipes: To maximize energy efficiency and reduce heat loss, insulate the water supply and hot water outlet pipes connected to the heat pump water heater. Use pipe insulation materials such as foam sleeves or fiberglass wraps to cover the pipes properly.
By following these steps, you will successfully install the water supply and drainage connections for your heat pump water heater. Ensure that all connections are secure, proper fittings are used, and any necessary seals or insulation are applied. With the water supply and drainage in place, you are ready to move on to the next step in the installation process.
Make sure to properly insulate the hot water pipes connected to the heat pump water heater to minimize heat loss and improve energy efficiency.
Read more: How To Install Rheem Water Heater
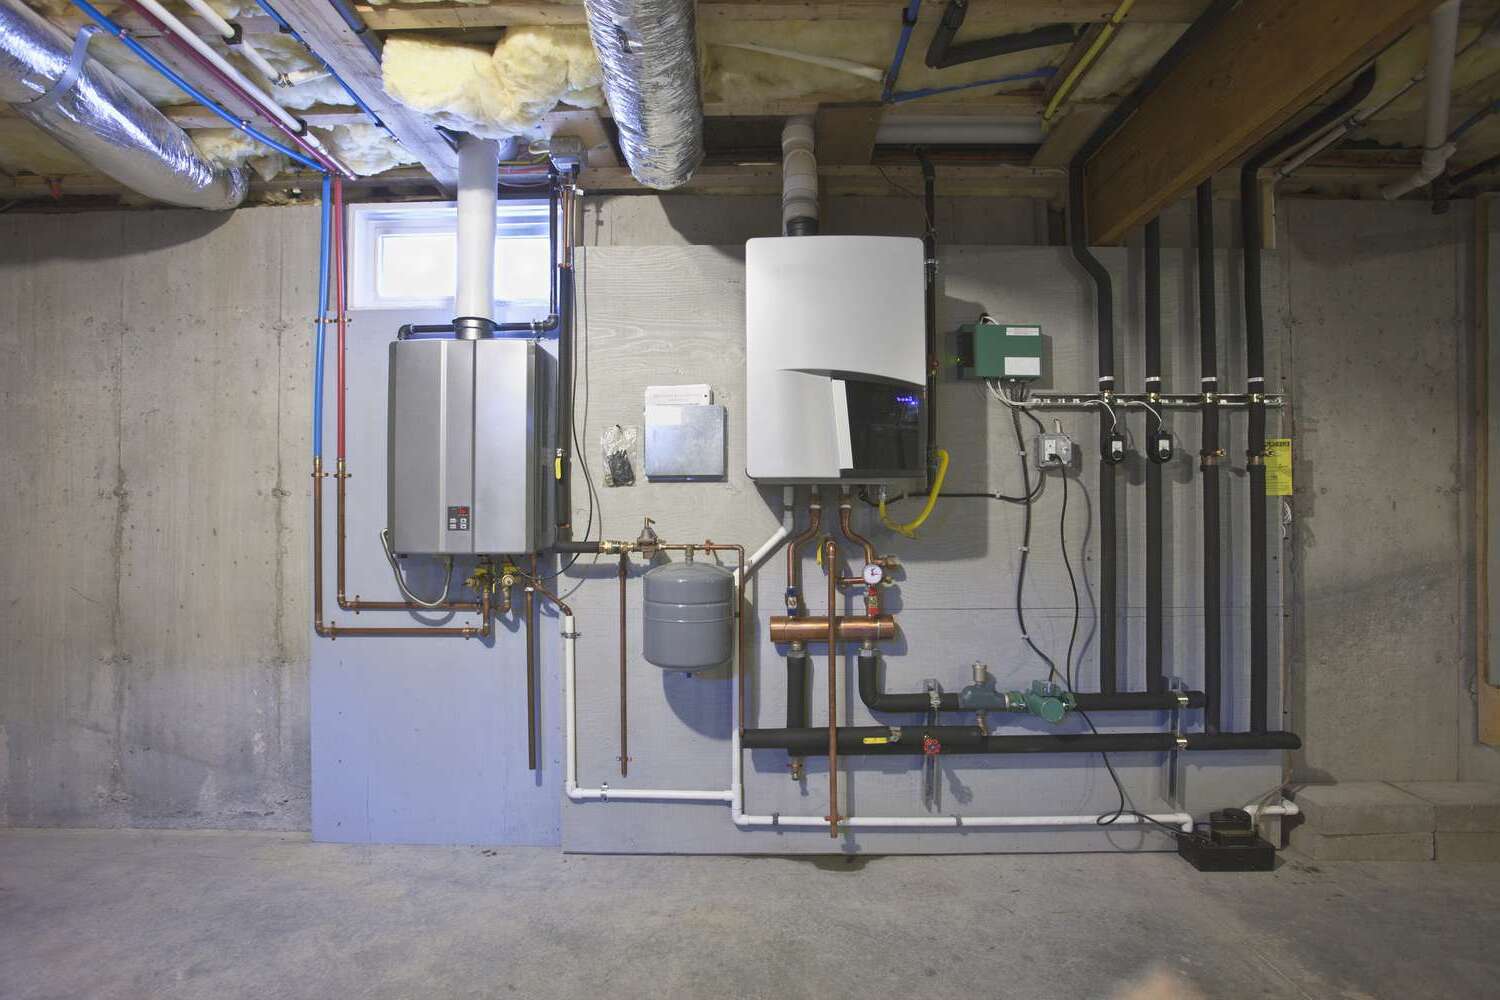
Step 5: Mount the heat pump water heater
Once the water supply and drainage connections are in place, it’s time to mount the heat pump water heater securely. Follow these steps for a successful installation:
1. Read the manufacturer’s instructions: Before beginning the mounting process, thoroughly read the manufacturer’s instructions to understand the specific requirements and recommendations for your particular heat pump water heater model. Adhering to these guidelines will ensure a proper and safe installation.
2. Select a suitable mounting location: Choose an appropriate location for mounting the heat pump water heater. Ensure that the area meets any clearance requirements specified by the manufacturer and local building codes. Consider factors such as accessibility, ventilation, and structural support.
3. Install mounting brackets or straps: Depending on the manufacturer’s instructions, install the provided mounting brackets or straps to secure the heat pump water heater in place. Follow the specific guidelines and ensure the brackets or straps are securely attached to the unit and the mounting surface.
4. Align the unit: Carefully align the heat pump water heater with the mounting brackets or straps. Use a level to ensure that the unit is perfectly horizontal or as per the specified angle recommended by the manufacturer. Adjust the position if necessary for a level and stable installation.
5. Secure the unit: Once the unit is correctly aligned, tighten the mounting brackets or straps to securely hold the heat pump water heater in place. Ensure that all fasteners are properly tightened as specified by the manufacturer, providing stability and preventing any movement or vibration during operation.
6. Check for stability: After securing the unit, perform a visual and physical inspection to ensure that the heat pump water heater is stable and securely mounted. Shake the unit gently to check for any movement or looseness. If any issues are identified, recheck the mounting brackets or straps and make necessary adjustments.
7. Verify accessibility: Confirm that all necessary components and controls of the heat pump water heater are easily accessible for maintenance or service. This includes access to air filters, control panels, and any other important components that may require periodic inspection or maintenance.
8. Consider vibration isolation: If recommended by the manufacturer, install vibration isolation pads or mounts to further reduce any vibrations or noise produced by the heat pump water heater during operation. This can help improve the overall performance and minimize any potential disturbances.
By following these steps, you will successfully mount your heat pump water heater in the designated location. Make sure to adhere to the manufacturer’s instructions, secure the unit properly, and verify its stability. With the heat pump water heater securely in place, you can proceed to the next step of the installation process.
Step 6: Connect electrical wiring
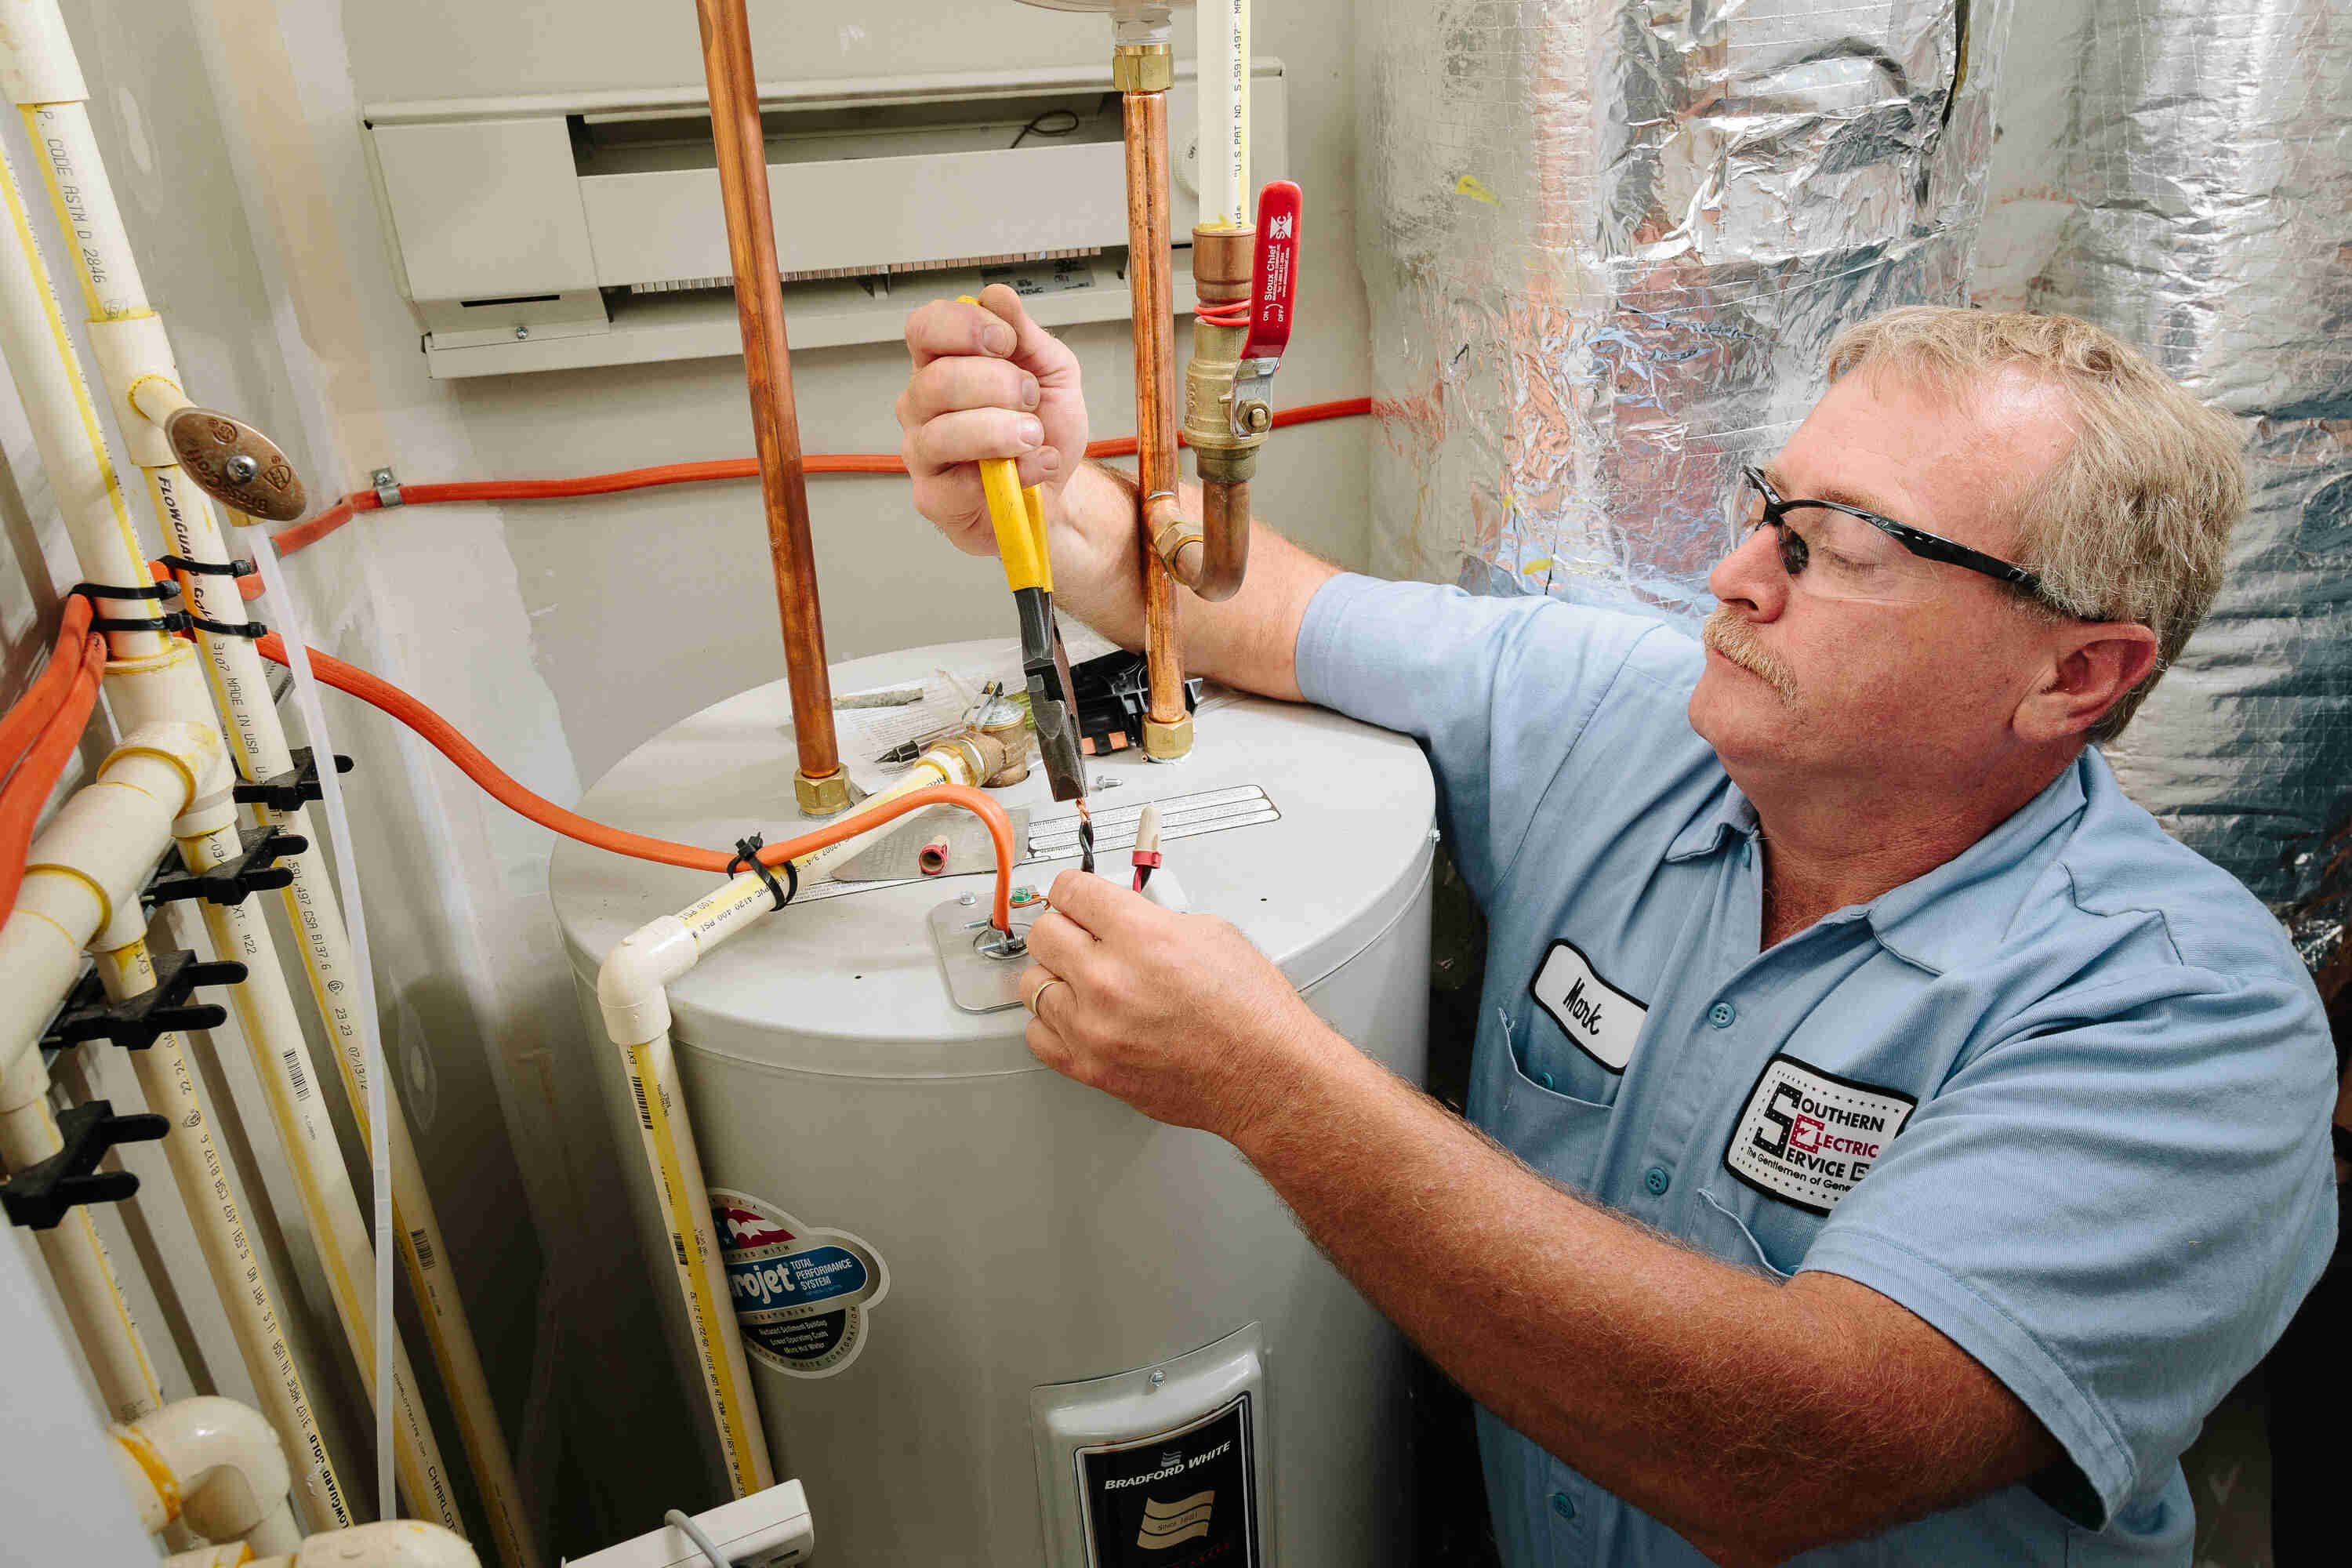
Connecting the electrical wiring is a crucial step in installing your heat pump water heater. Follow these steps to ensure a safe and reliable electrical connection:
1. Safety first: Before you begin, ensure that the power to the area is turned off at the circuit breaker to prevent any electrical accidents or shocks. Use appropriate personal protective equipment, such as safety gloves and glasses, when working with electrical components.
2. Review the manufacturer’s instructions: Familiarize yourself with the electrical requirements for your specific heat pump water heater model. Refer to the manufacturer’s instructions regarding the voltage, wire size, and breaker specifications.
3. Install a dedicated circuit: It is recommended to install a dedicated circuit for your heat pump water heater to ensure proper electrical supply and avoid overloading the existing circuits. Consult an electrician if you are unsure about the electrical requirements or need assistance with circuit installation.
4. Run the electrical wiring: Route the electrical wiring from the electrical panel to the location of the heat pump water heater. Ensure that you use wires of the correct gauge and secure them properly along the path to avoid any potential damage or accidental disconnection.
5. Connect the wires: Follow the wiring diagram provided by the manufacturer to connect the wires from the heat pump water heater to the electrical panel. Use wire nuts or terminal connectors to securely join the corresponding wires together. Make sure to follow proper color-coding for hot, neutral, and ground wires.
6. Grounding: Connect the grounding wire of the heat pump water heater to the grounding system of your electrical panel. This is a critical safety measure to protect against electrical faults and ensure proper grounding of the unit.
7. Check the connections: After making all the electrical connections, double-check the wire connections to ensure they are secure and tightly fastened. Inspect for any loose wires or exposed conductors. Avoid overcrowding the electrical box or panel and ensure that all connections are properly contained within the appropriate enclosures.
8. Test the electrical connection: Once you have completed the wiring, it’s time to test the electrical connection. Turn on the power supply at the breaker and verify that the heat pump water heater is receiving power. Check for any electrical issues, such as tripped breakers or abnormal readings on the electrical panel.
9. Seek professional assistance if needed: If you are unsure about any aspect of the electrical connection or if you are uncomfortable working with electrical systems, it is highly recommended to seek the assistance of a licensed electrician. They can ensure a safe and proper electrical installation and address any specific requirements or regulations.
By following these steps and adhering to the manufacturer’s instructions, you can connect the electrical wiring for your heat pump water heater safely and reliably. Take the necessary precautions, verify all connections, and test the electrical supply before proceeding to the next step in the installation process.
Step 7: Insulate the water pipes
Insulating the water pipes connected to your heat pump water heater is an important step to maximize energy efficiency and reduce heat loss. Follow these steps to effectively insulate the water pipes:
1. Measure and cut insulation material: Begin by measuring the length of the water pipes that connect to your heat pump water heater. Use a measuring tape and mark the appropriate length on the insulation material, such as foam sleeves or fiberglass pipe wraps.
2. Cut the insulation material: Use a utility knife or a pair of scissors to carefully cut the insulation material according to the measured length. Make sure to have clean and straight cuts to ensure a proper fit on the pipes.
3. Slit the insulation material lengthwise (if necessary): If the insulation material does not come pre-slit, you may need to slit it lengthwise to create an opening. Use a utility knife to gently cut along the length of the insulation material, ensuring not to cut all the way through.
4. Fit the insulation material onto the water pipes: Slide the insulation material onto the water pipes, ensuring a snug and secure fit. If the material has a pre-existing adhesive seal or tape, make sure to properly seal the slits or edges for maximum insulation effectiveness.
5. Secure the insulation material: Once the insulation material is in place, use adhesive tape or cable ties to secure it around the pipes. Make sure the insulation is securely fastened and does not easily slide or come loose.
6. Insulate all exposed pipes: Insulate all exposed hot water supply pipes and pipes leading away from the heat pump water heater. Pay close attention to areas where the pipes pass through unheated or uninsulated spaces, such as crawl spaces or basements. Ensure that no section of the pipes is left uninsulated.
7. Insulate the fittings and joints: Do not overlook the fittings and joints of the water pipes. Insulate these areas by cutting small pieces of insulation material and securely wrapping them around the fittings or joints. This will help prevent heat loss and maintain the overall insulation integrity.
8. Additional insulation for colder climates: If you live in an area with extreme cold temperatures, you may want to consider adding an extra layer of insulation to further minimize heat loss. Consult with a local insulation expert or plumbing professional for recommendations specific to your climate.
By properly insulating the water pipes connected to your heat pump water heater, you can significantly reduce heat loss and improve the energy efficiency of your system. Take the time to measure, cut, and secure the insulation material accurately for a thorough and effective insulation installation. Insulating the pipes will help maintain the heat of the water as it travels from the heat pump to your faucets or showerheads, resulting in energy savings and hot water efficiency.
Step 8: Test the heat pump water heater
After completing the installation of your heat pump water heater, it’s crucial to test the system to ensure it is functioning properly. Follow these steps to thoroughly test your heat pump water heater:
1. Fill the tank: Turn on the water supply valve and allow the tank to fill completely. Make sure there are no leaks in the water supply connections or tank.
2. Power on the unit: Turn on the power supply to the heat pump water heater at the circuit breaker or electrical panel. Ensure that the unit receives power and all indicators or LEDs on the control panel are functioning correctly.
3. Set the desired temperature: Adjust the temperature settings on the heat pump water heater to your desired level. Refer to the manufacturer’s instructions for recommended temperature settings and any specific programming options available for your model.
4. Monitor heating operation: Pay attention to the operation of the heat pump water heater. Observe whether the heat pump is turning on, extracting heat from the air, and transferring it to the water in the tank. Check if the heating cycles are functioning properly and efficiently.
5. Check for any abnormal noises or vibrations: Listen for any unusual noises or vibrations coming from the heat pump unit during operation. While some noise and vibration are normal, excessive or loud sounds may indicate a problem that needs attention.
6. Monitor hot water output: Turn on hot water faucets or showers to check the hot water output. Confirm that the heat pump water heater is delivering hot water at the desired temperature consistently. If the water temperature is not at the set level or fluctuates significantly, further troubleshooting may be required.
7. Evaluate the efficiency: Over a period of several days, monitor the energy usage and efficiency of the heat pump water heater. Compare the energy consumption to the manufacturer’s specifications and expected energy savings from using a heat pump system. Any significant discrepancies or inefficiencies should be addressed promptly.
8. Conduct periodic maintenance: Refer to the manufacturer’s instructions for recommended maintenance tasks and intervals. Regularly clean or replace air filters, clean the condensate drain line, and perform any other maintenance tasks specified to keep the heat pump water heater in optimal condition.
9. Consider professional inspection: If you encounter any issues during testing or are unsure about the performance of your heat pump water heater, it is wise to consult a professional technician or service provider. They can evaluate the system and identify any potential problems or offer guidance on optimizing its performance.
Thoroughly testing your heat pump water heater ensures that it operates as intended, delivering hot water efficiently and reliably. Pay close attention to any abnormal behavior, noises, or fluctuations in temperature. Regular monitoring and maintenance will help maximize the system’s efficiency and longevity, providing you with energy savings and a consistent supply of hot water for years to come.
Read more: How Does Heat Pump Water Heater Work
Conclusion
Installing a heat pump water heater is a smart decision that can improve both the energy efficiency of your home and your overall comfort. By following the step-by-step installation process outlined in this article, you can successfully install a heat pump water heater in your home and enjoy its benefits.
Throughout the installation process, it is essential to gather the necessary tools and materials, choose a suitable location, and properly prepare the area. Connecting the water supply and drainage connections, mounting the heat pump water heater securely, and connecting the electrical wiring are crucial steps that require attention to detail and adherence to safety practices.
Insulating the water pipes and testing the heat pump water heater are final steps that ensure the efficiency and functionality of the system. Insulation helps reduce heat loss, boosting energy efficiency, while thorough testing guarantees proper operation and performance.
Remember to consult the manufacturer’s instructions and guidelines throughout the installation process to ensure your heat pump water heater is installed correctly and safely. Additionally, consider seeking professional assistance when needed, especially for electrical or complex plumbing tasks.
By installing a heat pump water heater, you can enjoy benefits such as energy savings, reduced greenhouse gas emissions, and a reliable source of hot water for your household. Make sure to perform regular maintenance, including cleaning air filters and inspecting the system, to keep your heat pump water heater running efficiently for years to come.
Embrace the efficiency and environmental benefits of a heat pump water heater by following this comprehensive guide. With proper installation, maintenance, and usage, a heat pump water heater can enhance your home, reduce your carbon footprint, and save you money on your energy bills.
Frequently Asked Questions about How To Install A Heat Pump Water Heater
Was this page helpful?
At Storables.com, we guarantee accurate and reliable information. Our content, validated by Expert Board Contributors, is crafted following stringent Editorial Policies. We're committed to providing you with well-researched, expert-backed insights for all your informational needs.

0 thoughts on “How To Install A Heat Pump Water Heater”