Articles
Why Is My Toilet Draining Slowly
Modified: October 18, 2024
Learn why your toilet is draining slowly and how to fix it with our informative articles.
(Many of the links in this article redirect to a specific reviewed product. Your purchase of these products through affiliate links helps to generate commission for Storables.com, at no extra cost. Learn more)
Introduction
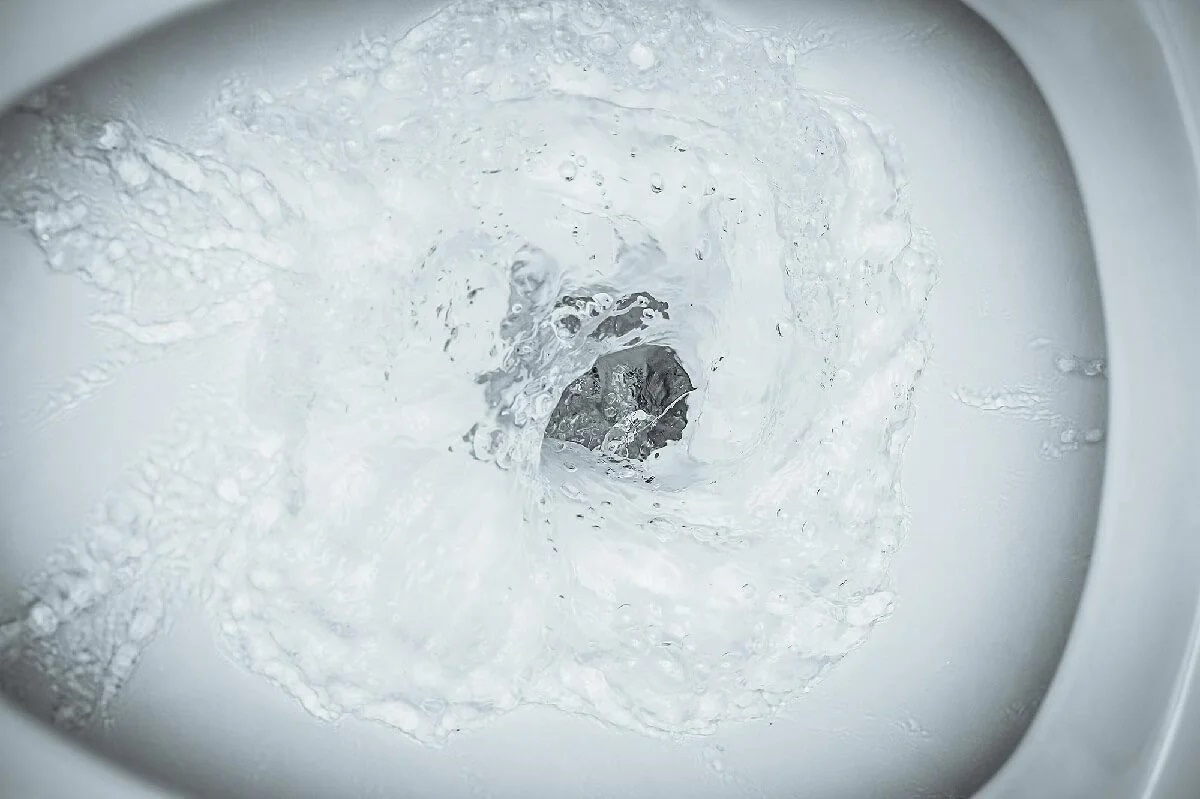
Having a toilet that drains slowly can be frustrating and inconvenient. Not only does it hinder the flushing process, but it also poses potential hygiene problems. If you’ve ever wondered why your toilet is draining slowly, this article will explore some of the common causes and provide solutions to help you resolve the issue.
Understanding the mechanism of toilet drainage is essential in identifying the factors that may be causing the slow drain. Every flush initiates a complex process whereby water is released from the tank through the flush valve and into the bowl, creating a powerful downward force. This force then propels waste and water through the pipes and into the sewer system.
However, several issues can impede this process and result in a slow toilet drain. Let’s delve into some of the most common causes and explore the solutions.
Key Takeaways:
- Regular maintenance, responsible water usage, mindful waste disposal, and professional inspections are keys to a healthy and properly functioning septic system, preventing slow toilet drainage and extending its lifespan.
- Understanding the common causes of slow toilet drainage, such as clogged drains, damaged vent stacks, and tree root intrusion, empowers homeowners to implement effective solutions and prevent further plumbing issues.
Read more: Why Is My Sink Draining Slowly
Understanding the Mechanism of Toilet Drainage
Before we delve into the causes and solutions for a slow toilet drain, it’s important to have a basic understanding of how the toilet drainage system works. This knowledge will help us better diagnose and troubleshoot any issues that may arise.
The process of toilet drainage begins with the flush. When you press the handle, the flush valve opens, allowing water from the tank to flow into the bowl. This sudden influx of water creates a strong downward force that pushes waste and water through the trapway, a curved channel at the base of the toilet.
As the waste and water travel through the trapway, they enter the drain pipes that connect to the sewer system. The momentum from the flushing action and the force of gravity help propel the waste along the drain pipes until it reaches its final destination.
Within the toilet itself, there are a few key components that play a role in the drainage process. The flapper valve, located at the bottom of the tank, controls the release of water into the bowl. When you flush, the flapper valve lifts, allowing water to flow into the bowl and trigger the draining process.
The trapway, as mentioned earlier, is a curved section of the toilet that prevents foul odors from traveling back up into the bathroom. The shape of the trapway also creates a siphoning effect, which aids in waste removal.
In addition to these components, the vent stack is another crucial part of the toilet drainage system. The vent stack is a vertical pipe that connects to the drain pipes and extends through the roof of the house. Its purpose is to release the pressure caused by the draining process, ensuring smooth and efficient waste removal.
Having a clear understanding of how these mechanisms work will help us identify the potential causes of slow toilet drainage and find appropriate solutions. So, let’s dive into the common culprits behind this frustrating issue.
Common Causes of Slow Toilet Drainage
A slow toilet drain can be caused by a variety of factors. Understanding these common causes will help you diagnose and address the issue effectively. Let’s explore them:
- Clogged Toilet Drain: One of the most common causes of slow drainage is a clogged toilet drain. This can occur when foreign objects, excessive toilet paper, or other debris accumulate and block the flow of water and waste. In some cases, a plunger can resolve the clog, but for stubborn blockages, a toilet auger or professional assistance may be required.
- Blocked or Damaged Vent Stack: The vent stack allows air to enter the drain pipes, enabling proper flow and preventing suction or airlock issues. If the vent stack becomes blocked or damaged, it can hinder the drainage process, leading to a slow toilet drain. Clearing the vent stack of debris or repairing any damage can help restore proper drainage.
- Faulty Flapper Valve: A worn or faulty flapper valve can cause water to leak continuously from the tank into the bowl. This not only wastes water but can also result in a slow drain. Replacing the flapper valve should resolve the issue and improve drainage efficiency.
- Mineral Buildup in Pipes: Over time, minerals from hard water can accumulate in the pipes, narrowing the passage and impeding proper drainage. This buildup can restrict the flow of water and waste, leading to a slow drain. Regular maintenance and flushing out the pipes can help prevent or alleviate this issue.
- Tree Root Intrusion: In cases where your sewer line runs underground, tree roots can grow into the pipe, causing obstructions and slow drainage. Specialized equipment may be required to locate and remove the tree roots, restoring proper flow.
- Septic Tank Issues: If you have a septic system, an overloaded or malfunctioning septic tank can result in slow drainage. Regular pumping and maintenance of the septic tank are essential to prevent backups and ensure optimal drainage.
Identifying the specific cause of your slow toilet drain may require some investigation and troubleshooting. Once you have identified the problem, you can implement the appropriate solution to improve your toilet’s drainage and restore normal functionality.
Clogged Toilet Drain
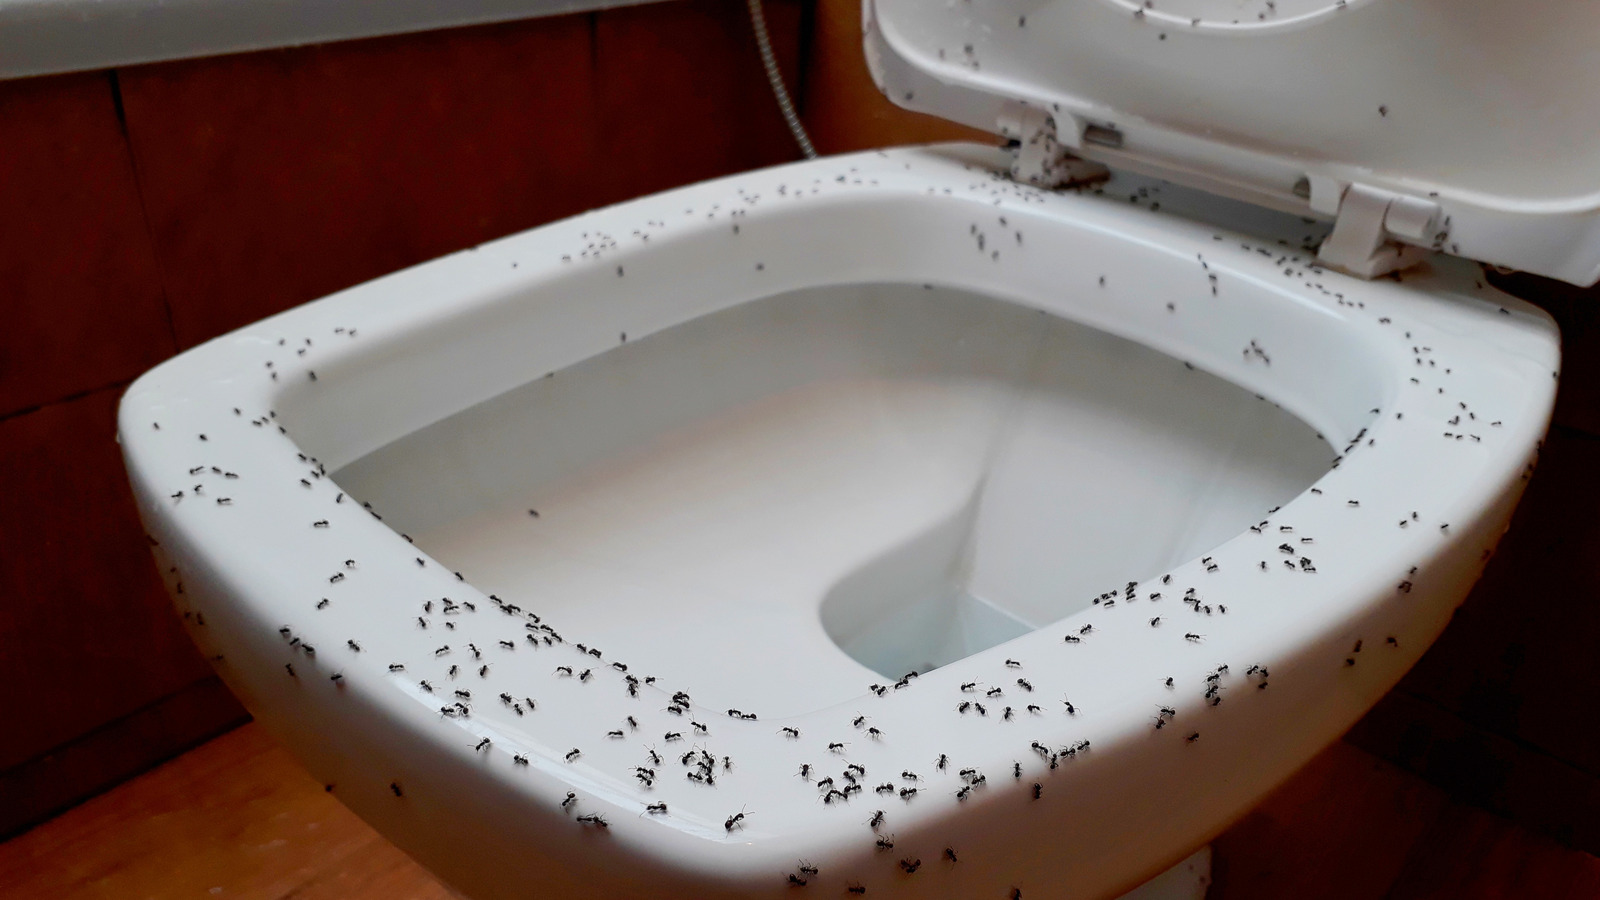
A clogged toilet drain is one of the most common causes of slow toilet drainage. It occurs when materials such as toilet paper, hygiene products, or foreign objects block the flow of water and waste through the drain pipes. This obstruction can significantly hinder the flushing process and result in water backing up or draining slowly.
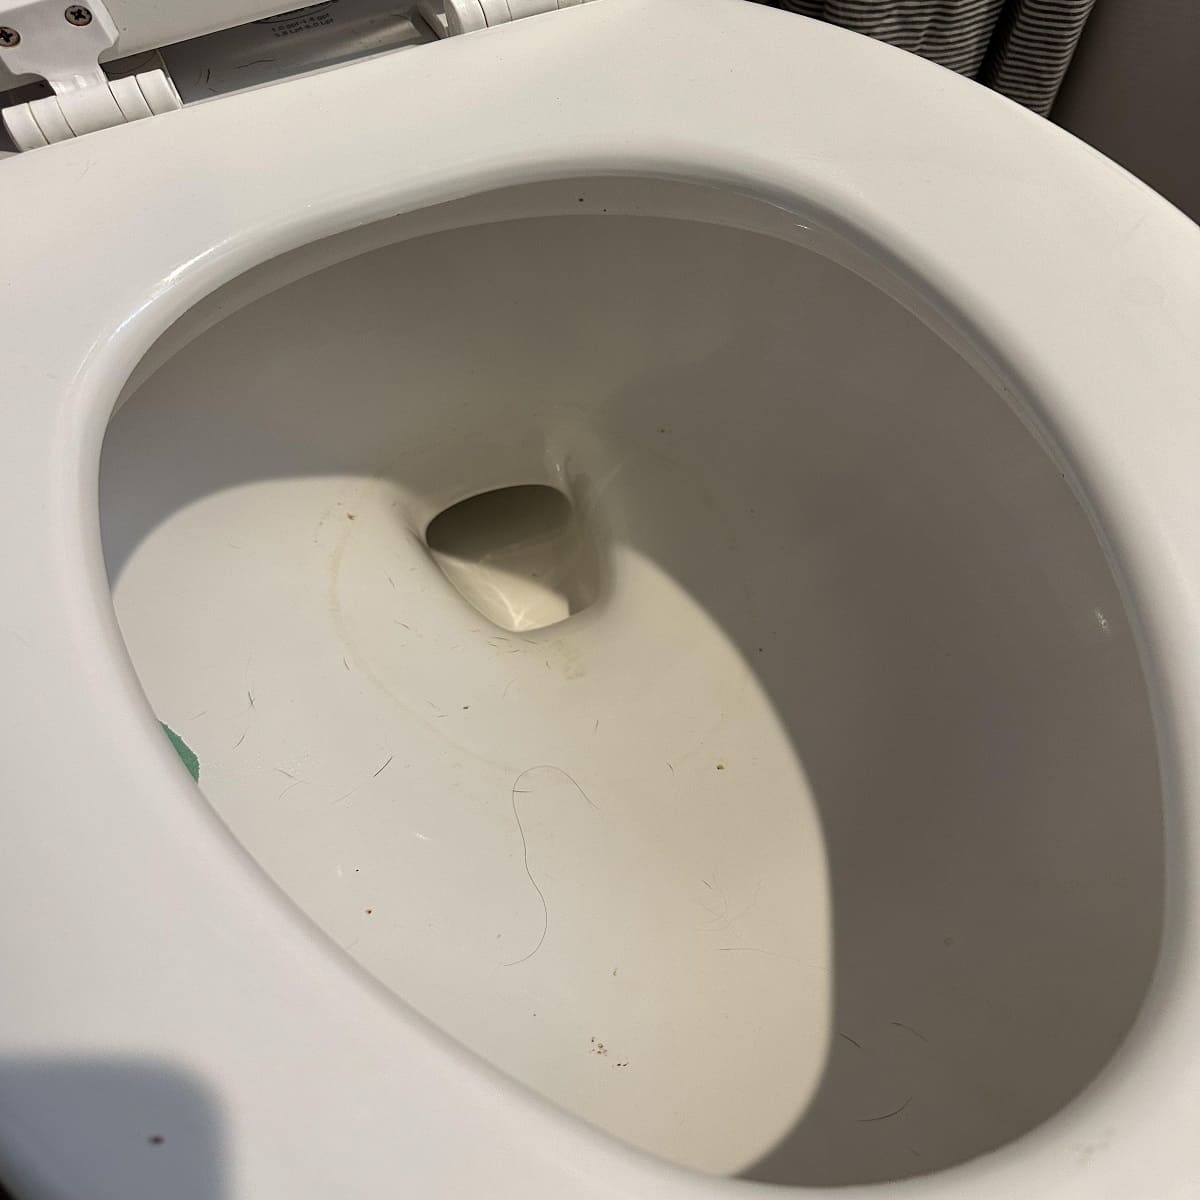
To determine if a clogged toilet drain is causing the slow drainage, observe the water level in the bowl after flushing. If the water rises near the rim or takes a long time to drain, it is likely that there is a clog in the drain pipe.
For minor clogs, you can try using a plunger to dislodge the blockage. Place the plunger over the drain opening, ensuring a tight seal, and vigorously plunge up and down several times. This action creates suction, which can help break up the clog and allow it to be flushed away. Be patient and repeat the process if necessary.
If plunging does not resolve the clog, you may need to use a toilet auger, also known as a plumbing snake. Insert the auger into the toilet drain until you feel resistance. Rotate the handle clockwise to break up the clog, and then retract the auger. Flush the toilet to see if the clog has been successfully cleared.
If you are still experiencing slow drainage after attempting these methods, it may be necessary to seek professional assistance. A plumber can use specialized tools to tackle stubborn clogs and ensure that your toilet drain is completely clear.
To prevent future clogs, it is advisable to avoid flushing items other than toilet paper and human waste down the toilet. Disposable wipes, hygiene products, paper towels, and other materials can easily cause blockages. Installing a drain guard or screen can also help catch larger debris and prevent it from entering the drain pipe.
If clogs occur frequently or persist despite your efforts, it may be a sign of an underlying issue in your plumbing system. In such cases, it is best to consult with a professional plumber who can assess the situation and provide the necessary repairs or recommendations.
Remember, a clogged toilet drain is a common problem that can be resolved with proper maintenance and timely intervention. By addressing the issue promptly, you can ensure smooth and efficient drainage in your toilet.
Blocked or Damaged Vent Stack
The vent stack is an essential component of the toilet drainage system. It allows air to enter the drain pipes, balancing the pressure and ensuring the smooth flow of water and waste. When the vent stack becomes blocked or damaged, it can lead to slow toilet drainage and other plumbing issues.
A blocked vent stack can occur due to a buildup of debris such as leaves, twigs, or bird nests. This obstruction restricts the flow of air and disrupts the equilibrium within the drain pipes, causing water to drain slowly or not at all. Additionally, extreme weather conditions or accidental damage can also cause the vent stack to become blocked or compromised.
To determine if a blocked or damaged vent stack is the cause of slow toilet drainage, you can perform a simple test. Flush the toilet and observe the water level in the bowl. If the water rises or bubbles appear, it indicates a vent stack blockage. You may also notice gurgling sounds coming from the drains of other fixtures in your home when you flush the toilet.
Clearing a blocked vent stack requires professional expertise and specialized equipment. A plumber can access the vent stack through the roof and remove any debris or obstructions. They may also conduct a thorough inspection to ensure the vent stack is in good condition and repair or replace any damaged sections if necessary.
Preventing vent stack blockages can be achieved by periodically inspecting the area around the vent stack and clearing away any debris or vegetation that may accumulate. Additionally, installing a vent stack cap or cover can help prevent animals from nesting in the pipe.
If you reside in an area prone to severe weather conditions, it is important to ensure that the vent stack is properly secured and protected. Regular inspection and maintenance by a professional plumber can help detect any early signs of damage and prevent potential issues with your vent stack.
Remember, a blocked or damaged vent stack can significantly affect the efficiency of your toilet drainage system. By addressing this issue promptly, you can restore proper flow and prevent any further plumbing complications in your home.
Read more: Why Is My Bathroom Sink Not Draining
Faulty Flapper Valve
A faulty flapper valve can be a common culprit behind a slow toilet drain. The flapper valve is located at the bottom of the toilet tank and is responsible for controlling the flow of water from the tank into the bowl during a flush.
Over time, the flapper valve can deteriorate or become worn, causing it to not seal properly. This faulty seal allows water to continuously leak from the tank into the bowl, leading to water wastage and a slow drain. If you notice a constant trickle of water in the toilet bowl, even when it is not being flushed, it’s likely that your flapper valve needs to be replaced.
Replacing a faulty flapper valve is a relatively simple task that can be done without professional assistance. To start, turn off the water supply to the toilet by closing the shut-off valve located near the base of the toilet. Flush the toilet to drain the tank, and then remove the old flapper valve by disconnecting it from the flush valve assembly.
Next, take the new flapper valve and follow the manufacturer’s instructions for installation. Ensure that the flapper valve fits properly and forms a tight seal when closed. Once installed, turn on the water supply, allow the tank to fill, and test the flush to ensure that the new flapper valve functions correctly.
It’s important to choose a high-quality flapper valve to ensure its durability and effectiveness. Keep in mind that flapper valves come in various sizes and designs, so check the specifications of your toilet model or consult a plumbing professional for guidance on selecting the right replacement.
Preventing future flapper valve issues can be done by avoiding the use of in-tank cleaning tablets or toilet bowl cleaners that contain chlorine. These products can accelerate the deterioration of the flapper valve and other components in the toilet tank. Opt for alternative cleaning methods, such as using a toilet brush and non-abrasive cleaners.
Regular maintenance of the toilet tank can also help prolong the lifespan of the flapper valve. Inspect the valve periodically for signs of wear and tear, and replace it promptly if needed. Additionally, cleaning the flush valve and ensuring that it is functioning correctly can prevent debris buildup and further extend the life of the flapper valve.
By addressing a faulty flapper valve and replacing it when necessary, you can restore proper water flow during each flush and eliminate the problem of slow toilet drainage.
Mineral Buildup in Pipes
Mineral buildup in pipes is a common problem in areas with hard water. The high mineral content in the water, such as calcium and magnesium, can accumulate over time and create blockages in the pipes. This buildup can restrict the flow of water and waste, leading to a slow toilet drain.
You may notice signs of mineral buildup if you observe reduced water flow in other fixtures, such as faucets or showerheads, in addition to experiencing slow toilet drainage. The minerals can coat the inside of the pipes, causing them to narrow and obstruct the passage of water.
To address mineral buildup in your toilet pipes, you can take a few steps. One method is to use a descaling solution specifically designed to break down mineral deposits. Follow the instructions on the product label to safely apply the solution to the affected pipes. Allow it to sit for the recommended amount of time, and then flush the toilet to help rinse away the loosened buildup.
If a descaling solution is not readily available, you can try using a mixture of equal parts vinegar and water. Pour this mixture into the toilet tank and let it sit for several hours or overnight. The acidic properties of the vinegar can help dissolve the mineral deposits, making it easier to flush them out. After the soaking period, flush the toilet multiple times to thoroughly rinse the pipes.
For severe cases of mineral buildup, it may be necessary to remove and manually clean the affected pipes. This task may require the help of a professional plumber who can disassemble the toilet and clean the pipes thoroughly. They may also recommend installing a water softener or filtration system to prevent future mineral buildup.
To prevent mineral buildup and maintain proper water flow in your toilet pipes, consider implementing these preventive measures:
- Install a water softener if you have hard water in your area. This device removes the minerals from the water supply, reducing the likelihood of buildup in the pipes.
- Regularly clean and descale your toilet tank and bowl to minimize mineral accumulation.
- Use vinegar or other mild descaling solutions periodically to keep the pipes clear.
- Consider installing a water filtration system to remove excess minerals from the water before it enters your plumbing system.
By being proactive and addressing mineral buildup in your toilet pipes, you can ensure optimal water flow and prevent the occurrence of slow toilet drainage. Regular maintenance and preventive measures will help keep your toilet and plumbing system in excellent working condition.
Tree Root Intrusion
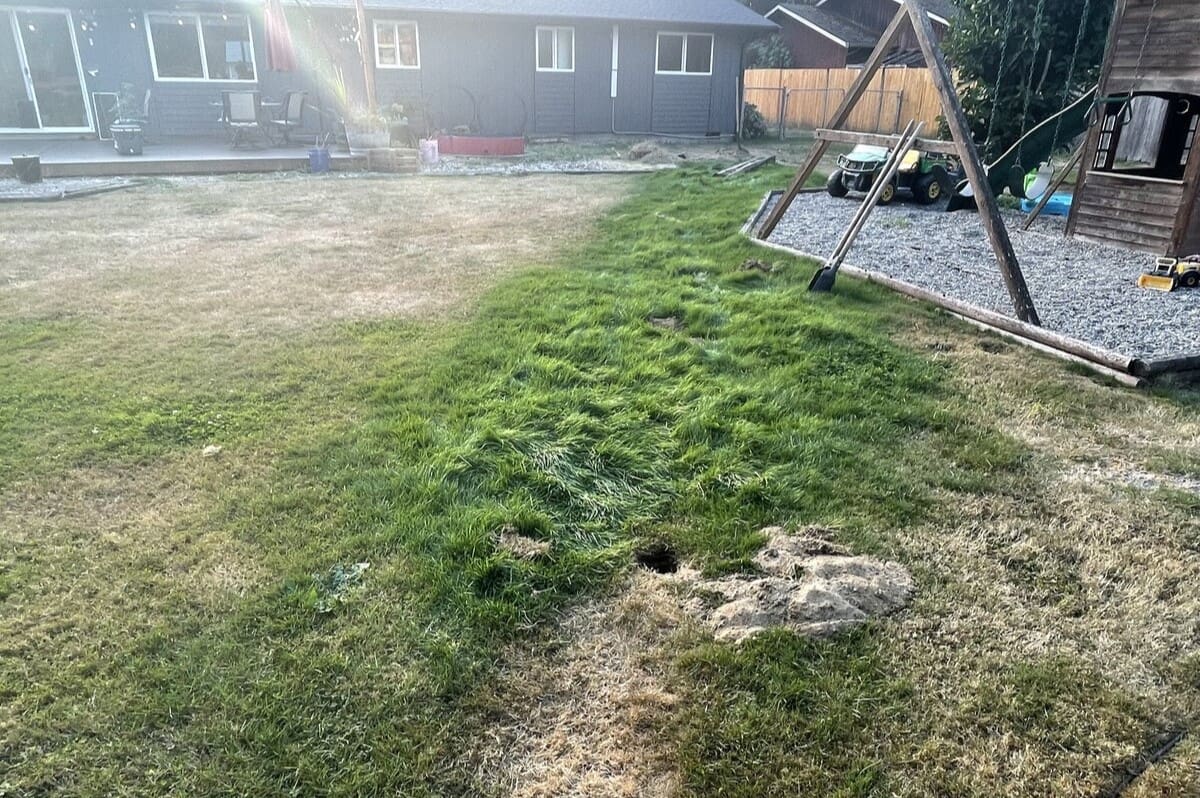
Tree root intrusion is a less common but significant cause of slow toilet drainage. If your sewer line runs underground near trees or large plants, tree roots can infiltrate the pipes seeking moisture and nutrients. As the roots grow and expand within the pipes, they can cause obstructions and restrict the flow of water and waste.
Signs of tree root intrusion may include recurring clogs, gurgling sounds from the toilet or drains, and slow drainage that worsens over time. If left untreated, tree root intrusion can lead to complete blockages and even pipe damage, requiring costly repairs.
Resolving tree root intrusion typically requires the expertise of a professional plumber who can perform a sewer line inspection using specialized cameras or equipment. By inserting a flexible camera into the pipes, they can assess the extent of the root intrusion and identify the best course of action.
There are several methods to address tree root intrusion. One common approach is hydro jetting, which involves using high-pressure water to clear out the roots and debris from the pipes. A hydro jetter can effectively remove the roots and restore the proper flow of water.
In more severe cases, where the roots have caused significant damage to the pipes, a plumber may recommend trenchless pipe repair or replacement. This method involves inserting a new liner into the existing pipe, essentially creating a new pipe within the old one. It eliminates the need for extensive digging and disruption to your property.
Prevention is key to avoiding tree root intrusion. If possible, avoid planting trees or large shrubs near your sewer line and septic tank. If you already have trees in close proximity to your pipes, consider consulting with an arborist to assess the potential risk and take appropriate measures to control root growth.
Regular maintenance of your sewer line, such as annual inspections, can help detect tree root intrusion early on. Taking proactive steps, such as applying root inhibitors or periodic root cutting, can also deter roots from infiltrating your pipes.
Dealing with tree root intrusion requires professional expertise and specialized equipment. By addressing the issue promptly and implementing preventive measures, you can prevent further damage to your pipes and ensure the proper functioning of your toilet drainage.
Septic Tank Issues
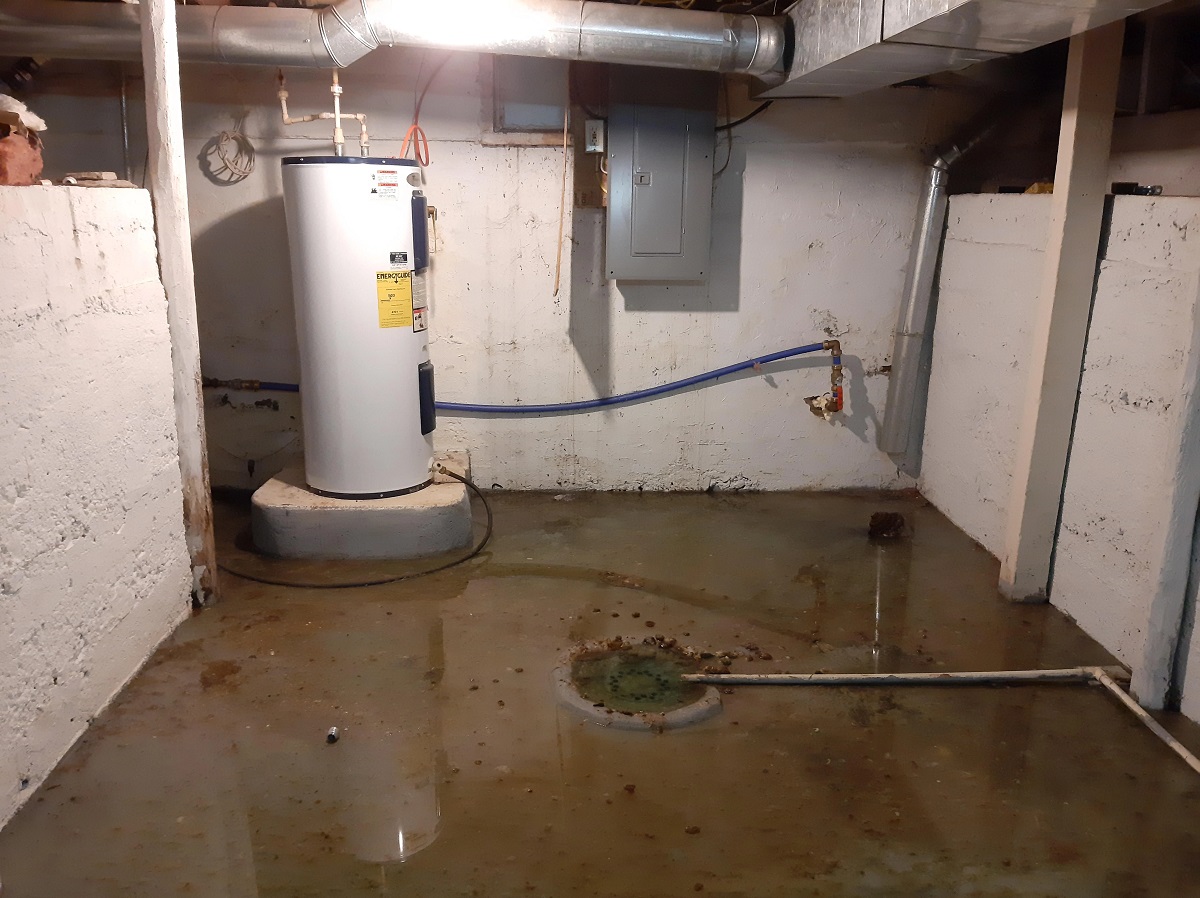
When it comes to slow toilet drainage, septic tank issues can be a possible underlying cause. If you have a septic system, it is crucial to ensure its proper functioning to avoid backups and slow drainage in your toilet and other plumbing fixtures.
Several factors can contribute to septic tank issues that result in slow toilet drainage:
- Overfilled Tank: If the septic tank becomes overloaded with solid waste and sludge, it can impede the natural flow of wastewater. This can lead to slow drainage and even backups in your home. Regular pumping and maintenance are essential to prevent this issue.
- Damaged Pipes or Drainfield: A damaged or collapsed pipe leading from the septic tank to the drainfield can cause slow drainage. Similarly, a compromised drainfield due to saturation, clogging, or soil compaction can also result in improper wastewater dispersal and slow toilet drain.
- Inadequate Tank Size: If your septic tank is undersized for the household’s needs, it may struggle to accommodate the volume of wastewater. This can lead to backups and slow drainage. Consulting with a septic professional can help determine if a larger tank is necessary.
- Blocked Inlet or Outlet: Blockages in the septic tank’s inlet or outlet pipes can restrict the flow of wastewater, causing slow drainage. These blockages can be due to solid waste buildup or the intrusion of roots. A thorough inspection and cleaning of the tank may resolve this issue.
- Failed Septic System: In more severe cases, a failed septic system can lead to slow drainage. This can occur due to a variety of reasons, such as improper installation, excessive water usage, or lack of maintenance. Professional evaluation and repairs are necessary to address a failed septic system.
If you suspect that your slow toilet drainage is related to septic tank issues, it is advisable to consult with a septic professional. They can conduct a thorough inspection of your system, assess the potential issues, and recommend appropriate solutions.
Regular septic tank maintenance is crucial in preventing slow drainage and other septic problems. This includes scheduling regular pumping every three to five years, following proper waste disposal practices, and conserving water to avoid overwhelming the system.
By addressing septic tank issues promptly and maintaining proper septic system care, you can ensure efficient wastewater management, prevent slow toilet drainage, and prolong the lifespan of your septic system.
If your toilet is draining slowly, try using a plunger to clear any blockages in the pipes. You can also try using a toilet auger to remove any stubborn clogs. If these methods don’t work, it may be time to call a professional plumber to assess the issue.
Read more: Why Is My Whirlpool Dishwasher Not Draining
Solutions for Slow Toilet Drainage
If you’re experiencing slow toilet drainage, don’t worry – there are several solutions available to help you resolve the issue. The appropriate solution can vary depending on the specific cause of the slow drain. Let’s explore some common solutions:
- Plunging the Toilet: If the slow drainage is due to a minor clog, using a plunger can often do the trick. Place the plunger over the drain opening and push it down gently, then pull up quickly to create suction. Repeat this plunging motion several times until the clog clears. Be patient and persistent to achieve the desired result.
- Using a Toilet Auger: For more stubborn clogs, a toilet auger, also known as a plumbing snake, may be necessary. Insert the auger into the toilet drain until you feel resistance. Rotate the handle clockwise to break up the clog, and then retract the auger. Flush the toilet to check if the drain is clear, and repeat the process if needed.
- Clearing the Vent Stack: If a blocked or damaged vent stack is causing the slow toilet drain, clearing it is essential. This task requires professional assistance, as it involves accessing the vent stack through the roof and removing any debris or obstructions. A plumber can help ensure proper ventilation and restore normal drainage.
- Replacing the Flapper Valve: A faulty flapper valve can be easily replaced. Turn off the water supply to the toilet, flush to drain the tank, and disconnect the old flapper valve. Install a new flapper valve according to the manufacturer’s instructions, ensuring a tight seal. Turn on the water supply, allow the tank to fill, and test the flush to ensure proper drainage.
- Removing Mineral Buildup: To address mineral buildup in the pipes, you can use a descaling solution or a mixture of vinegar and water. Apply the solution to the affected pipes and allow it to sit for the recommended time. Then, flush the toilet to remove the loosened deposits. For severe cases, professional assistance may be required.
- Dealing with Tree Root Intrusion: Tree root intrusion requires professional expertise. A plumber can inspect the sewer line using specialized equipment and remove the roots obstructing the flow. They may also recommend preventive measures, such as installing root barriers or regular root maintenance, to prevent future intrusions.
- Maintaining the Septic Tank: Regular maintenance, including pumping the septic tank every three to five years, is crucial to prevent slow drainage. Consult with a septic professional to evaluate and maintain your septic system properly. They can address any issues and provide guidance on best practices for a healthy septic tank.
Remember, the solution for your specific slow toilet drainage problem depends on the underlying cause. If you’re unsure about the cause or unable to resolve the issue on your own, it’s always best to seek professional assistance to properly diagnose and address the problem.
By implementing the appropriate solution and maintaining regular plumbing maintenance, you can restore proper toilet drainage and ensure efficient and trouble-free operation in your bathroom.
Plunging the Toilet
Plunging the toilet is a tried-and-true method to resolve a minor clog and restore proper drainage. It is often the first line of defense in tackling slow toilet drainage caused by blockages. This simple yet effective technique can save you from calling a professional or resorting to harsh chemical drain cleaners.
Here is a step-by-step guide on how to plunge a toilet:
- Gather the right tools: Start by equipping yourself with a toilet plunger. Ensure that you are using a plunger specifically designed for toilets, as it has a flange or extension on the bottom that forms a better seal over the drain opening.
- Prepare the area: Place towels or old rags around the base of the toilet to protect the floor from any potential water splashes. Keep a bucket handy in case you need to remove excess water from the bowl.
- Create a tight seal: Position the plunger’s flange directly over the drain opening in the toilet bowl. Press down gently but firmly to create a good seal. Ensure that the entire flange is in contact with the surface of the bowl and there is no air escaping.
- Plunge with force: Push the plunger down slowly and steadily, and then pull up quickly with a strong motion. This action creates suction and pressure changes that can dislodge the clog. Continue plunging with a rhythmic up-and-down motion, maintaining a tight seal with each plunge. Be patient and persistent, as it may take several attempts to clear the clog.
- Check for proper drainage: After plunging for a few minutes, remove the plunger and observe the water level in the bowl. If it begins to drain or recede, it indicates that you are making progress in clearing the clog. Flush the toilet to check if the water drains properly. If the drain is still slow, repeat the plunging process until the clog is completely cleared.
- Prevent future clogs: To minimize the chances of future clogs, introduce good preventive practices. Remind household members to use only toilet-friendly items and avoid flushing materials that can contribute to clogs, such as paper towels, hygiene products, or excessive amounts of toilet paper.
Remember, plunging is most effective for minor clogs that are located closer to the toilet. If you are unable to resolve the slow toilet drainage with plunging or if the issue persists, it may be an indication of a more significant blockage or underlying problem. In such cases, it is advisable to seek professional assistance to avoid potential damage to your plumbing system.
By following these steps and using the appropriate technique, you can often clear a minor clog and restore proper toilet drainage, saving you time, money, and inconvenience.
Using a Toilet Auger
If plunging doesn’t effectively clear a stubborn toilet clog and restore proper drainage, using a toilet auger, also known as a plumbing snake, can be the next step in resolving the issue. A toilet auger is a long, flexible cable with a specialized head designed to break up and remove clogs that are deeper in the toilet drain.
Follow these steps to properly use a toilet auger:
- Gather the necessary tools: Start by obtaining a toilet auger. Make sure you have a good grip and control over the cable. Put on gloves to protect your hands during the process.
- Prepare the area: Place towels or rags around the base of the toilet to catch any water that may splash out during the process.
- Insert the auger: Insert the end of the toilet auger into the toilet bowl, ensuring that the head of the auger is facing down and the cable is coiled tightly to fit into the drain.
- Rotate and feed the auger: Gently push the auger cable into the drain while simultaneously rotating the handle clockwise. The rotation helps the auger to navigate through the clog and apply pressure to break it up. Be careful not to force the auger too vigorously, as excessive force can damage the toilet bowl or internal plumbing.
- Break up the clog: Continue pushing and rotating the auger until you feel resistance or the clog starts to break apart. If the auger encounters a blockage, you may need to apply more pressure or rotate the auger in the opposite direction to loosen it.
- Retract the auger: Once you have determined that the cable has broken up the clog, slowly pull back the auger cable while continuing to rotate it. This action helps ensure that the clog is being cleared and removed from the drain.
- Flush and test the toilet: Flush the toilet to evaluate whether the slow drain has been resolved. If the water flows smoothly and the clog is cleared, you have successfully used the toilet auger to restore proper toilet drainage.
Remember, using a toilet auger requires caution and precision to avoid causing damage to the toilet or plumbing system. If you are unsure about using the auger or if the clog persists, it is advisable to contact a professional plumber who can provide expert assistance.
By following these steps, you can use a toilet auger effectively to break up stubborn clogs and restore proper drainage in your toilet, saving you from potential costly repairs and inconvenience.
Clearing the Vent Stack
A blocked or damaged vent stack can cause slow toilet drainage and other plumbing issues. The vent stack is a vertical pipe that allows air to enter the drain pipes, maintaining proper pressure and flow. When the vent stack becomes blocked or compromised, it can hinder the drainage process and lead to slow drains.
Clearing a vent stack is a task that should be handled by a professional plumber due to the specialized equipment and knowledge required. Here is an overview of the process:
- Identify the vent stack: The location of the vent stack will vary depending on your plumbing setup. It is typically found on the roof and extends vertically above the drainage system. Ensure that you can safely access the roof and locate the vent stack before proceeding.
- Professional inspection: Contact a professional plumber who can use specialized cameras or equipment to inspect the vent stack. They will determine the exact location and cause of the blockage or damage.
- Clearing the vent stack: Once the blockage is identified, the plumber will use appropriate tools or techniques to clear it. This may involve snaking a cable or using high-pressure air to dislodge the obstruction and restore the proper airflow.
- Repair or replacement: If the vent stack is damaged or compromised, the plumber will evaluate the extent of the damage and recommend appropriate repairs or replacement if necessary. This may involve removing and replacing portions of the vent stack or making other adjustments to restore proper function.
Clearing a vent stack is a task that should be left to professionals due to safety concerns and the complexity of the plumbing system. A licensed plumber has the knowledge, experience, and tools to effectively clear the vent stack and ensure proper ventilation in your plumbing system.
Preventing future blockages in the vent stack can be achieved by regularly inspecting the area around the vent stack and keeping it free from debris. Trim any overhanging branches or vegetation that may obstruct the vent stack’s opening or potentially cause damage to the pipe.
Remember, ensuring the proper function of your vent stack is crucial for maintaining optimal drainage in your plumbing system, including your toilet. By addressing vent stack blockages and damage promptly, you can restore normal drainage and prevent further plumbing issues.
Read more: Why Is My Bathtub Not Draining Water
Replacing the Flapper Valve
If you have a faulty flapper valve, replacing it is a relatively simple task that can help resolve slow toilet drainage. The flapper valve is located at the bottom of the toilet tank and controls the flow of water from the tank into the bowl during a flush. Over time, the flapper valve can deteriorate, causing it to not seal properly and resulting in water wastage and slow drainage.
Here is a step-by-step guide on how to replace a flapper valve:
- Turn off the water supply: Locate the shut-off valve near the base of the toilet and turn it clockwise to shut off the water supply. This valve is typically located on the wall or on the floor behind the toilet.
- Flush the toilet: Flush the toilet to drain the water from the tank. Hold down the handle until all the water is emptied from the tank and the bowl.
- Remove the old flapper valve: Locate the flapper valve at the bottom of the tank. Disconnect the flapper chain from the flush lever or any other attachments that hold it in place. Carefully remove the old flapper valve from the overflow tube.
- Choose a suitable replacement: Take the old flapper valve to a hardware store to find an exact or compatible replacement. Flapper valves come in different sizes and designs, so selecting the correct one is crucial for proper functionality.
- Install the new flapper valve: Place the new flapper valve over the overflow tube, ensuring it fits securely and forms a tight seal. Attach the flapper chain to the flush lever or other mechanisms, making sure it has enough slack for proper movement.
- Turn on the water supply: Once the new flapper valve is installed, turn on the water supply by turning the shut-off valve counterclockwise. Allow the tank to fill with water.
- Test for proper function: With the tank refilled, flush the toilet and observe the new flapper valve’s performance. It should lift and close smoothly, allowing proper water flow and efficient drainage.
Remember to choose a high-quality flapper valve that is compatible with your toilet model. If you’re unsure about the specific replacement or encounter any difficulties during the process, consider consulting a plumbing professional for guidance or assistance.
By replacing a faulty flapper valve, you can restore a proper seal in the toilet tank, eliminate water wastage, and improve toilet drainage. Regular inspection and maintenance of the flapper valve can help prevent future issues and ensure smooth flushing and efficient water usage in your toilet.
Removing Mineral Buildup
Mineral buildup in the toilet pipes is a common issue in areas with hard water. Over time, minerals such as calcium and magnesium can accumulate and create blockages, resulting in slow toilet drainage. Clearing out this buildup is essential to restore proper water flow and prevent further plumbing problems.
Here are some steps to effectively remove mineral buildup from your toilet pipes:
- Gather the necessary supplies: Before starting the process, gather white vinegar, a bucket, a clean cloth or sponge, and a toilet brush.
- Prepare the vinegar solution: Mix equal parts white vinegar and water in the bucket. The acidic properties of vinegar help dissolve mineral deposits.
- Shut off the water supply: Locate the shut-off valve behind the toilet and turn it clockwise to stop the water flow.
- Flush and empty the toilet: Flush the toilet once to remove as much water as possible from the tank and bowl. Remove any remaining water in the bowl using a small container or sponge.
- Apply the vinegar solution: Pour the vinegar solution into the toilet bowl, making sure to cover any mineral buildup or stained areas. Use a clean cloth or sponge to spread the solution around the bowl, ensuring it comes into contact with the mineral deposits.
- Let the solution sit: Allow the vinegar solution to sit in the bowl for at least 30 minutes, or longer if the mineral buildup is severe. This gives the vinegar enough time to break down the deposits.
- Scrub the bowl: Use a toilet brush to scrub the interior of the bowl, focusing on areas with mineral buildup. Apply additional vinegar solution if needed. The brush, combined with the acidic vinegar, helps to dislodge and remove the mineral deposits.
- Rinse and flush: After scrubbing, turn on the water supply and flush the toilet multiple times to rinse away the dissolved mineral buildup and residual vinegar. Repeat this process until the water in the bowl runs clear.
If the mineral buildup is severe or persists despite the vinegar treatment, professional assistance may be required. A plumber can use specialized tools to remove stubborn deposits and ensure that your toilet pipes are properly cleaned.
Preventing future mineral buildup can be achieved by using a water softening system or installing a water conditioner to reduce the mineral content in your water supply. Regular cleaning and maintenance of the toilet tank and bowl can also prevent the buildup of minerals over time.
By taking proactive steps to remove mineral buildup and implementing preventive measures, you can restore proper water flow, prevent slow toilet drainage, and maintain the optimal functioning of your toilet.
Dealing with Tree Root Intrusion
Tree root intrusion can be a challenging issue to tackle when it comes to slow toilet drainage. If you have trees or large plants in close proximity to your sewer line, the roots can infiltrate the pipes in search of water and nutrients. Over time, these roots can cause obstructions and restrict the flow, resulting in slow drains and potential backups.
Here are some steps to effectively deal with tree root intrusion:
- Identify the root intrusion: If you notice persistent slow toilet drainage or other signs of a blocked sewer line, it’s essential to identify if tree roots are the culprits. Professional assistance from a plumber with specialized equipment, such as a sewer camera, can help locate the exact area of root intrusion and assess the severity of the problem.
- Use mechanical root removal: Depending on the extent of the intrusion, a plumber may suggest using mechanical root removal methods to break up and clear the roots. Tools such as power augers or rotary cutting devices can effectively cut through and remove the intruding roots.
- Consider root-killing treatments: After removing the roots, the plumber may recommend using root-killing treatments to prevent future growth. Chemical treatments that contain copper sulfate or foaming root killers can be applied to the sewer line to inhibit root regrowth. It’s important to follow the instructions provided by the manufacturer and use these treatments responsibly.
- Explore long-term solutions: For severe cases of tree root intrusion, where cutting and treating the roots may not be sufficient, more extensive measures may be required. This can include excavating and replacing the affected sections of the sewer line or implementing trenchless repair methods, such as pipe lining or pipe bursting, to mitigate root intrusion risks.
- Prevent future root intrusion: After addressing the current root intrusion problem, it’s crucial to take preventive measures to avoid future occurrences. Plan tree planting away from sewer lines, and consult with an arborist to determine the potential impact of existing trees. Regularly maintain your trees by keeping them pruned and roots in check to minimize the risk of root infiltration.
Remember, tree root intrusion is a complex issue that requires professional expertise and specialized equipment to address effectively. Hiring a licensed plumber experienced in dealing with root intrusion is essential to ensure proper diagnosis and implementation of appropriate solutions.
By taking prompt action and implementing preventive measures, you can effectively deal with tree root intrusion, restore proper toilet drainage, and maintain the health and integrity of your sewer line.
Maintaining the Septic Tank
Maintaining your septic tank is crucial in preventing slow toilet drainage and other plumbing issues. Regular maintenance ensures the proper function and longevity of your septic system, preventing backups and costly repairs. Here are some important steps to maintain your septic tank:
- Regular pumping: Schedule regular septic tank pumping every three to five years, or as recommended by a septic professional. Pumping removes accumulated solids from the tank, preventing them from clogging the drain field and causing slow drainage. This is a critical maintenance task to keep your septic system operating efficiently.
- Conserve water: Excessive water usage can overload the septic system, leading to slow drainage and potential backups. Implement water conservation practices such as fixing leaks, installing low-flow fixtures, and spreading out water usage throughout the day. Avoid doing several laundry loads or using multiple water-intensive appliances simultaneously.
- Be mindful of what goes down the drain: Proper waste disposal is essential to maintain the health of your septic tank. Avoid flushing non-biodegradable items, grease, chemicals, medications, and excessive amounts of toilet paper. These can disrupt the natural bacterial balance in the tank or contribute to clogs and system malfunctions.
- Be cautious with household chemicals: Harsh chemicals such as bleach, disinfectants, and heavy-duty cleaners can kill the beneficial bacteria in the septic tank that break down waste. Use septic-safe alternatives or reduce chemical use whenever possible to maintain a healthy balance of bacteria in the tank.
- Monitor the drain field: The drain field is an essential component of the septic system that helps to filter and treat wastewater. Avoid parking vehicles, constructing buildings, or planting deep-rooted trees or plants over the drain field as these can damage the system’s functionality. Regularly inspect the drain field for signs of standing water, foul odors, or unusual vegetation growth, as these may indicate a problem that requires professional attention.
- Professional inspections and maintenance: Regularly schedule professional septic system inspections by a licensed technician. They will check the integrity of the tank, measure the level of solids, assess drain field condition, and provide necessary maintenance or repairs. Professional guidance ensures that your system is properly maintained and any potential issues are addressed before they become significant problems.
By following these essential septic tank maintenance practices, you can prevent slow toilet drainage and extend the lifespan of your septic system. Regular maintenance, responsible water usage, mindful waste disposal, and professional inspections are keys to a healthy and properly functioning septic system.
Read more: Why Does My Washer Not Drain
Conclusion
Slow toilet drainage can be a frustrating and inconvenient problem to deal with. However, by understanding the common causes and implementing the appropriate solutions, you can restore proper drainage and prevent further plumbing issues.
In this article, we explored the various factors that can contribute to slow toilet drainage, including clogged toilet drains, blocked or damaged vent stacks, faulty flapper valves, mineral buildup in pipes, tree root intrusion, and septic tank issues. Understanding these causes is essential in determining the best course of action for resolving the issue.
We discussed practical solutions such as plunging the toilet, using a toilet auger, clearing the vent stack, replacing the flapper valve, removing mineral buildup, addressing tree root intrusion, and maintaining the septic tank. Each solution offers effective methods for tackling specific problems, and it’s important to choose the appropriate solution based on the underlying cause of the slow toilet drainage.
It is crucial to remember that proper maintenance is key to preventing slow toilet drainage and other plumbing issues. Regular inspection, cleaning, and maintenance of your plumbing system, including routine pumping of the septic tank, contribute to its optimal functioning.
Additionally, being mindful of what goes down the drain, conserving water, and following septic-friendly practices can help prevent clogs and system failures. Taking preventive measures, such as regular professional inspections and addressing potential issues promptly, can save you time, money, and inconvenience in the long run.
In conclusion, slow toilet drainage is a common problem with multiple causes and solutions. By understanding the mechanisms, being proactive with maintenance, and addressing any issues in a timely manner, you can ensure efficient and trouble-free toilet drainage in your home.
Frequently Asked Questions about Why Is My Toilet Draining Slowly
Was this page helpful?
At Storables.com, we guarantee accurate and reliable information. Our content, validated by Expert Board Contributors, is crafted following stringent Editorial Policies. We're committed to providing you with well-researched, expert-backed insights for all your informational needs.


0 thoughts on “Why Is My Toilet Draining Slowly”