Home>Construction & Tools>Building Materials>How To Attach A Wooden Fence To A Brick Wall
Building Materials
How To Attach A Wooden Fence To A Brick Wall
Modified: April 22, 2024
Learn how to securely attach a wooden fence to a brick wall using the right building materials. Get step-by-step instructions and expert tips.
(Many of the links in this article redirect to a specific reviewed product. Your purchase of these products through affiliate links helps to generate commission for Storables.com, at no extra cost. Learn more)
Introduction
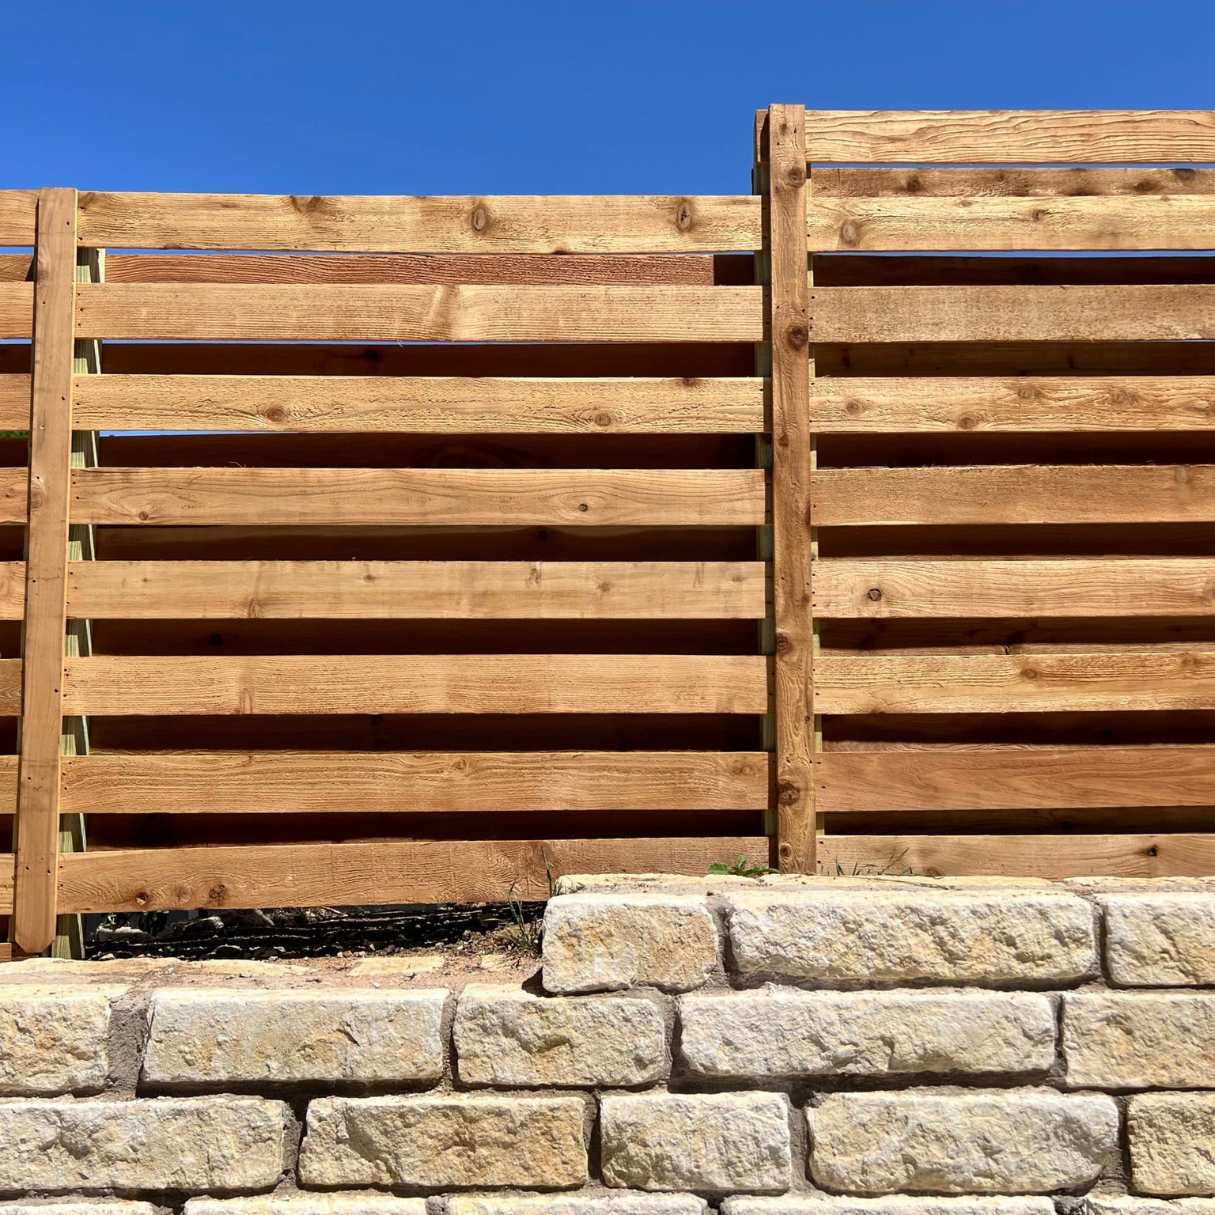
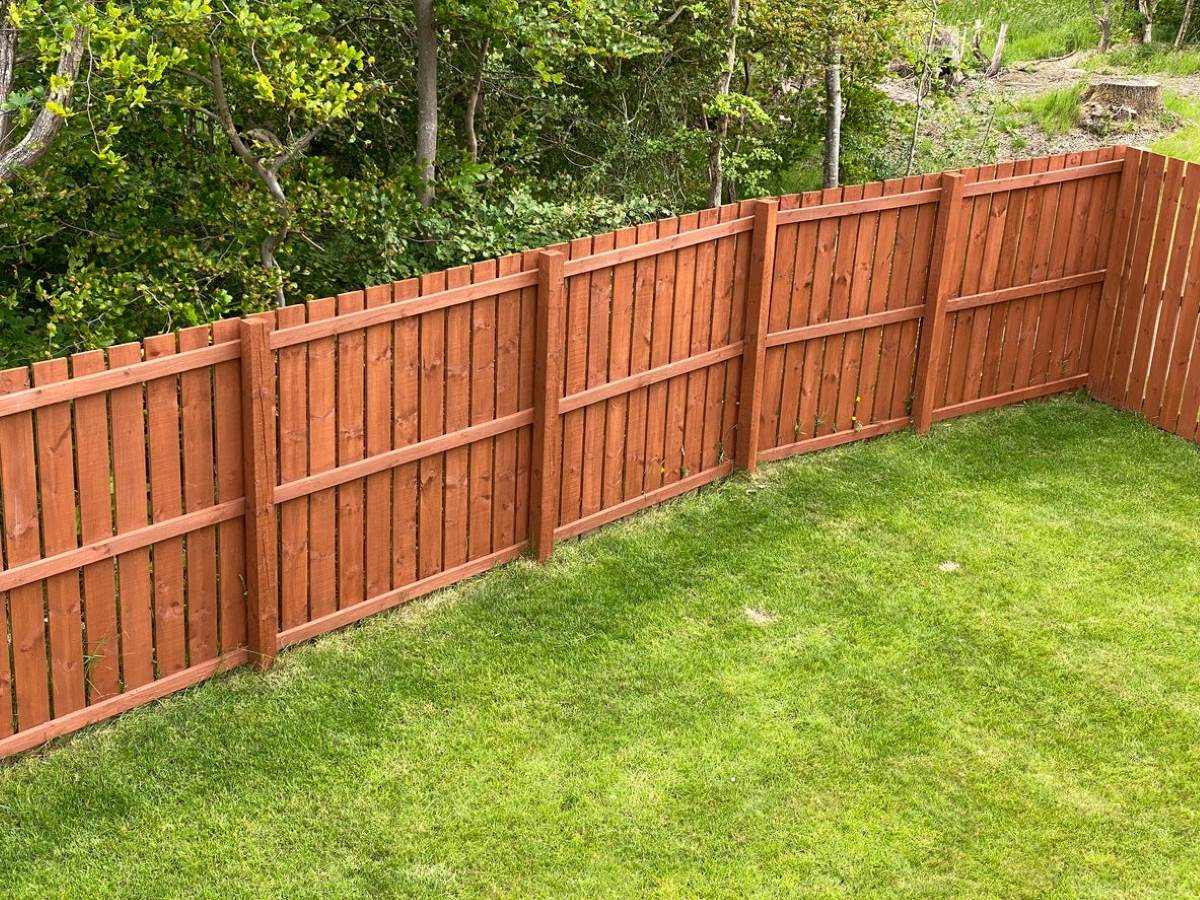
So, you've decided to add a touch of rustic charm to your property by installing a wooden fence along a brick wall. This combination of materials can create a striking aesthetic, blending the warmth of wood with the sturdiness of brick. However, the process of attaching a wooden fence to a brick wall requires careful planning, precise execution, and the right tools and materials.
In this comprehensive guide, we'll walk you through the step-by-step process of securely fastening a wooden fence to a brick wall. From preparing the wall surface to installing the fence panels, we'll cover everything you need to know to complete this project successfully. Whether you're a seasoned DIY enthusiast or a homeowner looking to tackle a new challenge, this guide will equip you with the knowledge and confidence to achieve professional-looking results.
Let's dive into the materials and tools you'll need to get started.
Key Takeaways:
- Attaching a wooden fence to a brick wall requires cleaning the wall, drilling pilot holes, and securing the posts with screws. This creates a sturdy and visually appealing structure for your property.
- Installing the fence panels involves measuring, positioning, and securing them between the wooden posts. Adding a protective coating enhances the fence’s durability and aesthetic appeal, creating a charming boundary for your outdoor space.
Read more: How To Attach Fence To Brick Wall
Materials and Tools Needed
Before embarking on the project, it’s essential to gather all the necessary materials and tools to ensure a smooth and efficient installation process. Here’s a comprehensive list of what you’ll need:
Materials:
- Wooden fence posts
- Wooden fence panels
- Brackets or post anchors
- Masonry screws or anchors
- Wood screws
- Pressure-treated lumber (if required)
- Concrete mix (if needed for additional support)
- Wood sealer or outdoor paint (for post protection)
Tools:
- Drill/driver
- Masonry drill bit
- Screwdriver
- Level
- Tape measure
- Hammer
- Concrete mixing tub (if using concrete mix)
- Paintbrush or sprayer (for post treatment)
- Safety goggles and gloves
Having these materials and tools on hand will streamline the installation process and help you overcome any challenges that may arise during the project. With everything ready, you can now move on to preparing the brick wall for the fence attachment.
Preparing the Brick Wall
Before attaching the wooden fence to the brick wall, it’s crucial to ensure that the wall surface is properly prepared to support the weight and structure of the fence. Here’s a step-by-step guide to preparing the brick wall:
Read more: How To Attach Wire To Brick Wall
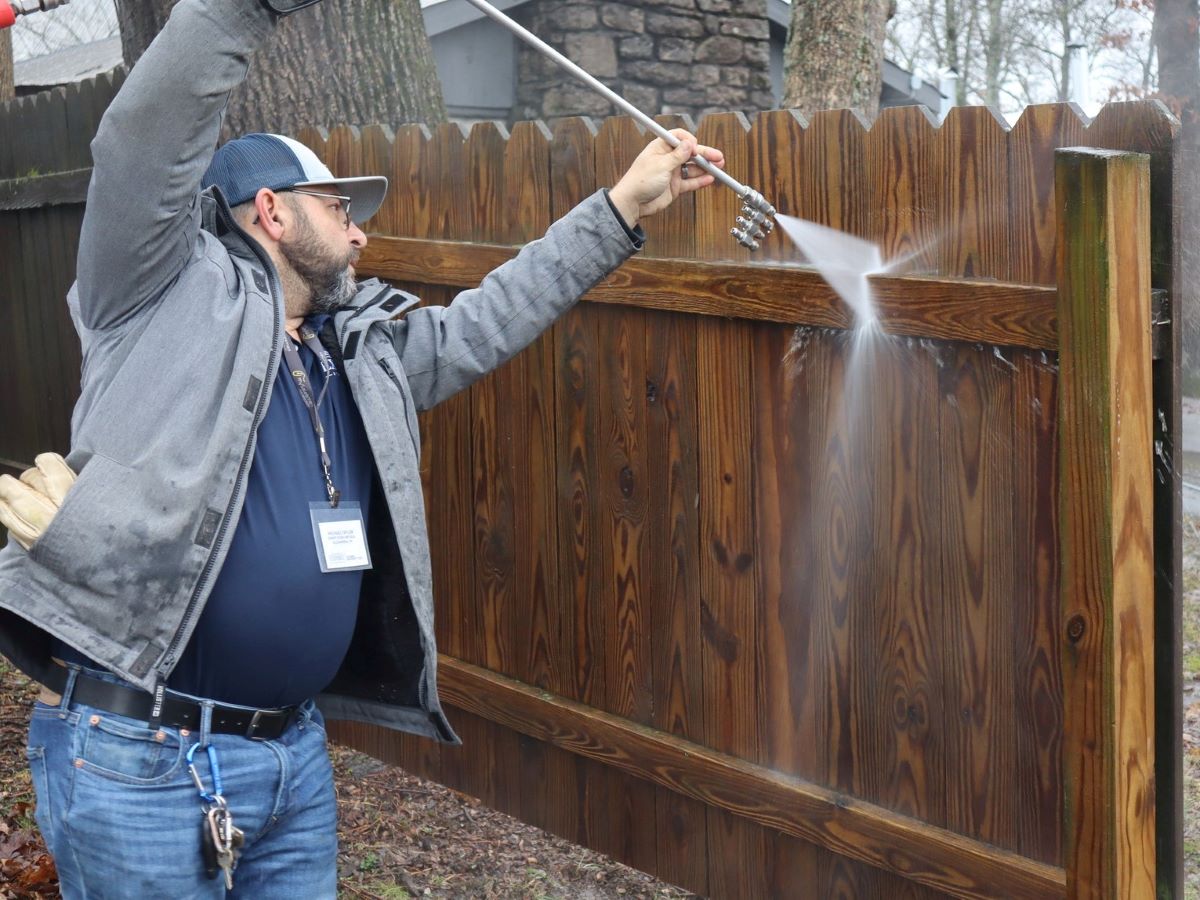
1. Clean the Wall Surface:
Start by thoroughly cleaning the area where the fence will be attached. Use a stiff brush or a pressure washer to remove any dirt, debris, or loose mortar from the brick surface. This will provide a clean and stable foundation for the attachment.
2. Identify Attachment Points:
Determine the locations where the wooden fence posts will be attached to the wall. Mark these points clearly using a pencil or chalk, ensuring that they are evenly spaced and aligned with your desired fence layout.
3. Drill Pilot Holes:
Using a masonry drill bit, carefully drill pilot holes into the brick at the marked attachment points. The diameter of the pilot holes should correspond to the size of the masonry screws or anchors you’ll be using to secure the fence posts.
4. Insert Anchors or Screws:
Depending on the chosen method of attachment, insert masonry screws or anchors into the pilot holes. Ensure that they are firmly and securely positioned, providing a stable anchor point for the fence posts.
Read more: How To Attach A Metal Gate To A Brick Wall
5. Check for Stability:
Once the anchors or screws are in place, test the stability of each attachment point by gently tugging on them. They should feel secure and immovable, indicating that they are ready to support the weight of the wooden fence.
By following these steps, you’ll create a solid and reliable foundation on the brick wall for attaching the wooden fence posts. With the wall prepared, you can now proceed to the next phase: attaching the wooden posts to the wall.
Attaching the Wooden Posts to the Wall
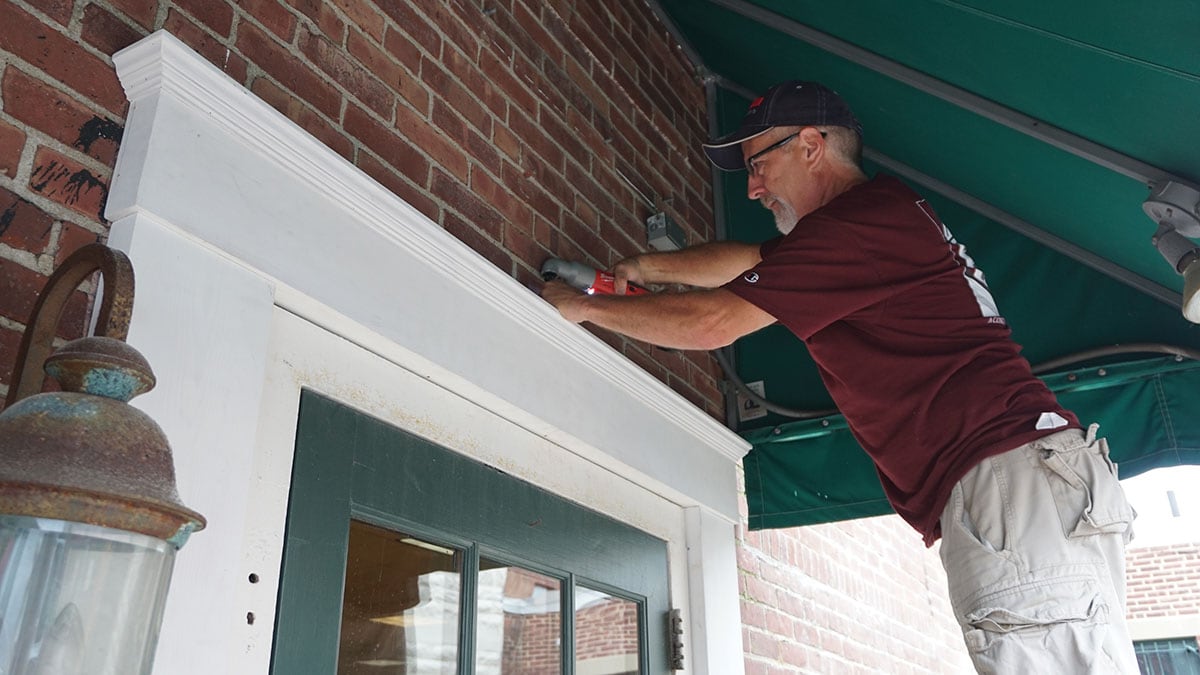
With the brick wall properly prepared, it’s time to securely attach the wooden fence posts. This process requires precision and attention to detail to ensure the stability and longevity of the fence. Here’s a detailed guide to attaching the wooden posts to the wall:
1. Position the Posts:
Place the wooden fence posts against the prepared wall, aligning them with the previously marked attachment points. Use a level to ensure that the posts are perfectly vertical and plumb, making adjustments as needed.
2. Mark Screw Locations:
Once the posts are positioned correctly, mark the locations on the posts where the screws will be inserted to secure them to the wall. This will ensure that the screws are driven into the posts at consistent and reliable points.
3. Drill Pilot Holes:
Using a drill/driver and a wood drill bit, carefully create pilot holes in the wooden posts at the marked screw locations. The diameter of the pilot holes should correspond to the size of the wood screws you’ll be using for attachment.
4. Secure the Posts:
With the pilot holes in place, drive wood screws through the posts and into the anchors or wall anchors installed in the brick wall. Ensure that the screws are tightened securely, firmly securing the posts to the wall.
5. Check Alignment:
Once all the posts are attached, double-check their alignment and stability. Use a level to verify that the posts are still perfectly vertical and adjust them if necessary.
6. Treat the Posts:
To protect the wooden posts from moisture and weathering, consider applying a wood sealer or outdoor paint to the exposed surfaces. This will help prolong the lifespan of the posts and maintain the overall integrity of the fence.
By following these steps, you’ll effectively attach the wooden fence posts to the brick wall, creating a solid and secure foundation for the fence structure. With the posts in place, you’re now ready to move on to the final phase: installing the fence panels.
Read more: How To Build A Wooden Fence
Installing the Fence Panels
With the wooden posts securely attached to the brick wall, it’s time to complete the installation by adding the fence panels. This phase will bring the project to fruition, creating a visually appealing and functional boundary for your property. Here’s a comprehensive guide to installing the fence panels:
1. Measure and Cut Panels:
Begin by measuring the distance between the installed fence posts to determine the required width for the fence panels. If necessary, use a saw to trim the panels to the appropriate size, ensuring a precise fit between the posts.
2. Position the Panels:
With the panels cut to size, position them between the wooden fence posts, ensuring that they are evenly spaced and aligned. Use a level to confirm that the panels are horizontally straight and make adjustments as needed.
3. Secure the Panels:
Once the panels are in position, use wood screws to attach them to the wooden posts. Drive the screws through the panels and into the posts, ensuring a secure and stable connection at multiple points along the height of each panel.
Read more: How To Paint Wooden Fence
4. Add Finishing Touches:
After securing the fence panels, inspect the entire installation for any remaining adjustments or finishing touches. Ensure that the panels are uniformly positioned and that the overall appearance of the fence meets your expectations.
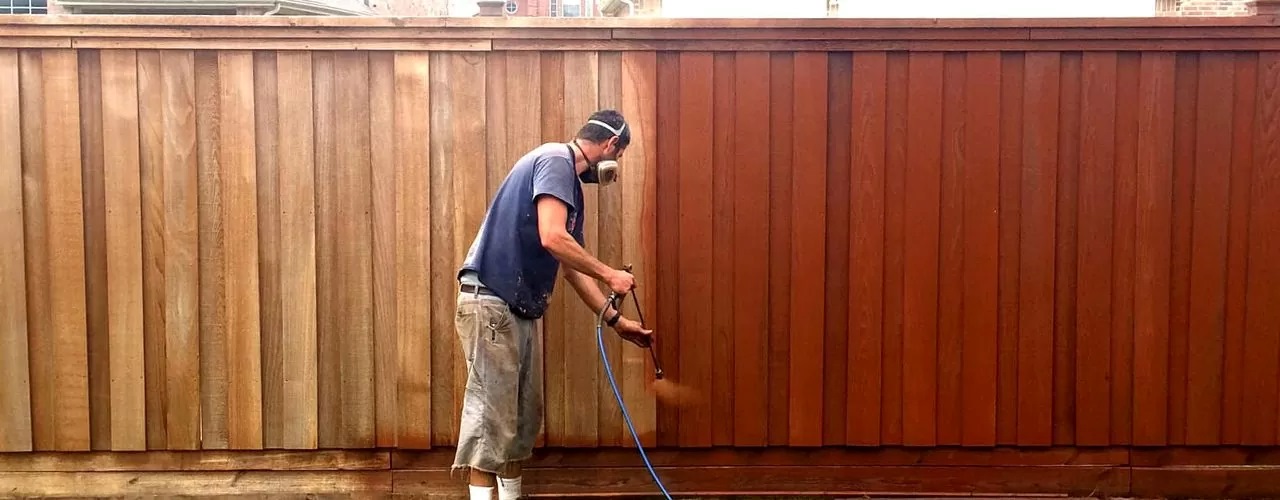
5. Apply Protective Coating:
To enhance the durability and visual appeal of the fence, consider applying a protective coating of wood sealer or outdoor paint to the entire structure. This will help shield the wood from the elements and maintain its appearance over time.
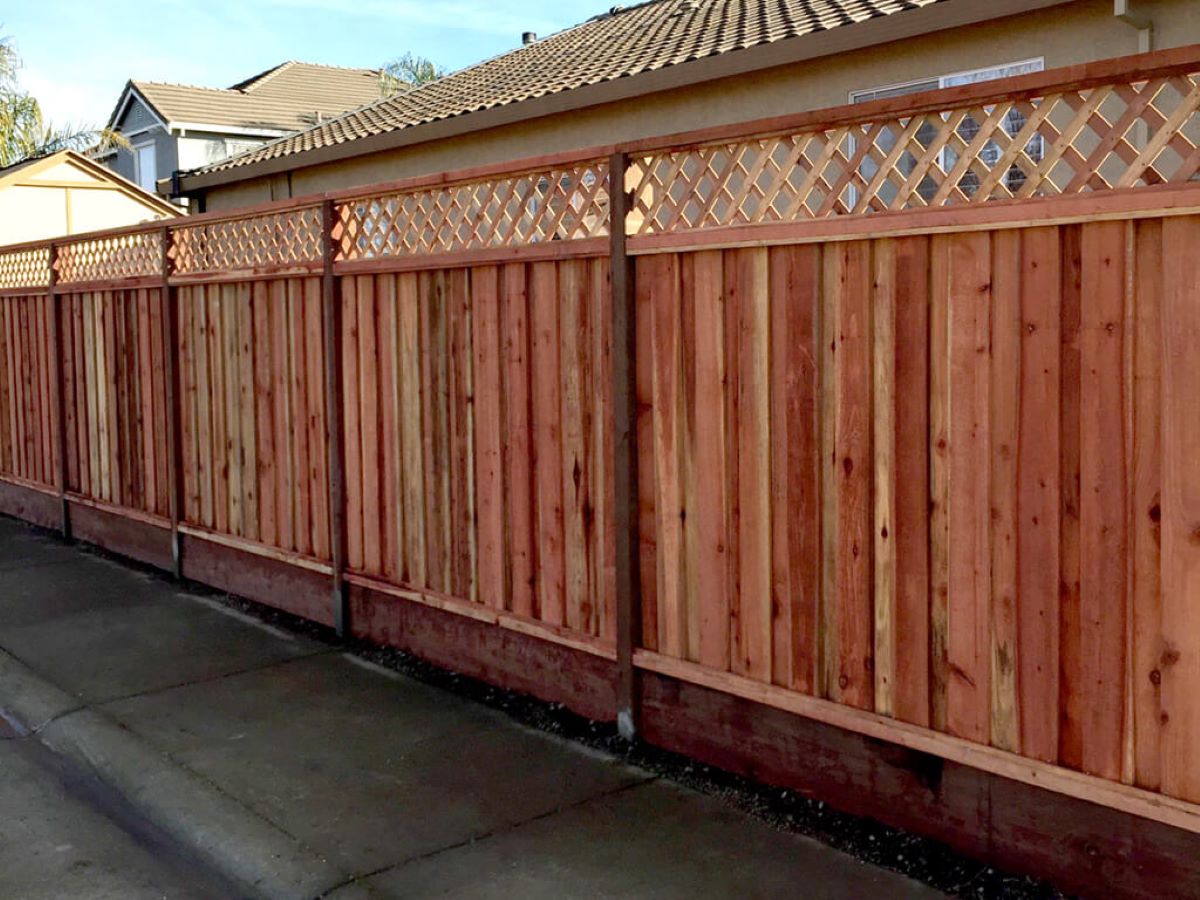
Following these steps will result in the successful installation of the wooden fence panels, completing the attachment of the fence to the brick wall. With the fence panels in place, take a moment to admire your handiwork and appreciate the transformative impact it has on your property.
Conclusion
Congratulations! By following this comprehensive guide, you’ve successfully attached a wooden fence to a brick wall, transforming your property with a touch of timeless elegance and functionality. This project not only enhances the aesthetics of your outdoor space but also adds privacy, security, and a sense of warmth to your surroundings.
Throughout the process, you’ve demonstrated the patience, precision, and craftsmanship required to complete a project of this nature. From preparing the brick wall to securely fastening the wooden posts and installing the fence panels, each step has contributed to the creation of a durable and visually appealing fence structure.
As you admire the finished result, take a moment to appreciate the seamless integration of wood and brick, a combination that exudes character and charm. The natural textures and earthy tones of these materials harmonize beautifully, creating a striking boundary that complements the architectural elements of your property.
Not only does the fence serve a practical purpose, but it also becomes a defining feature of your outdoor space, inviting admiration from visitors and passersby alike. Whether you’re enjoying a quiet moment in your garden or hosting outdoor gatherings, the presence of the wooden fence adds a touch of rustic allure to the overall ambiance.
As you maintain and care for your newly installed fence, remember to periodically inspect the attachment points, posts, and panels to ensure their structural integrity. Regular maintenance, such as resealing the wood and tightening any loose fasteners, will help prolong the lifespan of the fence and preserve its visual appeal for years to come.
Lastly, take pride in the fact that you’ve tackled a project that not only enhances your property but also reflects your creativity and resourcefulness. The successful attachment of a wooden fence to a brick wall is a testament to your ability to transform ideas into tangible, enduring improvements to your home.
With this project completed, you’re now equipped with the knowledge and skills to take on future endeavors, whether they involve woodworking, masonry, or other facets of home improvement. Your willingness to embrace new challenges and expand your DIY repertoire will continue to enrich your living environment and inspire others to embark on their own creative ventures.
Embrace the sense of accomplishment that comes with completing this project, and let the beauty and functionality of your newly attached wooden fence to the brick wall enrich your daily life and the experiences of those who share your space.
Frequently Asked Questions about How To Attach A Wooden Fence To A Brick Wall
Was this page helpful?
At Storables.com, we guarantee accurate and reliable information. Our content, validated by Expert Board Contributors, is crafted following stringent Editorial Policies. We're committed to providing you with well-researched, expert-backed insights for all your informational needs.


0 thoughts on “How To Attach A Wooden Fence To A Brick Wall”