Home>Construction & Tools>Building Materials>How To Attach Brick Molding
Building Materials
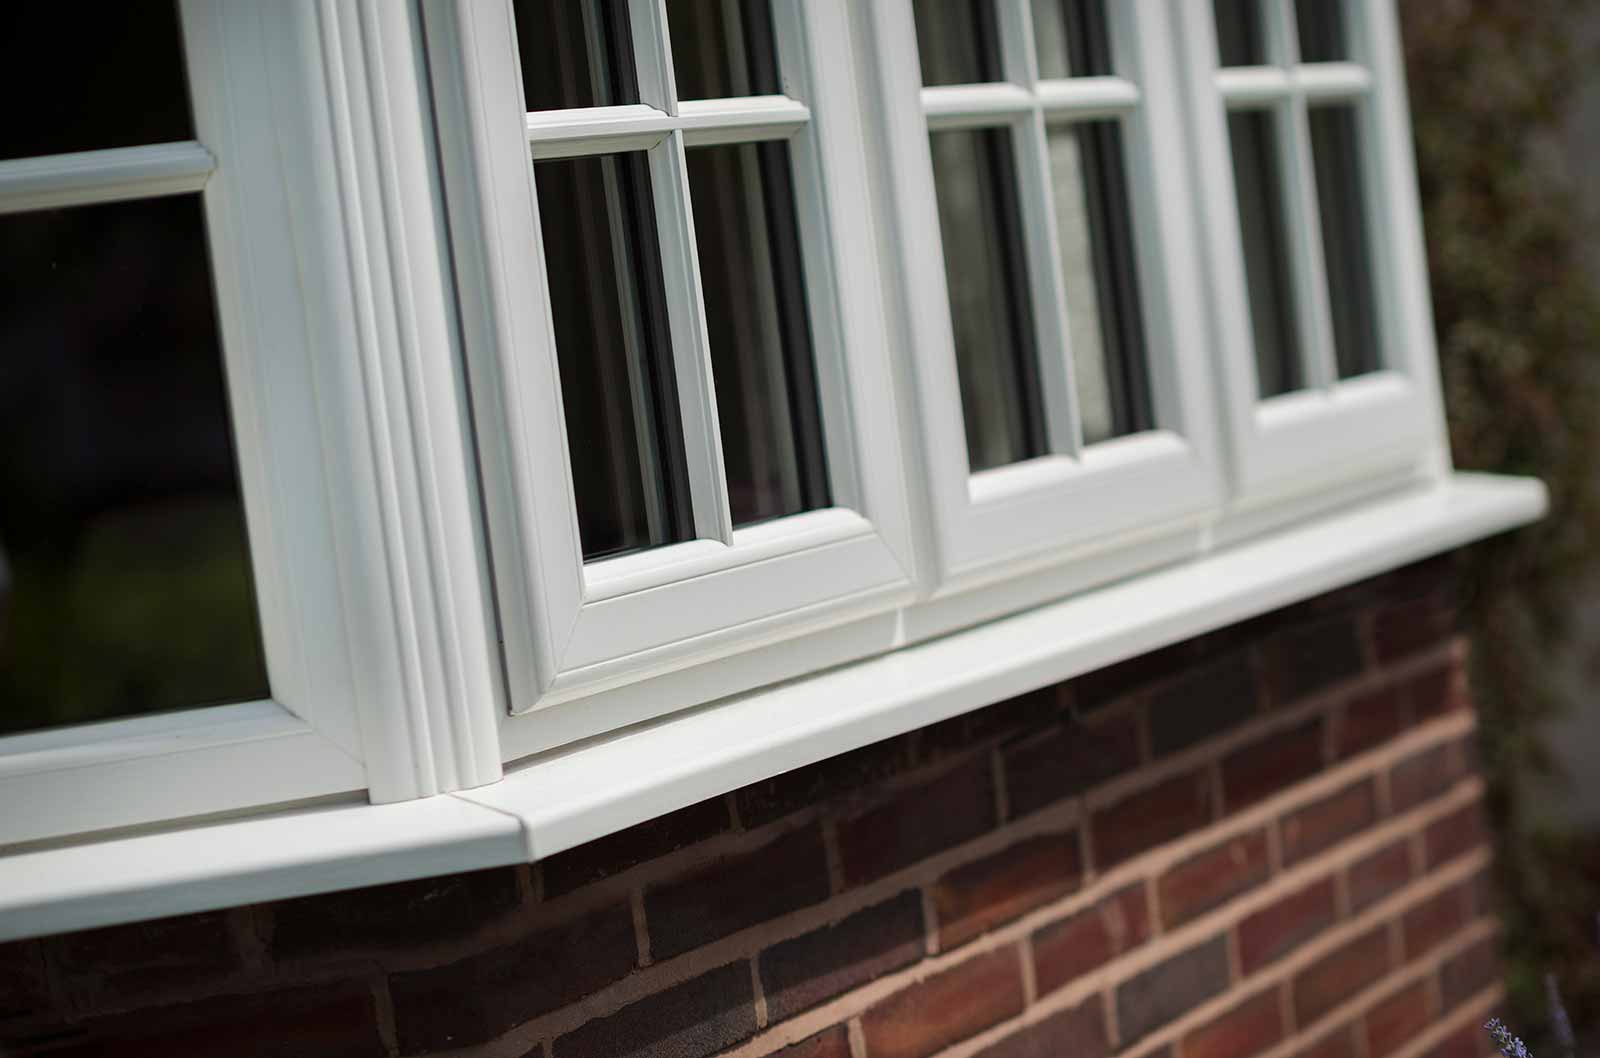
How To Attach Brick Molding
Modified: August 30, 2024
Learn how to properly attach brick molding to your building materials with our step-by-step guide. Ensure a secure and professional installation.
(Many of the links in this article redirect to a specific reviewed product. Your purchase of these products through affiliate links helps to generate commission for Storables.com, at no extra cost. Learn more)
Introduction
Welcome to the comprehensive guide on attaching brick molding. Brick molding is a trim used around doors and windows to create a seal and provide an aesthetically pleasing finish. Whether you are a seasoned DIY enthusiast or a novice looking to enhance your home, understanding the process of attaching brick molding is essential. In this guide, we will walk you through the step-by-step process, from preparing the work area to adding the finishing touches. By the end, you’ll have the knowledge and confidence to tackle this project with ease.
Before diving into the practical aspects, it’s crucial to gather the necessary tools and materials. Let’s ensure you have everything you need to complete this task efficiently and effectively.
Key Takeaways:
- Attaching brick molding involves preparing the work area, measuring and cutting the molding, and securing it in place. The finishing touches, including priming, painting, and sealing, enhance the appearance and durability of the molding.
- By following the step-by-step guide, you can confidently enhance the visual appeal and weather resistance of your doors and windows. Attaching brick molding is a rewarding skill that combines practicality with aesthetics.
Read more: How To Make Brick Molds
Tools and Materials Needed
Before embarking on the task of attaching brick molding, it’s essential to gather the required tools and materials. Having the right equipment at your disposal will streamline the process and contribute to a successful outcome. Here’s a comprehensive list to get you started:
Tools:
- Measuring tape
- Miter saw or miter box and handsaw
- Hammer
- Nail gun or finishing nails and a nail set
- Caulk gun
- Screwdriver
- Safety goggles
- Protective gloves
- Level
- Pencil
- Utility knife
- Paintbrush (for sealing)
Materials:
- Brick molding
- Exterior-grade wood screws
- Exterior caulk
- Primer and paint (optional for finishing)
- Sandpaper
- Wood filler
- Primer and paint (optional for finishing)
Ensuring that you have the right tools and materials at your disposal will set the stage for a smooth and efficient process. With everything in hand, you’re ready to prepare the work area and begin the next phase of attaching brick molding.
Preparing the Work Area
Before diving into the installation process, it’s crucial to prepare the work area to ensure a seamless and efficient experience. Here are the essential steps to prepare the work area for attaching brick molding:
Clear the Surrounding Space: Begin by clearing the area around the doors and windows where the brick molding will be installed. Remove any obstructions and ensure there is ample space to maneuver and work comfortably.
Inspect and Repair: Take a close look at the existing door and window frames. Any signs of damage or rot should be addressed before proceeding with the installation. It’s essential to start with a solid and structurally sound foundation.
Clean and Smooth Surfaces: Thoroughly clean the surfaces where the brick molding will be attached. Remove any dirt, debris, or old caulk, and ensure the area is smooth and free from imperfections. This will provide a clean canvas for the new molding.
Measure and Plan: Take precise measurements of the doors and windows to determine the required lengths for the brick molding. Planning ahead will contribute to a more accurate and efficient installation process.
Gather Necessary Tools and Materials: Ensure all the tools and materials listed in the previous section are within reach. Having everything readily available will prevent unnecessary delays during the installation.
By meticulously preparing the work area, you set the stage for a successful and hassle-free installation of brick molding. With the groundwork laid, you’re now ready to move on to the next steps, including measuring and cutting the brick molding to fit the openings.
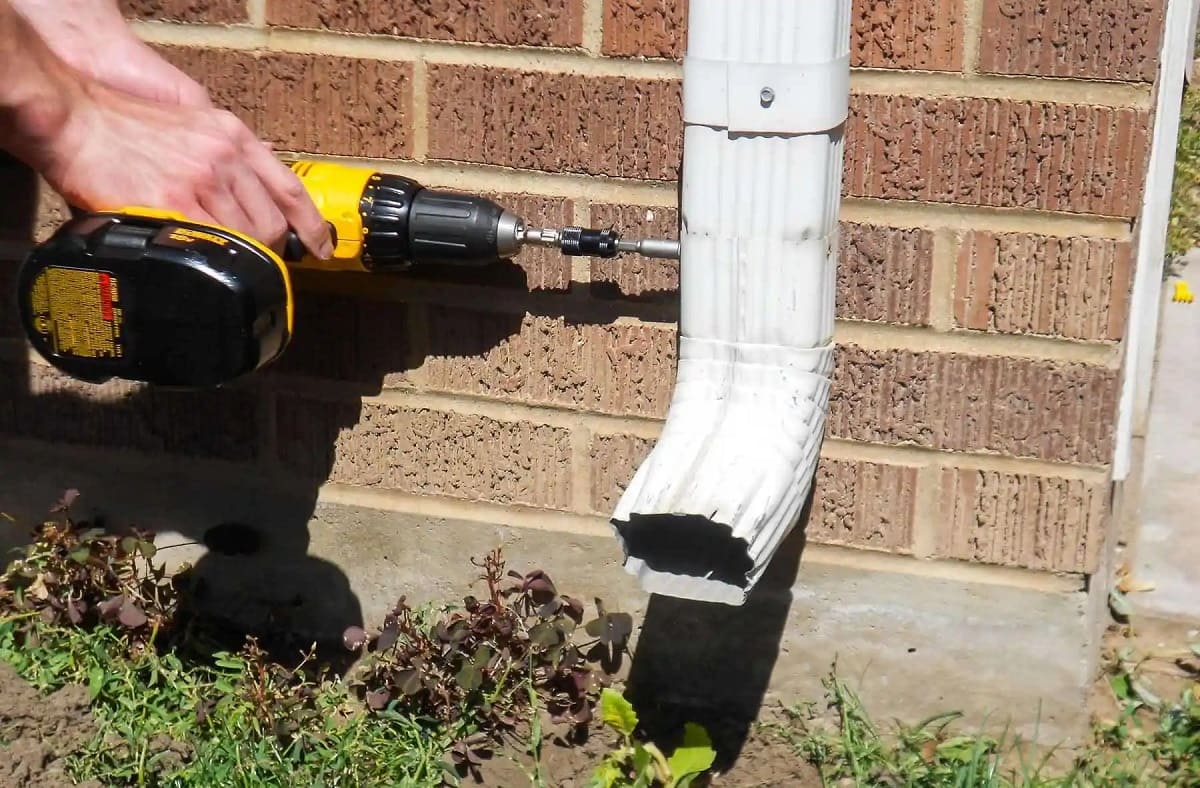
Read more: How To Attach Downspout To Brick
Measuring and Cutting the Brick Molding
Accurate measurements and precise cuts are essential for a seamless and professional-looking installation of brick molding. Here’s a step-by-step guide to measuring and cutting the brick molding to fit the openings:
Measure the Openings: Begin by measuring the dimensions of the doors and windows where the brick molding will be installed. Take precise measurements of the width and height, accounting for any variations in the openings.
Add Allowances: When cutting the brick molding, it’s crucial to factor in allowances for a proper fit. Add a small margin to the measurements to ensure a snug and precise installation. Remember the old carpenter’s adage: “Measure twice, cut once.”
Transfer Measurements to the Molding: Using a pencil, transfer the measurements onto the brick molding. Mark the cutting lines clearly to avoid any confusion during the cutting process.
Cut the Molding: With the measurements marked, it’s time to make the cuts. Utilize a miter saw or a miter box and handsaw to achieve precise 45-degree angles for the corners. Take your time and ensure the cuts are clean and accurate.
Dry Fit the Pieces: After cutting the molding, perform a dry fit by placing the pieces around the doors and windows. Verify that the cuts are accurate and make any necessary adjustments before proceeding to the installation phase.
By meticulously measuring and cutting the brick molding to fit the openings, you set the stage for a seamless and visually appealing installation. With the pieces prepared and ready to go, the next step involves attaching the brick molding to the doors and windows.
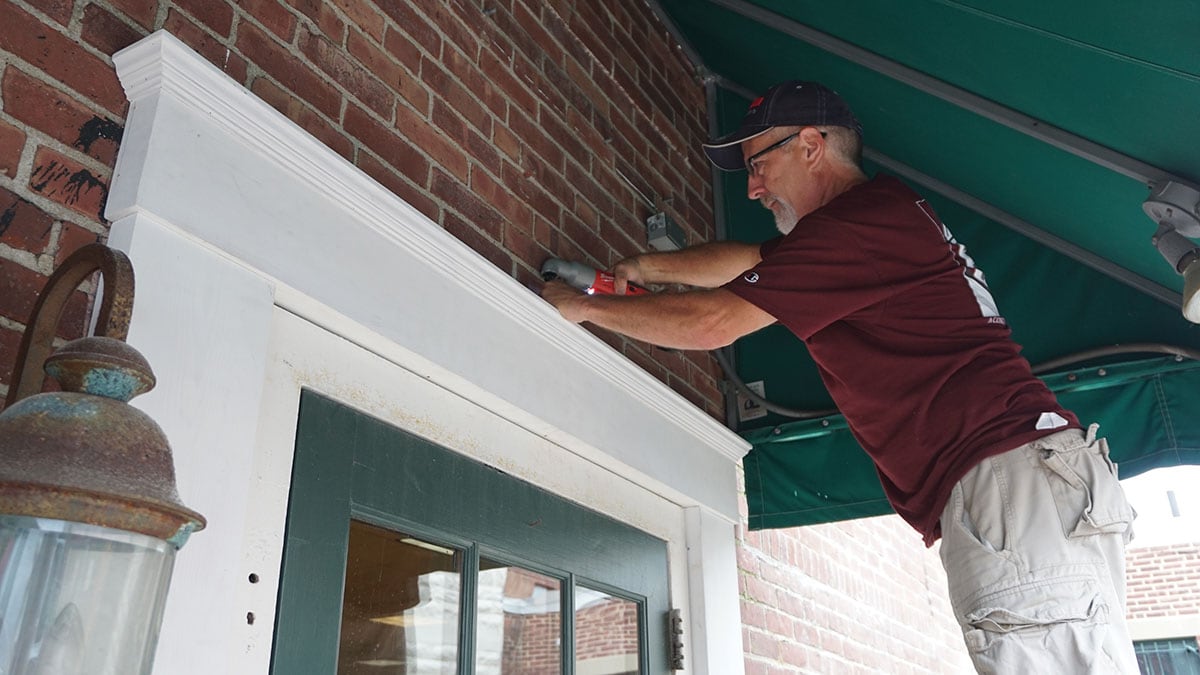
Attaching the Brick Molding
With the brick molding cut to fit the openings, it’s time to proceed with the installation process. Attaching the molding requires precision and attention to detail to ensure a secure and visually pleasing outcome. Here’s a comprehensive guide to attaching the brick molding:
Apply Exterior Caulk: Before placing the molding, apply a bead of exterior-grade caulk along the edges of the door or window frame where the molding will be attached. This helps create a seal and provides added protection against the elements.
Position the Molding: Carefully position the cut pieces of brick molding around the doors and windows. Ensure they fit snugly and align perfectly with the edges of the frames. Use a level to confirm that the molding is straight and plumb.
Secure with Fasteners: Once the molding is positioned correctly, it’s time to secure it in place. Depending on your preference and the available tools, you can use a nail gun or traditional finishing nails along with a nail set to attach the molding. Ensure the fasteners penetrate the molding and firmly anchor it to the frame.
Fill Nail Holes: After securing the molding, use wood filler to fill any visible nail holes. Smooth the filler with a putty knife and allow it to dry completely. Once dry, sand the filled areas to create a seamless surface.
Apply a Bead of Caulk: To further seal the edges and create a polished finish, run a bead of exterior caulk along the outer perimeter of the molding where it meets the door or window frame. Use a caulk gun for precision and smooth the caulk with a damp cloth for a clean look.
By following these steps, you can ensure that the brick molding is securely attached and seamlessly integrated with the doors and windows. With the installation complete, the final touches will elevate the overall appearance and durability of the molding.
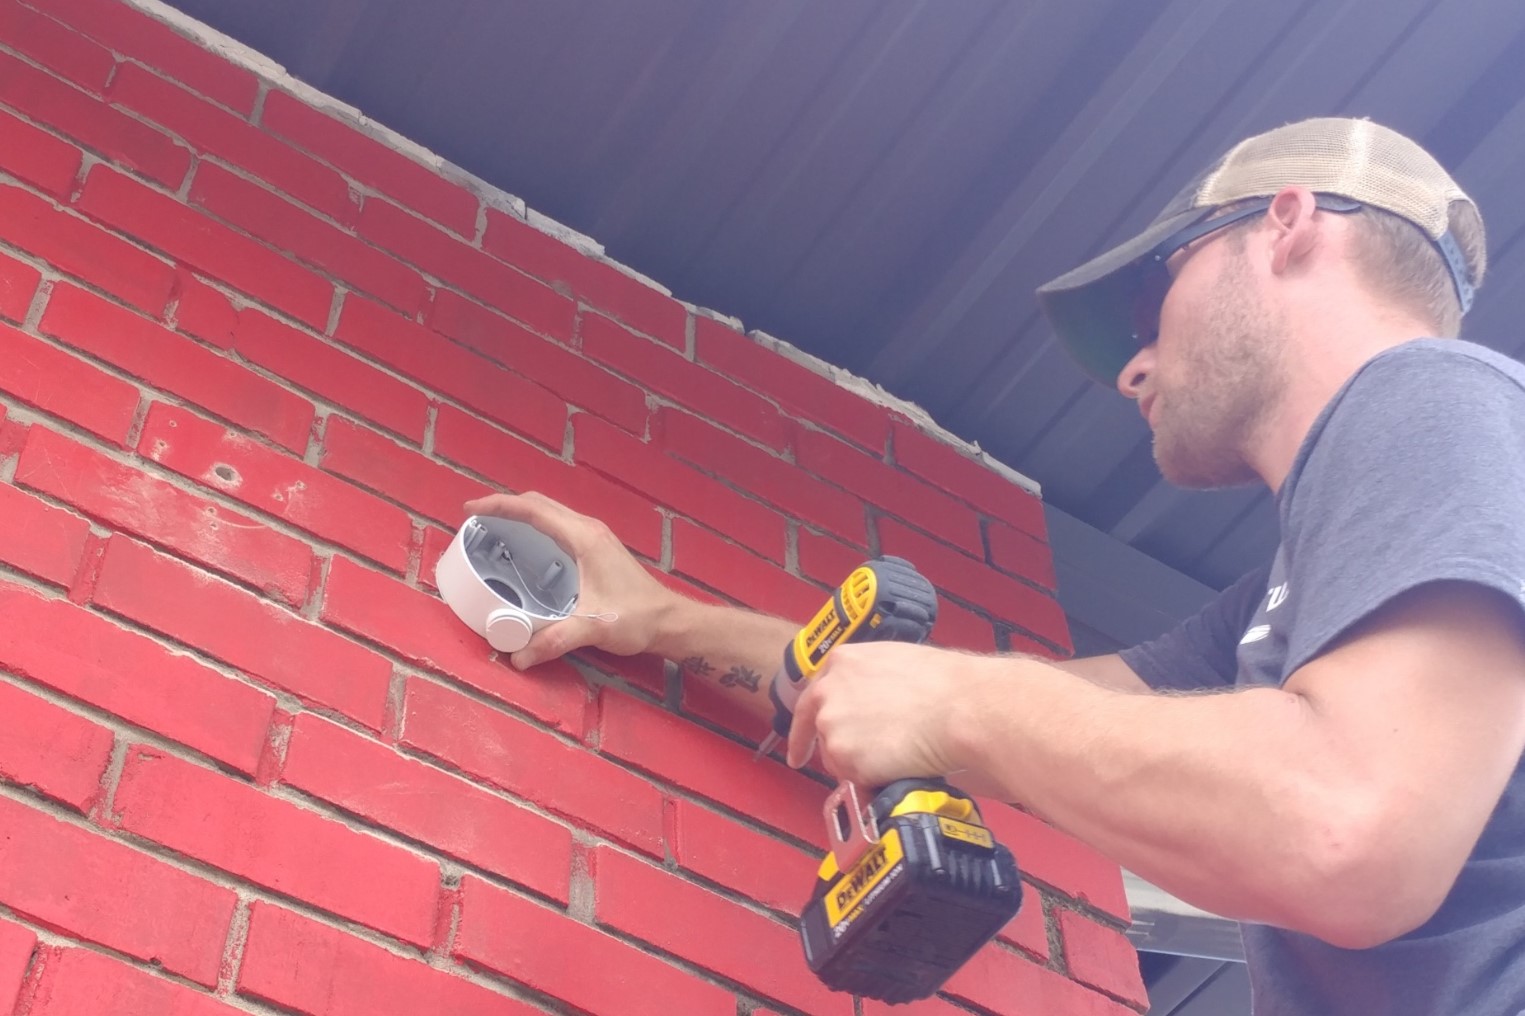
When attaching brick molding, use corrosion-resistant screws or nails to secure it to the exterior wall. Pre-drill holes to prevent splitting, and use a level to ensure it is straight.
Finishing Touches
Completing the installation of brick molding involves adding the finishing touches to enhance its appearance and longevity. Here are the essential steps to ensure a polished and durable finish:
Prime the Molding: If the brick molding is made of wood and will be exposed to the elements, it’s advisable to apply a coat of primer to all surfaces, including the cut ends. This helps seal the wood and provides a base for the paint to adhere to, enhancing its durability.
Apply Paint: Once the primer has dried, apply a high-quality exterior paint to the brick molding. Choose a color that complements the exterior of your home and provides a cohesive look. Multiple thin coats of paint will ensure a smooth and long-lasting finish.
Seal the Joints: Inspect the joints where the brick molding meets the door and window frames. Apply an additional bead of exterior caulk to seal any remaining gaps and prevent moisture from seeping in. This step contributes to the overall weather resistance of the installation.
Inspect and Clean: After completing the finishing touches, thoroughly inspect the installed brick molding. Remove any excess caulk or paint drips, and ensure that the surfaces are clean and free from imperfections. A clean and well-maintained finish adds to the overall curb appeal of your home.
Allow for Proper Drying: It’s essential to allow adequate drying time for the paint and caulk. Follow the manufacturer’s recommendations for drying times to ensure a durable and professional finish.
By carefully attending to these finishing touches, you can elevate the appearance and longevity of the brick molding installation. With the process complete, you can step back and admire the enhanced aesthetics and functional benefits that the molding brings to your doors and windows.
Conclusion
Congratulations on successfully completing the installation of brick molding! By following the step-by-step guide outlined in this comprehensive resource, you have not only enhanced the visual appeal of your doors and windows but also contributed to their weather resistance and longevity.
Attaching brick molding is a rewarding endeavor that combines practicality with aesthetics. The meticulous preparation of the work area, precise measuring and cutting, and the careful attachment of the molding have culminated in a professional and polished finish.
As you stand back and admire the newly installed brick molding, take pride in the craftsmanship and attention to detail that went into this project. The finishing touches, including priming, painting, and sealing, have not only elevated the appearance of the molding but also fortified it against the elements.
Remember, the installation of brick molding is a versatile and valuable skill that can be applied to various areas of your home. Whether you’re renovating, building, or simply looking to enhance the visual appeal and functionality of your living space, the knowledge and expertise gained from this project will serve you well in future endeavors.
As you enjoy the benefits of the newly installed brick molding, take a moment to appreciate the sense of accomplishment that comes with mastering a practical and impactful home improvement skill. Your dedication to quality and precision has undoubtedly made a positive difference in your living environment.
With the completion of this project, you’ve not only attached brick molding; you’ve added a touch of craftsmanship and character to your home. Embrace the sense of empowerment that comes with acquiring new skills, and let this experience inspire future projects and creative endeavors.
Thank you for joining us on this journey of enhancing your home through the installation of brick molding. We hope this guide has provided valuable insights and empowered you to take on similar projects with confidence and enthusiasm.
Frequently Asked Questions about How To Attach Brick Molding
Was this page helpful?
At Storables.com, we guarantee accurate and reliable information. Our content, validated by Expert Board Contributors, is crafted following stringent Editorial Policies. We're committed to providing you with well-researched, expert-backed insights for all your informational needs.


0 thoughts on “How To Attach Brick Molding”