Home>Construction & Tools>Building Materials>How To Attach Wire To Brick Wall
Building Materials
How To Attach Wire To Brick Wall
Modified: September 1, 2024
Learn how to securely attach wire to a brick wall using the right building materials. Follow our step-by-step guide for a sturdy and reliable installation.
(Many of the links in this article redirect to a specific reviewed product. Your purchase of these products through affiliate links helps to generate commission for Storables.com, at no extra cost. Learn more)
Introduction
When it comes to adding functionality and aesthetic appeal to a space, attaching wire to a brick wall can open up a world of possibilities. Whether you're looking to hang decorative items, support climbing plants, or create a sturdy framework for outdoor structures, knowing how to securely attach wire to a brick wall is a valuable skill.
In this comprehensive guide, we will walk you through the step-by-step process of attaching wire to a brick wall with precision and confidence. From gathering the necessary tools and materials to choosing the optimal location on the brick wall, preparing the surface, and securely fastening the wire in place, each step is crucial to ensuring a successful and durable attachment.
By following this guide, you will gain the knowledge and skills needed to tackle this project with ease, allowing you to transform your brick wall into a versatile and functional element of your outdoor or indoor space. So, let's dive in and explore the essential steps for attaching wire to a brick wall, empowering you to bring your creative visions to life with practicality and finesse.
Key Takeaways:
- Transform your brick wall into a versatile space by securely attaching wire for plants, decorations, or structures. Follow the steps to unleash your creativity with confidence and finesse.
- Carefully choose the location, prepare the surface, and secure the wire to create a visually pleasing and enduring installation. Embrace the opportunities to enhance your living spaces with practicality and imagination.
Read more: How To Attach Fence To Brick Wall
Step 1: Gather necessary tools and materials
Before embarking on the process of attaching wire to a brick wall, it's essential to gather the necessary tools and materials to ensure a smooth and efficient workflow. By having the right equipment at your disposal, you can approach the project with confidence and precision, setting the stage for a successful outcome.
Tools and Materials Checklist:
-
Measuring Tape: Accurately measuring the dimensions of the area where the wire will be attached is crucial for determining the amount of wire needed and ensuring precise placement.
-
Pencil or Marker: Marking the specific locations for drilling or fastening the wire on the brick wall is essential for maintaining accuracy throughout the process.
-
Masonry Drill Bit: A high-quality masonry drill bit designed for brick or concrete is necessary for creating pilot holes in the brick wall to accommodate anchors or screws.
-
Hammer Drill or Impact Driver: Using a hammer drill or impact driver equipped with the appropriate masonry drill bit will facilitate the drilling process, allowing for efficient and precise hole creation.
-
Anchors or Wall Plugs: Depending on the weight and load-bearing requirements, selecting the right anchors or wall plugs is crucial for securely fastening the wire to the brick wall.
-
Screws or Hooks: Choosing durable screws or hooks designed for masonry applications is essential for effectively securing the wire in place and ensuring long-term stability.
-
Wire or Cable: Selecting high-quality wire or cable suitable for the intended purpose, such as supporting plants, hanging decorations, or creating a trellis, is fundamental for achieving the desired functionality and aesthetic appeal.
-
Wire Cutters: Having wire cutters on hand will enable you to trim the wire to the required length with precision, ensuring a neat and professional finish.
-
Level: Using a level is essential for verifying the straightness and alignment of the wire during installation, ensuring a visually pleasing and structurally sound result.
-
Safety Gear: Prioritizing safety, wearing protective eyewear and gloves is crucial when working with tools and materials to prevent potential hazards and injuries.
By assembling these essential tools and materials, you will be well-equipped to proceed to the next steps of attaching wire to a brick wall with confidence and efficiency. This thoughtful preparation sets the stage for a successful and rewarding project, allowing you to transform your brick wall into a versatile and functional element of your living space.
Step 2: Choose the right location on the brick wall
Selecting the optimal location on the brick wall for attaching wire is a critical decision that directly impacts the functionality and visual appeal of the final installation. Whether you're aiming to support climbing plants, hang decorative items, or create a sturdy framework, strategic placement is essential for achieving the desired outcome.
When choosing the right location on the brick wall, consider the following factors:
1. Purpose and Functionality
First and foremost, determine the specific purpose of the wire attachment. If the goal is to support climbing plants, consider locating the wire near areas with ample sunlight and sufficient space for the plants to thrive. For hanging decorations or outdoor lighting, identify areas that complement the overall design and aesthetic of the space. Understanding the intended functionality will guide the location selection process.
Read more: How To Hide Wires On Brick Wall
2. Structural Integrity
Assess the structural integrity of the brick wall to ensure that the chosen location can support the intended load. Avoid areas with existing cracks, deterioration, or instability, as these can compromise the long-term stability of the wire attachment. Look for solid and well-maintained sections of the brick wall that can accommodate the installation without compromising its integrity.
3. Aesthetic Considerations
Consider the visual impact of the wire attachment on the overall appearance of the space. Choose a location that complements the surrounding environment and enhances the aesthetic appeal. For example, when creating a trellis for climbing plants, selecting a central or visually prominent area on the brick wall can contribute to an eye-catching and harmonious display.
4. Accessibility and Practicality
Evaluate the accessibility of the chosen location to ensure ease of installation and future maintenance, if necessary. Accessibility considerations are particularly important when attaching wire for hanging items or outdoor lighting, as convenient access facilitates installation and potential adjustments.
5. Future Expansion and Adaptability
Anticipate future needs and potential expansions when selecting the location for wire attachment. If the space may undergo changes or additions in the future, choosing a versatile location that allows for adaptability and expansion of the wire installation can be advantageous.
By carefully considering these factors, you can strategically choose the right location on the brick wall for attaching wire, setting the stage for a successful and purposeful installation. This thoughtful approach ensures that the wire attachment not only fulfills its functional role but also contributes to the overall beauty and practicality of the space.
Read more: How To Attach A Metal Gate To A Brick Wall
Step 3: Preparing the surface
Preparing the surface of the brick wall is a crucial step that sets the foundation for a secure and durable attachment of the wire. By meticulously addressing the surface preparation, you can ensure optimal adhesion and stability, laying the groundwork for a successful installation that withstands the test of time.
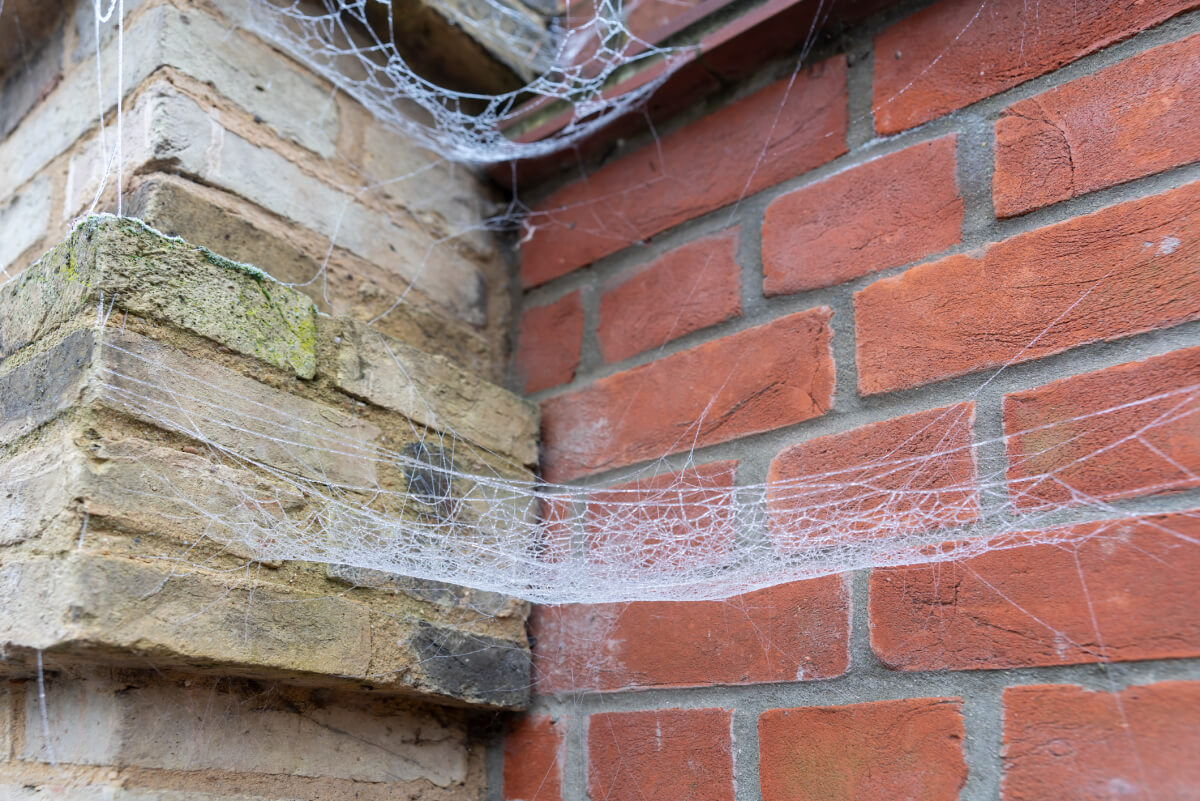
Cleaning the Surface
Begin by thoroughly cleaning the area of the brick wall where the wire will be attached. Use a stiff-bristled brush or a wire brush to remove any dirt, debris, or loose mortar from the surface. Pay close attention to crevices and joints, ensuring that the entire attachment area is free from obstructions that could hinder the bonding process.
Removing Efflorescence
Efflorescence, the white powdery residue that sometimes appears on masonry surfaces, should be addressed before attaching the wire. Use a solution of water and white vinegar or a commercial efflorescence cleaner to gently remove the residue. Rinse the area with clean water and allow it to dry completely before proceeding.
Repairing Damaged Areas
Inspect the surface of the brick wall for any signs of damage, such as cracks or spalling. If any areas require repair, use a high-quality masonry repair mortar to fill in the damaged sections and restore the integrity of the surface. Smooth out the repaired areas to ensure a uniform and level surface for the wire attachment.
Read more: How To Attach Sun Shade To Brick Wall
Applying a Bonding Agent
To enhance the adhesion between the wire and the brick wall, consider applying a bonding agent designed for masonry applications. The bonding agent promotes a strong bond between the wire and the surface, providing an additional layer of security and stability. Follow the manufacturer's instructions for proper application and drying times.
Surface Priming (Optional)
In some cases, especially when dealing with particularly porous or uneven surfaces, applying a masonry primer can further improve the adhesion and uniformity of the attachment area. A high-quality masonry primer helps create an ideal surface for securing the wire, promoting a reliable and long-lasting connection.
By meticulously preparing the surface of the brick wall through thorough cleaning, efflorescence removal, damage repair, and potential bonding agent or primer application, you establish the ideal conditions for a robust and enduring attachment of the wire. This meticulous approach ensures that the wire will be securely fastened to the brick wall, ready to fulfill its intended purpose with steadfast reliability.
Step 4: Attaching the wire to the brick wall
With the surface meticulously prepared, it's time to proceed with attaching the wire to the brick wall. This step requires precision and attention to detail to ensure a secure and reliable installation that meets both functional and aesthetic requirements.
Marking the Attachment Points
Using a pencil or marker, carefully mark the specific points on the brick wall where the wire will be attached. If you're creating a horizontal wire framework, ensure that the marked points align with the desired orientation and spacing. For vertical wire installations, mark the locations for each attachment point, maintaining consistent vertical alignment.
Read more: How To Attach Downspout To Brick
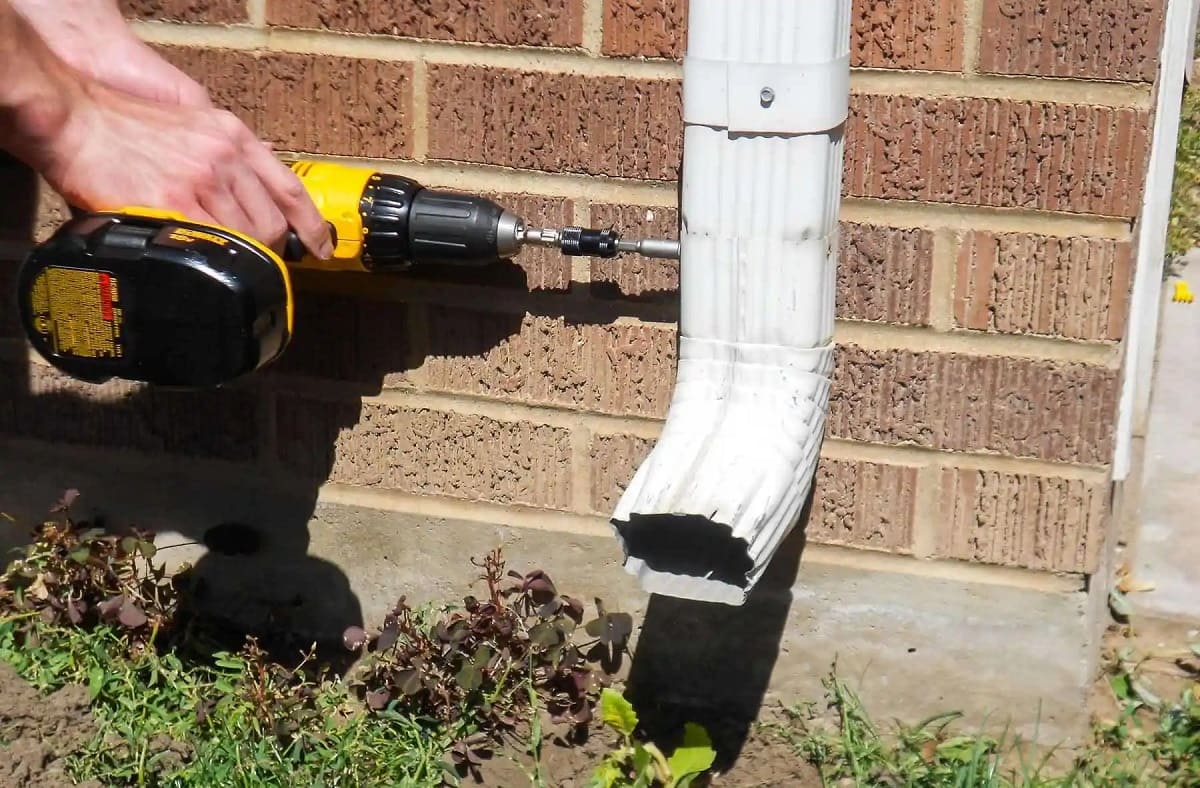
Drilling Pilot Holes
Equipped with a masonry drill bit and a hammer drill or impact driver, carefully drill pilot holes at the marked attachment points. Exercise caution to maintain the proper depth and angle, ensuring that the pilot holes accommodate the anchors or wall plugs securely. The precision of the pilot holes is crucial for the stability and alignment of the wire attachment.
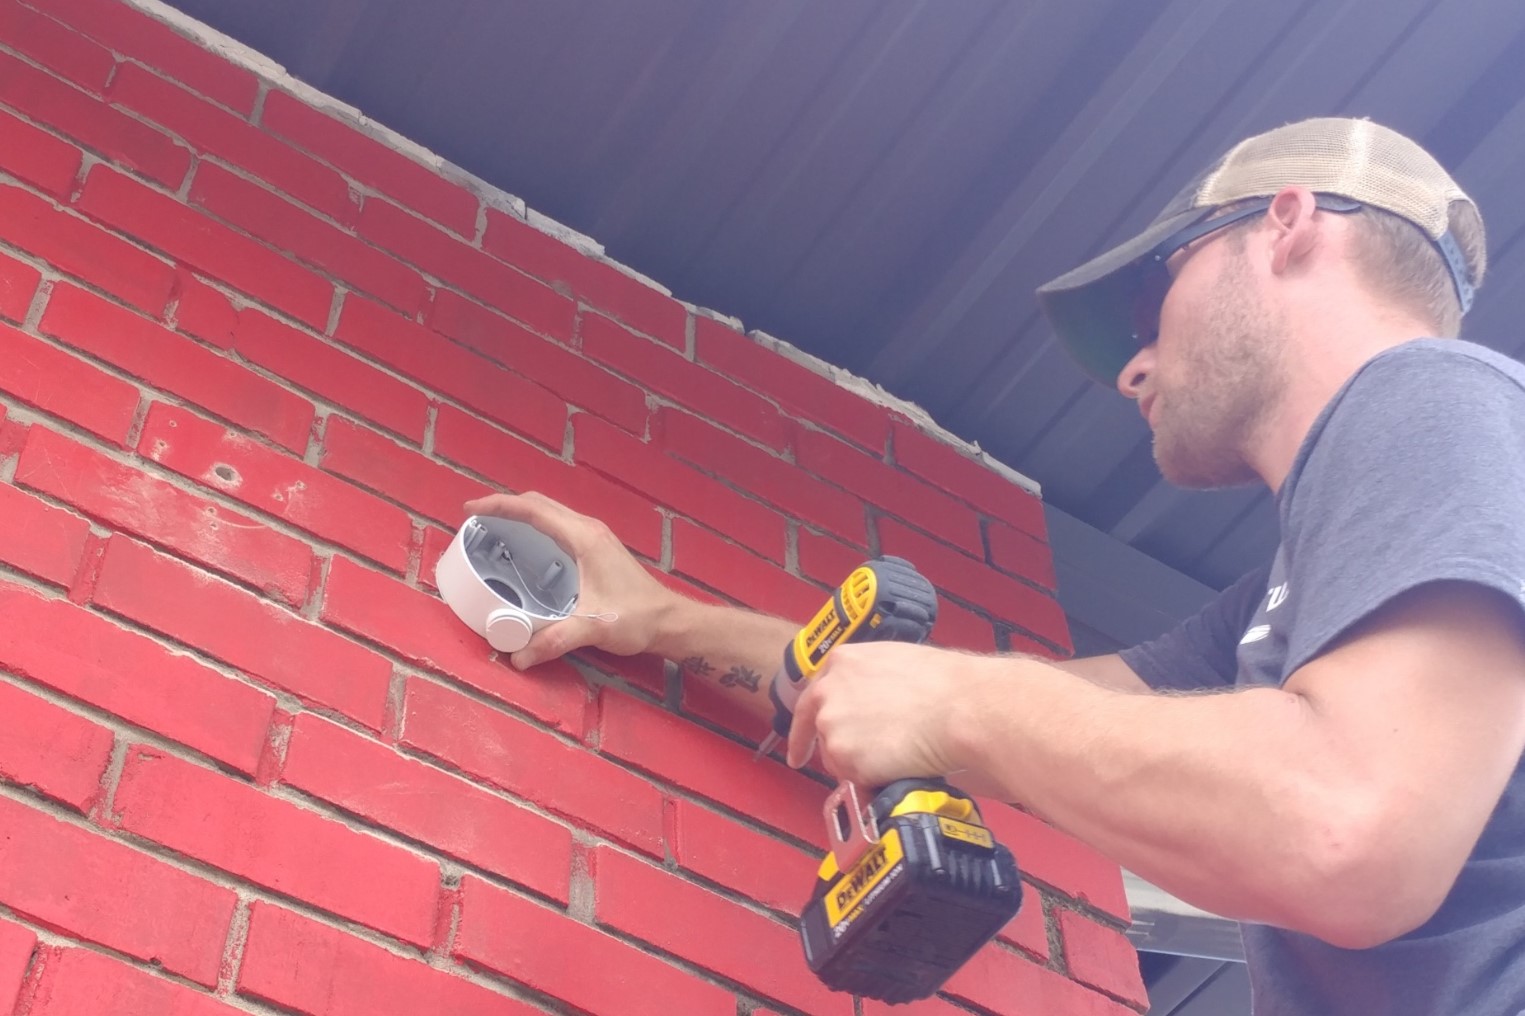
Installing Anchors or Wall Plugs
Insert the chosen anchors or wall plugs into the drilled pilot holes, ensuring a snug fit that provides reliable support for the screws or hooks. Depending on the weight and load-bearing requirements, select anchors or wall plugs that are compatible with the masonry material and capable of withstanding the intended load.
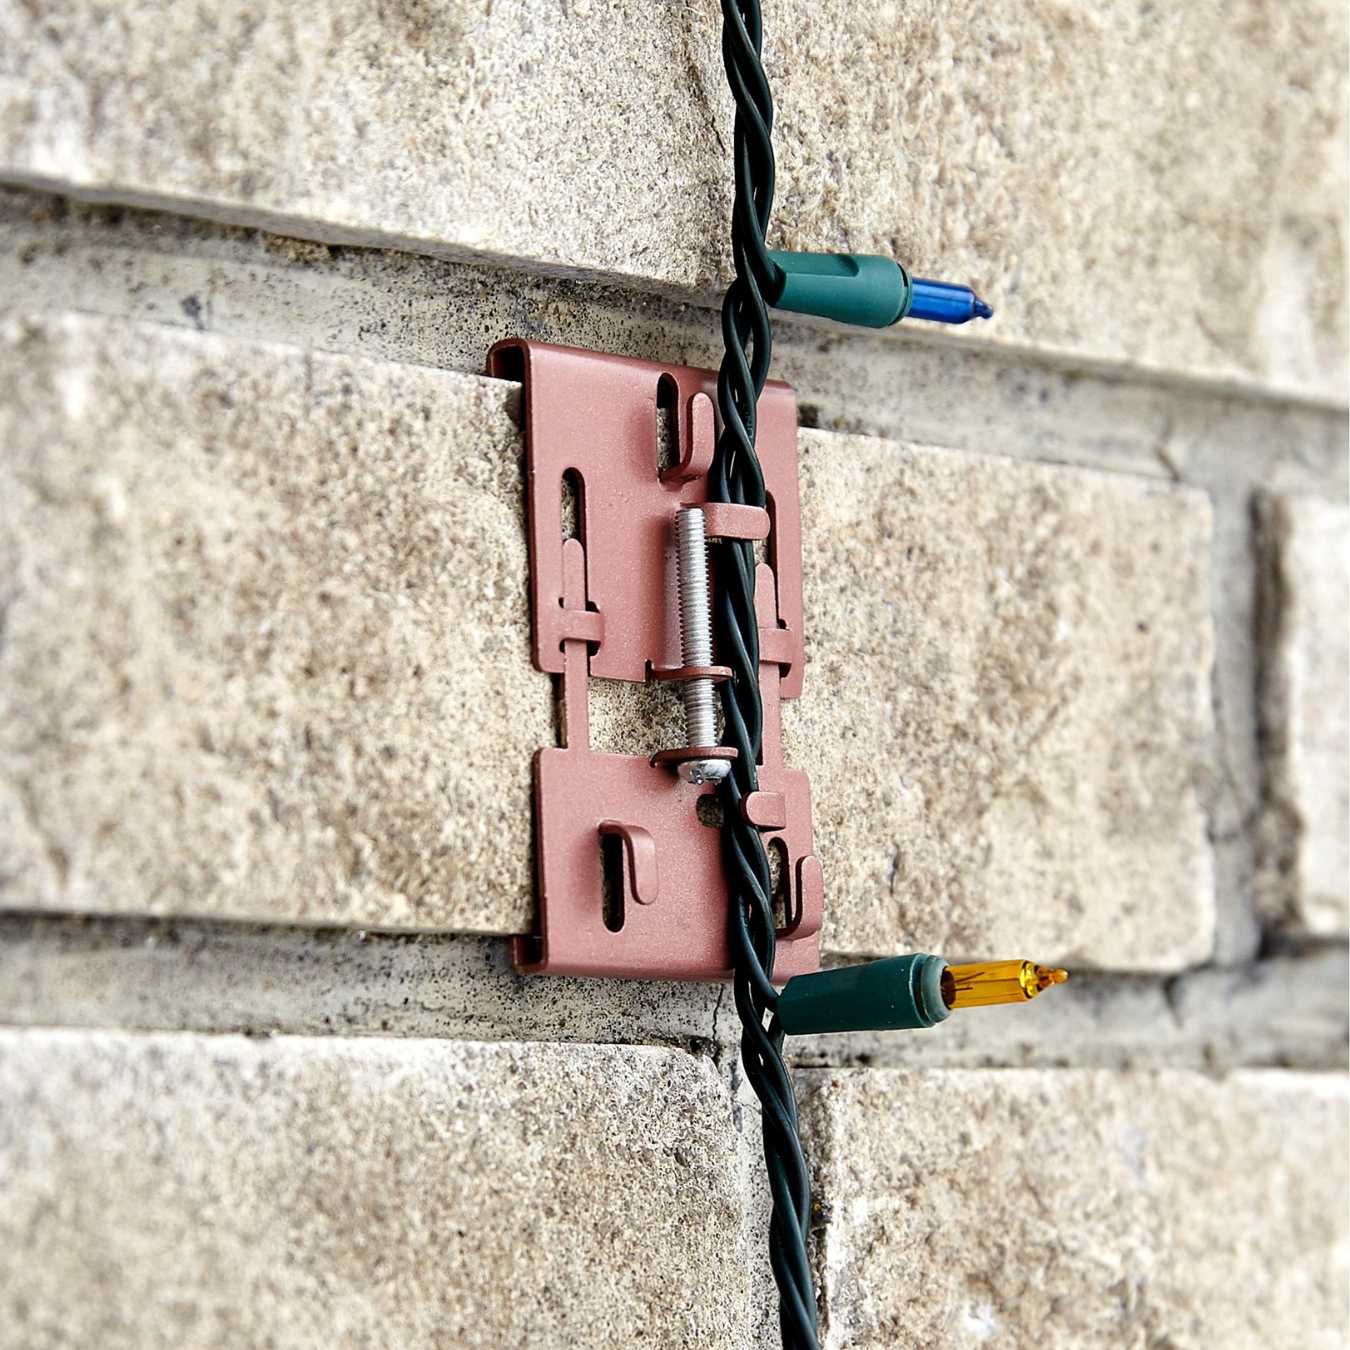
Securing the Wire in Place
With the anchors or wall plugs in position, carefully fasten the wire to the brick wall using durable screws or hooks. Ensure that the wire is taut and securely attached, maintaining the desired orientation and alignment. If multiple sections of wire are being installed, verify that each connection point is secure and level to achieve a cohesive and professional result.
Verifying Alignment and Stability
Utilize a level to verify the straightness and alignment of the attached wire, making any necessary adjustments to ensure a visually pleasing and structurally sound installation. Confirm that the wire is securely fastened and capable of supporting the intended load without compromising its stability or integrity.
By following these meticulous steps for attaching the wire to the brick wall, you can achieve a robust and visually appealing installation that fulfills its intended purpose with unwavering reliability. This careful approach ensures that the wire becomes an integral and enduring feature of the space, ready to support plants, decorations, or other functional elements with confidence and finesse.
Read more: How To Attach Brick Molding
Step 5: Securing the wire in place
After attaching the wire to the brick wall, the crucial step of securing it in place ensures the stability and reliability of the installation. This phase demands meticulous attention to detail to guarantee that the wire remains taut, aligned, and capable of fulfilling its intended purpose with unwavering steadfastness.
Tensioning the Wire
Achieving the optimal tension in the wire is essential for its functionality and visual appeal. Using wire tensioners or turnbuckles, carefully adjust the tension of the wire to achieve the desired level of tautness. This step is particularly crucial when creating a framework for climbing plants or establishing a support structure, as the proper tension ensures the stability and growth support required.
Trimming Excess Wire
Once the wire is adequately tensioned and secured, trim any excess length using wire cutters. Ensuring that the wire ends are neatly trimmed not only enhances the visual aesthetics of the installation but also eliminates potential safety hazards and prevents interference with the surrounding environment.
Concealing the Wire Ends
To achieve a polished and professional finish, consider concealing the trimmed wire ends within the brick wall or utilizing decorative end caps. This step adds a refined touch to the installation, concealing any exposed wire ends and contributing to a seamless and visually appealing result.
Read more: How To Attach Flashing To Brick
Inspecting and Adjusting
Thoroughly inspect the entire wire installation, verifying the alignment, tension, and overall stability. Make any necessary adjustments to ensure that the wire is securely fastened and capable of withstanding the intended load. This meticulous inspection and adjustment process are vital for guaranteeing the long-term reliability and functionality of the wire attachment.
Final Verification
Utilize a level to confirm the straightness and alignment of the wire, ensuring that it adheres to the desired orientation and visual harmony. Verify that the wire is securely fastened at all attachment points and capable of supporting the intended load without compromise. This final verification step solidifies the integrity and quality of the wire attachment, setting the stage for its enduring performance.
By meticulously securing the wire in place and attending to the critical details of tensioning, trimming, concealing, inspecting, and verifying, you ensure a robust and visually pleasing installation that stands the test of time. This comprehensive approach guarantees that the wire becomes an integral and reliable element of the space, ready to fulfill its intended purpose with unwavering stability and finesse.
Conclusion
In conclusion, mastering the art of attaching wire to a brick wall opens up a world of possibilities for enhancing both indoor and outdoor spaces. By following the comprehensive steps outlined in this guide, you have gained the knowledge and skills necessary to approach this task with confidence and precision.
From the initial preparation and selection of tools and materials to the strategic placement on the brick wall, meticulous surface preparation, and the precise attachment and securing of the wire, each step plays a crucial role in ensuring a successful and enduring installation.
By carefully considering the purpose, structural integrity, aesthetic impact, accessibility, and future adaptability when choosing the location on the brick wall, you have set the stage for a wire attachment that seamlessly integrates functionality and visual appeal.
The meticulous surface preparation, including cleaning, efflorescence removal, damage repair, and potential bonding agent or primer application, establishes the ideal conditions for a robust and enduring attachment of the wire.
Attaching the wire to the brick wall with precision, securing it in place, and meticulously attending to the critical details of tensioning, trimming, concealing, inspecting, and verifying ensure a visually pleasing and structurally sound installation that stands the test of time.
By following these steps, you have transformed your brick wall into a versatile and functional element of your living space, ready to support climbing plants, hanging decorations, or serving as a sturdy framework for various outdoor structures.
With the knowledge and skills acquired from this guide, you are well-equipped to embark on wire attachment projects with confidence, allowing you to unleash your creativity and bring your visions to life with practicality and finesse. Embrace the opportunities that attaching wire to a brick wall presents, and let your imagination soar as you enhance your living spaces with enduring and purposeful installations.
Frequently Asked Questions about How To Attach Wire To Brick Wall
Was this page helpful?
At Storables.com, we guarantee accurate and reliable information. Our content, validated by Expert Board Contributors, is crafted following stringent Editorial Policies. We're committed to providing you with well-researched, expert-backed insights for all your informational needs.


0 thoughts on “How To Attach Wire To Brick Wall”