Home>Construction & Tools>Building Materials>How To Attach Flashing To Brick

Building Materials
How To Attach Flashing To Brick
Modified: August 28, 2024
Learn how to properly attach flashing to brick using the right building materials. Follow our step-by-step guide for a secure and durable installation.
(Many of the links in this article redirect to a specific reviewed product. Your purchase of these products through affiliate links helps to generate commission for Storables.com, at no extra cost. Learn more)
Introduction
When it comes to building materials, brick is a timeless choice known for its durability and classic aesthetic. Whether you’re constructing a new home or renovating an existing structure, understanding how to properly attach flashing to brick is essential for protecting the building from water damage. Flashing, typically made of metal or plastic, is designed to direct water away from vulnerable areas, such as windows, doors, and other openings, preventing moisture from seeping into the building’s interior.
Properly installing flashing is crucial for maintaining the integrity of a brick structure and ensuring its longevity. In this comprehensive guide, we will walk you through the step-by-step process of attaching flashing to brick, highlighting the materials needed, surface preparation, and the precise methods for securing the flashing in place. By the end of this article, you will have the knowledge and confidence to tackle this essential aspect of brick construction, safeguarding your building against potential water-related issues.
Key Takeaways:
- Protect brick buildings from water damage by attaching flashing using materials like metal or plastic, and following precise installation and sealing techniques.
- Thoroughly prepare the brick surface, securely attach the flashing, and reinforce its protective function to ensure long-term resilience against water infiltration.
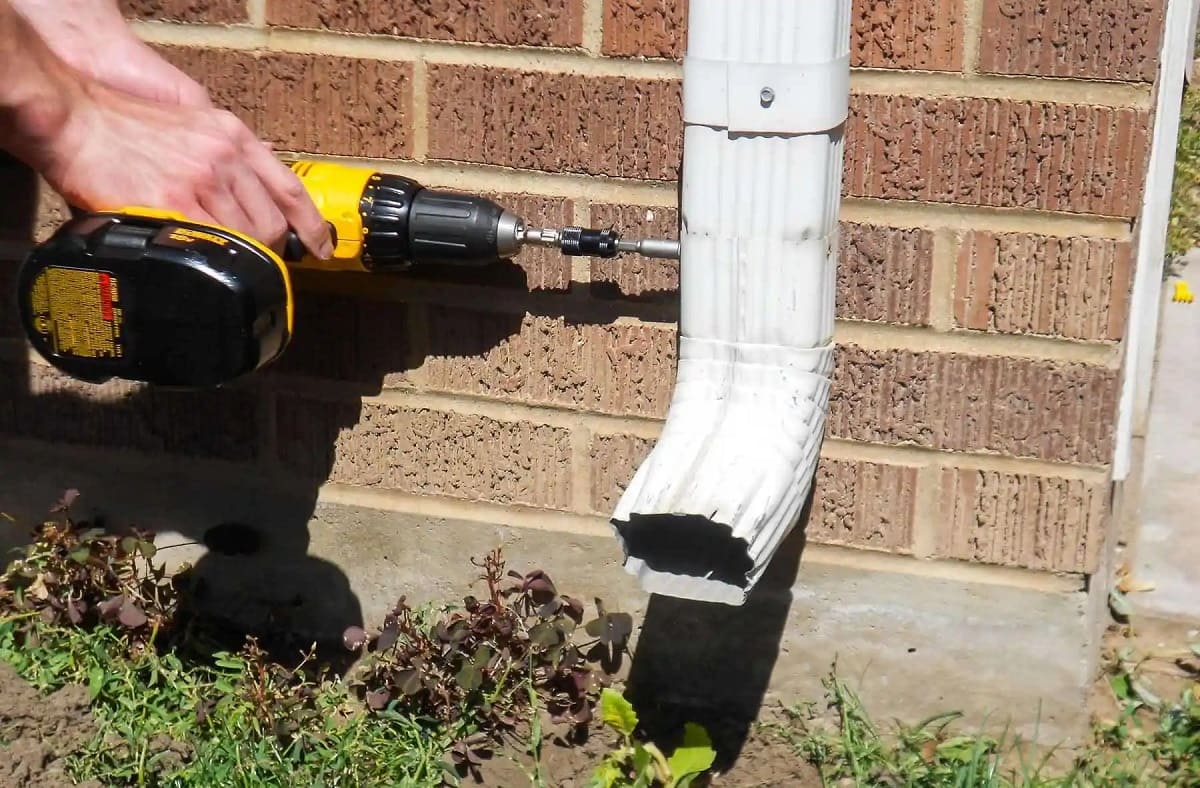
Read more: How To Attach Downspout To Brick
Materials Needed
Before embarking on the process of attaching flashing to brick, it’s essential to gather the necessary materials and tools to ensure a smooth and successful installation. Here’s a comprehensive list of items you’ll need:
- Flashing material: Select high-quality metal or plastic flashing that is suitable for the specific application and climate conditions. Common options include aluminum, copper, stainless steel, or vinyl flashing.
- Flashing cutter or tin snips: To accurately cut the flashing to the required dimensions, a reliable flashing cutter or tin snips are indispensable tools.
- Masonry drill bit: A masonry drill bit is essential for creating holes in the brick to accommodate fasteners for securing the flashing.
- Impact drill or hammer drill: An impact drill or hammer drill is necessary for efficiently drilling into the tough surface of the brick.
- Anchors or screws: Depending on the type of flashing and the specific installation requirements, anchors or screws will be needed to secure the flashing to the brick.
- Silicone caulk or sealant: A high-quality silicone caulk or sealant is essential for sealing any gaps or joints to prevent water infiltration behind the flashing.
- Level: To ensure the flashing is installed perfectly straight and level, a reliable level is a crucial tool for achieving precision.
- Protective gear: Safety goggles, gloves, and a dust mask are essential for protecting yourself during the installation process, especially when drilling into masonry.
- Ladder or scaffolding: Depending on the height of the installation area, a stable ladder or scaffolding will be necessary to safely access and work on the brick surface.
By ensuring that you have all the required materials and tools on hand, you’ll be well-prepared to proceed with the process of attaching flashing to brick, ultimately fortifying your building against potential water damage.
Preparing the Surface
Before attaching the flashing to the brick, it’s crucial to properly prepare the surface to ensure a secure and effective installation. The following steps outline the essential process of surface preparation:
- Clean the Brick Surface: Begin by thoroughly cleaning the area of the brick where the flashing will be attached. Use a stiff-bristled brush or a pressure washer to remove dirt, debris, and any existing caulk or sealant. It’s essential to create a clean and smooth surface for optimal adhesion of the flashing.
- Inspect for Damage: Carefully examine the brick surface for any signs of damage, such as cracks, spalling, or loose mortar. Address any structural issues before proceeding with the installation to ensure the stability and integrity of the brickwork.
- Mark the Installation Area: Using a pencil or chalk, mark the precise locations where the flashing will be attached. Ensure that the markings are level and accurately aligned to facilitate a seamless installation.
- Drill Pilot Holes: With the help of a masonry drill bit and an impact drill or hammer drill, carefully drill pilot holes at the marked locations on the brick surface. The size of the pilot holes should correspond to the type of anchors or screws being used to secure the flashing.
- Apply Sealant: Prior to attaching the flashing, apply a continuous bead of high-quality silicone caulk or sealant along the back edge of the flashing. This will create a watertight seal between the flashing and the brick, preventing water infiltration behind the flashing.
By diligently following these preparatory steps, you will establish a clean, structurally sound, and properly marked surface for attaching the flashing. This meticulous preparation is fundamental to the long-term effectiveness and durability of the flashing installation.
When attaching flashing to brick, use masonry anchors and screws to secure the flashing in place. Pre-drill holes in the brick to avoid cracking, and make sure the flashing overlaps properly to prevent water infiltration.
Attaching the Flashing
With the surface meticulously prepared, it’s time to proceed with the precise process of attaching the flashing to the brick. The following steps outline the method for securely affixing the flashing in place:
- Cut the Flashing to Size: Using a flashing cutter or tin snips, carefully cut the flashing to the required dimensions based on the marked areas on the brick surface. Ensure that the flashing fits precisely within the designated installation space.
- Position the Flashing: Gently place the cut pieces of flashing onto the marked areas on the brick, ensuring that they are aligned and positioned according to the layout and design requirements. Take the time to verify the accuracy of the placement before proceeding.
- Secure the Flashing: Using the previously drilled pilot holes as a guide, carefully drive anchors or screws through the pre-drilled holes in the flashing and into the brick. Be mindful of the recommended spacing and depth for the fasteners to ensure a secure and reliable attachment.
- Check for Alignment: Once the flashing is secured in place, use a level to verify that it is perfectly straight and aligned according to the intended design. Making any necessary adjustments at this stage will contribute to a professional and visually appealing installation.
- Inspect the Joints: Examine the joints and seams where the flashing pieces meet, ensuring that they fit snugly together without gaps. Apply additional sealant as needed to reinforce the watertight integrity of the flashing installation.
By methodically following these steps, you will effectively attach the flashing to the brick, establishing a robust barrier against water intrusion and safeguarding the building’s interior from potential moisture-related damage. Attention to detail and precision during this phase of the installation process is paramount for long-term performance and protection.
Securing the Flashing
Securing the flashing to the brick surface is a critical step in ensuring its long-term effectiveness in preventing water infiltration. By following the precise procedures outlined below, you can fortify the flashing installation and bolster the building’s defense against moisture-related issues:
- Apply Sealant: Prior to permanently securing the flashing, apply a generous bead of high-quality silicone caulk or sealant along the edges and seams of the flashing. This additional layer of protection will enhance the watertight integrity of the installation.
- Tighten Fasteners: If anchors or screws were used to secure the flashing, carefully tighten them to the recommended torque or depth to ensure a secure and stable attachment. Be mindful of not over-tightening, which could potentially damage the flashing or the brick surface.
- Inspect for Proper Fit: Thoroughly examine the flashing installation to ensure that it fits snugly against the brick surface without any gaps or areas of detachment. Address any irregularities or gaps promptly to maintain the effectiveness of the flashing system.
- Weatherproof the Seams: Pay special attention to the seams and joints of the flashing, applying an additional layer of sealant to reinforce these vulnerable areas. Properly sealed seams are crucial for preventing water from seeping behind the flashing and compromising its protective function.
- Verify Structural Integrity: Confirm that the flashing is securely and sturdily attached to the brick, capable of withstanding environmental elements and potential water exposure. Ensuring the structural integrity of the installation is essential for long-term performance.
By meticulously executing these steps, you will effectively secure the flashing to the brick surface, creating a robust and reliable barrier against water intrusion. This meticulous approach to securing the flashing will contribute to the overall resilience and durability of the building’s exterior envelope, offering essential protection against moisture-related damage.
Read more: How To Attach Brick Molding
Conclusion
Attaching flashing to brick is a fundamental aspect of building construction and renovation, playing a pivotal role in safeguarding structures against water infiltration and potential damage. By understanding the precise methods and essential considerations involved in this process, you can fortify the integrity of brick buildings and ensure their long-term resilience.
Throughout this guide, we’ve explored the comprehensive process of attaching flashing to brick, from gathering the necessary materials and preparing the surface to securely affixing the flashing and reinforcing its protective function. By diligently following each step and paying close attention to detail, you can effectively protect the building’s interior from the detrimental effects of water intrusion.
Proper surface preparation, precise flashing installation, and meticulous sealing and securing techniques are essential components of a successful flashing attachment. By adhering to industry best practices and leveraging high-quality materials, you can create a robust barrier that shields the building from moisture-related issues, ultimately contributing to its longevity and structural integrity.
As you embark on the process of attaching flashing to brick, remember the significance of thorough preparation, attention to detail, and the use of reliable materials and tools. By prioritizing the proper installation of flashing, you are investing in the long-term protection and resilience of the building, ensuring that it remains a steadfast and durable structure for years to come.
With this comprehensive understanding of the process, you are well-equipped to tackle the essential task of attaching flashing to brick, contributing to the overall strength and durability of brick buildings in various construction and renovation endeavors.
Frequently Asked Questions about How To Attach Flashing To Brick
Was this page helpful?
At Storables.com, we guarantee accurate and reliable information. Our content, validated by Expert Board Contributors, is crafted following stringent Editorial Policies. We're committed to providing you with well-researched, expert-backed insights for all your informational needs.


0 thoughts on “How To Attach Flashing To Brick”