Home>Construction & Tools>Building Materials>How To Prepare A Brick Wall For Painting
Building Materials
How To Prepare A Brick Wall For Painting
Modified: March 9, 2024
Learn how to properly prepare a brick wall for painting with our expert tips and techniques. Get the best results with the right building materials and methods.
(Many of the links in this article redirect to a specific reviewed product. Your purchase of these products through affiliate links helps to generate commission for Storables.com, at no extra cost. Learn more)
Introduction
Welcome to the comprehensive guide on preparing a brick wall for painting! Whether you’re looking to refresh the exterior of your home or revitalize an interior space, painting a brick wall can dramatically transform the aesthetic appeal of your property. However, achieving a flawless and long-lasting finish requires careful preparation to ensure the paint adheres properly and the surface remains in optimal condition.
In this article, we’ll delve into the essential steps for preparing a brick wall for painting, covering everything from assessing the wall’s condition to cleaning, repairing, and ultimately applying a fresh coat of paint. By following these guidelines, you’ll be well-equipped to tackle this rewarding project with confidence and achieve professional-quality results.
So, roll up your sleeves and get ready to unleash your creativity as we explore the art of transforming a brick wall into a stunning focal point of your living space!
Key Takeaways:
- Preparing a brick wall for painting involves assessing its condition, cleaning, repairing any damage, applying a primer, and finally painting. Each step is crucial for achieving a professional and long-lasting finish.
- Thoroughly cleaning the brick surface, addressing any damage, and applying a high-quality primer are essential for ensuring the paint adheres properly and the finished result is visually stunning. These steps are vital for a successful painting project.
Read more: How To Prepare Exterior Walls For Painting
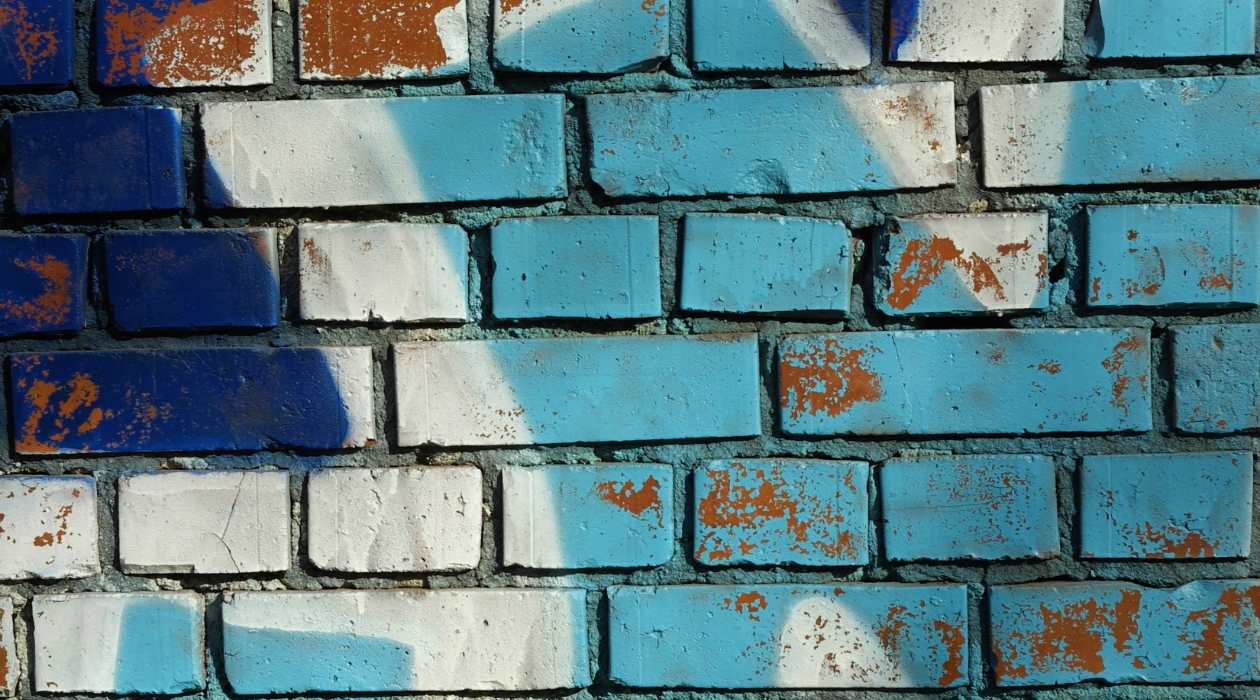
Assessing the Condition of the Wall
Before embarking on the process of painting a brick wall, it’s crucial to assess the current condition of the surface. This step is essential for identifying any underlying issues that may affect the adhesion and longevity of the paint.
Begin by carefully examining the brick wall for signs of damage, such as cracks, spalling, or efflorescence. Cracks in the mortar joints or bricks can indicate structural issues that need to be addressed before painting. Additionally, spalling, which involves the peeling or flaking of the brick surface, and efflorescence, characterized by white, powdery deposits, can both impact the paint’s ability to adhere properly.
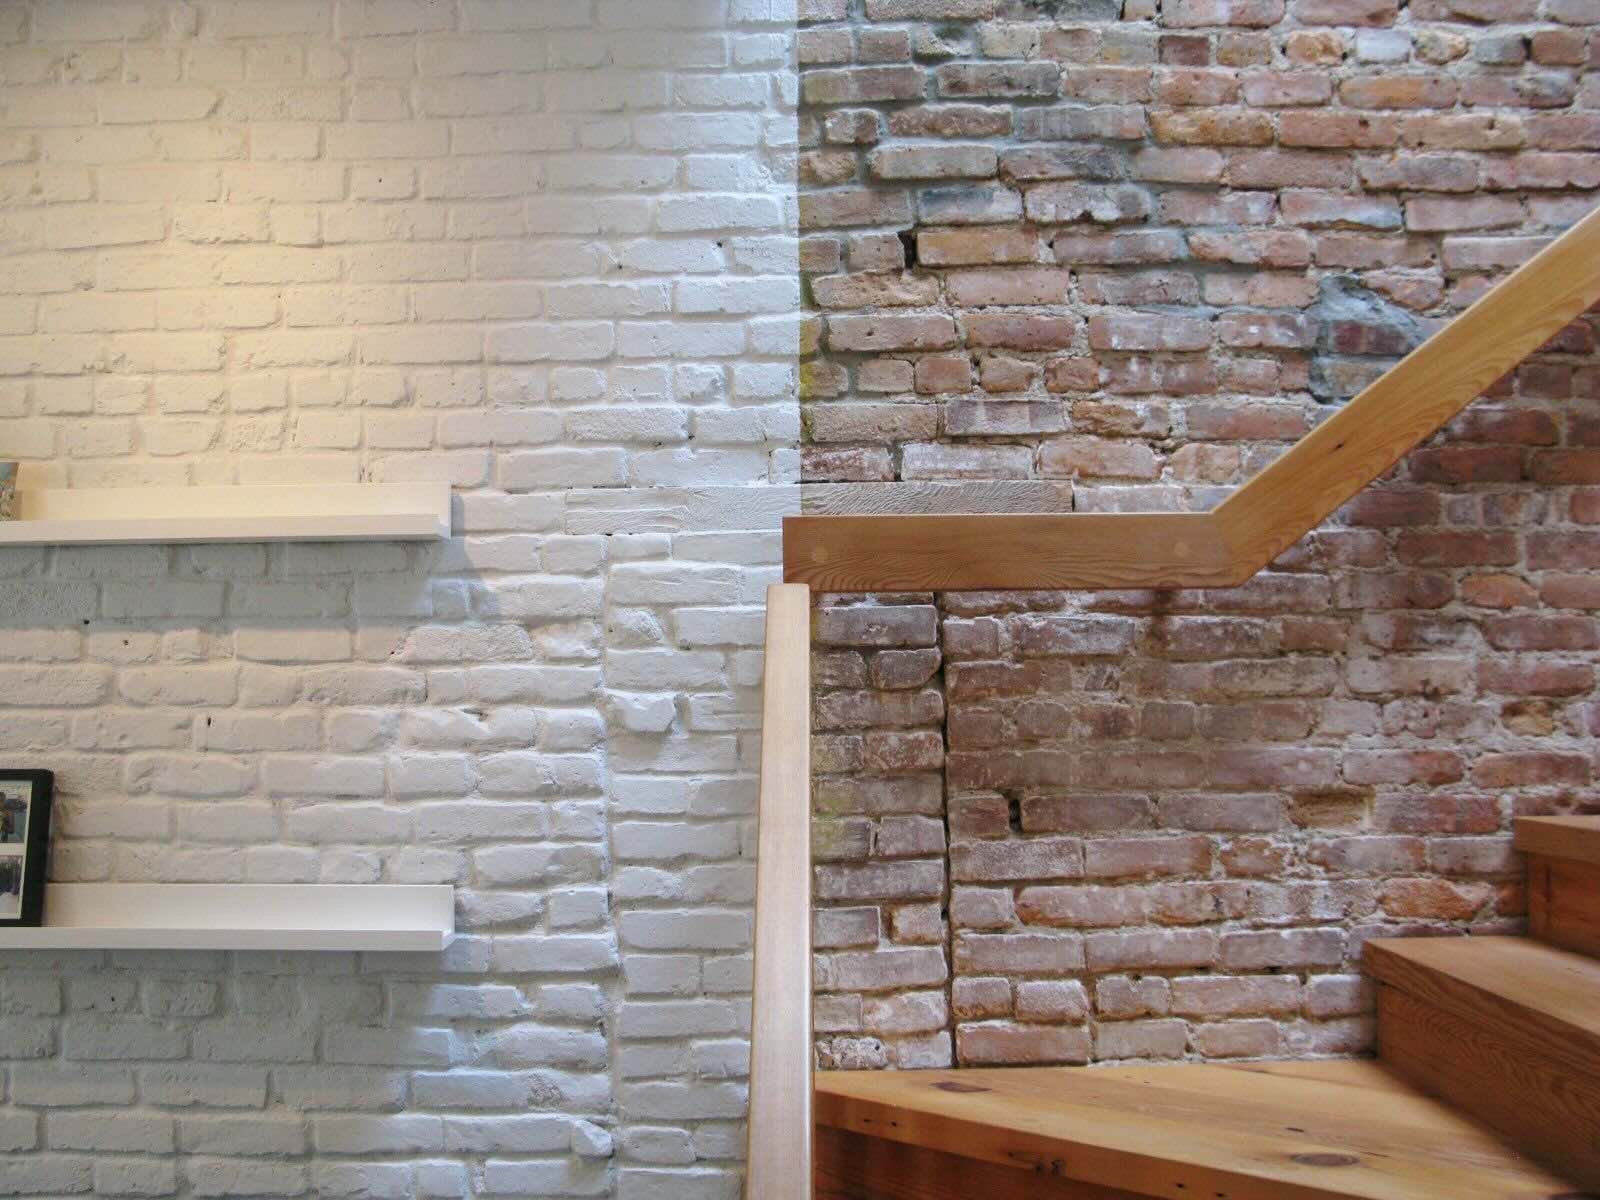
Furthermore, assess the presence of any existing paint or sealant on the brick. If the wall has been previously painted, it’s important to determine whether the paint is in good condition or if it’s flaking and peeling. In the case of a deteriorating paint layer, it will be necessary to remove it entirely before proceeding with the new paint application.
Moreover, evaluate the level of moisture absorption exhibited by the bricks. Use a simple moisture test by placing a plastic sheet against the wall and observing any condensation after a few days. Excessive moisture retention can lead to paint failure and must be addressed through proper ventilation and waterproofing measures.
By thoroughly assessing the condition of the brick wall, you’ll gain valuable insights into the necessary preparatory steps and potential challenges that may arise during the painting process. Armed with this knowledge, you can proceed to the next phase of preparing the surface for a flawless and enduring paint finish.
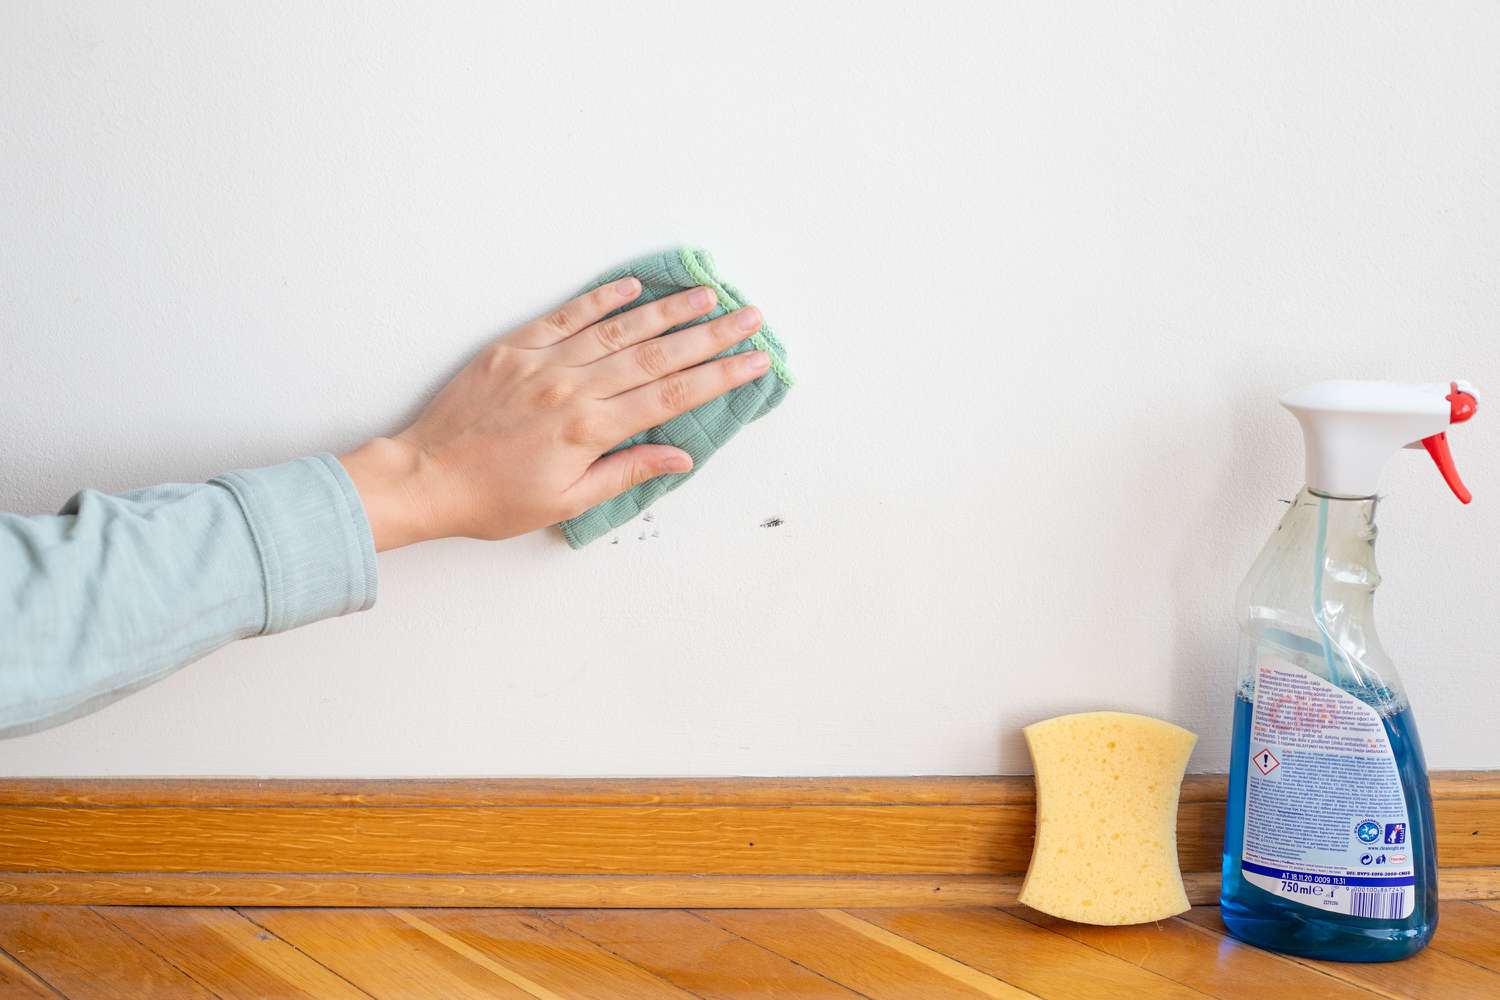
Cleaning the Brick Surface
Once the condition of the brick wall has been assessed, the next critical step in the preparation process is thorough cleaning. Cleaning the brick surface is essential for removing dirt, grime, efflorescence, and any existing paint or sealant residues that could compromise the adhesion of the new paint.
Begin by clearing the area around the wall to create a workspace free of obstacles. Dust and sweep the surface to eliminate loose debris and dirt. For exterior brick walls, consider using a pressure washer with a low-pressure nozzle to remove stubborn dirt and contaminants. However, exercise caution to avoid damaging the mortar or grout between the bricks.
For interior brick walls, a gentler approach is recommended to prevent creating a mess. Start by vacuuming the surface with a brush attachment to remove loose dirt and cobwebs. Follow this by wiping the bricks with a damp cloth or sponge and a mild detergent solution to dissolve and lift away accumulated grime.
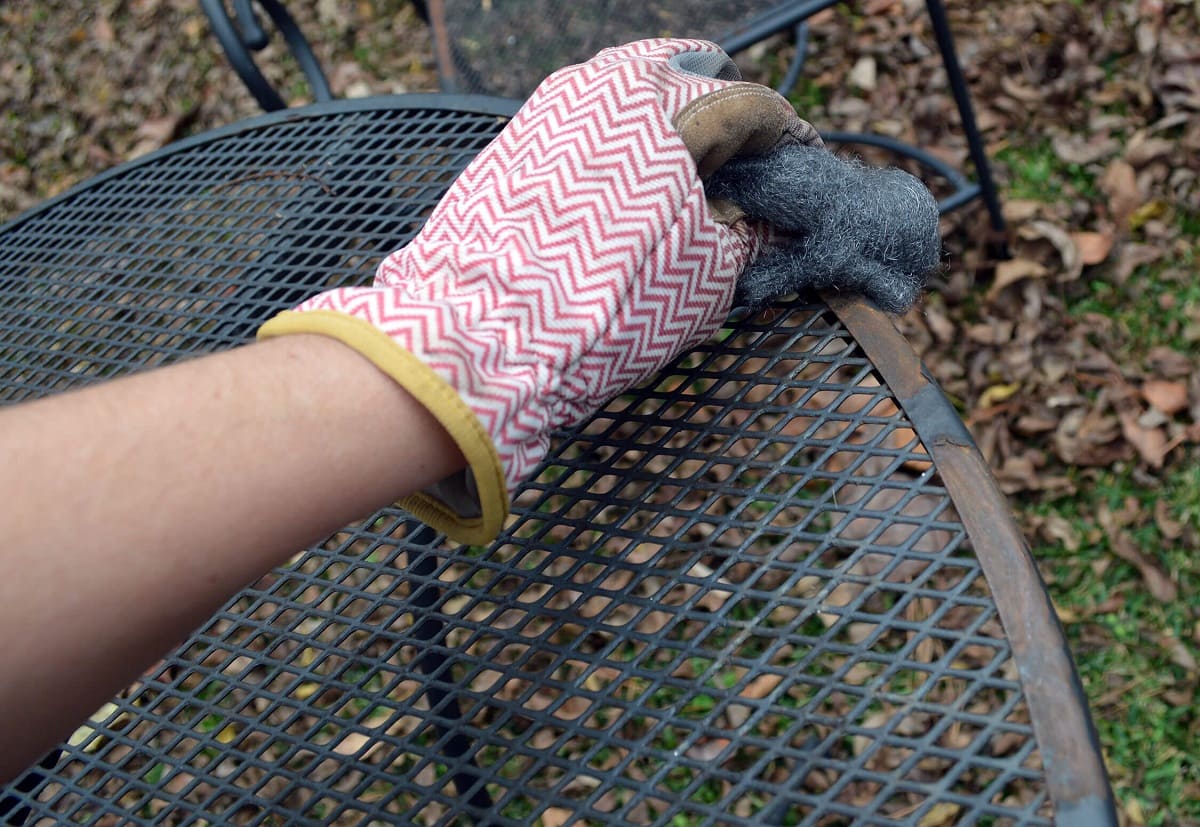
Efflorescence, the white, powdery residue caused by salt deposits, can be removed using a stiff brush or a solution of water and white vinegar. Gently scrub the affected areas to dislodge the efflorescence, then rinse the surface thoroughly with clean water to prevent any remaining residue from interfering with the paint application.
If the brick wall has existing paint or sealant, it’s crucial to remove these coatings before proceeding further. This can be accomplished using a chemical paint stripper or a combination of scraping and sanding to ensure a clean, bare brick surface.
By meticulously cleaning the brick surface, you’ll create an ideal foundation for the subsequent steps in the painting process. A clean, debris-free surface not only promotes better paint adhesion but also contributes to a more aesthetically pleasing and professional-looking finish.
Repairing Damaged Areas
After thoroughly cleaning the brick surface, the next crucial phase in preparing for painting involves addressing any damaged areas that may compromise the structural integrity or visual appeal of the wall. Identifying and repairing these issues is essential for ensuring a smooth and flawless paint application.
Start by inspecting the brick wall for cracks, spalling, or deteriorated mortar joints. Cracks in the bricks or mortar can be indicative of underlying structural problems and should be carefully assessed. Small cracks can often be repaired using a high-quality masonry repair caulk or sealant, while larger or more severe cracks may necessitate professional attention to address any underlying structural issues.
Spalling, characterized by the peeling or flaking of the brick surface, can be remedied by carefully removing the damaged areas with a chisel and hammer, ensuring that the surrounding bricks remain intact. Once the damaged portions are removed, use a suitable masonry patching compound to fill in the areas, following the manufacturer’s instructions for application and drying times.
Similarly, deteriorated mortar joints should be repointed to restore the wall’s structural integrity and aesthetic appeal. Repointing involves carefully removing the old, damaged mortar and replacing it with fresh mortar to create a secure and visually cohesive surface. Pay close attention to the composition and color of the existing mortar to ensure a seamless and harmonious repair.
Efflorescence, the white, powdery deposits caused by salt migration, can be addressed by removing the underlying source of moisture and applying a suitable efflorescence cleaner to eliminate the residue. It’s essential to identify and rectify any moisture-related issues to prevent the recurrence of efflorescence after the painting process is complete.
By diligently repairing any damaged areas, you’ll not only enhance the structural integrity of the brick wall but also create a smooth and uniform surface for the subsequent primer and paint application. These repairs are vital for ensuring the longevity and visual appeal of the painted brick wall, making them a crucial aspect of the preparation process.
Before painting a brick wall, make sure to clean it thoroughly with a wire brush and soapy water to remove any dirt, dust, and loose mortar. Then, apply a masonry primer to ensure the paint adheres properly.
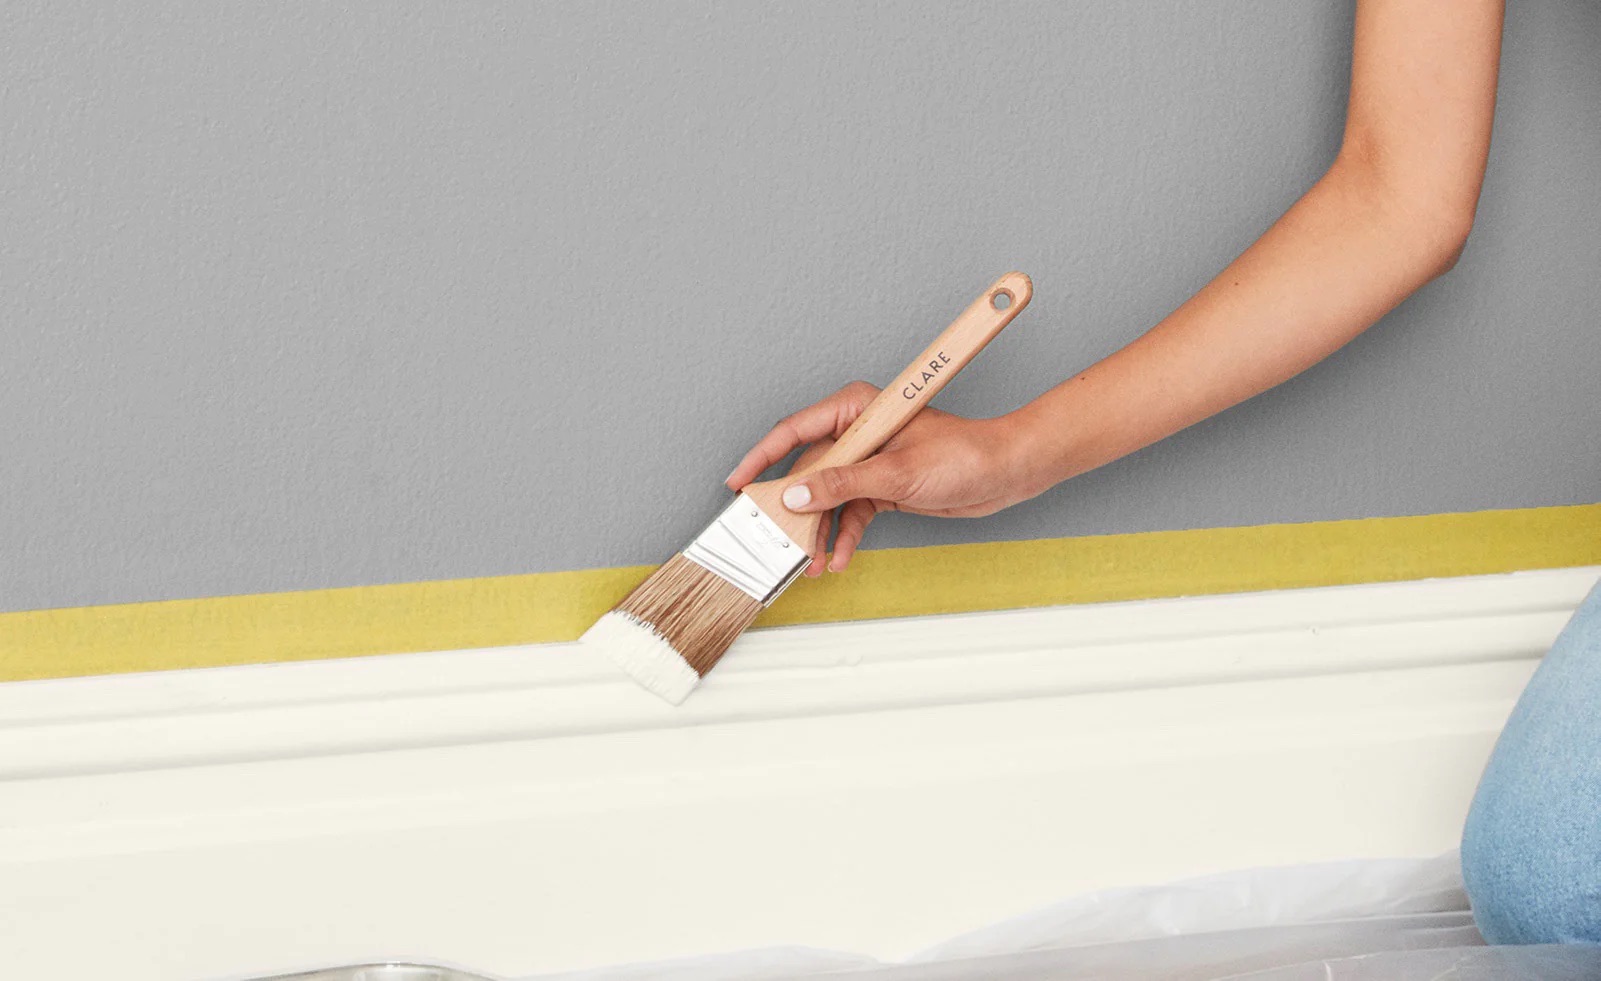
Applying a Primer
Once the brick wall has been thoroughly cleaned and any damaged areas have been repaired, the next step in the preparation process is the application of a high-quality primer. A primer is essential for promoting adhesion, sealing the surface, and ensuring the uniform absorption of the paint, ultimately enhancing the durability and longevity of the finished paint job.
Before applying the primer, it’s crucial to select a product specifically designed for masonry surfaces. Masonry primers are formulated to penetrate and adhere to porous surfaces such as brick, creating a stable base for the paint to adhere to and preventing moisture infiltration.
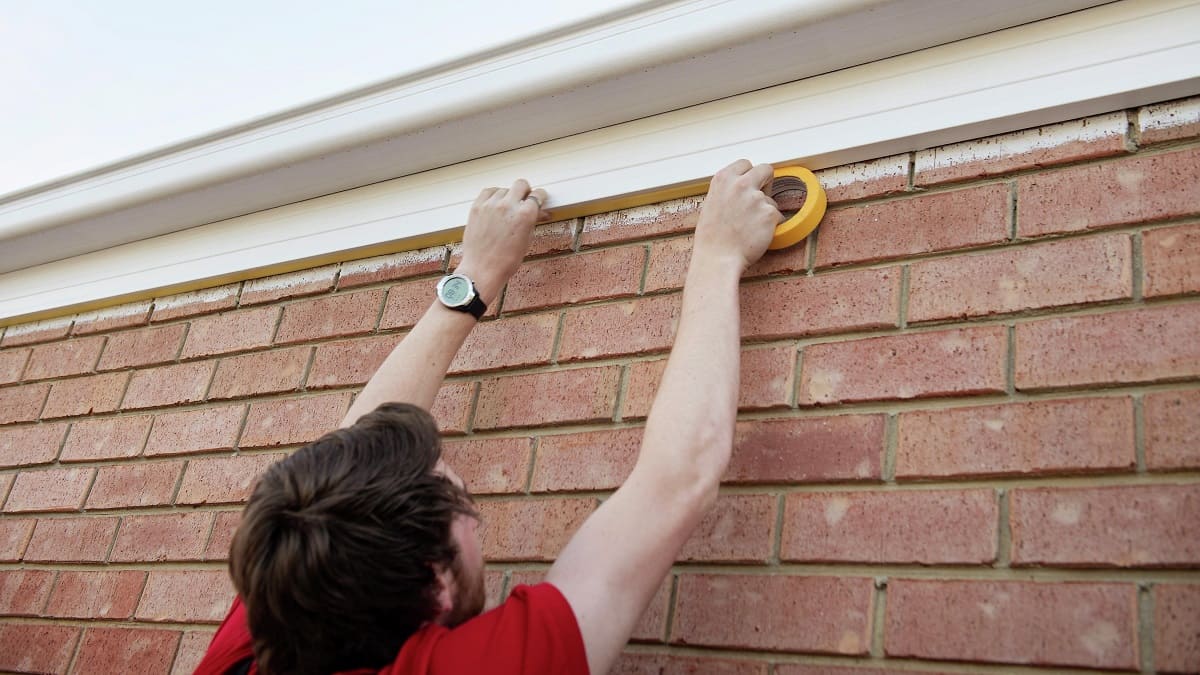
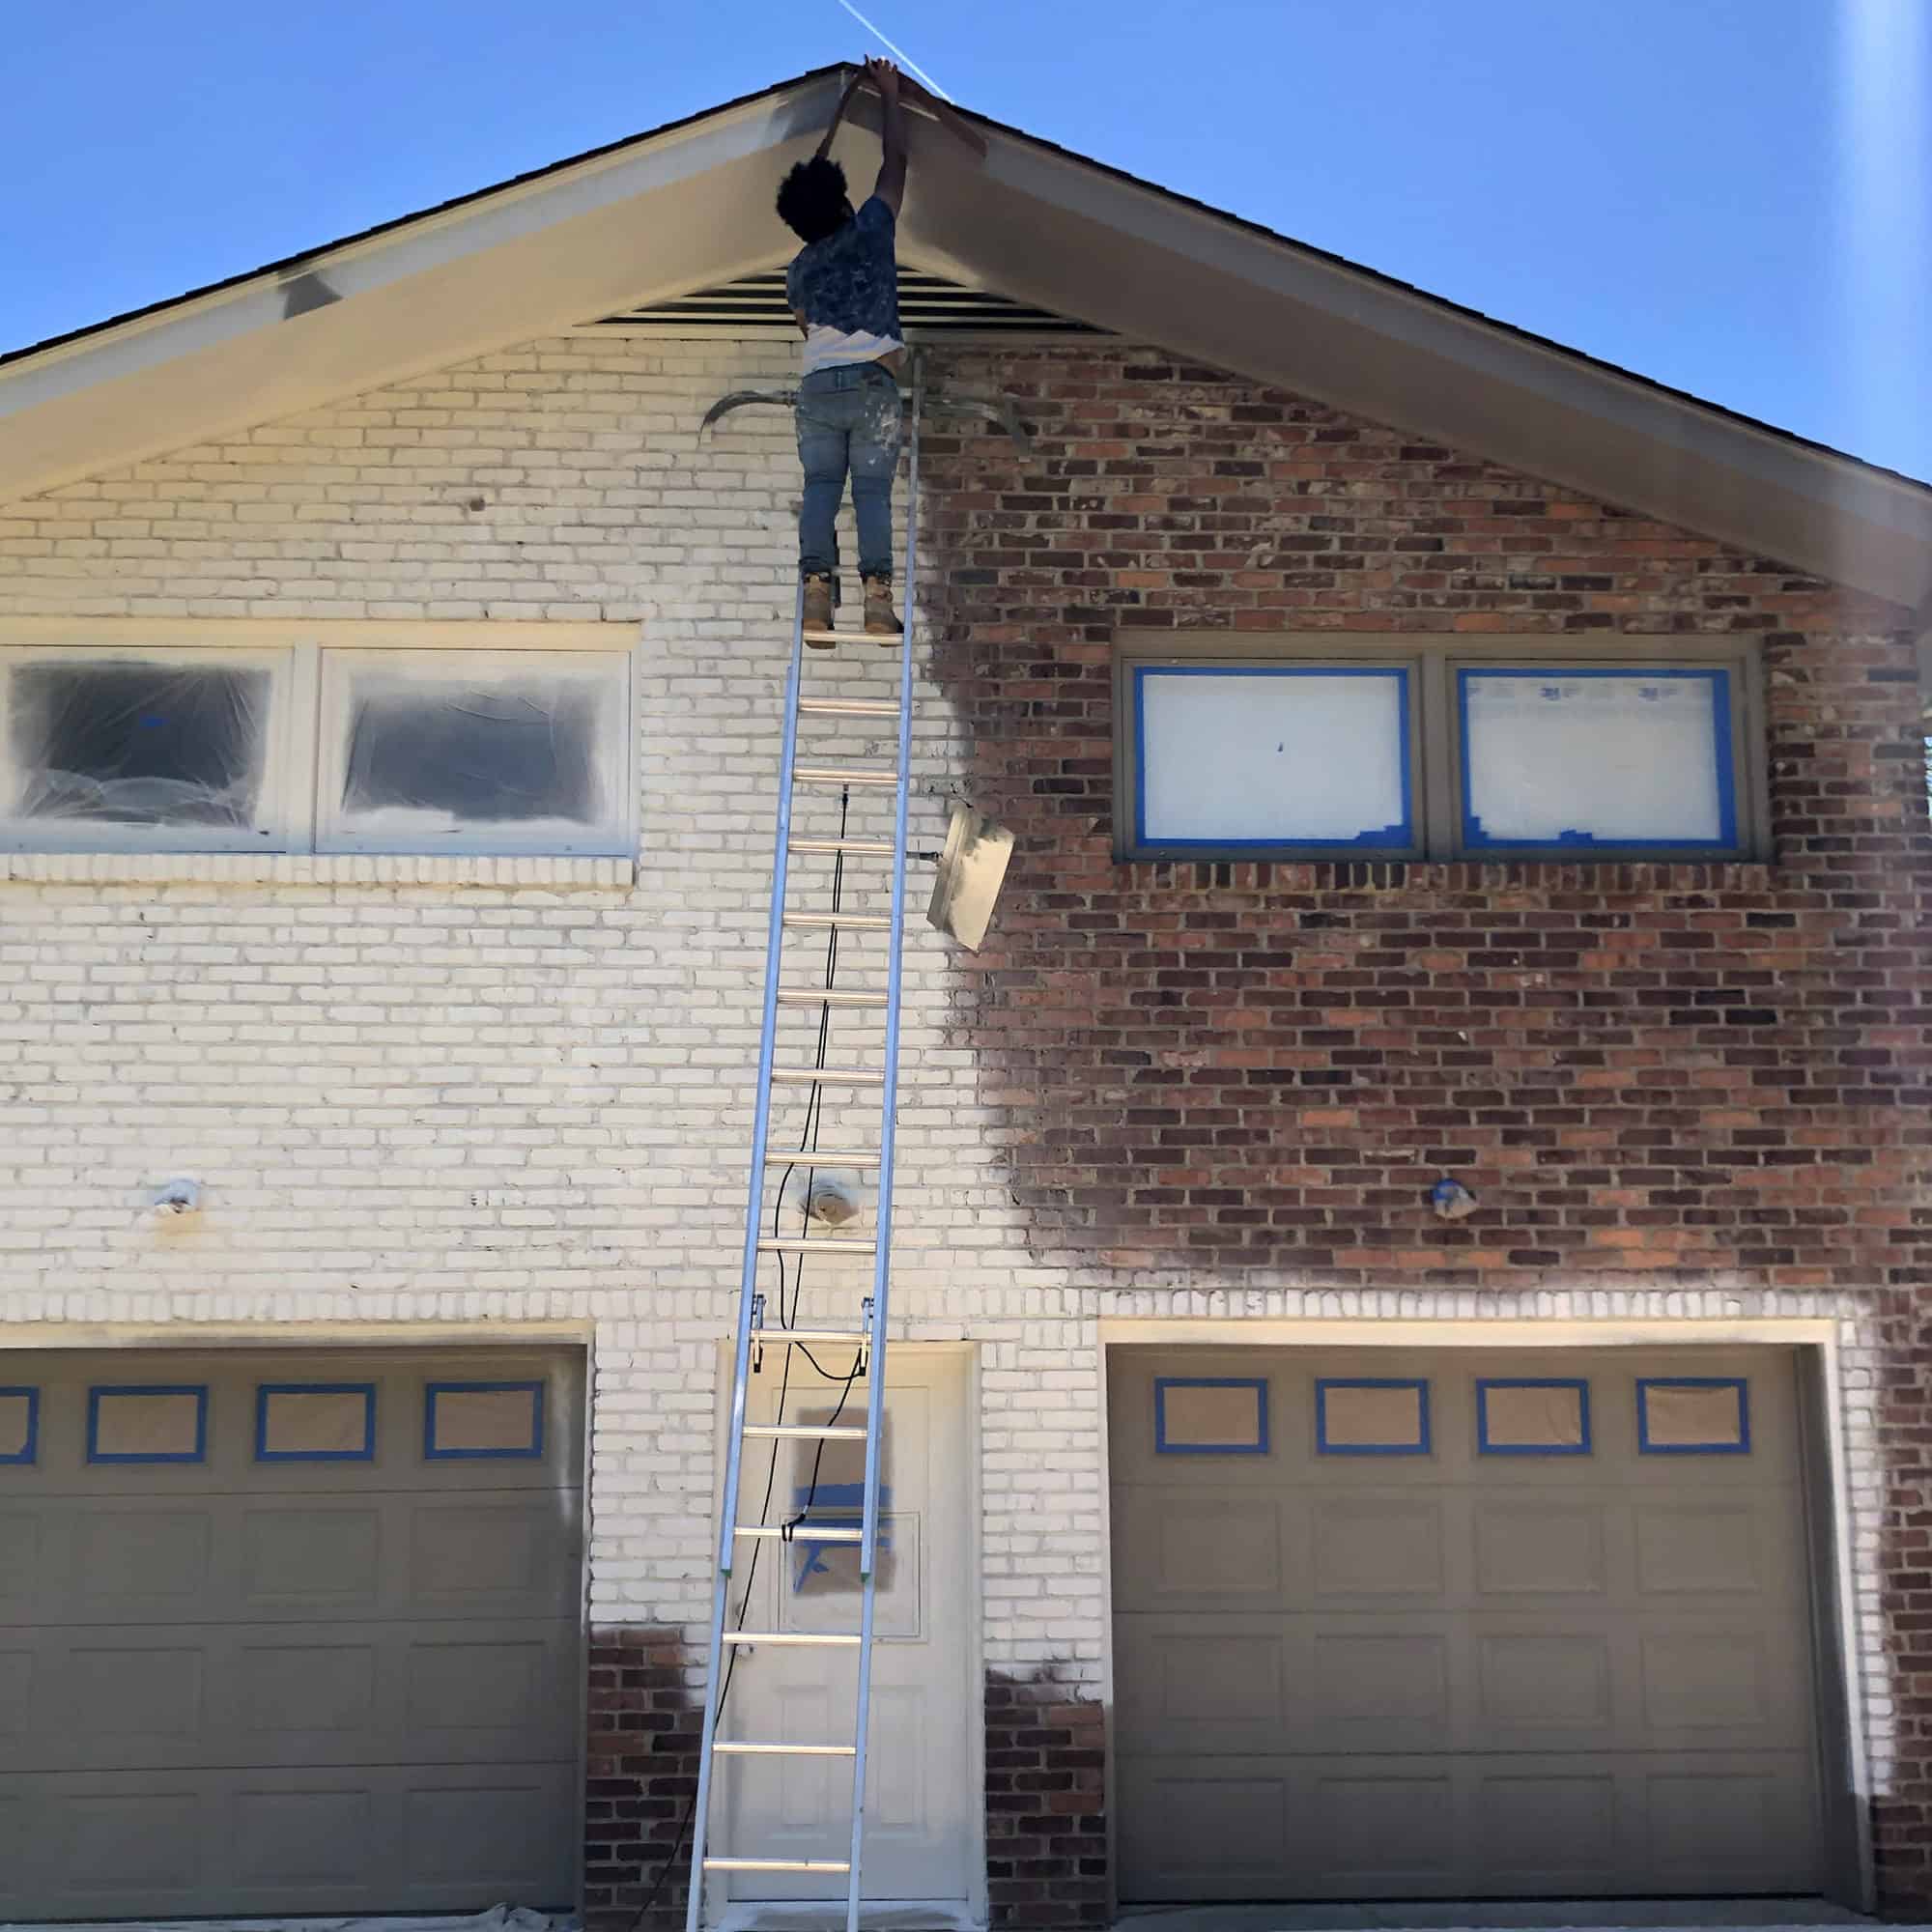
Begin by carefully inspecting the cleaned and repaired brick surface to ensure it is dry and free of any residual dust or debris. Apply painter’s tape to any adjacent surfaces, such as trim, windows, or doors, to protect them from primer overspray.
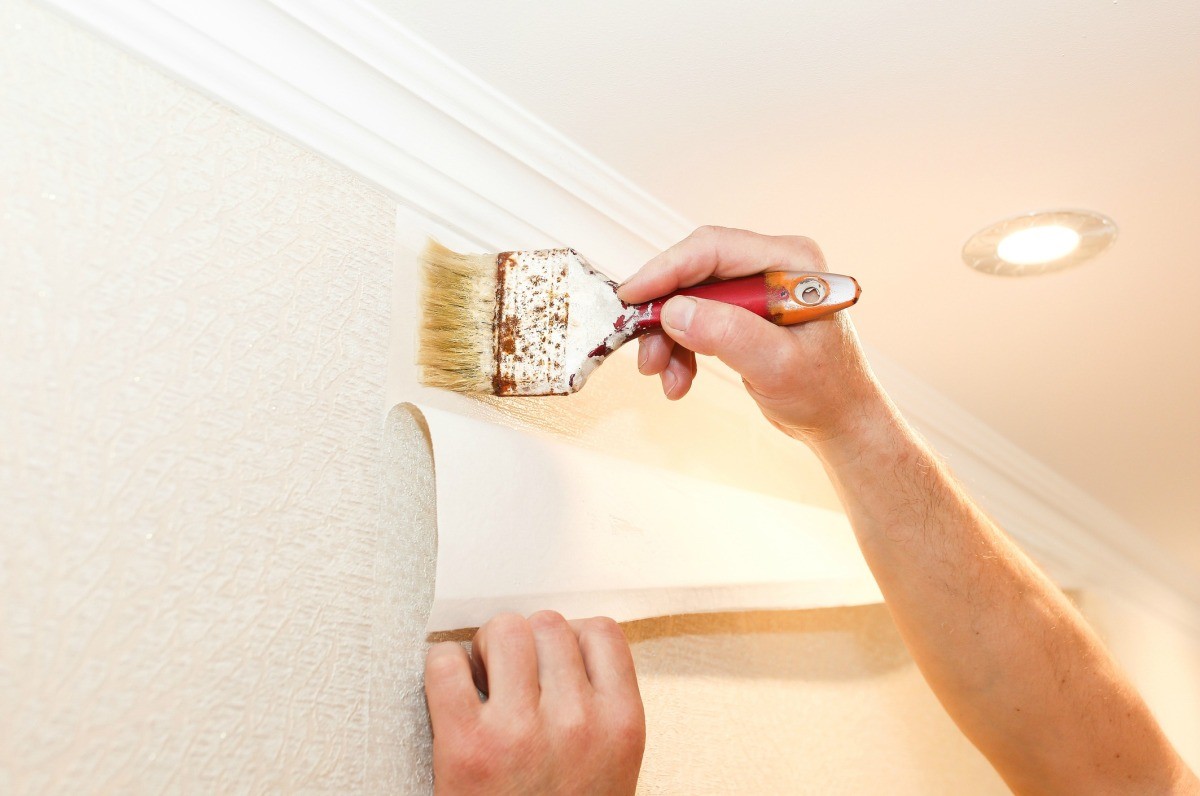
Using a high-quality paintbrush or a long-nap roller designed for rough surfaces, apply the masonry primer evenly across the brick wall, working in manageable sections to ensure thorough coverage. Pay close attention to the mortar joints, ensuring they are adequately coated to create a uniform surface for the subsequent paint application.
Allow the primer to dry completely according to the manufacturer’s recommendations before proceeding with the paint application. This drying period is essential for the primer to bond effectively with the brick surface and create an optimal foundation for the paint.
While a single coat of primer is often sufficient, it’s important to assess the coverage and adhesion to determine if a second coat is necessary. Additional coats may be required to achieve consistent coverage and ensure the uniform absorption of the paint, particularly on highly porous or uneven surfaces.
By applying a high-quality primer specifically formulated for masonry surfaces, you’ll fortify the brick wall with a stable and adhesive base for the paint, enhancing its resilience and ensuring a long-lasting and visually stunning finish. The primer serves as a crucial intermediary step that optimizes the adhesion and durability of the final paint layers, making it an indispensable component of the preparation process.
Read more: How To Prepare Interior Walls For Painting
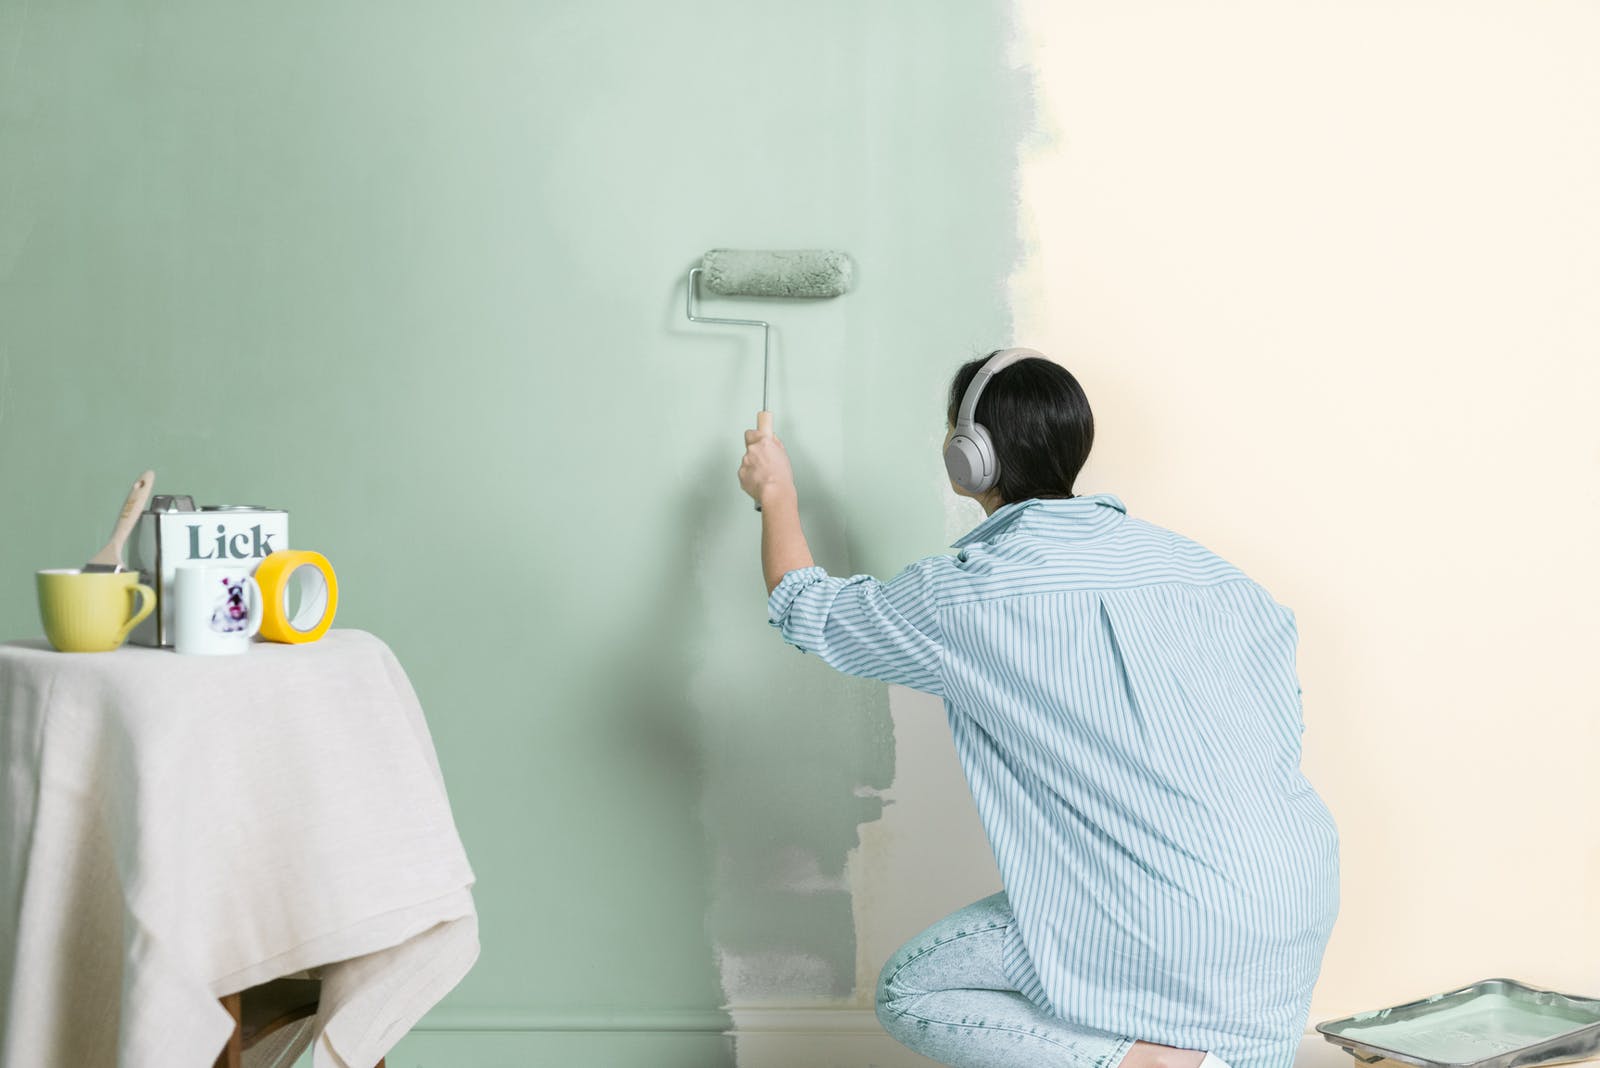
Painting the Brick Wall
With the surface thoroughly cleaned, any damaged areas repaired, and a high-quality primer applied, it’s time to embark on the transformative final step: painting the brick wall. This phase offers the opportunity to infuse your space with a fresh color palette, enhance its visual appeal, and create a striking focal point that reflects your personal style.
Before diving into the paint application, carefully select a premium acrylic latex paint specifically formulated for masonry surfaces. Consider factors such as color, finish, and durability to ensure the paint aligns with your aesthetic vision and functional requirements. Opt for a breathable paint that allows moisture to escape, preventing issues such as peeling and efflorescence.
Begin by preparing the paint for application, stirring it thoroughly to achieve a consistent color and texture. If using multiple cans of paint, it’s advisable to mix them together to ensure uniformity across the entire wall. Protect adjacent surfaces with painter’s tape and drop cloths to prevent accidental splatter or overspray.
Using a high-quality paintbrush for precision and a long-nap roller for larger expanses, apply the paint evenly across the brick surface, working in manageable sections to maintain a wet edge and achieve a uniform finish. Pay special attention to the mortar joints, ensuring they are coated thoroughly to create a cohesive and harmonious appearance.
Depending on the desired opacity and coverage, multiple coats of paint may be necessary. Allow each coat to dry completely before applying the next, following the manufacturer’s recommended drying times. This incremental approach ensures a consistent and durable finish while allowing you to assess the coverage and make any necessary touch-ups.
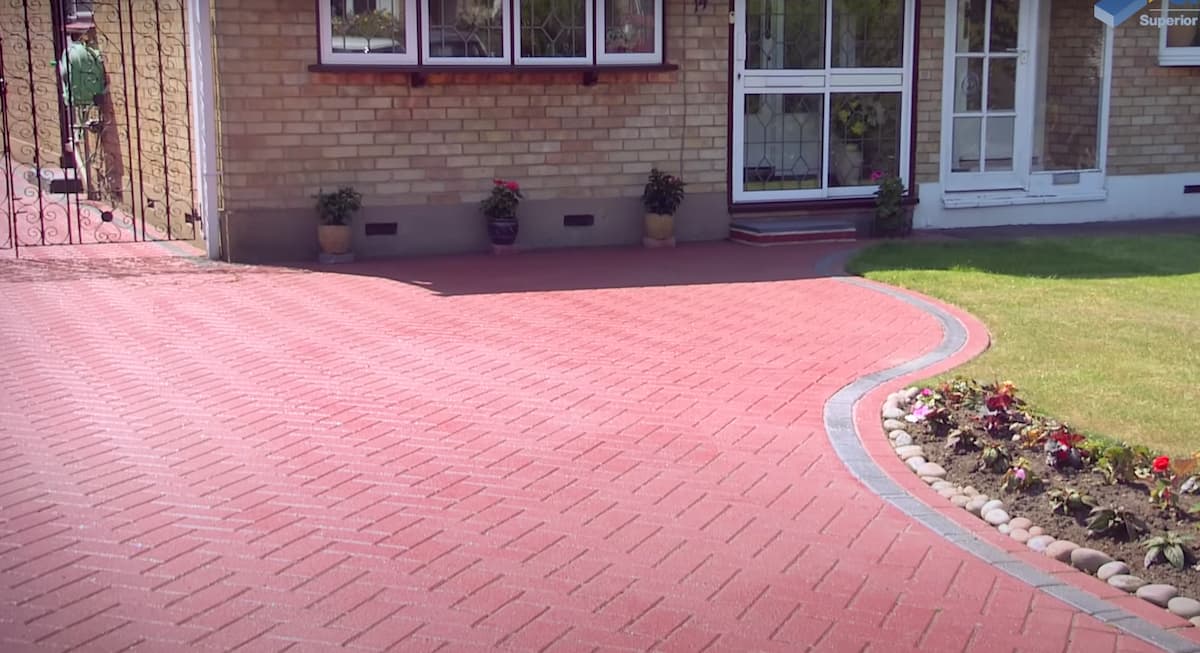
Once the final coat has been applied and has dried to the touch, carefully remove the painter’s tape and drop cloths to reveal the beautifully painted brick wall. Take a moment to admire the transformation, reveling in the newfound vibrancy and allure of the space.
By painting the brick wall with precision and care, you’ll not only elevate the visual appeal of your environment but also fortify the surface with a protective and enduring finish. The painted brick wall stands as a testament to your creativity and attention to detail, serving as a captivating centerpiece that enriches the ambiance of your home or commercial space.
Conclusion
Congratulations on successfully completing the comprehensive process of preparing and painting a brick wall! This transformative endeavor has not only revitalized the aesthetic appeal of your space but also imbued it with a sense of character and individuality. As you stand back and admire the beautifully painted brick wall, it’s evident that the meticulous preparation and skilled application have yielded a stunning and enduring result.
Throughout this journey, you’ve navigated the essential steps of assessing the wall’s condition, meticulously cleaning the surface, addressing and repairing any damaged areas, applying a high-quality primer, and ultimately bringing your vision to life through the art of painting. Each phase of the process has contributed to the creation of a captivating and resilient surface that reflects your personal style and enhances the ambiance of your environment.
By carefully evaluating the condition of the brick wall at the outset, you gained valuable insights into the necessary preparatory steps and potential challenges, setting the stage for a successful painting project. Thoroughly cleaning the surface and addressing any damaged areas have not only promoted the adhesion of the paint but also fortified the structural integrity of the wall, ensuring its longevity and visual appeal.
The application of a high-quality primer has served as a crucial intermediary step, creating a stable and adhesive base for the paint while enhancing the durability and resilience of the finished surface. Finally, the transformative act of painting has infused the space with a fresh color palette, elevating its visual allure and leaving a lasting impression.
As you bask in the beauty of the freshly painted brick wall, take pride in the craftsmanship and dedication that have culminated in this remarkable achievement. Your environment has been enriched with a captivating focal point that reflects your creativity and attention to detail, serving as a source of inspiration and admiration for all who encounter it.
Thank you for embarking on this enriching journey of transforming a brick wall into a work of art. May the vibrancy and allure of the painted surface continue to inspire and elevate your surroundings, creating a space that is truly a reflection of your unique vision and style.
Frequently Asked Questions about How To Prepare A Brick Wall For Painting
Was this page helpful?
At Storables.com, we guarantee accurate and reliable information. Our content, validated by Expert Board Contributors, is crafted following stringent Editorial Policies. We're committed to providing you with well-researched, expert-backed insights for all your informational needs.


0 thoughts on “How To Prepare A Brick Wall For Painting”