Home>Construction & Tools>Building Materials>How To Mount A Ring Doorbell To Brick

Building Materials
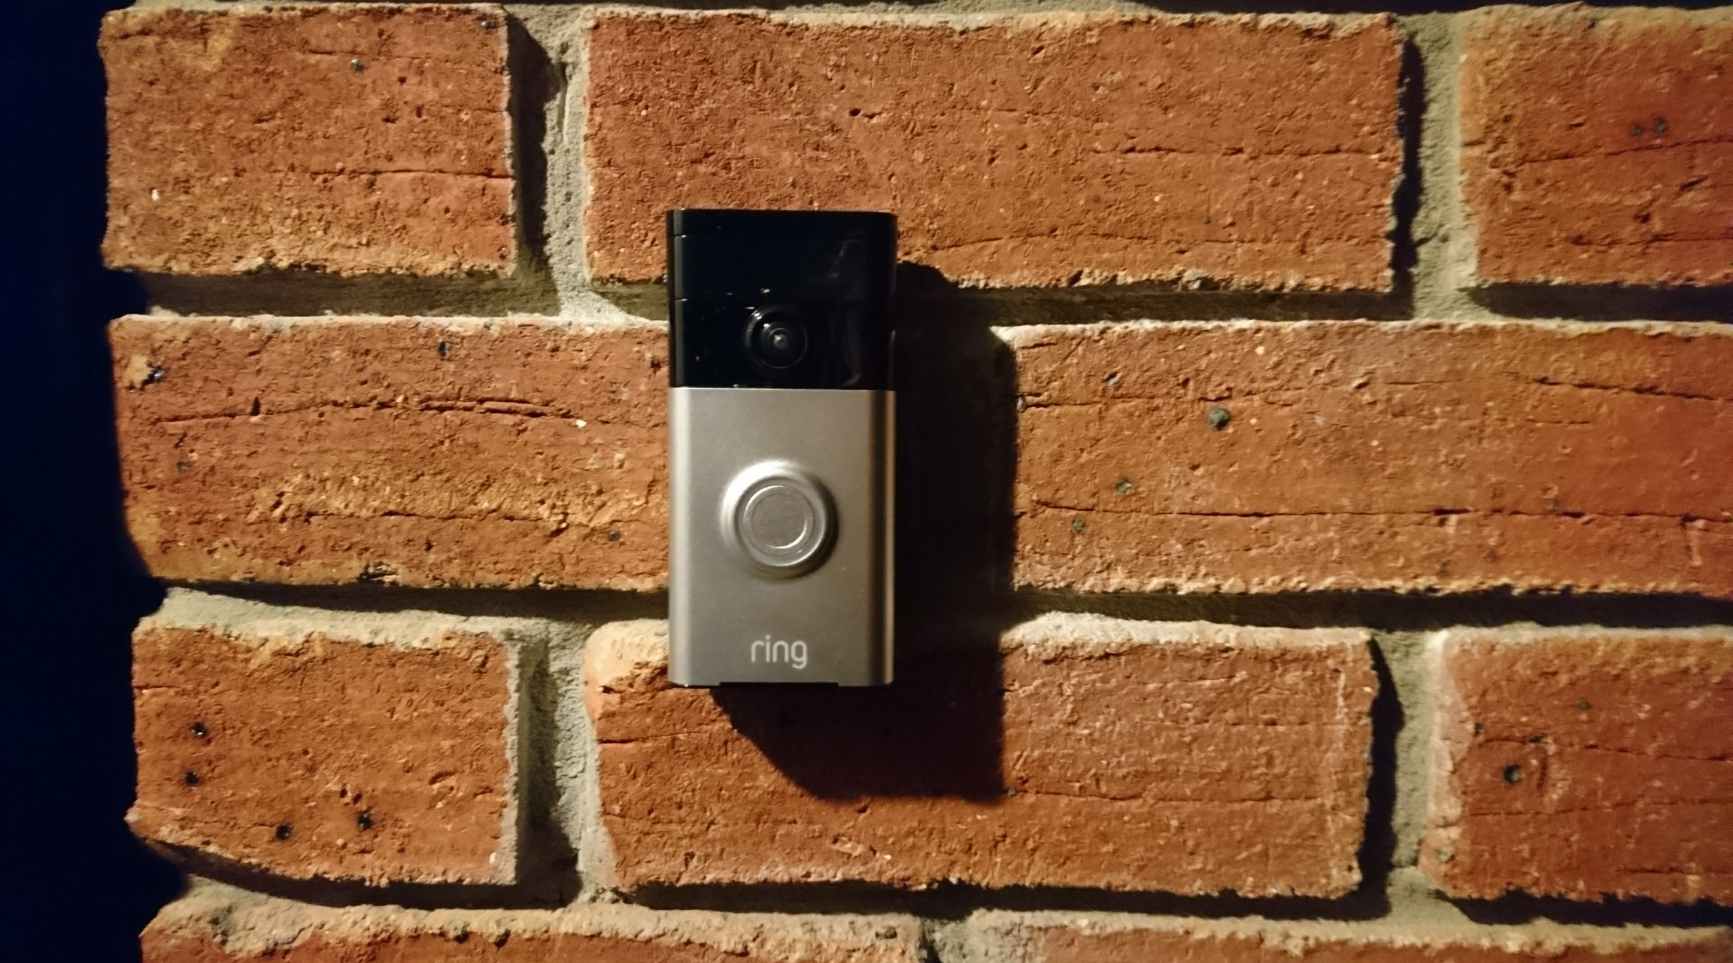
How To Mount A Ring Doorbell To Brick
Modified: March 24, 2024
Learn how to mount a Ring Doorbell to brick with our step-by-step guide. Find the best building materials and tips for a secure installation.
(Many of the links in this article redirect to a specific reviewed product. Your purchase of these products through affiliate links helps to generate commission for Storables.com, at no extra cost. Learn more)
Introduction
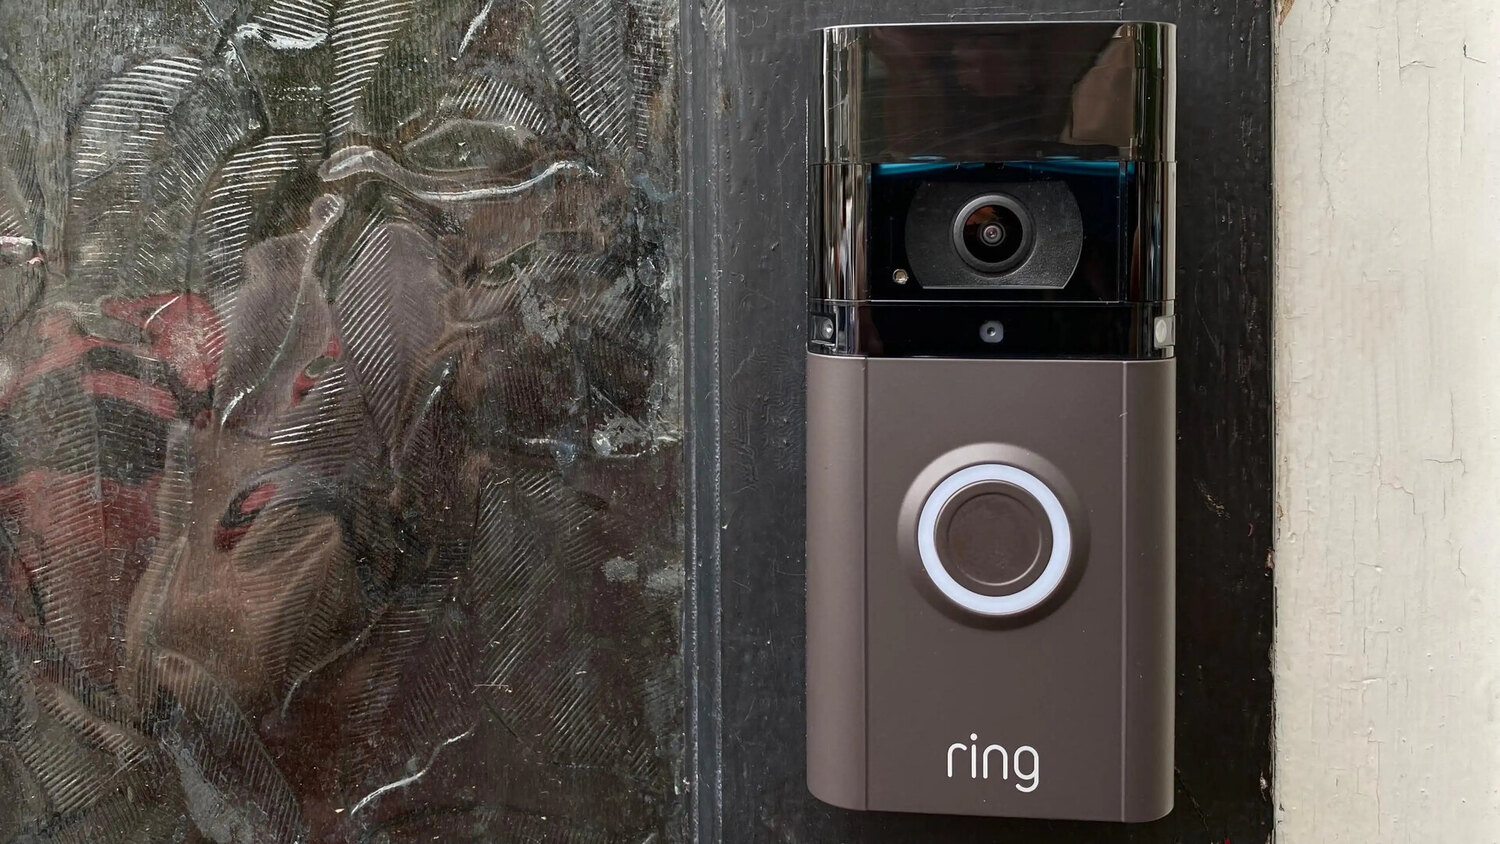
So, you've decided to enhance your home security by installing a Ring Doorbell on your brick exterior. Congratulations on taking this proactive step to safeguard your property and loved ones! Mounting a Ring Doorbell to brick may seem like a daunting task, but with the right tools, materials, and guidance, you can accomplish this project with confidence.
In this comprehensive guide, we'll walk you through the process of securely attaching your Ring Doorbell to a brick surface. Whether you're a seasoned DIY enthusiast or a novice homeowner eager to tackle your first home improvement project, this step-by-step tutorial will equip you with the knowledge and skills needed to complete the installation successfully.
By following these instructions and leveraging the power of technology, you'll not only fortify your home's security but also gain the convenience of monitoring your property remotely. Imagine being able to see and communicate with visitors at your door, whether you're at home or miles away. With the Ring Doorbell in place, you'll have peace of mind and control at your fingertips.
So, let's roll up our sleeves, gather the necessary tools and materials, and embark on this rewarding journey to mount a Ring Doorbell to your brick exterior. With our guidance, you'll soon be enjoying the benefits of enhanced security and modern convenience. Let's get started!
Key Takeaways:
- Mounting a Ring Doorbell to brick requires careful preparation, precise installation, and thorough testing to ensure optimal security and convenience for your home.
- By following step-by-step instructions and leveraging the right tools and materials, you can successfully install a Ring Doorbell on your brick exterior, enhancing your home’s security and modernizing your entryway.
Read more: How To Mount A Ring Doorbell
Tools and Materials Needed
Before you begin the installation process, it’s essential to gather the required tools and materials. Having the right equipment at your disposal will streamline the installation and ensure a secure and professional-looking result. Here’s a comprehensive list of the tools and materials you’ll need:
Tools:
- Power drill
- Masonry drill bit
- Screwdriver
- Level
- Tape measure
- Pencil or marker
- Hammer
- Wire stripper (if wiring the doorbell)
- Stud finder (if mounting on a wooden surface adjacent to the brick)
Materials:
- Ring Doorbell
- Mounting bracket and screws (typically included with the Ring Doorbell)
- Anchors and screws suitable for masonry (if not included with the Ring Doorbell)
- Weatherproof caulk or silicone sealant
- Optional: Wire extensions or wire nuts (if extending or connecting wiring)
By ensuring that you have all the necessary tools and materials on hand, you’ll be well-prepared to tackle each step of the installation process. With these essentials at your disposal, you can proceed with confidence, knowing that you have everything you need to mount your Ring Doorbell securely and effectively.
Preparing the Brick Surface
Before diving into the physical installation of your Ring Doorbell, it’s crucial to prepare the brick surface to ensure optimal adhesion and a professional finish. Here’s a step-by-step guide to preparing the brick surface for mounting:
Read more: How To Install Ring Doorbell On Brick
1. Choose the Mounting Location:
Carefully select the ideal placement for your Ring Doorbell on the brick surface. Consider factors such as visibility, accessibility, and the proximity of power sources or existing wiring if applicable. Use a pencil or marker to mark the desired location for the mounting bracket.
2. Clean the Surface:
Thoroughly clean the area of the brick where the mounting bracket will be installed. Use a stiff-bristled brush or a damp cloth to remove any dirt, dust, or debris. Ensuring a clean surface is essential for promoting strong adhesion and a professional-looking installation.
3. Mark Drill Points:
Place the mounting bracket against the cleaned brick surface and use a pencil or marker to mark the drill points through the bracket’s mounting holes. This will serve as a guide for drilling into the brick to secure the bracket in place.
4. Drill Pilot Holes:
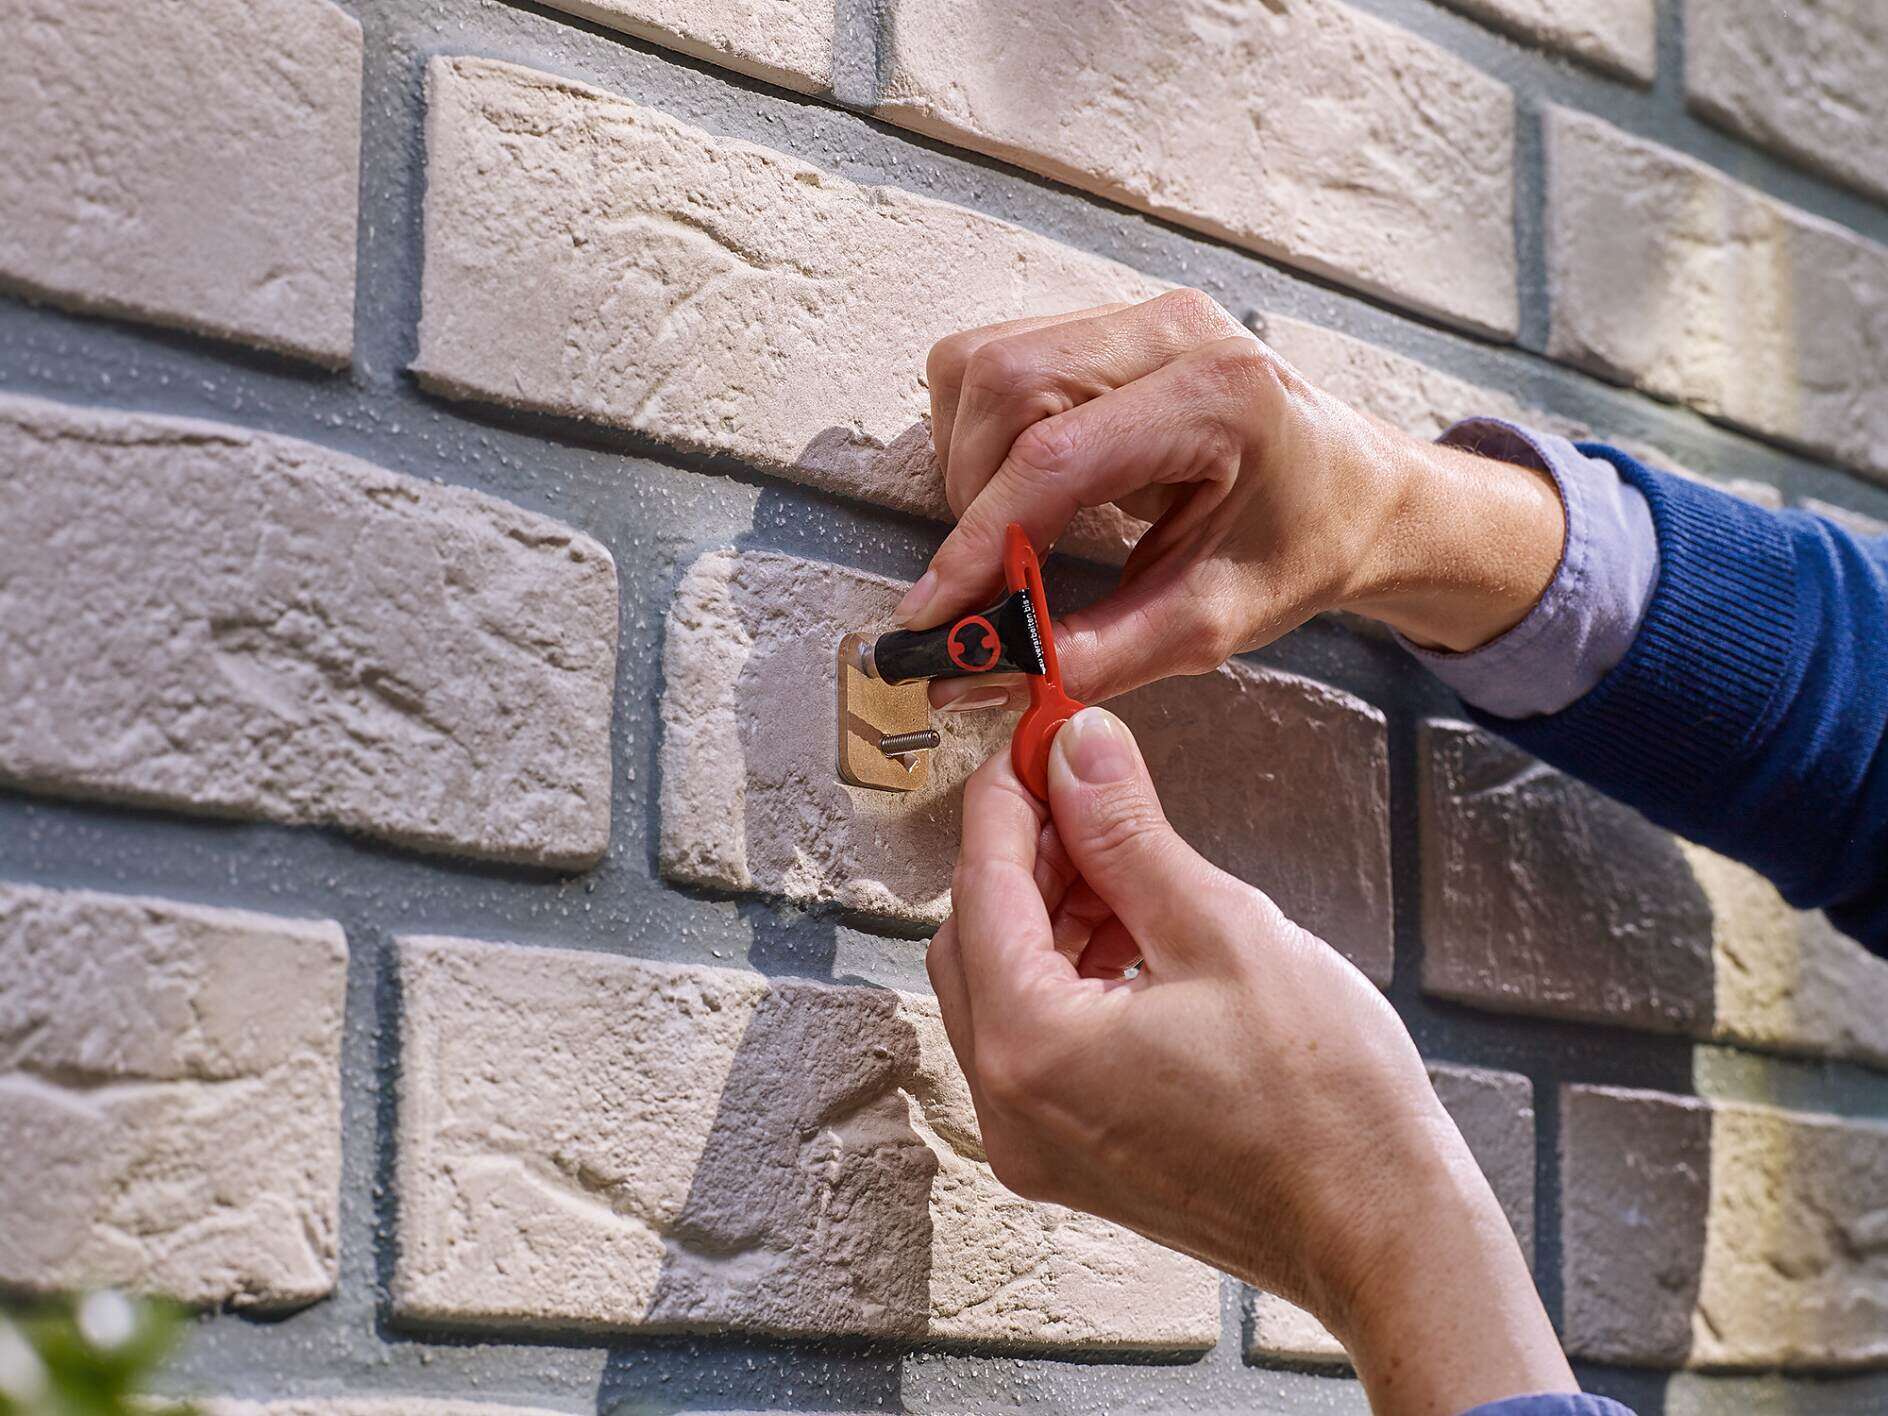
Using a power drill equipped with a masonry drill bit, carefully drill pilot holes at the marked points on the brick surface. It’s important to use the appropriate drill bit size to accommodate the anchors or screws that will secure the mounting bracket.
Read also: 10 Amazing Ring Doorbell Mount for 2024
5. Insert Anchors or Screws:
If the mounting bracket does not come with its own anchors and screws designed for masonry, select suitable anchors and screws for this purpose. Insert the anchors into the pilot holes, or directly screw the mounting bracket into the brick, ensuring a snug and secure fit.
By following these preparatory steps, you’ll establish a solid foundation for mounting your Ring Doorbell to the brick surface. Taking the time to prepare the brick surface will contribute to a successful and durable installation, ensuring that your Ring Doorbell remains securely affixed and functional for years to come.
Attaching the Mounting Bracket
With the brick surface prepared, it’s time to proceed with attaching the mounting bracket for your Ring Doorbell. This pivotal step sets the stage for securely installing the doorbell and ensuring its stability. Follow these detailed instructions to affix the mounting bracket to the brick surface:
1. Apply Weatherproof Caulk (Optional):
To enhance the weather resistance and adhesion of the mounting bracket, consider applying a thin bead of weatherproof caulk or silicone sealant to the back of the bracket. This extra measure can help create a watertight seal and further fortify the attachment to the brick.
2. Align the Bracket:
Position the mounting bracket against the prepared brick surface, ensuring that it aligns with the previously marked drill points. Use a level to confirm that the bracket is straight and properly oriented before proceeding with the attachment.
3. Secure the Bracket:
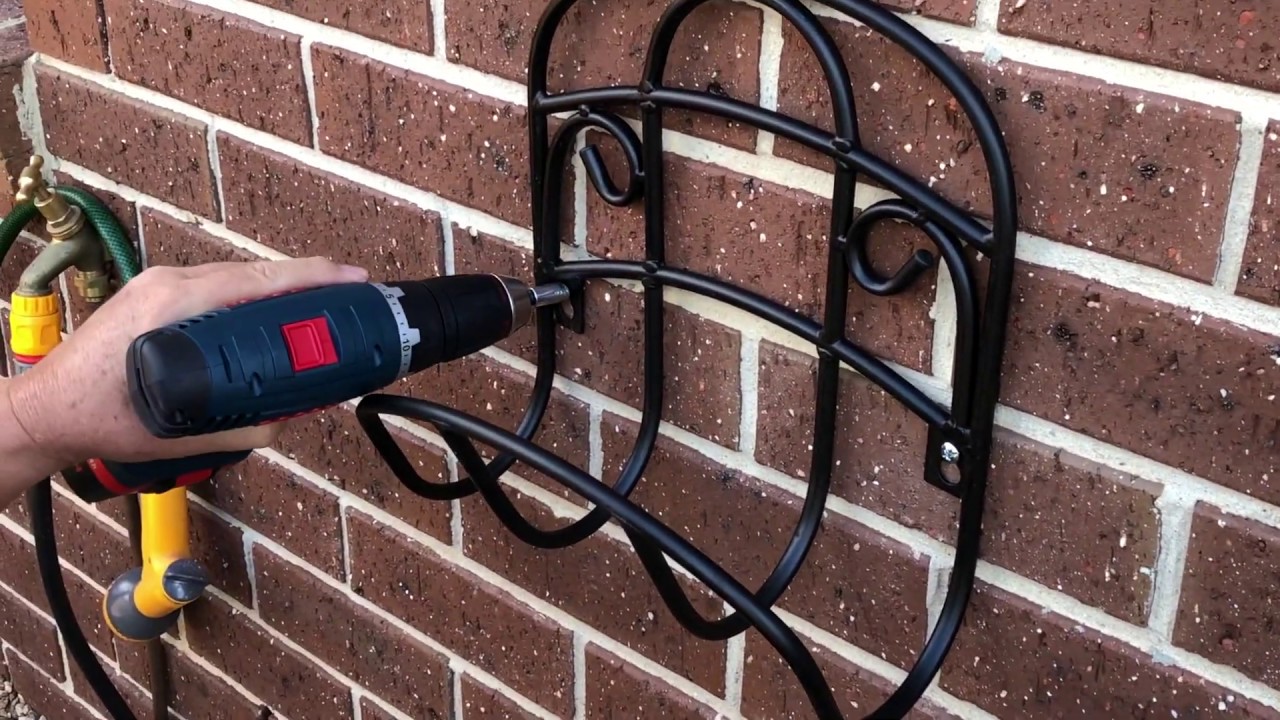
Using the appropriate screws or anchors, affix the mounting bracket to the brick surface by driving the screws into the pilot holes or securing the anchors in place. Ensure that the bracket is firmly attached and flush against the brick, providing a stable and reliable foundation for mounting the Ring Doorbell.
4. Test the Stability:
Once the mounting bracket is secured, gently test its stability by applying light pressure and ensuring that it remains firmly in place. This step allows you to verify the integrity of the attachment and make any necessary adjustments before proceeding to install the Ring Doorbell.
5. Verify Levelness:
Double-check the levelness of the mounted bracket to guarantee that it is perfectly horizontal or vertical, depending on your desired orientation for the Ring Doorbell. Adjust the bracket as needed to achieve the desired alignment, ensuring a professional and aesthetically pleasing installation.
By meticulously following these steps, you’ll successfully attach the mounting bracket to the brick surface, laying the groundwork for seamlessly installing your Ring Doorbell. With the bracket securely in place, you’re ready to proceed to the next phase of the installation process, bringing you one step closer to enjoying the enhanced security and convenience of your Ring Doorbell.
Installing the Ring Doorbell
With the mounting bracket securely affixed to the brick surface, it’s time to install the Ring Doorbell itself. This pivotal step brings you closer to activating the advanced security features and remote monitoring capabilities of your device. Follow these detailed instructions to seamlessly install your Ring Doorbell:
1. Align the Doorbell:
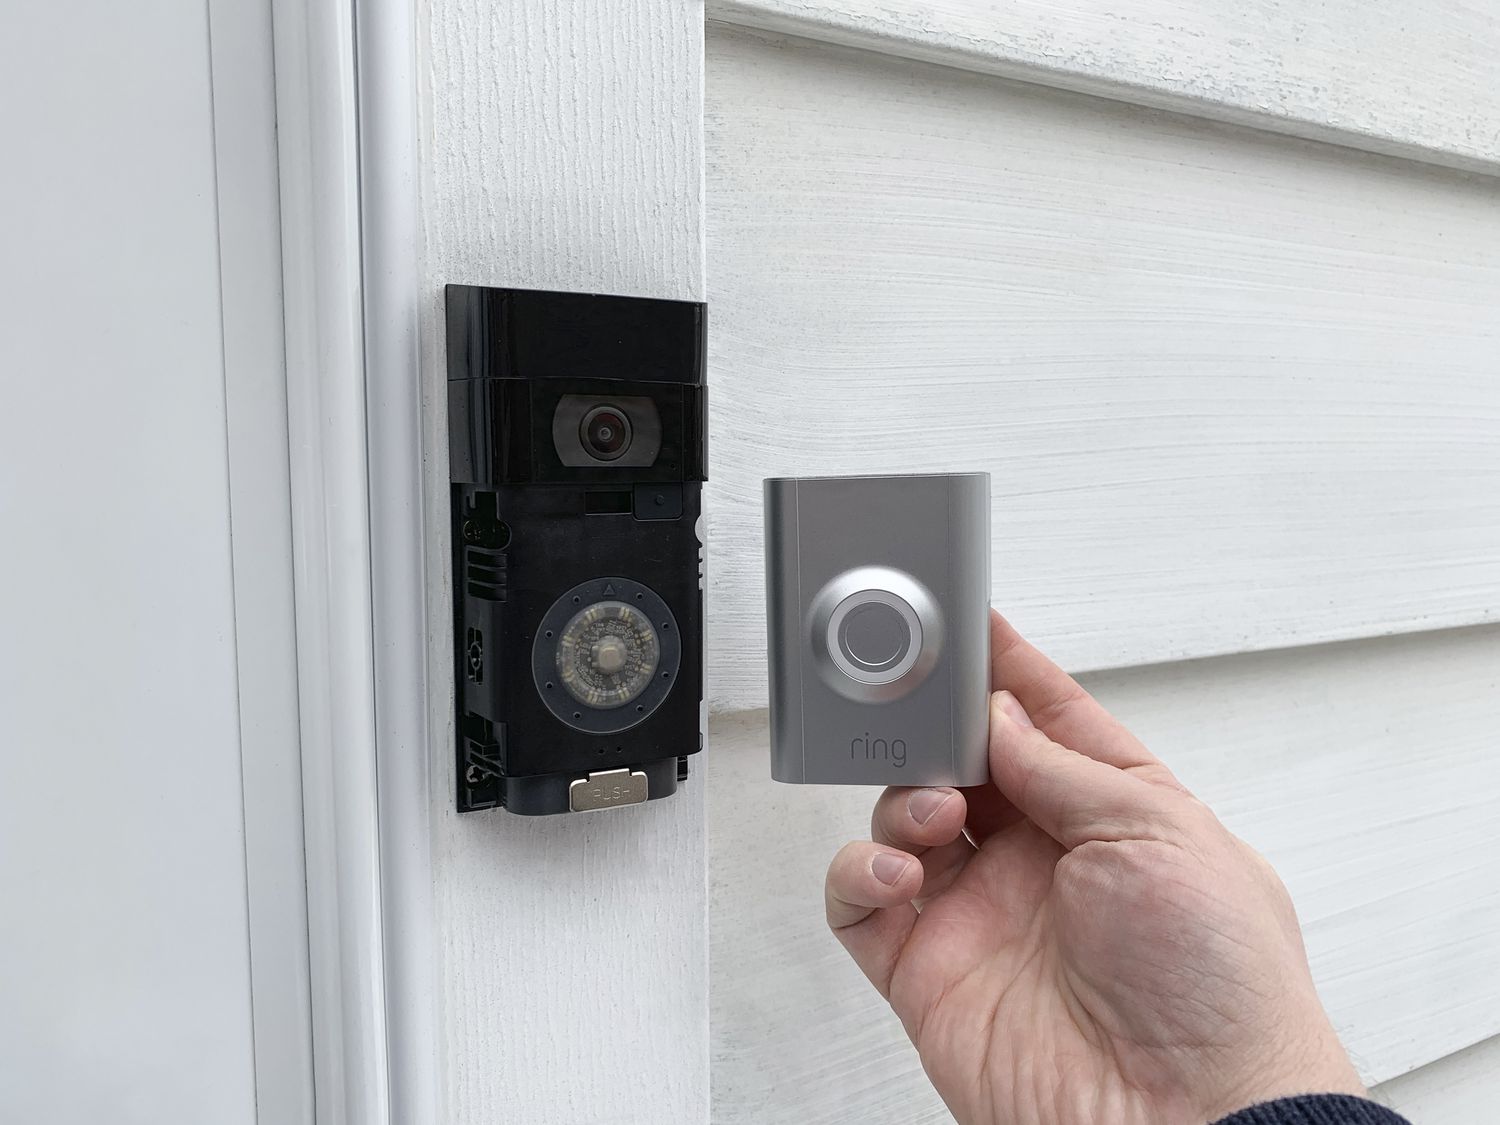
Position the Ring Doorbell onto the mounted bracket, ensuring that it aligns with the bracket’s mounting holes. Carefully slide the doorbell into place, allowing it to rest securely on the bracket while maintaining proper alignment for the subsequent attachment.
2. Secure the Doorbell:
Depending on the specific model of your Ring Doorbell, follow the manufacturer’s instructions for securing the device to the mounting bracket. This typically involves using the provided screws to fasten the doorbell to the bracket, ensuring a snug and stable fit.
3. Connect Wiring (If Applicable):
If your Ring Doorbell requires wiring for power or connectivity, carefully follow the manufacturer’s guidelines for wiring installation. This may involve connecting the doorbell to existing wiring or utilizing wire extensions and wire nuts to establish the necessary electrical connections.
4. Test Functionality:
Once the Ring Doorbell is securely installed, test its functionality to ensure that it powers on, connects to your network, and functions as intended. Activate the device and conduct a test run to verify that it successfully detects motion, captures video, and enables two-way communication through the associated mobile app.
Read more: How To Mount A Towel Ring
5. Adjust Settings (Optional):
Take advantage of the Ring app’s settings to customize the doorbell’s features according to your preferences. This may include adjusting motion detection sensitivity, configuring notification preferences, and exploring additional security and monitoring options offered by the device.
By meticulously following these steps, you’ll successfully install your Ring Doorbell on the brick surface, harnessing its advanced capabilities to bolster your home security and modernize your entryway. With the doorbell securely in place and fully operational, you’re poised to experience the peace of mind and convenience that come with remote monitoring and seamless visitor interaction.
Testing and Adjusting the Doorbell Placement
With the Ring Doorbell securely installed on your brick exterior, it’s essential to conduct thorough testing and make any necessary adjustments to optimize its performance and placement. This critical phase ensures that your doorbell functions seamlessly and provides reliable security and convenience. Follow these steps to test and adjust the placement of your Ring Doorbell:
1. Test Motion Detection:
Activate the motion detection feature of your Ring Doorbell and conduct a series of tests to ensure that it accurately detects movement within its designated range. Walk around the front of your property and approach the doorbell from various angles to gauge its responsiveness and coverage. Make note of any areas that may require adjustments to enhance motion detection sensitivity.
2. Verify Field of View:
Utilize the Ring app to view the live feed from your doorbell and assess its field of view. Confirm that the camera captures the desired area, including the approach to your front door and any relevant surroundings. Adjust the doorbell’s positioning if necessary to optimize its field of view and ensure comprehensive coverage.
Read more: How To Mount Wood To Brick
3. Conduct Audio and Video Tests:
Initiate test calls or two-way communication through the Ring app to evaluate the audio and video quality of your doorbell. Verify that the audio is clear and distortion-free, and that the video feed provides sharp and detailed footage. Make any adjustments to the doorbell’s orientation or placement to enhance the quality of audio and video communication.
4. Consider Environmental Factors:
Take into account environmental elements such as direct sunlight, potential glare, and inclement weather conditions that may impact the performance of your Ring Doorbell. Adjust the placement or angle of the doorbell to mitigate any environmental factors that could compromise its functionality or image quality.
5. Optimize Notification Settings:
Fine-tune the notification settings within the Ring app to align with your preferences and lifestyle. Customize the frequency and type of notifications you receive, ensuring that you stay informed about relevant activity at your front door without being overwhelmed by unnecessary alerts.
By diligently testing and adjusting the placement of your Ring Doorbell, you’ll optimize its performance and ensure that it seamlessly integrates into your home security and monitoring setup. Taking the time to fine-tune the doorbell’s positioning and settings will enhance its effectiveness, providing you with reliable security and convenient access to real-time information about visitors and activity at your front door.
Conclusion
Congratulations on successfully mounting your Ring Doorbell to your brick exterior! By following this comprehensive guide and leveraging the right tools and materials, you’ve taken a proactive step toward enhancing the security and convenience of your home. As you stand back and admire your newly installed doorbell, you can take pride in knowing that you’ve fortified your property with advanced technology and modernized the way you monitor and interact with visitors.
With the Ring Doorbell in place, you now have the power to remotely observe and communicate with individuals at your front door, whether you’re at home, at work, or away on a well-deserved vacation. The seamless integration of the doorbell into your home security setup brings peace of mind and empowers you with real-time awareness of activity at your doorstep.
As you revel in the enhanced security and convenience offered by your Ring Doorbell, take a moment to appreciate the meticulous preparation, precise installation, and thoughtful adjustments that have culminated in a seamless and professional outcome. Your commitment to mounting the doorbell securely to the brick surface ensures its long-term reliability and functionality, providing enduring value for you and your household.
As technology continues to evolve and empower homeowners with innovative security solutions, your installation of the Ring Doorbell serves as a testament to your adaptability and readiness to embrace the benefits of modern home automation. By embracing this advancement, you’ve not only bolstered your home’s security but also embraced the convenience and control that come with smart, connected devices.
As you bask in the satisfaction of a successful installation, take a moment to explore the additional features and integrations offered by the Ring Doorbell, such as compatibility with smart home systems and the ability to expand your security ecosystem with supplementary devices. The possibilities for enhancing your home’s security and connectivity are endless, and your proactive installation of the Ring Doorbell sets the stage for further advancements and integrations in the future.
With your Ring Doorbell securely mounted to your brick exterior, you’ve embraced the future of home security and convenience. Your proactive approach to installation and your dedication to optimizing the doorbell’s placement and functionality exemplify your commitment to safeguarding your home and embracing the benefits of modern technology. As you enjoy the peace of mind and control that come with your new doorbell, you can take pride in knowing that you’ve elevated your home security to new heights.
Frequently Asked Questions about How To Mount A Ring Doorbell To Brick
Was this page helpful?
At Storables.com, we guarantee accurate and reliable information. Our content, validated by Expert Board Contributors, is crafted following stringent Editorial Policies. We're committed to providing you with well-researched, expert-backed insights for all your informational needs.


0 thoughts on “How To Mount A Ring Doorbell To Brick”