Home>Construction & Tools>Building Materials>How To Mount Things To Brick
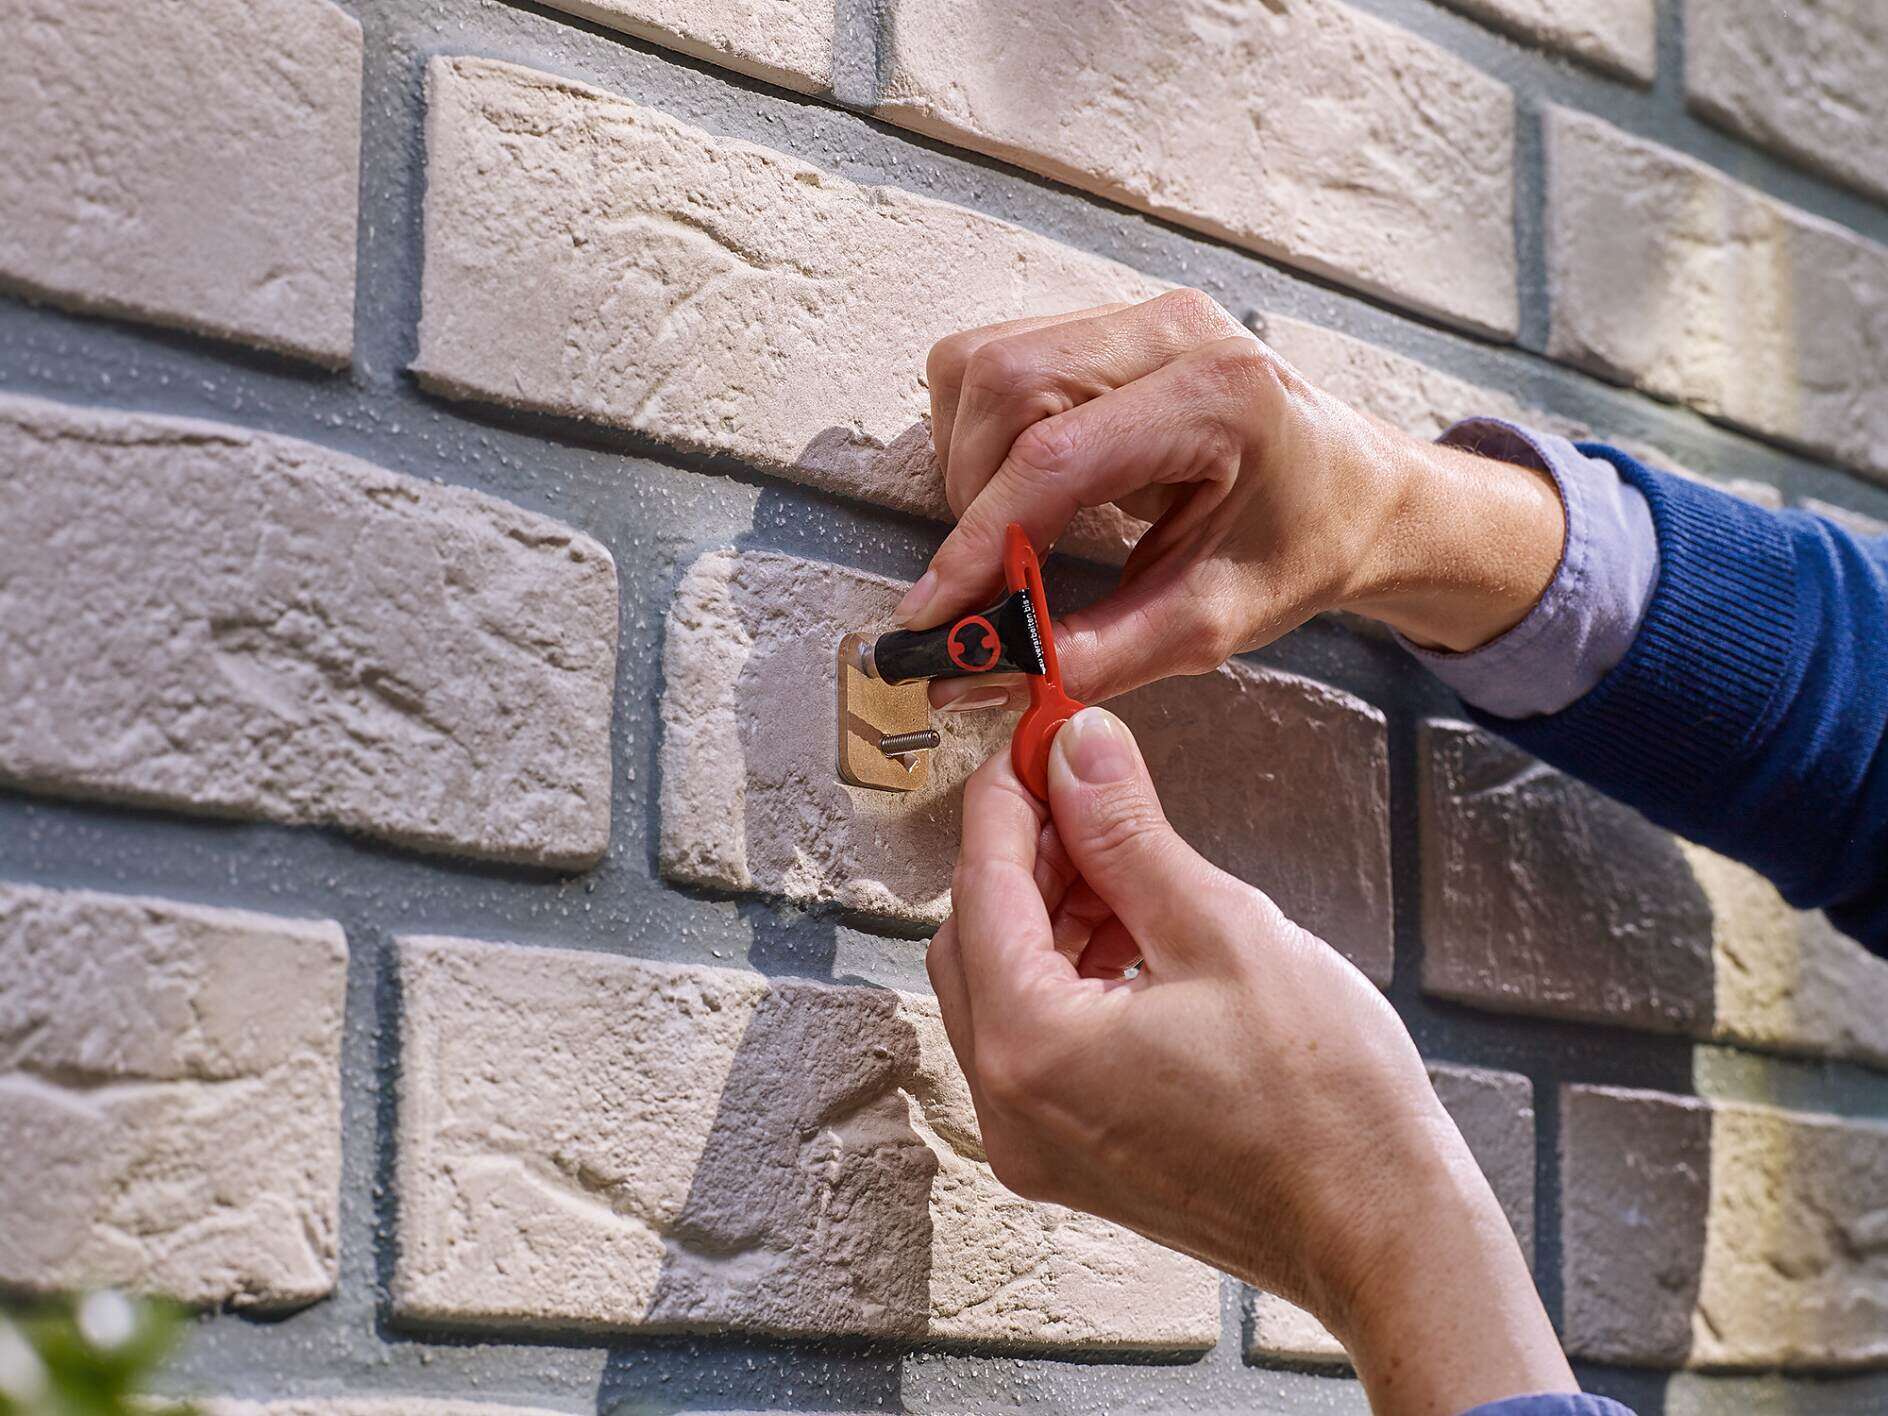

Building Materials
How To Mount Things To Brick
Published: January 22, 2024
Learn how to securely mount building materials to brick with our step-by-step guide. Discover the best techniques for a sturdy and reliable installation.
(Many of the links in this article redirect to a specific reviewed product. Your purchase of these products through affiliate links helps to generate commission for Storables.com, at no extra cost. Learn more)
Introduction
Mounting objects to a brick surface can be a daunting task, but with the right tools and techniques, it can be accomplished with ease. Whether you’re looking to hang a picture frame, install a shelf, or affix outdoor decorations, understanding the proper methods for mounting to brick is essential for a secure and long-lasting result. In this guide, we will explore various approaches for mounting items to brick, providing insights into the tools, materials, and techniques required for a successful project.
Brick, known for its durability and timeless aesthetic, presents unique challenges when it comes to mounting objects. Unlike drywall or wood, brick requires specialized methods to ensure a secure attachment without compromising its structural integrity. By following the guidelines outlined in this article, you will gain the knowledge and confidence needed to tackle mounting projects on brick surfaces effectively.
Whether you’re a seasoned DIY enthusiast or a novice homeowner looking to personalize your living space, understanding the nuances of mounting items to brick will empower you to bring your ideas to life. Let’s delve into the world of brick mounting and discover the techniques that will enable you to securely and stylishly display your cherished possessions.
Key Takeaways:
- Mounting objects to brick requires the right tools and methods. Cleaning the surface, drilling pilot holes, and choosing the right mounting method are crucial for a successful and secure installation.
- Whether using screws, adhesive, or anchors, precision and care are key. By following the steps outlined in this guide, you can confidently mount objects to brick surfaces, creating durable and visually appealing displays.
Read more: How To Hang Things On Brick
Tools and Materials Needed
Before embarking on a brick-mounting project, it’s crucial to gather the necessary tools and materials to ensure a smooth and successful process. Here’s a comprehensive list of items you’ll need:
Tools:
- Power drill
- Masonry drill bits
- Screwdriver
- Level
- Tape measure
- Pencil
- Hammer
- Chisel (for certain installations)
- Stud finder (for heavier objects)
Materials:
- Mounting screws
- Anchors
- Construction adhesive
- Mounting brackets or hooks
- Wire or picture hanging kit
- Clean cloth
- Protective eyewear
- Protective gloves
When selecting mounting screws and anchors, opt for those specifically designed for masonry applications to ensure a secure and reliable attachment. Additionally, construction adhesive should be chosen based on its suitability for outdoor or indoor use, depending on the location of the mounting project.
Equipping yourself with the right tools and materials is the first step toward achieving a professional and durable mount on a brick surface. With these essentials at your disposal, you’ll be well-prepared to tackle a wide range of mounting projects, from functional shelving installations to decorative displays.
Preparing the Brick Surface
Proper preparation of the brick surface is essential to ensure a secure and long-lasting mount. Before beginning the mounting process, it’s crucial to assess the condition of the brick and take the necessary steps to prepare it for installation.
Read more: How To Stick Things On Brick
Cleaning the Surface:
The first step in preparing the brick surface is to ensure that it is clean and free of any debris or contaminants that could hinder the mounting process. Use a clean cloth to wipe the surface and remove any dust, dirt, or loose particles. This will create a clean and smooth area for mounting, allowing for better adhesion and a more professional finish.
Marking the Mounting Points:
Once the surface is clean, use a pencil and a level to mark the precise locations where the mounting hardware will be installed. Taking the time to measure and mark these points accurately will ensure that your mounted objects are level and properly aligned, enhancing the overall aesthetic and functionality of the installation.
Drilling Pilot Holes:
When mounting with screws or anchors, it’s essential to drill pilot holes into the brick to accommodate the hardware. Use a power drill equipped with masonry drill bits to create these holes, ensuring that they are slightly smaller in diameter than the mounting hardware. This step is crucial for preventing damage to the brick and ensuring a secure attachment.
By following these preparatory steps, you’ll create an ideal foundation for mounting objects to brick surfaces. Taking the time to clean the surface, mark mounting points accurately, and drill pilot holes with precision will set the stage for a successful and professional-looking installation.
Choosing the Right Mounting Method
When it comes to mounting objects to a brick surface, selecting the appropriate method is crucial for achieving a secure and visually appealing result. Different mounting methods offer distinct advantages depending on the weight and type of the object being installed, as well as the specific characteristics of the brick surface. Here are the primary mounting methods to consider:
Read more: How To Mount Wood To Brick
Mounting with Screws:
Mounting with screws is a popular and reliable method for attaching objects to brick surfaces. This approach involves drilling pilot holes into the brick and then using masonry screws to secure mounting brackets, hooks, or other hardware. When choosing this method, it’s essential to select screws specifically designed for masonry applications, ensuring a strong and durable attachment.
Mounting with Adhesive:
For lighter objects and decorative displays, mounting with construction adhesive can be a convenient and effective option. High-quality construction adhesives formulated for masonry provide a strong bond, allowing for the attachment of items without the need for drilling or hardware. When using adhesive, it’s important to follow the manufacturer’s instructions carefully and allow sufficient curing time for the adhesive to set and create a reliable bond.
Mounting with Anchors:
When installing heavier objects or items that require additional support, mounting with anchors can provide the strength and stability needed for a secure attachment. Anchors designed for masonry applications expand within the pre-drilled holes, creating a firm hold and distributing the weight of the mounted object evenly across the brick surface. This method is ideal for shelving, large mirrors, and other substantial items.
By carefully considering the weight, size, and intended use of the mounted object, you can determine the most suitable mounting method for your specific project. Whether you opt for screws, adhesive, anchors, or a combination of these techniques, choosing the right mounting method is essential for achieving a secure, visually pleasing, and enduring installation on a brick surface.
Mounting with Screws
Mounting objects to a brick surface using screws is a reliable and versatile method that provides a secure attachment for a wide range of items, from shelves and brackets to decorative accents and outdoor fixtures. To successfully mount objects with screws, it’s essential to follow a systematic approach that ensures proper alignment, drilling, and fastening.
Read more: How To Mount On A Brick Wall
Step 1: Marking and Measuring
Begin by marking the precise locations where the mounting screws will be installed. Use a pencil and a level to ensure accurate placement, taking into account the weight and dimensions of the object being mounted. Careful measurement and marking will help create a level and visually appealing installation.
Step 2: Drilling Pilot Holes
Using a power drill equipped with masonry drill bits, carefully drill pilot holes into the marked locations on the brick surface. It’s important to select drill bits that match the diameter of the screws being used, ensuring a snug fit and preventing damage to the brick. Take care to drill to the appropriate depth, allowing the screws to penetrate the brick securely.
Step 3: Installing Mounting Hardware
With the pilot holes in place, attach the mounting brackets, hooks, or other hardware to the brick using masonry screws. Ensure that the hardware is aligned properly and securely fastened, providing a stable foundation for the object being mounted. Using a screwdriver, drive the screws into the pilot holes firmly, but avoid over-tightening, which could risk damaging the brick or compromising the attachment.
Step 4: Mounting the Object
Once the mounting hardware is securely in place, carefully mount the intended object onto the installed brackets or hooks. Take care to ensure that the object is level and properly aligned, making any necessary adjustments to achieve the desired positioning. With the object in position, you can be confident in the secure attachment provided by the screws and mounting hardware.
By following these steps and exercising precision and care throughout the process, you can achieve a professional and durable mount using screws on a brick surface. Whether you’re enhancing your interior décor or adding functional elements to your outdoor space, mounting with screws offers a reliable and effective solution for displaying and securing objects on brick surfaces.
Read more: How To Mount A Ring Doorbell To Brick
Mounting with Adhesive
Mounting objects to a brick surface using construction adhesive offers a convenient and effective alternative to traditional hardware-based methods. This approach is particularly well-suited for lighter items and decorative displays, providing a strong and reliable bond without the need for drilling into the brick. When employing construction adhesive for mounting, it’s essential to follow a series of steps to ensure a secure and lasting attachment.
Step 1: Surface Preparation
Before applying the construction adhesive, ensure that the brick surface is clean and free of any dust, dirt, or debris. Use a clean cloth to wipe the surface and create an optimal bonding environment. Additionally, verify that the surface is dry, as moisture can affect the adhesive’s ability to create a strong bond.
Step 2: Applying the Adhesive
Using a caulking gun, apply a continuous bead of construction adhesive to the back of the object being mounted. Alternatively, apply the adhesive directly to the cleaned and dry brick surface, following the manufacturer’s recommended application method. It’s important to apply the adhesive evenly and in the appropriate quantity to ensure a strong bond.
Step 3: Positioning the Object
Once the adhesive has been applied, carefully position the object onto the brick surface, ensuring that it is aligned correctly and level. Take care to make any necessary adjustments promptly, as the adhesive will begin to set, creating a firm bond between the object and the brick surface.
Read more: How To Mount A Trellis On A Brick Wall
Step 4: Allowing for Curing
After positioning the object, allow the construction adhesive to cure fully according to the manufacturer’s instructions. Curing times may vary based on the specific adhesive product and environmental conditions. It’s crucial to allow sufficient time for the adhesive to set and create a durable bond before subjecting the mounted object to any stress or weight.
By following these steps and adhering to the manufacturer’s guidelines for the specific construction adhesive being used, you can achieve a secure and visually appealing mount on a brick surface without the need for drilling or hardware. Whether you’re mounting decorative elements or lightweight fixtures, the use of construction adhesive provides a reliable and convenient method for displaying objects on brick surfaces.
Mounting with Anchors
Mounting objects to a brick surface using anchors is a robust and reliable method, particularly suitable for heavier items and installations that require additional support. Anchors provide a secure means of distributing weight across the brick surface, ensuring a stable attachment that can withstand substantial loads. When employing anchors for mounting, it’s essential to follow a systematic approach to achieve a strong and enduring installation.
Step 1: Selecting the Appropriate Anchors
Choose anchors specifically designed for masonry applications, ensuring that they are capable of supporting the anticipated weight of the mounted object. There are various types of anchors available, including expansion anchors and sleeve anchors, each offering distinct features and load-bearing capacities. Select anchors that are well-suited to the specific requirements of your mounting project.
Step 2: Drilling Anchor Holes
Using a power drill equipped with masonry drill bits, carefully drill holes into the brick to accommodate the anchors. It’s essential to select drill bits that match the diameter of the anchors being used, ensuring a precise fit and a secure hold. Take care to drill to the appropriate depth, allowing the anchors to be inserted fully and securely into the brick.
Read more: How To Mount Blink Outdoor Camera To Brick
Step 3: Inserting and Securing the Anchors
With the anchor holes prepared, insert the anchors into the brick, ensuring that they are seated firmly and evenly. Depending on the type of anchors being used, this may involve tapping them gently into place or using a setting tool to secure them within the drilled holes. Verify that the anchors are flush with the brick surface and provide a stable foundation for the mounting hardware.
Step 4: Attaching Mounting Hardware
Once the anchors are securely in place, attach the mounting brackets, hooks, or other hardware to the brick using the provided fasteners. Ensure that the hardware is aligned correctly and securely affixed to the anchors, providing a stable and reliable support structure for the object being mounted. Take care to follow the manufacturer’s guidelines for the specific anchors and hardware being used.
By following these steps and selecting appropriate anchors for your mounting project, you can achieve a robust and enduring installation on a brick surface. Whether you’re mounting heavy shelves, large mirrors, or other substantial objects, the use of anchors provides the strength and stability needed to ensure a secure attachment that will withstand the test of time.
Conclusion
Mounting objects to a brick surface presents a unique set of challenges and opportunities, requiring careful consideration of methods, materials, and techniques to achieve secure and visually appealing installations. Whether you’re enhancing your interior décor, organizing outdoor spaces, or adding functional elements to your surroundings, the ability to mount objects to brick opens up a world of creative possibilities.
By understanding the diverse methods available for mounting to brick—whether it’s with screws, adhesive, anchors, or a combination of these approaches—you can confidently tackle a wide range of projects, from hanging artwork and shelves to affixing outdoor fixtures and structural elements. Each method offers distinct advantages, allowing you to tailor the mounting approach to the specific requirements of your project, whether it’s based on weight, location, or aesthetic preferences.
Equipping yourself with the right tools and materials, preparing the brick surface meticulously, and selecting the most suitable mounting method are essential steps in ensuring a successful installation. Taking the time to measure, mark, and drill with precision, as well as following manufacturer’s guidelines for adhesives and anchors, will contribute to the durability and reliability of your mount on a brick surface.
Ultimately, mounting objects to brick is a blend of art and science, requiring a balance of creativity, technical know-how, and attention to detail. By mastering the techniques outlined in this guide, you can transform brick surfaces into functional and aesthetically pleasing spaces that showcase your cherished possessions and reflect your personal style.
Whether you’re a seasoned DIY enthusiast or a first-time homeowner, the ability to confidently mount objects to brick surfaces empowers you to personalize and optimize your living environment. With the knowledge and skills gained from this guide, you can embark on mounting projects with confidence, knowing that you have the expertise to achieve secure, professional, and enduring installations on brick surfaces.
Frequently Asked Questions about How To Mount Things To Brick
Was this page helpful?
At Storables.com, we guarantee accurate and reliable information. Our content, validated by Expert Board Contributors, is crafted following stringent Editorial Policies. We're committed to providing you with well-researched, expert-backed insights for all your informational needs.






0 thoughts on “How To Mount Things To Brick”