Articles
How To Attach An Undermount Sink To Granite
Modified: March 1, 2024
Discover an easy and effective way to attach an undermount sink to granite in this informative article. Find step-by-step instructions and expert tips.
(Many of the links in this article redirect to a specific reviewed product. Your purchase of these products through affiliate links helps to generate commission for Storables.com, at no extra cost. Learn more)
Introduction
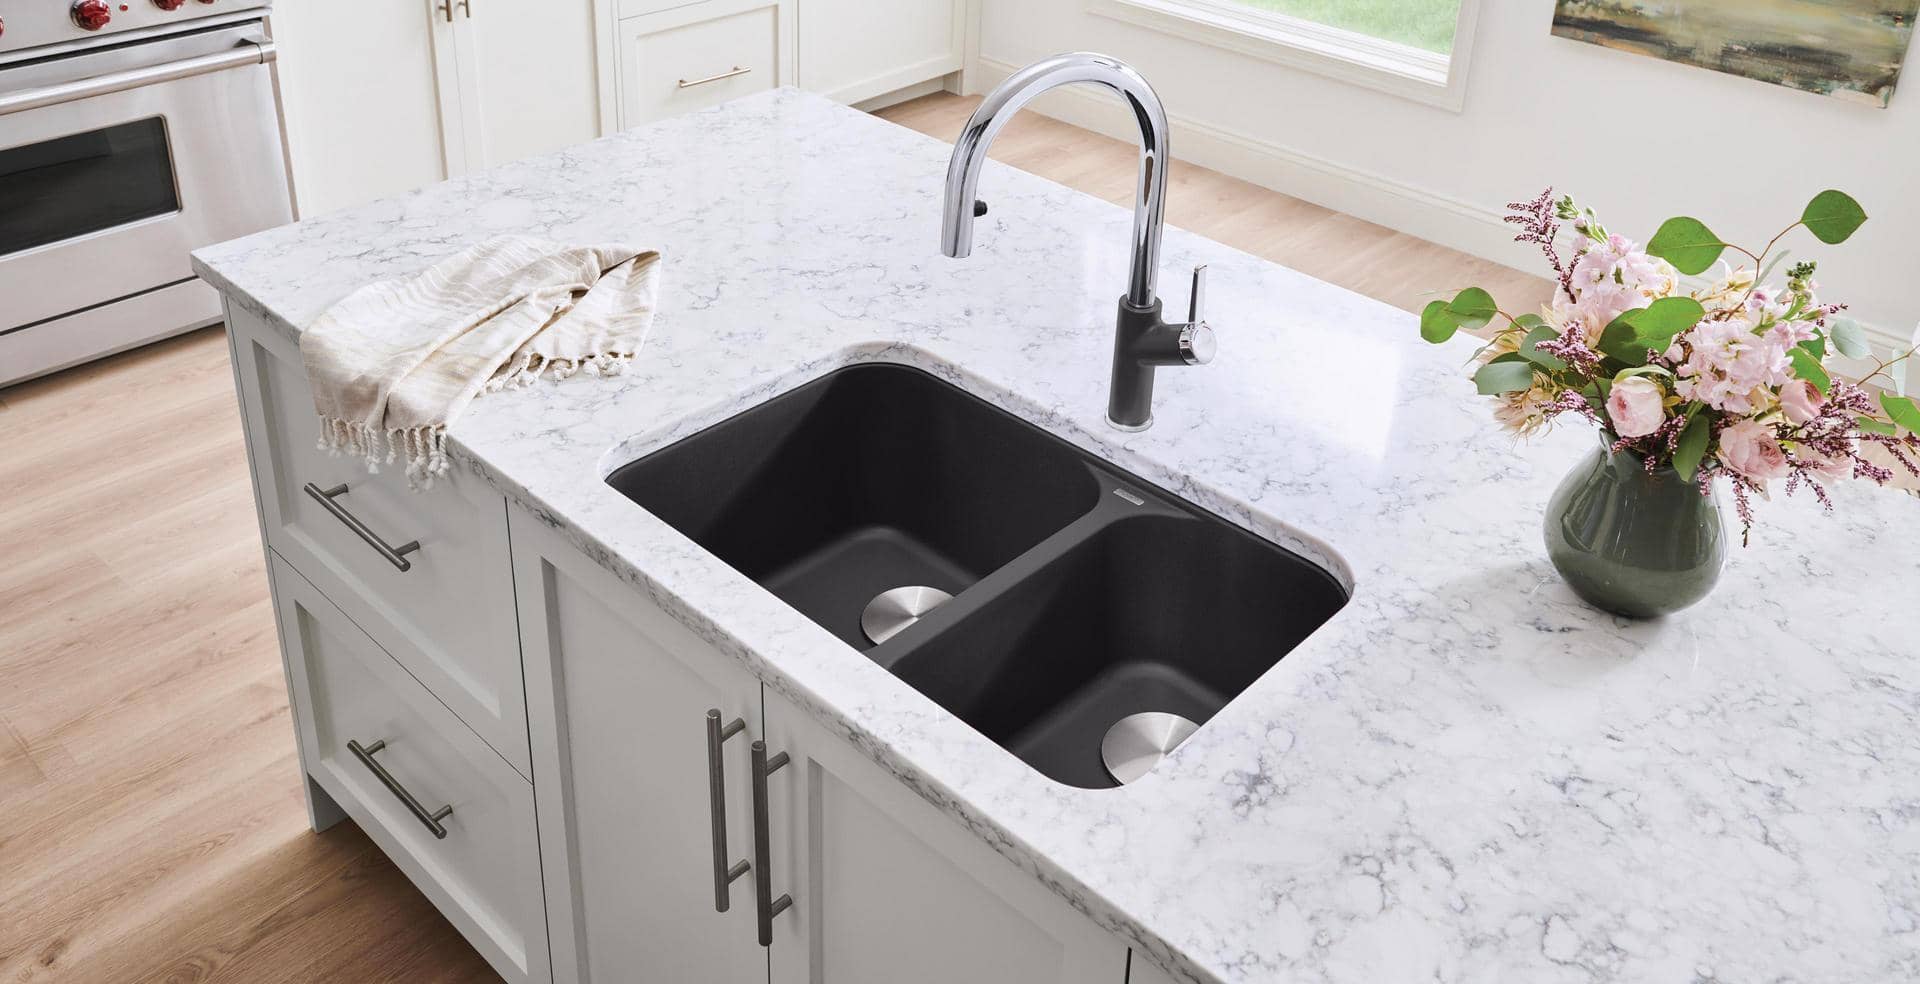
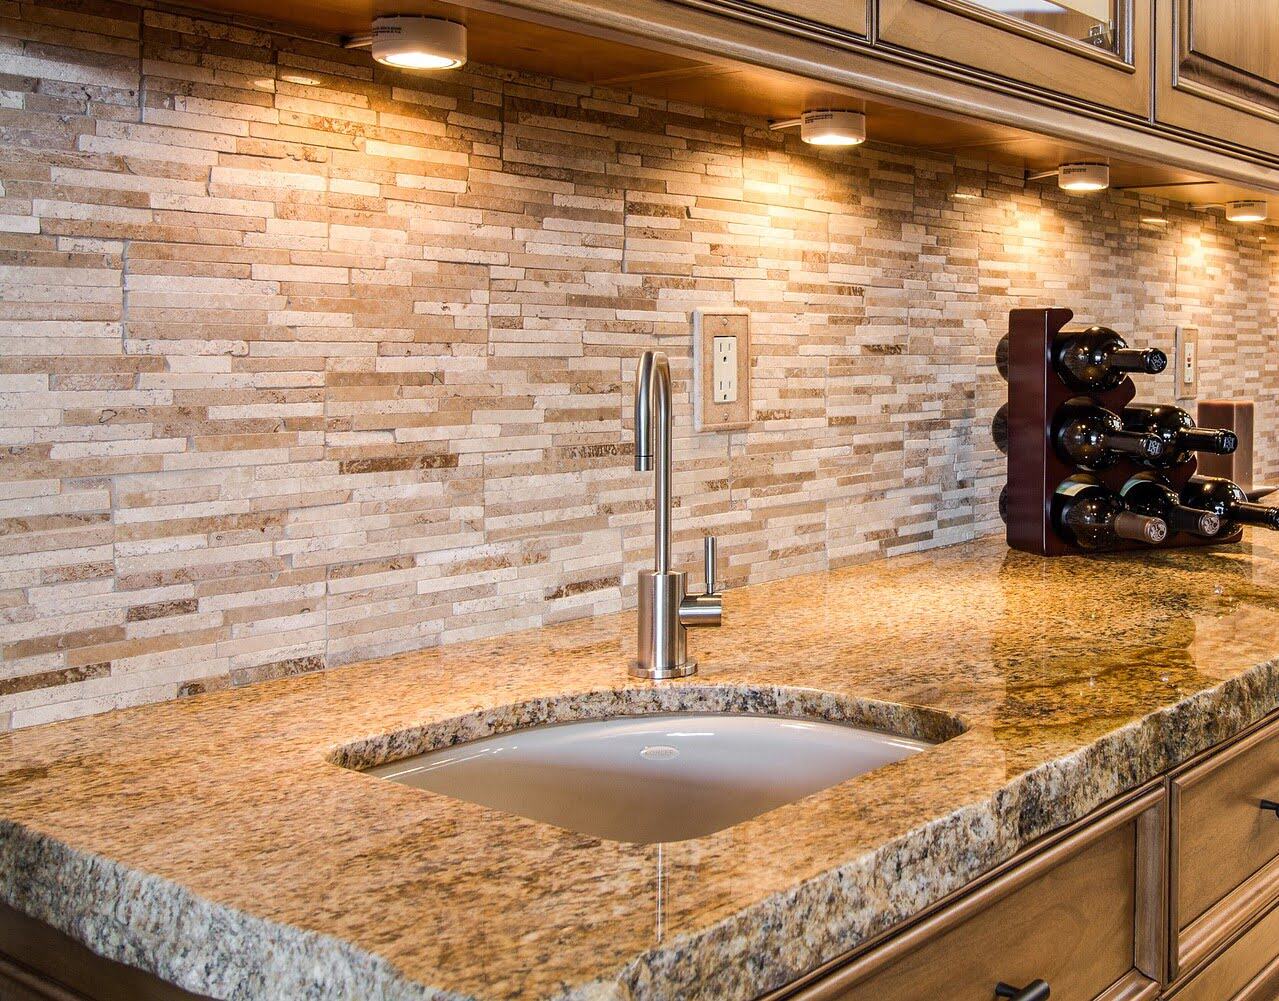
Attaching an undermount sink to a granite countertop is a crucial step in the installation process. An undermount sink is a popular choice for many homeowners due to its sleek design and seamless integration with the countertop. Unlike a top-mount sink, it is installed from below the countertop, creating a clean and uninterrupted surface.
While it may seem like a daunting task, with the right tools and instructions, attaching an undermount sink to a granite countertop can be accomplished by even novice DIY enthusiasts. In this article, we will guide you through the step-by-step process, helping you achieve a professional-looking installation that will withstand the test of time.
Before we dive into the installation process, it is important to gather the necessary tools and materials.
Key Takeaways:
- Achieve a professional undermount sink installation by gathering the right tools, preparing the granite countertop, positioning the sink accurately, and securing it with clamps and adhesive for a durable and visually pleasing result.
- Attaching an undermount sink to a granite countertop enhances the aesthetic appeal and functionality of your kitchen or bathroom, providing a seamless and sophisticated look that adds value to your home.
Read more: What Is Undermount Sink
Step 1: Gather the necessary tools and materials
Before you begin the installation process, it is important to ensure you have all the necessary tools and materials at hand. This will help make the process smoother and more efficient. Here is a list of the tools and materials you will need:
- Undermount sink
- Granite countertop
- Adhesive (specifically designed for undermount sink installation)
- Masking tape
- Clamps
- Silicone caulk
- Caulking gun
- Screwdriver
- Measuring tape
- Level
- Rags
- Bucket of water and mild soap
- Sponge
Make sure that you have all these tools and materials readily available before you begin the installation process. This will save you from unnecessary interruptions or delays during the process.
Once you have gathered all the tools and materials, you are ready to move on to the next step: preparing the granite countertop.
Step 2: Prepare the granite countertop
Preparing the granite countertop is a crucial step in ensuring a secure and reliable attachment for your undermount sink. Follow these steps to properly prepare the countertop:
- Measure and mark the placement of the sink: Use a measuring tape to determine the exact placement of the sink on the underside of the granite countertop. Mark the boundaries with a pencil or masking tape for reference.
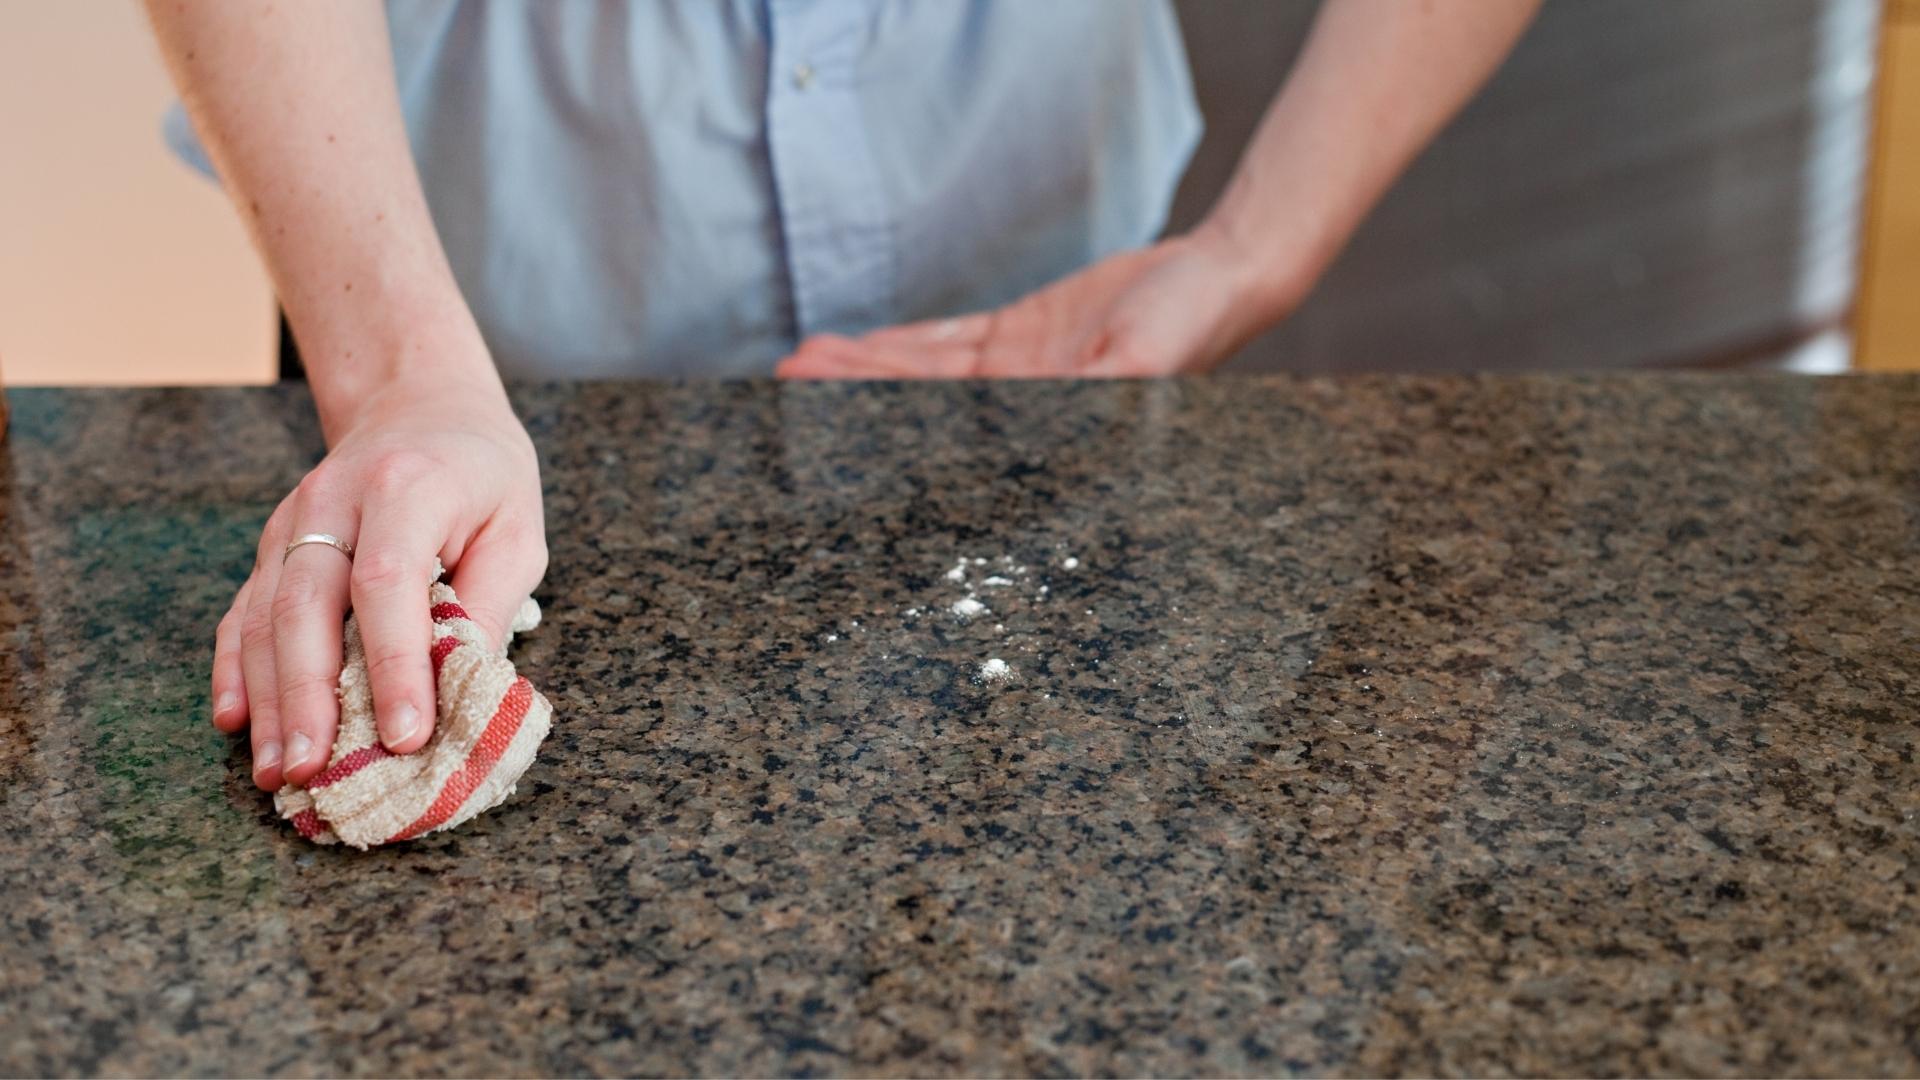
- Clean the countertop surface: Thoroughly clean the area where the sink will be attached. Use a mild soap and water solution to remove any debris, dirt, or grease from the surface. Use a sponge or rag to wipe down the area and ensure it is completely dry before proceeding.
- Apply adhesive to the sink flange: Apply the adhesive recommended by the manufacturer onto the rim of the undermount sink. Make sure to spread it evenly and cover the entire flange area. This adhesive will help create a strong bond between the sink and the countertop.
Once the countertop is properly prepared, you can move on to the next step: positioning the undermount sink.
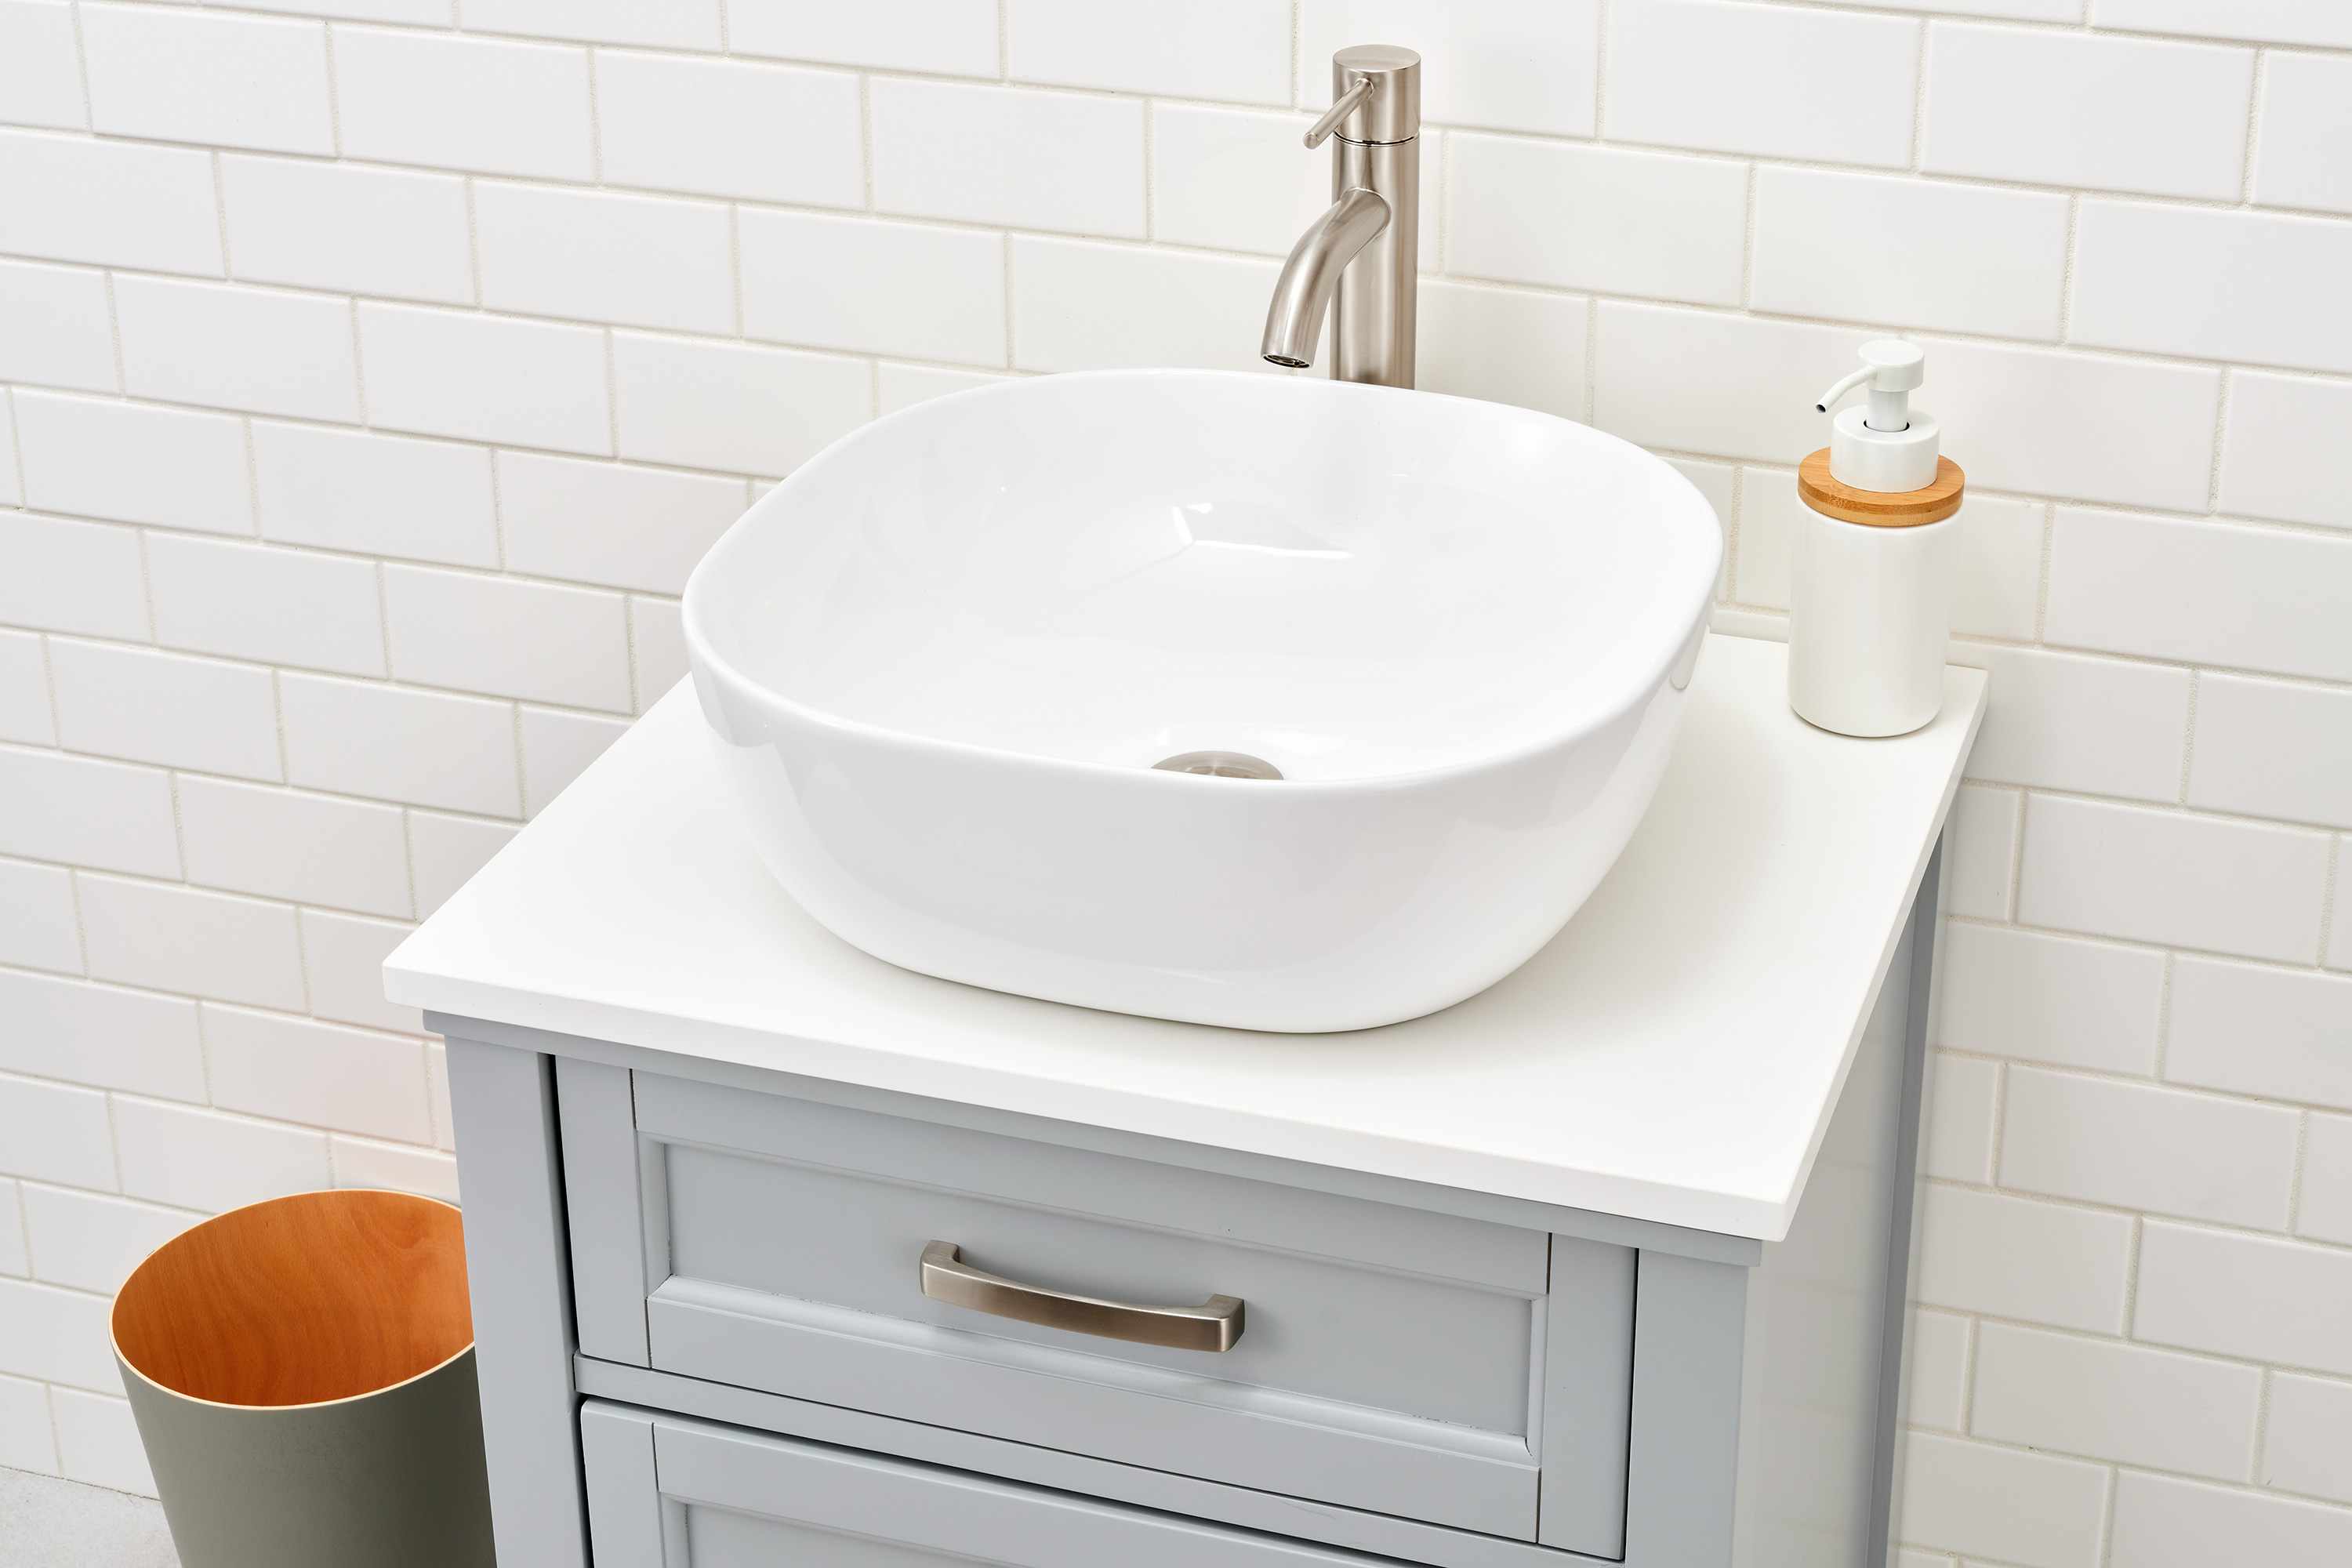
Step 3: Position the undermount sink
Now that the granite countertop is prepared, it’s time to position the undermount sink in its designated spot. Following these steps will help you achieve the desired positioning:
- Align the sink with the markings: Gently place the undermount sink on top of the countertop, aligning it with the markings or tape you placed earlier. Double-check to ensure that it is centered and level, both horizontally and vertically.
- Adjust the sink if needed: If the sink is not perfectly aligned, you may need to adjust its position slightly. Use a level to ensure that the sink is balanced and not tilted. Make any necessary adjustments by sliding the sink into the correct position.
- Apply pressure: Apply downward pressure to the sink to ensure it is in firm contact with the countertop surface. This will help establish a strong bond between the sink and the adhesive.
Once the undermount sink is properly positioned, you can move on to the next step: applying adhesive to the sink rim.
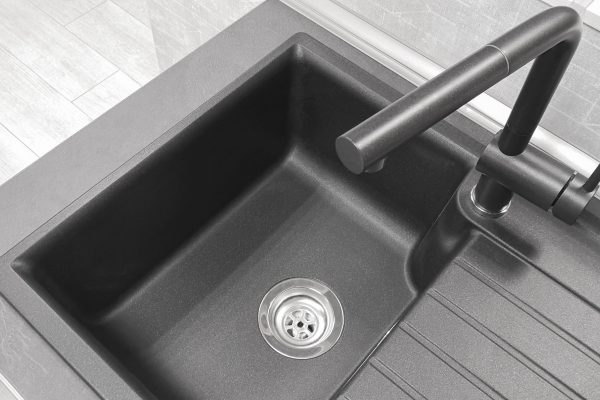
Apply a bead of silicone adhesive around the edge of the sink cutout in the granite. Carefully lower the sink into place and secure it with clips. Wipe away any excess adhesive and allow it to dry before connecting the plumbing.
Step 4: Apply adhesive to the sink rim
Applying adhesive to the sink rim is a critical step in securing the undermount sink to the granite countertop. Follow these steps to ensure a proper application:
- Prepare the adhesive: Read the manufacturer’s instructions carefully to prepare the adhesive according to their specifications. Use the recommended amount of adhesive and mix it thoroughly.
- Apply the adhesive: Using a caulking gun, apply a generous amount of adhesive to the edge of the sink rim. Start from one end and work your way around, ensuring that the entire rim is covered with a consistent layer of adhesive.
- Smooth the adhesive: Once the adhesive is applied, use a putty knife or a small trowel to smooth out the adhesive, creating an even and level surface. This will help ensure a proper seal and prevent any gaps or air pockets.
- Wipe off any excess adhesive: Use a damp cloth or sponge to carefully remove any excess adhesive that may have escaped onto the sink or countertop surface. It’s important to do this before the adhesive dries to avoid any unsightly residue.
After applying the adhesive, you are ready to move on to the next step: securing the sink to the countertop.
Read more: How To Measure Undermount Sink
Step 5: Secure the sink to the countertop
Securing the undermount sink to the granite countertop is crucial for a stable and long-lasting installation. Follow these steps to ensure a secure attachment:
- Place clamps around the sink: After applying the adhesive, place clamps around the perimeter of the sink, ensuring even pressure distribution. This will help hold the sink in place and allow the adhesive to bond properly.
- Tighten the clamps: Use a screwdriver or an adjustable wrench to tighten the clamps gradually, applying enough pressure to ensure a snug fit. Be careful not to overtighten, as it may damage the sink or countertop.
- Let it cure: Leave the clamps on for the specified curing time recommended by the adhesive manufacturer. This allows the adhesive to fully set and bond with both the sink and the countertop.
Remember to follow the manufacturer’s instructions for the recommended curing time, as it may vary depending on the adhesive used.
Once the adhesive has cured and the sink is securely attached, you can move on to the final steps: cleaning up and making any necessary adjustments.
Step 6: Clean up and final adjustments
After securing the undermount sink to the granite countertop, it’s time to clean up any adhesive residue and make any final adjustments for a polished finish. Follow these steps to ensure a clean and professional installation:
- Remove the clamps: Carefully loosen and remove the clamps from around the sink.
- Wipe off excess adhesive: Use a damp cloth or sponge to clean off any remaining adhesive that may have oozed out during the installation. Be gentle to avoid damaging the sink or countertop surface.
- Inspect the sink and countertop: Carefully examine the sink and the surrounding countertop area. Look for any imperfections, gaps, or uneven areas. If necessary, make any final adjustments to ensure a seamless integration.
- Apply silicone caulk: To create a watertight seal and prevent any water infiltration, apply a thin bead of silicone caulk around the edges of the sink where it meets the countertop. Use a caulk gun for precise application.
- Smooth the caulk: Use a caulk smoothing tool or your fingertip to smooth out the silicone caulk, ensuring a clean and even finish. This will help create a professional look and prevent water from seeping underneath the sink.
- Final cleaning: Once the silicone caulk has been applied and smoothed, give the sink and countertop a final clean with a mild soap and water solution. Rinse off the surface and wipe it dry to remove any residue.
With these final cleaning and adjustment steps complete, you have successfully attached an undermount sink to a granite countertop. Take a moment to admire your finished installation, knowing that it will provide both functionality and visual appeal to your kitchen or bathroom.
Congratulations on completing this project and enjoy your new undermount sink!
Conclusion
Attaching an undermount sink to a granite countertop may seem like a daunting task, but with the right tools, materials, and knowledge, it can be successfully accomplished. By following the step-by-step process outlined in this article, you can achieve a secure and professional installation that will enhance the aesthetic appeal and functionality of your kitchen or bathroom.
Remember to gather all the necessary tools and materials, prepare the granite countertop, position the sink accurately, apply adhesive to the sink rim, secure the sink with clamps, and clean up any excess adhesive. Finally, make any necessary adjustments and apply silicone caulk for a watertight seal.
Throughout the installation process, it’s important to pay attention to detail, ensure proper alignment, and follow the manufacturer’s instructions for the specific products being used. Taking the time to complete each step carefully will result in a durable and visually pleasing undermount sink installation.
By attaching an undermount sink to a granite countertop, you can achieve a seamless and sophisticated look that adds value to your home. Whether you’re upgrading your kitchen or remodeling your bathroom, this installation technique offers both practicality and style.
As with any DIY project, it’s important to exercise caution and take necessary safety precautions. If you feel uncomfortable or unsure about any step in the process, it’s always best to consult a professional for assistance.
Now that you are equipped with the knowledge and guidance, you can confidently embark on attaching an undermount sink to your granite countertop. Enjoy your new sink and the added charm it brings to your living space!
Frequently Asked Questions about How To Attach An Undermount Sink To Granite
Was this page helpful?
At Storables.com, we guarantee accurate and reliable information. Our content, validated by Expert Board Contributors, is crafted following stringent Editorial Policies. We're committed to providing you with well-researched, expert-backed insights for all your informational needs.


0 thoughts on “How To Attach An Undermount Sink To Granite”