Home>Construction & Tools>Building Materials>How To Paint A Fake Brick Wall

Building Materials
How To Paint A Fake Brick Wall
Modified: March 23, 2024
Learn how to paint a faux brick wall using common building materials. Transform your space with this easy and budget-friendly DIY project.
(Many of the links in this article redirect to a specific reviewed product. Your purchase of these products through affiliate links helps to generate commission for Storables.com, at no extra cost. Learn more)
Introduction
Creating a faux brick wall can add a touch of rustic charm and character to any space. Whether you want to infuse a cozy, farmhouse-style ambiance in your living room or add an industrial edge to your kitchen, painting a fake brick wall can achieve the desired aesthetic without the cost and labor of real brick installation. With the right materials, a bit of creativity, and a willingness to get your hands dirty, you can transform a plain wall into a stunning brick masterpiece.
In this comprehensive guide, we will delve into the step-by-step process of painting a faux brick wall, covering everything from the essential materials needed to the finishing touches that bring the faux bricks to life. Whether you're a seasoned DIY enthusiast or a novice looking to embark on your first home improvement project, this article will equip you with the knowledge and confidence to tackle this endeavor with finesse.
So, roll up your sleeves, gather your supplies, and let's embark on a journey to transform an ordinary wall into a visually captivating faux brick masterpiece.
Key Takeaways:
- Transform a plain wall into a stunning faux brick masterpiece with the right materials, patience, and creativity. Add rustic charm and character to any space without the cost and labor of real brick installation.
- Prepare the wall, apply the base coat, create the brick pattern, add texture and depth, and finish with finesse to achieve a visually captivating faux brick wall. Embrace the timeless allure of faux brick and let your creativity flourish in DIY endeavors.
Read more: How To Prepare A Brick Wall For Painting
Materials Needed
Before diving into the process of painting a fake brick wall, it’s essential to gather the necessary materials. Here’s a comprehensive list of what you’ll need to embark on this creative project:
- Base Paint: Select a matte or eggshell finish latex paint in the desired color for the base coat. This will serve as the background color peeking through the brick texture.
- Brick Red Paint: Acrylic or latex paint in a deep, earthy red hue for the brick color.
- Paintbrushes: Various sizes of paintbrushes for different aspects of the project, including a wide brush for the base coat and smaller brushes for detailing.
- Painter’s Tape: High-quality painter’s tape to create clean, straight lines and define the brick shapes.
- Level: A level to ensure that your brick pattern is straight and evenly spaced.
- Sponges or Rags: Natural sponges or rags for creating texture and blending colors.
- Palette or Disposable Plates: For mixing and holding paint during the process.
- Drop Cloths or Plastic Sheeting: To protect the floor and surrounding areas from paint splatters and spills.
- Water-Based Polyurethane: Optional for sealing the finished faux brick wall and adding durability.
- Reference Images: Inspirational images of real brick walls to guide the pattern and color choices.
- Patience and Creativity: While not physical materials, these qualities are essential for achieving a realistic and visually appealing faux brick wall.
By assembling these materials, you’ll be well-prepared to embark on the exciting journey of transforming a plain wall into a stunning faux brick masterpiece.
Preparing the Wall
Before you begin the process of painting a faux brick wall, it’s crucial to prepare the surface to ensure optimal adhesion and a smooth, flawless finish. Follow these steps to ready the wall for the transformation:
- Clean the Wall: Remove any dust, dirt, or grease from the wall surface using a mild detergent and water. This step is vital for allowing the paint to adhere properly.
- Fill and Sand Imperfections: Inspect the wall for any dents, holes, or uneven areas. Use spackling compound to fill in these imperfections, and once dry, sand the patched areas until they are smooth and level with the rest of the wall.
- Protect Surrounding Areas: Cover the floor and any adjacent surfaces with drop cloths or plastic sheeting to prevent accidental paint splatters.
- Apply Painter’s Tape: Use painter’s tape to mask off areas that should not be painted, such as baseboards, trim, and adjacent walls. Ensure that the tape is firmly pressed to create clean, sharp edges.
- Prime the Wall (Optional): Depending on the current wall color and condition, applying a primer may be beneficial. A primer can help the base coat adhere better and ensure that the final colors appear vibrant and true to tone.
By meticulously preparing the wall, you’ll create a pristine canvas for the faux brick painting process. Taking the time to execute these initial steps will contribute to the overall professional and polished look of the finished faux brick wall.
Applying the Base Coat
The base coat serves as the foundation for the faux brick wall, providing the backdrop against which the brick pattern will stand out. Follow these steps to apply the base coat with precision and finesse:
- Select the Base Color: Choose a matte or eggshell finish latex paint in a neutral shade that complements the intended brick color. Light gray or off-white tones often work well as a base for red brick.
- Prepare the Paint: Stir the paint thoroughly to ensure an even consistency. Pour a generous amount of paint into a paint tray or container, ready for application.
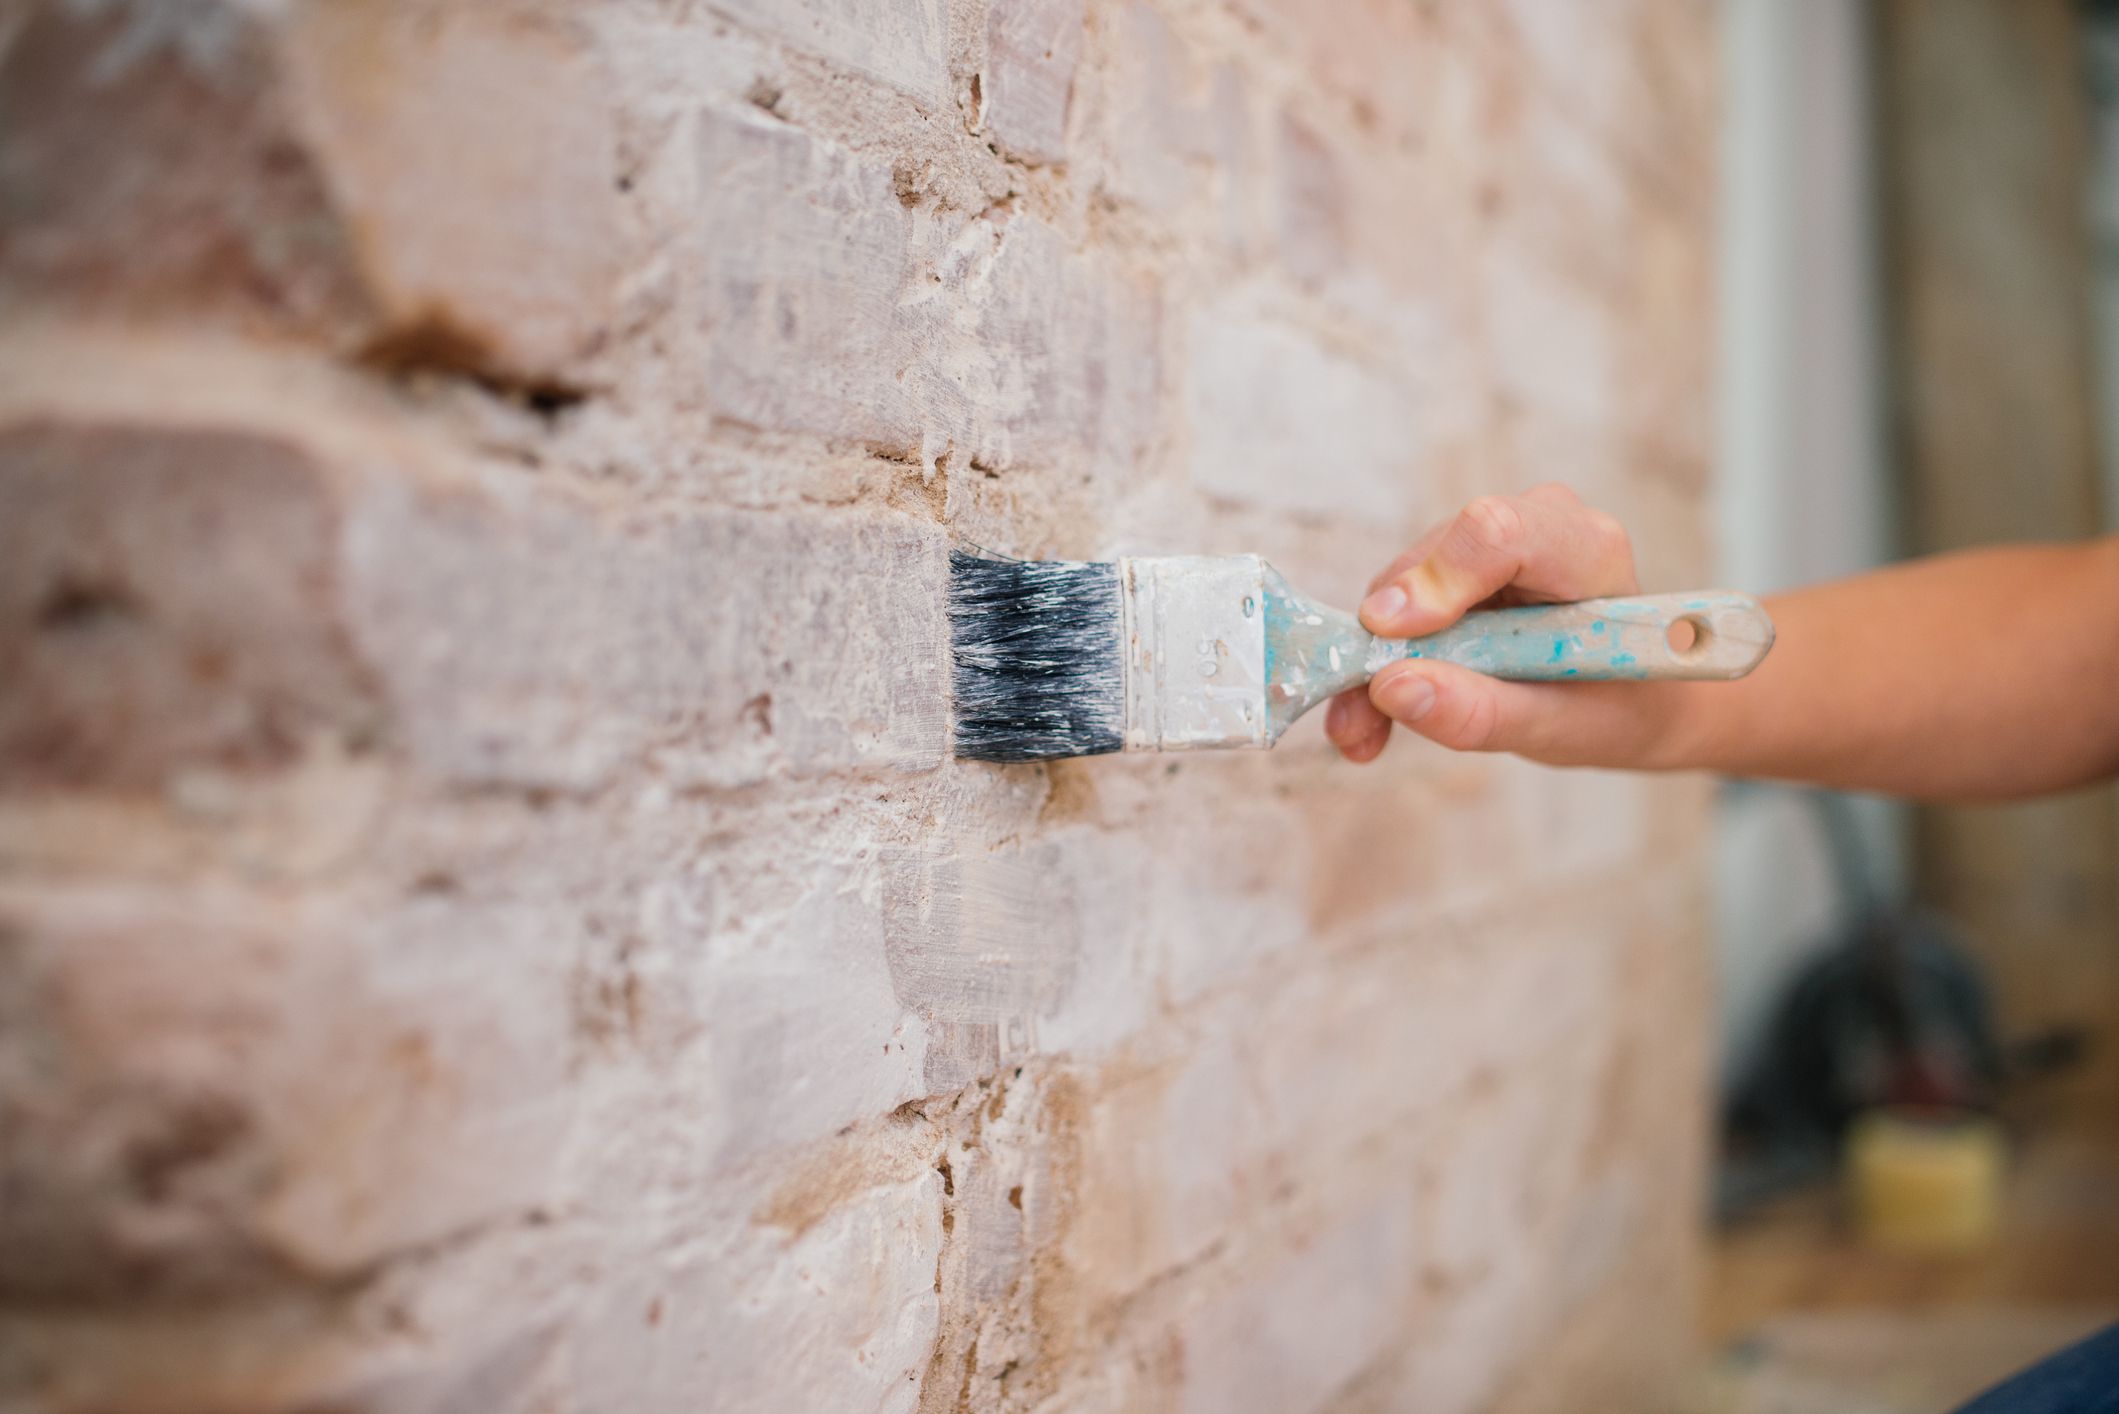
- Begin Painting: Use a wide paintbrush or a paint roller to apply the base coat evenly across the entire wall surface. Work in manageable sections, maintaining a wet edge to prevent visible seams or lines.
- Even Out the Finish: After covering the entire wall, use a paintbrush or roller to smooth out any streaks, drips, or uneven areas. This step is crucial for achieving a flawless base for the faux brick pattern.
- Allow to Dry: Follow the manufacturer’s recommended drying time for the base coat. Ensure that the paint is completely dry before proceeding to the next phase of the faux brick painting process.
By executing these steps with care and attention to detail, you’ll establish a pristine and uniform base coat that sets the stage for the realistic and visually striking faux brick pattern.
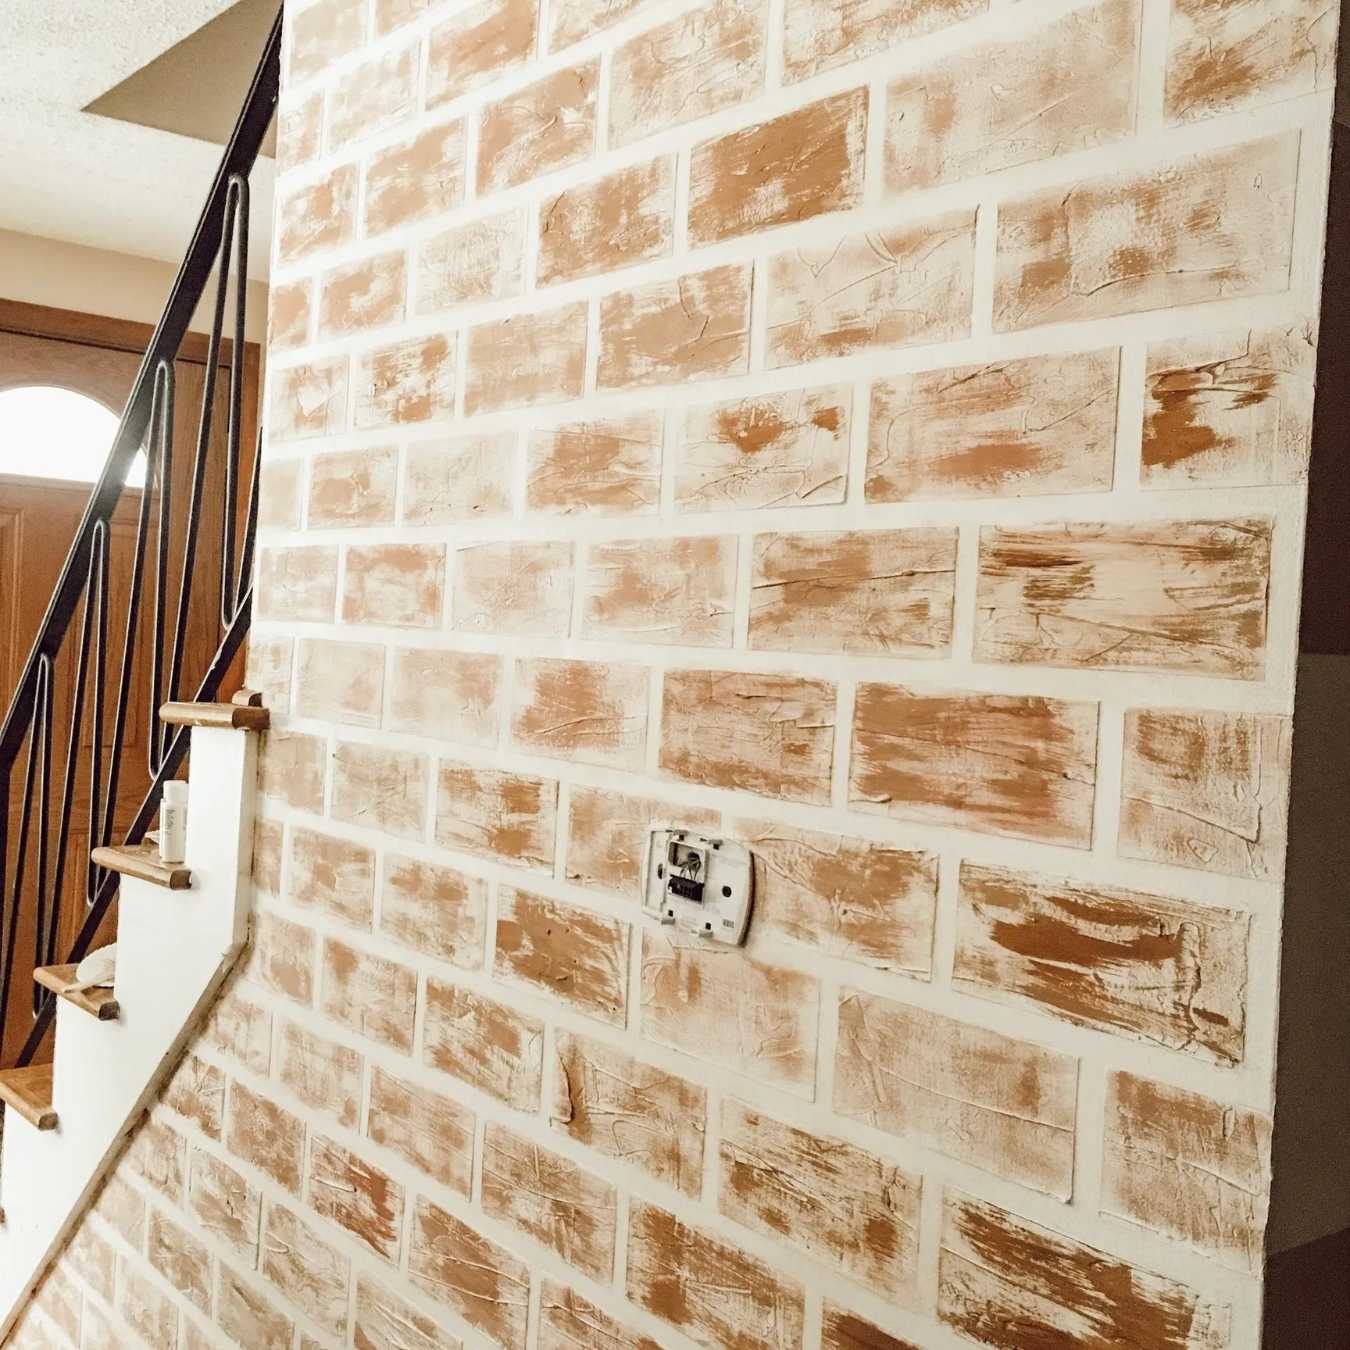
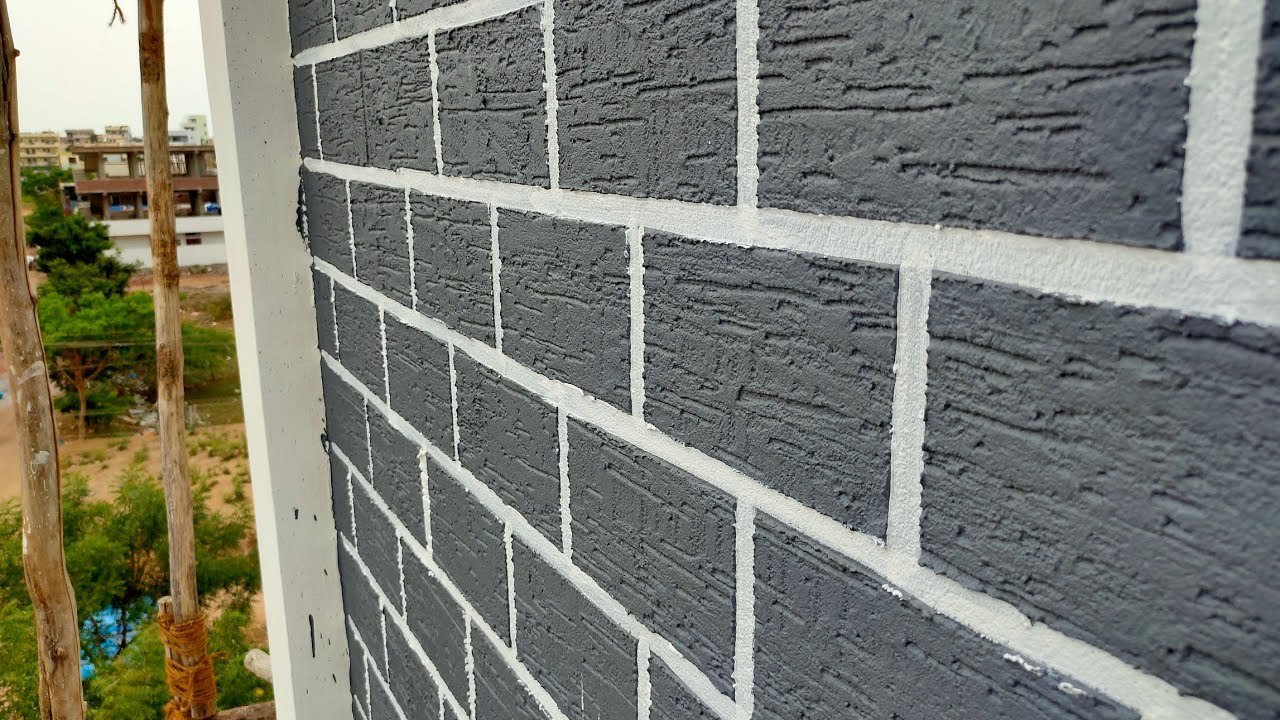
When painting a fake brick wall, use a base coat of a light color to mimic the mortar, then use a darker color to create the brick pattern with a stencil or freehand. Finish with a coat of sealant for durability.
Creating the Brick Pattern
With the base coat in place, it’s time to embark on the exciting phase of crafting the faux brick pattern. This step involves meticulous attention to detail and a touch of artistic flair to achieve a convincing brick wall effect. Follow these steps to create a realistic brick pattern on your painted surface:
- Measure and Mark: Use a level, ruler, and pencil to mark vertical and horizontal lines on the wall, creating evenly spaced brick shapes. Ensure that the lines are straight and accurately proportioned to emulate the look of authentic brickwork.
- Create Brick Outlines: Using a small paintbrush, carefully outline the marked brick shapes with a slightly darker shade of the base coat color. This step adds depth and definition to the individual bricks.
- Vary Brick Colors: To mimic the natural color variations found in real bricks, mix a slightly lighter or darker shade of the base color and apply it randomly to some of the bricks. This variation adds visual interest and realism to the faux brick pattern.
- Blend and Soften: Use a dry brush or sponge to blend the different brick colors, creating subtle transitions and a weathered appearance. This technique imparts a sense of age and character to the faux bricks.
- Add Imperfections: Introduce small imperfections and irregularities within the bricks by lightly dabbing or stippling the surface with a sponge or rag. This step contributes to the authentic and timeworn look of the faux brick wall.
By meticulously executing these steps and infusing your creativity, you’ll bring the faux brick pattern to life, infusing the wall with the timeless appeal of weathered brickwork.
Read more: How To Paint A Faux Brick Wall
Adding Texture and Depth
Texture and depth are integral elements in creating a convincing faux brick wall that closely resembles the tactile and dimensional qualities of real brickwork. This phase of the process involves employing various techniques to imbue the surface with depth, tactile richness, and an authentic brick-like feel. Follow these steps to infuse your faux brick wall with texture and depth:
- Enhance Brick Mortar Lines: Using a narrow paintbrush or a fine-tipped tool, carefully paint thin, slightly irregular lines between the bricks to simulate mortar. Opt for a slightly lighter or darker shade than the brick color to create contrast and depth.
- Create Weathering Effects: Utilize a dry brush or sponge to apply faint touches of a darker color around the edges and corners of the bricks. This technique mimics the natural weathering and aging that occurs on real brick surfaces.
- Highlight Individual Bricks: With a lighter shade of the brick color, gently highlight certain areas of the bricks to simulate light reflecting off the surface. This step adds dimension and visual interest to the faux brick pattern.
- Emphasize Depth with Shadows: Using a small brush, carefully apply a darker shade of the brick color to the bottom edge of each brick and blend it slightly upward. This creates the illusion of shadow and depth, enhancing the three-dimensional effect.
- Blend and Soften: After adding texture and depth, use a clean, dry brush or sponge to blend the various elements, ensuring a seamless and natural integration of the tactile effects.
By skillfully incorporating these techniques, you’ll elevate the faux brick wall to a new level of authenticity, infusing it with the tactile richness and depth reminiscent of genuine brickwork.
Finishing Touches
As you near the completion of your faux brick wall project, it’s essential to add the finishing touches that will refine the overall appearance and ensure a polished, professional outcome. These final steps will elevate the faux brick wall to a stunning focal point within your space. Here’s how to add the finishing touches to your faux brick masterpiece:
- Seal the Surface (Optional): Consider applying a water-based polyurethane sealer to protect the painted surface and enhance its durability. This step is particularly beneficial for high-traffic areas or spaces prone to moisture and splatters.
- Inspect and Refine: Carefully assess the entire faux brick wall for any inconsistencies, smudges, or areas that may require touch-ups. Address any imperfections with precision, ensuring a flawless final result.
- Remove Painter’s Tape: Gently remove the painter’s tape from the edges and adjacent surfaces, ensuring that the lines are crisp and clean. This step unveils the seamless transition between the faux brick wall and its surroundings.
- Admire Your Handiwork: Take a moment to step back and admire the transformation. Revel in the satisfaction of bringing a plain wall to life with the timeless allure of faux brick, adding character and visual intrigue to your space.
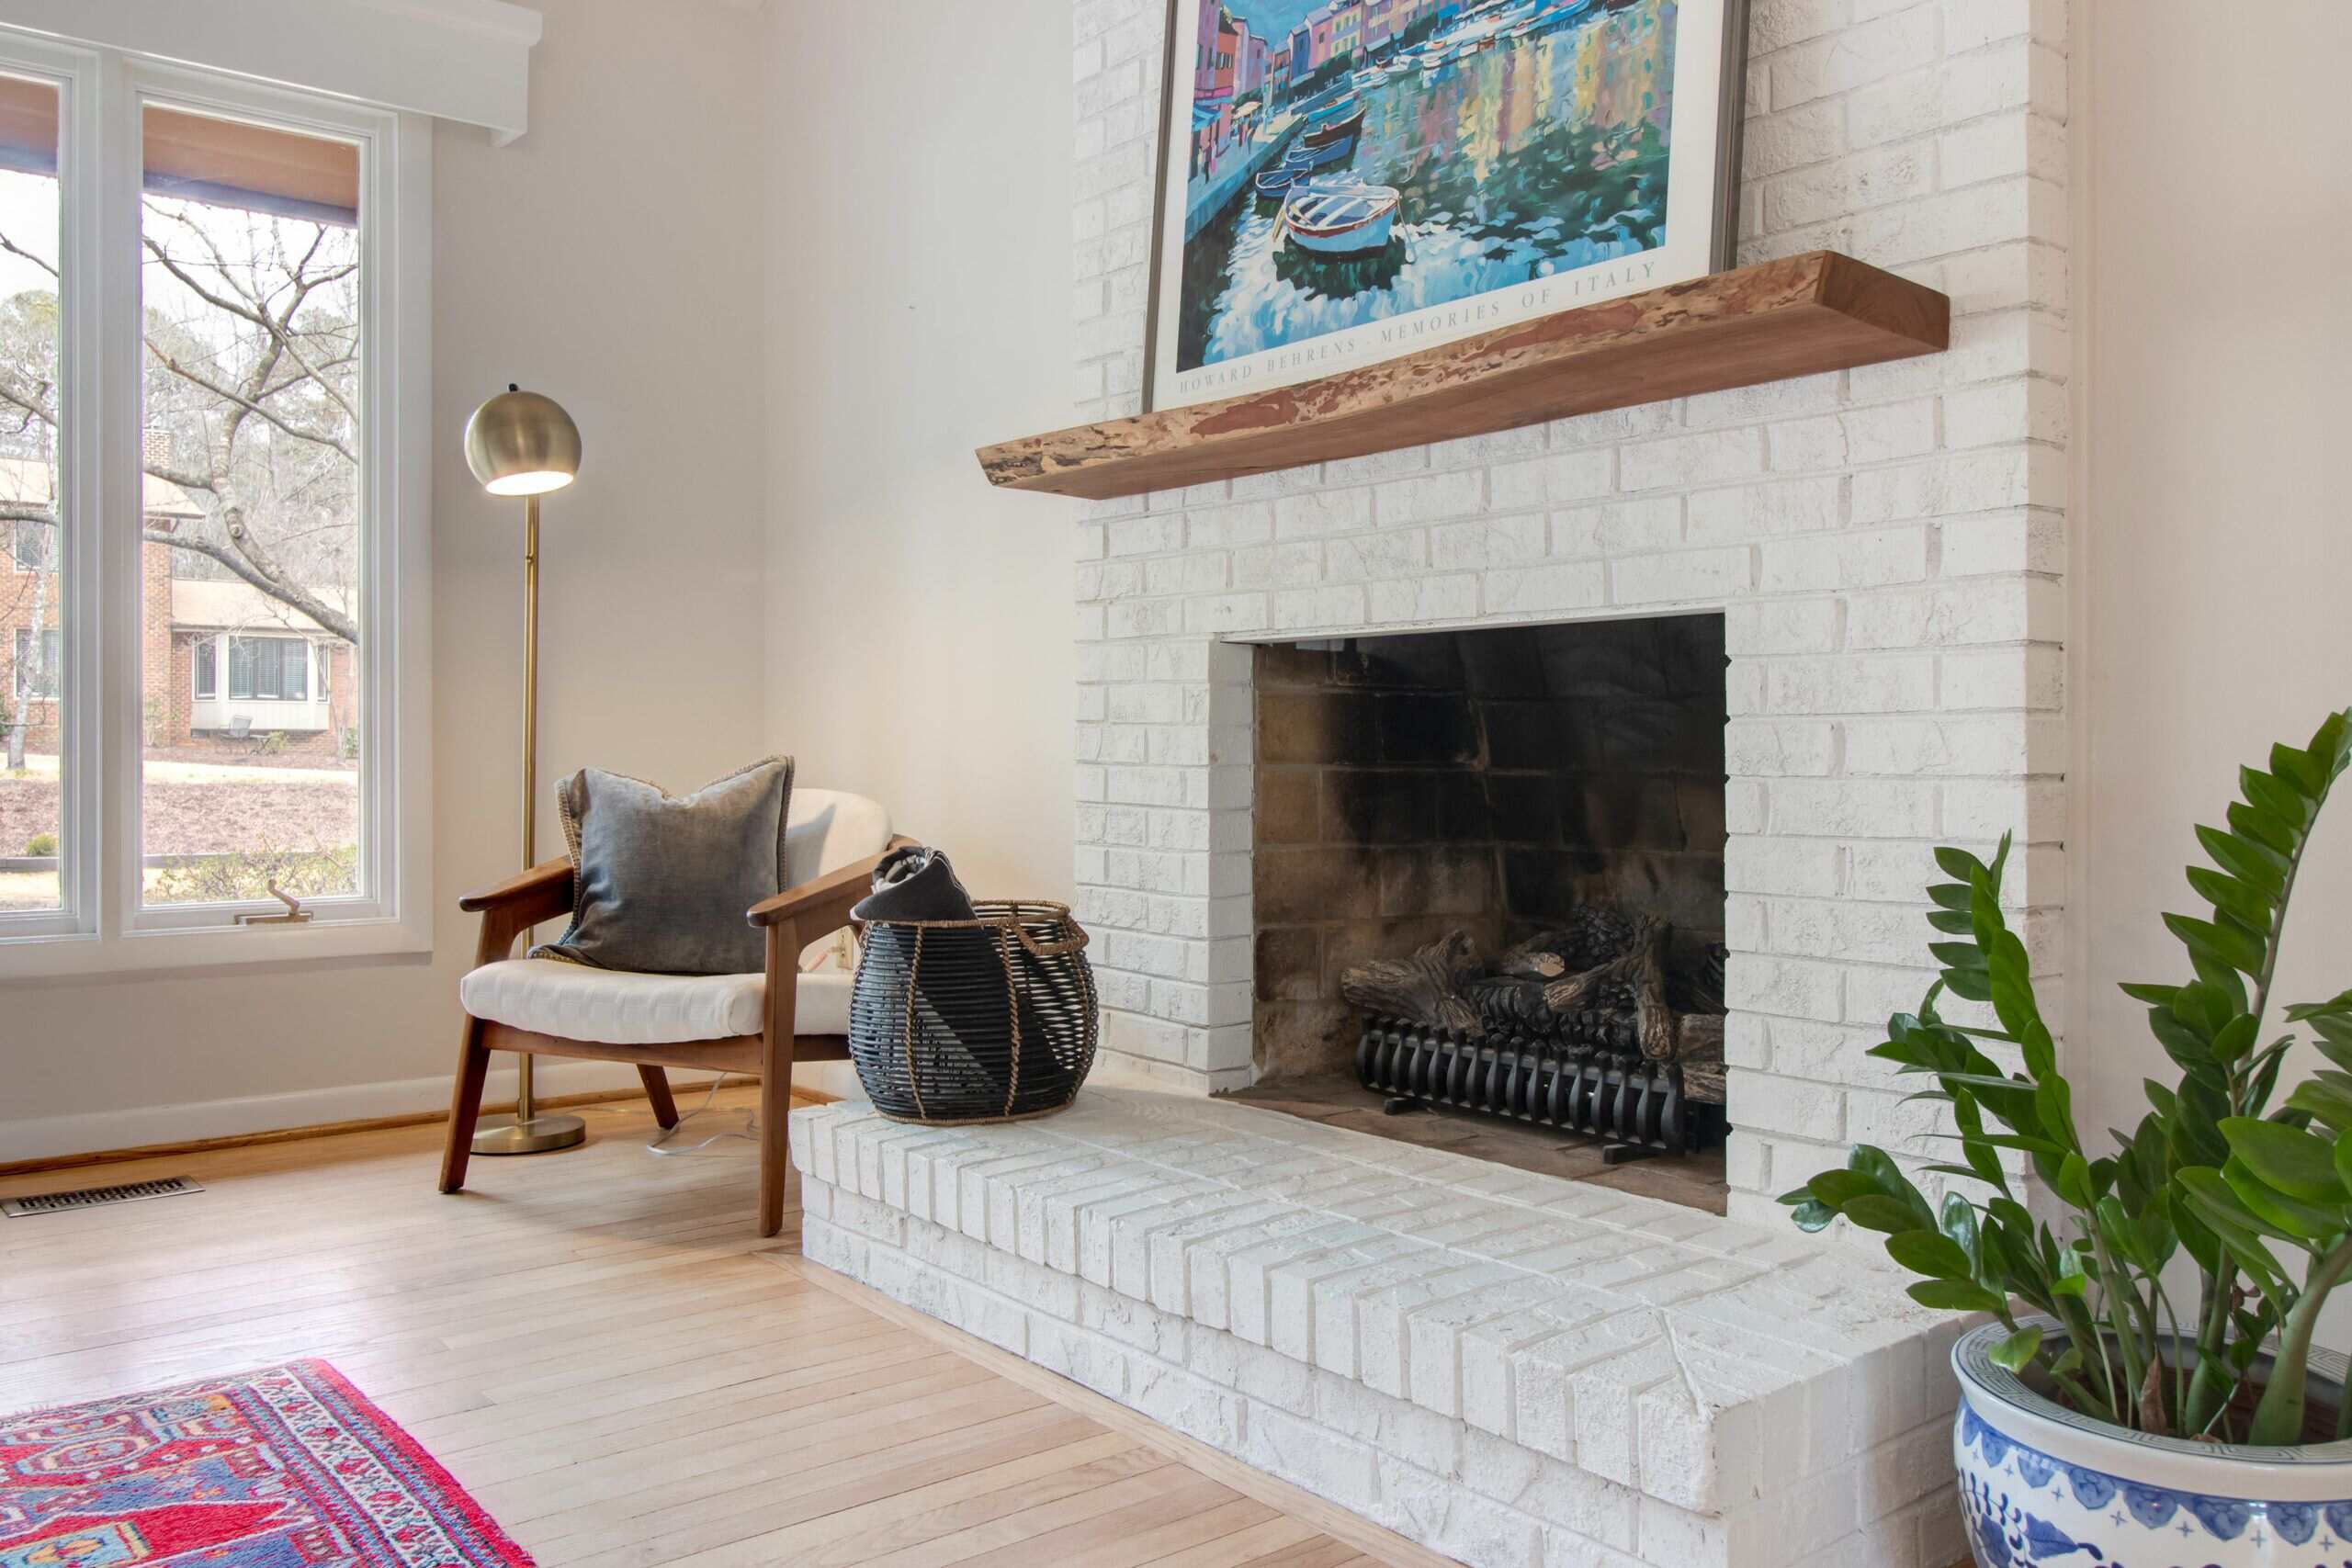
- Accessorize and Showcase: Complement the faux brick wall with decor elements that accentuate its charm. Whether it’s vintage-inspired artwork, industrial lighting fixtures, or rustic furnishings, select pieces that harmonize with the aesthetic appeal of the faux brick backdrop.
By attending to these final details, you’ll ensure that your faux brick wall exudes a sense of artistry and refinement, becoming a captivating focal point that enriches the ambiance of your space.
Conclusion
Embarking on the journey of painting a faux brick wall is a creative endeavor that allows you to infuse a space with the timeless allure of weathered brickwork. By following the step-by-step process outlined in this guide, you’ve gained the knowledge and confidence to transform an ordinary wall into a visually captivating faux brick masterpiece.
From meticulously preparing the wall surface to applying the base coat, crafting the brick pattern, and adding texture and depth, each phase of the process contributes to the artful recreation of authentic brickwork. The finishing touches, including sealing the surface and refining the details, elevate the faux brick wall to a stunning focal point within your space.
As you admire the completed faux brick wall, revel in the satisfaction of bringing a touch of rustic charm and character to your environment. Whether it’s the warmth of a farmhouse-style living room or the industrial edge in a modern kitchen, the faux brick wall stands as a testament to your creativity and craftsmanship.
With the right materials, patience, and a touch of artistry, you’ve achieved a remarkable transformation, turning a plain wall into a captivating feature that enriches the ambiance of your space. Embrace the versatility and enduring appeal of faux brick, and let your creativity continue to flourish in future DIY endeavors.
Now, as you stand back and admire the handiwork, take pride in the artful fusion of creativity and craftsmanship that has brought the timeless allure of faux brick to life within your home.
Frequently Asked Questions about How To Paint A Fake Brick Wall
Was this page helpful?
At Storables.com, we guarantee accurate and reliable information. Our content, validated by Expert Board Contributors, is crafted following stringent Editorial Policies. We're committed to providing you with well-researched, expert-backed insights for all your informational needs.



0 thoughts on “How To Paint A Fake Brick Wall”