Home>Construction & Tools>Building Materials>How To Remove Plaster From A Brick Wall
Building Materials
How To Remove Plaster From A Brick Wall
Modified: October 29, 2024
Learn the best methods for removing plaster from a brick wall using common building materials. Discover step-by-step instructions and expert tips.
(Many of the links in this article redirect to a specific reviewed product. Your purchase of these products through affiliate links helps to generate commission for Storables.com, at no extra cost. Learn more)
Introduction
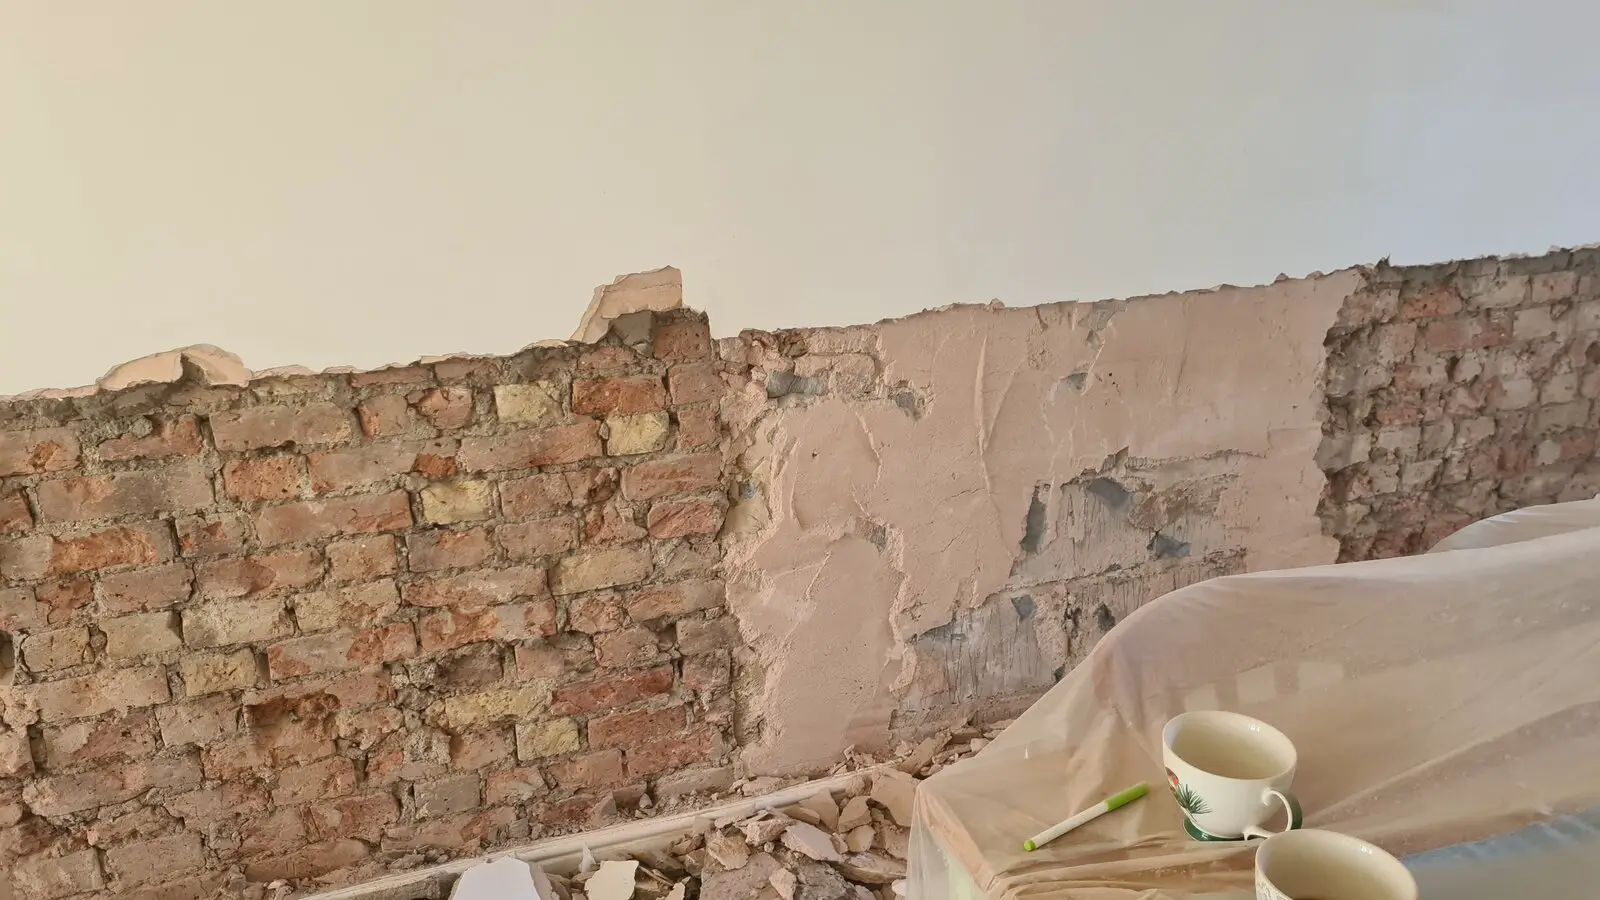
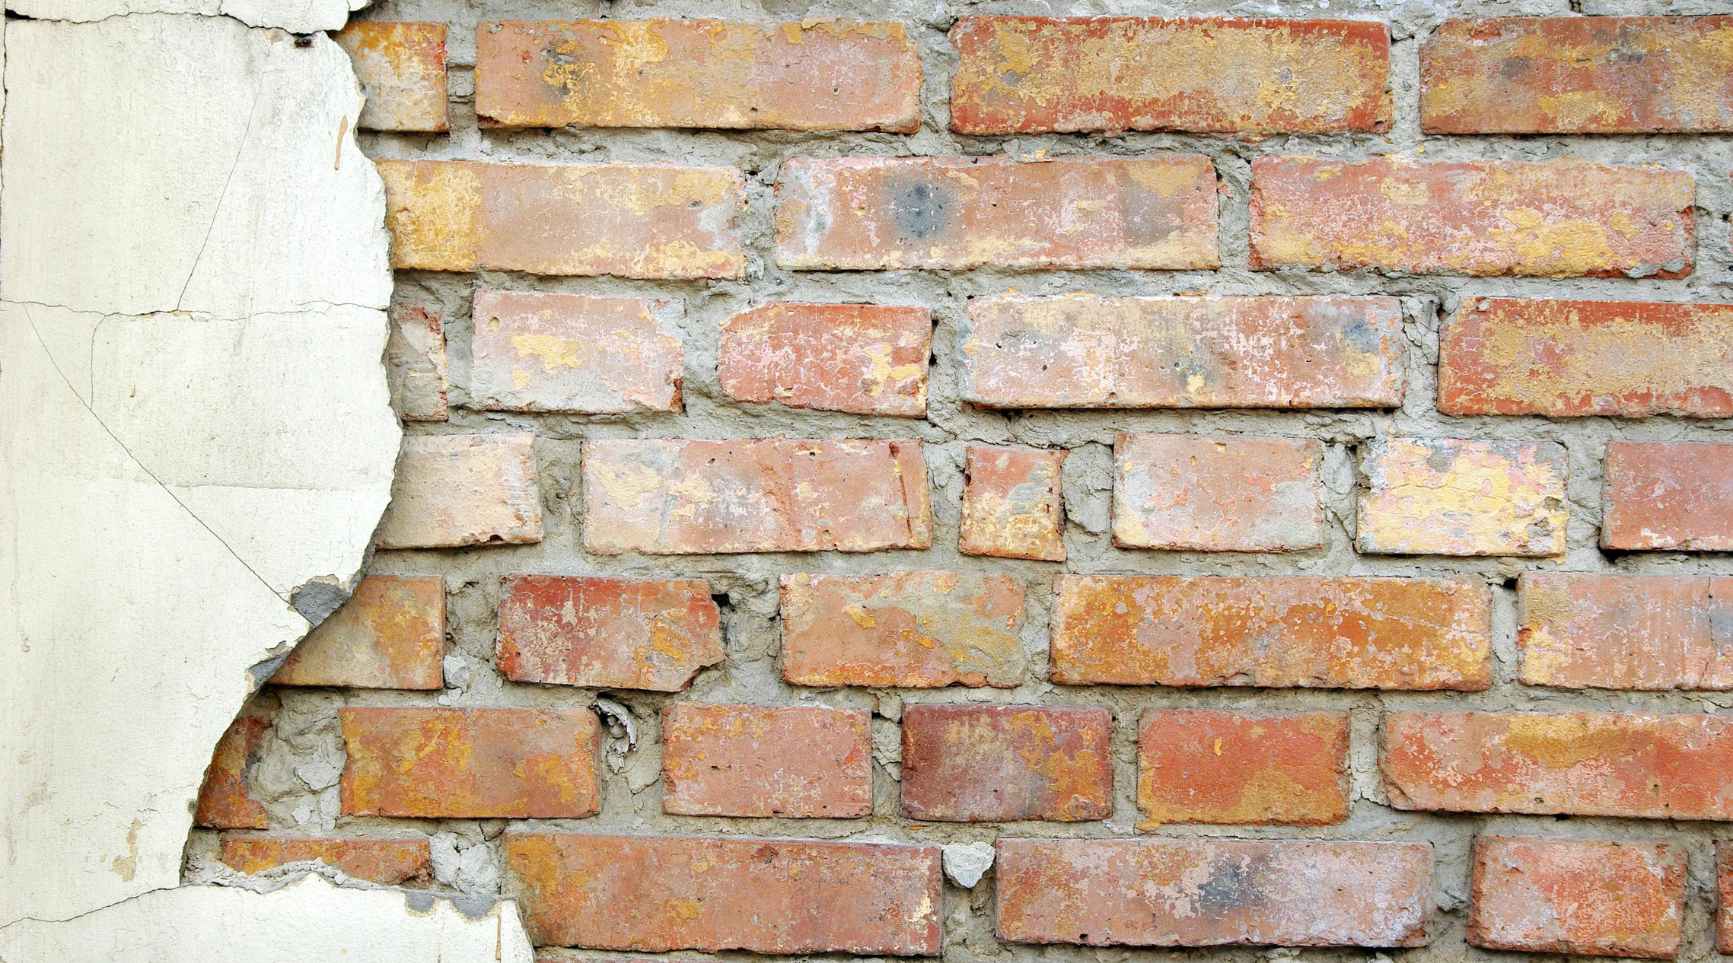
Brick walls add a timeless charm to any space, but when covered in plaster, their aesthetic appeal can be diminished. Removing plaster from a brick wall can revitalize the visual appeal of the surface, restoring it to its original glory. Whether you’re restoring a historic building or simply looking to refresh the look of your home, the process of removing plaster from a brick wall requires careful consideration and the right approach.
In this comprehensive guide, we will walk you through the step-by-step process of removing plaster from a brick wall. From the essential materials and tools needed to the detailed steps for achieving a clean and polished finish, we’ve got you covered. Let’s dive in and explore how to effectively restore the natural beauty of your brick walls.
Key Takeaways:
- Safeguard yourself with protective gear and prepare the brick wall by applying a plaster remover solution before carefully scraping off the softened plaster to reveal the natural beauty of the brick.
- Thoroughly clean the exposed brick surface, consider applying a protective sealer, and appreciate the timeless charm and rustic elegance of revitalized brick walls.
Read more: How To Remove Bees From A Brick Wall
Materials and Tools Needed
Before embarking on the task of removing plaster from a brick wall, it’s essential to gather the necessary materials and tools to ensure a smooth and efficient process. Here’s a comprehensive list of what you’ll need:
- Protective Gear: Safety goggles, gloves, and a mask to safeguard yourself from dust and debris.
- Drop Cloths: Cover the surrounding area with drop cloths to protect floors and furnishings from plaster and debris.
- Plaster Remover Solution: A commercial or homemade solution specifically designed for softening and loosening plaster.
- Scraping Tools: Stiff-bristled brushes, putty knives, and wire brushes for removing the softened plaster from the brick surface.
- Bucket and Water: For mixing the plaster remover solution and rinsing the wall.
- Pressure Washer: Optional but highly effective for thoroughly cleaning the brick wall after removing the plaster.
- Stiff Bristle Brush: For scrubbing the brick surface to remove any remaining residue.
- Protective Sealer: A sealant to protect and enhance the appearance of the exposed brick.
By ensuring you have these essential materials and tools at your disposal, you’ll be well-equipped to tackle the task of removing plaster from your brick wall with confidence and precision.
Step 1: Preparation
Before diving into the process of removing plaster from a brick wall, it’s crucial to prepare the work area and take the necessary precautions. Here’s how to set the stage for a successful plaster removal project:
1. Assess the Condition of the Wall: Begin by carefully examining the brick wall to identify any areas of concern, such as loose or damaged bricks, cracks, or previous repairs. Addressing these issues before removing the plaster will ensure a smooth and uniform surface.
2. Clear the Surrounding Area: Remove any furniture, decorations, or obstacles near the wall to create a clear and unobstructed workspace. Cover the floor and any nearby items with drop cloths to protect them from dust and debris.
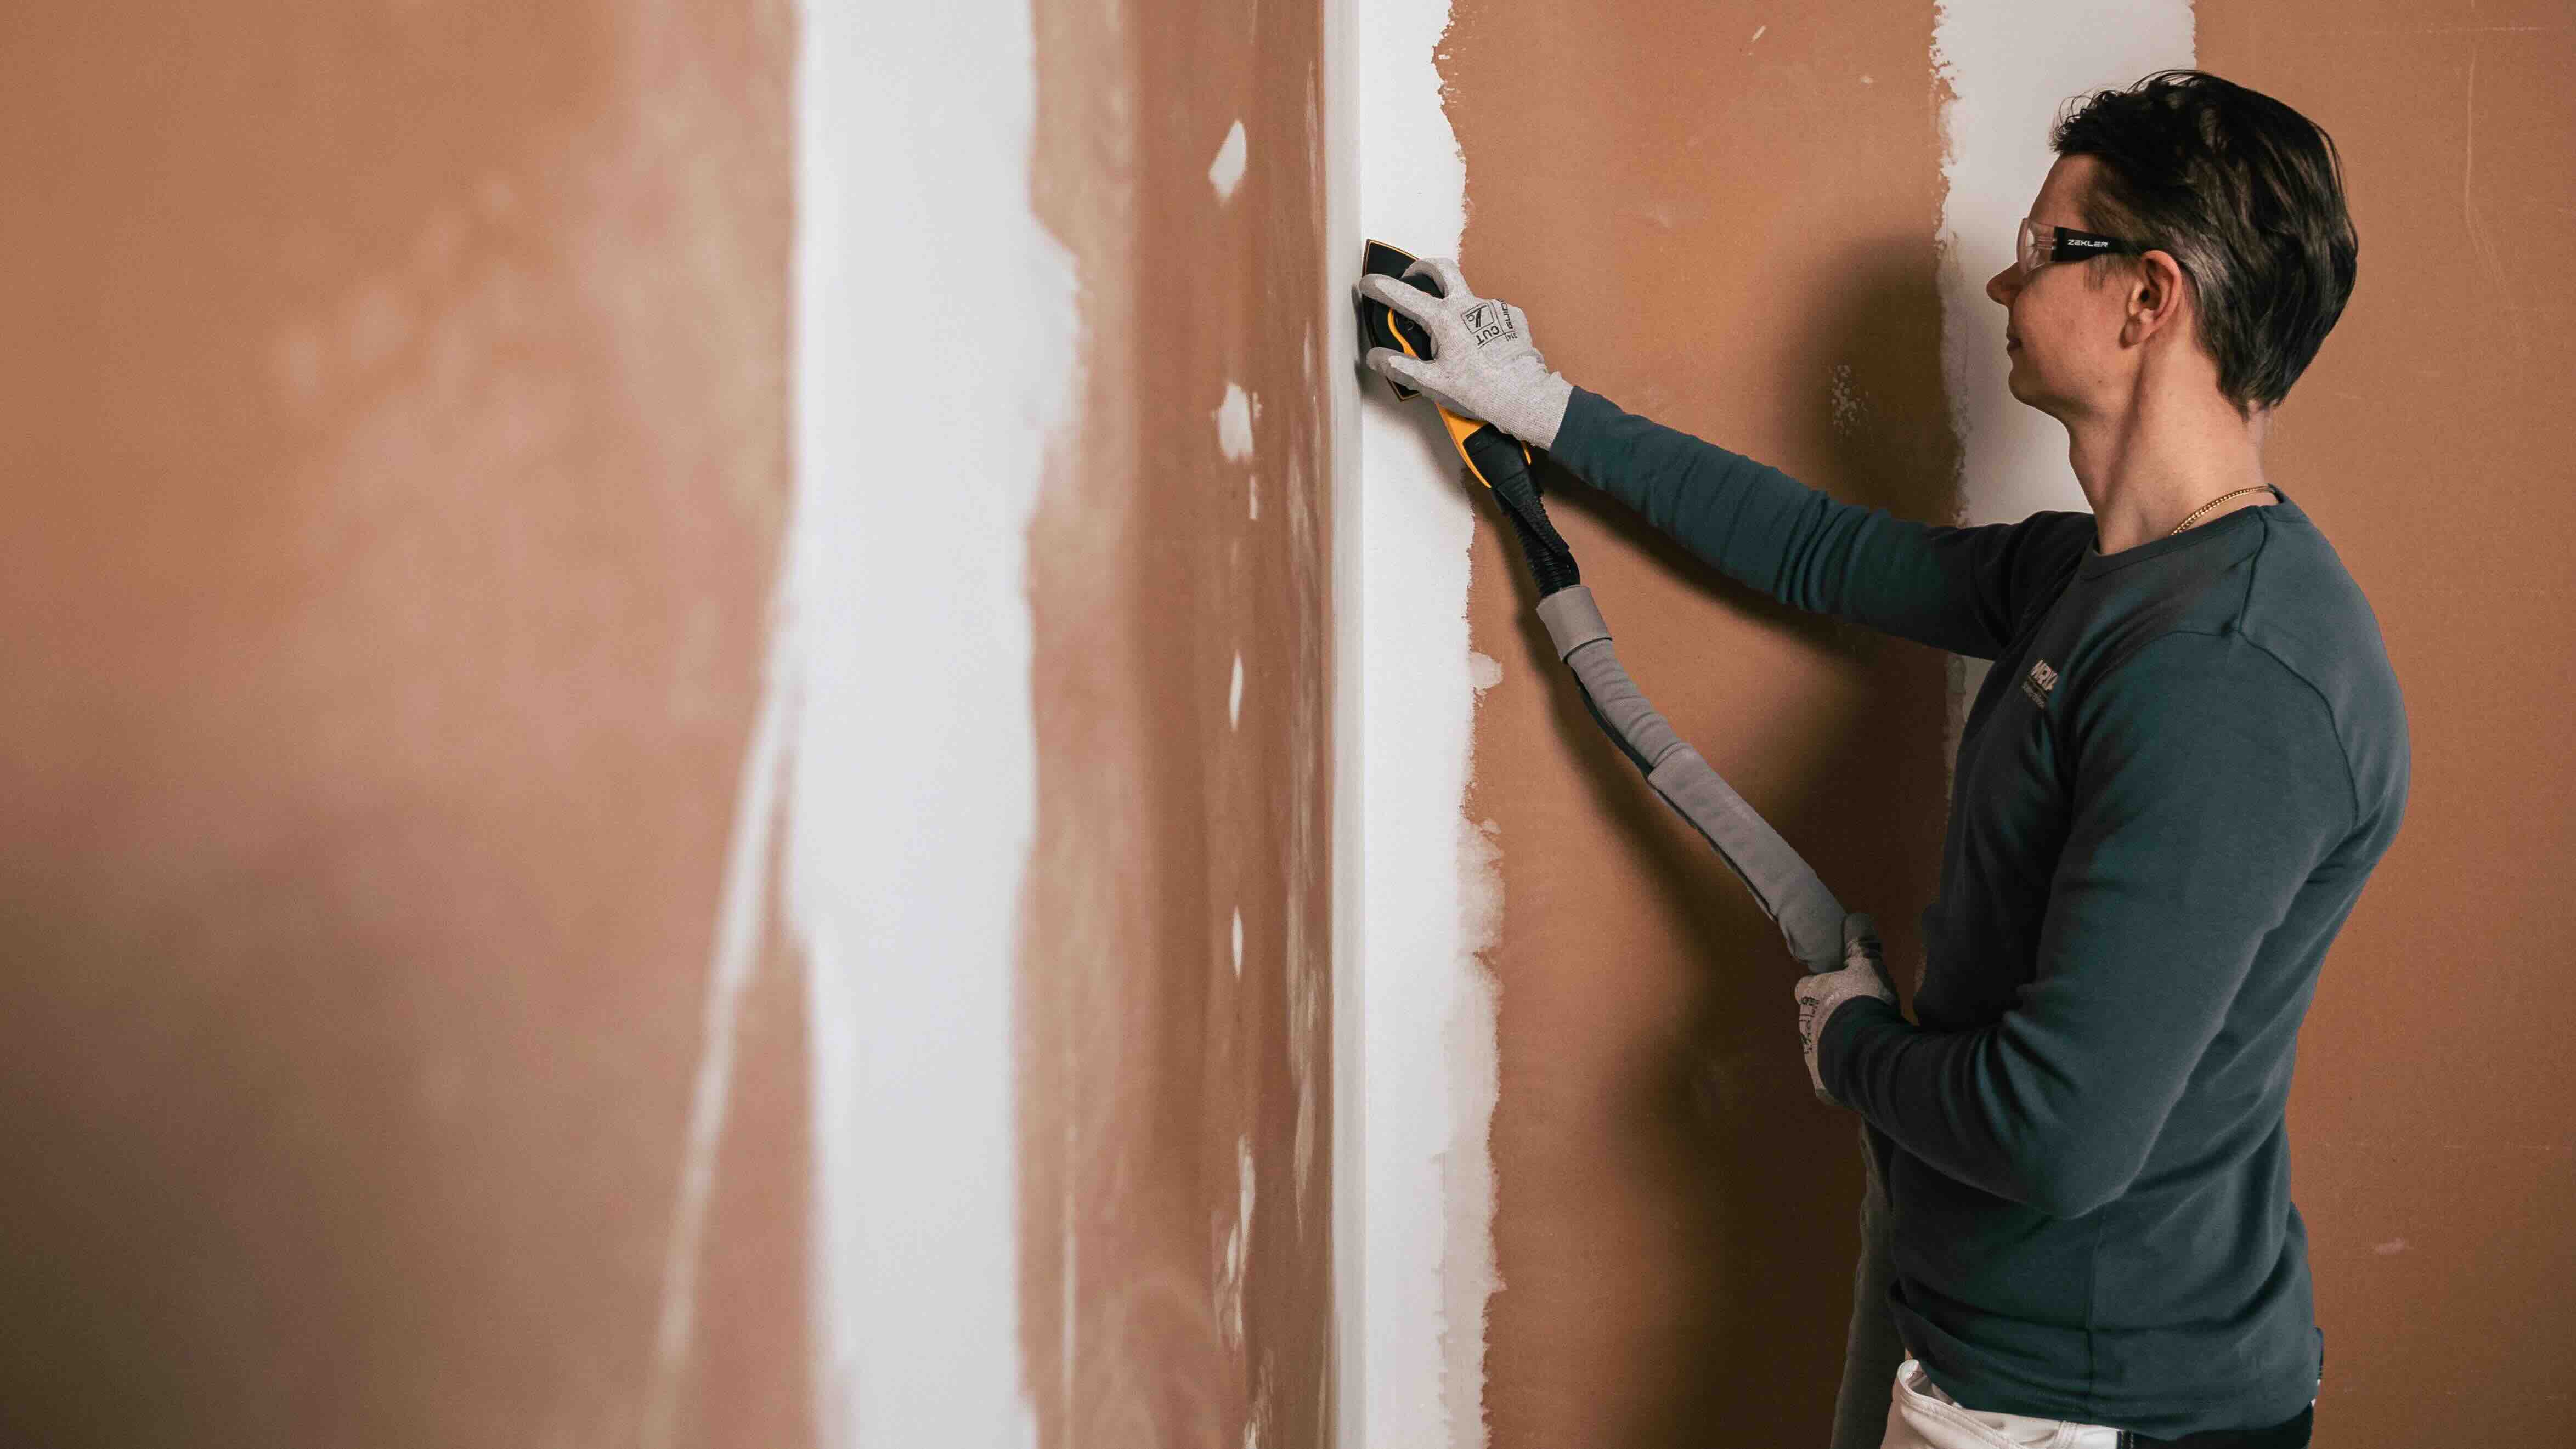
3. Wear Protective Gear: Prioritize safety by donning protective goggles, gloves, and a mask to shield yourself from potential airborne particles, dust, and debris during the plaster removal process.
4. Ventilate the Area: If possible, open windows and doors to ensure adequate ventilation. This will help dissipate dust and fumes, creating a more comfortable and safe working environment.
5. Mix the Plaster Remover Solution: If using a commercial plaster remover, carefully follow the manufacturer’s instructions for dilution and application. Alternatively, if opting for a homemade solution, ensure that it is well-mixed and prepared according to a trusted recipe.
By meticulously preparing the work area and taking the necessary safety measures, you’ll establish a solid foundation for the subsequent steps of removing the plaster from your brick wall.
Step 2: Apply the Solution
With the preparation complete, it’s time to apply the plaster remover solution to the brick wall. This crucial step sets the stage for effectively softening and loosening the plaster, making it easier to remove. Here’s how to apply the solution:
1. Begin with a Test Patch: Before applying the solution to the entire wall, conduct a small test patch in an inconspicuous area. This allows you to assess the reaction of the brick and plaster to the solution, ensuring compatibility and minimizing potential damage.
2. Apply the Solution Generously: Using a brush or sprayer, apply the plaster remover solution generously over the plaster-covered areas of the brick wall. Ensure thorough coverage, allowing the solution to penetrate and work its magic on the plaster.
3. Allow Dwell Time: Depending on the type and thickness of the plaster, as well as the specific properties of the remover solution, allow sufficient dwell time for the solution to effectively soften the plaster. Refer to the product instructions for recommended dwell times.
4. Monitor the Progress: Throughout the dwell time, periodically check the condition of the plaster to gauge the effectiveness of the solution. You may notice the plaster starting to soften, bubble, or loosen from the brick surface, indicating that the solution is actively breaking down the bond.
5. Reapply if Necessary: For stubborn or thick layers of plaster, you may need to reapply the solution to ensure thorough penetration and optimal softening. Exercise patience and avoid rushing this crucial phase of the process.
By methodically applying the plaster remover solution and allowing it to work its magic, you’re effectively preparing the plaster for the subsequent removal phase, setting the stage for a successful transformation of your brick wall.
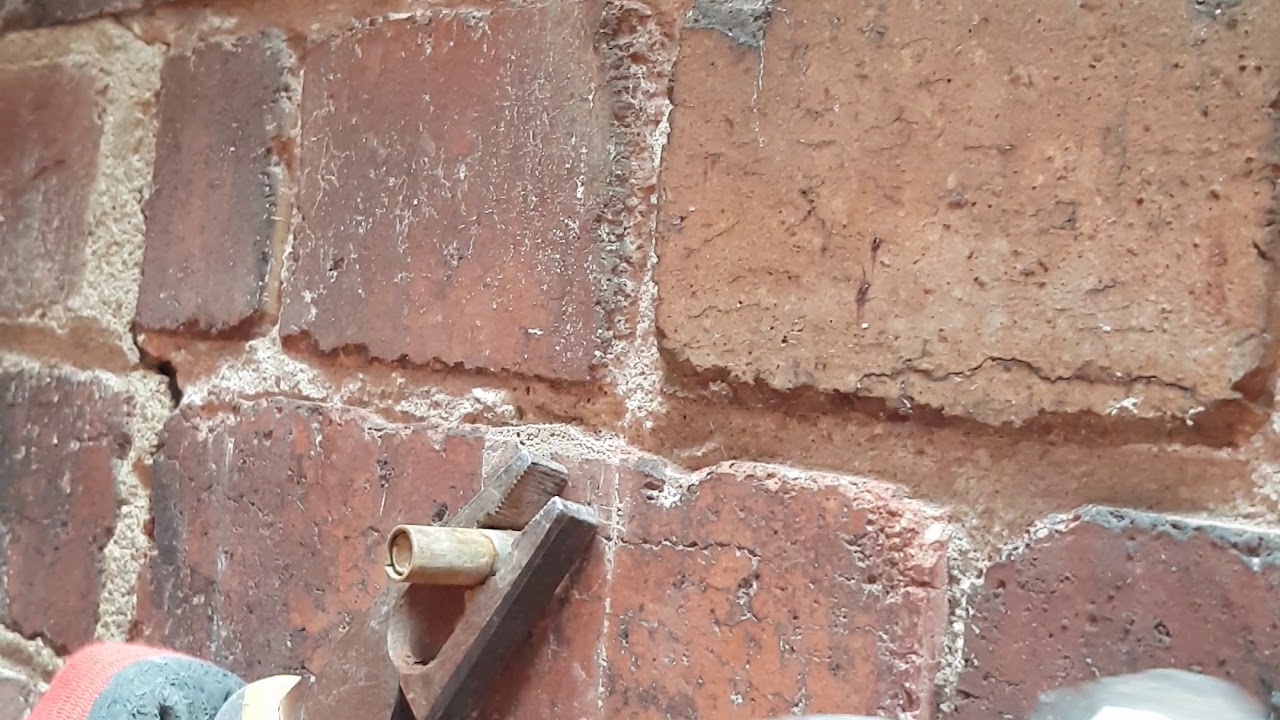
Use a hammer and chisel to carefully chip away at the plaster, working in small sections. Be sure to wear safety goggles and gloves to protect yourself from flying debris.
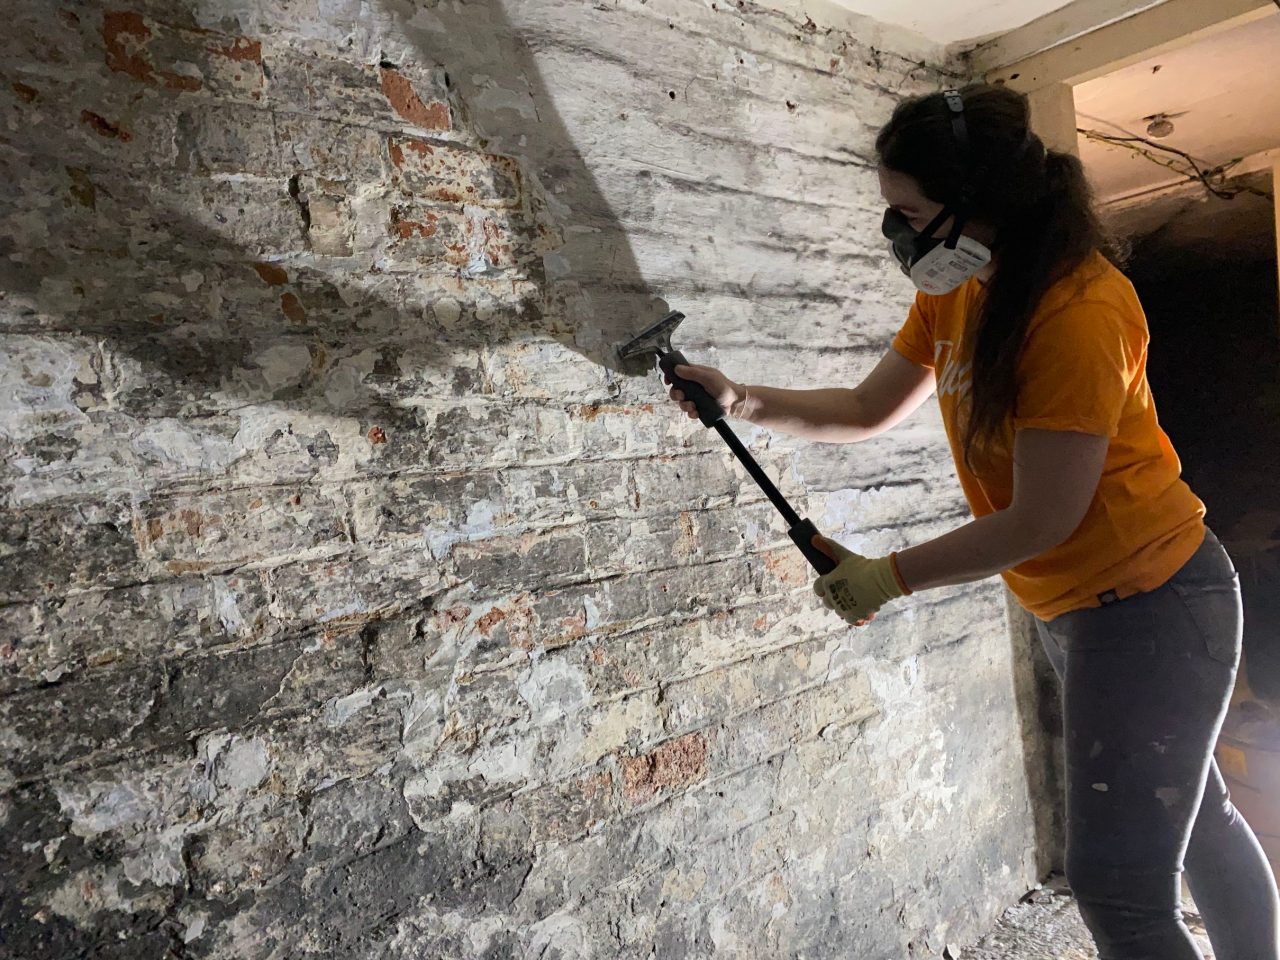
Step 3: Scrape Off the Plaster
Once the plaster remover solution has adequately softened the plaster, it’s time to proceed with the meticulous task of scraping off the loosened material from the brick surface. This step requires patience and precision to ensure a thorough removal of the plaster while safeguarding the integrity of the underlying brick. Here’s how to effectively scrape off the plaster:
1. Use the Right Tools: Armed with stiff-bristled brushes, putty knives, or wire brushes, carefully begin the process of scraping off the softened plaster from the brick wall. Choose tools that allow for controlled and targeted removal without causing damage to the brick.
2. Work in Sections: Divide the wall into manageable sections and focus on one area at a time. This approach allows for a more systematic and thorough removal process, preventing overwhelm and ensuring consistent results.
3. Employ Gentle Pressure: Approach the scraping process with a gentle and controlled touch. Avoid applying excessive force that could potentially damage the brick or push the plaster residue deeper into the crevices. Patience and finesse are key.
4. Clear Away Debris: As you scrape off the plaster, periodically clear away the debris and residue to maintain visibility and prevent the accumulation of loose material. A brush or vacuum can be used to tidy the work area as you progress.
5. Address Stubborn Areas: For areas where the plaster adheres more firmly, exercise extra care and attention. Utilize finer tools or brushes to delicately dislodge the remaining plaster without compromising the brick surface.
6. Repeat as Needed: Depending on the thickness of the plaster and the extent of the coverage, you may need to revisit certain areas to ensure complete removal. Approach the task with diligence, aiming for a consistently clean and exposed brick surface.
By methodically scraping off the loosened plaster, you’re uncovering the natural beauty of the brick beneath, paving the way for the final steps of cleaning and enhancing the appearance of the exposed surface.
Read more: How To Remove Chalk From Brick Wall
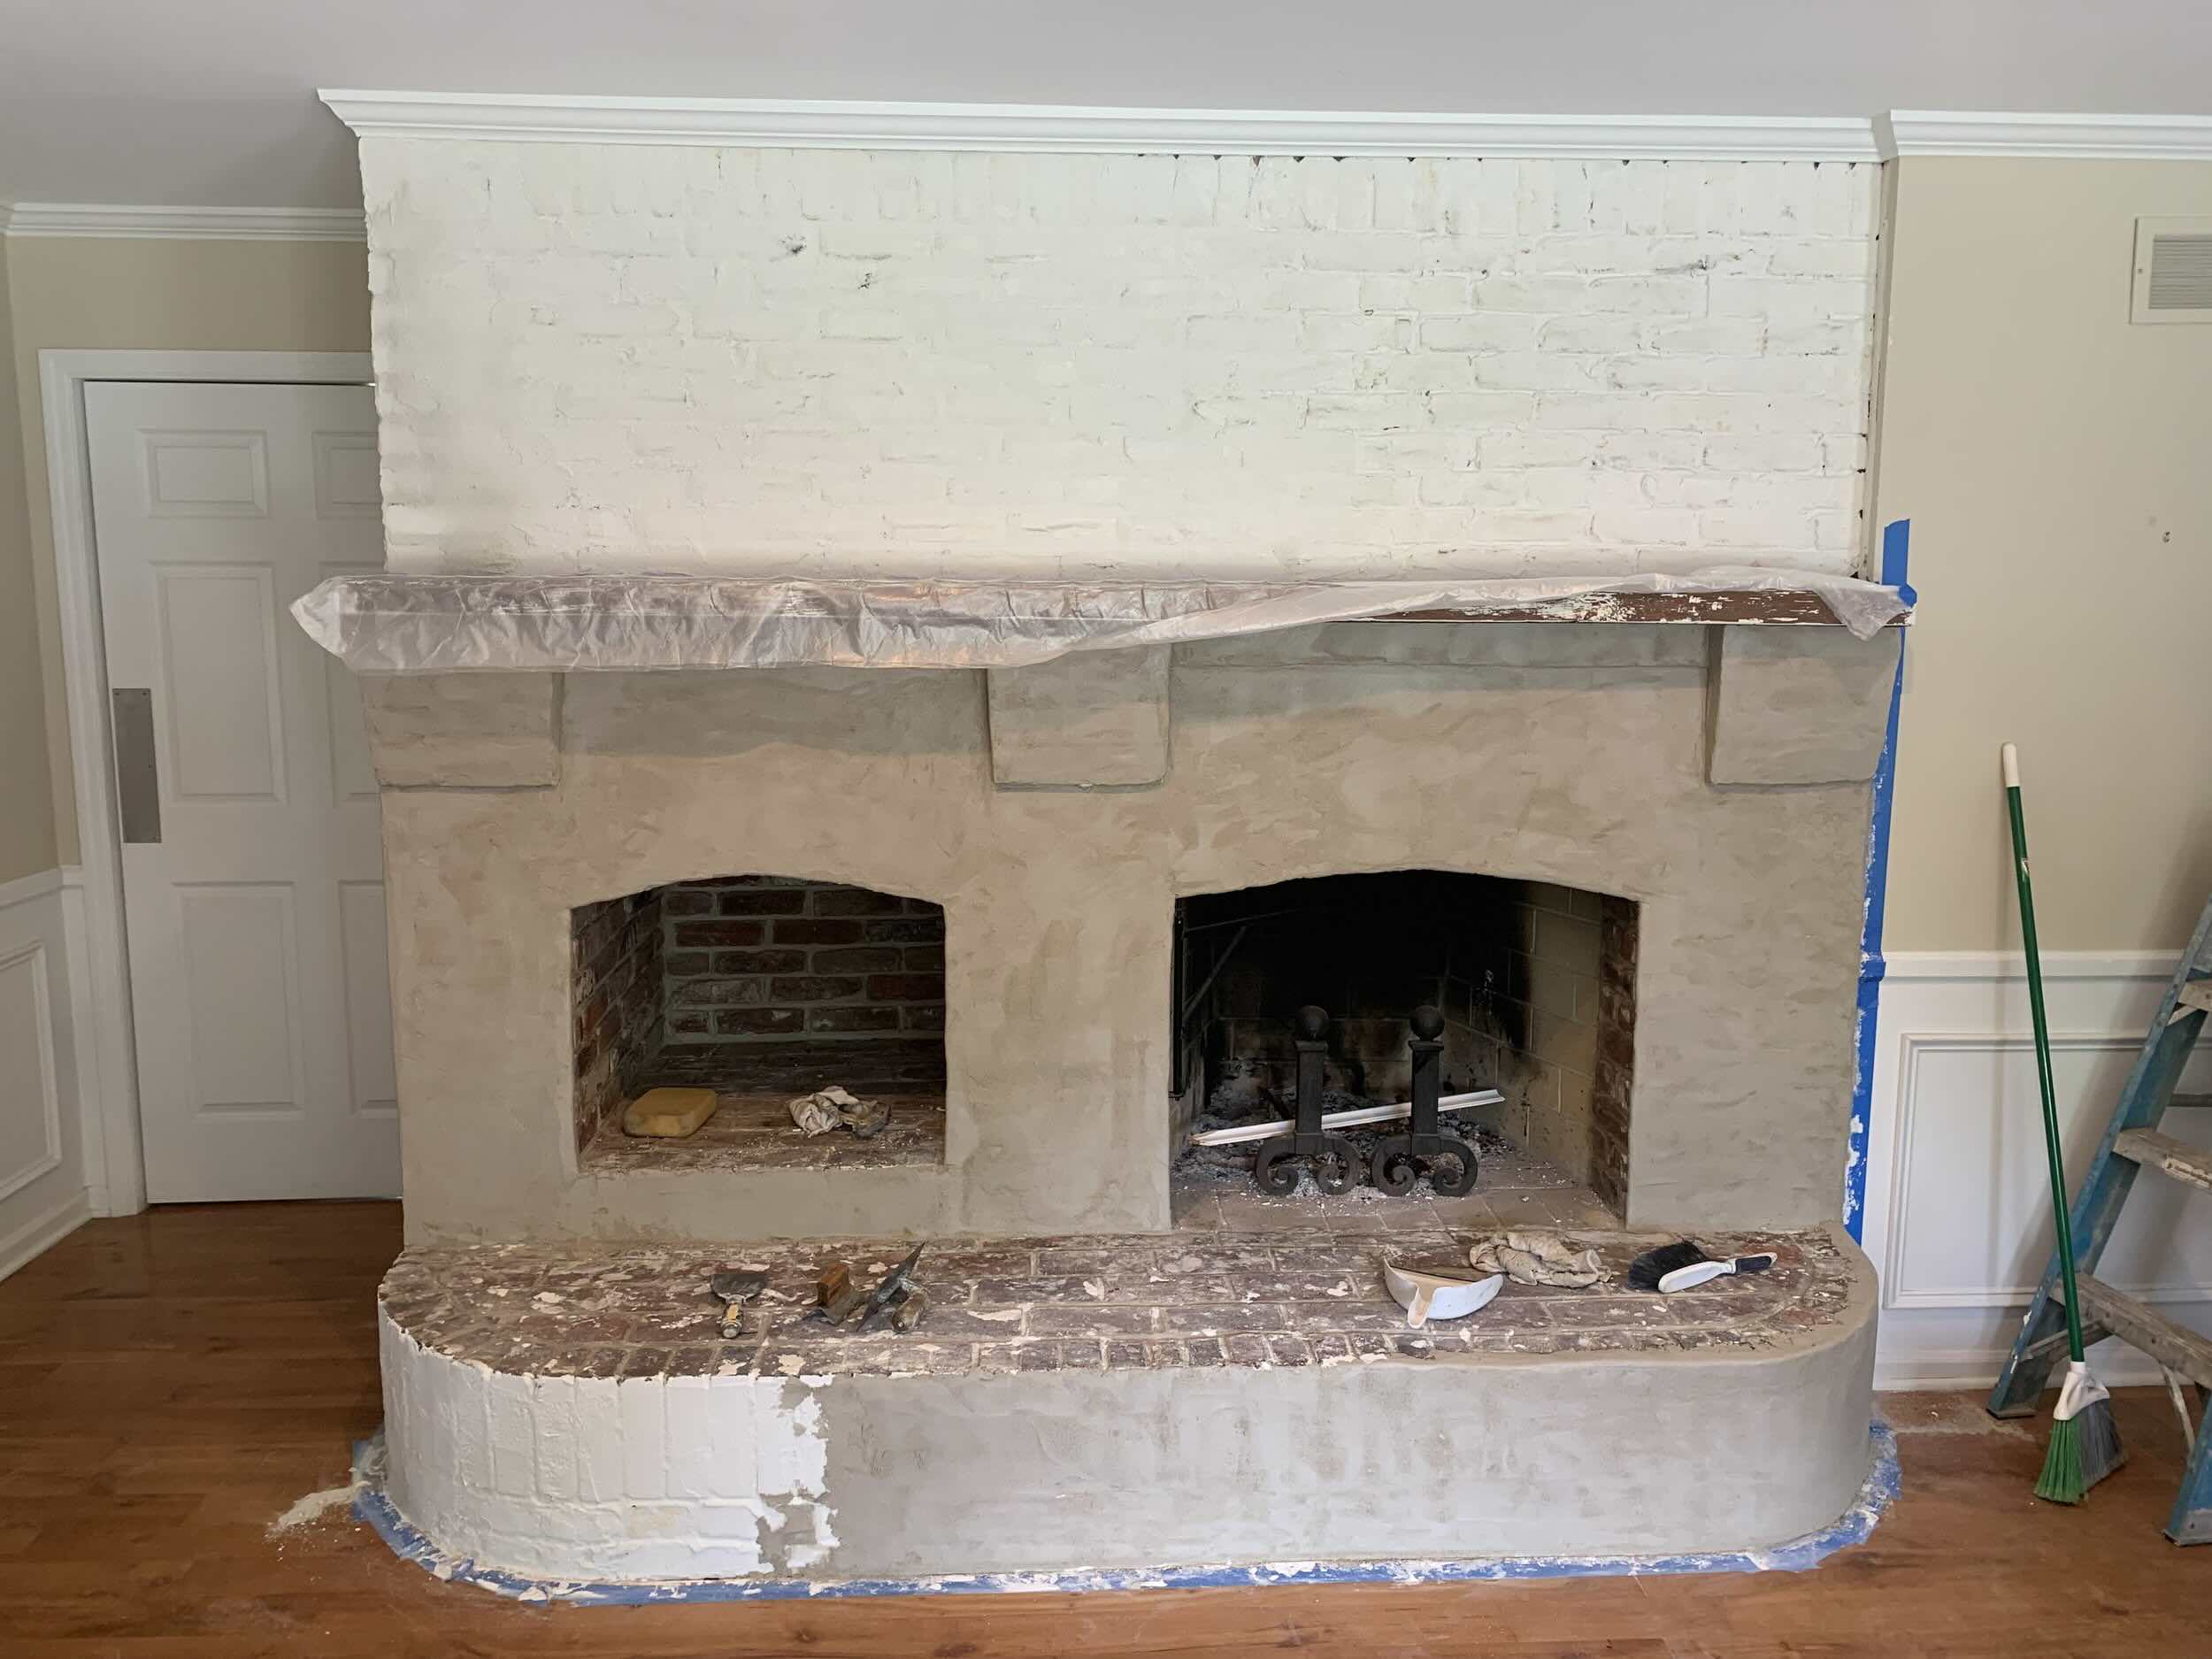
Step 4: Clean the Brick Wall
With the plaster successfully removed, it’s time to shift focus to the crucial task of cleaning the exposed brick wall. This step is essential for eliminating any residual plaster, debris, or solution, and restoring the brick to its original luster. Here’s how to effectively clean the brick wall:
1. Rinse the Surface: Using a bucket of clean water and a sponge or cloth, gently rinse the exposed brick surface to remove any remnants of the plaster remover solution. Ensure thorough and systematic rinsing, changing the water as needed to maintain cleanliness.
2. Scrub Away Residue: For stubborn or residual plaster, utilize a stiff bristle brush to gently scrub the brick surface. Exercise caution to avoid abrasive or harsh scrubbing that could damage the brick, focusing on targeted areas as needed.
3. Consider Pressure Washing: If available, a pressure washer can be a highly effective tool for thoroughly cleaning the exposed brick. Use a low-pressure setting and maintain a safe distance to avoid causing damage to the brick or forcing water into the mortar joints.
4. Allow for Drying Time: Once the cleaning process is complete, allow the brick wall to air dry thoroughly. Adequate drying time is essential before proceeding with any sealing or enhancement treatments to ensure optimal adhesion and effectiveness.
5. Inspect for Residual Debris: After the wall has dried, carefully inspect the surface for any remaining debris, dust, or plaster particles. Address any lingering remnants with gentle brushing or wiping to achieve a clean and uniform appearance.
6. Protect and Enhance: Consider applying a protective brick sealer to safeguard the exposed surface and enhance its natural beauty. Select a high-quality sealer designed for brick applications and follow the manufacturer’s instructions for optimal results.
By meticulously cleaning the brick wall, you’re not only removing any traces of the plaster removal process but also preparing the surface for potential sealing and enhancement, ensuring a polished and revitalized appearance.
Conclusion
Embarking on the journey of removing plaster from a brick wall is a transformative process that unveils the inherent beauty and character of the brick surface. By following the comprehensive steps outlined in this guide, you’ve gained valuable insights into the meticulous and rewarding process of restoring your brick walls to their original splendor.
From the initial preparation and application of the plaster remover solution to the precise scraping and thorough cleaning of the exposed brick, each step contributes to the ultimate goal of revealing a pristine and revitalized surface. The careful consideration of materials, tools, and techniques ensures that the process is approached with precision and care, safeguarding the integrity of the brick while achieving a stunning result.
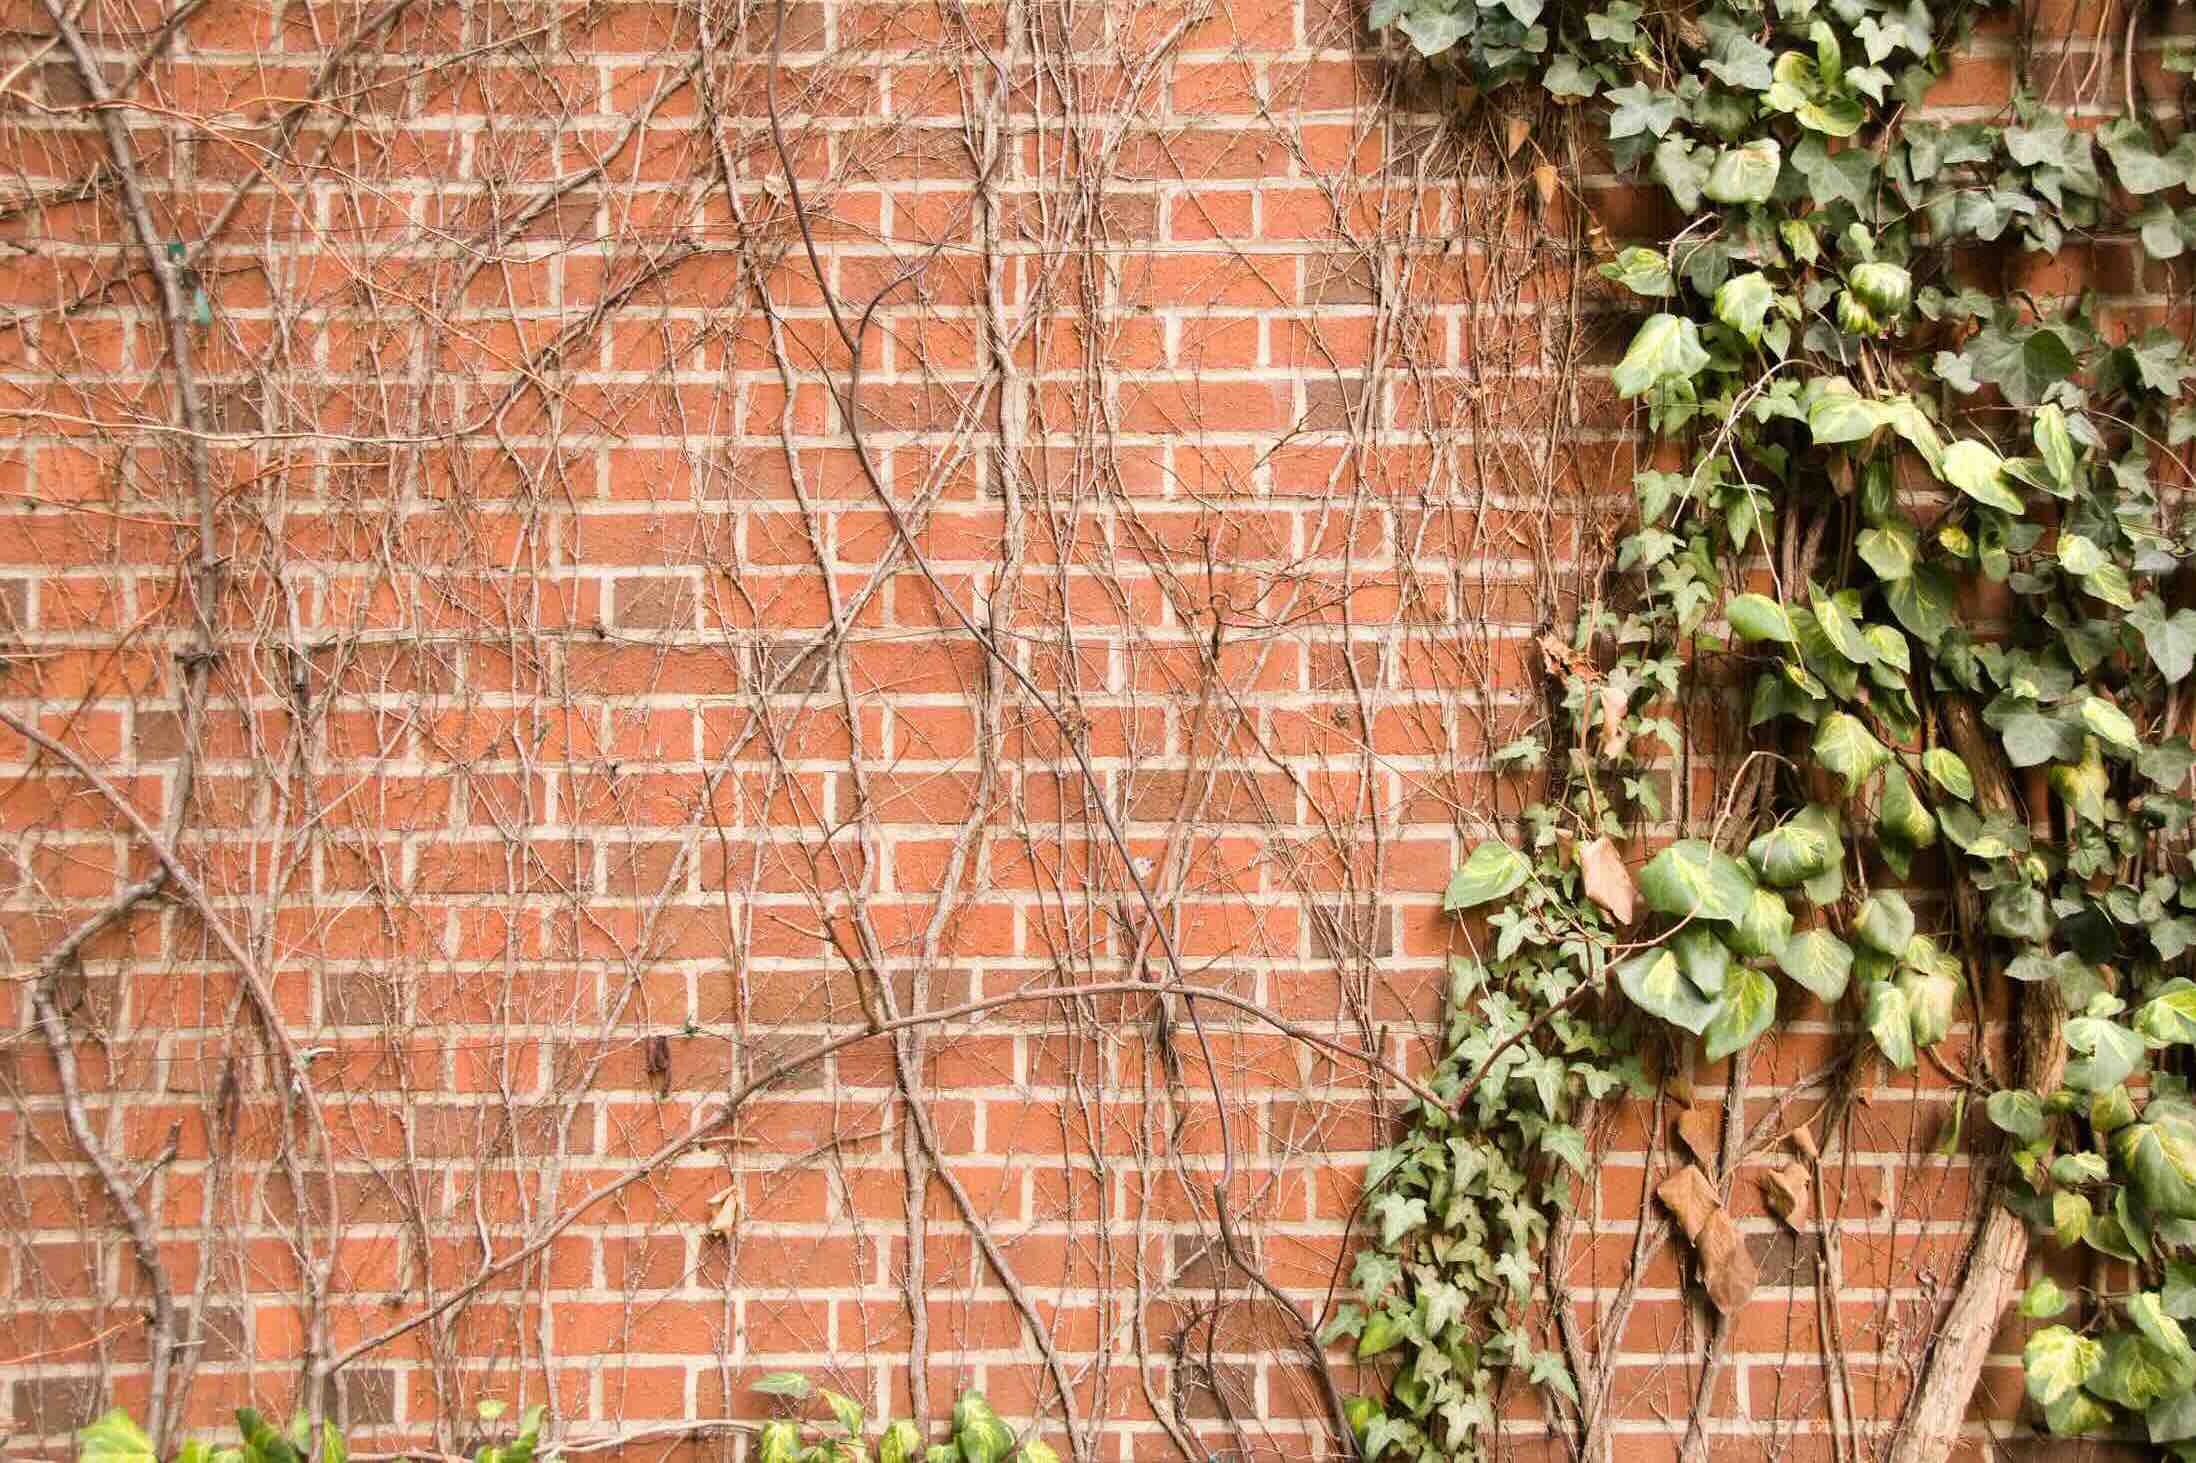
As you witness the transformation of your brick wall, take a moment to appreciate the timeless allure and enduring appeal of this classic building material. The exposed brick, free from the constraints of plaster, tells a story of authenticity and craftsmanship, adding a touch of rustic elegance to any space.
Whether you’re revitalizing a historic structure, renovating a home, or simply seeking to refresh the ambiance of your living environment, the process of removing plaster from a brick wall is a testament to the enduring beauty of this age-old building material. Embrace the journey, savor the process, and revel in the timeless charm of your newly restored brick walls.
With dedication, attention to detail, and a touch of creativity, you’ve embarked on a journey that transcends mere renovation—it’s a celebration of tradition, craftsmanship, and the enduring allure of brick.
Frequently Asked Questions about How To Remove Plaster From A Brick Wall
Was this page helpful?
At Storables.com, we guarantee accurate and reliable information. Our content, validated by Expert Board Contributors, is crafted following stringent Editorial Policies. We're committed to providing you with well-researched, expert-backed insights for all your informational needs.

0 thoughts on “How To Remove Plaster From A Brick Wall”