Home>Construction & Tools>Building Materials>How To Remove Z-brick From Drywall
Building Materials
How To Remove Z-brick From Drywall
Modified: February 17, 2024
Learn the best techniques for removing Z-Brick from drywall. Discover effective methods and tools for safely eliminating this building material.
(Many of the links in this article redirect to a specific reviewed product. Your purchase of these products through affiliate links helps to generate commission for Storables.com, at no extra cost. Learn more)
Introduction
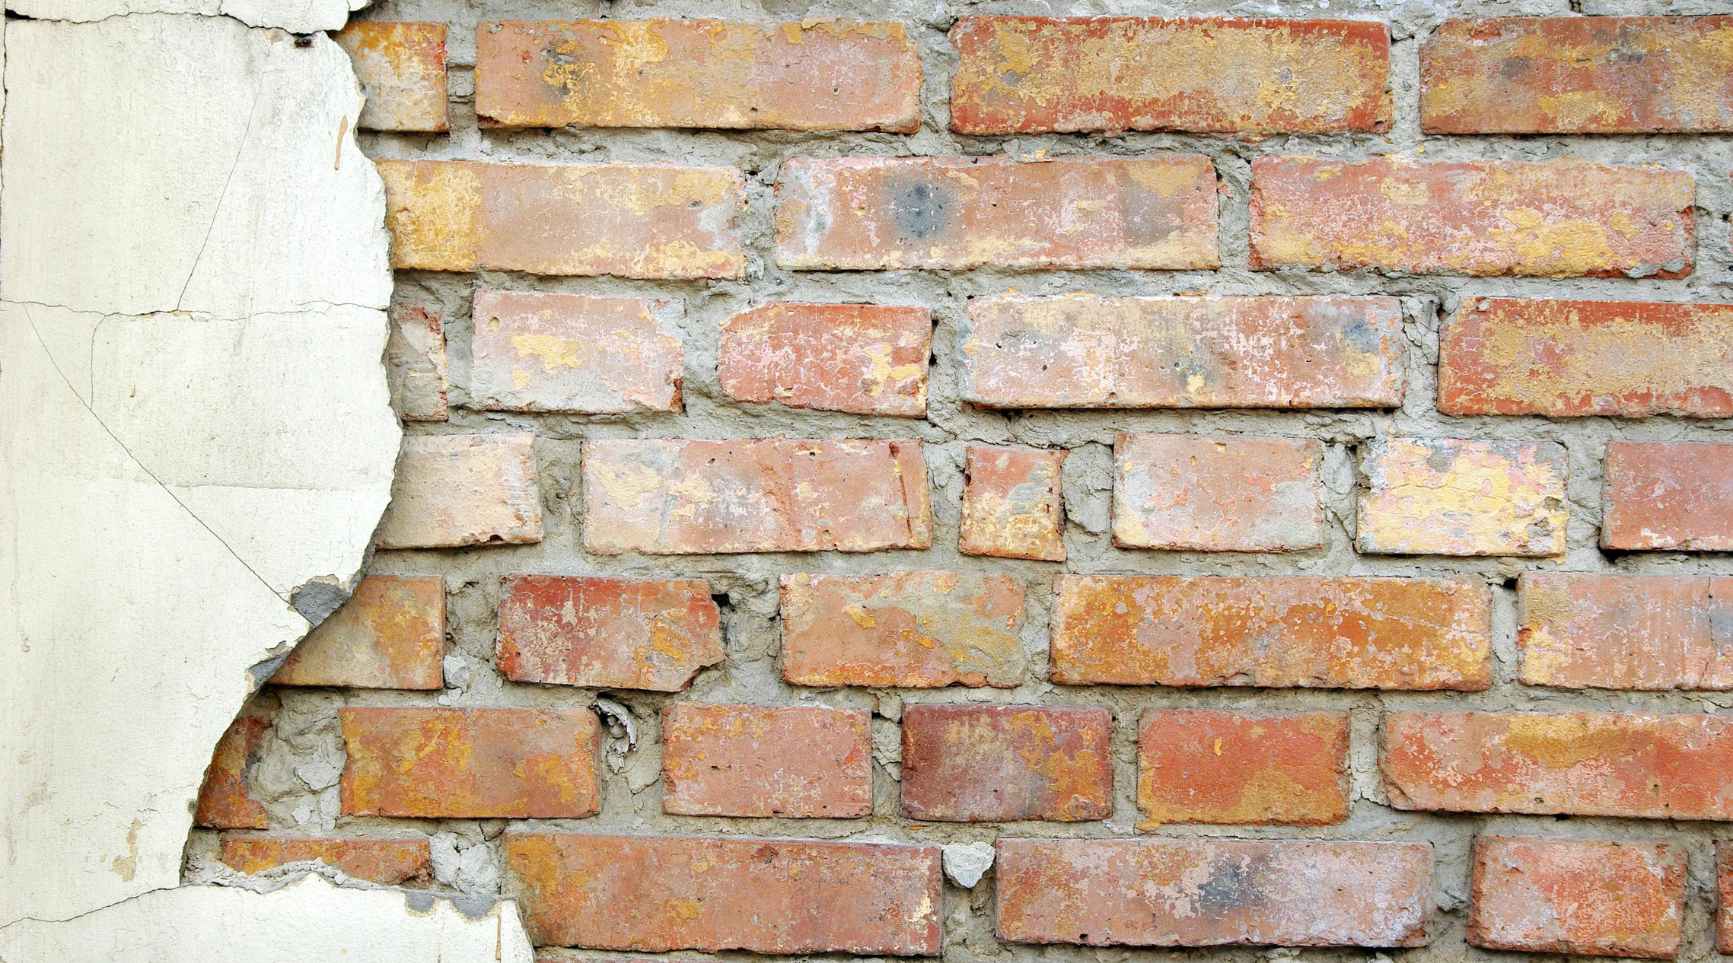
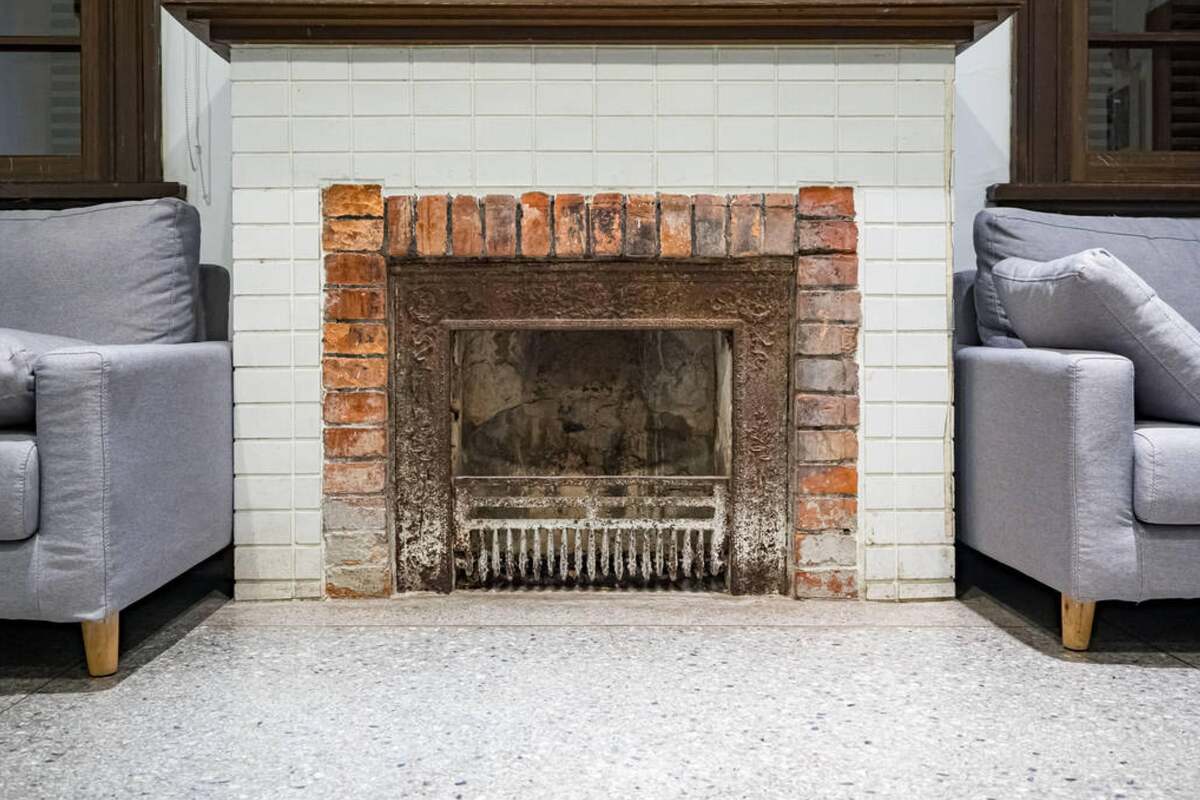
Welcome to the comprehensive guide on removing Z-Brick from drywall. Z-Brick, a popular choice for adding texture and character to interior walls, may need to be removed for various reasons such as renovation, repair, or simply to change the aesthetic of a room. While the task may seem daunting, with the right tools, materials, and techniques, you can effectively remove Z-Brick from drywall without causing damage.
In this article, we will walk you through the step-by-step process of safely and efficiently removing Z-Brick from drywall. Whether you are a seasoned DIY enthusiast or a novice looking to tackle your first home improvement project, this guide will provide you with the knowledge and confidence to complete the task with ease.
Before we dive into the specifics of Z-Brick removal, it’s important to gather the necessary tools and materials to ensure a smooth and successful process. Let’s start by exploring the essential items you’ll need for this project.
Key Takeaways:
- Removing Z-Brick from drywall requires tools like a screwdriver, putty knife, and safety gear. After removal, patch, sand, and paint the wall for a fresh, updated look.
- Clear the work area, protect surfaces, and ensure ventilation before starting the removal process. After cleanup, prime and paint the wall for a polished finish.
Read more: How To Remove Drywall
Tools and Materials Needed
Before embarking on the task of removing Z-Brick from drywall, it’s essential to gather the following tools and materials to facilitate a safe and efficient process:
Tools:
- Flathead screwdriver
- Putty knife
- Utility knife
- Hammer
- Electric drill with a mixing attachment
- Work gloves
- Safety goggles
- Dust mask
- Drop cloths or plastic sheeting
- Painter's tape
- Shop vacuum or broom and dustpan
Materials:
- Joint compound
- Sandpaper (medium grit)
- Clean rags or sponges
- All-purpose cleaner
- Primer
- Paint and paintbrushes
Having these tools and materials on hand will ensure that you are well-prepared to tackle the Z-Brick removal process. With the right equipment at your disposal, you can proceed with confidence, knowing that you have everything necessary to complete the task effectively.
Preparation
Before diving into the removal process, it’s crucial to prepare the work area and take necessary precautions to ensure a safe and organized environment. Here are the essential steps to prepare for removing Z-Brick from drywall:
Read more: How To Drywall Over Brick
1. Clear the Area:
Begin by removing any furniture, decor, or other items from the vicinity of the wall where the Z-Brick removal will take place. Clearing the area will provide ample space to work and minimize the risk of damage to belongings.
2. Protect the Surrounding Area:
Use drop cloths or plastic sheeting to cover the floor and any remaining fixtures in the room. Securing the area with protective coverings will prevent debris and dust from spreading, making the cleanup process more manageable.
3. Ventilation:
Ensure proper ventilation in the work area by opening windows and using fans to promote air circulation. Additionally, wearing a dust mask is advisable to protect against inhaling airborne particles during the removal process.
4. Gather Safety Gear:
Put on work gloves and safety goggles to shield your hands and eyes from potential hazards while handling tools and materials. Safety should always be a top priority when engaging in home improvement projects.
By taking these preparatory measures, you’ll create a safe and organized workspace for removing the Z-Brick from the drywall. With the area cleared, protected, and equipped with proper ventilation and safety gear, you’re ready to proceed with the next steps of the removal process.
Read more: How To Remove Shutters From Brick
Removing Z-Brick from Drywall
Now that the preparation is complete, it’s time to delve into the process of removing Z-Brick from drywall. Follow these step-by-step instructions to effectively eliminate the Z-Brick texture from the wall:
1. Assess the Adhesion:
Begin by assessing the adhesion of the Z-Brick to the drywall. Gently tap on the bricks to determine if they are firmly attached or if any areas are loose or easily dislodged. This initial assessment will guide your approach to removing the Z-Brick.
2. Create Separation:
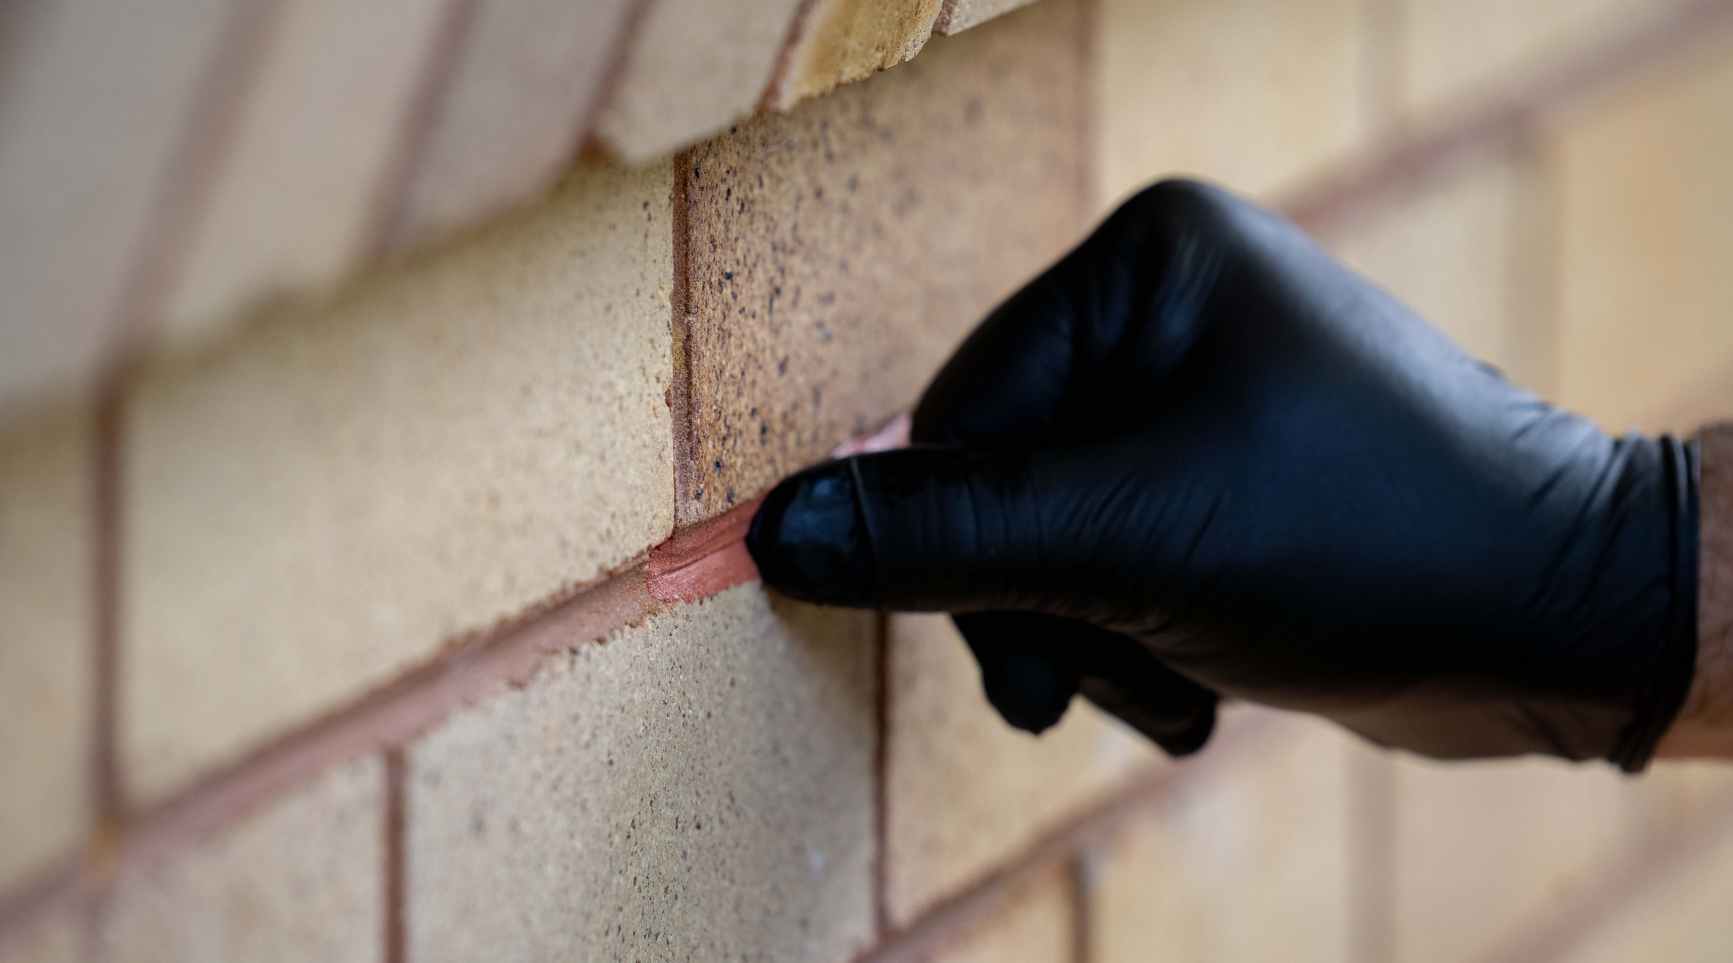
Using a flathead screwdriver or putty knife, carefully create separation between the Z-Brick and the drywall. Start at a corner or edge and work your way along the seams, gently prying the bricks away from the wall. Exercise caution to avoid damaging the underlying drywall during this process.
3. Loosen the Bricks:
Once separation is established, continue to loosen the bricks by wedging the putty knife or screwdriver behind them and gently tapping with a hammer. Take care to work slowly and methodically, gradually loosening the Z-Brick from the wall without causing unnecessary damage.
Read more: How To Remove Graffiti From Brick
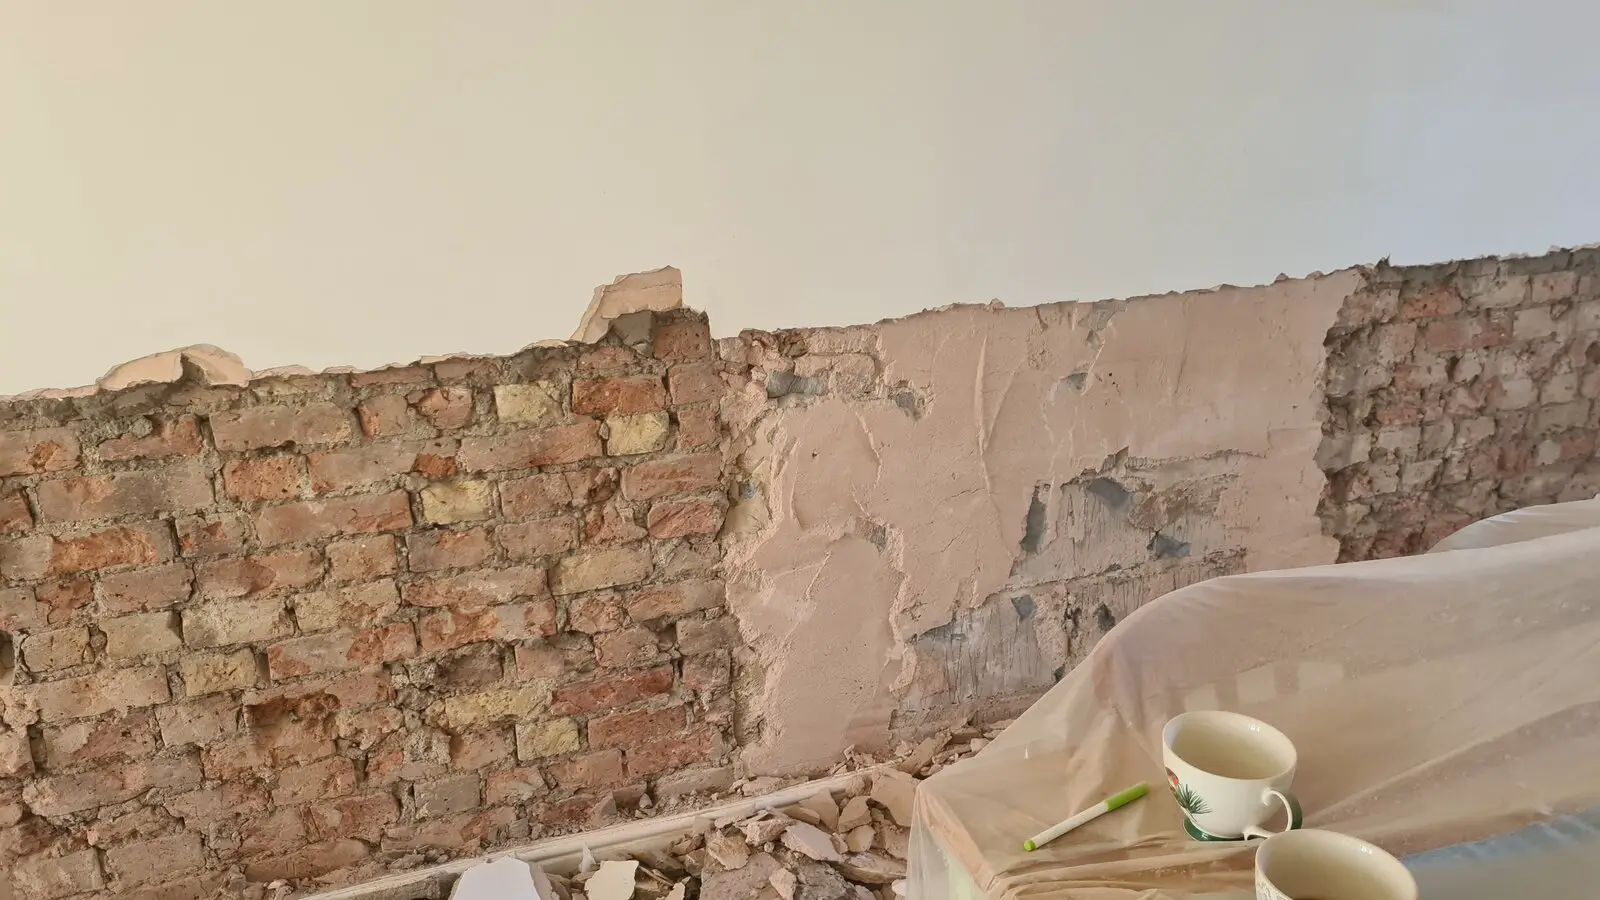
4. Remove Adhesive Residue:
After the bricks are removed, you may encounter residual adhesive or mortar on the drywall surface. Use a putty knife to scrape off any remaining adhesive, taking care not to gouge or indent the drywall. A utility knife may also be helpful in this step to delicately remove stubborn residue.
5. Patch and Smooth the Surface:
Once the adhesive is removed, assess the condition of the drywall. Fill in any gaps or imperfections with joint compound, using a putty knife to smooth and level the surface. Allow the compound to dry according to the manufacturer’s instructions before proceeding to the next step.
6. Sand and Clean:
After the joint compound has dried, use medium-grit sandpaper to gently sand the patched areas until they are smooth and blend seamlessly with the surrounding drywall. Wipe away the dust with a clean rag or sponge, ensuring the surface is clean and ready for the next steps.
By following these steps, you can effectively remove Z-Brick from drywall, leaving behind a clean and smooth surface in preparation for the next phase of your home improvement project. With careful attention to detail and a methodical approach, you can achieve professional-looking results while revitalizing your living space.
Cleaning Up
With the Z-Brick successfully removed and the wall surface prepared, it’s time to shift focus to the cleanup process. Follow these essential steps to tidy up the work area and ensure a clean, polished finish:
Read more: How To Remove Dynabolts From Brick
1. Dust and Debris Removal:
Use a shop vacuum or a broom and dustpan to thoroughly remove any debris, dust, and loose particles from the work area. Pay close attention to corners, baseboards, and surrounding surfaces to achieve a clean and dust-free environment.
2. Surface Cleaning:
Wipe down the walls and surrounding areas with an all-purpose cleaner and clean rags or sponges. This step will help eliminate any remaining residue, dirt, or dust, leaving the surfaces primed and ready for the next phase of your project.
3. Priming the Surface:
Before applying a fresh coat of paint, it’s advisable to prime the prepared wall surface. Primer helps create a uniform base for the paint, promotes adhesion, and enhances the overall finish of the painted surface. Follow the manufacturer’s instructions for the specific primer you choose.
4. Applying Paint:
Once the primer has dried, you can proceed to apply the desired paint color to the prepared wall surface. Use high-quality paint and appropriate brushes or rollers to achieve a smooth and professional finish. Multiple coats may be necessary, so allow sufficient drying time between applications.
Read more: How To Remove Cement From Brick
5. Final Touches:
After the paint has dried, inspect the wall for any imperfections or areas that may require additional touch-ups. Address any discrepancies with touch-up paint as needed, ensuring a flawless and cohesive appearance throughout the room.
By completing these cleanup and finishing steps, you will transform the once-textured Z-Brick wall into a refreshed and updated space. The removal of Z-Brick from the drywall, coupled with meticulous cleanup and a fresh coat of paint, will breathe new life into the room, creating a polished and inviting atmosphere.
Conclusion
Congratulations on successfully completing the process of removing Z-Brick from drywall and revitalizing your living space. By following the step-by-step instructions outlined in this guide, you have transformed a textured wall into a clean canvas, ready for a fresh new look. Whether you undertook this project for renovation, repair, or simply to update the aesthetic of your home, your efforts have paid off in creating a polished and inviting environment.
As you reflect on the journey from Z-Brick removal to the final touches of paint, consider the transformation that has taken place. What was once a textured wall with character has now evolved into a smooth, refreshed surface, offering endless possibilities for personalization and decor. Your attention to detail and dedication to the process have yielded professional-looking results, showcasing your ability to tackle home improvement projects with confidence and skill.
As you enjoy the renewed ambiance of your space, take pride in the accomplishment of a job well done. The removal of Z-Brick from drywall may have presented its challenges, but your perseverance and commitment have resulted in a space that reflects your vision and style. Whether you’ve chosen a vibrant new color or a subtle hue for the walls, the transformation serves as a testament to your creativity and determination to enhance your surroundings.
With the Z-Brick removal process behind you, take a moment to appreciate the refreshed atmosphere and the sense of achievement that comes with completing a home improvement project. Your dedication to maintaining a well-kept and inviting living space has not gone unnoticed, and the impact of your efforts will be felt each time you enter the room.
Thank you for embarking on this journey of Z-Brick removal and renewal with us. We hope this guide has empowered you to take on future projects with confidence and enthusiasm, knowing that with the right tools, materials, and knowledge, you can transform your living space into a reflection of your unique style and creativity.
Frequently Asked Questions about How To Remove Z-brick From Drywall
Was this page helpful?
At Storables.com, we guarantee accurate and reliable information. Our content, validated by Expert Board Contributors, is crafted following stringent Editorial Policies. We're committed to providing you with well-researched, expert-backed insights for all your informational needs.

0 thoughts on “How To Remove Z-brick From Drywall”