Home>Construction & Tools>Building Materials>How To Drywall Over Brick
Building Materials
How To Drywall Over Brick
Modified: August 28, 2024
Learn how to drywall over brick with our step-by-step guide. Find the best building materials and techniques for a successful project.
(Many of the links in this article redirect to a specific reviewed product. Your purchase of these products through affiliate links helps to generate commission for Storables.com, at no extra cost. Learn more)
Introduction
When it comes to renovating a space, covering a brick wall with drywall can significantly transform the aesthetics and functionality of the area. Whether you’re aiming to create a smoother surface for painting or simply updating the look of a room, the process of drywalling over brick requires careful planning and precise execution. This comprehensive guide will walk you through the essential steps to successfully drywall over a brick surface, providing insights into assessing the brick wall, preparing the surface, installing furring strips, attaching the drywall, and finishing the project with finesse.
By following these detailed instructions and tips, you can achieve a seamless and professional-looking drywall installation that enhances the appeal of your space while ensuring durability and structural integrity.
Key Takeaways:
- Transform the look and feel of a space by covering a brick wall with drywall. Thoroughly assess, prepare, and install furring strips for a successful and visually appealing transformation.
- Achieve a polished and seamless finish by meticulously attaching and finishing the drywall. Elevate the overall aesthetic with primer, joint compound, and optional texture or paint for a refined and cohesive appeal.
Read more: How To Remove Z-brick From Drywall
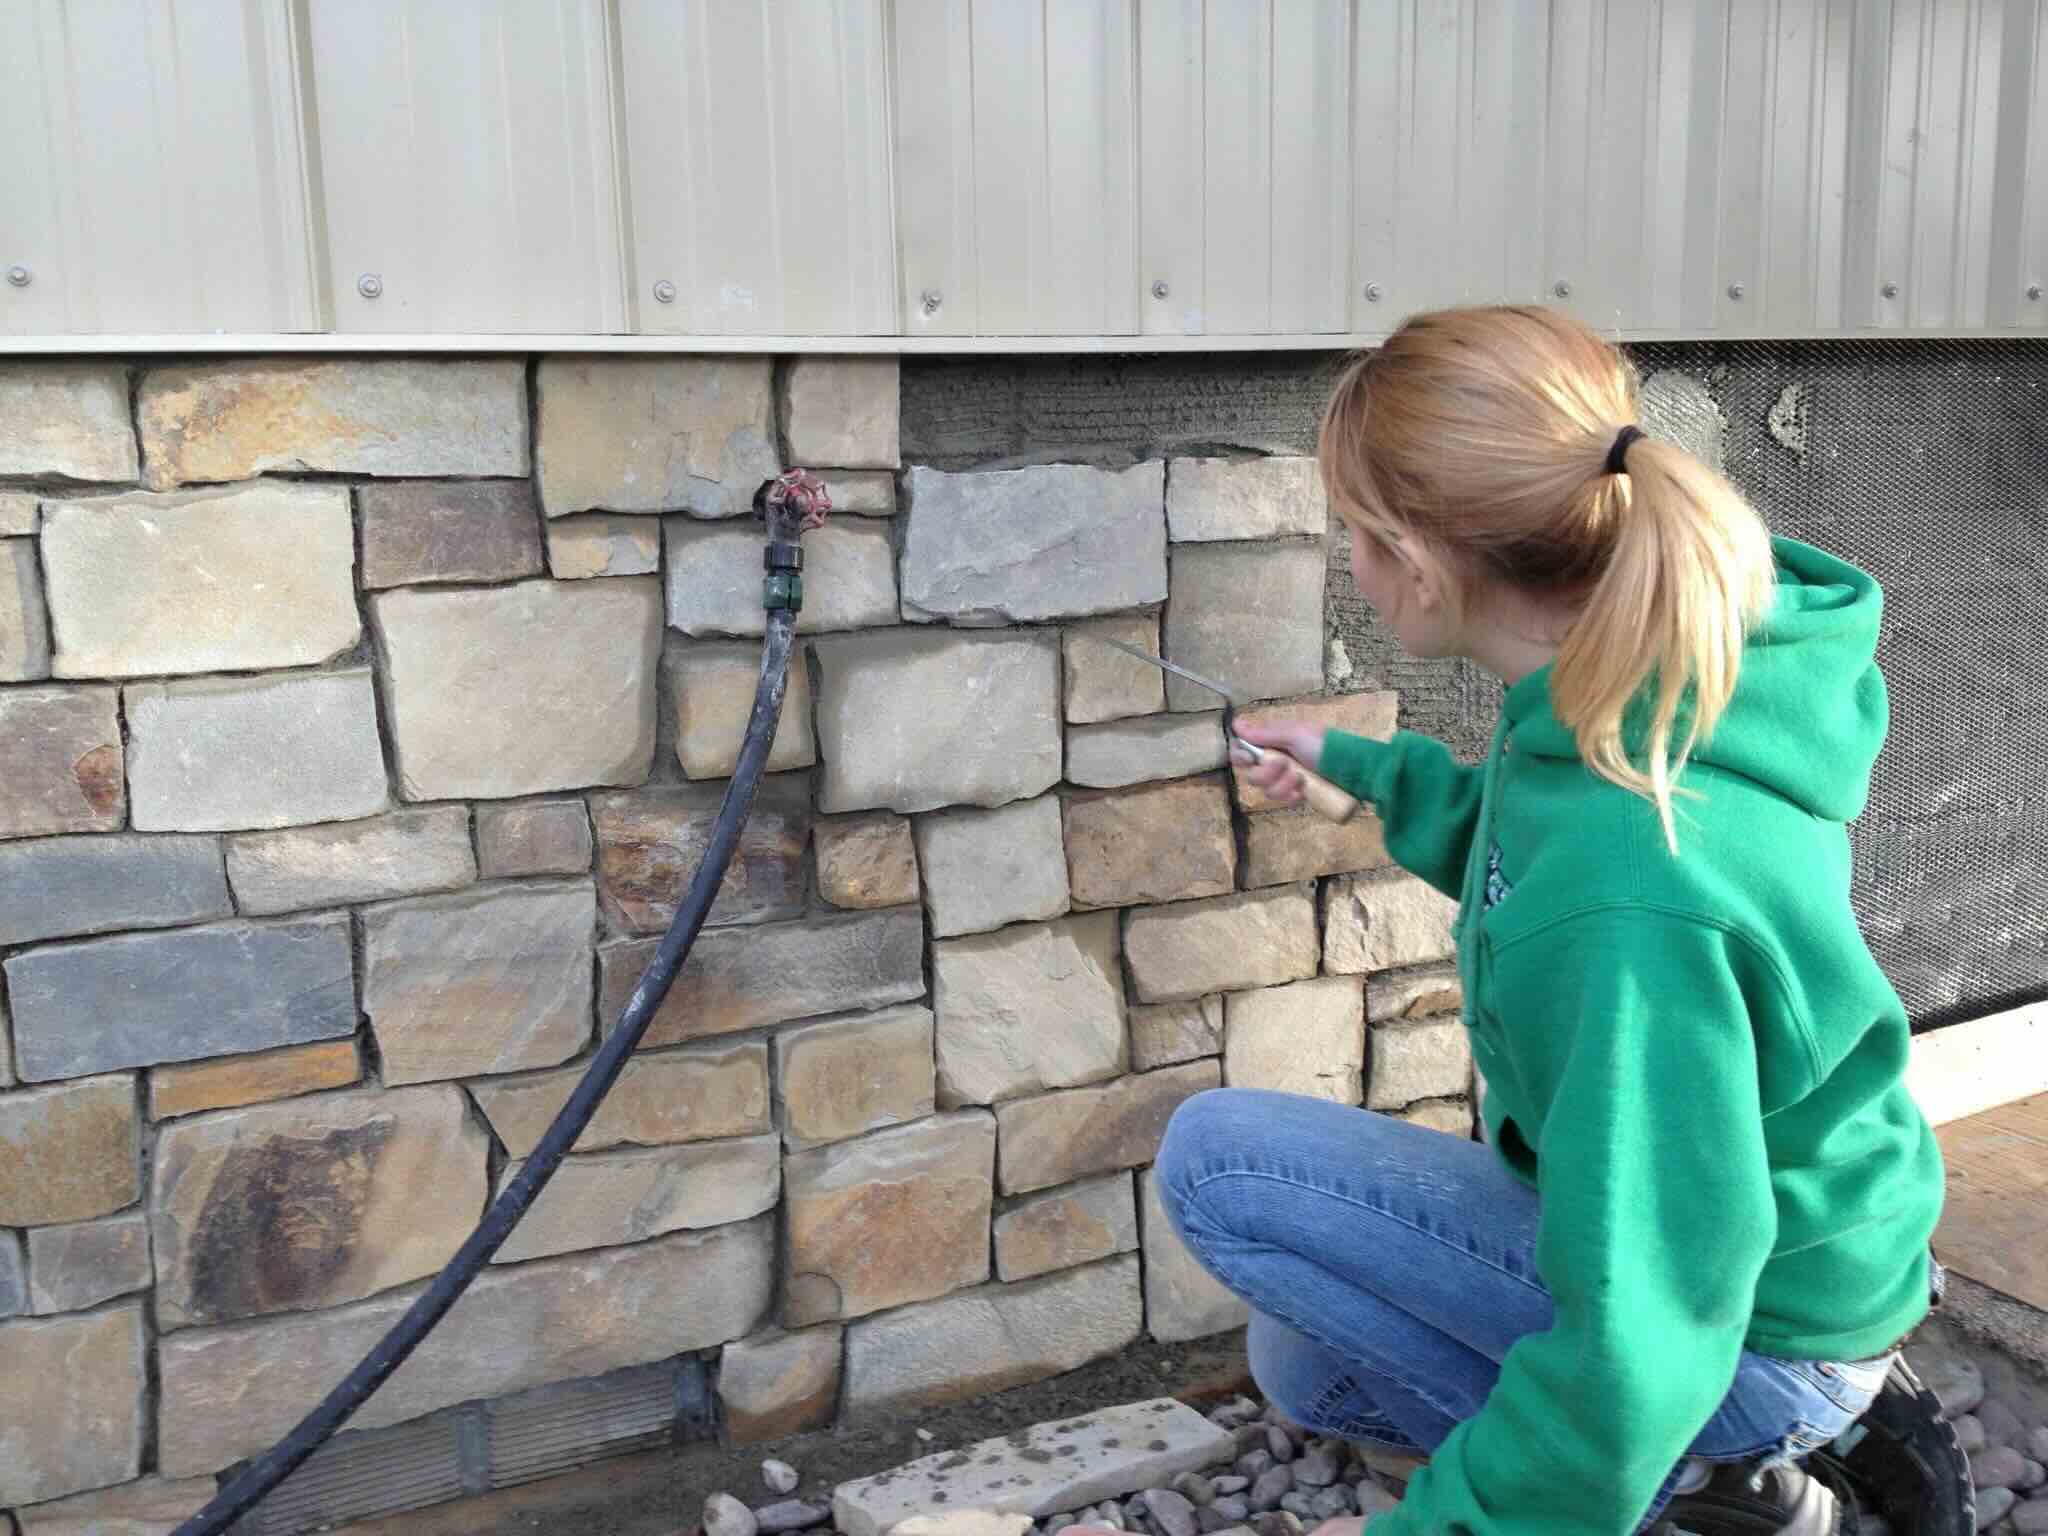
Assessing the Brick Surface
Before embarking on the process of drywalling over a brick wall, it is crucial to thoroughly assess the condition of the existing surface. Start by examining the brick for any signs of damage, such as cracks, loose mortar, or uneven areas. Addressing these issues before proceeding with the installation of drywall is essential to ensure a smooth and stable foundation for the new wall covering.
Additionally, consider the moisture levels in the brick wall. Use a moisture meter to determine if the brick is prone to retaining moisture, as excessive dampness can compromise the adhesion and longevity of the drywall. If moisture is detected, it’s imperative to identify and address the source of the moisture before proceeding further.
Furthermore, evaluate the protrusions and irregularities on the brick surface. Note any areas where the bricks jut out or create unevenness, as these areas may require special attention during the preparation stage. By meticulously assessing the brick surface, you can identify potential challenges and take the necessary measures to address them, ultimately ensuring a successful drywall installation.
Remember, a thorough assessment of the brick surface sets the stage for a well-executed drywalling project, laying the groundwork for a smooth, stable, and visually appealing final result.
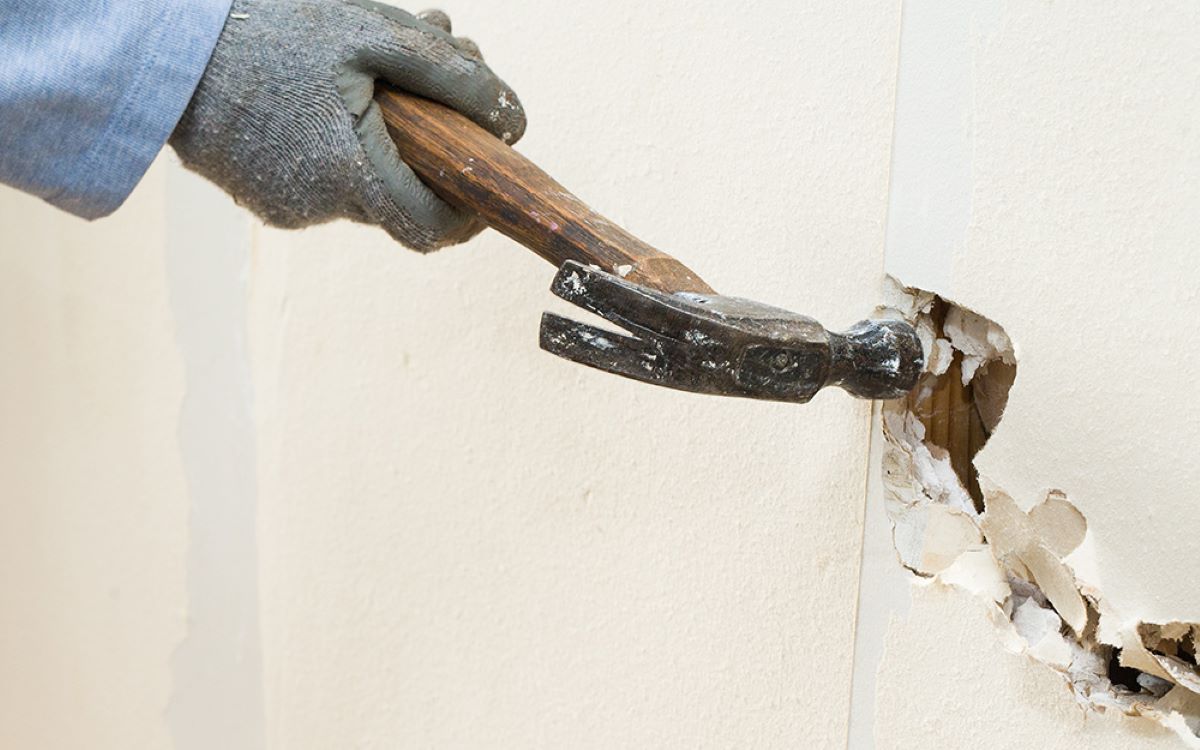
Preparing the Brick Surface
Preparing the brick surface is a critical step that directly impacts the success and longevity of the drywall installation. To begin, thoroughly clean the brick wall to remove any dirt, dust, or debris. Using a stiff-bristled brush or a vacuum with a brush attachment, carefully eliminate all loose particles and ensure that the surface is clean and free from obstructions. This step is essential for promoting strong adhesion between the brick and the subsequent layers of the wall assembly.
Next, address any imperfections or irregularities on the brick surface. Use a suitable masonry patching compound to fill in cracks, gaps, or uneven areas, ensuring that the brick wall is uniform and smooth. Pay close attention to the mortar joints, as these areas may require additional care to create a level surface for the subsequent installation of furring strips and drywall.
After addressing any imperfections, consider applying a bonding agent or primer specifically designed for masonry surfaces. This treatment enhances the bond between the brick and the subsequent layers, promoting a secure and durable attachment. Additionally, if moisture was detected during the assessment phase, take the necessary steps to mitigate the issue, such as improving drainage, sealing the exterior of the brick wall, or applying a waterproofing compound to prevent moisture infiltration.
Finally, allow the prepared brick surface to thoroughly dry before proceeding with the installation of furring strips and drywall. Adequate drying time is essential to ensure that the subsequent materials adhere properly and that the overall integrity of the wall assembly is not compromised.
By meticulously preparing the brick surface, you establish a solid foundation for the subsequent steps of the drywall installation, ultimately contributing to a professional, long-lasting, and visually appealing result.
Installing Furring Strips
Once the brick surface is thoroughly cleaned, repaired, and prepared, the next step in the process of drywalling over brick involves installing furring strips. Furring strips are narrow strips of wood or metal that create a framework for attaching the drywall, effectively providing a level and plumb surface over the irregularities of the brick wall.
Begin by selecting high-quality furring strips that are suitable for masonry applications. These strips should be treated to resist moisture and rot, ensuring their longevity and stability when affixed to the brick surface. It’s essential to use corrosion-resistant fasteners, such as masonry screws or concrete nails, to secure the furring strips to the brick wall. Position the furring strips vertically, ensuring that they are spaced at regular intervals to accommodate the size of the drywall panels.
Prior to installation, consider using a construction adhesive formulated for masonry applications to further enhance the bond between the furring strips and the brick surface. Apply the adhesive in a consistent, continuous bead along the back of each furring strip before securing it to the brick wall. This additional measure contributes to the overall stability and rigidity of the furring strip framework.
When affixing the furring strips, use a level to ensure that they are plumb and straight, making any necessary adjustments to maintain a uniform and even surface. Additionally, consider the placement of electrical outlets, switches, and other fixtures, making provisions to accommodate these elements within the framework of the furring strips.
By meticulously installing furring strips, you establish a stable and level framework for the subsequent attachment of drywall, setting the stage for a seamless and professional drywall installation over the brick surface.
Before drywalling over brick, make sure to clean the surface thoroughly and apply a bonding agent. Use furring strips to create a flat surface for the drywall to attach to. Use construction adhesive and screws to secure the drywall to the furring strips.
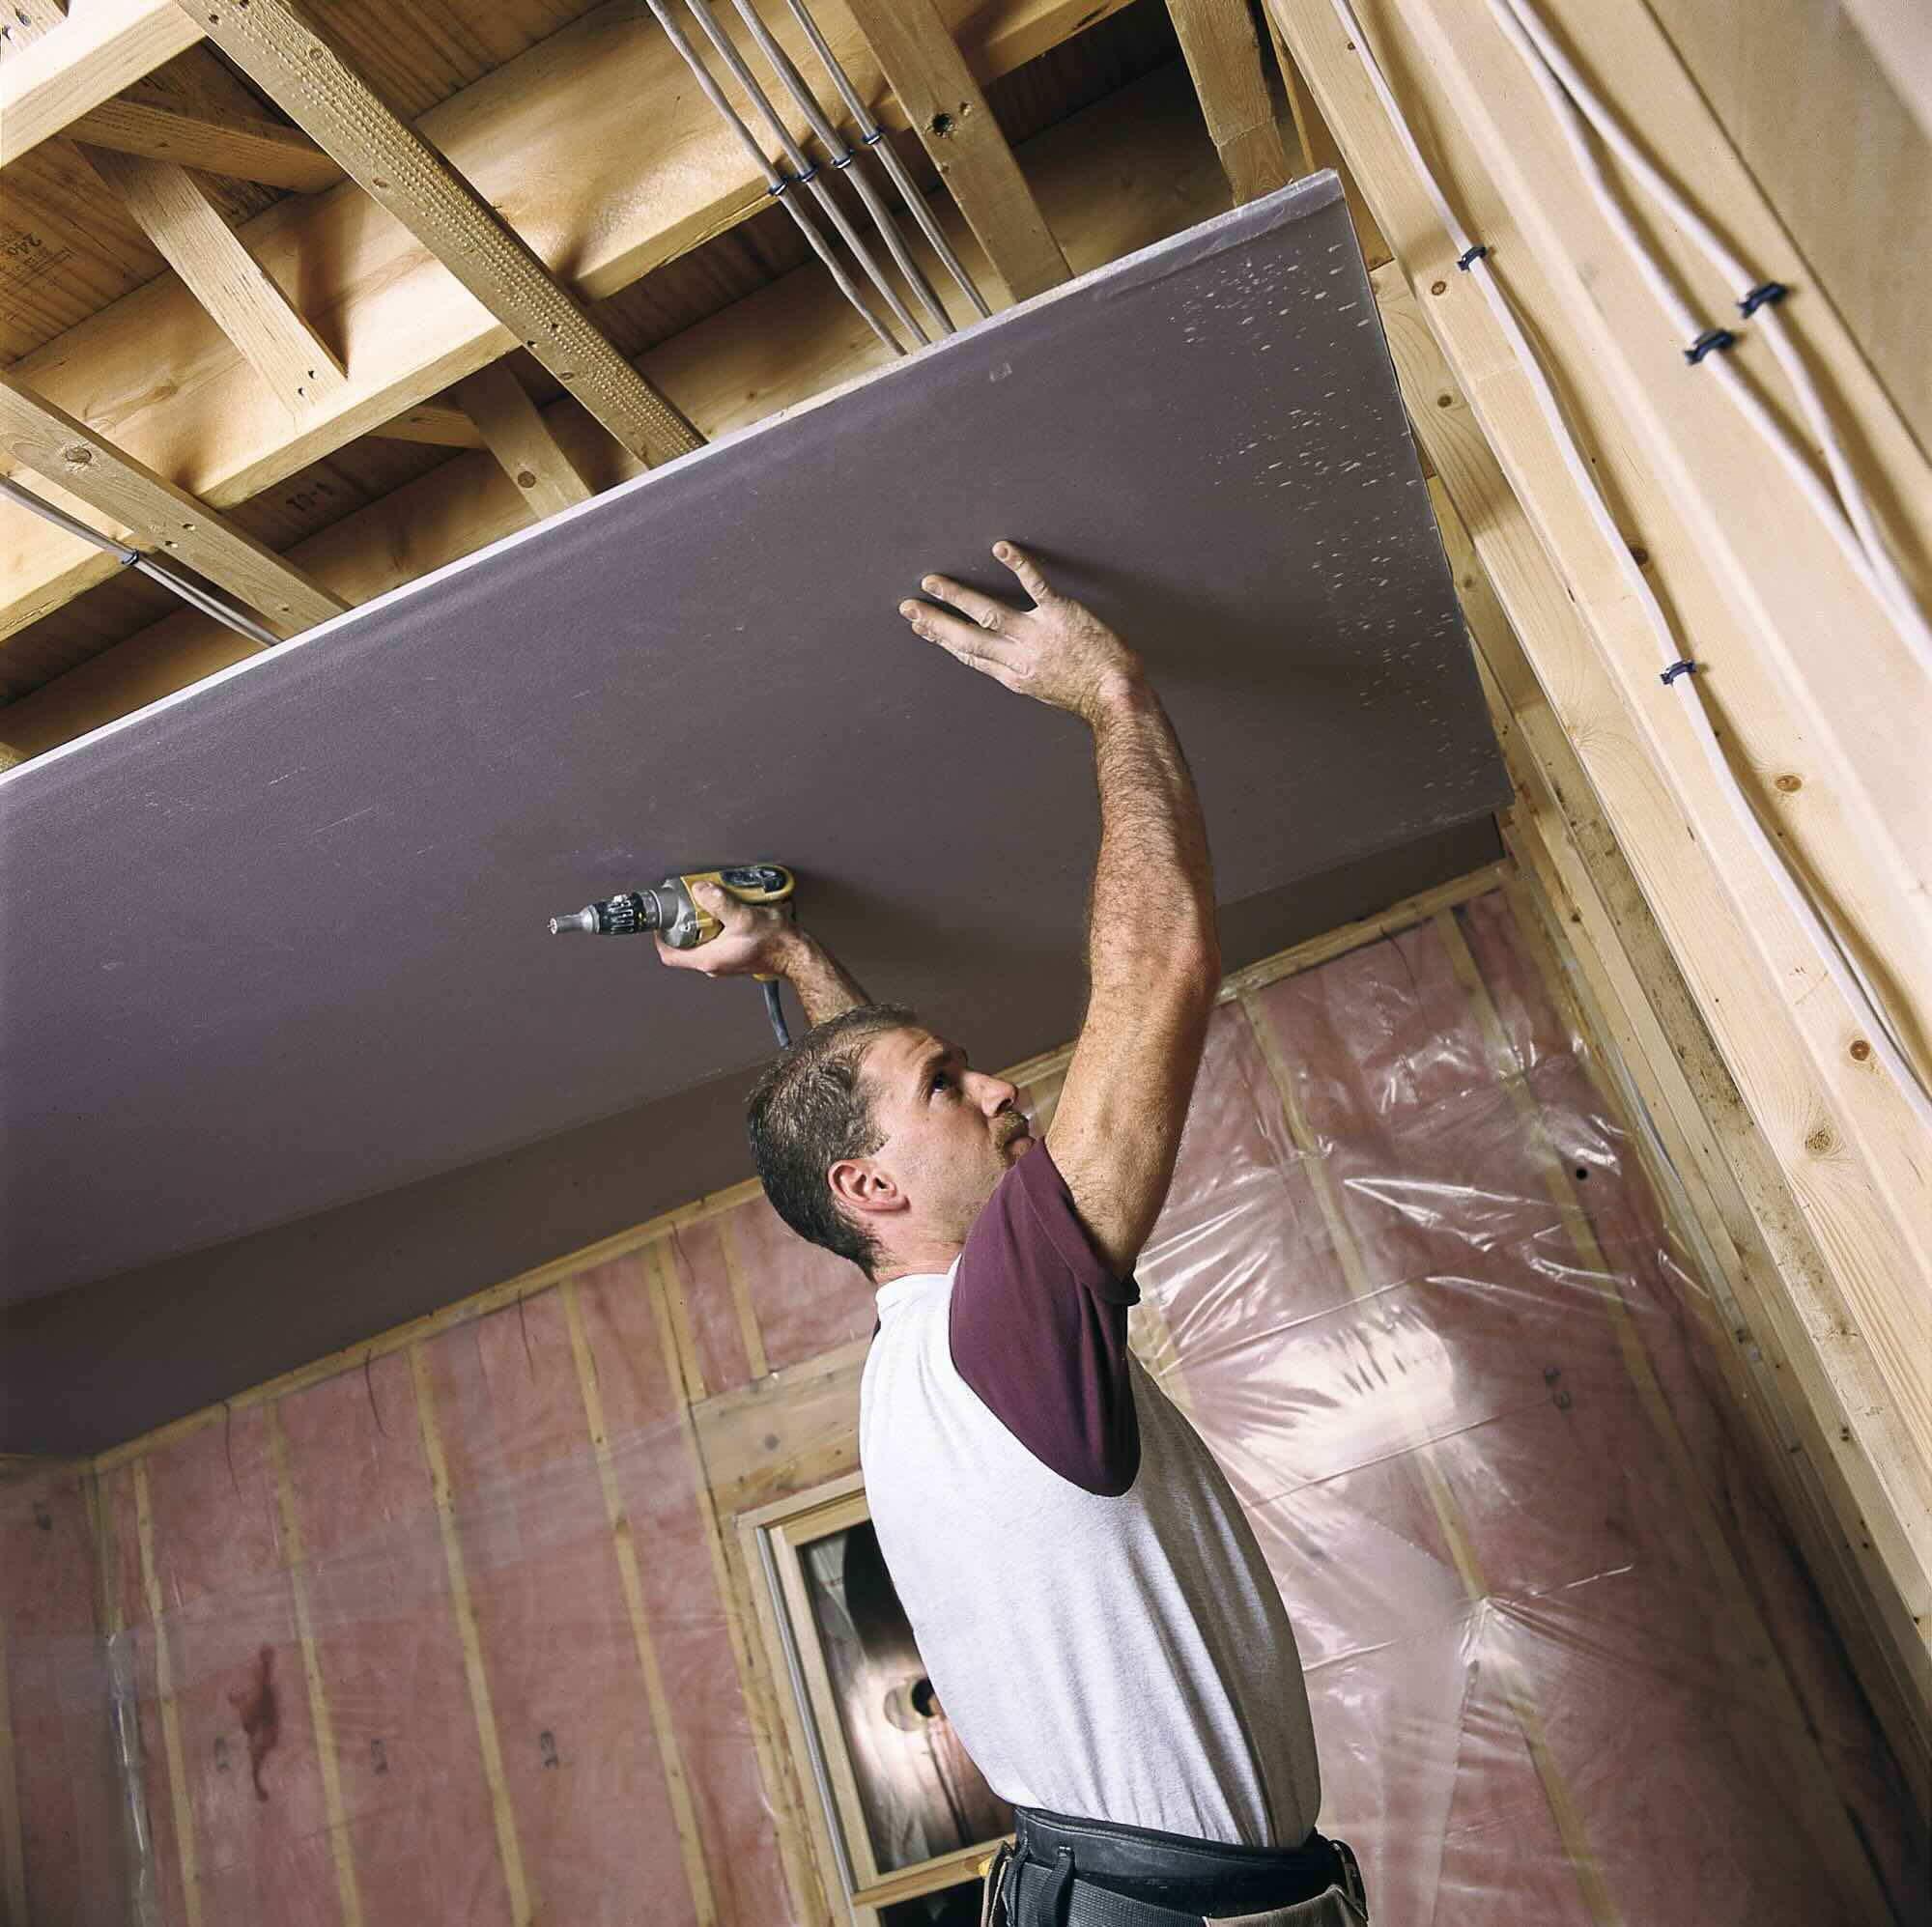
Attaching the Drywall
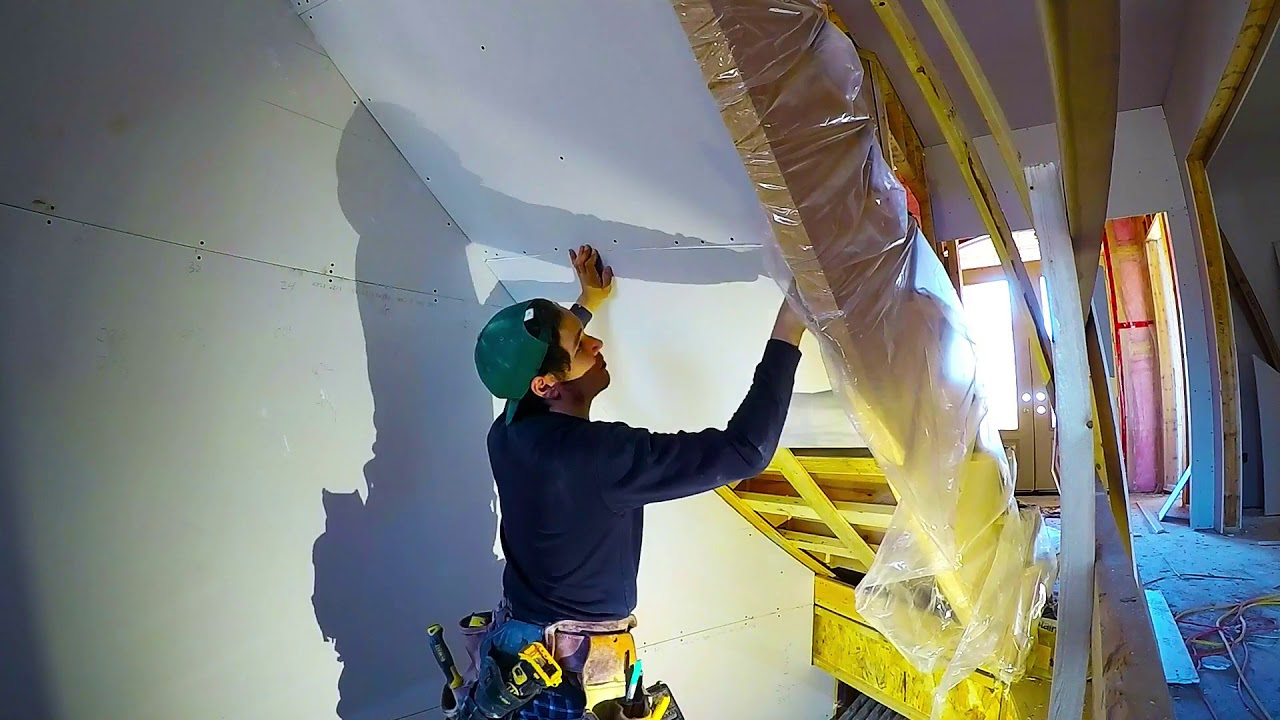
With the furring strips securely in place, the next phase of drywalling over a brick surface involves attaching the drywall panels to the framework. Before proceeding, carefully measure and cut the drywall panels to fit the dimensions of the wall, ensuring precise and snug fits around any openings for doors, windows, and other architectural features.
When positioning the drywall panels against the furring strips, use corrosion-resistant drywall screws to secure the panels in place. Ensure that the screws penetrate the drywall and firmly anchor into the furring strips, creating a secure attachment that minimizes the risk of sagging or shifting over time. It’s essential to space the screws evenly along the edges and field of the drywall panels, following the specific guidelines for screw placement as recommended by industry standards.
As you progress with attaching the drywall panels, take care to stagger the seams between adjacent panels, minimizing the concentration of joints in any single area. This technique distributes the seams across the wall, reducing the visibility of the joints and contributing to a smoother and more uniform surface once the drywall is finished.
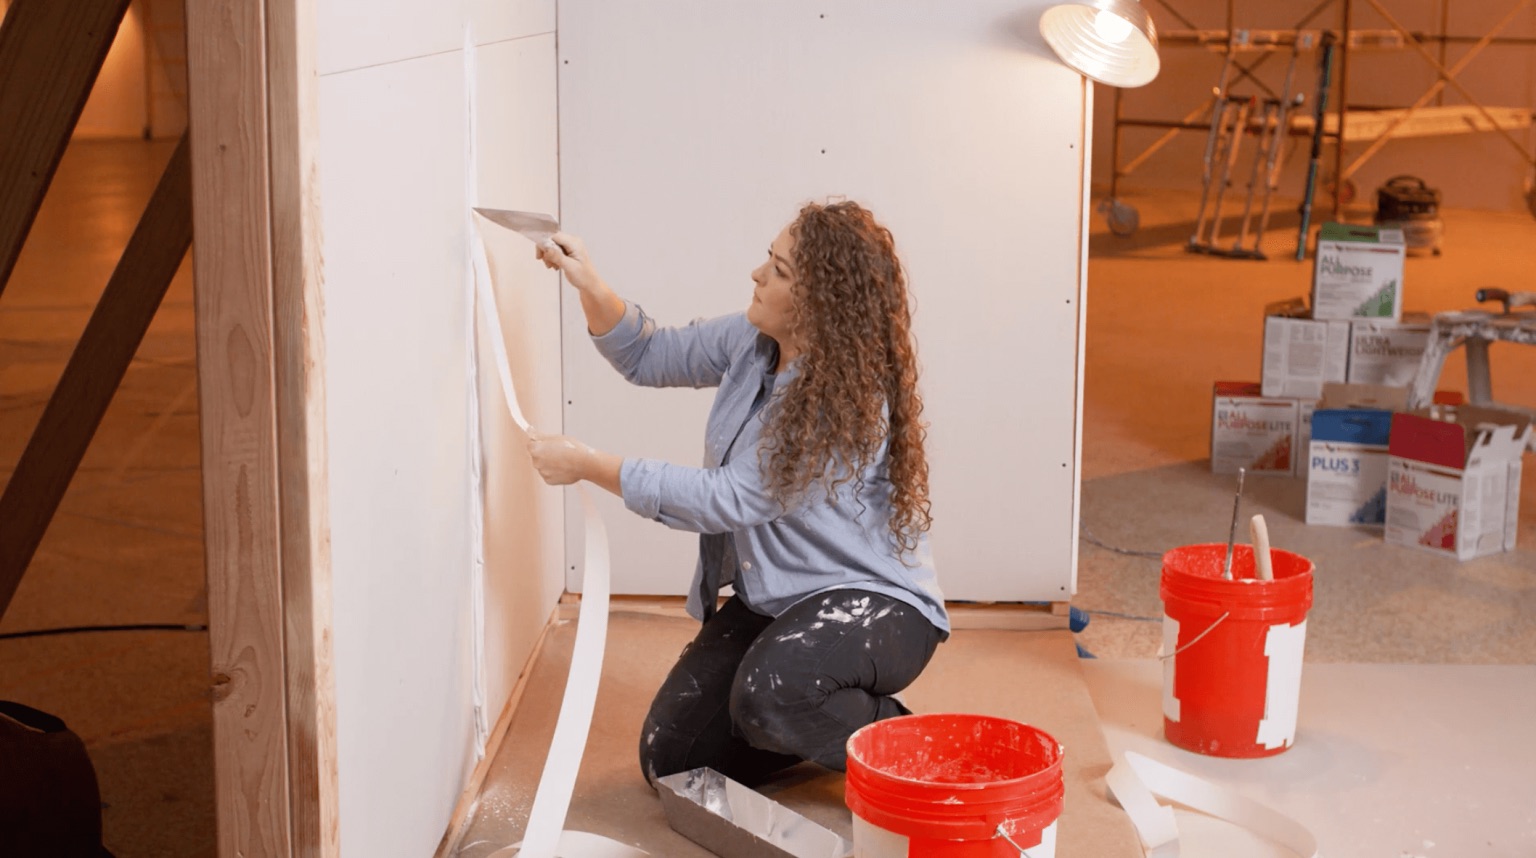
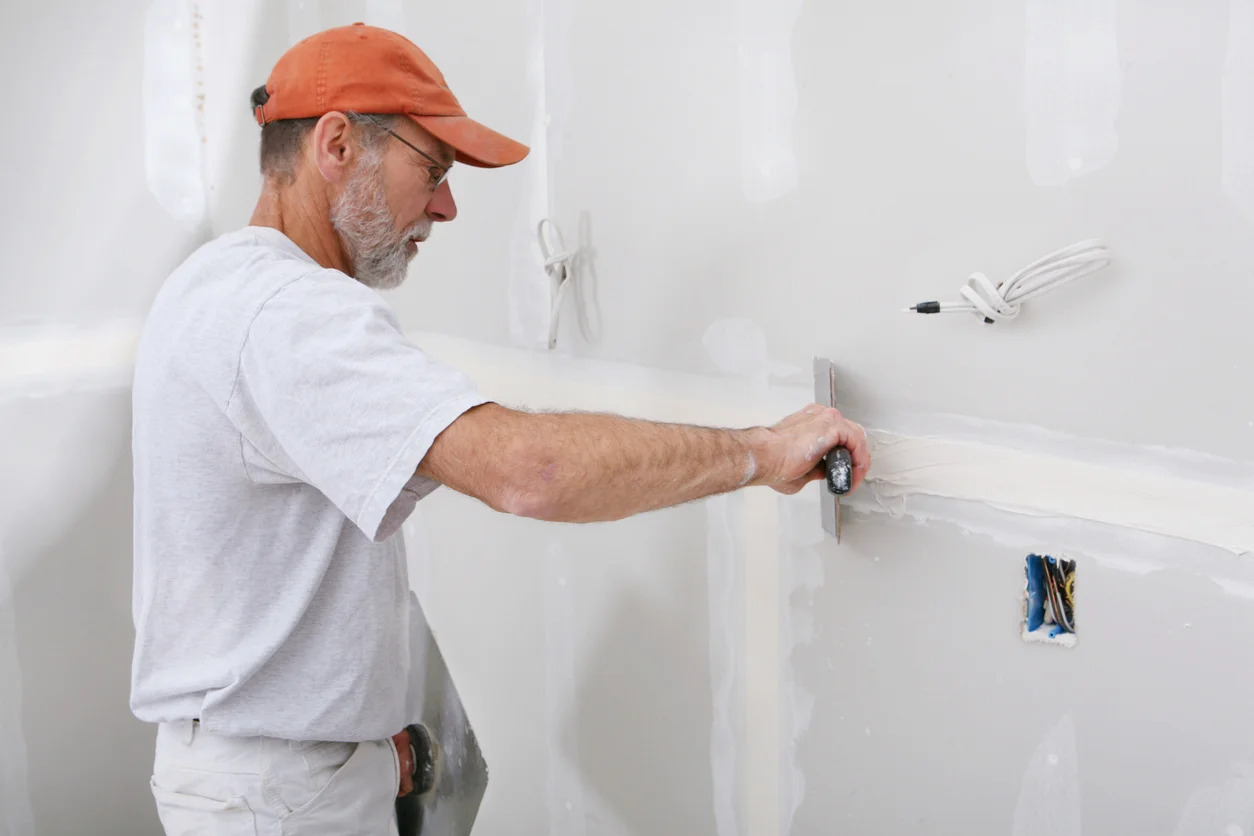
Additionally, consider reinforcing the seams and joints with fiberglass mesh tape and joint compound, commonly referred to as mud. Apply the mesh tape over the joints and cover it with a layer of joint compound, feathering the edges to create a seamless transition between the panels. Repeat this process to build up multiple layers of joint compound, sanding between applications to achieve a smooth and even surface.
By meticulously attaching the drywall and carefully finishing the joints, you can achieve a polished and professional result, effectively concealing the brick surface beneath a smooth and seamless layer of drywall.
Read more: How To Tile Over A Brick Wall
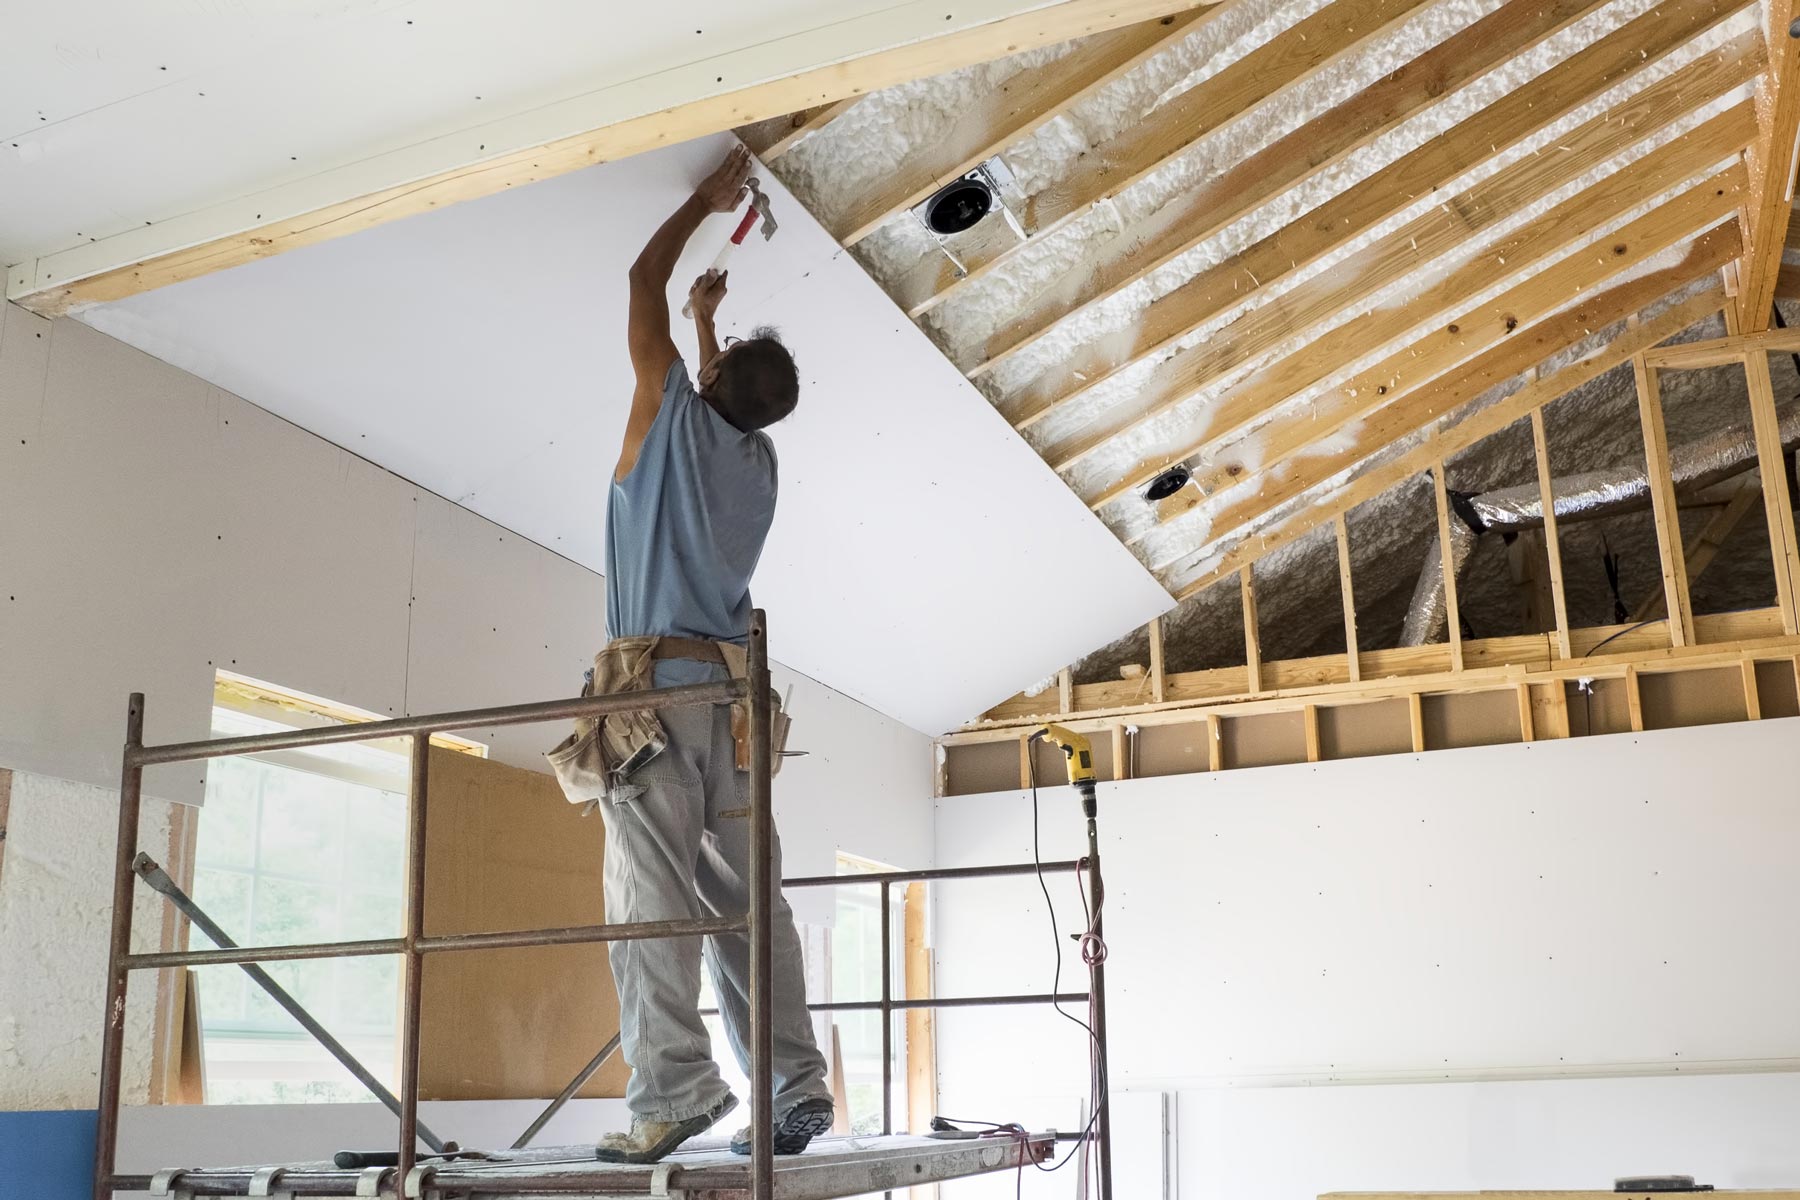
Finishing the Drywall
Once the drywall panels are securely attached and the joints are reinforced, the final phase of the drywalling process involves finishing the surface to achieve a seamless and polished appearance. Begin by applying a coat of primer to the entire drywall surface, ensuring thorough coverage and a consistent base for the subsequent finishing layers. The primer not only enhances the adhesion of the finishing materials but also seals the drywall, promoting uniform absorption of the final paint or texture.
After the primer has dried, carefully inspect the drywall surface for any imperfections, such as ridges, bumps, or visible seams. Use a high-quality joint compound to fill in any irregularities and create a smooth, even surface. Pay particular attention to the transition areas between the panels, feathering the joint compound to seamlessly blend the edges and create a uniform appearance.
Once the joint compound has been applied and dried, lightly sand the entire surface to achieve a smooth and consistent texture. Take care to remove any residual dust or debris, ensuring that the surface is clean and ready for the final finishing touches. Depending on the desired aesthetic, you can opt to apply a textured finish to the drywall, adding depth and visual interest to the surface.
Alternatively, if a smooth and paintable surface is preferred, consider applying a final coat of high-quality paint in the color of your choice. Select a paint specifically formulated for interior drywall applications, and apply it evenly to the entire surface, using smooth and consistent strokes to achieve a professional finish.
By meticulously finishing the drywall, you can transform the rough and uneven brick surface into a refined and visually appealing wall, ready to complement the overall design and style of the space. Whether you opt for a textured finish or a sleek coat of paint, the final result will showcase the seamless integration of drywall over the brick surface, elevating the aesthetics and functionality of the area.
Conclusion
Drywalling over a brick surface presents a transformative opportunity to rejuvenate the look and feel of a space while enhancing its structural integrity. By following the essential steps outlined in this guide, you can successfully navigate the process of covering a brick wall with drywall, achieving a professional and visually appealing result.
Thoroughly assessing the brick surface sets the stage for a well-executed project, allowing you to address any existing imperfections and ensure a stable foundation for the subsequent installation. By meticulously preparing the brick surface, you create an optimal environment for the attachment of furring strips, establishing a level and secure framework for the drywall panels.
Attaching the drywall with precision and care, along with reinforcing the joints and seams, contributes to a polished and seamless surface that conceals the underlying brick, creating a fresh and uniform backdrop for the space. Finally, finishing the drywall with primer, joint compound, and optional texture or paint elevates the overall aesthetic, showcasing the successful integration of drywall over the brick surface.
Through attention to detail and a methodical approach, the process of drywalling over brick culminates in a space that exudes a refined and cohesive appeal, seamlessly blending the durability of brick with the versatility and smooth finish of drywall. Whether you’re renovating a residential interior, commercial space, or any other environment, the techniques and insights shared in this guide empower you to execute a successful drywall installation over a brick surface, unlocking the potential for a visually stunning and structurally sound transformation.
Embrace the opportunity to revitalize your space by seamlessly integrating drywall over brick, and witness the remarkable impact of this versatile and transformative renovation method.
Frequently Asked Questions about How To Drywall Over Brick
Was this page helpful?
At Storables.com, we guarantee accurate and reliable information. Our content, validated by Expert Board Contributors, is crafted following stringent Editorial Policies. We're committed to providing you with well-researched, expert-backed insights for all your informational needs.


0 thoughts on “How To Drywall Over Brick”