Home>Construction & Tools>Building Materials>How To Screw Into Brick
Building Materials
How To Screw Into Brick
Modified: October 22, 2024
Learn the best techniques for safely and securely screwing into brick with our comprehensive guide. Find out which building materials and tools are essential for the job.
(Many of the links in this article redirect to a specific reviewed product. Your purchase of these products through affiliate links helps to generate commission for Storables.com, at no extra cost. Learn more)
Introduction
Are you planning to hang a heavy mirror, install a durable shelf, or secure a robust outdoor fixture onto a brick wall? Knowing how to securely fasten items to brick surfaces is essential for any DIY enthusiast or professional tradesperson. While brick is a sturdy and reliable building material, it presents unique challenges when it comes to attaching objects. In this comprehensive guide, you will learn the step-by-step process of securely screwing into brick, from selecting the right tools and equipment to effectively drilling and inserting screws. By following these expert tips and techniques, you can confidently tackle your next brick-fastening project with precision and ease. Let's dive into the essential details that will equip you with the knowledge and skills to successfully anchor screws into brick surfaces.
Key Takeaways:
- To securely screw into brick, gather the right tools like a masonry drill bit and safety gear. Prepare the surface by cleaning and marking drilling points, then select the proper anchors for a strong and lasting attachment.
- When drilling into brick, use a hammer drill and apply even pressure. Match the screw size to the anchors, start screws manually, and verify stability for a robust and reliable fixture attachment.
Read more: What Kind Of Screws To Use On Brick
Choosing the Right Tools and Equipment
Before embarking on any project involving screwing into brick, it’s crucial to gather the appropriate tools and equipment. Here’s a breakdown of the essential items you’ll need:
- Masonry Drill Bit: When drilling into brick, using a masonry drill bit is non-negotiable. These specialized bits are designed to penetrate tough materials like brick and concrete with precision. Ensure that the diameter of the drill bit matches the size of the anchors or screws you plan to use.
- Hammer Drill: While a standard drill can work for lighter tasks, a hammer drill is highly recommended for brick-fastening projects. The hammering action of this power tool helps to power through the dense brick material more effectively.
- Safety Gear: Protect your eyes and respiratory system by wearing safety goggles and a dust mask. Drilling into brick can produce fine particles that may pose health hazards if inhaled.
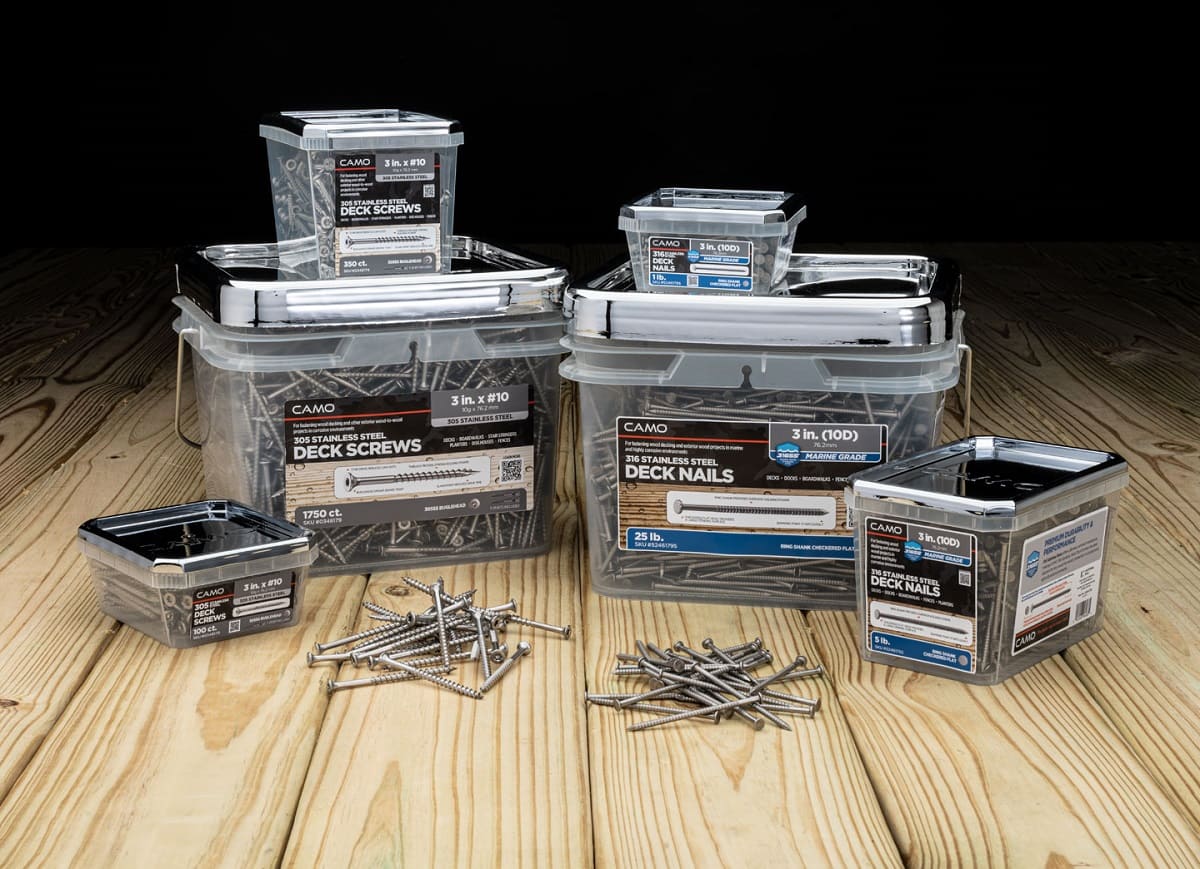
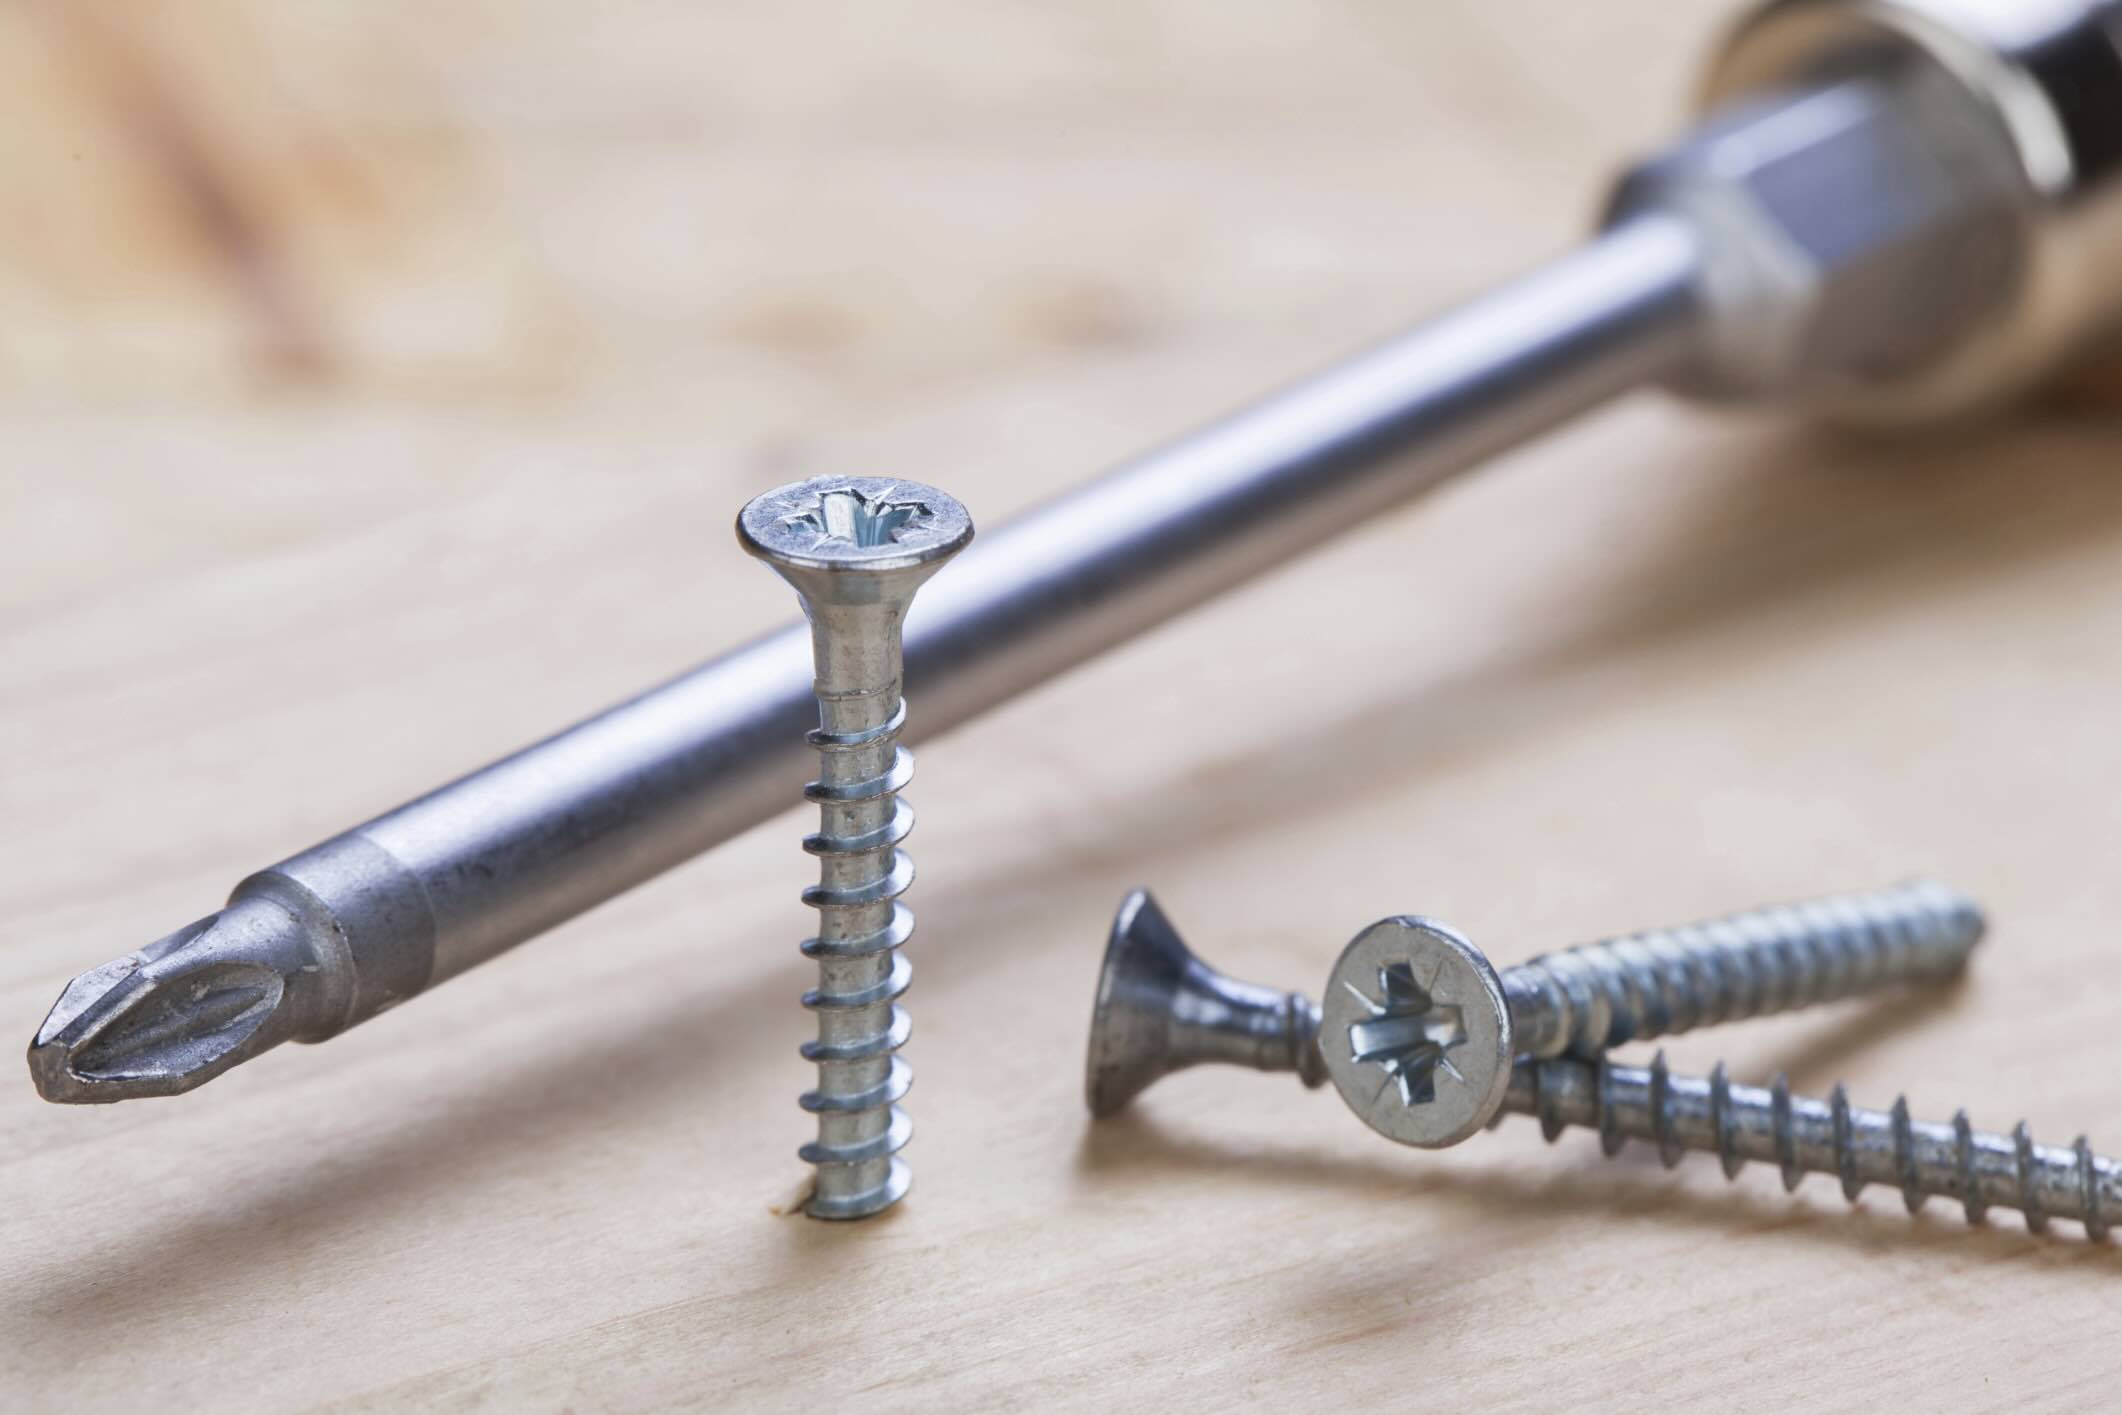
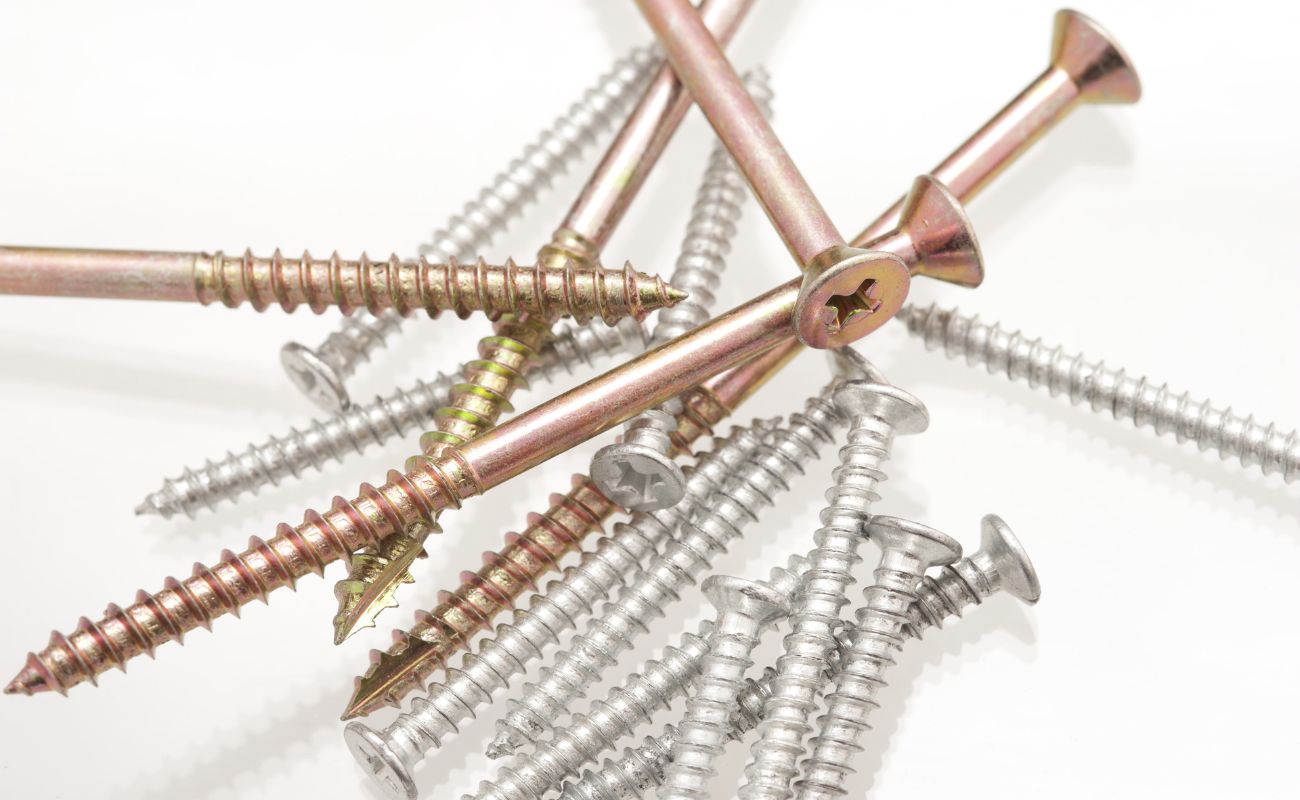
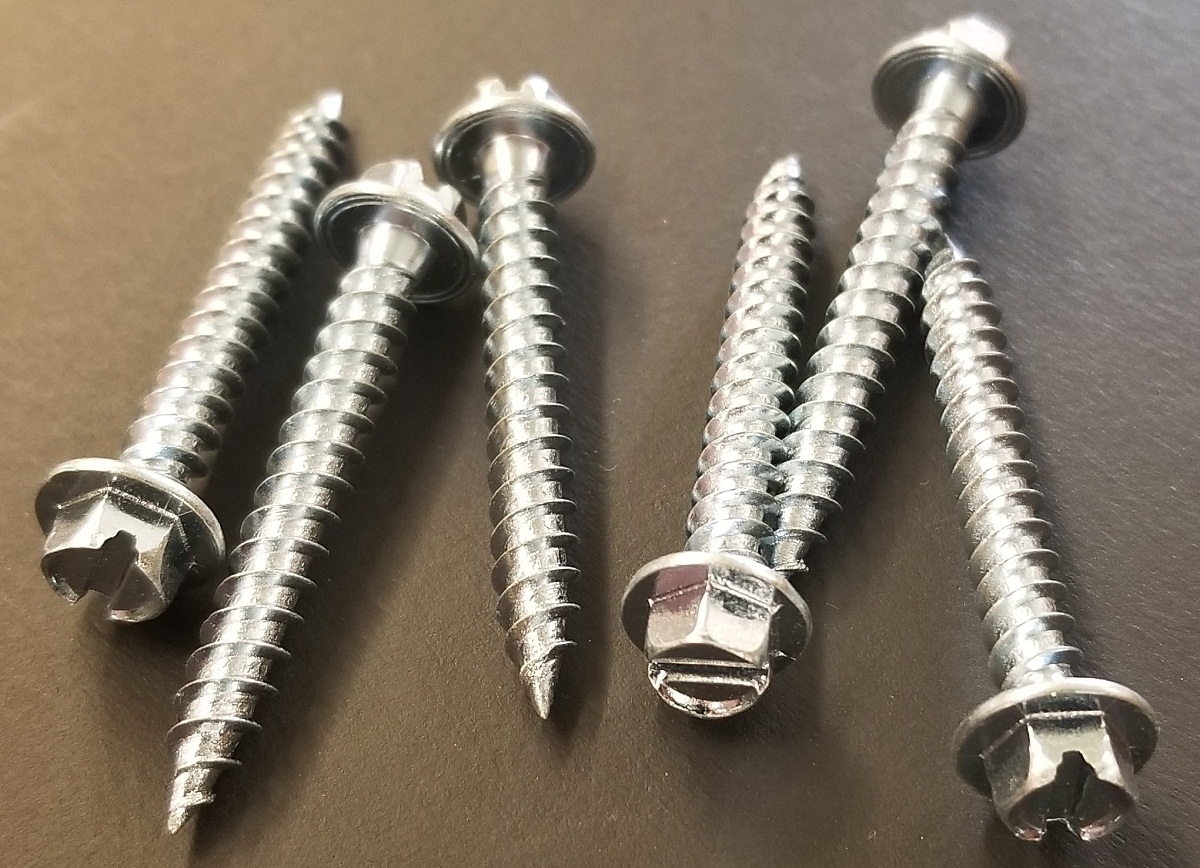
- Anchors and Screws: Select high-quality anchors and screws that are specifically designed for masonry applications. These fixtures should provide robust support and corrosion resistance, especially if the project involves outdoor installations.
- Measuring Tools: Accurate measurements are crucial for ensuring the proper placement of screws. A tape measure and a level will help you achieve precise positioning for your fixtures.
- Power Source: Whether using a corded or cordless drill, ensure that you have a reliable power source to keep the drill operational throughout the project.
By assembling these essential tools and equipment, you’ll be well-prepared to tackle the task of screwing into brick with confidence and efficiency.
Preparing the Brick Surface
Before initiating the process of screwing into brick, it’s crucial to prepare the surface to ensure optimal results. Here are the key steps to prepare the brick surface:
- Clean the Surface: Begin by thoroughly cleaning the area of the brick wall where you intend to install the screws. Use a stiff-bristled brush or a vacuum with a brush attachment to remove any dirt, dust, or debris from the surface. This step is essential for promoting strong adhesion between the anchors and the brick.
- Mark the Drilling Points: Using a pencil or a marker, carefully mark the precise locations where you plan to drill holes for the anchors. Use a level to ensure that the markings are straight and aligned according to your desired placement.
- Drill Pilot Holes: Before drilling into the brick, it’s advisable to create pilot holes using a smaller masonry drill bit. These pilot holes will serve as guides for the larger drill bit, helping to prevent the brick from cracking or chipping during the drilling process.
- Secure the Work Area: To prevent unnecessary movement or vibrations during drilling, consider securing the brick surface with a clamp or by applying gentle pressure with your non-dominant hand while drilling.
By meticulously preparing the brick surface, you’ll establish the ideal foundation for securely anchoring screws and ensuring the longevity and stability of your installations. This proactive approach significantly reduces the risk of errors and enhances the overall effectiveness of the fastening process.
Selecting the Proper Anchors
Choosing the right anchors is a critical aspect of securely fastening screws into brick. The type of anchor you select should be compatible with both the brick material and the weight of the object you intend to hang or secure. Here are some popular anchor options for brick applications:
- Sleeve Anchors: Ideal for heavy-duty applications, sleeve anchors feature a sleeve that expands against the inner walls of the pre-drilled hole, providing robust support and stability.
- Wedge Anchors: Designed for solid concrete and masonry materials, wedge anchors offer exceptional holding power and are well-suited for heavy loads and structural installations.
- Toggle Bolts: While toggle bolts are commonly used in drywall, they can also be effective in certain brick applications. These anchors feature spring-loaded wings that open behind the wall, providing reliable support for medium-weight fixtures.
- Plastic Screw Anchors: Lightweight and easy to install, plastic screw anchors are suitable for lighter loads and are often used in indoor brick installations.
- Lead Anchors: Utilized for medium-weight applications, lead anchors provide secure fastening in brick and other masonry materials.
When selecting anchors, consider the anticipated weight and stress placed on the fastened object. Additionally, assess the environmental conditions, such as exposure to moisture or outdoor elements, to ensure that the chosen anchors offer the necessary corrosion resistance and durability. By carefully evaluating these factors, you can confidently select the proper anchors that will facilitate a secure and long-lasting attachment to the brick surface.
Use a masonry drill bit to create a pilot hole in the brick. Then, insert a plastic anchor into the hole before screwing in your fastener to ensure a secure hold.
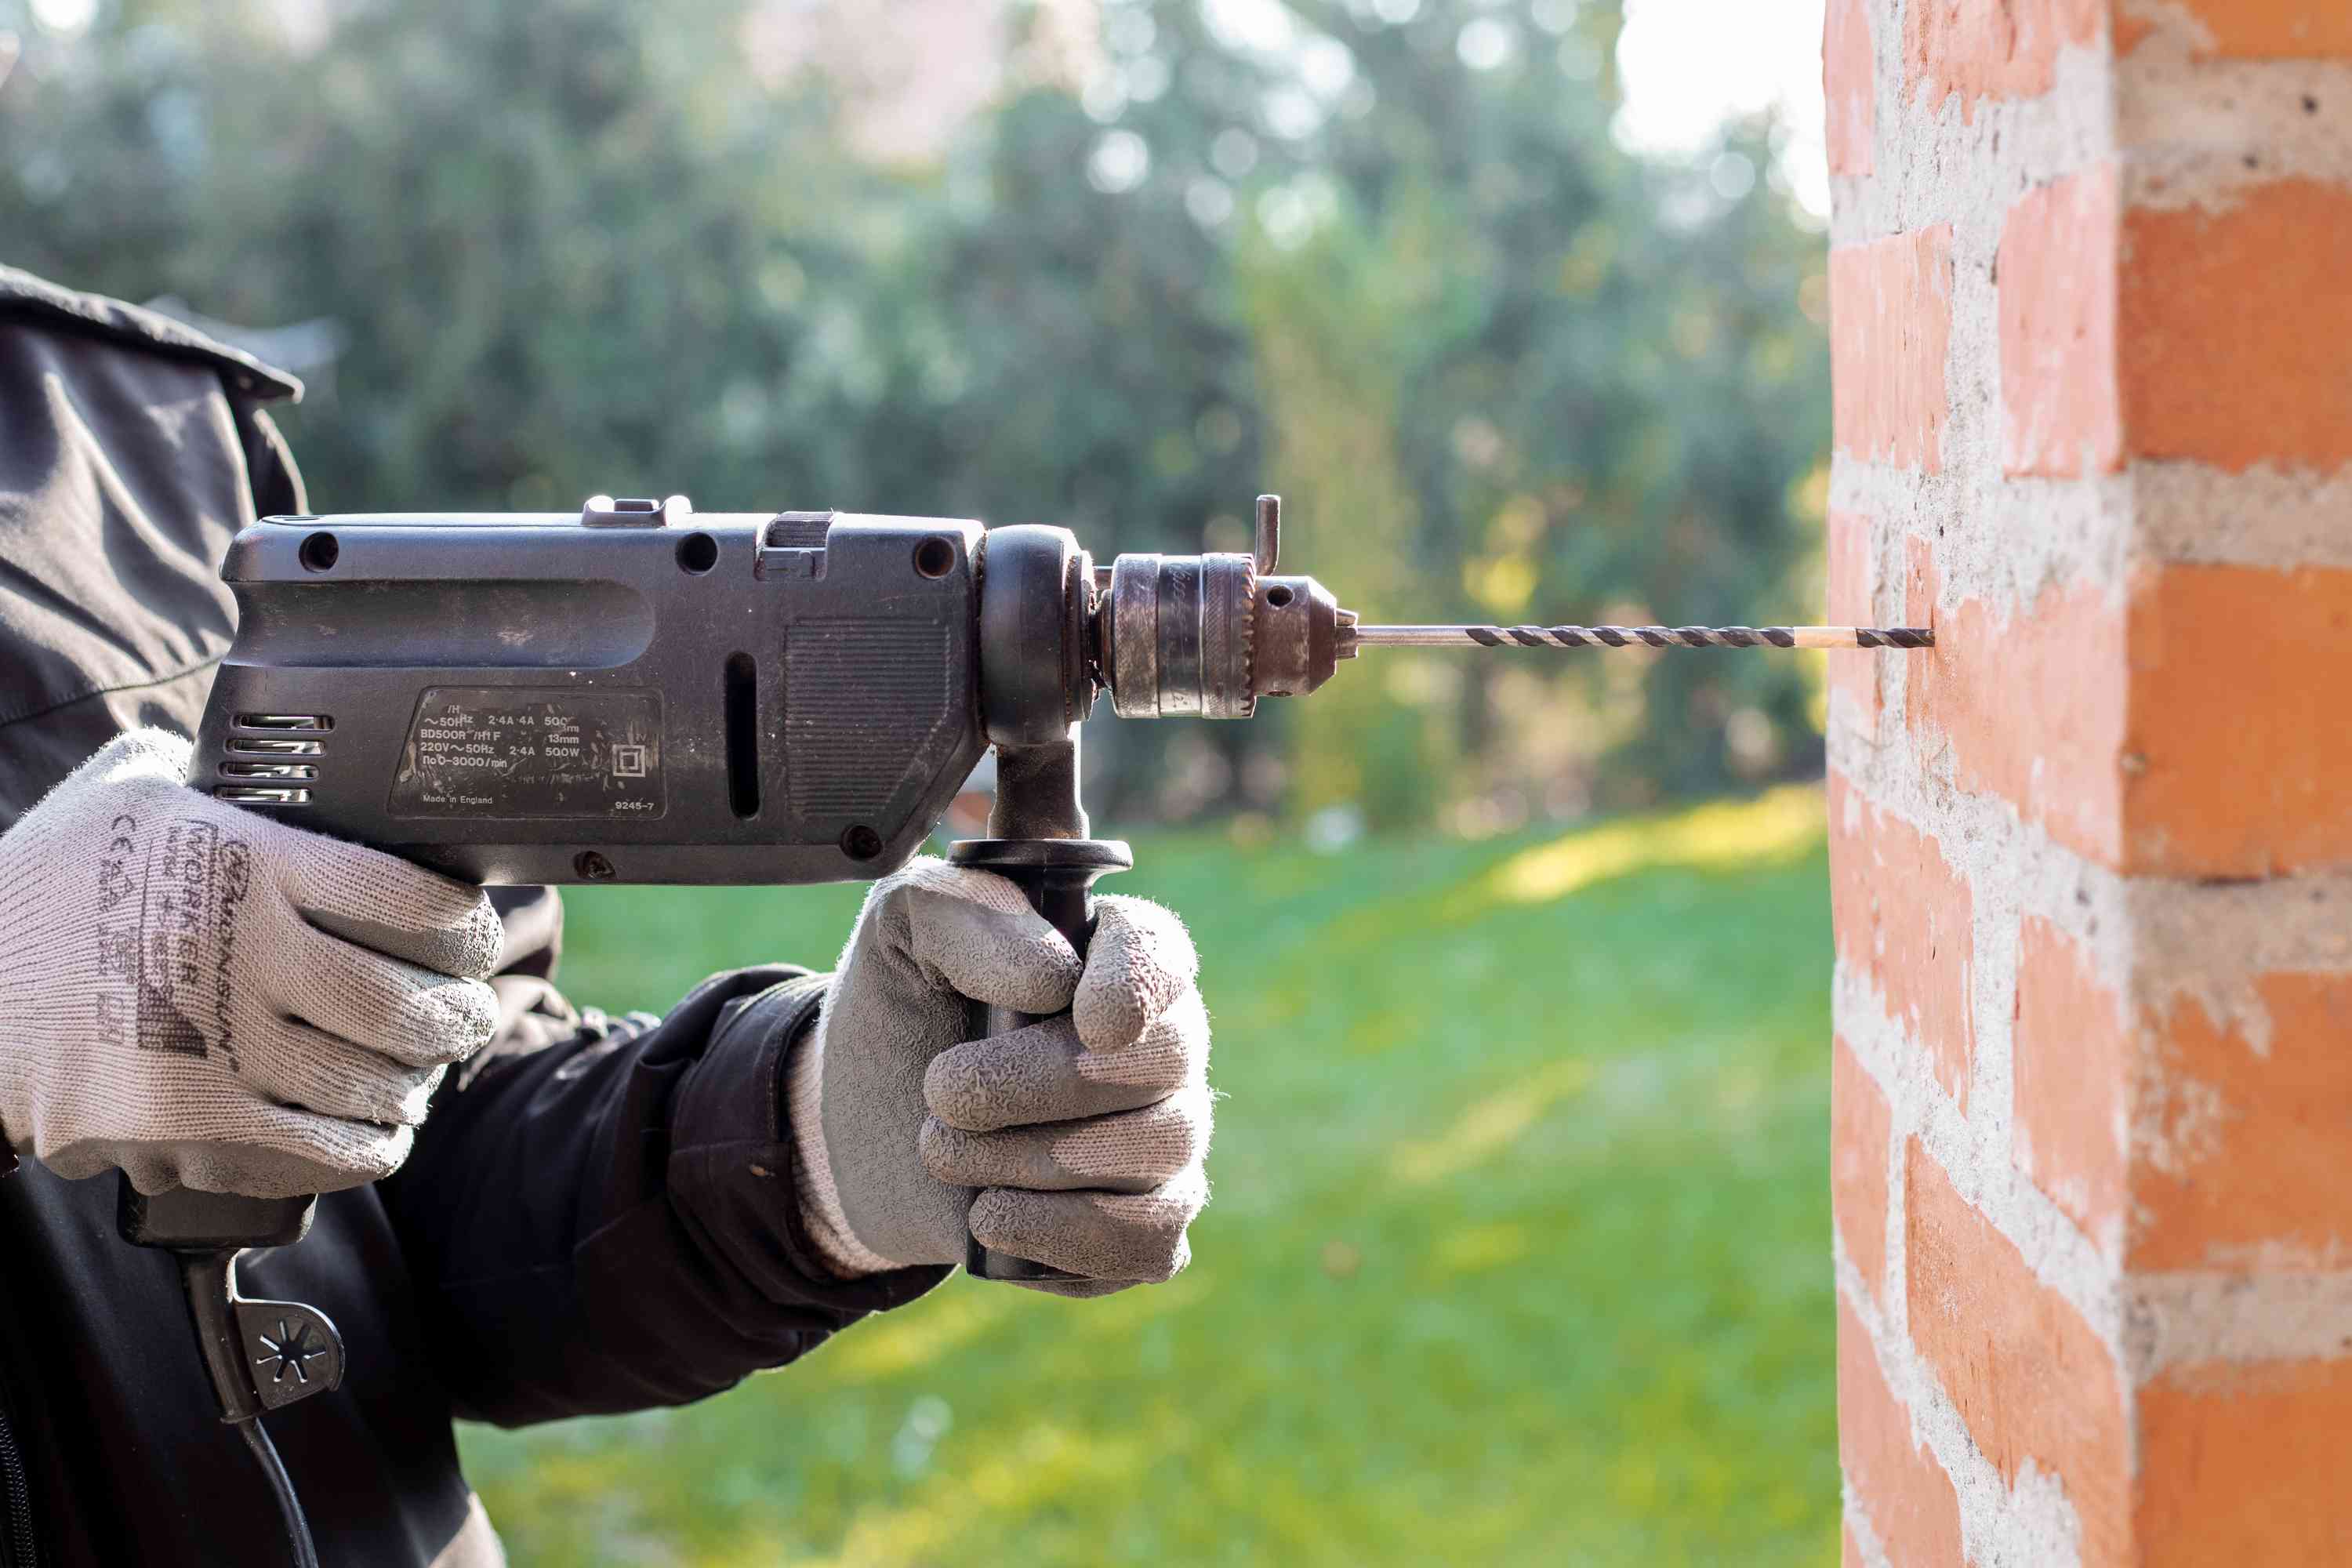
Drilling into the Brick
Drilling into brick requires precision and careful execution to ensure optimal results. Follow these steps to effectively drill into the brick surface:
- Attach the Masonry Drill Bit: Insert the appropriate masonry drill bit into the chuck of the hammer drill. Ensure that it is securely fastened to prevent slippage during drilling.
- Set the Drill Speed and Mode: If using a hammer drill, select the hammering mode to facilitate the drilling process in tough materials like brick. Adjust the speed settings based on the recommendations provided for the specific masonry drill bit being used.
- Position the Drill: Align the tip of the drill bit with the marked drilling points on the brick surface. Hold the drill perpendicular to the wall to ensure that the holes are drilled straight and true.
- Apply Firm and Even Pressure: With a steady hand, apply firm and consistent pressure as you begin drilling into the brick. Avoid exerting excessive force, as the drill bit’s cutting action combined with the hammering mechanism should gradually penetrate the brick material.
- Monitor the Depth: Pay attention to the depth of the holes as you drill. Use a piece of masking tape wrapped around the drill bit to serve as a depth gauge, preventing you from drilling too deeply into the brick.
- Clean the Drill Holes: Once the holes are drilled to the desired depth, remove the drill from the wall and gently blow or brush away any residual dust or debris from the holes.
By following these drilling guidelines, you can effectively create clean and accurately positioned holes in the brick, setting the stage for secure and reliable fastening of anchors and screws.
Inserting and Tightening the Screws
After successfully drilling into the brick and installing the appropriate anchors, the final steps involve inserting and tightening the screws to securely fasten your fixtures or objects. Follow these essential guidelines to complete the process:
- Match the Screw Size to the Anchors: Ensure that the screws you are using correspond to the size and type of anchors installed in the brick. Using mismatched screws can compromise the integrity of the fastening system.
- Align the Fixtures: Position the fixtures or mounting brackets over the installed anchors, ensuring that they are correctly aligned with the drilled holes in the brick.
- Start the Screws Manually: Begin by manually threading the screws into the anchors. This initial step helps to ensure that the screws are properly aligned and engaged with the anchors before applying power with a drill or screwdriver.
- Use a Controlled Setting: If employing a power tool to drive the screws, utilize a controlled setting to avoid over-tightening, which could lead to damage or breakage of the anchors or the brick material.
- Apply Gradual Pressure: As you tighten the screws, apply gradual pressure to allow the anchors to securely expand within the brick, creating a strong and stable connection between the fixtures and the wall.
- Verify Stability: Once the screws are tightened, assess the stability of the installed fixtures by gently applying pressure or conducting a visual inspection. Confirm that the fixtures are securely fastened and do not exhibit any wobbling or loosening.
By carefully following these steps, you can confidently complete the process of inserting and tightening the screws, resulting in a robust and reliable attachment of fixtures to the brick surface. This meticulous approach ensures the long-term integrity and functionality of your installations.
Conclusion
Mastering the art of screwing into brick empowers you to undertake a diverse range of projects, from interior decor enhancements to outdoor structural installations, with confidence and precision. By following the comprehensive steps outlined in this guide, you have gained invaluable insights into the essential considerations and techniques for securely fastening screws into brick surfaces. From choosing the right tools and equipment to meticulously preparing the brick surface and selecting the proper anchors, each stage of the process plays a pivotal role in achieving successful and durable installations.
As you embark on your brick-fastening endeavors, remember to prioritize safety by wearing protective gear and exercising caution during the drilling and fastening stages. Additionally, always adhere to the manufacturer’s guidelines for the specific anchors, screws, and tools being utilized, ensuring that you optimize the performance and longevity of your installations.
Whether you’re mounting heavy objects, constructing outdoor fixtures, or enhancing the functionality of interior spaces, the knowledge and skills acquired from this guide will serve as a valuable asset in your DIY and construction pursuits. By embracing the intricacies of screwing into brick and implementing the best practices outlined here, you can elevate the quality, durability, and aesthetic appeal of your brick-mounted fixtures and structures.
With a solid foundation of expertise and a commitment to precision, you are well-equipped to tackle brick-fastening projects with efficiency, effectiveness, and a keen eye for detail. Embrace the art of screwing into brick, and let your craftsmanship shine through in every securely fastened fixture and installation.
Frequently Asked Questions about How To Screw Into Brick
Was this page helpful?
At Storables.com, we guarantee accurate and reliable information. Our content, validated by Expert Board Contributors, is crafted following stringent Editorial Policies. We're committed to providing you with well-researched, expert-backed insights for all your informational needs.


0 thoughts on “How To Screw Into Brick”