Home>Construction & Tools>Building Materials>How To Run Doorbell Wire Through Brick
Building Materials
How To Run Doorbell Wire Through Brick
Modified: October 28, 2024
Learn how to run doorbell wire through brick with our expert guide on building materials. Find step-by-step instructions and tips for a successful installation.
(Many of the links in this article redirect to a specific reviewed product. Your purchase of these products through affiliate links helps to generate commission for Storables.com, at no extra cost. Learn more)
Introduction
Running doorbell wire through brick can be a challenging yet rewarding task. Whether you are installing a new doorbell system or replacing an existing one, the process requires careful planning, precise execution, and the right tools. By following the steps outlined in this guide, you can successfully navigate the intricacies of running doorbell wire through brick, ensuring a seamless and professional installation.
Not only does this project enhance the functionality and security of your home, but it also provides an opportunity to showcase your DIY skills. Before delving into the technical aspects, it's essential to understand the significance of a well-functioning doorbell system. The doorbell serves as a vital communication link between visitors and homeowners, offering convenience and security.
In this comprehensive guide, we will walk through the necessary tools and materials, the planning and preparation phase, the process of drilling holes in the brick, running the wire, connecting the doorbell components, testing the system, and adding the finishing touches. Whether you are a seasoned DIY enthusiast or a novice homeowner eager to tackle new projects, this guide will equip you with the knowledge and confidence to complete the task effectively.
As we embark on this journey of enhancing your home's entryway, it's important to approach the project with patience and precision. With the right guidance and a can-do attitude, you can conquer the challenge of running doorbell wire through brick, ultimately elevating the functionality and aesthetic appeal of your home. So, gather your tools, prepare for a hands-on experience, and let's dive into the intricacies of this rewarding home improvement endeavor.
Key Takeaways:
- Running doorbell wire through brick requires careful planning, precise drilling, and strategic wire routing. It enhances home security and showcases DIY skills, empowering homeowners to tackle challenging projects with confidence.
- By embracing the intricacies of doorbell installation, homeowners elevate their living space’s functionality and curb appeal. The successful integration of technology and architecture reflects ingenuity and dedication to home improvement.
Read more: How To Run Electrical Wire Through Walls
Tools and Materials Required
Before embarking on the task of running doorbell wire through brick, it’s essential to gather the necessary tools and materials. Having the right equipment at your disposal will streamline the installation process and ensure a professional outcome. Here’s a comprehensive list of tools and materials required for this project:
Tools:
- Power drill with masonry drill bit
- Hammer drill (for tougher masonry)
- Fish tape or wire pulling tool
- Wire strippers
- Needle-nose pliers
- Screwdriver set
- Level
- Tape measure
- Masonry chisel (for brick removal, if necessary)
- Safety goggles
- Work gloves
Materials:
- Doorbell transformer
- Doorbell chime
- Doorbell button
- Low-voltage doorbell wire (16- to 18-gauge)
- Masonry anchors and screws
- Silicone sealant or caulk
- Wire connectors
- Electrical tape
- Cable staples or clips
- Wire nuts
- Outdoor-rated junction box (if required)
By ensuring that you have the appropriate tools and materials on hand, you can proceed with confidence, knowing that you are well-equipped to tackle each phase of the installation process. Additionally, prioritizing safety by wearing protective gear, such as safety goggles and work gloves, is crucial when working with power tools and masonry materials.
With the tools and materials gathered, you are ready to move on to the planning and preparation phase, where careful consideration and strategic decision-making set the stage for a successful doorbell wire installation through brick.
Planning and Preparation
Prior to drilling into the brick and running the doorbell wire, meticulous planning and preparation are essential for a smooth and efficient installation process. Here are the key steps to consider during the planning and preparation phase:
Read more: How To Run Wire For A Doorbell
Location and Power Source:
Begin by determining the ideal location for the doorbell button and chime. Ensure that the chosen placement is easily accessible and visible to visitors. Additionally, identify the nearest power source for the doorbell transformer. Ideally, the transformer should be mounted near an existing power outlet to facilitate the electrical connection.
Pathway for the Wire:
Plan the pathway for the doorbell wire, taking into account the shortest and most discreet route from the doorbell button to the chime and transformer. Consider the architectural features of the building and aim to conceal the wire as much as possible for a clean and professional appearance.
Voltage and Compatibility:
Verify that the doorbell transformer’s voltage rating aligns with the requirements of the doorbell system components. Most doorbell transformers operate at a low voltage (typically 16 volts), ensuring safe and efficient power delivery to the doorbell button and chime.
Regulatory Considerations:
Familiarize yourself with local building codes and regulations pertaining to electrical installations and outdoor wiring. Adhering to these guidelines is crucial for ensuring the safety and compliance of the doorbell system.
Weatherproofing:
Given that the doorbell components will be exposed to the elements, prioritize weatherproofing measures. Select outdoor-rated wire, junction boxes, and sealants to protect the system from moisture and environmental factors.
By carefully considering these aspects during the planning phase, you can lay the groundwork for a successful doorbell wire installation through brick. With a clear understanding of the installation parameters and requirements, you are ready to proceed to the next crucial step: drilling holes in the brick to accommodate the doorbell wire.
Drilling Holes in the Brick
Drilling precise holes in the brick to accommodate the doorbell wire is a critical phase of the installation process. Here’s a step-by-step guide to effectively drill holes in the brick:
Marking the Hole Locations:
Begin by marking the precise locations where the holes will be drilled. Use a pencil or masking tape to indicate the positions for the doorbell button, chime, and wire pathway. Ensure that the markings are level and aligned with the architectural features of the building for a polished result.
Choosing the Right Drill Bit:
Select a masonry drill bit that matches the diameter of the wire and anchors. For standard doorbell wire (16- to 18-gauge), a 3/8-inch masonry drill bit is commonly used. If the brick is exceptionally hard or dense, a hammer drill with a carbide-tipped masonry bit may be necessary for efficient drilling.
Read more: How To Run A Dryer Vent Through The Attic
Securing the Brick Surface:
Use a power drill equipped with the appropriate masonry drill bit to carefully drill holes at the marked locations. Apply gentle and consistent pressure to avoid damaging the brick surface. For tougher masonry, a hammer drill with a masonry bit can expedite the drilling process while maintaining precision.
Clean and Smooth Holes:
Once the holes are drilled, remove any debris or dust from the cavities using a vacuum or compressed air. This ensures a clean and smooth surface for threading the doorbell wire and mounting the components.
Sealing Around the Holes:
To prevent moisture infiltration and enhance the aesthetic appeal, apply a small amount of silicone sealant or caulk around the edges of the drilled holes. This additional step provides weatherproofing and a professional finish to the installation.
By following these steps, you can effectively drill holes in the brick to accommodate the doorbell wire, ensuring a secure and visually appealing pathway for the wiring. With the holes in place, you are ready to proceed to the next phase: running the wire through the brick and connecting the doorbell components.
Running the Wire
Running the doorbell wire through the drilled holes in the brick is a pivotal stage that requires precision and attention to detail. Here’s a comprehensive guide to effectively run the wire and prepare for the subsequent connection of the doorbell components:
Read more: How To Vent Through A Brick Wall
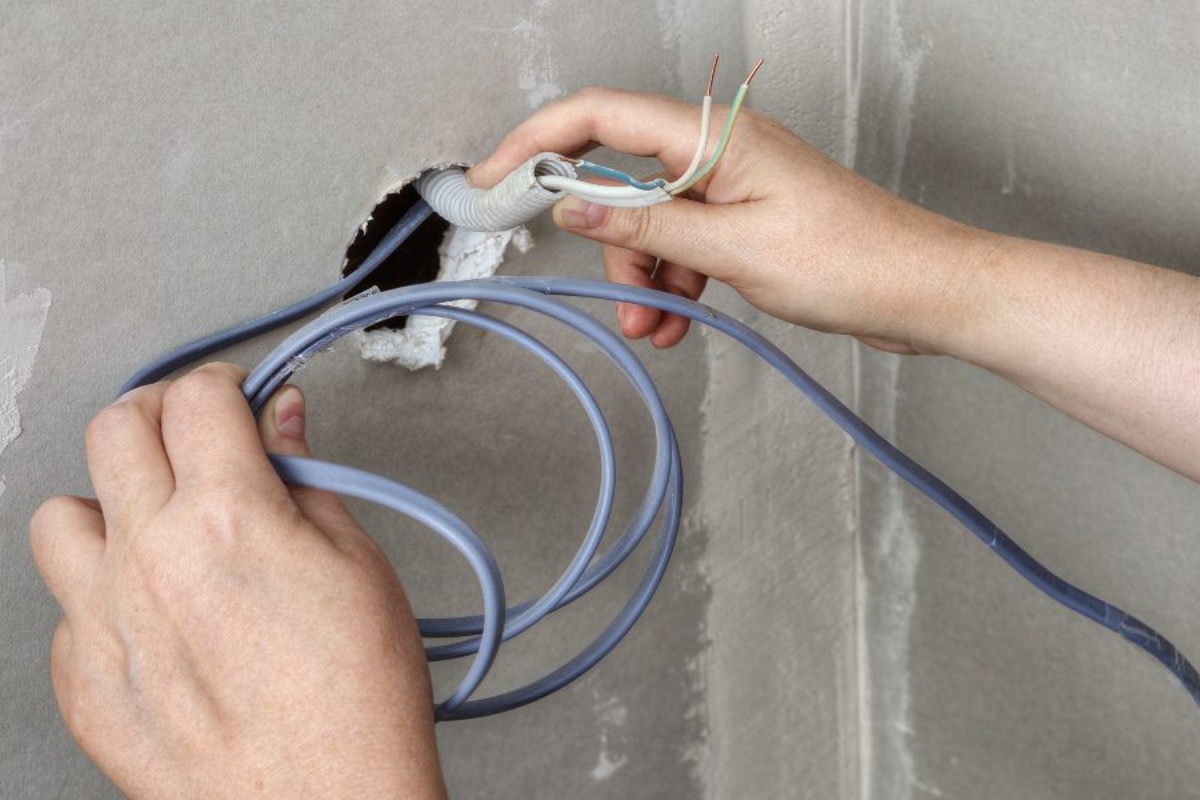
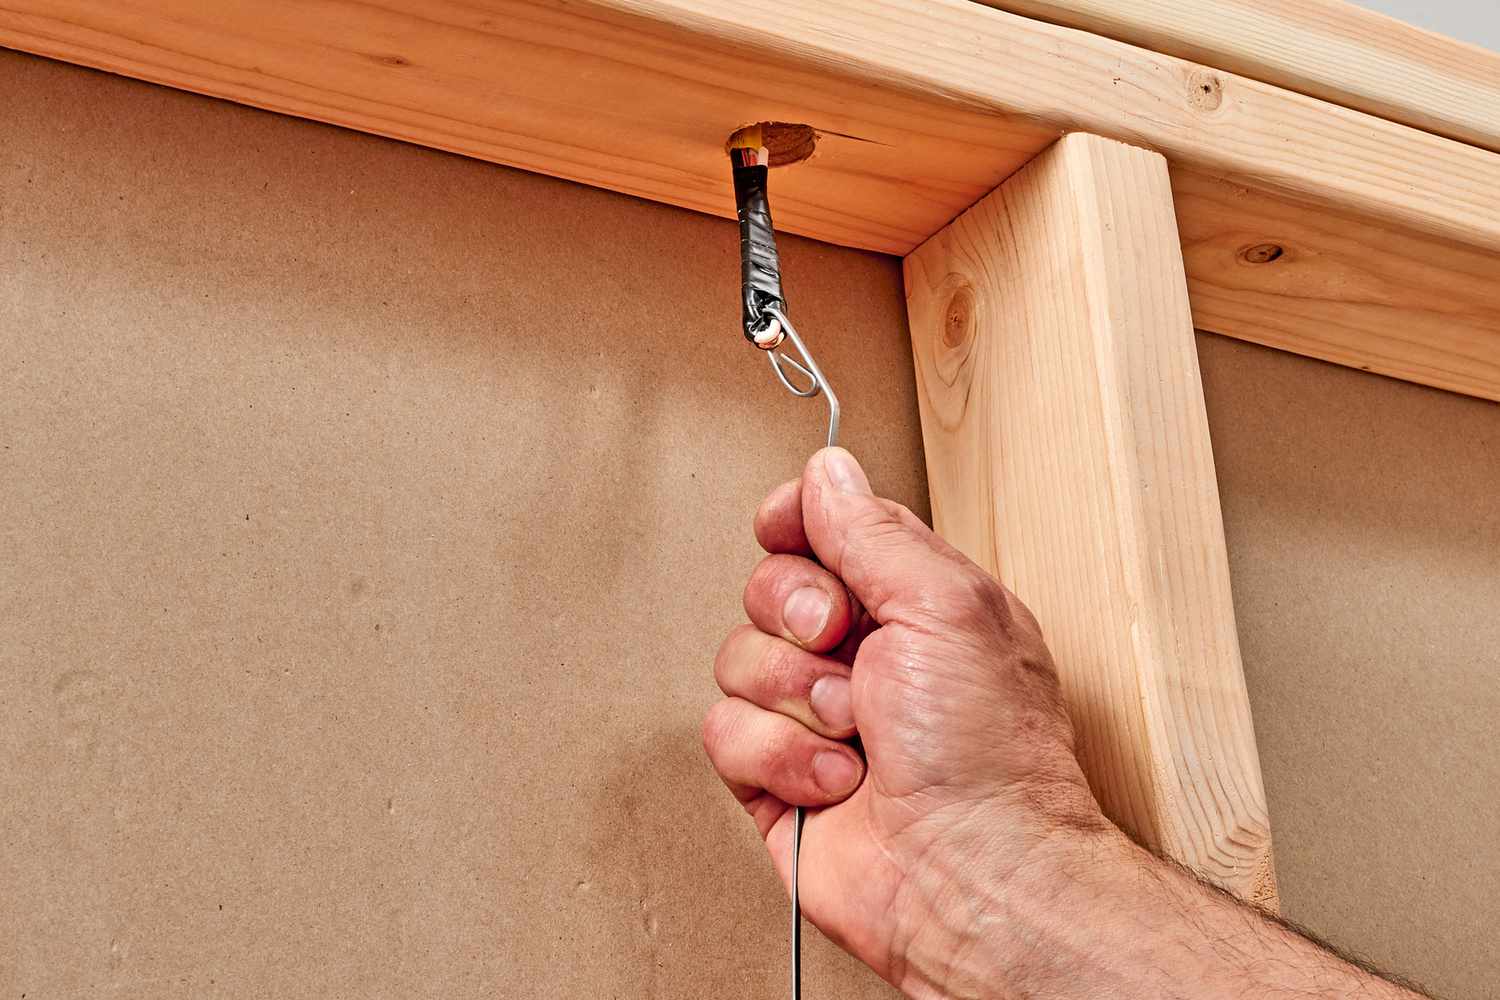
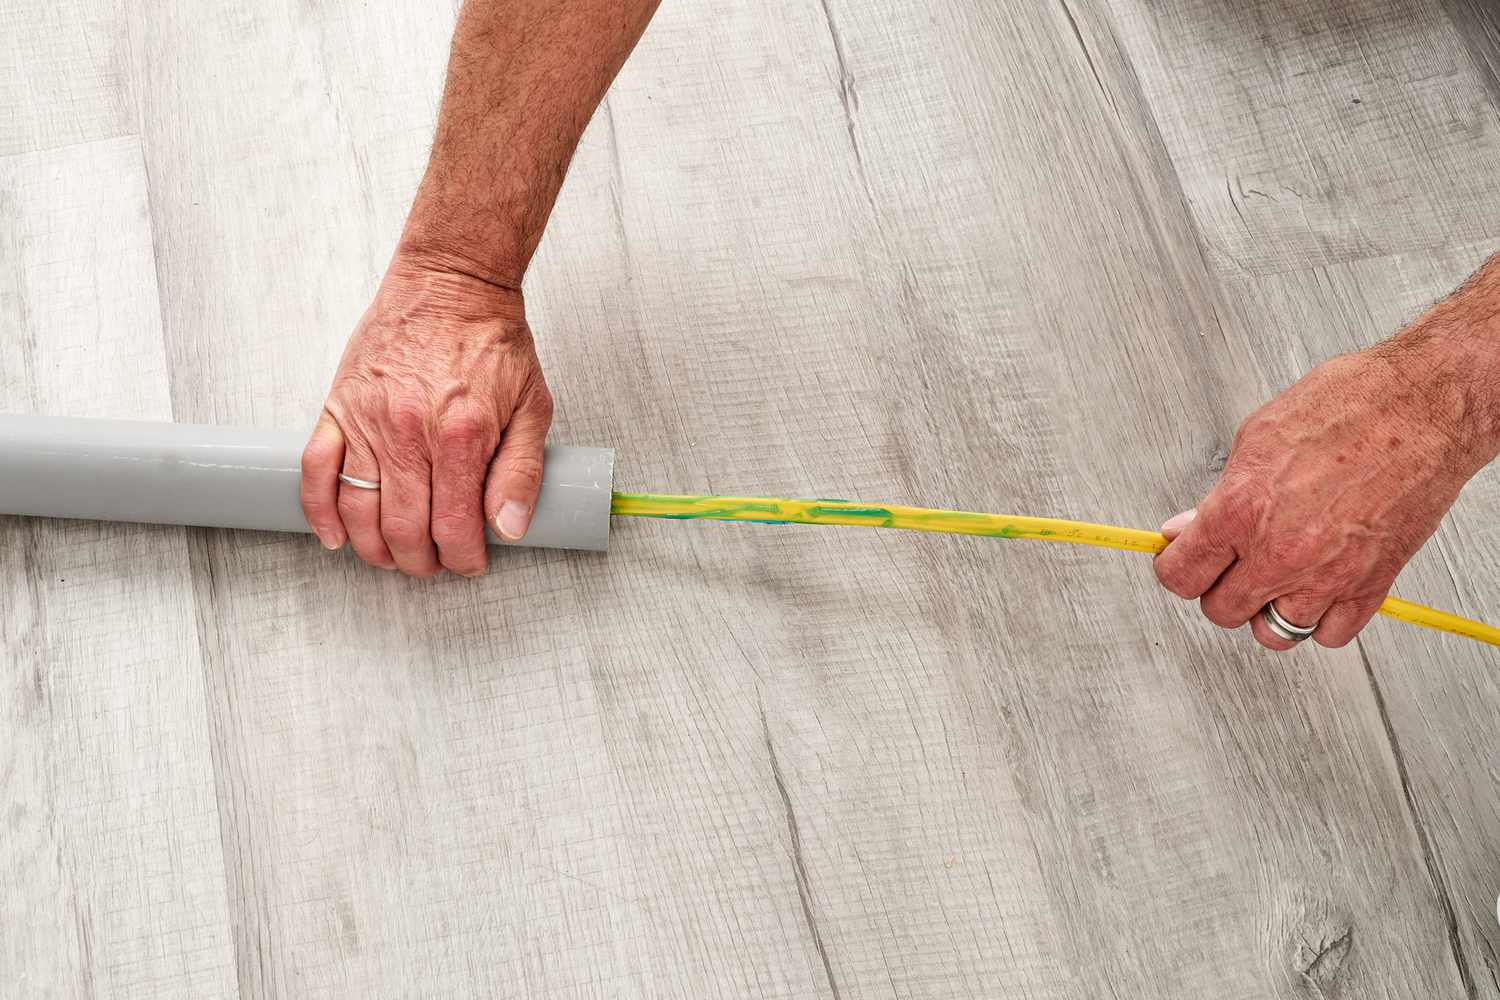
Thread the Wire:
Begin by threading the doorbell wire through the drilled holes, carefully guiding it along the predetermined pathway from the doorbell button to the chime and transformer locations. If the wire encounters resistance, utilize a fish tape or wire pulling tool to navigate through tight spaces and ensure a smooth installation.
Secure the Wire:
As the wire is routed through the brick, use cable staples or clips to secure it along the designated pathway. This prevents the wire from dangling or being exposed, maintaining a tidy and professional appearance while safeguarding it from potential damage.
Concealment and Aesthetic Considerations:
Where possible, conceal the wire within the architectural features of the building, such as grooves, molding, or trim, to minimize its visibility. By integrating the wire discreetly, you can achieve a seamless and aesthetically pleasing installation.
Outdoor-Rated Junction Box:
If the doorbell wire requires a junction point or connection outside the building, install an outdoor-rated junction box to house the wire connections securely. This additional enclosure provides protection against environmental elements and facilitates organized wire management.
Read more: How To Pull Wire Through Conduit
Account for Wire Slack:
Ensure that the wire has sufficient slack at each connection point, allowing for flexibility during the subsequent stages of connecting the doorbell button, chime, and transformer. Adequate slack enables adjustments and facilitates a hassle-free installation process.
By meticulously running the doorbell wire through the brick and implementing strategic measures to safeguard and conceal the wiring, you are setting the stage for a professional and visually appealing doorbell installation. With the wire in place, the subsequent phase involves connecting the doorbell components and conducting thorough testing to ensure optimal functionality.
Connecting the Doorbell
Connecting the doorbell components, including the doorbell button, chime, and transformer, is a crucial phase that culminates in the activation of the doorbell system. Here’s a detailed guide to effectively connect the doorbell components and establish a functional and reliable system:
Doorbell Transformer Connection:
Begin by locating the power source and connecting the low-voltage doorbell wire to the doorbell transformer. Ensure that the transformer is powered off during the connection process to prevent electrical hazards. Follow the manufacturer’s instructions to secure the wire to the designated terminals on the transformer, adhering to polarity and voltage specifications.
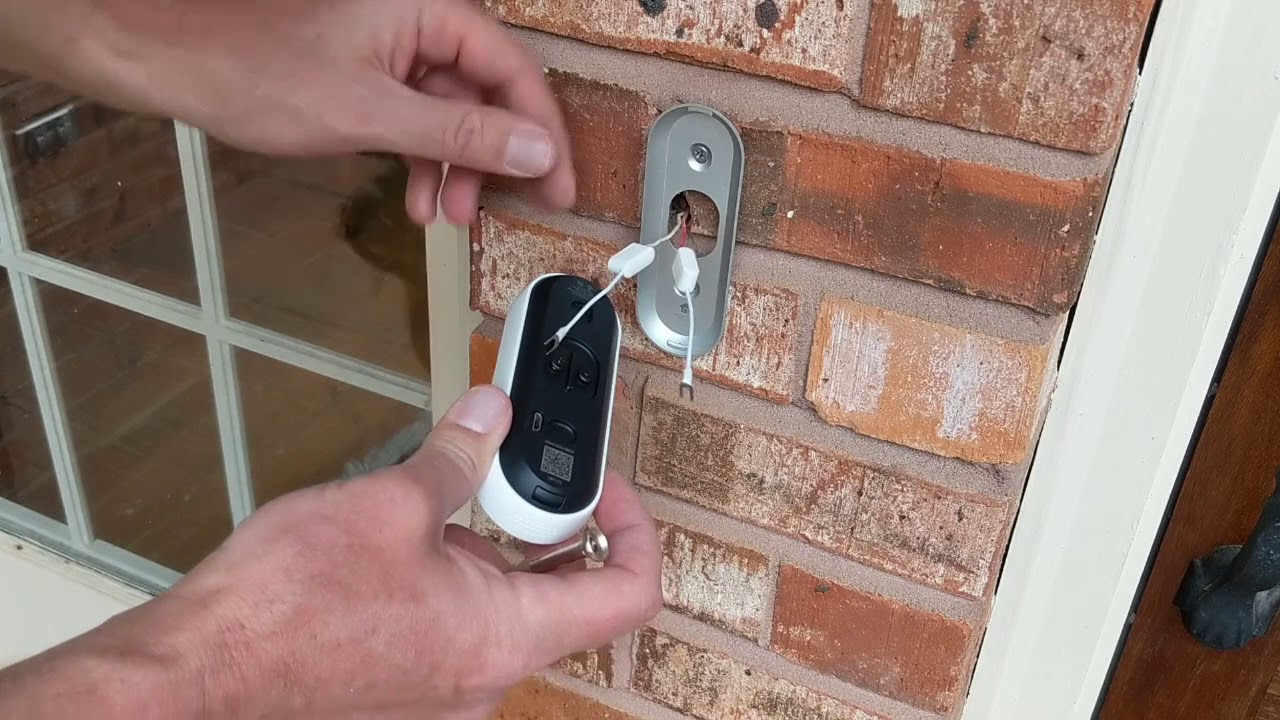
Doorbell Button Installation:
Mount the doorbell button at the designated location, securing it firmly to the exterior surface. Connect the doorbell wire to the terminals on the back of the button, verifying that the connections are secure and insulated with wire nuts. Test the button to confirm that it triggers the chime when pressed.
Read more: How To Run Extension Cord Through Window
Chime Configuration:
Install the doorbell chime at the desired interior location, ensuring that it is positioned securely and level. Connect the doorbell wire to the corresponding terminals on the chime, following the manufacturer’s instructions for proper wiring. Once connected, test the chime by activating the doorbell button to confirm that it emits the intended sound.
Testing and Troubleshooting:
After connecting the doorbell components, conduct comprehensive testing to ensure that the system functions as intended. Verify that pressing the doorbell button results in the chime producing the expected sound, indicating successful communication between the components. If any issues arise, troubleshoot the connections and wiring to address potential discrepancies.
Finalizing the Connections:
Once the doorbell system is operational and tested, secure the wire connections with wire nuts and cable clips, organizing and tidying the wiring within the junction box or designated enclosure. Inspect the connections to ensure they are insulated and protected against environmental factors.
By meticulously connecting the doorbell components and conducting thorough testing, you can ensure the seamless operation of the doorbell system, providing convenience and security for your home. With the connections established and tested, the final phase involves adding the finishing touches and conducting a comprehensive evaluation of the installed doorbell system.
Testing and Finishing Touches
As the doorbell installation nears completion, conducting thorough testing and adding the finishing touches are essential to ensure the functionality, durability, and aesthetic appeal of the system. Here’s a comprehensive guide to testing the doorbell system and adding the final touches:
Read more: How To Install A Dryer Vent Through Brick
Comprehensive System Testing:
Begin by testing the doorbell system to verify its seamless operation. Press the doorbell button to trigger the chime and confirm that the sound is clear and audible. Test the system multiple times to ensure consistent performance and responsiveness.
Voltage and Power Verification:
Utilize a multimeter to measure the voltage output from the doorbell transformer, ensuring that it aligns with the specified rating. Verify that the power supply to the doorbell system is stable and within the recommended range for optimal performance.
Weatherproofing and Seal Inspection:
Inspect the sealant or caulk applied around the drilled holes and wire connections to ensure that they provide effective weatherproofing. Address any gaps or areas requiring additional sealing to safeguard the system from moisture and environmental elements.
Aesthetic Enhancement:
Evaluate the visual presentation of the doorbell installation, ensuring that the wire is neatly secured and concealed along its pathway. Make any necessary adjustments to enhance the aesthetic integration of the doorbell components with the architectural features of the building.
Read more: How To Wire A Doorbell
User Instruction and Demonstration:
If applicable, provide clear instructions to household members or occupants regarding the operation of the doorbell system. Familiarize them with the location of the doorbell button, the sound of the chime, and any unique features or functionalities of the installed system.
Final Inspection and Cleanup:
Conduct a final inspection of the entire doorbell installation, verifying that all components are securely mounted, wired, and operational. Tidy up the work area, removing any debris or tools, and ensuring that the installation process has left the surroundings in a clean and organized state.
By meticulously testing the doorbell system, addressing any outstanding considerations, and finalizing the installation with a focus on functionality and aesthetics, you can ensure that the newly installed doorbell system enhances the convenience and security of your home. With the testing and finishing touches completed, the successful installation of the doorbell system marks the culmination of a rewarding DIY endeavor.
Conclusion
Embarking on the journey of running doorbell wire through brick has not only elevated the functionality and security of your home but also showcased your DIY prowess. Through meticulous planning, precise drilling, strategic wire routing, and seamless component connections, you have successfully installed a reliable and aesthetically pleasing doorbell system. As you conclude this rewarding home improvement project, it’s important to reflect on the significance of your accomplishment and the impact it has on your living space.
By embracing the intricacies of running doorbell wire through brick, you have not only enhanced the communication link between visitors and occupants but also contributed to the overall curb appeal and functionality of your home’s entryway. The careful consideration given to concealing and securing the wire, weatherproofing the installation, and ensuring optimal system performance has resulted in a seamless integration of technology and architecture.
Furthermore, the knowledge and skills acquired throughout this endeavor have empowered you to tackle future DIY projects with confidence and proficiency. The hands-on experience gained from planning, drilling, wiring, and testing the doorbell system has expanded your home improvement capabilities, positioning you as a resourceful and skilled homeowner.
As you admire the newly installed doorbell system, take pride in the attention to detail, precision, and dedication invested in this project. The seamless operation of the doorbell, the visual harmony of the components with the architectural features, and the peace of mind it provides underscore the value of this undertaking.
In closing, the successful installation of the doorbell system serves as a testament to your ingenuity, perseverance, and commitment to enhancing your living environment. As you enjoy the convenience and security offered by the new doorbell system, remember the journey of running doorbell wire through brick as a testament to your ability to transform challenges into accomplishments.
Congratulations on a successful doorbell installation, and may the skills and satisfaction gained from this endeavor inspire future home improvement endeavors.
Frequently Asked Questions about How To Run Doorbell Wire Through Brick
Was this page helpful?
At Storables.com, we guarantee accurate and reliable information. Our content, validated by Expert Board Contributors, is crafted following stringent Editorial Policies. We're committed to providing you with well-researched, expert-backed insights for all your informational needs.


0 thoughts on “How To Run Doorbell Wire Through Brick”