Home>Craft Storage>DIY Sandbox Ideas For Fun Kid Playdates
Craft Storage
DIY Sandbox Ideas For Fun Kid Playdates
Modified: December 6, 2023
Build a DIY sandbox for your kids to enjoy playing outdoors! Learn how to build one and discover various sandbox styles you can make at home.
(Many of the links in this article redirect to a specific reviewed product. Your purchase of these products through affiliate links helps to generate commission for Storables.com, at no extra cost. Learn more)
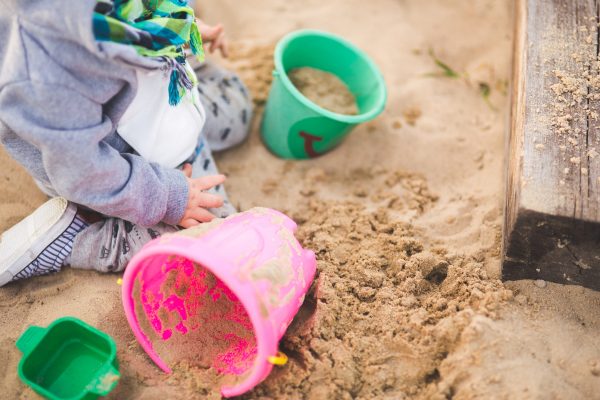
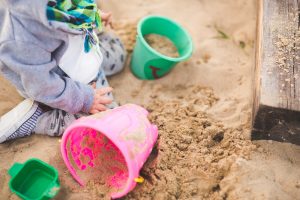
Kids should spend some time outdoors to absorb healthy vitamins from the sun and keep active. This time can be spent walking together or playing physical games such as hide-and-seek or Red Light-Green Light. If these activities seem too exhausting, consider making a DIY sandbox so the kids can play by themselves. Keep on reading to find out how to build one, and discover the different DIY sandbox styles you can do at home.
How Can Kids Benefit from a DIY Sandbox
Before we delve right into the tutorial, let us discuss first the advantages of having a DIY sandbox at home. These benefits include what skills can be gained from frequently playing in the sand. Knowing this helps your family feel motivated to start a DIY sandbox project.
Read more: DIY Projects: How To Charge A Battery
Encourages Imaginary Play
Sand can be molded into different shapes and objects, allowing your kids to make sandcastles, build makeshift houses, and a whole lot more! These unique sand creations can be used as a medium for imaginary play. For example, if a child builds a sandcastle, it is highly likely they will start imagining the lives of kings and queens. This can help them become more creative and develop problem-solving skills.
Helps Develop Fine Motor Skills
Fine motor skills involve using the small muscles in the hands to perform simple everyday tasks (e.g. holding a pencil, buttoning a shirt, and using utensils to eat). These skills can be developed by playing in a DIY sandbox. A child will have to use a small plastic shovel to dig and scoop up some sand, which, in turn, helps improve their grip. Many sand play toys are small too, so frequently playing with them exercises the small muscles in the hands.
Promotes Collaboration
Building a DIY sandbox in your backyard gives opportunities for a child to interact with other kids. You can invite some friends who are also parents and ask them to bring their kids too. Let the kids play leisurely in the sandbox to learn how to share and communicate with other people. This also teaches them to become more independent.
Introduces Mathematical and Scientific Concepts
Parents might not realize it, but kids can start learning simple math by playing in a DIY sandbox. They naturally observe and compare the number of sand creations with other kids, thus developing an abstract understanding of the concept of numbers. Moreover, kids learn about volume and capacity early. By simply pouring sand from one bucket to another, kids will soon discover the right number of measuring cups to fill one bucket.
Basic scientific concepts can also be learned in a DIY sandbox. As children dig in the sand, they will naturally discover how the texture of sand is different in every layer. Another example would be when kids mix water with sand. With the right amount of water, they will naturally discover the sand sticks together, allowing them to mold them into different objects.
DIY Sandbox Ideas: How to Make a Simple Sandbox Pit
Although purchasing a mail-order sandbox is more convenient, making a DIY sandbox is still a much better option as it allows the parents to customize it. You can build one that is spacious enough for several kids to fit but not too small or too large for your backyard. Plus, this DIY project is so simple that it can be done over the weekend.
With that, here is a detailed guide on how to build a simple sandbox at home:
Step 1: Choose a Suitable Location
The best spot would be somewhere that receives a lot of shade. You can place it near a tree, but avoid positioning the sandbox right under it. Doing so could damage the roots as they usually have to be cut while digging and leveling the ground. So, the best location would be around a pergola or a covered patio.
You can also use a large outdoor umbrella if there isn’t any shady spot. This option is convenient as the umbrella can be adjusted to achieve maximum shade.
Also, ensure to place the DIY sandbox somewhere your family can see. You’ll have to check on your children often as they may suddenly ingest the sand or swallow their sand play toys. The sand can also get into their eyes, causing pain and irritation. So, ensure that the DIY sandbox is within line of sight.
Step 2: Prepare Your Sandbox Area

Next, decide how big the DIY sandbox should be. A 4×4 is the standard size, but for three or more kids, a 6×6 would be better. Just make sure to measure and lay out your chosen sandbox size first to check if it fits in your backyard. Once done, use garden stakes and a mason string to mark your layout. You can also use a square-edged shovel for marking.
Step 3: Cut the Lumber and Assemble the Wooden Frame
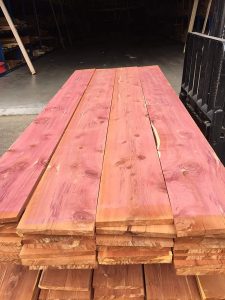

You can use any hardwood, but we recommend cedar lumber as it is durable for outdoor use. It contains natural oils that help repel bugs and prevent the wood from rotting. Furthermore, unlike other wood types, cedar lumber retains its original appearance over time.
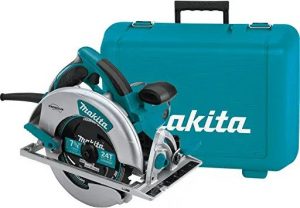
As for determining the right length of the lumber boards, they should be cut 3 ½-inches shorter than the sides of the sandbox. This is because the ends of the lumber boards will butt against each other at the corners. For a simple DIY sandbox pit, 12 pieces of pre-cut lumber boards should be enough. Use a circular saw to cut them fast.
After that, proceed to assemble the wooden frame. Here is how:
- Remove the sod and dig the ground up to 6 inches deep before assembling the wooden frame. If the ground is uneven, add 2 inches of sand to level it.
- Grab four pieces of pre-cut lumber boards and carefully lay them on each side.
- Cut four pieces of 2×4 wood and screw them across each corner. These serve as your temporary braces to hold the wooden frame.
- Tap the lumber boards with a sledge or mallet hammer and use a level bar to ensure they lay even on the ground.
- Remove the 2×4 wooden braces, and lay your second frame. Make sure that the corners overlap by assembling the second frame in an opposite direction.
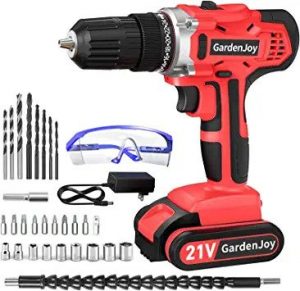
- Start screwing the two layers by using a drill and timber screws. We suggest adding three timber screws on each side to secure the wooden frame.
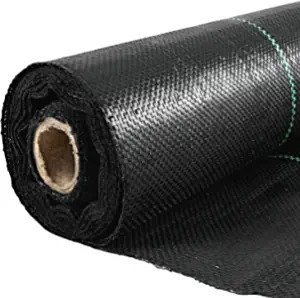
- Add a landscape fabric to line the sandbox. This helps drain the sandbox and prevents weeds from growing.
- Add the third layer by repeating the sixth step.
- Cut the excess landscape fabric with a knife or scissors.
Step 4: Fill with Sand and Add Toys
Finish up the DIY sandbox by simply filling it with sand. Any play sand will do but check the ingredients before buying bags of it. Avoid store-bought sand containing silica, tremolite, and CA Proposition 65 because these are toxic substances.
As for how much sand should be used, follow this formula: (length x width x depth) / 27. You can also look for sandbox volume calculators online if manually calculating seems like too much of a hassle.
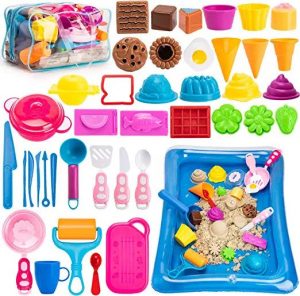
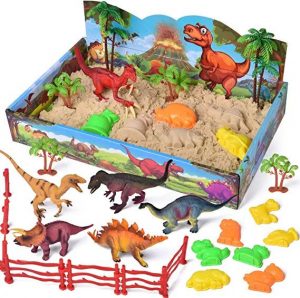
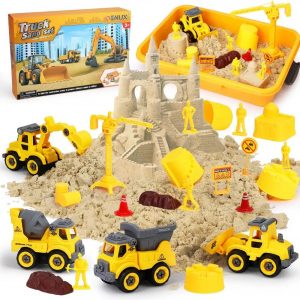
Also, do not forget to add as many toys! Try burying some beads, gems, and coins in the sand for the kids to enjoy playing as pirates or treasure hunters. Consider also adding some small construction vehicles and dinosaur miniatures. Just do not forget to keep them in an outdoor storage box after use!
Step 5: Add a Cover (Optional)
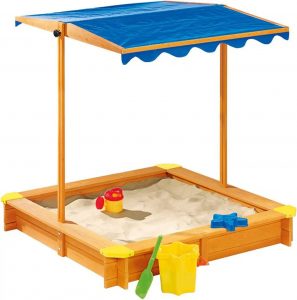
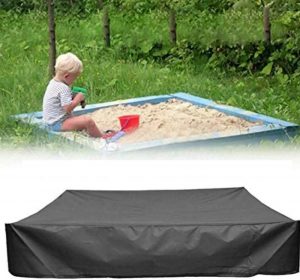
You are not required to add a cover, but having one can keep the sandbox clean. Some wild animals could come into the sandbox and leave their waste, so cover it after use to avoid this. Doing so also helps prevent bugs and insects from crawling into the sandbox. You do not have to make one at home since various sandbox covers are available in most hardware stores.
Other DIY Sandbox Ideas:
If a sandbox pit is too simple, your family can make other unique DIY sandboxes at home. You can start with these DIY sandbox ideas below. Most of the materials needed for these projects can be found at home, so rest assured that it will not cost much.
Old Boat DIY Sandbox
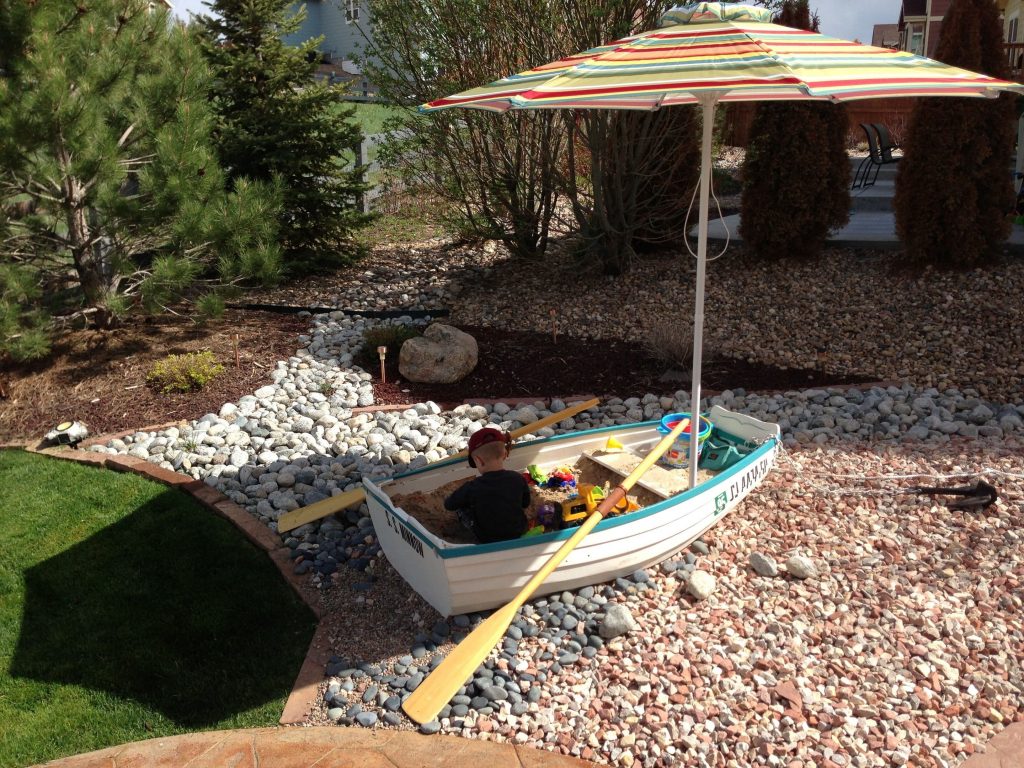
Photo from Pinterest
Don’t throw away your old boat as you can repurpose it into a DIY sandbox for kids. This one is fairly easy as you only have to drill some holes at the bottom of the boat to allow water to drain, cover the bottom with landscape fabric, and add sand.
Since most boats have a curved bottom, we recommend adding a wooden frame underneath to prevent it from tipping. Another option would be to surround the DIY boat sandbox with pebbles and sand.
You can also decorate the boat with nautical items such as ship wheels, fishing nets, beach umbrellas, and pirate flags. This helps spark imagination in kids as the nautical decors could make them feel like actual sailors or mariners going on an exciting sea adventure!
Picnic Table Sandbox
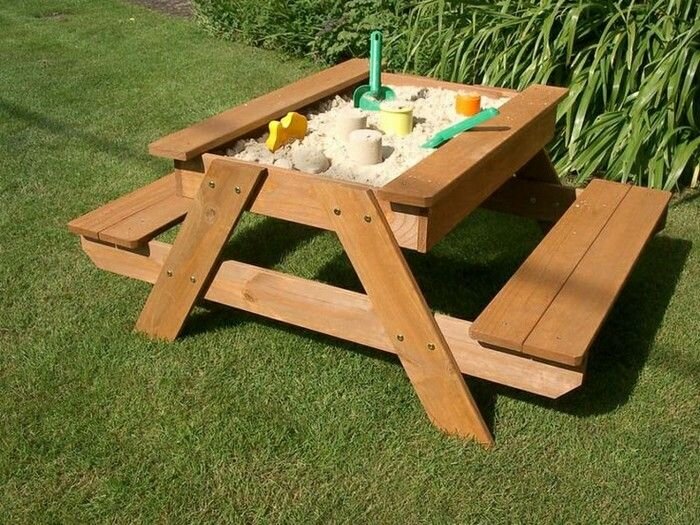
Photo by The Owner-Builder Network
If you have a small backyard, a homemade sandbox table would be a good choice. It does not take up as much space as a classic sandbox pit because, as the name suggests, it is an outdoor picnic table with a hidden sandbox. Aside from its space-saving benefits, this DIY sandbox also offers convenience as you can move it around your backyard.
The picnic table sandbox is one of the most popular DIY sandbox ideas, so you can find many free detailed tutorials online. Some even come with a complete PDF file of templates and patterns!
Tire Sandbox
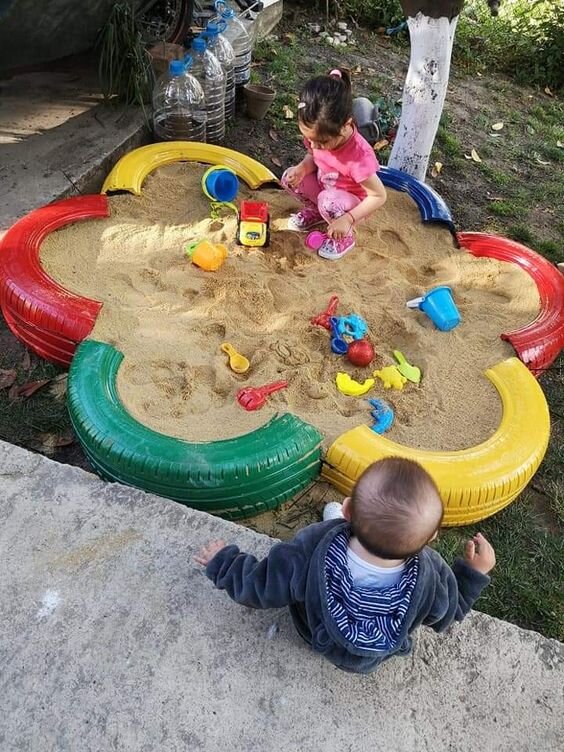
Photo from Pinterest
Not sure what to do with those old car tires in the garage? Turn them into a colorful sandbox for kids! This DIY project does not cost much as you only need a hacksaw, paint, landscaping weed mat or shade cloth, and some pool noodles. The pool noodles are used to cover the raw edges of a car tire, so kids won’t get scratched while playing. Meanwhile, the landscaping mat or shade cloth will be placed at the bottom of the tire for drainage.
One of the advantages of a DIY tire sandbox is that it does not rot, unlike wood. This ensures that the sandbox will last long, even when exposed to harsh weather conditions outside. Moreover, a tractor tire is softer than wood, so it is much safer for kids.
FAQ About DIY Sandbox
For just one kid, a DIY sandbox with a size of 4×4 sq. ft. should be enough. But since kids are most likely to play with their peers, consider making a bigger one. For two to three kids, a sandbox of 6×6 sq. ft is ideal.
You just have to make sure to leave several inches of space on top to allow kids to get in and out of the sandbox easily. For instance, if a DIY sandbox is 8 inches deep, the sand should at least be 5 inches deep.
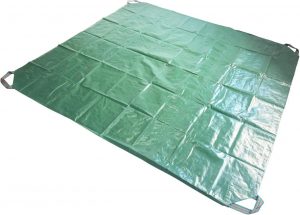
Cover the sandbox when not in use. Ensure also that the sand is always dry as leaving it wet can cause mold and bacteria to grow. You can transfer the sand into a large tarp and allow it to dry naturally under the sun (do not forget to place a couple of rocks around the tarp to keep it in place!). Also, before allowing the kids to play in the sandbox, check their diapers and change them when necessary.
Do not allow kids to eat in the sandbox to avoid attracting ants. You can also sprinkle some cinnamon into the sand as their unique scent helps repel bugs and insects.
Wrapping it Up
It might take some time and effort to build a DIY sandbox, but it will all be worth it once finished. For one, it can contribute to boosting their imagination and harnessing their fine motor skills. Plus, the kids can be left in the sandbox while they enjoy playing with other kids. This allows parents to relax and have some time for themselves. Start doing this DIY project at home by following our detailed tutorial above!
Aside from a DIY sandbox, you may also want to consider adding an outdoor playhouse in your backyard. This will help encourage your children to go out and play with other kids!
Was this page helpful?
At Storables.com, we guarantee accurate and reliable information. Our content, validated by Expert Board Contributors, is crafted following stringent Editorial Policies. We're committed to providing you with well-researched, expert-backed insights for all your informational needs.

0 thoughts on “DIY Sandbox Ideas For Fun Kid Playdates”