Home>Data Storage>SD Cards>How To Maximize Usage Of Sandisk SD Cards

SD Cards
How To Maximize Usage Of Sandisk SD Cards
Modified: December 6, 2023
Effortlessly learn to use of your Sandisk SD cards and tap into its full potential. Learn how to properly care for your card today!
(Many of the links in this article redirect to a specific reviewed product. Your purchase of these products through affiliate links helps to generate commission for Storables.com, at no extra cost. Learn more)
We often take SD cards for granted. However, learning how to maximize usage of your SD Card can prove to be very beneficial: it can allow your camera, phone or gadget to read and write data faster. This makes taking photos, filming videos and running apps a lot easier.
Sandisk SD Card optimization may be a little tricky for those of you who don’t know where to begin. However, don’t worry because we’ll guide you through the process with our tips and suggestions. Read on for more.
Why Is Sandisk SD Card Optimization Important?
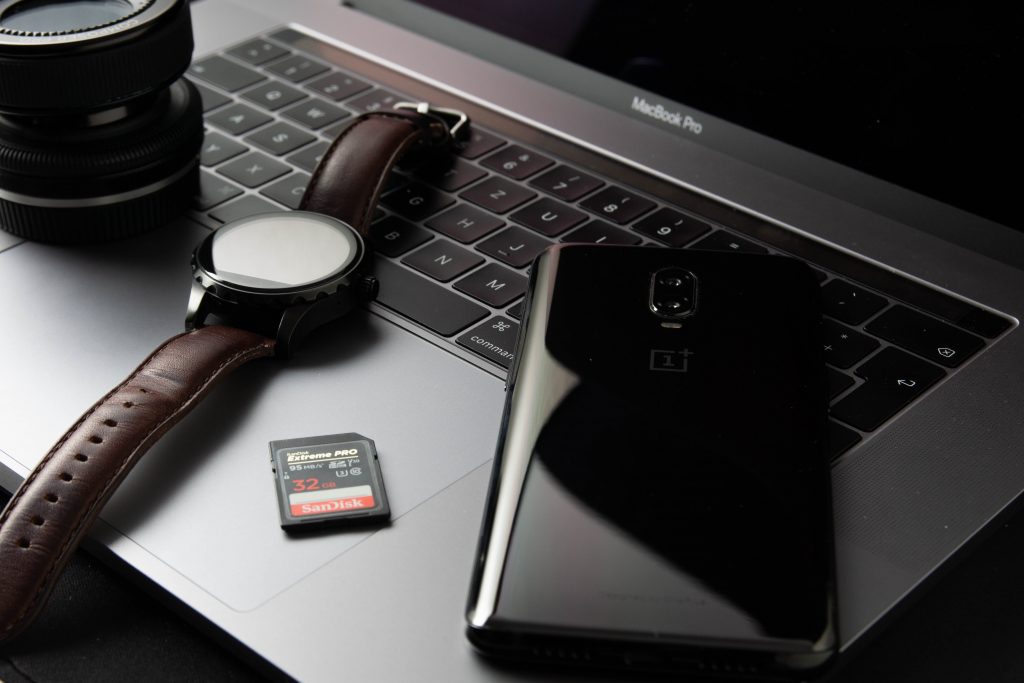
Photo by Philipp Katzenberger from Unsplash
Extracting your files from your card and saving them to your phone or computer helps your card to transfer data faster. The same concept applies to a lagging computer. You’d want to check why this is happening via the use of computer software that will examine how your computer is running. This process is called de-fragging – it allows your computer to check for broken or corrupted files, and fix these accordingly.
The end goal is to make sure that your computer processes information quickly by eliminating anything that stands in its way. The same goes for a SD card. Any broken or corrupted files on your card may cause it to lag or affect read and write speeds. The best way for you to fix this is by using software that will optimize your card, so that it reads and writes faster.
Read more: How Important Are SD Cards?
How To Optimize Your SD Card

There are different things you must remember before you format your card. Firstly, you have to ensure that you have all your files backed up on your computer or another disk. Next, make sure that you understand the different FAT formats for SD Cards. Usually, SD Cards that are SDHC or SDXC are formatted in the exFAT file format. Newer devices on the market make use of either the EXFAT or the NTFS format. Thus, you need to understand which card capacities are formatted in which FAT.
Check Compatibility
It’s always good to check your host device’s manual because its manufacturer usually recommend cards that are compatible with your host device. Hence, you’ll want to avoid getting a card that has a larger capacity than what your host device can handle. This way, you’ll avoid having to reformat your card and prolong the lifespan of your SD card at the same time.
In addition, some readers or hosts are not compatible with SDHC and SDXC cards. Thus, if the reader or host is not compatible with the card, then the card will be re-partitioned into a a size that the host is able to support.
For example, say you own a Sandisk SD card reader or camera that is compatible with a SDHC card with a maximum capacity of 32GB. Then, you use this host device to format a 64GB SDXC card. This will result in the card being re-partitioned into a 32GB card (27 GB capacity). If this happens, you will need a reader or host to format it back to the correct capacity. Thus, you will need to use a host device that is 64GB or supports the full capacity of the device. Afterwards, you must use a SD formatter to revert the card to its original size.
Step One: Download All Your Files From The Device To Your Computer.
Back up and extract all files into a local location in your PC or another storage device to avoid data loss. You can always use professional backup software to do this.
Step Two: Convert Your Sandisk SD Card Format From exFAT To NTFS.
Before you convert your SD Card format from EXFAT to NTFS, you must first understand what this process entails. FAT32, NTFS and exFAT are different file systems that are typically used by Windows users. NTFS is the most recently introduced file system by Windows, and is also the most commonly used system in devices today. Do we recommend using NTFS to make your card faster? Our answer is yes. The quickest way to optimize your card is to put it in the latest file format so that it meets compatibility standards of newly released devices on the market.
Here is one way you can format your card without having to download software. However, if you don’t want to directly format your card, you can opt to convert it from exFAT to NTFS. Please do take note that some devices do not support NTFS. Make sure to do your research and check the formats that your unit supports in advance. Take note that the NTFS format is best for storing media files in Windows. This is because it’s good for keeping your data more secure, transfers data quicker and supports larger file sizes.
Steps To Format Your Card From exFAT To NTFS:
- Insert your SD Card into the slot of your personal computer.
- Using Windows Explorer, locate your card and right click, then select “format”.
- Once “format” is selected, you can reset the file system to NTFS and click “Start” to confirm the process. Afterwards, you may click “OK”.
Finally, you can sit back and wait for the process to be completed.
Read more: How To Store On Sd Card
Step Three: Optimize Performance And Increase Data Transfer Speed
After you change your SD Card file system, you can proceed to optimize your SD card with a few simple steps. By following these steps, you can change the settings of your Sandisk SD card to increase its data transfer speed.
- Right click on your SD Card in file explorer and choose “properties”
- Make sure to select the hardware category and select your SD card. Then, click on “properties”.
- Using the Generic-Multi-Card USB Device Properties settings, click on “Change Settings”.
- Once done, use the policies tab in the menu, and click on “Better Performance” under Removal policy.
- After, you can go ahead and click on “OK” to confirm and press “OK” to keep all changes to save the changes made.
- Last, you will need to restart your computer in order for the changes to be applied.
20 Tips To Keep Your SD Card Pristine
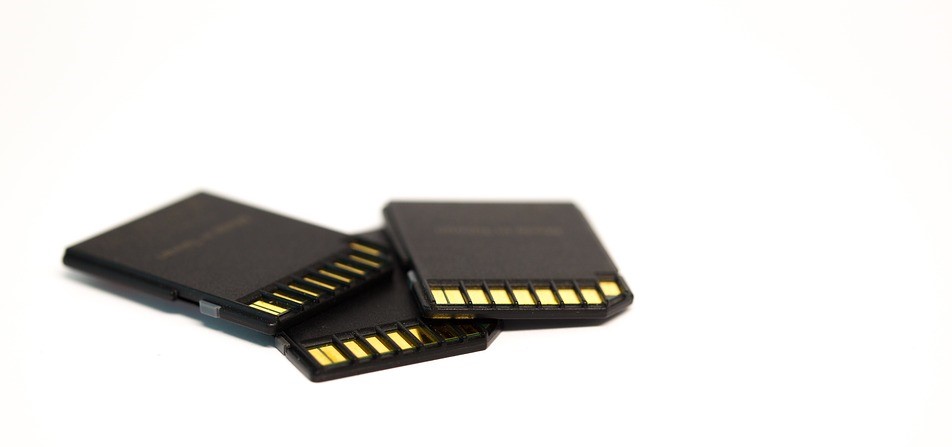
There are plenty of ways to keep your memory card in tip-top condition. Always remember that a memory card that’s well taken care of is one that will last you in the long term. Thus, the idea is to ensure that you have the right tools and mindset to get your card to its full potential. How do you do this? We’ve come up with 20 ways you can keep your card the health boost it needs, so that you can perform everyday tasks with ease.
1. Take A Break Or Two – SD Cards Need To Recuperate Too.
If you use your card for work, school or even heavy behind-the-scene shoots, you may want to step back and pause for a while. While manufacturers may claim that their SD cards are durable, the cards will no doubt benefit from even short breaks. In the process, we can also take a break from our busy days, and catch up on much-needed rest.
2. Eject Your Cards From Your Computer Safely.
As a rule of the thumb, force ejecting your card from the computer slot will do more harm than good. Thus, always take the necessary precautions before taking it out of its slot. Additionally, you must ensure that the card has been “ejected” by your computer, and gently ease it out afterwards.
Read more: How To Store Sd Cards
3. Do Not Consume All Of Your Card Space.

You’re prone to get “error” messages as your SD card is nearing/hits maximum storage capacity. Because of this, it’s good to save your data on your computer or another device as a backup. It’s essentially killing two birds with one stone: not only do you get to back up your important photos, files, records and videos, you can also avoid overloading your card with data and thus keep it healthy.
4. Never Allow Your Gadgets To Drain Completely, Especially When Your Card’s In It
When you’re shooting on a camera or device that’s running low on battery, you risk the chance of it running out while the host device is writing data to the card. When this happens, it could cause errors and technical problems, and you could potentially lose data that’s been written to the card. The best thing to do is to always charge your batteries or keep an extra one in tow.
5. Reformat Your Cards, Instead Of Deleting All Your Data.
Whether it’s for shooting videos with a camera, or saving applications onto your phone, make sure that your memory card is in the right format. If not, it’s important to reformat the card into the specific format you’ll be using.
6. Use Good Quality Memory Cards.
If you want to protect your information, it’s best to invest in a good memory card and a Sandisk SD card reader. Although the reader is designed specifically to read your card, there’s a very real risk that it can damage it. To avoid any compatibility issues, make sure that you get a SD card and a card reader that are from the same brand.
Read more: How To Store Photos On Sd Card
7. Use Your Computer To Delete Your Files, Not In Camera
Deleting photos directly from your card will actually shorten its lifespan. Hence, you must always delete photos, videos, songs, documents or any files using your computer. It’s an extra step, but fortunately it’s not that hard to do. In this case, more is less. You may constantly need to add new data to your card, but you can control how much information you delete. Hence, instead of erasing data on your card, opt to reformat your card instead.
8. Go Get Multiple Cards Rather Than Just One.
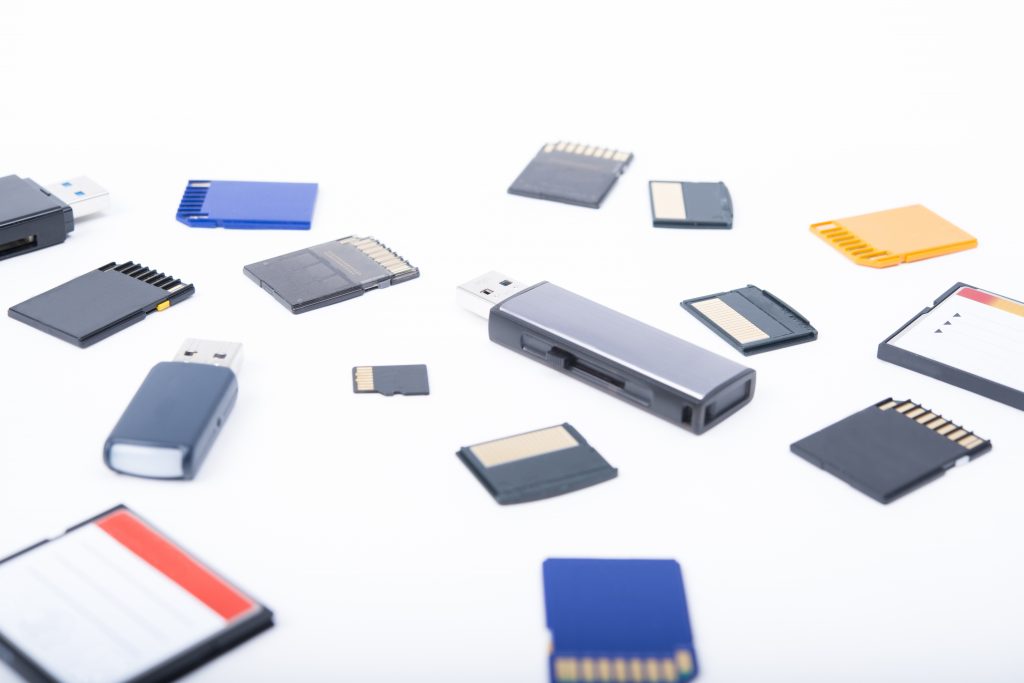
We’re not telling you to hoard SD cards, but owning multiple cards can be helpful. Plus, there are a whole variety of different packages that you can choose from, and you can easily get one that’s of good quality and comes at an affordable price. If you own multiple host devices, that’s even more reason to get extra SD cards. We believe 3 is the magic number.
9. Reformat Your Cards Periodically.
It’s a good practice to use your memory card from time to time. This allows your device to write data on your card more efficiently. Formatting your card allows any corrupted files or data to be stripped away. As you reconcile any broken files on your card,
This will eventually increase your transfer speed, and reduce lagging as you reconcile any broken files on your card.
10. Format Your Card In The Device You’ll Specifically Use It For.
As discussed above, you can avoid re partitioning your card by making use of a specific device. If your host device is not compatible with your card, you will end up having the capacity of the host device on your card. Because of this, it is recommended that you use a compatible host device. Make sure to check your manual for the brand’s recommended card variant.
Read more: How To Store Kindle Books On Sd Card
11. Make Sure That Your Device Is Always Up To Date.

Manufacturers always have updated software and drivers. In order to prolong the lifespan of your card, you need to make sure that the sd card is always up to date. Thus, a simple way to do so is by making use of Windows device manager.
12. Don’t Switch Off Your Camera Too Quickly After Shooting.
This applies for when you continuously shoot multiple photos. Such as the case when taking burst photos. Hence, your device will need a little time to write data into the card. If you take multiple photos too fast, your camera will need to process this information and it will take time for it to store the information in the card. So when you turn off your camera right away after taking photos, it is susceptible to an error. While more modern cameras can continuously write data into the card, no longer have this issue, it is important to note that not all new ones in the market have this feature.
13. Read Your Device’s Manual, And Follow It Diligently.

Take out your manual from your device’s box. Yes, we know it might be coming from out of the attic, but it will benefit you to know how to care for your device. However, we do know that most devices function similarly, regardless of their brand. But, you do have to take into consideration that devices are like individuals. You have to treat each one separately, and check how manufacturers intend for you to use them. Thus, each and every device is built to function in different ways, therefore, how you operate it will highly depend on how your manufacturer designed it. So, pay attention to the instructions. It is important that while you do your own exploration, that you don’t end up damaging your device.
14. Keep The First Photo In Your Card Of A Personal Bag Tag.
Your SD Card gallery should have a photo of your basic contact information, so when your card gets lost, it can make it’s way back to you. Make sure this information isn’t your address, or your phone number at home. You can either put your email address, or an extra cell phone number you don’t use that often.
Read more: How To Store Apps On Sd Card
15. Always Lock Your Card.
Some memory cards have a lock mechanism on the side. Thus, it won’t be that hard to spot it. It’s a small plastic switch that you can adjust up and down. What’s the purpose of the lock? It’s to protect your information. When the card is in the locked position, you will not be able to modify or write on your memory card. When your card gets lost, you really can’t prevent someone from taking the information from the card. Therefore, keeping it locked will protect its contents initially, even if it’s just to some extent.
16. Never Put Your Card In Harsh Environmental Conditions.
Of course it doesn’t take a rocket scientist to figure this one out. However, there are many manufacturers who boast and advertise that their cards are shock, water, dust, x ray proof. But, no matter how these companies make these claims, protecting your card from any spills, drops or extreme temperature exposure is necessary to ensure that it does not compromise its performance.
17. Don’t Put All Your Eggs In One Basket – So To Speak.
If you put all your data on just one card, there’s a risk of over writing on your card. Thus, when you overwrite your card, you cause errors and might potentially corrupt your data. A solution to this is to keep multiple cards, as suggested. Another reason is that you might make your card susceptible to viruses that can corrupt your files.
18. Only Remove Your Card Once Your Host Device Is Turned Off.
Make sure to shut off your device, computer or phone before you remove your card. The obvious reason is because you will most likely avoid any interruptions when you turn your device off. Another reason is that you ensure that all information that is on your card is saved, thus preventing data loss. In addition, you prevent corrupting any of your files because your device might still be writing on the card while It’s turned on. Hence, when you remove it while it’s on, you potentially risk damaging your card.
Read more: How To Store Pictures On A Galaxy S5 SD Card
19. Clean The Contacts On Your Card.
Taking a good five to ten minutes out of your day to clean your card’s contacts will make your card function better. Ultimately, once your card is free of grime, dust or other forms of particulate matter. We recommend that you use a solution that is specifically for the use of cleaning your memory cards. You can use a Q-tip with Isopropyl alcohol to clean the metal contacts of your memory card. Otherwise, if you don’t feel comfortable doing this you can check out this memory card cleaning kit here:
20. Remove Viruses From Your SD Card

What happens when you get a virus on your memory card? There are a lot of possibilities, and some are data loss, corrupt files, random There are two ways to remove a virus, however be mindful of the precautions that come with it. Also, you do have to take into account the pros and cons that go with making use of each method. However, whichever you choose, in the end, if you do it with success, you will get a highly desirable outcome. In addition, a full functioning memory card back.
Method 1: Command Prompt
In order to remove a virus from your SD card without data loss, you can make use of a simple command prompt. If it’s your first time doing this, be extra careful. Any changes done in Command Prompt can mean getting technical issues to arise and complicate your system. We recommend that you contact a technician, or someone knowledgeable before accessing the Command Prompt on your computer. Otherwise, you can study the process before getting hands on, by watching walk through videos.
Method 2: Anti-Virus
Another way for you to remove a virus from your SD card is with anti-virus software. However, there are multiple ones in the market that you can use to remove it from your card. However safe this is for your system, there is a risk that you will lose some of your files, especially ones that is corrupted by the virus. Always make sure that you backup your files before you use an antivirus to remove an infection.
Our Top 5 Recommended SD Card Picks
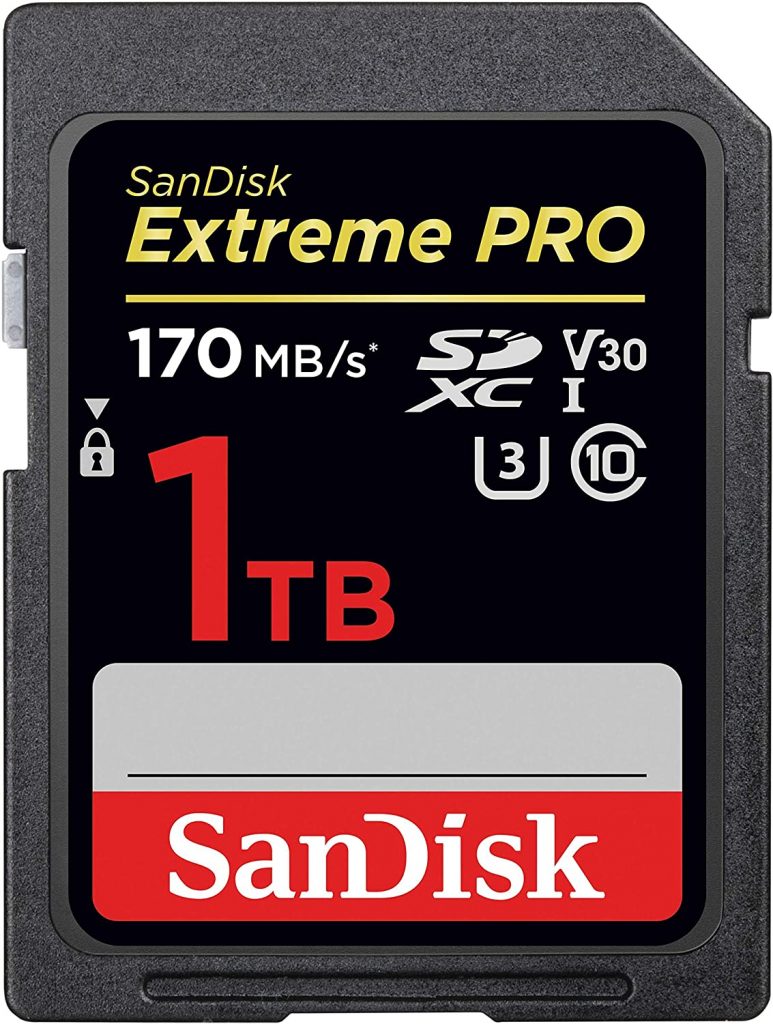
We want you to get the best flash memory card out there, so we took the liberty of sharing with you a couple of the market’s top of the line SD cards from SanDisk. Just a gentle reminder, that before you purchase, please check the compatibility of your card to your gadget or host device.
Shot speeds with up to 90MB/s, and transfer speeds up to 170 MB/s. This card is perfect for shooting 4K UHD videos and burst shot photos. The card features UHS Speed Class 3 and a V30 rating on it’s video capture rate 30 MB/s. This will indispensably accelerate your workflow, giving you more space to be creative with your output.
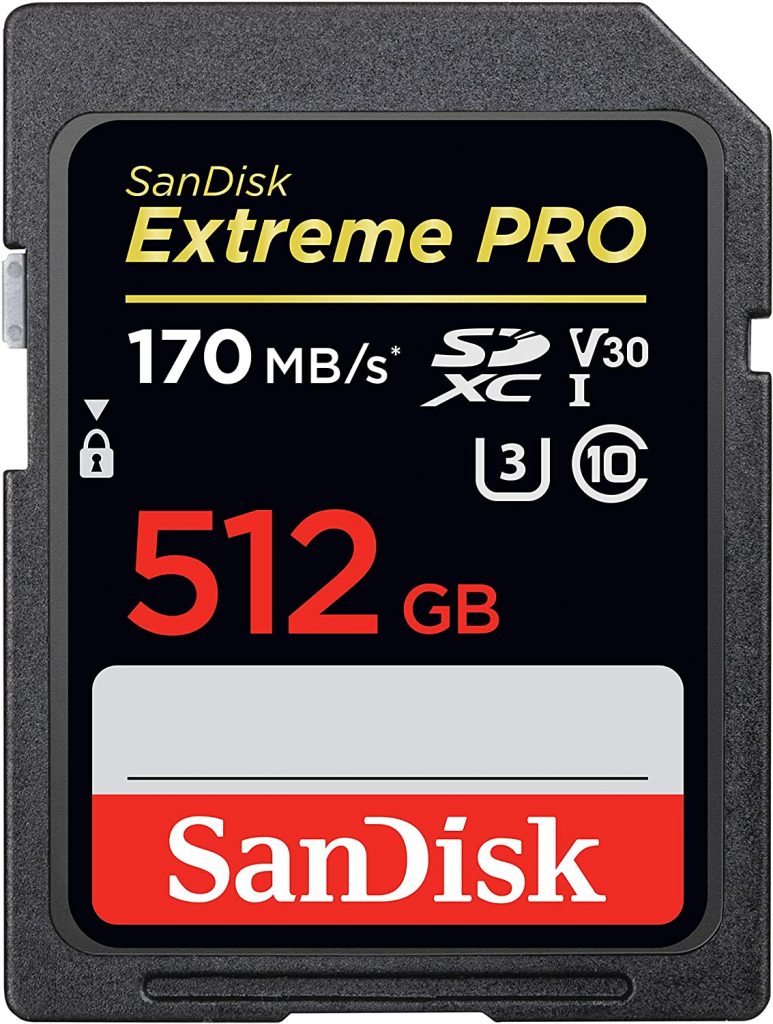
Just a different variant, but it’ll suit your 256GB device and allow it to run smoothly. This is perfect for when your job is connected to producing a mass number of media. You can film 4k UHD photos with this one without interruption, and even shoot burst shot photos so you don’t miss out on a single moment. The same write and read speeds apply as the previous card, however this variant is smaller so it’s more affordable too.
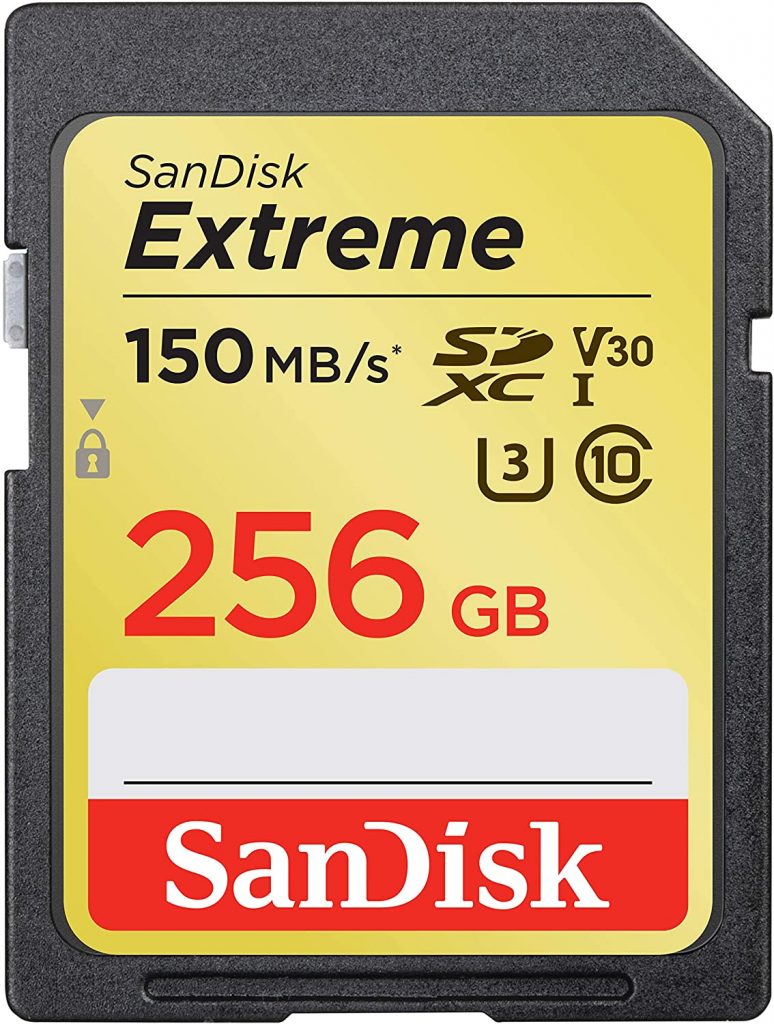
It’s the extreme card that’s all you’ll ever need. Otherwise, you’ll want to get more of the same model, at the very least. This is a high speed card that is great for taking 4K UHD videos, sequential burst shot photography, and ultimately high speed data transfer. The price is well worth it as you will be getting a card with these specs:
-
UHS Speed Class 3 (U3) and Video Speed Class 30 (V30)(2)
-
(2)UHS Video Speed Class 30 (V30)
Because of this, you’ll never go wrong with this in your camera pack.
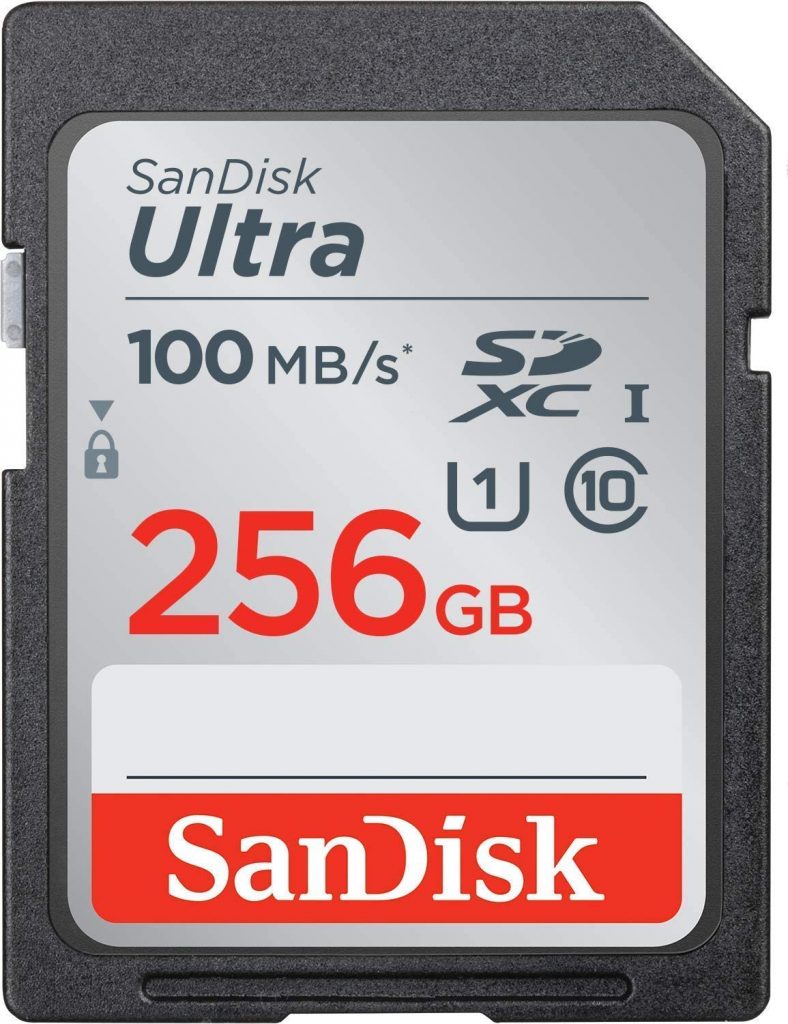
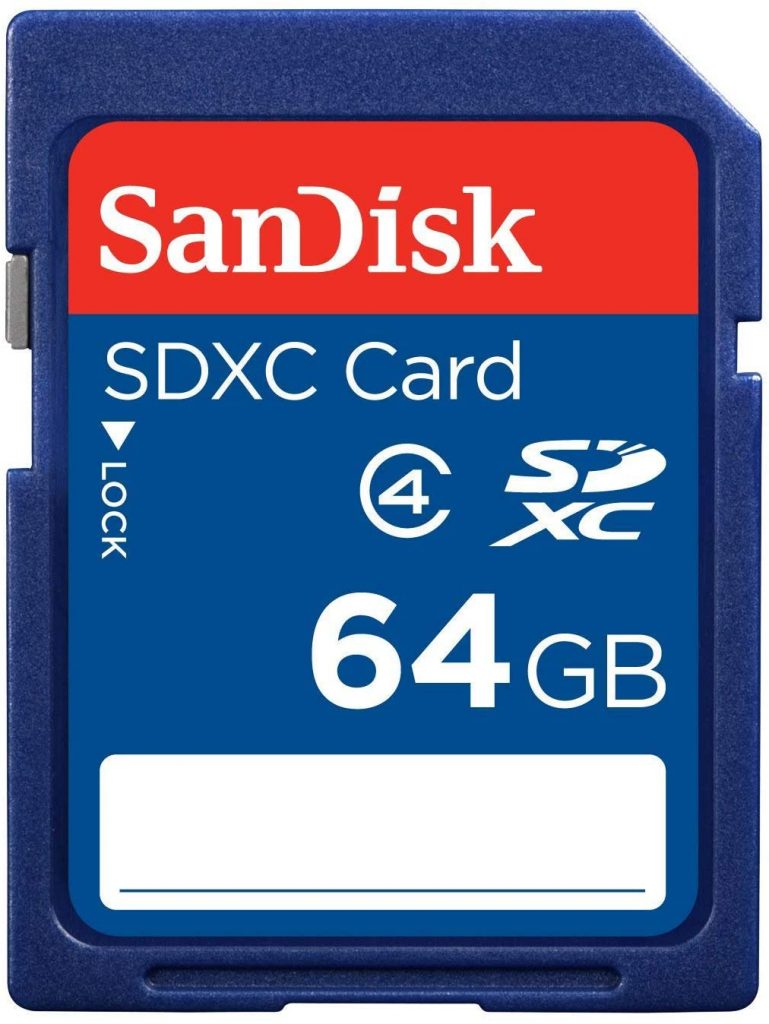
This is your typical go-to card. It’s one that you can lock, so that you can protect your information inside. Also, it’s one of the outdated models, devices that support this may be from way back in 2010. However, there is no setback when it comes to making use of it for basic files and photos you have stored on your computer. If you’ve used out all your cloud space, and you don’t want to lug around a hard drive on a business trip, then this is your guy.
So there you have it, hopefully our list sheds some light to fully maximize your SD card usage. It doesn’t really matter if your card is expensive or high capacity, what matters is that your host device supports your card. Also, make sure that you take care of your card no matter how durable the manufacturer claims it to be. We hope that you find this enlightening and help you choose the right card for you.
Was this page helpful?
At Storables.com, we guarantee accurate and reliable information. Our content, validated by Expert Board Contributors, is crafted following stringent Editorial Policies. We're committed to providing you with well-researched, expert-backed insights for all your informational needs.



0 thoughts on “How To Maximize Usage Of Sandisk SD Cards”