Home>Articles>How To Transfer Internal Storage To Sd Card In Samsung
Articles
How To Transfer Internal Storage To Sd Card In Samsung
Modified: October 20, 2024
Learn how to transfer data storage from internal storage to SD card in Samsung devices with our step-by-step guide. Free up space and optimize your device's storage capacity.
(Many of the links in this article redirect to a specific reviewed product. Your purchase of these products through affiliate links helps to generate commission for Storables.com, at no extra cost. Learn more)
Introduction
Transferring internal storage to an SD card can be a useful solution if you’re running out of space on your Samsung device. With the ability to expand your storage capacity, an SD card allows you to store more apps, photos, videos, and other files without compromising the device’s performance.
In this article, we will guide you through the process of transferring internal storage to an SD card on your Samsung device. Whether you have a Samsung Galaxy S series, Note series, or any other model, the steps provided here should be applicable.
Before we begin, it’s important to note that not all Samsung devices support this feature. Some older models or budget devices may not have the option to transfer internal storage to an SD card. We recommend checking your device’s specifications or consulting the user manual to ensure compatibility.
This guide will take you through the necessary steps to successfully transfer your internal storage to an SD card. We will outline how to format the SD card, backup your data, set the default storage to the external SD card, and transfer apps, photos, and videos. By following these steps, you’ll be able to free up valuable internal storage space and make the most of your Samsung device’s capabilities.
Key Takeaways:
- Expand your Samsung device’s storage capacity by transferring internal storage to an SD card. Check compatibility, format the SD card, back up data, set default storage, and transfer apps, photos, and videos for optimal results.
- Maximize your Samsung device’s performance and storage space by effectively utilizing an SD card. Follow the step-by-step guide to seamlessly transfer apps, photos, and videos, ensuring a smooth and efficient user experience.
Read more: How Important Are SD Cards?
Step 1: Check Compatibility
Before proceeding with the process of transferring internal storage to an SD card on your Samsung device, it’s crucial to check if your device supports this feature. While most newer Samsung models offer this functionality, it may not be available on older or budget devices.
To determine if your device supports transferring internal storage to an SD card, you can follow these simple steps:
- Go to the Settings menu on your Samsung device. You can access the Settings by swiping down from the top of the screen and tapping on the gear icon, or by finding the Settings app in your app drawer.
- In the Settings menu, scroll down and look for the “Storage” option. Tap on it to access the storage settings.
- Within the storage settings, check if there’s an option to “Transfer data to SD card” or a similar option. This may vary depending on your device model and the version of Android it’s running.
If you can’t find the option mentioned above, it’s likely that your device doesn’t support transferring internal storage to an SD card. In such cases, you may need to explore alternative methods of freeing up storage space, such as deleting unnecessary apps, clearing cache, or transferring files to a computer or cloud storage.
If your device does support transferring internal storage to an SD card, continue reading the following steps to learn how to proceed with the process.
Step 2: Formatting the SD Card
Before you can use your SD card as internal storage, it’s important to format it correctly. Formatting the SD card ensures that it’s compatible with your Samsung device and allows for seamless file transfer.
Follow these steps to format your SD card:
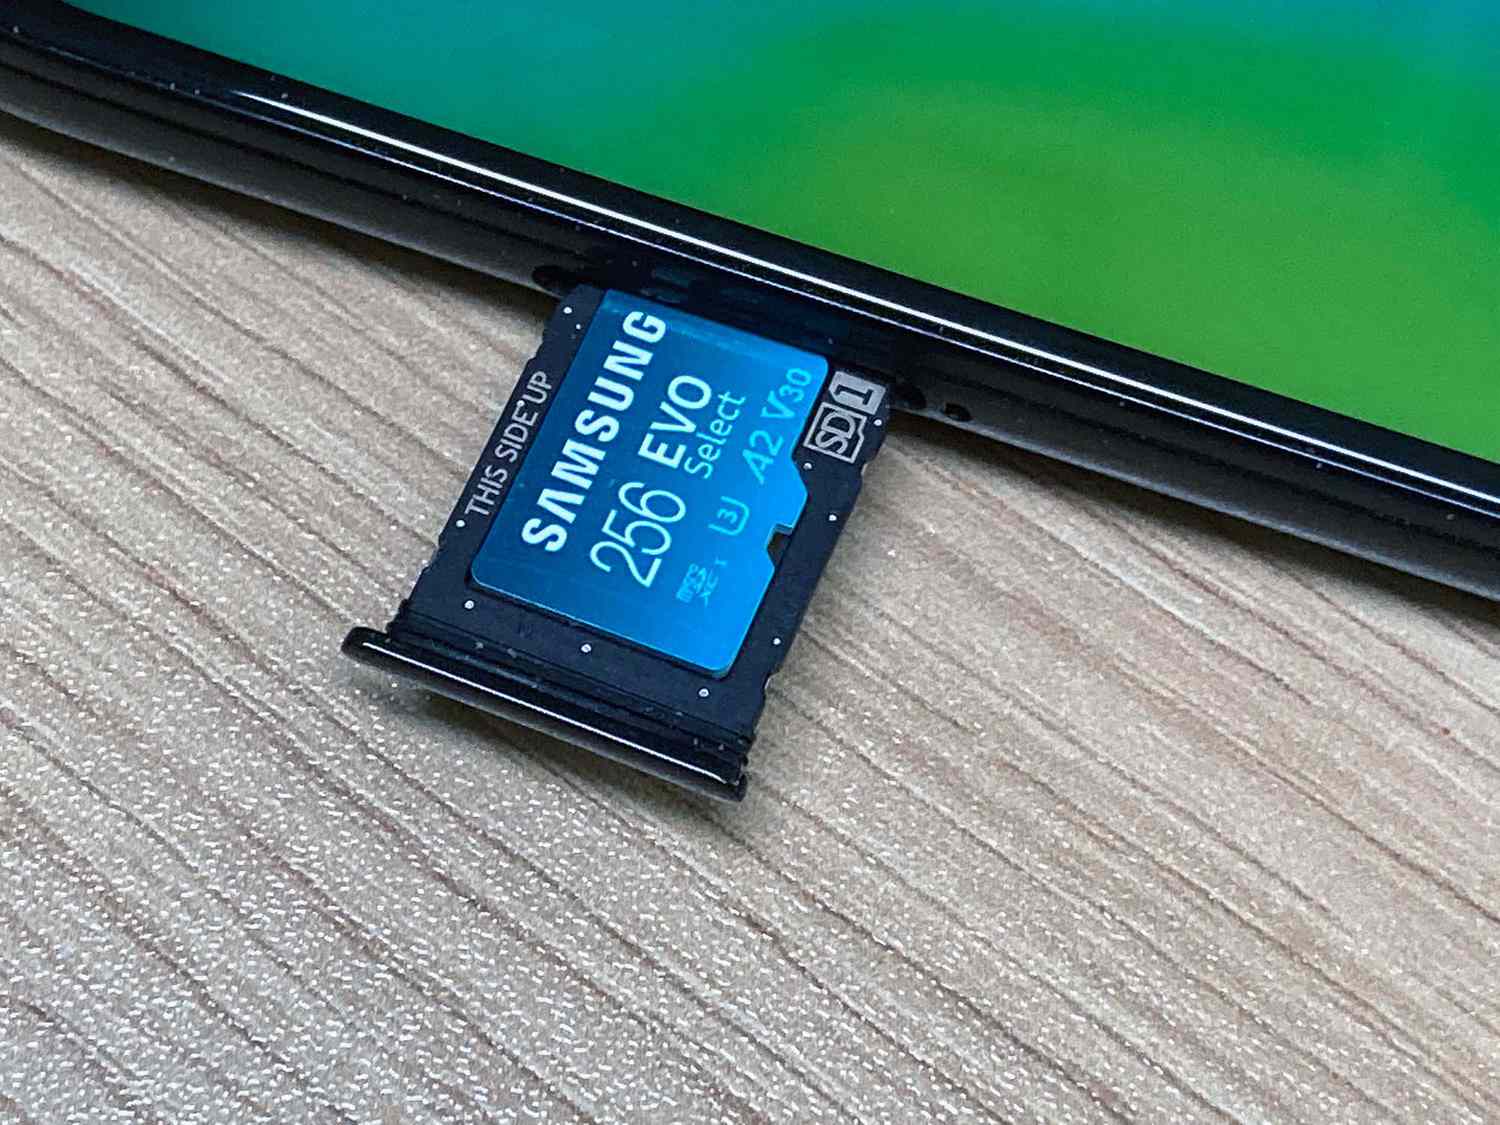
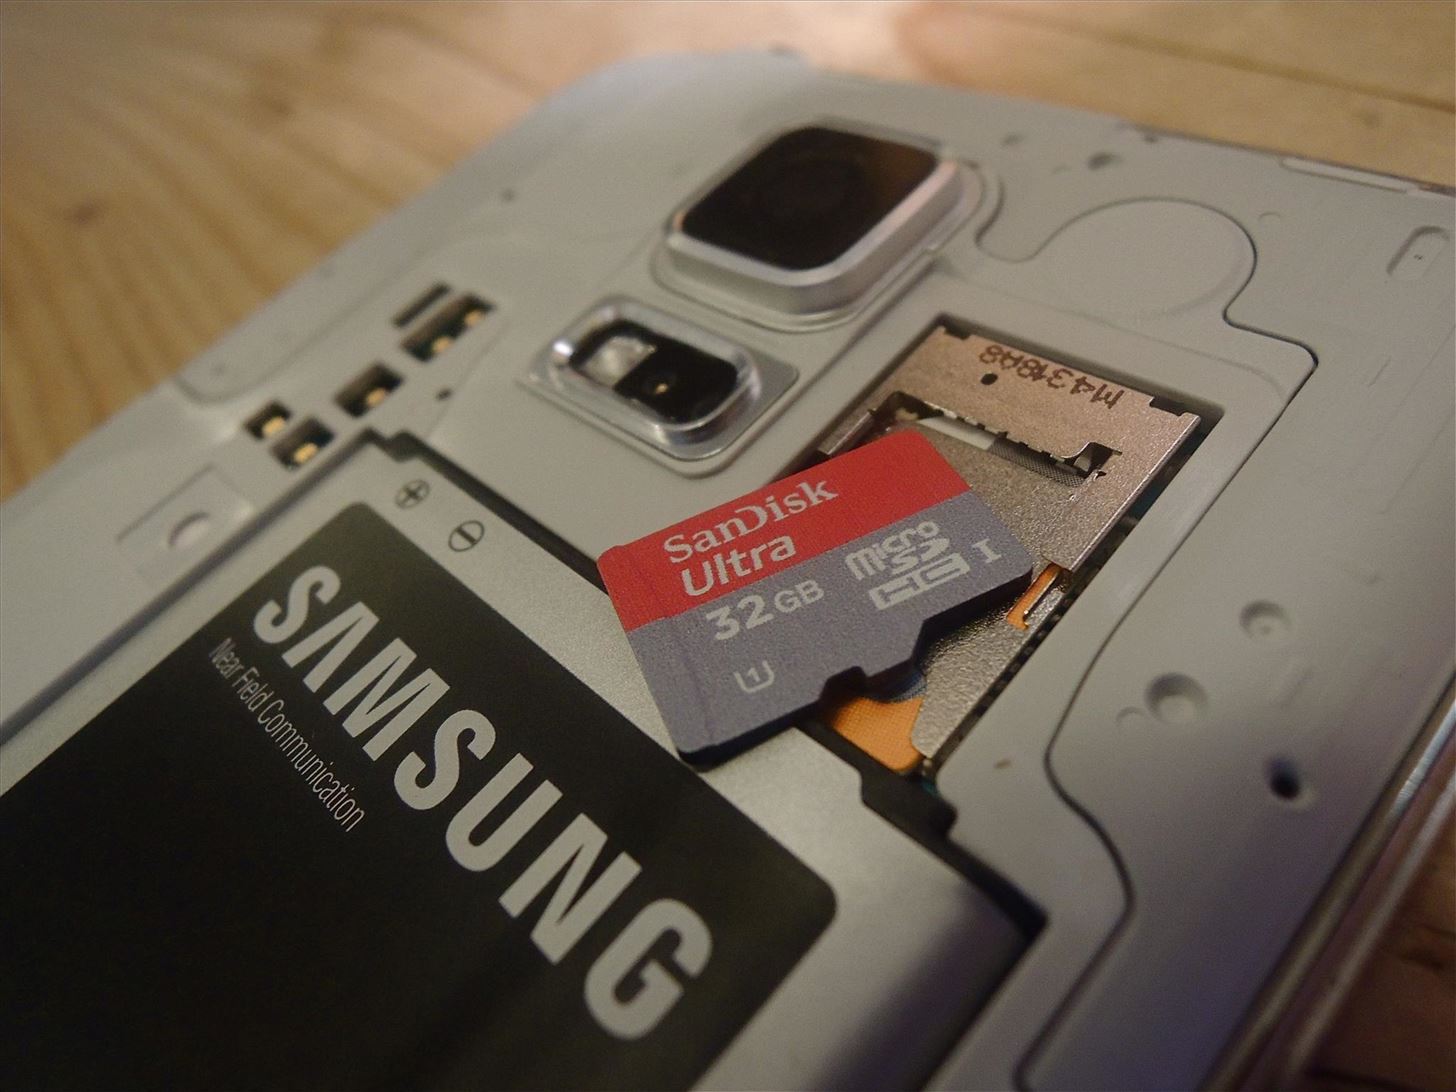
- Insert the SD card into your Samsung device’s SD card slot. If your device doesn’t have a dedicated slot, you may need an SD card adapter.
- Go to the Settings menu on your device and navigate to the Storage settings as we mentioned in Step 1.
- Scroll down until you find the SD card information. Tap on it to access the SD card settings.
- In the SD card settings, you should see an option to format the SD card. Tap on it to start the formatting process.
- A warning message may appear mentioning that formatting will erase all data on the SD card. Make sure you have backed up any important files before proceeding.
- Confirm the formatting process by tapping on “Format” or a similar option.
- Wait for the formatting process to complete. This may take a few moments depending on the size of your SD card.
- Once the formatting is complete, your SD card is now ready to be used as internal storage on your Samsung device.
It’s important to note that formatting the SD card will erase all existing data. Therefore, it’s crucial to back up any important files before formatting. You can do this by connecting the SD card to a computer and transferring the files to a safe location.
Now that your SD card is formatted, we can move on to the next step: backing up your data to ensure you don’t lose any important files during the transfer process.
Step 3: Backup Your Data
Before proceeding with the transfer of your internal storage to the SD card, it’s crucial to back up your data. This will ensure that you don’t lose any important files during the process.
Follow the steps below to backup your data:
- Connect your Samsung device to a computer using a USB cable.
- On your computer, navigate to the device’s internal storage through File Explorer or Finder.
- Select the files and folders you want to backup. This may include documents, photos, videos, music, and any other important data.
- Copy the selected files and paste them into a folder on your computer’s hard drive or an external storage device.
- Once the backup process is complete, safely disconnect your Samsung device from the computer.
It’s important to ensure that you have backed up all the necessary files before proceeding with the transfer. This will provide peace of mind and allow you to restore your files if anything goes wrong during the process.
Additionally, it’s recommended to double-check the backup to ensure that all the files have been copied correctly. You can compare the file sizes and verify that all the important data is included.
With your data securely backed up, you can now proceed to the next step, where we will guide you on setting the default storage to the external SD card.
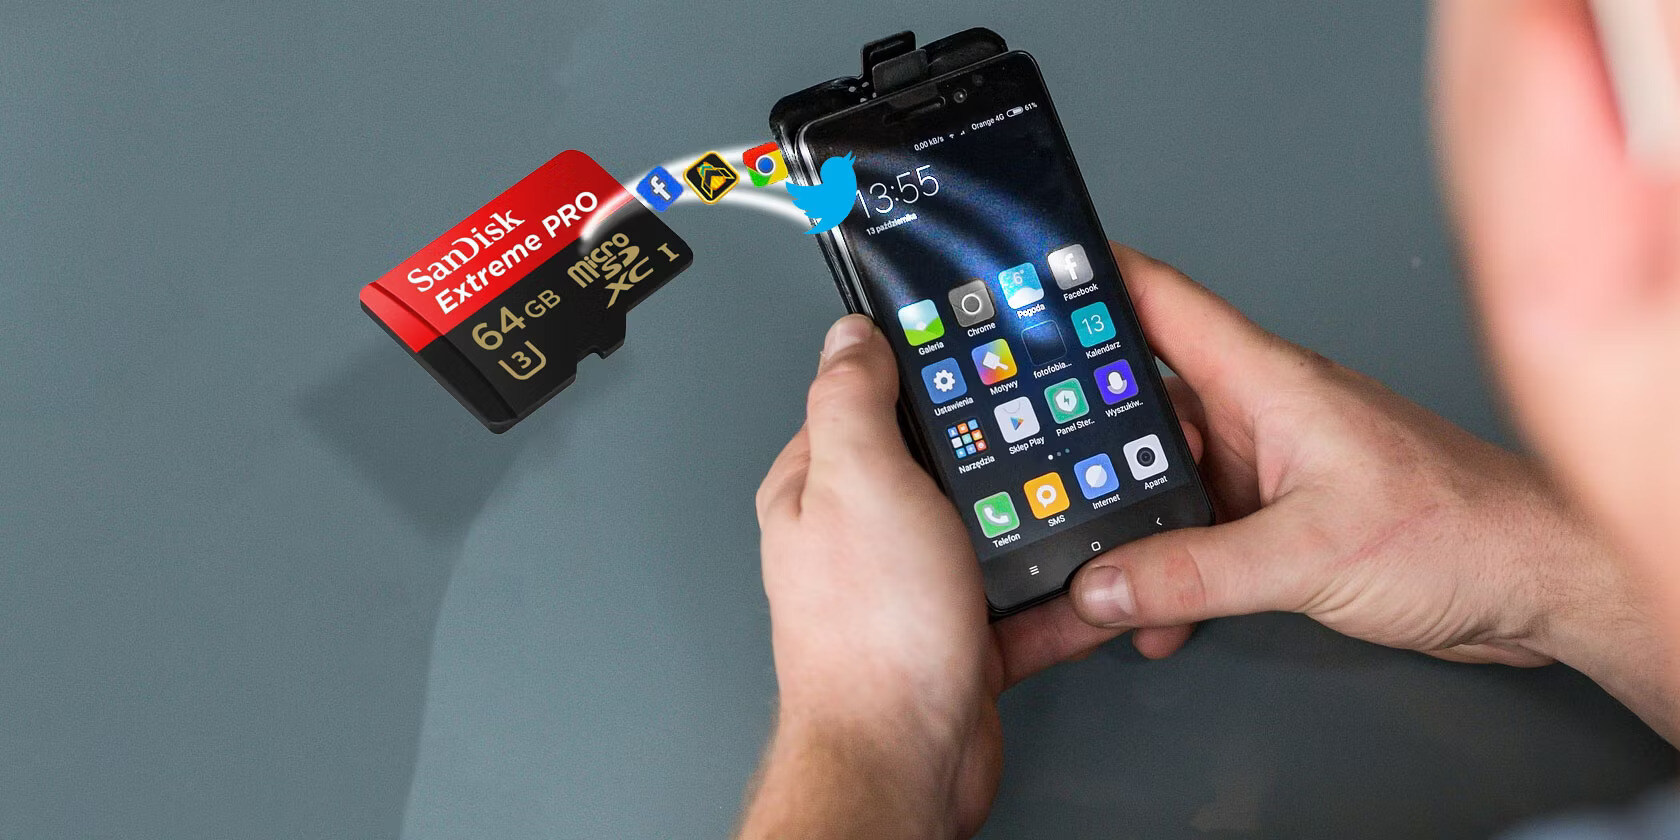
To transfer internal storage to SD card on a Samsung device, go to Settings > Device care > Storage > Advanced > Transfer data. Select the files you want to move and follow the prompts to complete the transfer.
Step 4: Set Default Storage to External SD Card
Once you have formatted the SD card and backed up your data, it’s time to set the default storage location to the external SD card on your Samsung device. This will ensure that any new content, such as apps, photos, and downloads, are automatically saved to the SD card.
Follow these steps to set the default storage to the external SD card:
- Go to the Settings menu on your Samsung device.
- Navigate to the Storage settings, which you can find by scrolling down or searching for “Storage” in the Settings search bar.
- In the Storage settings, look for an option called “Default storage” or “Storage options”. Tap on it.
- You should see a list of available storage options. Select the external SD card as the default storage by tapping on it.
- If prompted, confirm your selection by tapping on “Apply” or a similar option.
- Once you have set the default storage to the external SD card, any new apps, photos, videos, or downloads will be saved to the SD card by default.
It’s important to note that not all apps support being moved to the SD card. Some apps, particularly system apps or apps that require constant access to the device’s internal storage, cannot be moved. In such cases, only a portion of the app’s data may be transferred to the SD card.
With the default storage set to the external SD card, you have successfully configured your Samsung device to use the SD card for saving new content. In the next step, we will guide you on transferring apps to the SD card.
Read more: How To Maximize Usage Of Sandisk SD Cards
Step 5: Transfer Apps to SD Card
Now that you’ve set the default storage to the external SD card, it’s time to transfer apps from the internal storage to the SD card. This will help free up space on your device’s internal storage and allow you to install more apps without running out of space.
Follow the steps below to transfer apps to the SD card:
- Go to the Settings menu on your Samsung device.
- Navigate to the Apps or Applications settings. This may vary depending on your device model and the version of Android it’s running.
- In the Apps settings, you should see a list of all the installed apps on your device.
- Tap on the app that you want to transfer to the SD card.
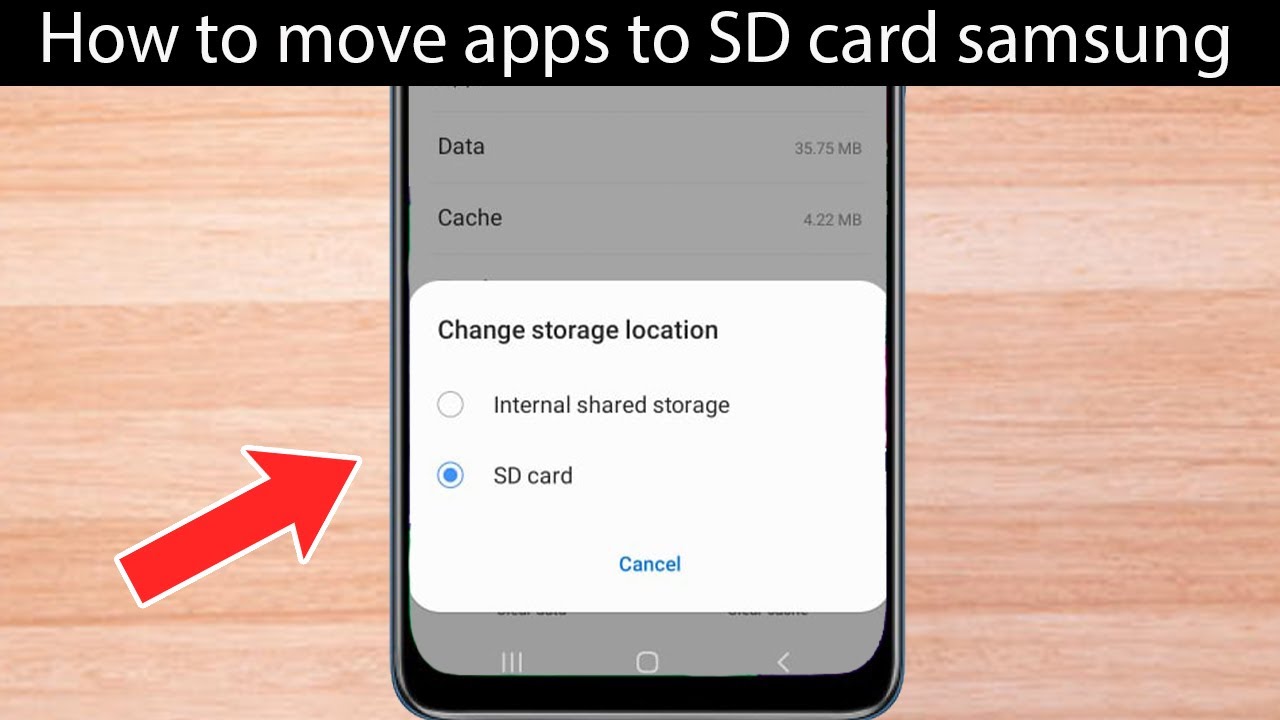
- In the app’s details page, look for an option called “Storage” or “Storage usage”. Tap on it.
- You should see an option to “Change” or “Move to SD card”. Tap on it.
- Wait for the app to be transferred to the SD card. This may take a few moments depending on the size of the app.
- Repeat steps 4 to 7 for each app you want to transfer to the SD card.
It’s important to note that not all apps can be transferred to the SD card. System apps and certain apps that require constant access to the device’s internal storage may not have the option to be moved. In such cases, you can only move a portion of the app’s data to the SD card.
Additionally, keep in mind that transferring apps to the SD card may slightly affect their performance. While most apps function normally when moved to the SD card, some apps may experience a minor decrease in speed or responsiveness.
By transferring apps to the SD card, you can free up valuable internal storage space on your Samsung device. In the next step, we will guide you on how to move photos and videos to the SD card.
Step 6: Move Photos and Videos to SD Card
Moving your photos and videos to the SD card can significantly alleviate the storage burden on your Samsung device. By doing so, you can free up space on your internal storage and ensure that your precious memories are safely stored on the expandable SD card. Follow the steps below to move your photos and videos:
- Open the Gallery app on your Samsung device.
- Navigate to the album or folder containing the photos and videos you want to move.
- Tap and hold on a photo or video to enable selection mode. Alternatively, you can tap on the “Select” option if it’s available.
- Select all the photos and videos you want to move by tapping on them individually or using the “Select all” option.
- Once you have selected all the desired media files, look for an option such as “Move” or “Move to SD card”. Tap on it.
- Wait while the selected photos and videos are moved to the SD card. The time it takes will depend on the number and size of the files.
- Repeat steps 3 to 6 to move additional photos and videos to the SD card.
After moving your photos and videos to the SD card, you can delete them from your device’s internal storage to free up more space. However, before deleting them, make sure you have verified that the files have been successfully transferred to the SD card.
It’s important to note that moving media files to the SD card may slightly affect their accessibility and loading speed. Some apps or functions that rely on quick access to photos and videos may experience a minor delay when accessing files stored on the SD card.
By following these steps, you can effectively organize and store your photos and videos on the SD card, reducing the clutter on your device’s internal storage.
With the completion of Step 6, you have successfully transferred your internal storage to the SD card on your Samsung device. By taking advantage of the additional storage capacity, you can now enjoy more space for apps, photos, videos, and other files without worrying about running out of room.
We hope this guide has been helpful in helping you manage your device’s storage. Properly utilizing the SD card can enhance your overall Samsung device experience by allowing you to store more content and keep your device running smoothly.
If you have any further questions or encounter any issues during the process, don’t hesitate to consult the user manual or reach out to the Samsung support team for assistance.
Happy managing and enjoy your new storage space!
Conclusion
Transferring your internal storage to an SD card can be a game-changer when it comes to managing storage space on your Samsung device. By following the step-by-step guide outlined in this article, you can successfully make the most of your device’s expandable storage capabilities.
We started by checking the compatibility of your device to ensure that it supports transferring internal storage to an SD card. Next, we walked you through the process of formatting the SD card, which is a crucial step to ensure proper compatibility and functionality.
Backing up your data was the next vital step to safeguard your files before proceeding with the transfer. By connecting your device to a computer and copying the important files to a safe location, you can ensure that no precious data will be lost during the process.
Setting the default storage to the external SD card is a pivotal step that allows you to automatically save new content to the SD card, freeing up valuable internal storage space.
We then guided you on transferring apps to the SD card, although it’s important to note that not all apps can be moved. Nevertheless, by transferring compatible apps, you can optimize your device’s performance and have more room for new installations.
Moving your photos and videos to the SD card is another essential step to maximize your storage space. By doing so, you can keep your precious memories safe while freeing up internal storage for other purposes.
In conclusion, with the completion of these steps, you have successfully transferred your internal storage to the SD card on your Samsung device. By taking advantage of the additional storage capacity, you can enjoy more space for apps, photos, videos, and other files without worrying about running out of storage space.
Remember to periodically check the storage space on your device and SD card and manage your files accordingly. By optimizing your storage usage, you can ensure that your device runs smoothly and efficiently.
We hope this guide has been helpful in assisting you with transferring your internal storage to an SD card. If you have any further questions or encounter any difficulties, feel free to consult the user manual or reach out to the Samsung support team for assistance.
Happy managing and enjoy your newfound storage space!
Frequently Asked Questions about How To Transfer Internal Storage To Sd Card In Samsung
Was this page helpful?
At Storables.com, we guarantee accurate and reliable information. Our content, validated by Expert Board Contributors, is crafted following stringent Editorial Policies. We're committed to providing you with well-researched, expert-backed insights for all your informational needs.


0 thoughts on “How To Transfer Internal Storage To Sd Card In Samsung”