Articles
How To Store Pictures On A Galaxy S5 SD Card
Modified: October 20, 2024
Learn the best methods for storing pictures on your Galaxy S5 SD card. Read our articles for step-by-step instructions and expert tips.
(Many of the links in this article redirect to a specific reviewed product. Your purchase of these products through affiliate links helps to generate commission for Storables.com, at no extra cost. Learn more)
Introduction
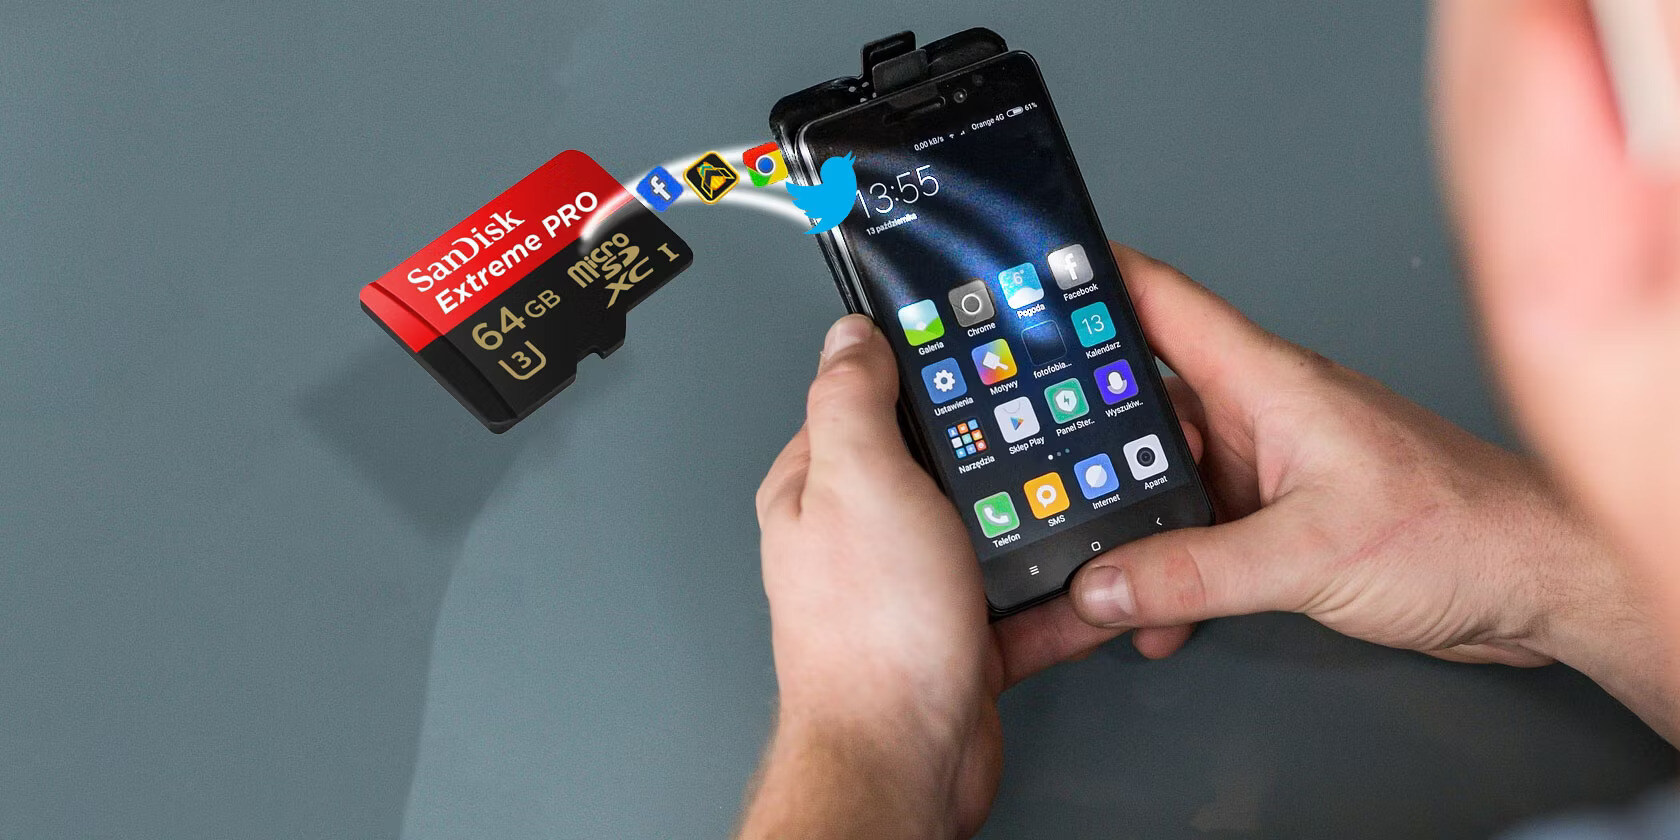
Storing pictures on an SD card is a convenient way to save and manage your precious memories. This is especially useful for Samsung Galaxy S5 owners, as it allows for more storage space on the device itself. In this article, we will guide you through the process of storing pictures on your SD card with ease.
The Galaxy S5 comes with a microSD card slot, which allows you to insert an external SD card for expanded storage. By default, the pictures you capture with the device’s camera are saved onto the phone’s internal storage. However, you can change the storage settings to direct the pictures to the SD card instead. This not only frees up space on your phone but also ensures that your pictures are safely stored.
In the following steps, we will walk you through the process of inserting the SD card, changing the storage settings, transferring pictures to the SD card, viewing the pictures stored on the SD card, and managing the pictures on the card.
Whether you want to free up space on your device or have a backup of your pictures, storing them on an SD card is a practical solution. Let’s dive into the step-by-step process for accomplishing this on your Galaxy S5.
Key Takeaways:
- Storing pictures on an SD card in your Galaxy S5 is a breeze! Simply insert the card, change storage settings, transfer existing pictures, and manage them easily using the Gallery app. It’s a practical way to free up space and keep your memories safe.
- Don’t forget to periodically back up your pictures stored on the SD card to ensure their safety. With the right management techniques, you can keep your photo collection organized, delete unwanted pictures, and even create new folders for specific events or themes.
Read more: How To Replace Glass On Galaxy S5
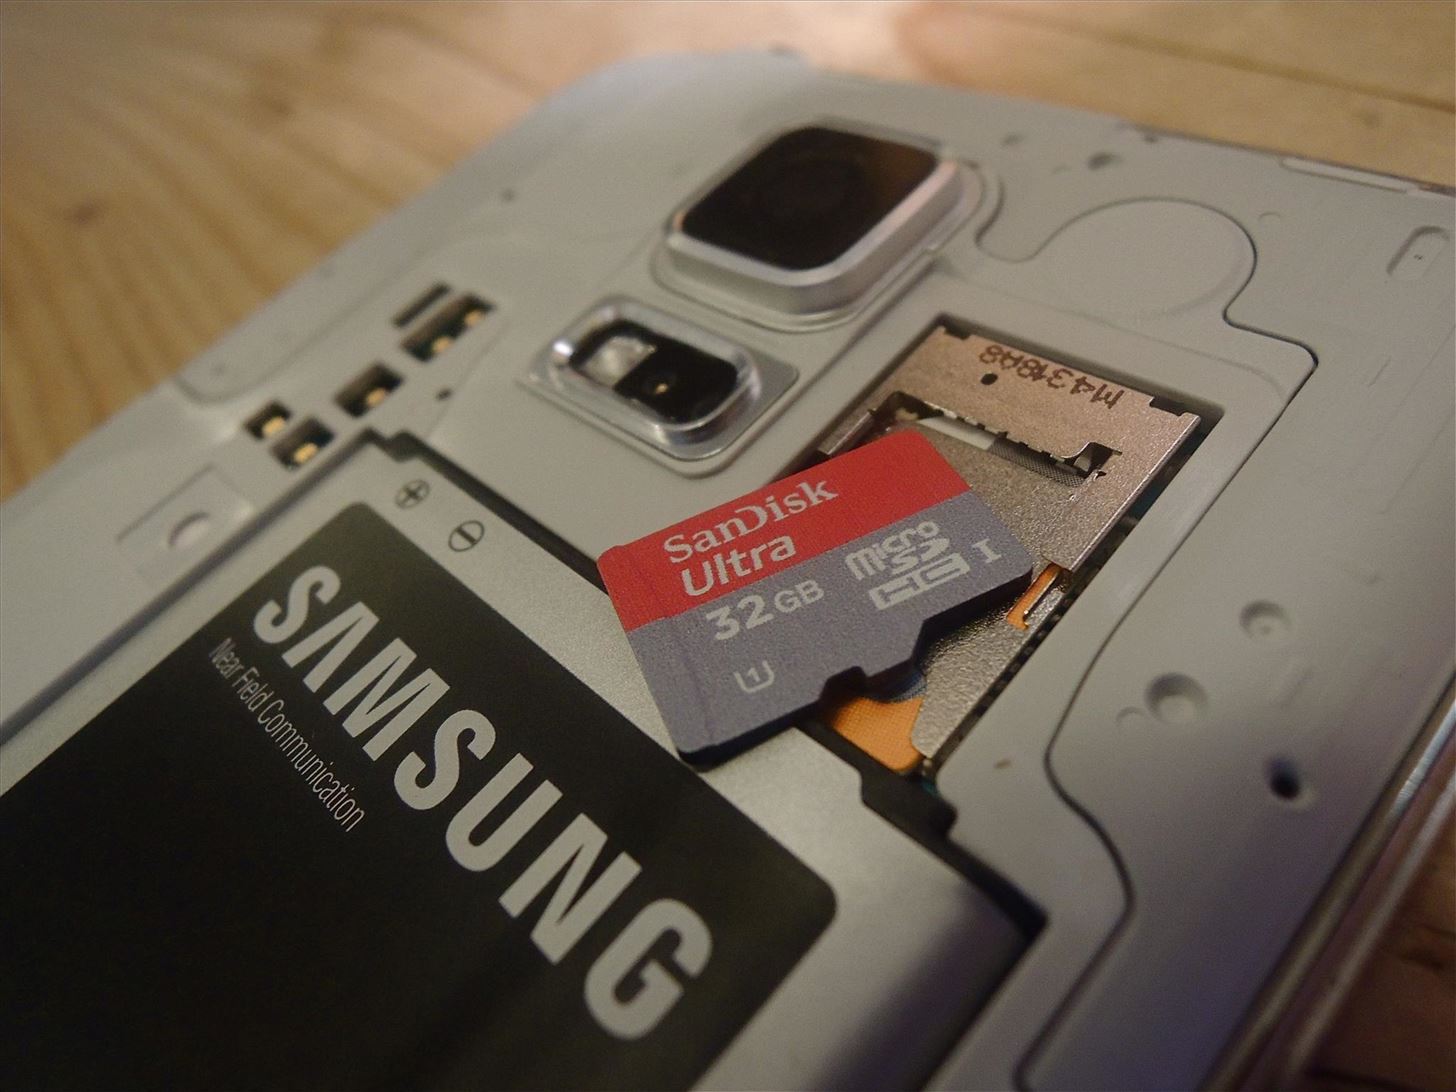
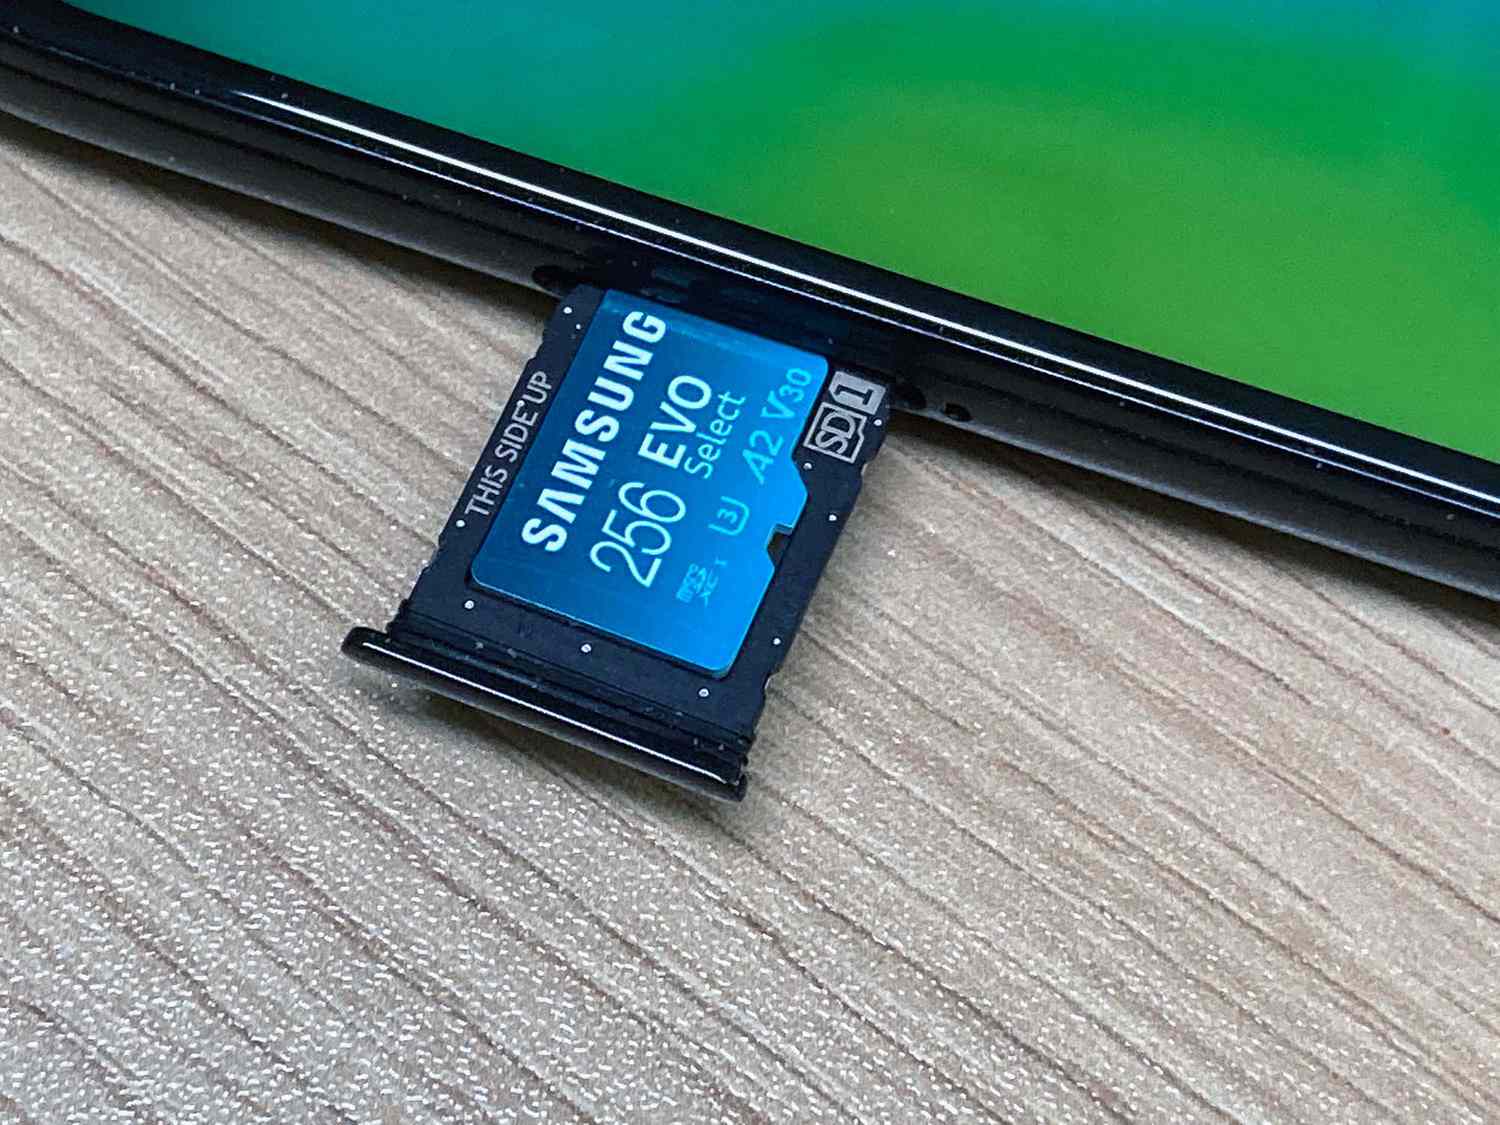
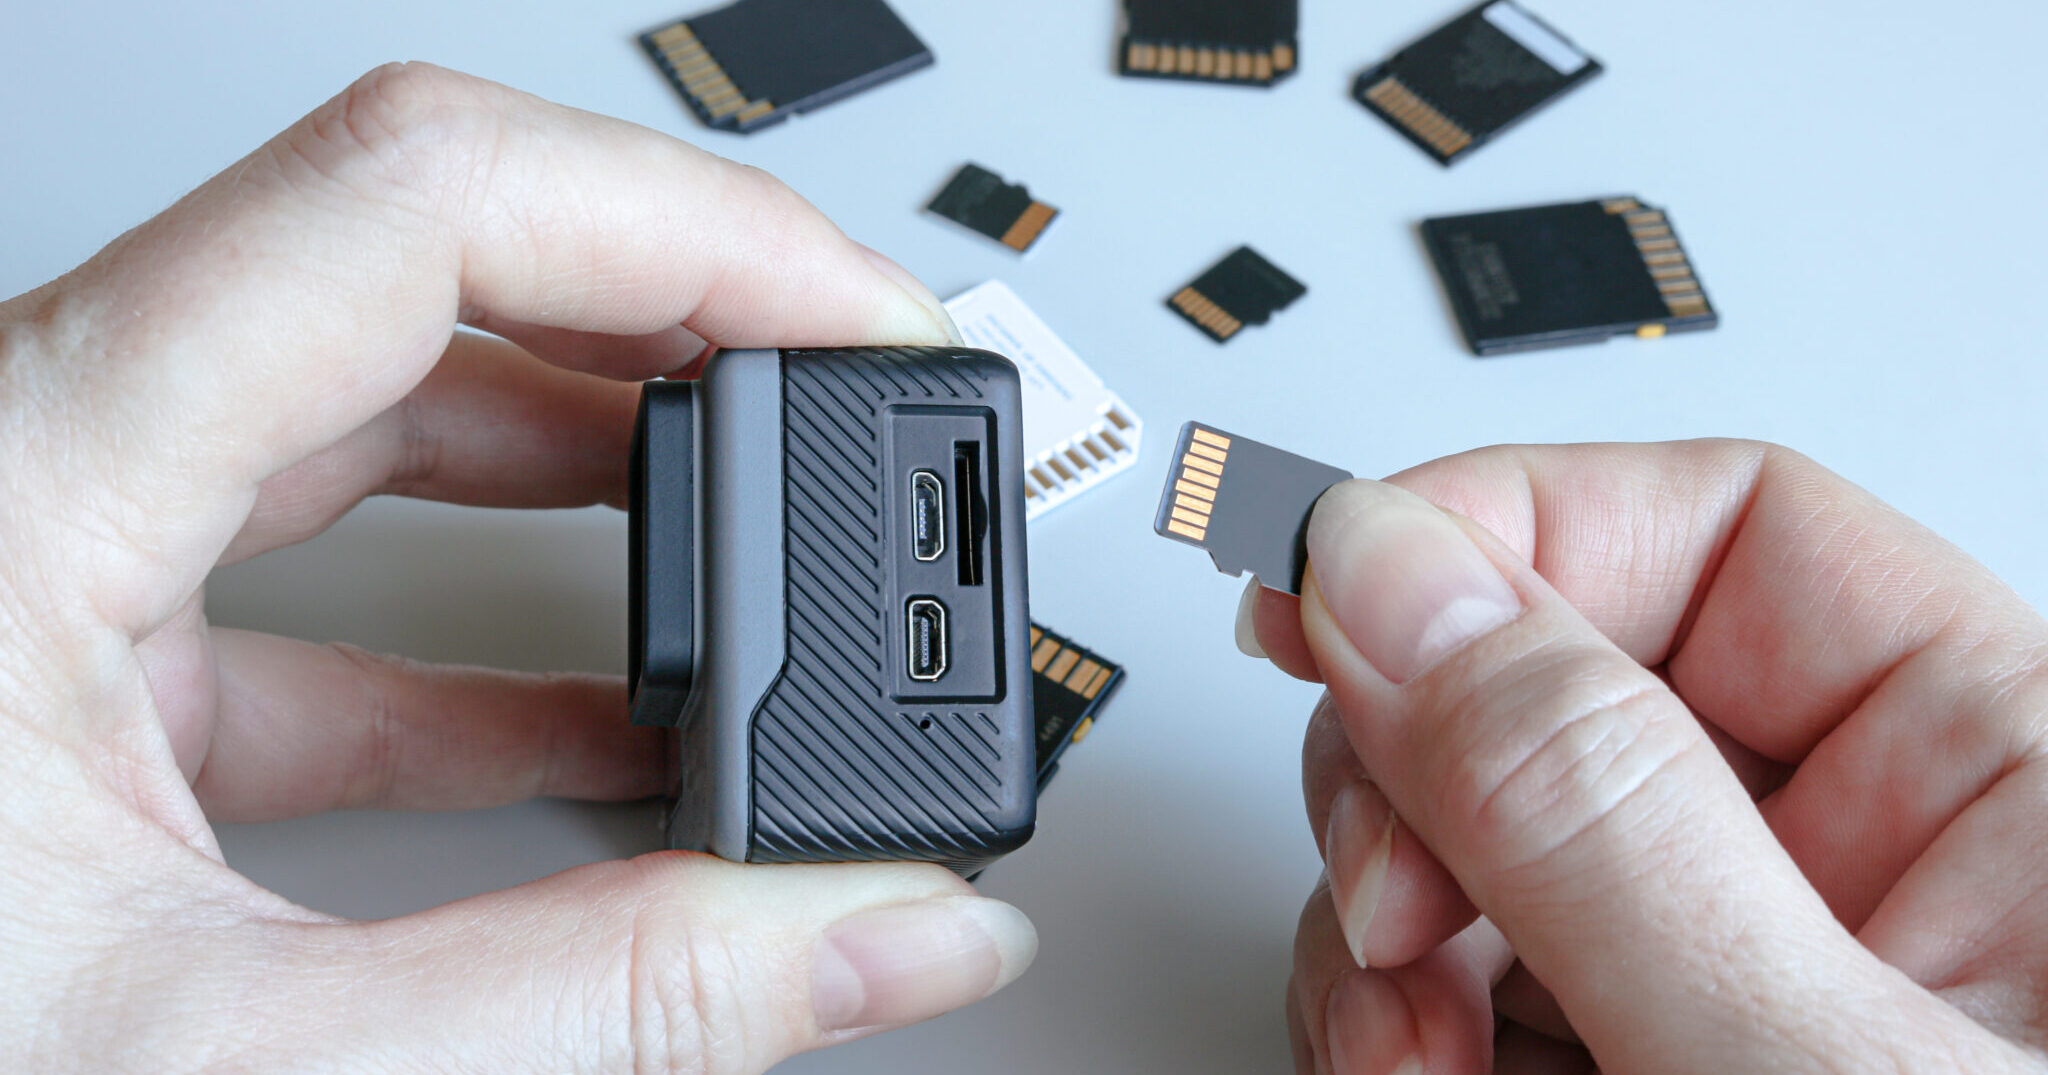
Step 1: Inserting the SD card into Galaxy S5
The first step in storing pictures on your SD card is to insert the card into your Galaxy S5. Follow these simple instructions:
- Locate the SD card slot on your Galaxy S5. It is usually located on the side of the device, near the power button.
- Use a SIM card removal tool or a small paperclip to eject the SD card tray. Insert the tool into the small hole next to the SD card slot and gently push it in until the tray pops out.
- Remove the tray from the device and place your SD card on it.
- Ensure that the gold contacts on the SD card are facing downwards and align the SD card with the tray’s slot.
- Carefully slide the tray back into the device until it clicks securely into place.
Once the SD card is successfully inserted into your Galaxy S5, you can proceed to the next step of changing the storage settings.
Step 2: Changing storage settings
After inserting the SD card into your Galaxy S5, the next step is to change the storage settings to direct the pictures to the SD card. Follow these instructions:
- Open the Camera app on your Galaxy S5 by tapping on the camera icon.
- Tap on the Gear icon or Settings icon, usually located in the top left or right corner of the camera screen.
- Scroll down and tap on “Storage.”
- Select “SD card” as the storage location for your pictures.
- Exit the Camera settings and start capturing pictures.
By changing the storage settings, any pictures you capture with the Galaxy S5’s camera will now be saved directly onto the SD card. This ensures that your device’s internal storage remains free for other purposes.
It is important to note that some Galaxy S5 models may have slightly different menu options or settings names. However, the overall process for changing the storage settings will remain consistent. If you cannot find the exact menu options mentioned above, look for similar options related to storage or saving location in your camera settings.
With the storage settings successfully changed, you are now ready to transfer your existing pictures to the SD card. Proceed to the next step for detailed instructions.
Step 3: Transferring pictures to SD card
Now that you have changed the storage settings on your Galaxy S5, it’s time to transfer existing pictures to the SD card. Here’s how you can do it:
- Open the Gallery app on your Galaxy S5 by tapping on the Gallery icon.
- Navigate to the album or folder that contains the pictures you want to transfer.
- Tap and hold on a picture to select it. You can also tap on multiple pictures to select them.
- Once the pictures are selected, tap on the three-dot menu icon or the More Options icon, usually located in the top right corner of the screen.
- From the menu that appears, select “Move” or “Move to SD card.”
- Choose the SD card as the destination folder for the selected pictures.
- Tap on “Move” or “OK” to start the transfer process.
The selected pictures will now be transferred from the device’s internal storage to the SD card. Depending on the number and size of the pictures, the transfer process may take some time. Ensure that your device has sufficient battery power or is connected to a power source during the transfer to avoid any interruptions.
Once the transfer is complete, you can verify that the pictures are now stored on the SD card by proceeding to the next step.
When storing pictures on an SD card in a Galaxy S5, make sure to properly insert the card into the device and then use the “My Files” app to move the pictures from the internal storage to the SD card. This will help free up space on your phone and keep your pictures safe.
Step 4: Viewing pictures stored on SD card
After transferring pictures to the SD card on your Galaxy S5, you can easily view them whenever you want. Here’s how:
- Open the Gallery app on your Galaxy S5 by tapping on the Gallery icon.
- By default, the Gallery will display pictures from both the internal storage and the SD card. To view only the pictures stored on the SD card, tap on the three-dot menu icon or the More Options icon, usually located in the top right corner of the screen.
- From the menu that appears, select “Folders” or “Albums.”
- A list of folders or albums will be displayed. Look for the SD card folder or album, usually named “SD card” or “External Storage.
- Tap on the SD card folder or album to access and view the pictures stored on it.
- You can now scroll through the pictures, tap on them to view them in full-screen mode, and even perform actions like sharing or editing them.
By following these steps, you can easily access and view the pictures that are stored on the SD card of your Galaxy S5. This gives you a convenient way to relive your memories and share them with others.
Now that you know how to view your pictures on the SD card, let’s move on to the final step: managing the pictures stored on the card.
Read more: How To Mop With Roborock S5 Max
Step 5: Managing pictures on SD card
Managing the pictures stored on your SD card is essential to keep your photo collection organized and easily accessible. Here are some tips on how to manage your pictures:
- Deleting pictures: To remove unwanted pictures from the SD card, open the Gallery app, navigate to the picture you want to delete, tap and hold on it, and select “Delete” from the menu. You can also select multiple pictures and delete them simultaneously.
- Renaming folders: If you want to change the name of a folder where pictures are stored on the SD card, you can do so by using a file manager app. Open the file manager app, navigate to the SD card folder containing the pictures, tap and hold on the folder, and select “Rename” or “Edit” to change its name.
- Creating new folders: To create new folders on the SD card for better organization, use a file manager app. Open the file manager app, navigate to the SD card, and tap on the “New Folder” option. Enter a name for the new folder and tap “OK” or “Create.”
- Moving pictures between folders: If you want to rearrange pictures on the SD card by moving them to different folders, open the Gallery app, select the pictures you want to move, tap on the three-dot menu icon or the More Options icon, and choose the “Move” option. Select the destination folder and tap “Move” or “OK” to complete the process.
By implementing these management techniques, you can keep your SD card photo collection organized, delete unwanted pictures, rename folders for better categorization, create new folders for specific events or themes, and move pictures between folders as needed.
Remember to periodically back up your pictures stored on the SD card to a computer or cloud storage service to ensure that your precious memories are safely preserved, even in the event of a lost or damaged SD card.
With these management tips, you are now fully equipped to effectively manage your pictures stored on the SD card of your Galaxy S5.
Conclusion
Storing pictures on an SD card on your Galaxy S5 is a practical way to free up space on your device and keep your memories safe. By following the simple steps outlined in this article, you can easily insert an SD card, change the storage settings, transfer pictures to the SD card, view and manage the pictures stored on it.
Remember to always insert the SD card properly and ensure that the storage settings are set to direct pictures to the card. Transferring existing pictures to the SD card is as simple as selecting them and moving them to the appropriate folder. The Gallery app allows you to conveniently view and manage the pictures stored on the SD card, including deleting unwanted pictures, renaming folders, creating new folders, and moving pictures between folders.
Keep in mind that regular backups of your pictures are crucial to ensure their safety. Consider backing up your SD card to a computer or a cloud storage service to prevent any potential loss of your precious memories.
By implementing these steps and best practices, you can make the most of the SD card feature on your Galaxy S5, freeing up space on your device while securely storing and managing your pictures.
Now, go ahead and enjoy capturing and storing your memories with the convenience and flexibility offered by your SD card on the Galaxy S5.
Frequently Asked Questions about How To Store Pictures On A Galaxy S5 SD Card
Was this page helpful?
At Storables.com, we guarantee accurate and reliable information. Our content, validated by Expert Board Contributors, is crafted following stringent Editorial Policies. We're committed to providing you with well-researched, expert-backed insights for all your informational needs.


0 thoughts on “How To Store Pictures On A Galaxy S5 SD Card”