Home>Home Security and Surveillance>Yi Outdoor Camera: How To Insert Micro SD Card
Home Security and Surveillance
Yi Outdoor Camera: How To Insert Micro SD Card
Modified: March 6, 2024
Enhance your home security and surveillance with the Yi Outdoor Camera. Learn how to easily insert a micro SD card for continuous recording and peace of mind.
(Many of the links in this article redirect to a specific reviewed product. Your purchase of these products through affiliate links helps to generate commission for Storables.com, at no extra cost. Learn more)
Introduction
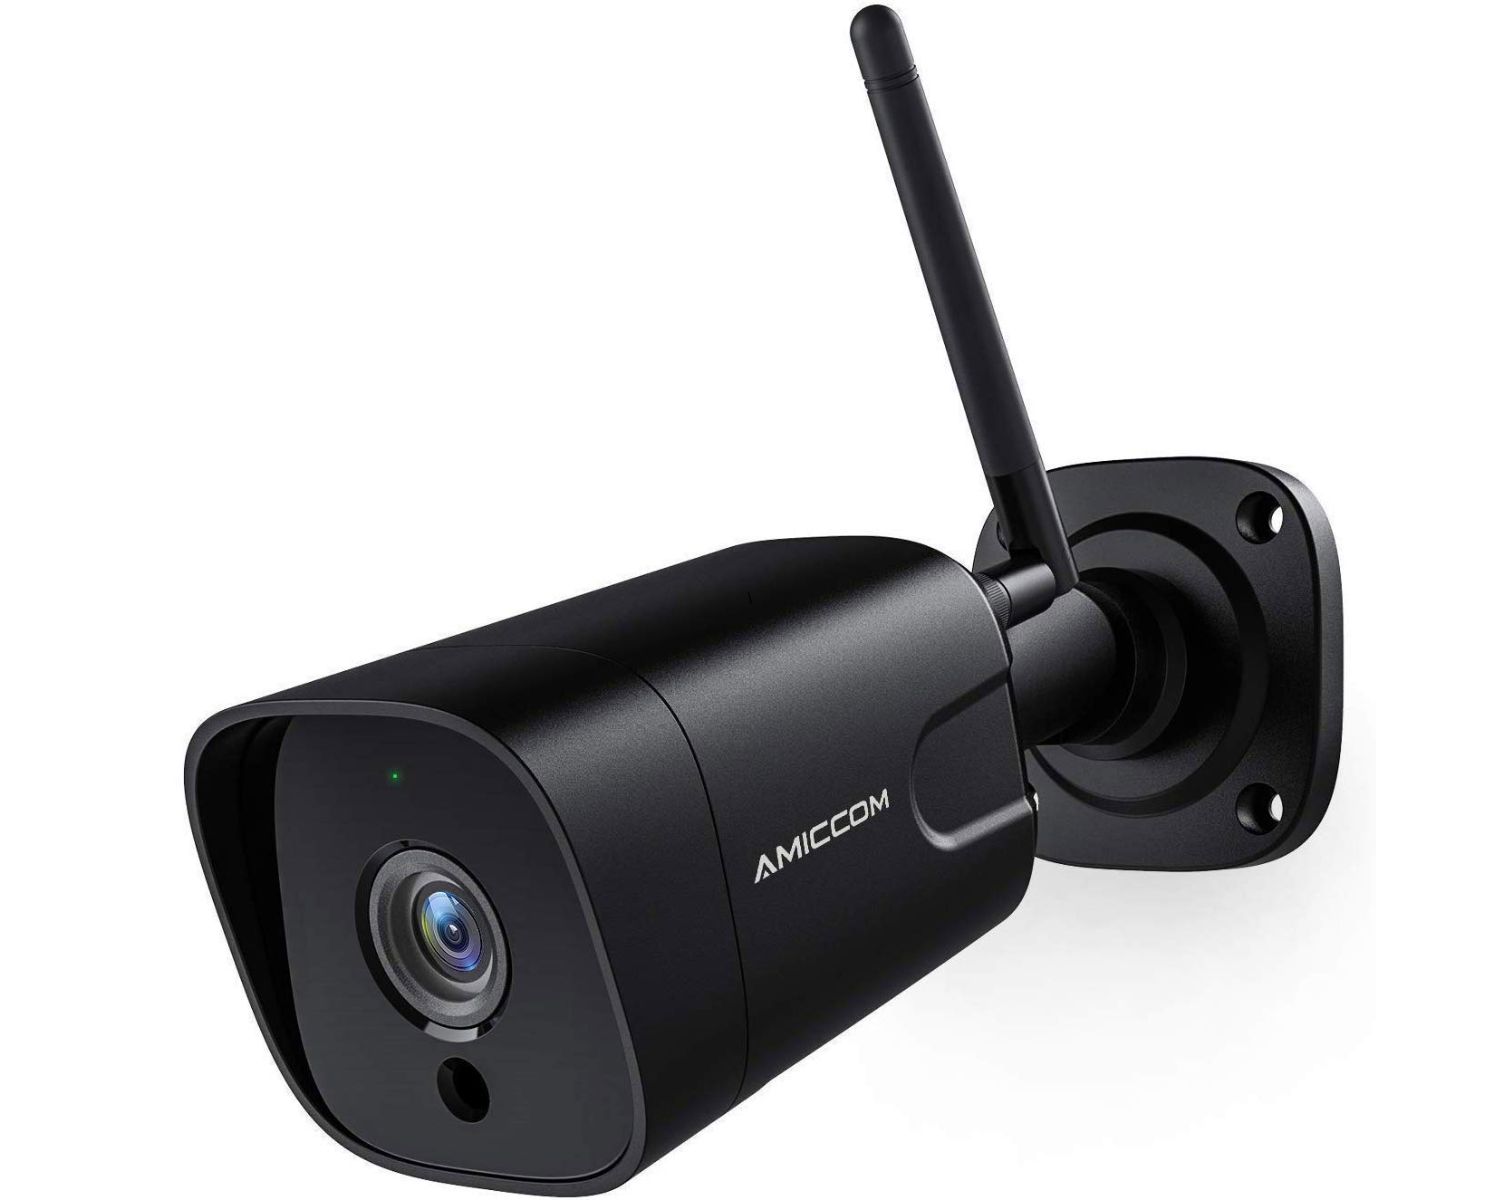
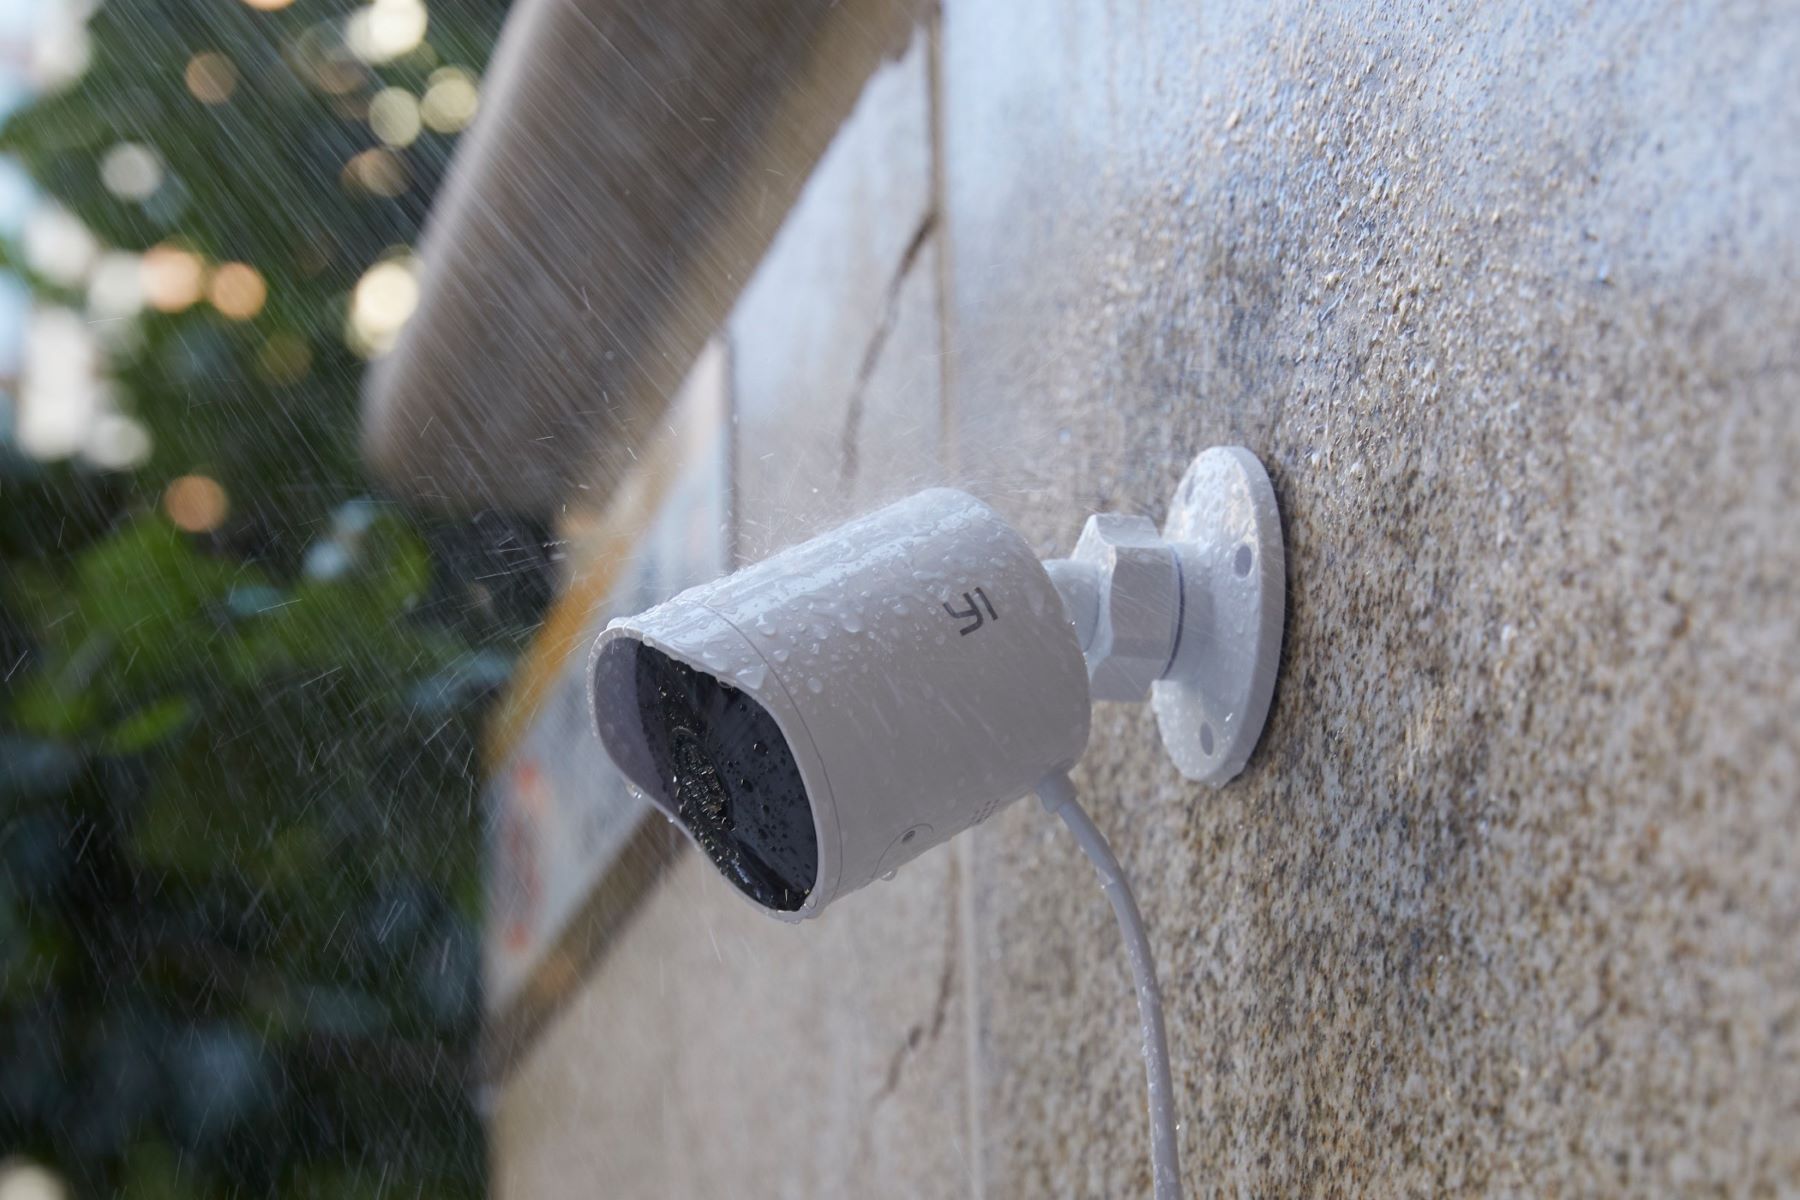
Welcome to our guide on how to insert a Micro SD card into the Yi Outdoor Camera. The Yi Outdoor Camera is a popular choice for home security and surveillance, offering high-quality video recording, motion detection, and night vision capabilities. One of the key features of this camera is the ability to expand its storage capacity by inserting a Micro SD card.
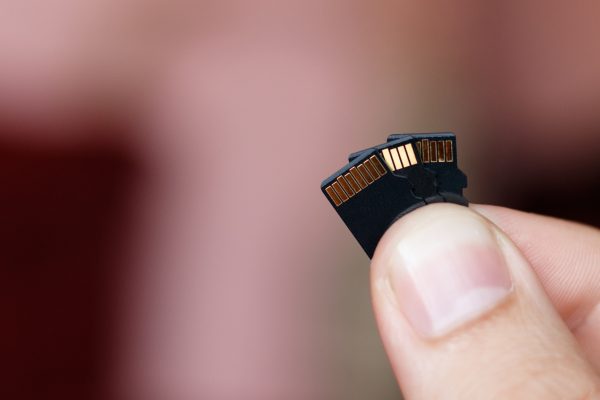
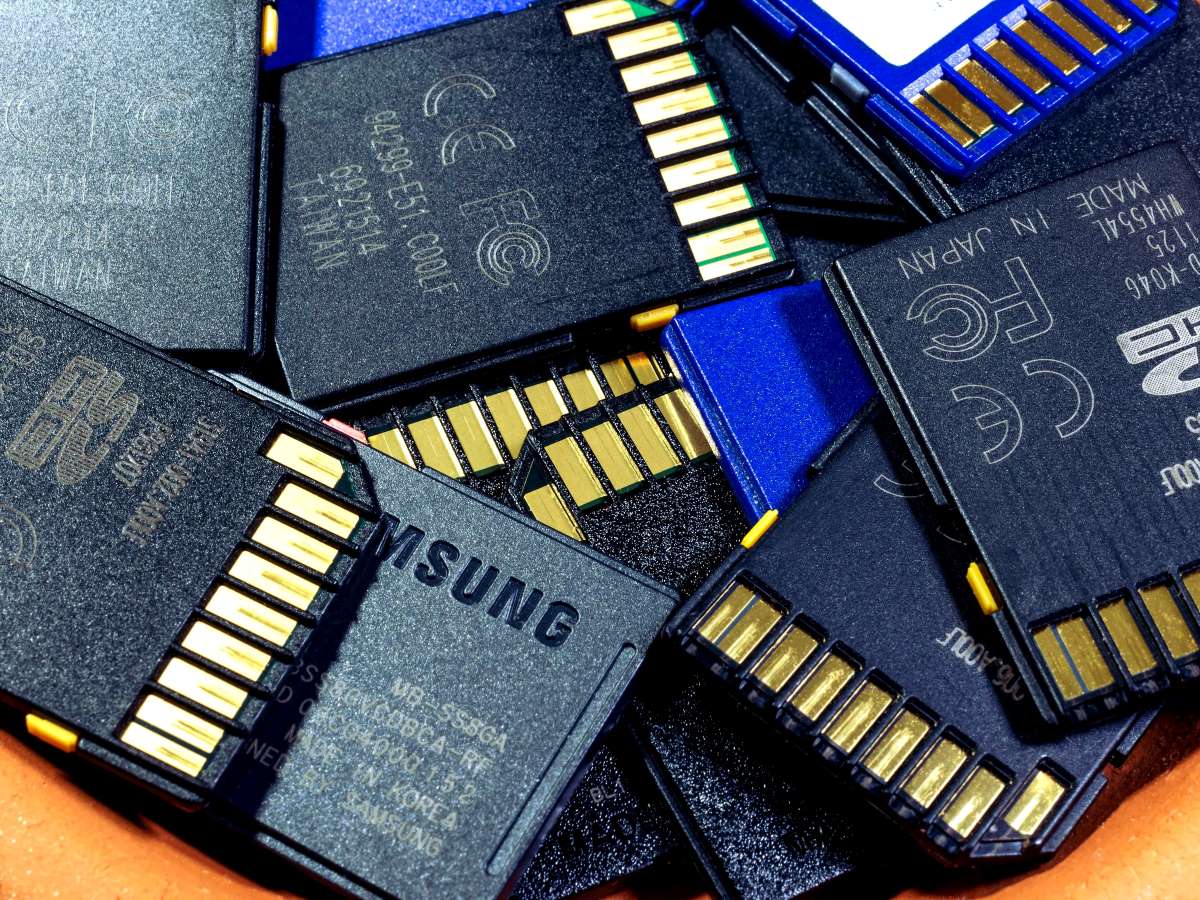
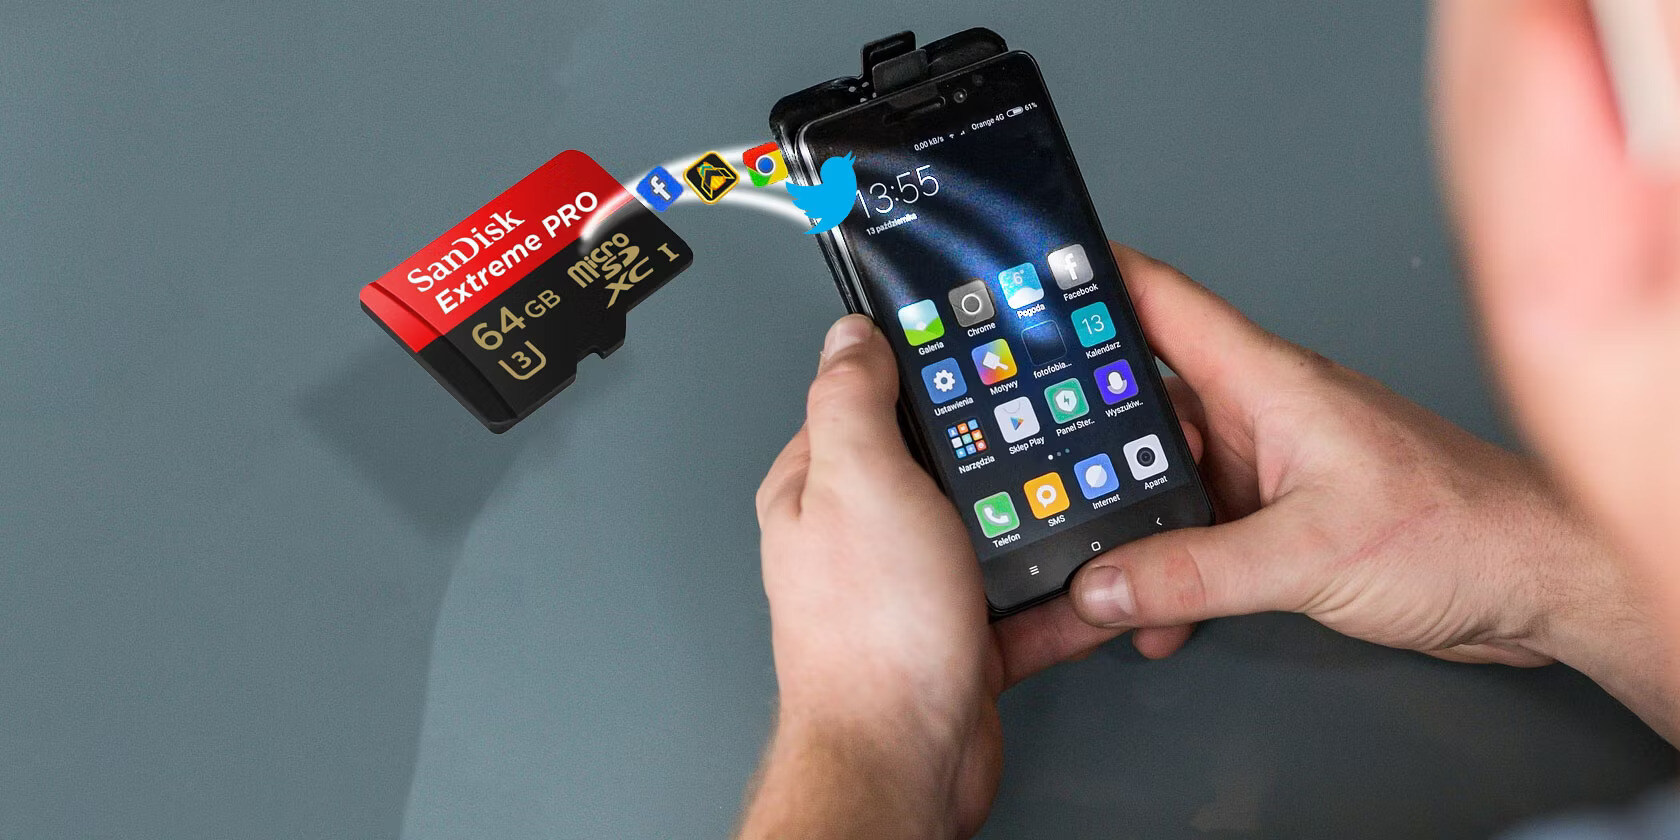
A Micro SD card is a small, portable storage device that can be easily inserted into electronic devices such as cameras, smartphones, and tablets. It allows you to store and access large amounts of data, including photos, videos, and other files. In the case of the Yi Outdoor Camera, a Micro SD card is essential for saving video recordings from the camera’s surveillance footage.
In this guide, we will walk you through the step-by-step process of inserting a Micro SD card into the Yi Outdoor Camera. We will also cover how to format the SD card and ensure it is functioning properly. By following these instructions, you will be able to enhance your camera’s storage capacity and ensure that all your important videos are securely saved.
Before we begin, please note that the Yi Outdoor Camera supports Micro SD cards with a capacity of up to 64GB. It is important to use a reputable brand of Micro SD card to ensure compatibility and reliable performance. Now, let’s dive into the process of inserting a Micro SD card into your Yi Outdoor Camera!
Key Takeaways:
- Inserting a Micro SD card into your Yi Outdoor Camera is easy! Just power off the camera, locate the card slot, gently insert the card, power on the camera, and format the card for seamless storage.
- Choosing the right Micro SD card is crucial for your camera’s performance. Look for a reputable brand, proper capacity, and speed class to ensure reliable surveillance footage storage.
Understanding the Micro SD Card for Yi Outdoor Camera
Before you proceed with inserting a Micro SD card into your Yi Outdoor Camera, it is important to understand the purpose and specifications of the card. A Micro SD card serves as a removable storage option for your camera, allowing you to store video recordings and other data. Here are a few key points to consider when choosing a Micro SD card for your Yi Outdoor Camera:
Capacity: The capacity of a Micro SD card refers to the amount of data it can store. The Yi Outdoor Camera supports Micro SD cards with a capacity of up to 64GB. Depending on your surveillance needs, you can choose a card with a smaller or larger capacity. Keep in mind that higher-capacity cards will allow you to store more video recordings before needing to delete or transfer the data.
Speed Class: The speed class of a Micro SD card indicates its data transfer speed. It is important to choose a card with a higher speed class to ensure smooth and uninterrupted video recording. For the Yi Outdoor Camera, a Class 10 or above Micro SD card is recommended.
Brand and Quality: It is essential to choose a reputable brand and high-quality Micro SD card for your Yi Outdoor Camera. Cheaper, low-quality cards may not offer reliable performance and may be more prone to errors or data corruption. Stick to trusted brands to ensure the longevity and stability of your camera’s storage.
Formatting: Before inserting a Micro SD card into your Yi Outdoor Camera, it is recommended to format the card using the camera’s formatting feature. Formatting prepares the card for use with the camera, ensuring compatibility and optimal performance.
By understanding these aspects of a Micro SD card, you can make an informed decision when choosing and using the card for your Yi Outdoor Camera. Now that you have a grasp of the basics, let’s move on to the step-by-step process of inserting the Micro SD card into the camera.
Step 1: Power off the Yi Outdoor Camera
Before you begin the process of inserting a Micro SD card into your Yi Outdoor Camera, it is important to power off the camera to ensure safety and to prevent any damage to the device or the SD card.
To power off the Yi Outdoor Camera, locate the power button on the camera body. It is usually located on the side or the bottom of the camera, depending on the model. Press and hold the power button until the camera turns off completely.
Make sure to wait a few seconds to ensure that the camera is completely powered down before proceeding to the next step. You can verify that the camera is powered off by checking if the LEDs or indicator lights on the camera are no longer lit.
Powering off the camera is an important step as it helps prevent any potential data loss or damage that could occur if the SD card is inserted or removed while the camera is still powered on. Once the camera is powered off, you can safely move on to the next step of inserting the Micro SD card.
It is worth noting that keeping your camera powered off when inserting or removing a Micro SD card is a good practice to adopt, even for future maintenance or upgrades. This simple precaution can help avoid any accidental mishaps and ensure the longevity and smooth operation of your Yi Outdoor Camera.
Step 2: Locate the Micro SD Card Slot
Now that you have powered off your Yi Outdoor Camera, the next step is to locate the Micro SD card slot. This is where you will insert the Micro SD card to expand the storage capacity of your camera.
The Micro SD card slot on the Yi Outdoor Camera is typically located on the bottom or the side of the camera body. It is a small slot that is specifically designed to accommodate the tiny size of the Micro SD card.
Take a close look at the camera’s body and search for a small rectangular slot labeled “Micro SD” or with a similar icon. You might need to refer to the camera’s user manual or online resources to find the exact location of the Micro SD card slot.
Once you have located the Micro SD card slot, it is important to be gentle and careful while handling the camera and the Micro SD card. The slot is delicate, and any rough handling or excessive force can potentially damage the camera or the Micro SD card.
Take a moment to ensure that your hands are clean and dry before handling the Micro SD card. Any moisture, dirt, or oil on your hands can affect the performance and contacts of the SD card, causing potential malfunctions.
Now that you have successfully located the Micro SD card slot, you’re ready to move on to the next step, which involves inserting the Micro SD card into the camera.
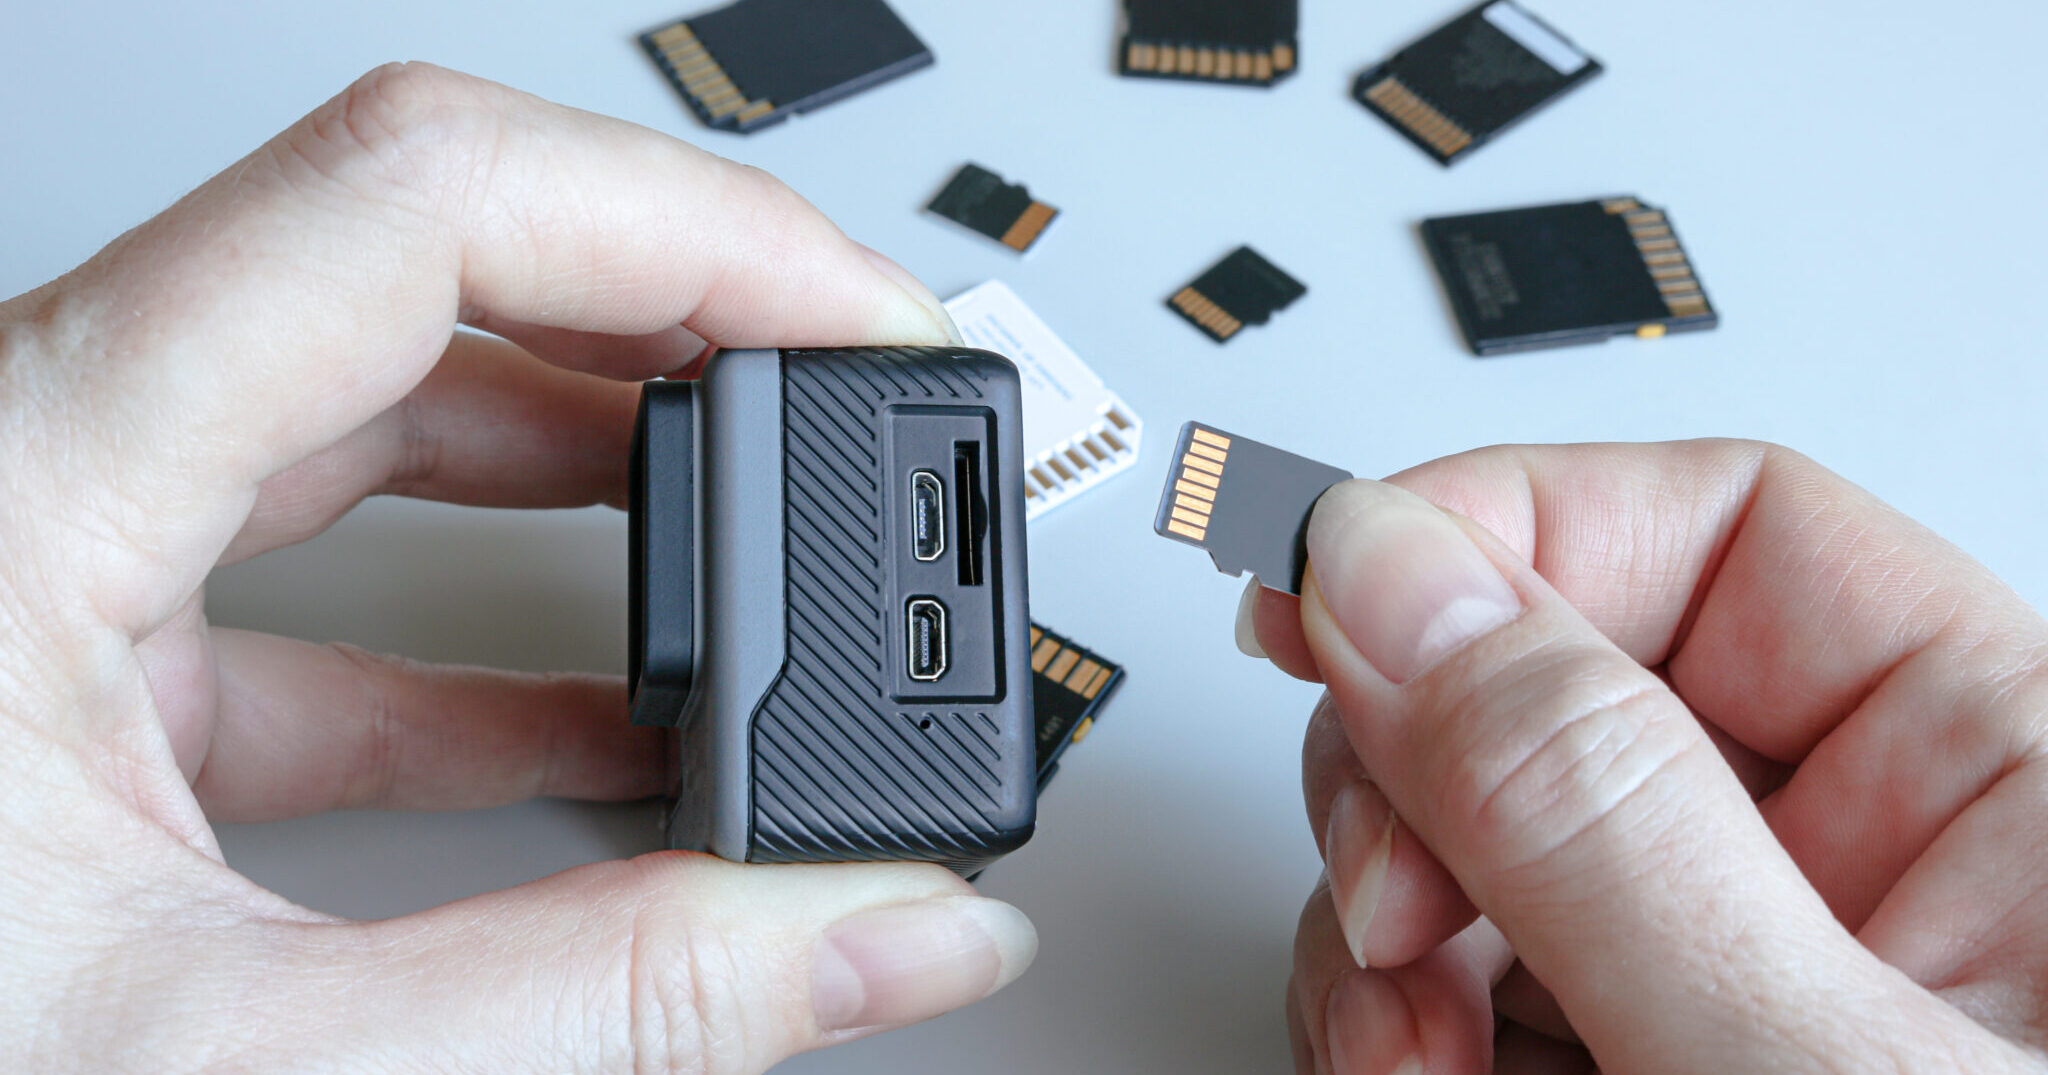
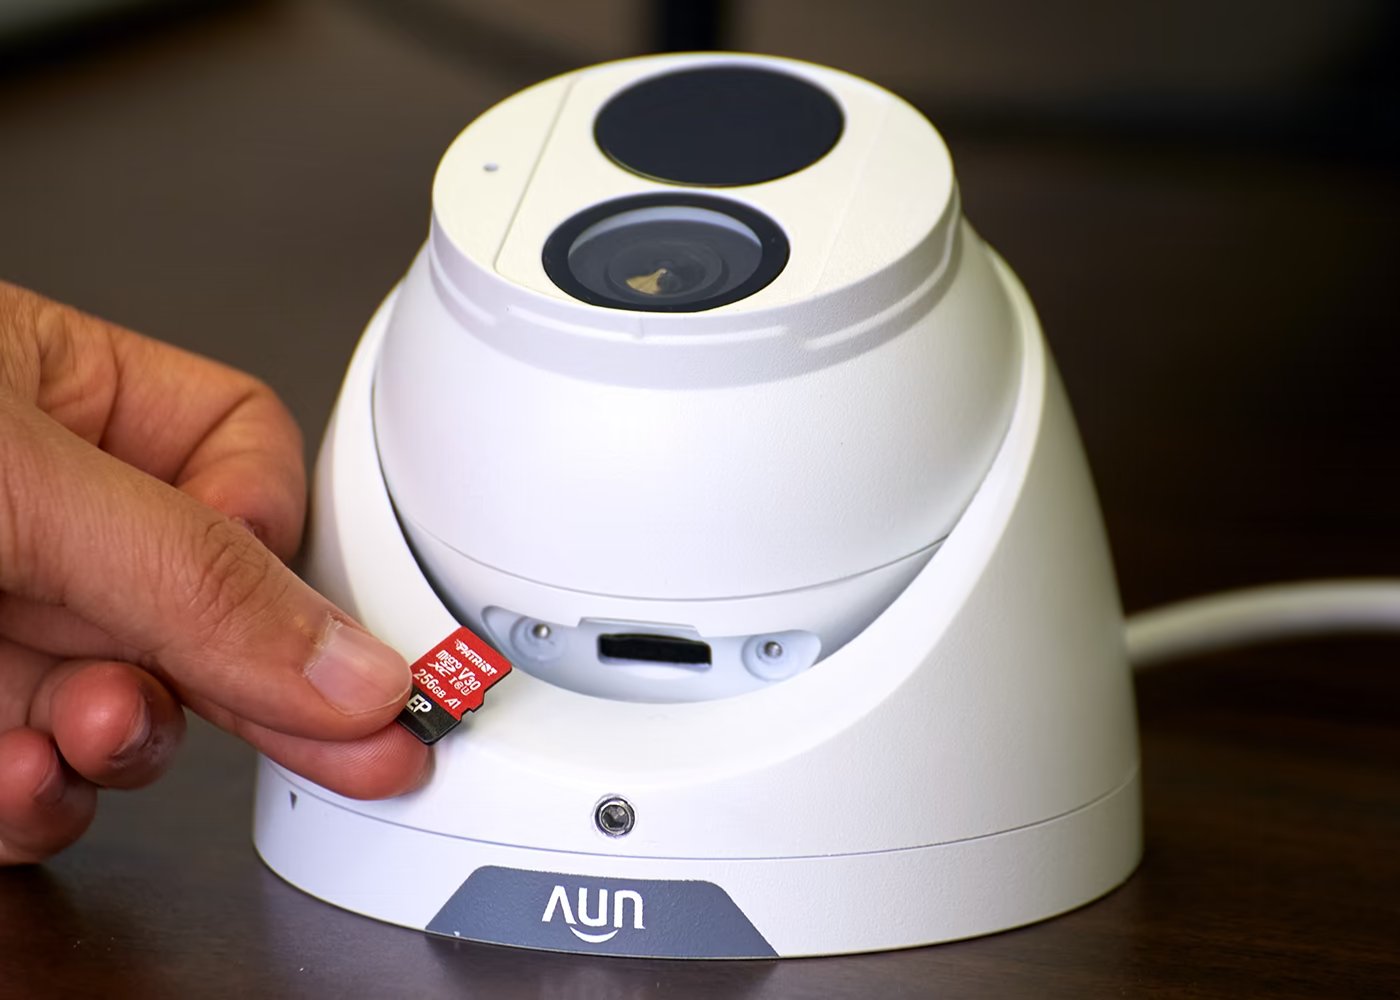
Step 3: Inserting the Micro SD Card
With the Micro SD card slot located on your Yi Outdoor Camera, it’s time to proceed with inserting the Micro SD card into the camera. Follow these steps to ensure a secure and proper insertion:
- Hold the Micro SD card with your fingers, making sure to grasp it by the edges. Avoid touching the metal contacts on the back of the card, as any debris or oil from your fingers can interfere with its functioning.
- Locate the small slot on the camera labeled “Micro SD” or with a similar icon. Carefully align the Micro SD card with the slot, ensuring that the metal contacts on the card are facing down towards the camera.
- Gently insert the Micro SD card into the slot, applying light pressure until it is fully inserted. Be cautious not to force the card or bend it. It should fit smoothly and snugly into the slot.
- Once the Micro SD card is inserted, you may hear a faint clicking sound or feel a slight resistance. This indicates that the card is properly seated in the slot.
- Take a moment to visually inspect the Micro SD card and confirm that it is fully inserted and flush with the camera’s body. The card should not protrude or stick out.
It is important to note that if you encounter any resistance or difficulties while inserting the Micro SD card, do not force it. Remove the card and check if it is oriented correctly, ensuring that the metal contacts are facing down and aligned with the slot.
Properly inserting the Micro SD card is crucial for ensuring reliable performance and avoiding any potential damage to the card or the camera. Once you are confident that the Micro SD card is securely inserted, you can proceed to the next step of powering on the Yi Outdoor Camera.
To insert a micro SD card into your Yi Outdoor Camera, first locate the SD card slot on the camera. Then, gently push the micro SD card into the slot until it clicks into place. Make sure the card is facing the correct direction to avoid any damage.
Step 4: Power on the Yi Outdoor Camera
Now that you have successfully inserted the Micro SD card into the Yi Outdoor Camera, it’s time to power the camera back on. Follow these steps to safely turn on your camera:
- Ensure that the Micro SD card is securely inserted into the camera’s Micro SD card slot.
- Locate the power button on the camera’s body. Press and hold the power button until the camera powers on. You may see the LED indicators light up or hear a camera startup sound, depending on the model.
- Wait for the camera to initialize and boot up. This process may take a few moments as the camera’s system loads the necessary software.
- Once the camera is powered on, you should see the live video feed on the camera’s display or through the associated mobile app, depending on how you have set up your camera.
- Take a moment to ensure that the camera is functioning properly by checking the video feed and making sure all features are working as expected.
If you encounter any issues while powering on your Yi Outdoor Camera, double-check the Micro SD card insertion to ensure it is properly seated in the slot. Sometimes, a loose or improperly inserted card can prevent the camera from booting up correctly.
Remember, it is important to avoid removing or inserting the Micro SD card while the camera is powered on. Doing so may cause data corruption or damage to the card. Always power off the camera before making any changes to the Micro SD card.
With your Yi Outdoor Camera powered on and the Micro SD card properly inserted, you are ready to move on to the next step: formatting the Micro SD card to ensure its compatibility and optimal performance.
Step 5: Formatting the Micro SD Card
After inserting the Micro SD card into your Yi Outdoor Camera, it is recommended to format the card to ensure compatibility and optimal performance. Formatting the Micro SD card prepares it for use with the camera, erasing any previous data and setting up the file system for recording new video footage. Follow these steps to format the Micro SD card:
- Access the camera’s settings menu through the camera display or the associated mobile app.
- Navigate to the “Storage” or “Micro SD Card” section within the settings menu.
- Locate the option to format the Micro SD card. It may be labeled as “Format” or “Format SD Card.”
- Select the format option and follow the on-screen prompts to initiate the formatting process. Please note that formatting will erase all data on the Micro SD card, so ensure you have backed up any important files beforehand.
- Wait for the formatting process to complete. The camera may display a progress bar or a message indicating that the formatting is in progress.
- Once the formatting is finished, you will receive a confirmation message. Your Micro SD card is now formatted and ready for use with the Yi Outdoor Camera.
Formatting the Micro SD card ensures that it is set up correctly for the camera’s file system. It helps to prevent any compatibility issues or errors that could occur when recording video footage. Additionally, formatting the Micro SD card periodically can help maintain its performance and prevent fragmentation.
Keep in mind that formatting the Micro SD card will erase all data on the card. Therefore, it is important to back up any important files beforehand to avoid permanent data loss. If you have already backed up your files or there are no important files on the Micro SD card, proceed with the formatting process to ensure the best performance of your Yi Outdoor Camera.
After formatting the Micro SD card, you are now ready to use it to record and store surveillance footage from your Yi Outdoor Camera. However, before you start using the camera with the newly formatted Micro SD card, it is essential to verify that the card is working properly.
Step 6: Verifying the Micro SD Card is Working Properly
After formatting the Micro SD card in your Yi Outdoor Camera, it is important to verify that it is working properly to ensure seamless recording and storage of your surveillance footage. Follow these steps to verify the functionality of the Micro SD card:
- Access the camera’s settings menu through the camera display or the associated mobile app.
- Navigate to the “Storage” or “Micro SD Card” section within the settings menu.
- Check the status or information of the Micro SD card. The camera should display relevant details such as the total capacity, available space, and file system format.
- Make sure that the camera recognizes the Micro SD card and displays accurate information. This confirms that the card is properly inserted and detected by the camera.
- Take a test recording with the camera to ensure that the footage is being saved to the Micro SD card. Start a recording, let it run for a few seconds, and then stop the recording.
- Access the recorded footage and play it back to confirm that the video is saved and can be accessed without any issues.
- Repeat this process a few times, recording and playing back different videos, to ensure consistent performance and reliability of the Micro SD card.
If you encounter any issues during this verification process, such as the camera not recognizing the Micro SD card or the recorded footage not playing back properly, there may be an issue with the Micro SD card. Double-check the card’s compatibility with the camera and ensure it meets the required specifications.
If the problems persist, try removing the Micro SD card from the camera, inspect it for any physical damage or debris, and reinsert it securely. In some cases, using a different Micro SD card or formatting the card again may resolve the issues.
Regularly checking the functionality of the Micro SD card is essential to ensure that your Yi Outdoor Camera is recording and storing footage as intended. By verifying the proper operation of the Micro SD card, you can have peace of mind knowing that your surveillance system is capturing and storing video footage accurately and reliably.
Conclusion
Congratulations! You have successfully learned how to insert a Micro SD card into your Yi Outdoor Camera. By following the step-by-step guide we provided, you can expand the storage capacity of your camera and ensure that all your important surveillance footage is securely saved.
Understanding the Micro SD card’s capacity, speed class, and choosing a reputable brand are vital considerations when selecting the right card for your camera. Properly inserting the Micro SD card, powering on the camera, and formatting the card further contribute to its seamless integration with your Yi Outdoor Camera.
By verifying the Micro SD card’s functionality and confirming that the camera recognizes it, you can be confident in the reliable performance of your surveillance system. Remember to periodically check the card’s operation to maintain its optimal performance and prevent any issues with recording or storage.
With the Micro SD card successfully inserted and verified, you now have increased storage capacity for your Yi Outdoor Camera, allowing you to capture and store more surveillance footage without worrying about running out of space.
We hope that this guide has provided you with the necessary knowledge and instructions to confidently insert and utilize a Micro SD card with your Yi Outdoor Camera. With enhanced storage capabilities, you can ensure the safety and security of your home and loved ones.
Thank you for choosing Yi Outdoor Camera and taking the time to learn about the proper use of Micro SD cards. Happy recording!
Frequently Asked Questions about Yi Outdoor Camera: How To Insert Micro SD Card
Was this page helpful?
At Storables.com, we guarantee accurate and reliable information. Our content, validated by Expert Board Contributors, is crafted following stringent Editorial Policies. We're committed to providing you with well-researched, expert-backed insights for all your informational needs.