Home>Home Security and Surveillance>How To Format A Micro SD Card For A Security Camera
Home Security and Surveillance
How To Format A Micro SD Card For A Security Camera
Modified: March 6, 2024
Learn how to format a micro SD card for a security camera in your home. Ensure smooth functionality and optimal storage capacity for your home security and surveillance system.
(Many of the links in this article redirect to a specific reviewed product. Your purchase of these products through affiliate links helps to generate commission for Storables.com, at no extra cost. Learn more)
Introduction
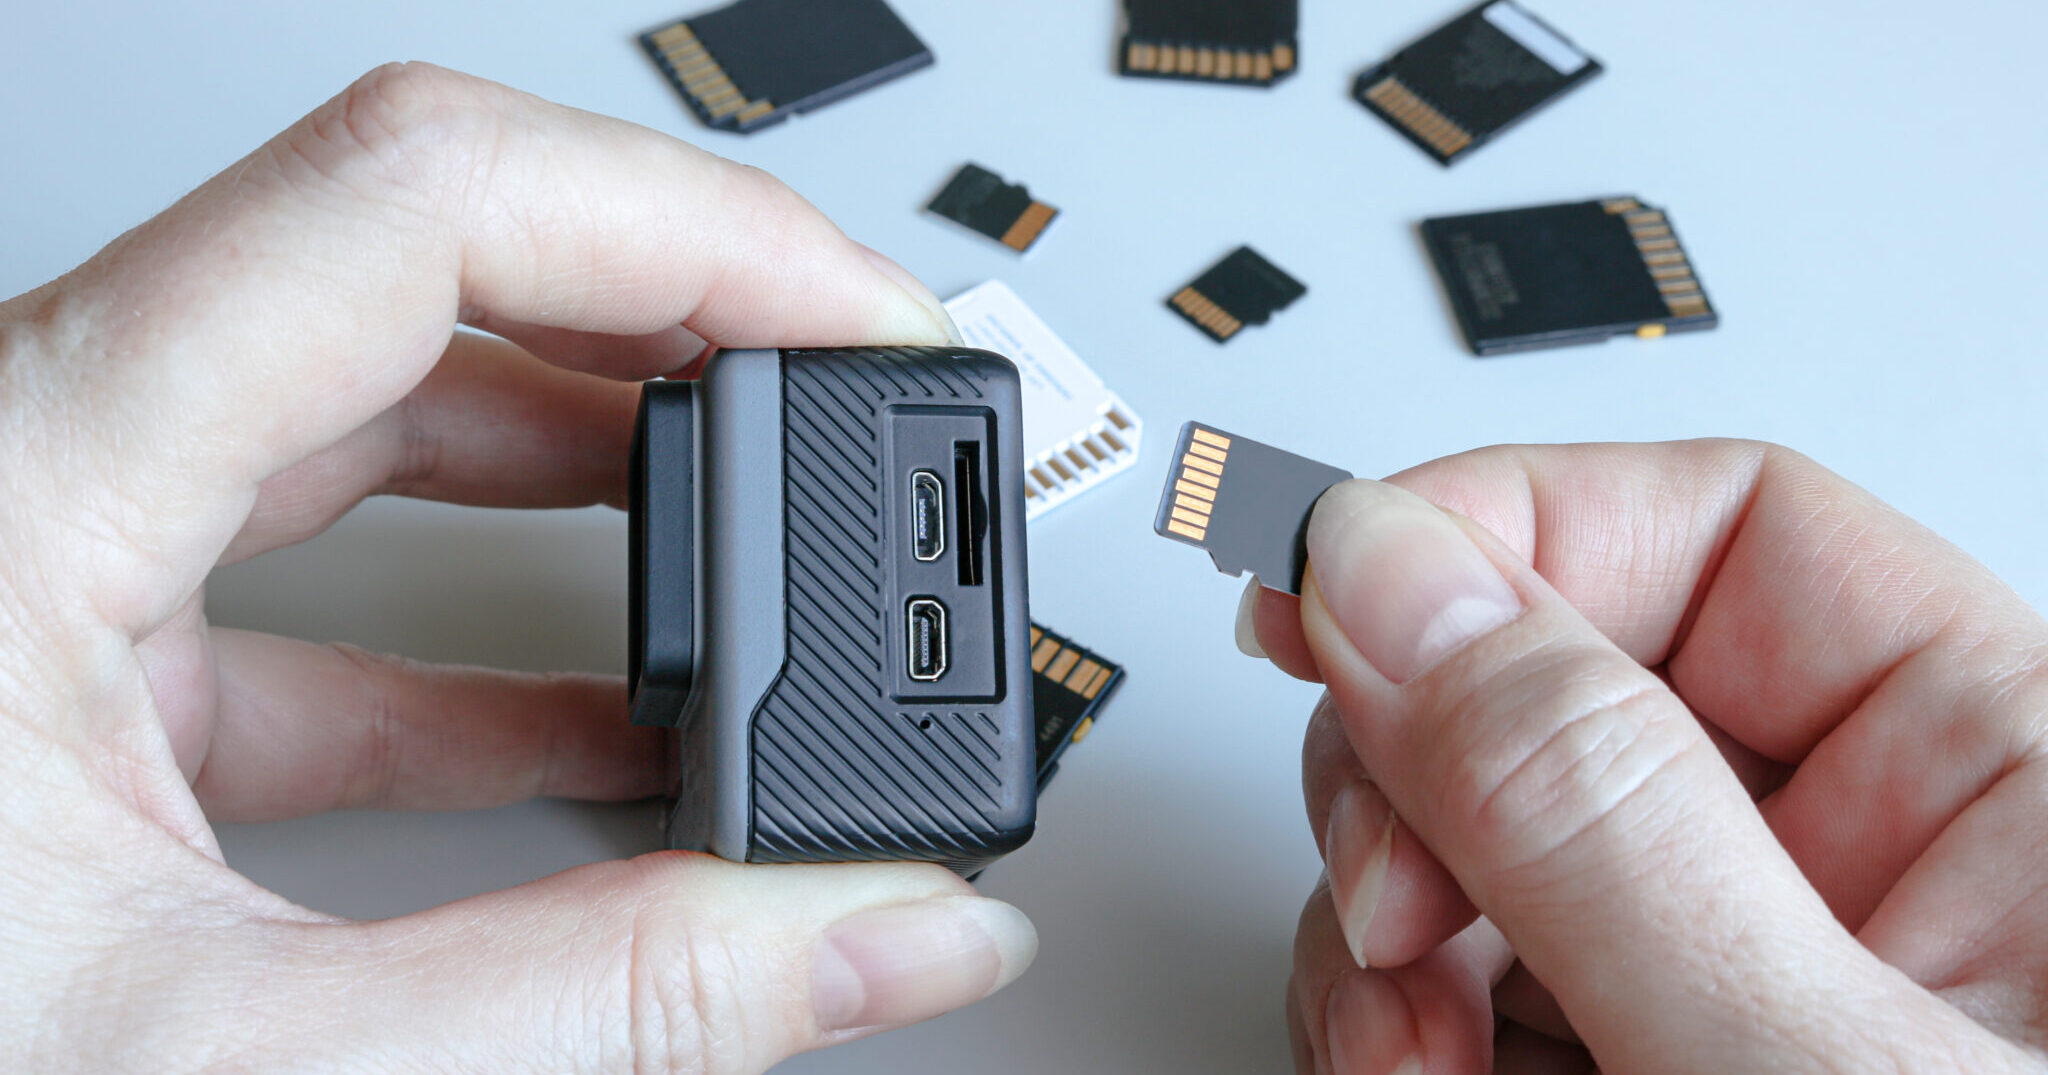
When it comes to ensuring the safety and security of your home, a reliable surveillance system is essential. One crucial component of any security camera setup is a micro SD card. This small but powerful storage device allows you to store and access footage captured by your security camera.
However, before you can start using your micro SD card with your security camera, it’s important to format it correctly. Formatting the micro SD card ensures that it is optimized for use with your specific security camera and helps prevent any issues that may arise during recording or playback.
In this article, we will guide you through the process of formatting a micro SD card for a security camera. We will cover the importance of formatting, the prerequisites for formatting, and provide a step-by-step guide to help you format your micro SD card successfully. We will also address common issues that may occur during formatting and provide some additional tips to optimize the process.
So, if you are ready to get your security camera up and running smoothly with a properly formatted micro SD card, let’s dive in!
Key Takeaways:
- Properly formatting a micro SD card for a security camera is crucial for compatibility, performance, data integrity, easier navigation, and improved security. It ensures smooth recording and playback of footage for your home surveillance.
- To optimize the formatting process, use high-quality cards, regularly format, avoid partial formatting, keep a spare card, manage storage space, monitor card health, and safely eject the card. These steps ensure a reliable and efficient surveillance setup.
Why Formatting a Micro SD Card is Important for a Security Camera
Formatting a micro SD card is a crucial step in preparing it for use with a security camera. Here are a few key reasons why formatting is important:
- Compatibility: Different security camera models may have varying file system requirements for the micro SD card. By formatting the card, you ensure that it is compatible with your specific camera and its recording capabilities.
- Optimal Performance: Formatting helps to remove any preexisting data or partitions on the micro SD card. This ensures that the card can be utilized efficiently by the camera, allowing for smoother recording and playback of footage.
- Data Integrity: Formatting not only prepares the micro SD card for use but also helps maintain data integrity. It eliminates any potential file system errors or corruption that may have occurred during previous usage, reducing the risk of data loss or playback issues.
- Easier Navigation: A properly formatted micro SD card ensures that files and directories are organized in a way that is optimized for the security camera’s software. This makes it easier for you to locate specific recordings and manage your footage effectively.
- Improved Security: Formatting the micro SD card before use helps to safeguard your privacy and security. It removes any traces of personal data or previous recordings that may have been stored on the card, reducing the risk of unauthorized access to sensitive information.
By taking the time to format your micro SD card correctly, you set the foundation for a reliable and efficient security camera system. It ensures compatibility, optimal performance, data integrity, easier navigation, and enhanced security. Now that we understand why formatting is essential, let’s move on to the prerequisites for formatting a micro SD card for a security camera.
Prerequisites for Formatting a Micro SD Card
Before you begin formatting your micro SD card for use with a security camera, it’s important to ensure that you have the following prerequisites:
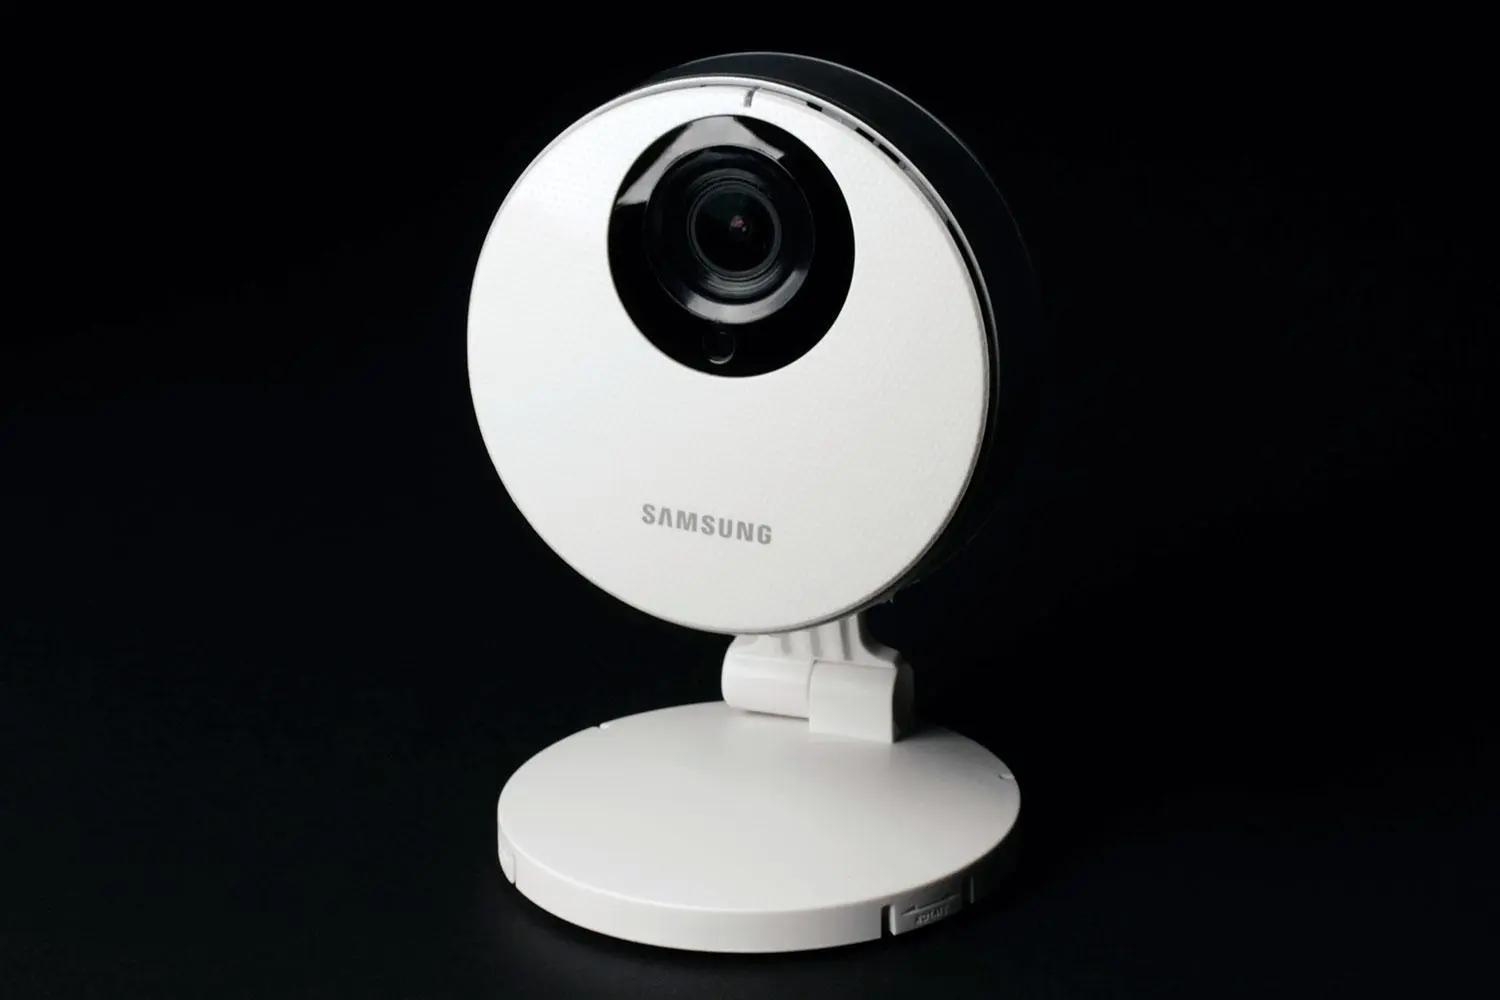
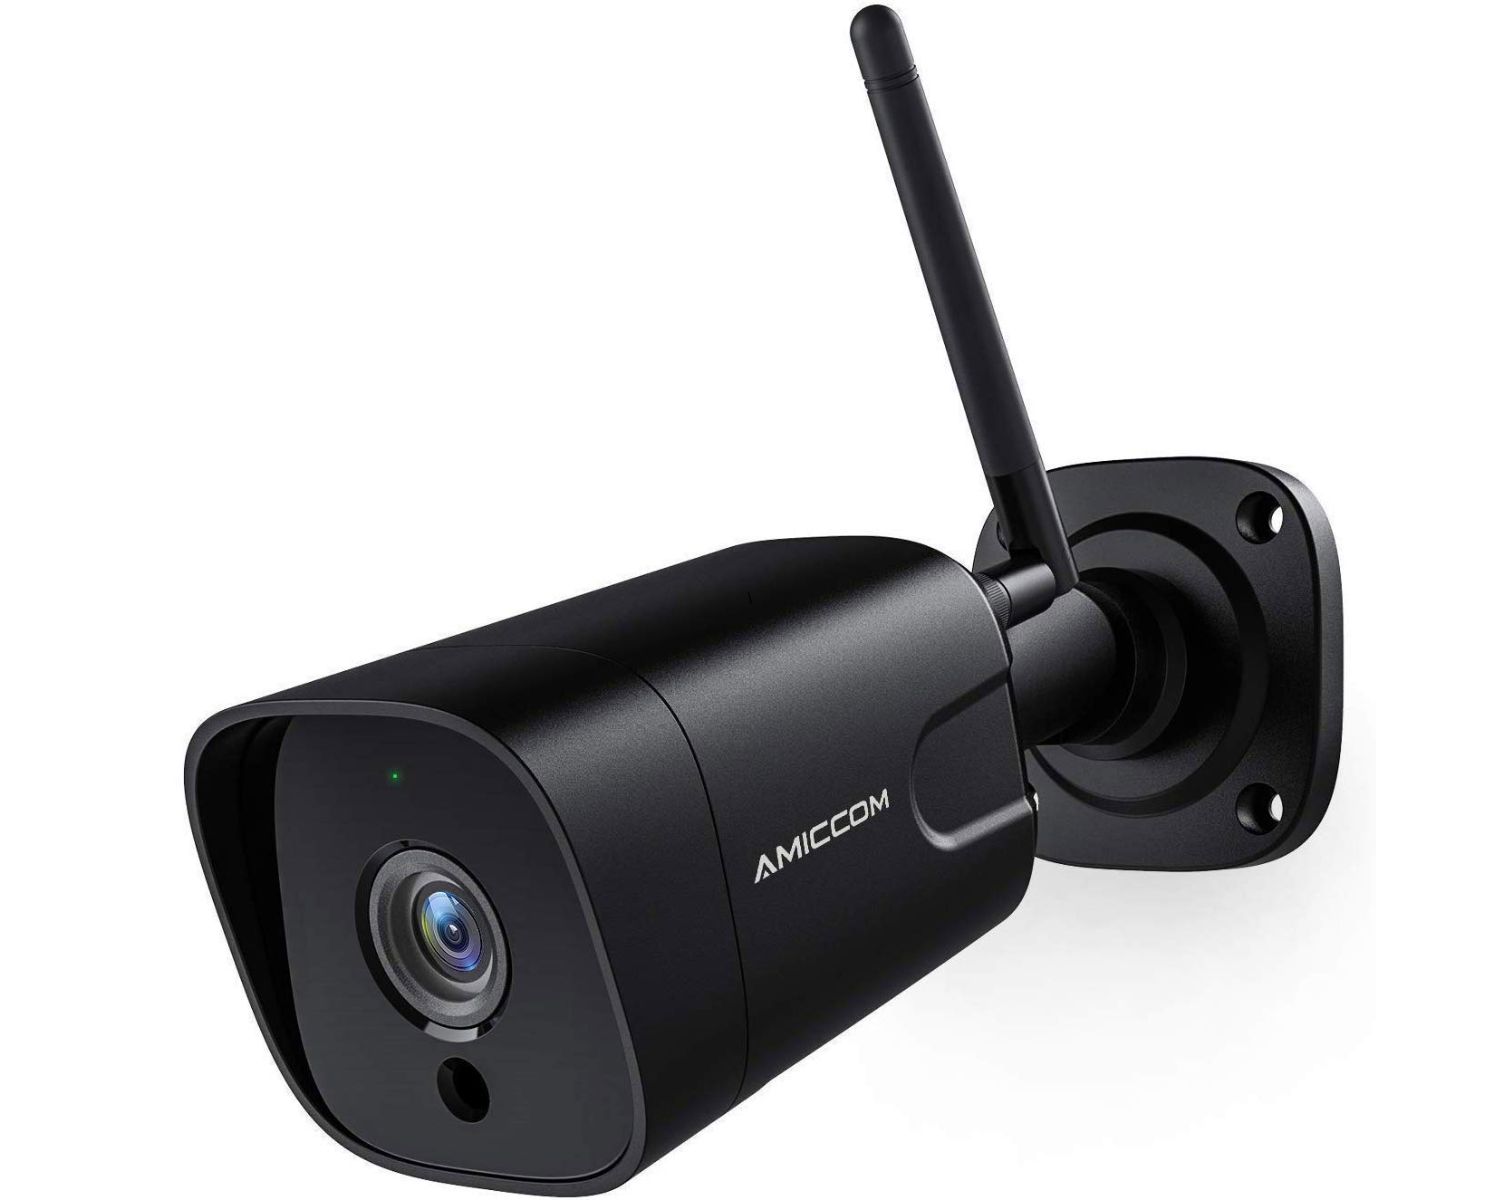
- Compatible Security Camera: Ensure that you have a security camera that supports the use of a micro SD card for storage. Check the camera’s specifications or consult the user manual to confirm its compatibility.
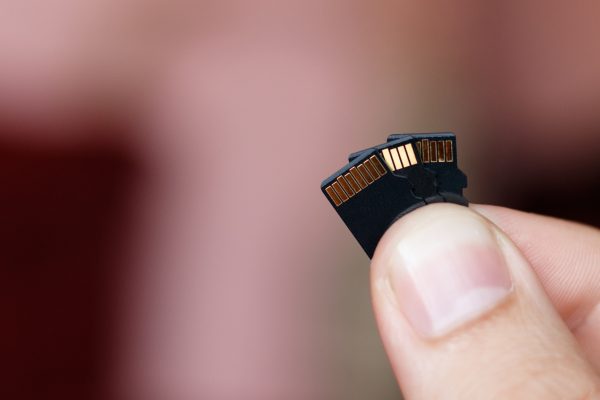
- Correct Micro SD Card Type: Verify that you have the correct type of micro SD card for your security camera. Different cameras may have specific requirements in terms of capacity and speed. Typically, Class 10 or higher speed cards are recommended for optimal performance.
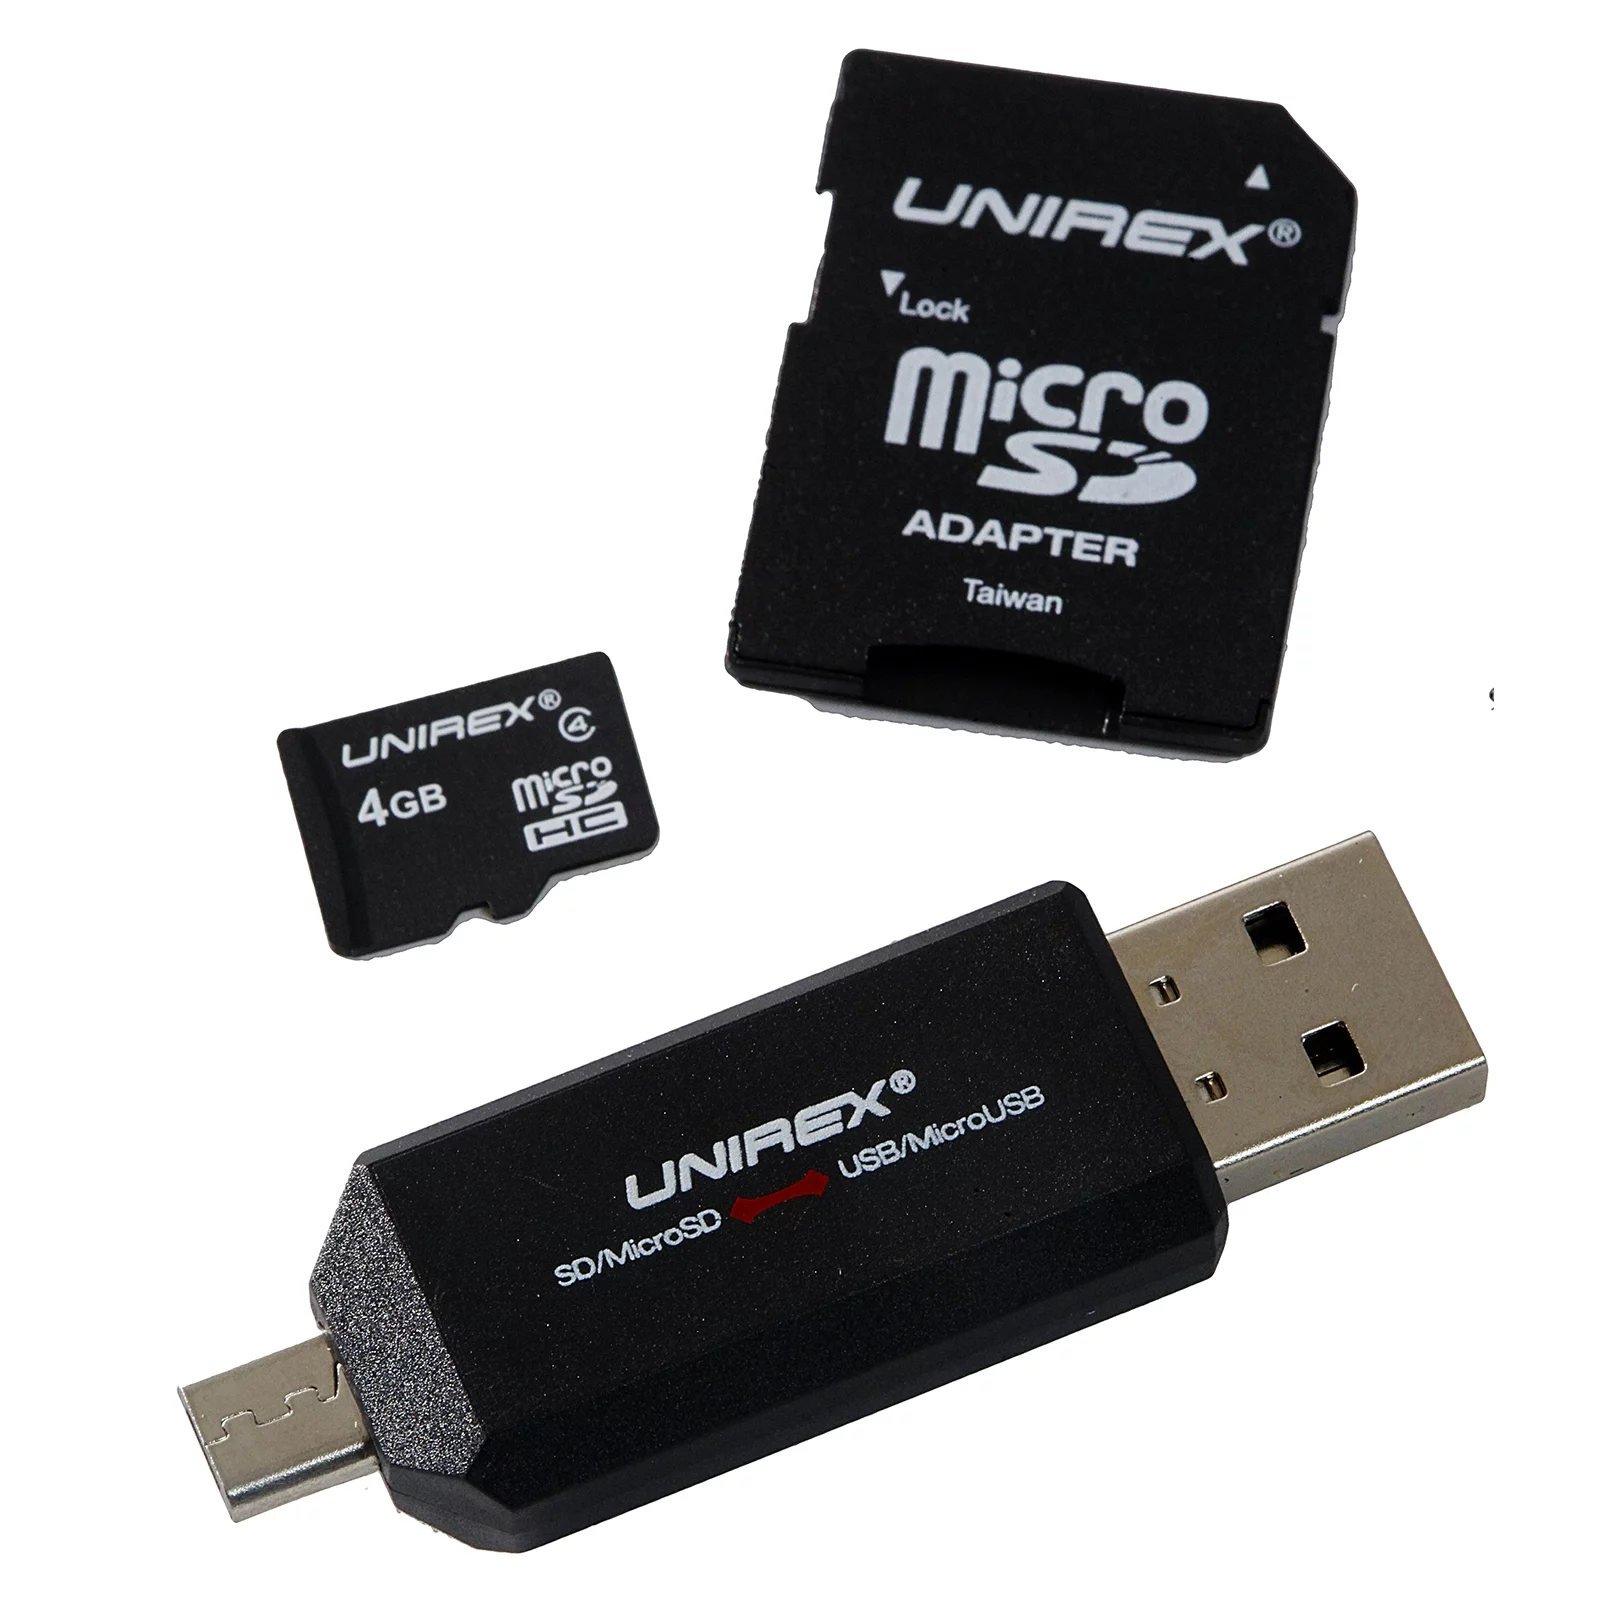
- Card Reader: Make sure you have a card reader that is compatible with your micro SD card. This will allow you to connect the card to your computer or camera for formatting.
- Backup: Before formatting your micro SD card, it’s advisable to back up any important data or recordings that you want to preserve. Formatting will erase all existing data on the card, so it’s important to have a copy of any valuable footage you wish to keep.
- Computer or Camera: Depending on your camera model, you will either format the micro SD card using a computer or directly through the camera’s interface. Ensure that you have access to the necessary equipment and software for the formatting process.
By ensuring that you have these prerequisites in place, you can proceed with confidence to format your micro SD card for your security camera. Proper preparation and attention to detail will help you avoid any compatibility issues and ensure a smooth formatting process. Now that we’ve covered the prerequisites, let’s move on to the step-by-step guide for formatting a micro SD card.
Step-by-Step Guide on Formatting a Micro SD Card for a Security Camera
Formatting a micro SD card for a security camera is a straightforward process. Follow these step-by-step instructions to ensure a successful formatting:
- Backup Data: As mentioned earlier, make sure to back up any important data or recordings from the micro SD card before formatting. This will prevent the loss of any valuable information.
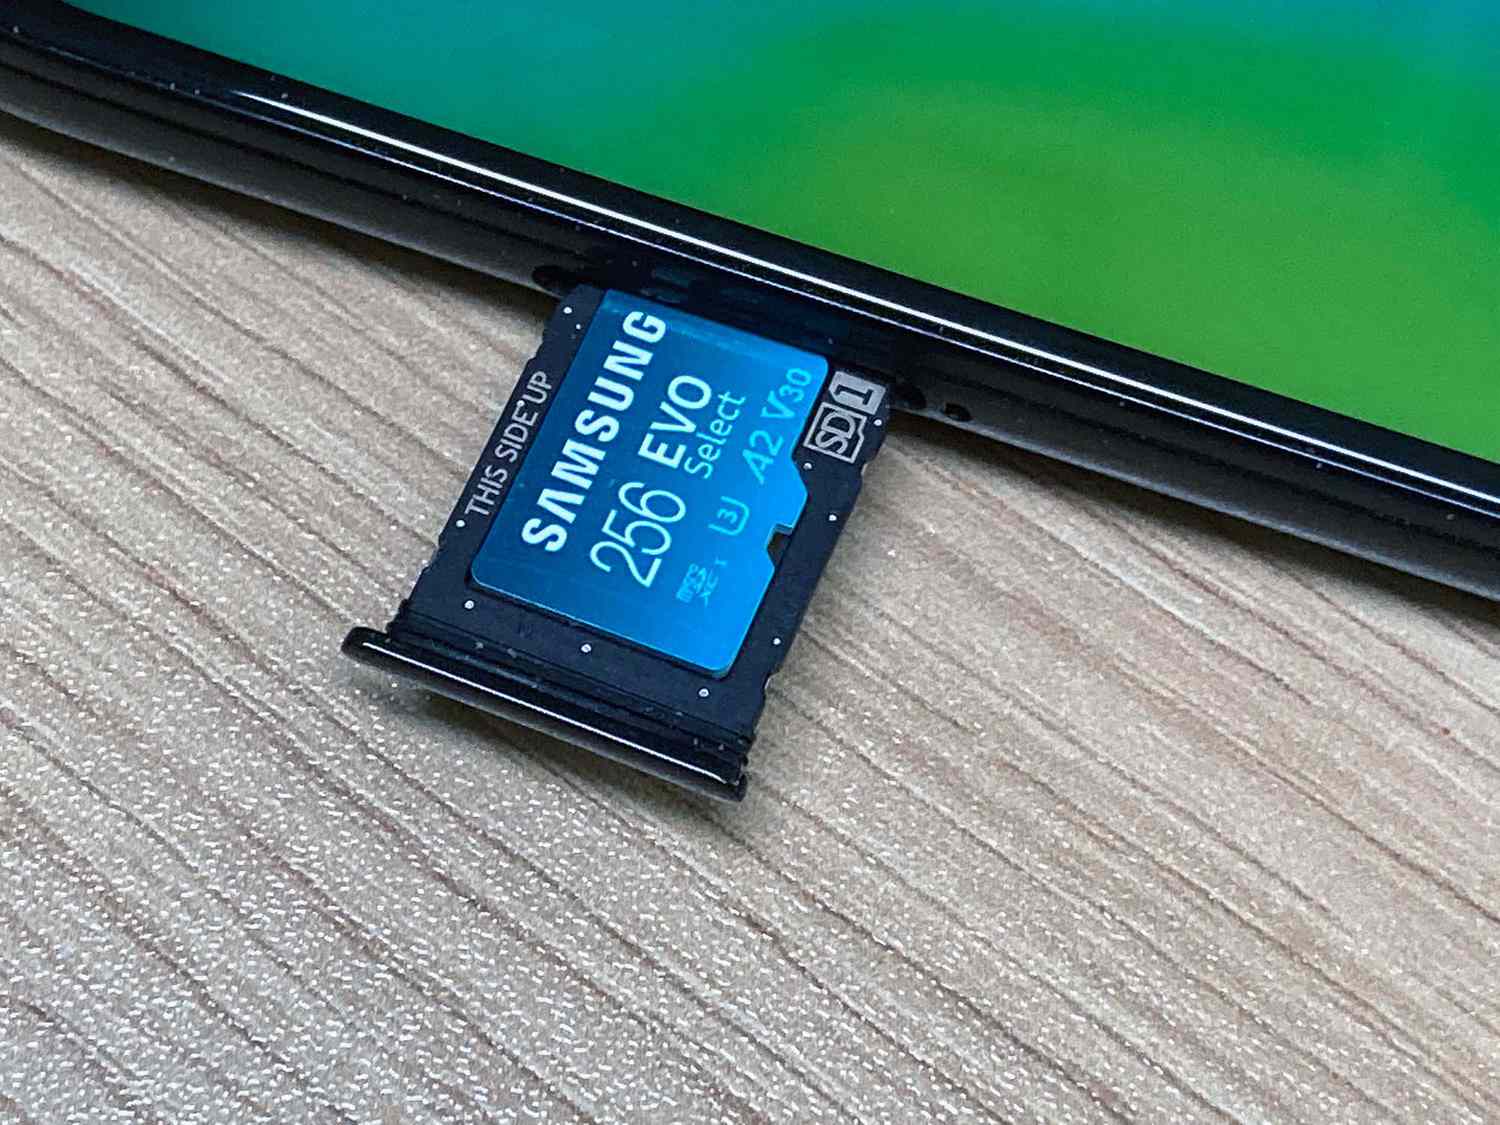
- Insert the Micro SD Card: Locate the micro SD card slot on your computer or insert it into the designated slot on the camera.
- Select Formatting Method: Depending on your camera and equipment, you have two options for formatting: through the camera interface or using a computer. Select the method that is applicable to your setup.
- If formatting through the camera interface, access the camera’s settings menu and navigate to the micro SD card options. Look for the formatting or initialization option. Follow the on-screen instructions to format the card.
- If formatting through a computer, connect the micro SD card to the computer using a card reader. Open the file explorer or a third-party disk formatting tool. Locate the micro SD card in the list of available drives and right-click on it. Choose the option to format the card.
- Select Format Settings: When formatting the micro SD card, you will have the option to choose the file system and allocation unit size. For security cameras, it’s recommended to select the FAT32 file system and the default allocation unit size.
- Start Formatting: Once you have selected the desired format settings, click on the ‘Format’ button to initiate the formatting process. Be aware that formatting will erase all the data on the micro SD card.
- Wait for Completion: The formatting process may take a few moments to complete, depending on the size and speed of your micro SD card. Ensure that you do not interrupt the process or disconnect the card while formatting is in progress.
- Verify Formatting: After the formatting process is complete, verify that the micro SD card has been properly formatted. You can do this by checking the file system type of the card and ensuring that it matches the format you selected.
- Eject and Install: Once you have verified the formatting, safely eject the micro SD card from the computer or camera. Insert it back into your security camera, making sure it is securely seated in the micro SD card slot.
By following these step-by-step instructions, you can successfully format your micro SD card for use with your security camera. Remember to proceed with caution and double-check your formatting settings to ensure compatibility with your camera. With your micro SD card properly formatted, you can now enjoy reliable and smooth recording and playback of footage. In the next section, we will address common issues that may arise during formatting and provide troubleshooting tips.
When formatting a micro SD card for a security camera, always use the camera’s own formatting option instead of a computer. This ensures compatibility and reduces the risk of errors.
Troubleshooting Common Issues During Formatting
While formatting a micro SD card for a security camera is generally a straightforward process, you may encounter some common issues along the way. Here are a few troubleshooting tips to help you overcome these challenges:
- Incompatible File System: If your camera is unable to recognize or format the micro SD card, it may be due to an incompatible file system. Try formatting the card using a computer and selecting a different file system, such as NTFS or exFAT.
- Write Protection: If you encounter an error message stating that the micro SD card is write-protected or read-only, it means that the card cannot be formatted or modified. Check if the card has a physical write-protection switch on the side and make sure it is in the unlocked position.
- Corrupted or Unresponsive Card: If the micro SD card appears to be corrupted or unresponsive, try using a different card reader or computer to format it. You can also try using disk management tools or third-party formatting software specifically designed for repairing or recovering corrupt storage devices.
- Inconsistent Formatting: If you notice that the formatted micro SD card is not recognized by your camera or is causing issues with recording or playback, it may be due to inconsistent formatting. Ensure that you select the correct file system and allocation unit size during the formatting process.
- Insufficient Storage Capacity: If your camera indicates that the micro SD card has insufficient storage capacity even after formatting, it may be due to a compatibility issue. Check the camera’s specifications to ensure that it supports the capacity of your micro SD card.
- Unstable Connection: If the micro SD card is not detected or keeps disconnecting during formatting, it may be due to an unstable connection between the card and the device. Try cleaning the card contacts and the card reader’s contacts, ensuring a secure and stable connection.
If you encounter any of these issues during the formatting process, it’s important to remain patient and troubleshoot systematically. If the problem persists, consider seeking support from the manufacturer or referring to the camera’s user manual for further guidance. With these troubleshooting tips, you can overcome common formatting issues and ensure that your micro SD card is properly prepared for use with your security camera.
Read more: What Size SD Card For A Security Camera
Additional Tips for Optimizing the Formatting Process
While formatting a micro SD card for a security camera is a relatively straightforward process, there are some additional tips that can help optimize the formatting process and ensure the best results. Consider the following tips:
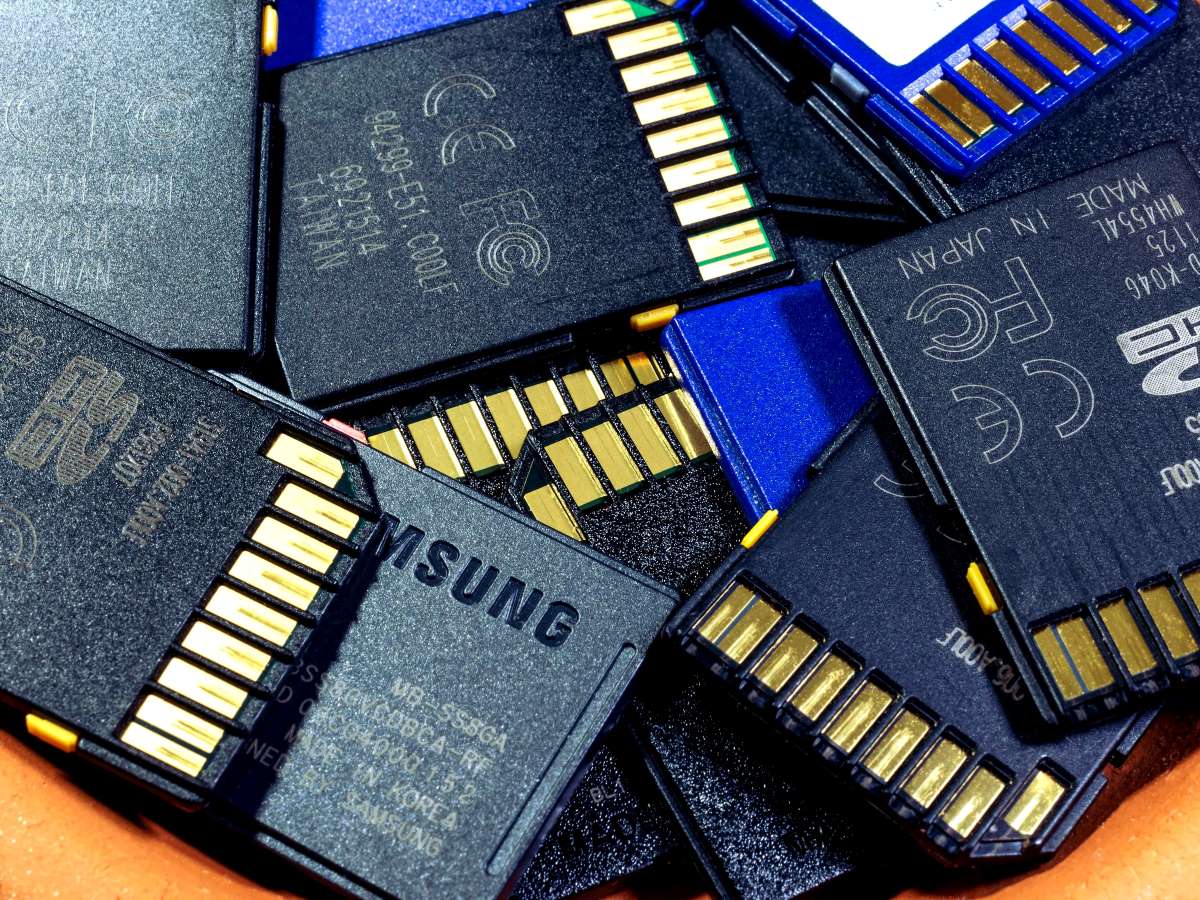
- Use a High-Quality Card: Invest in a high-quality micro SD card from a reputable brand. Opt for cards with faster read and write speeds, such as Class 10 or UHS-I U1/U3 cards. This will ensure smooth recording and playback performance.
- Regularly Format the Card: It’s a good practice to format the micro SD card periodically, especially if you notice any performance issues or when transitioning to a new camera. Regular formatting helps maintain optimal card performance and prevents potential file system errors.
- Avoid Partial Formatting: When formatting the micro SD card, always perform a full format instead of a quick or partial format. A full format ensures that the card’s file system is completely optimized and any potential errors or corruptions are addressed.
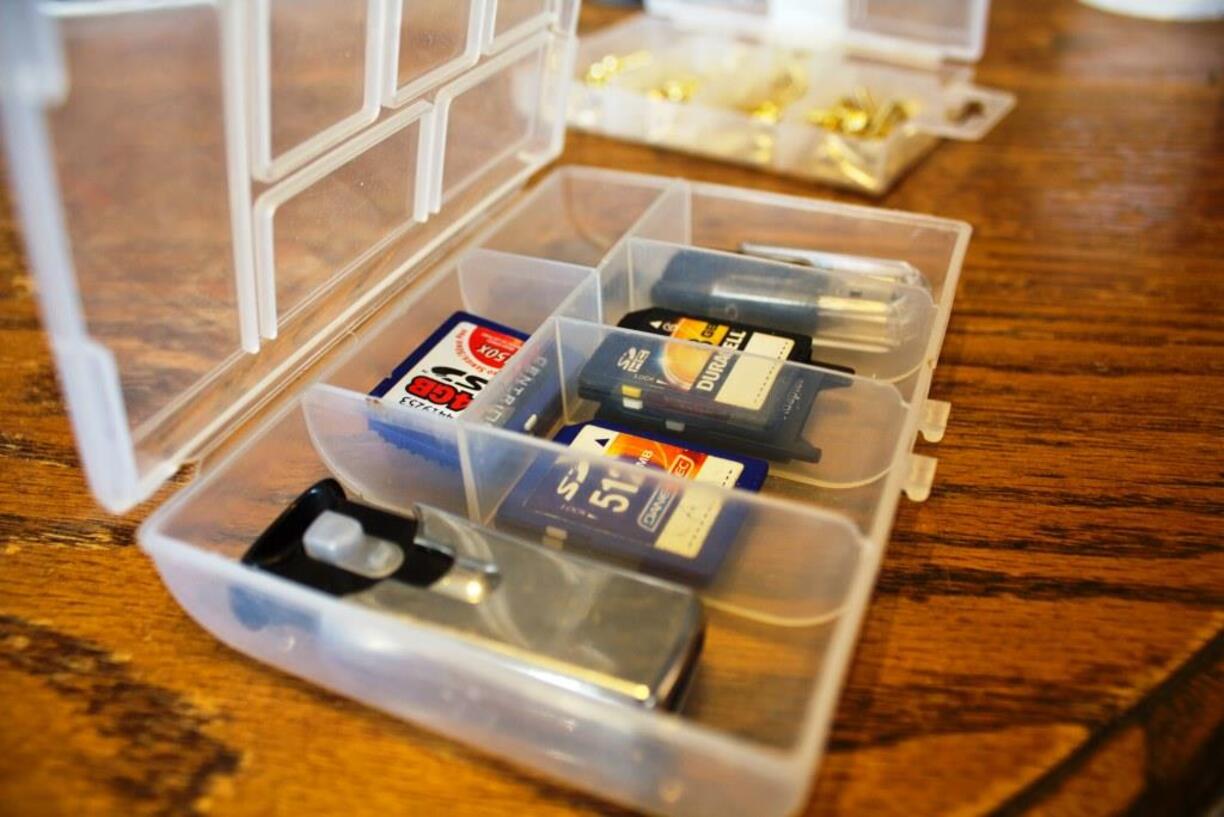
- Keep a Spare Card: Consider having a spare micro SD card on hand. This allows you to easily swap out cards for continuous recording or for storing backups of important footage. Having a spare card also provides a convenient solution in case the primary card becomes damaged or corrupted.
- Manage Storage Space: Regularly review and manage the storage space on your micro SD card. Delete any unnecessary footage or transfer it to a separate storage device to free up space for new recordings. This will prevent the card from becoming full and potentially causing recording issues.
- Monitor Card Health: Utilize software or apps provided by the micro SD card manufacturer to monitor the health and performance of the card. This allows you to identify any potential issues or errors early on and take appropriate actions, such as formatting or replacing the card if needed.
- Safely Eject the Card: When removing the micro SD card from the card reader or camera, always follow the proper ejection process to avoid data corruption or damage. Use the “Eject” or “Safely Remove Hardware” option in your operating system before physically removing the card.
By following these additional tips, you can optimize the formatting process and ensure that your micro SD card performs at its best with your security camera. Remember to prioritize card quality, perform regular formatting, manage storage space, and monitor card health for a reliable and efficient surveillance setup.
Now that you have learned about the step-by-step process, troubleshooting common issues, and additional tips for optimizing the formatting process, you are well-equipped to format your micro SD card for use with your security camera. With a properly formatted card, you can enjoy seamless recording, easy navigation, and enhanced security for your home or property.
Conclusion
Formatting a micro SD card is an essential step in preparing it for use with a security camera. By formatting the card, you ensure compatibility, optimize performance, maintain data integrity, facilitate easier navigation, and enhance security. Following a step-by-step guide, you can format your micro SD card successfully.
Remember to back up any important data or recordings before formatting and verify that you have a compatible security camera and the correct micro SD card type. Choose the appropriate formatting method, either through the camera interface or using a computer, and select the desired format settings.
During the formatting process, be mindful of common issues such as incompatible file systems, write protection, card corruption, inconsistent formatting, insufficient storage capacity, and unstable connections. Use troubleshooting tips to overcome these challenges and ensure a smooth formatting experience.
Additionally, consider optimizing the formatting process by using high-quality micro SD cards, regularly formatting the card, avoiding partial formatting, keeping a spare card, managing storage space, and monitoring card health.
By following these guidelines and best practices, you can ensure that your micro SD card is properly prepared for use with your security camera, allowing for reliable recording, seamless playback, and effective surveillance of your home or property.
In the end, a properly formatted micro SD card is the foundation of a robust and efficient security camera system, providing you with peace of mind and enhanced protection. So, take the time to format your micro SD card correctly and enjoy the benefits of a reliable and secure surveillance setup.
Frequently Asked Questions about How To Format A Micro SD Card For A Security Camera
Was this page helpful?
At Storables.com, we guarantee accurate and reliable information. Our content, validated by Expert Board Contributors, is crafted following stringent Editorial Policies. We're committed to providing you with well-researched, expert-backed insights for all your informational needs.