Home>Dining>Table Decor>How To Make Floating Beads Centerpieces
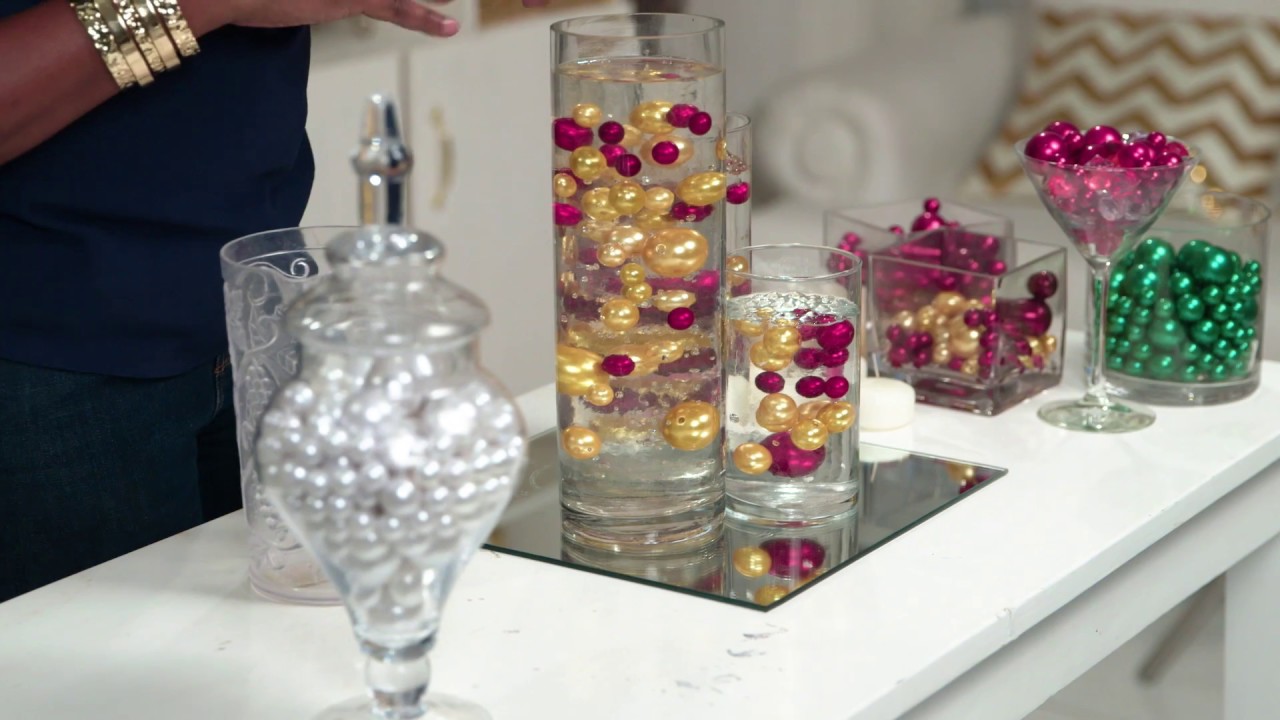
Table Decor
How To Make Floating Beads Centerpieces
Modified: October 20, 2024
Learn how to create stunning floating bead centerpieces for your table decor. Elevate your event with these eye-catching and unique decorations.
(Many of the links in this article redirect to a specific reviewed product. Your purchase of these products through affiliate links helps to generate commission for Storables.com, at no extra cost. Learn more)
Introduction
Welcome to the world of table decor, where every detail can make a significant difference in creating a captivating ambiance. When it comes to enhancing the visual appeal of your table, centerpieces play a crucial role. They not only add charm and elegance but also serve as a conversation starter among your guests.
In this article, we will explore the art of creating floating bead centerpieces, a unique and mesmerizing way to elevate your table decor. Whether you’re planning a special event, hosting a dinner party, or simply looking to add a touch of magic to your everyday dining, these centerpieces are sure to impress.
Creating floating bead centerpieces might seem like a daunting task, but fear not! With a few simple materials and some creativity, you’ll be able to craft stunning centerpieces that will wow your guests. So, gather your supplies and let’s get started on this fun and rewarding DIY project!
Key Takeaways:
- Elevate your table decor with mesmerizing floating bead centerpieces. Impress guests with captivating ambiance and personalized touches, creating memorable dining experiences for any occasion.
- Unleash your creativity and customize centerpieces with varied colors, fillers, and candle options. Infuse personal style into every detail, making each centerpiece a unique reflection of your creativity and event theme.
Read more: How To Make Glass Beads
Materials Needed
Before diving into the process of creating floating bead centerpieces, let’s gather the necessary materials. Here’s what you’ll need:
- Glass bowls or vases: Select bowls or vases of varying sizes, depending on your preference and the size of your table.
- Water beads: These tiny beads, when soaked in water, expand and create a gel-like texture. They come in various colors, so choose ones that complement your theme.
- Floating candles: Opt for small floating candles in colors that coordinate with your decor.
- Filler items: To add a touch of creativity, gather filler items such as decorative rocks, flower petals, or small ornaments that match your theme.
- Water: You’ll need enough water to fill the bowls or vases.
- Optional: Food coloring or fragrant oils, if you wish to customize the water color or scent.
- Tablecloth or placemats: To protect your table and provide a polished look, choose a tablecloth or placemats that complement your overall decor.
- Additional decor: Depending on the occasion, consider incorporating additional elements such as table runners, napkins, or themed decorations to enhance the overall aesthetic.
With these materials on hand, you’re ready to embark on the journey of creating captivating floating bead centerpieces that will take your table decor to the next level.
Step 1: Preparing the Floating Beads
Now that you have gathered all the necessary materials, it’s time to prepare the floating beads. Follow these simple steps to create the perfect gel-like orbs that will add a mesmerizing touch to your centerpieces:
- Start by pouring the water beads into a large bowl or container.
- Add water to the container, ensuring that the beads are fully submerged. Follow the instructions on the packaging to determine the appropriate water-to-bead ratio.
- Allow the beads to soak in the water for the recommended amount of time, usually a few hours or overnight. As they soak, the beads will begin to expand and absorb the water, transforming into small, gel-like spheres.
- Once the beads have reached their desired size, drain any excess water using a colander or strainer.
- At this point, you can add a personal touch by mixing in a few drops of food coloring or a fragrant oil of your choice. This step is optional but can enhance the visual appeal and atmosphere.
- Gently stir the beads to evenly distribute the color or scent throughout.
With the floating beads prepared, you’re now ready to move on to the next step: preparing the base for your centerpieces.
Step 2: Preparing the Base
Now that you have your beautifully expanded floating beads, it’s time to focus on preparing the base for your centerpieces. The base will provide stability and a visually appealing foundation for your floating beads and candles. Follow these steps to create the perfect base:
- Select the glass bowls or vases that you have chosen for your centerpieces. Ensure that they are clean and dry.
- Place a tablecloth or placemat on your table to protect the surface and provide a cohesive look.
- If you’re using multiple bowls or vases, arrange them in a visually pleasing manner on the table.
- Now, it’s time to add the filler items. Fill the bottom of each bowl or vase with decorative rocks, flower petals, or small ornaments. These items will add depth and texture to your centerpieces.
- Next, carefully pour the previously prepared floating beads into each bowl or vase, filling them about two-thirds of the way up. The beads will rest on top of the filler items, creating a stunning layered effect.
- Once the bowls or vases are filled with beads, add water to fill the remaining space. Ensure that the water level is below the rim of the container to prevent spillage when adding the floating candles.
With the base prepared, you have set the stage for your floating bead centerpieces. It’s time to move on to the next step and bring it all together by assembling the centerpieces.
When making floating bead centerpieces, use a variety of bead sizes and colors to create visual interest and depth in the arrangement. This will add a dynamic and eye-catching element to your centerpiece.
Step 3: Assembling the Centerpiece
With the base prepared, it’s time to assemble your floating bead centerpiece. This step will bring all the elements together into a stunning focal point that will captivate your guests. Follow these steps to create a beautifully arranged centerpiece:
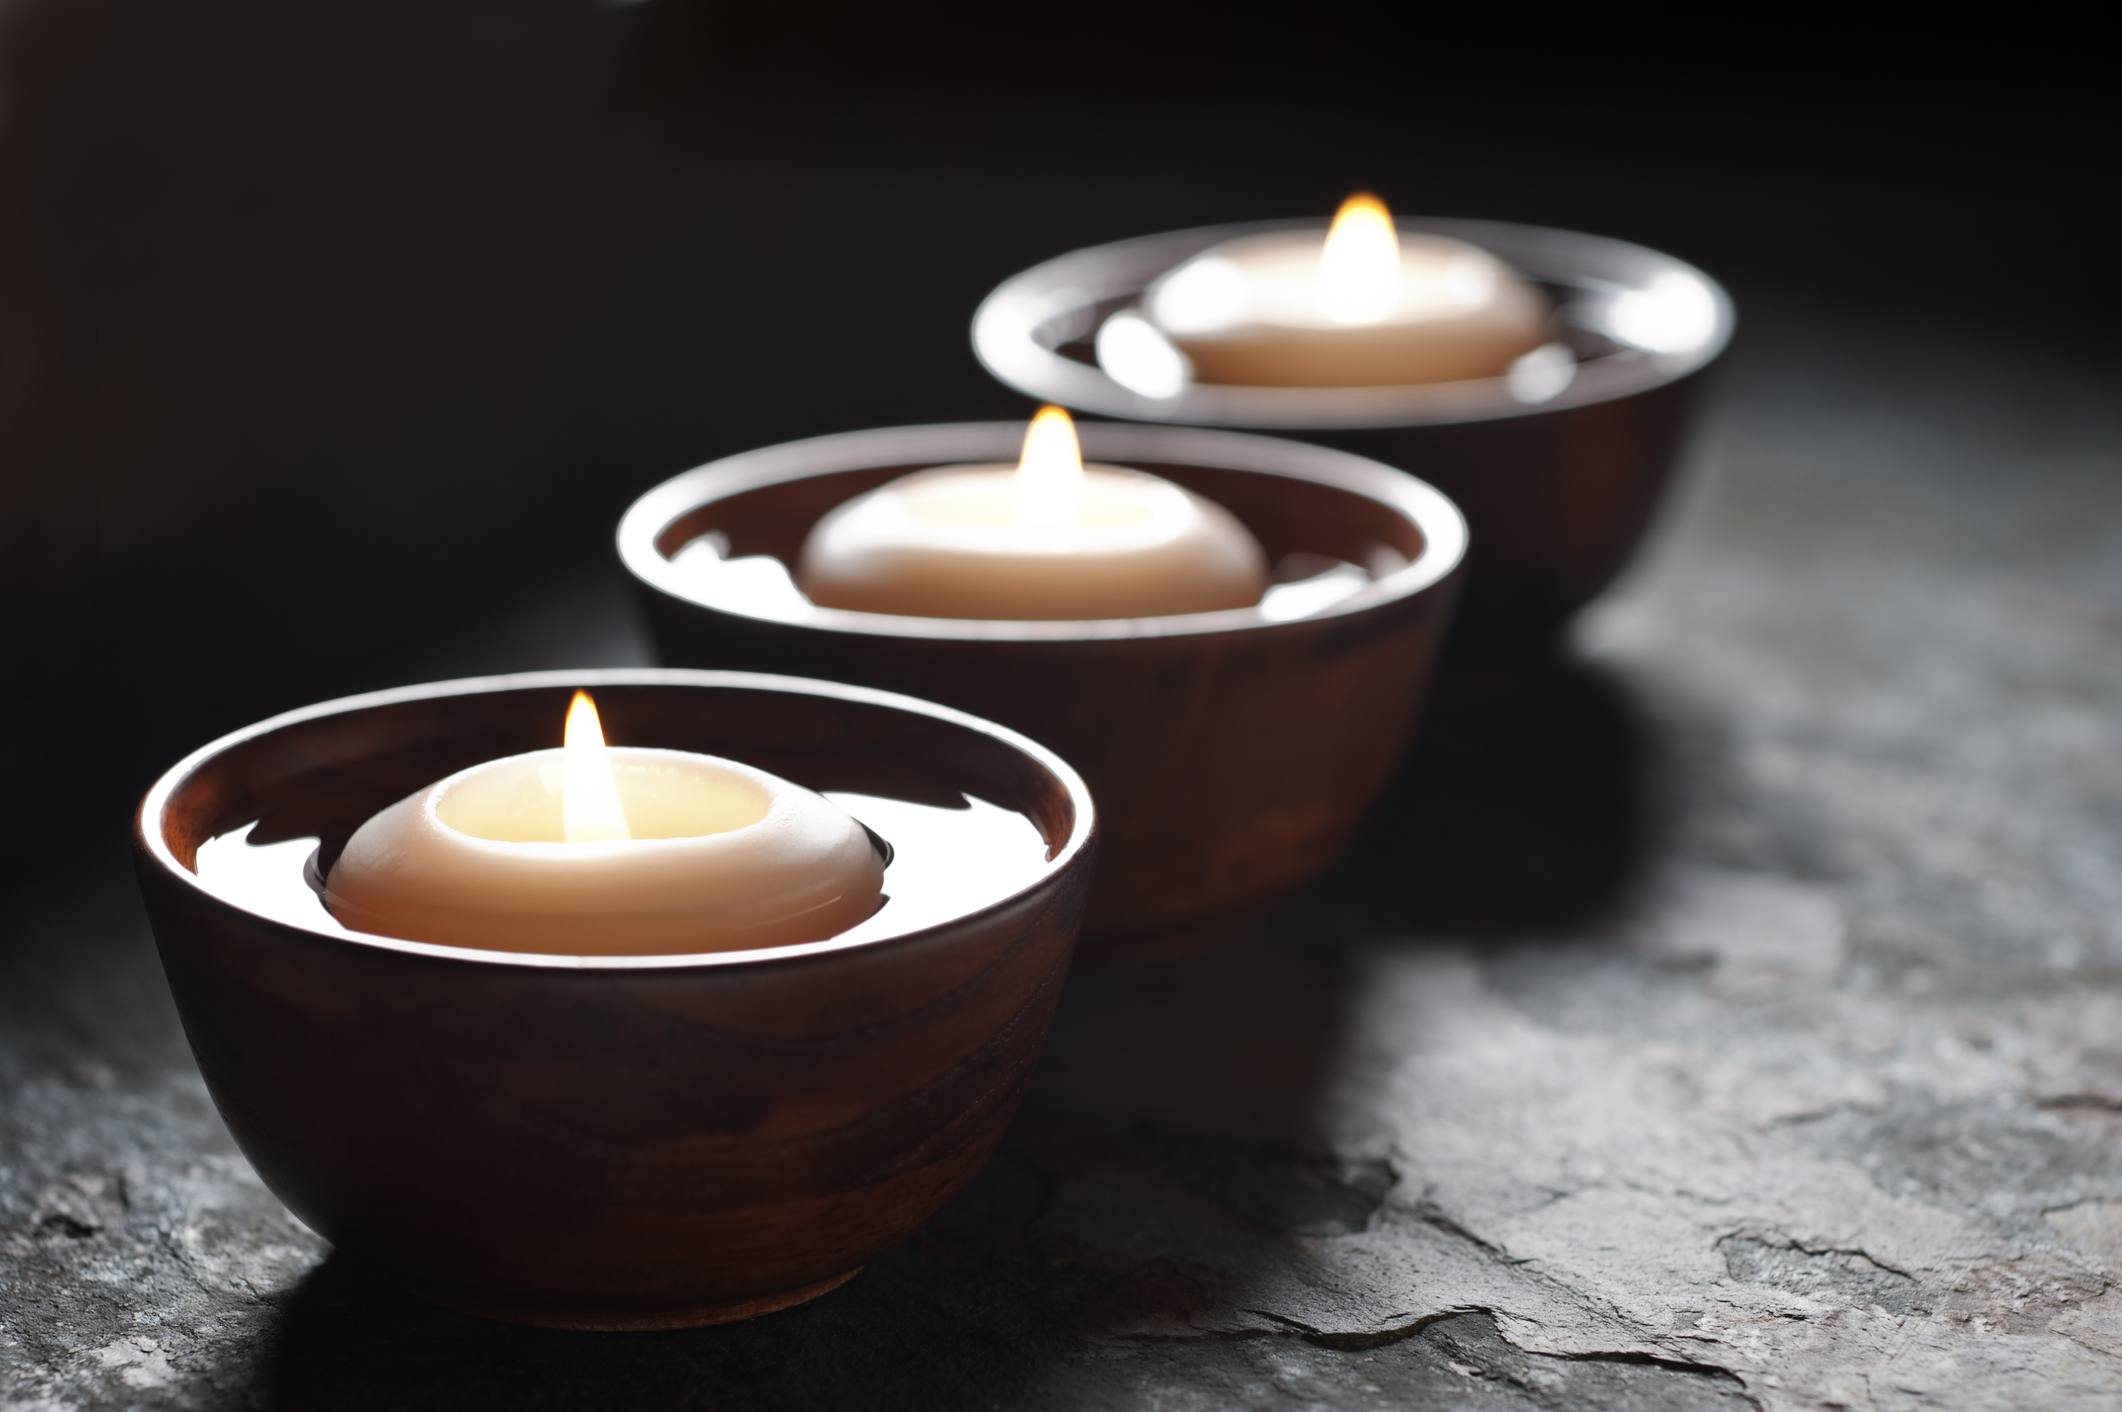
- Place a floating candle on top of the water in each bowl or vase. Ensure that the candle is centered and level.
- Light the candles to add a warm and inviting glow to your centerpiece. Be sure to follow proper candle safety precautions.
- Take a step back and assess the placement of your centerpieces. Adjust the bowls or vases as needed to achieve a balanced and harmonious display.
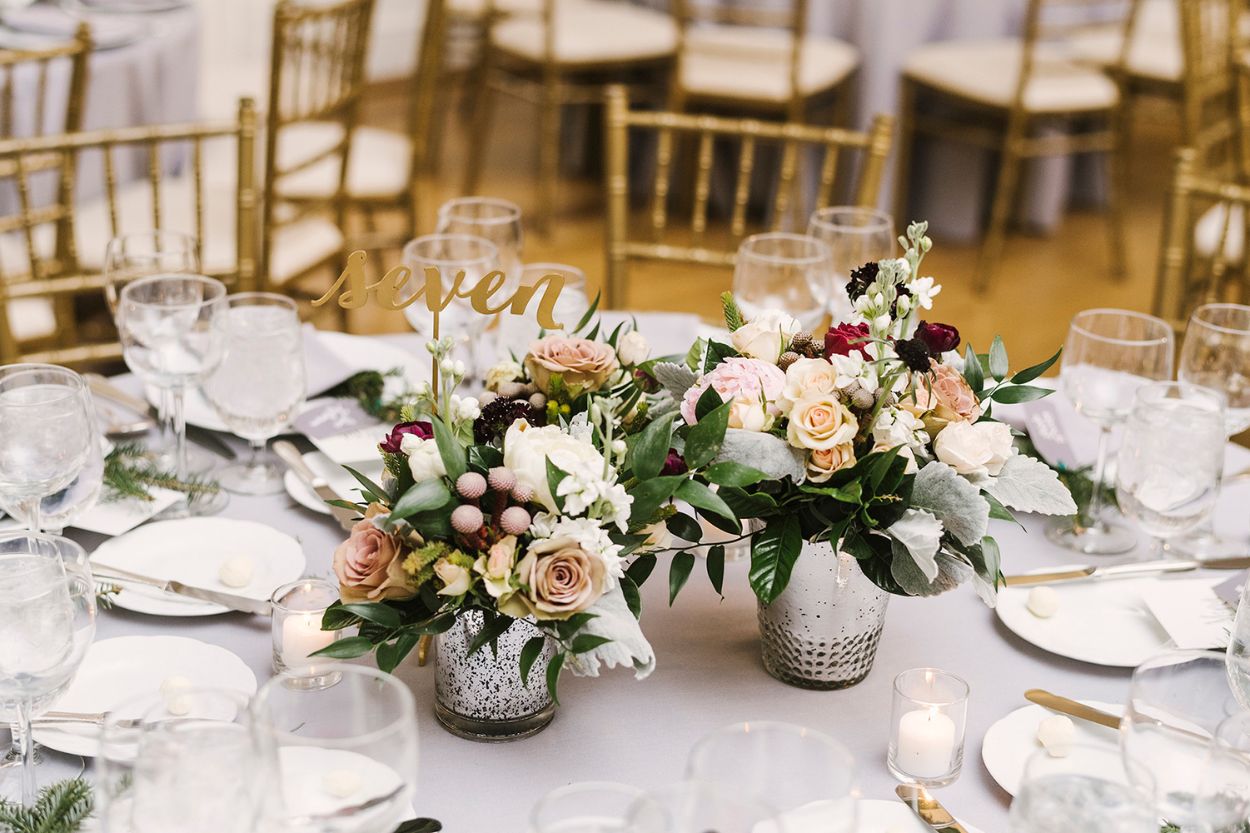
- Consider adding additional decorative elements, such as fresh flowers, greenery, or ribbon accents, to further enhance the centerpiece. These embellishments can be placed around the base of the bowls or vases for an added touch of elegance.
- Once you are satisfied with the arrangement, take a moment to appreciate the beauty and ambiance created by your floating bead centerpieces.
Remember, creativity is key when assembling your centerpieces. Don’t be afraid to experiment and add personal touches to make them truly unique and reflective of your style and event theme.
Now that your centerpieces are complete, let’s move on to the final step: adding the floating candles.
Read more: How To Make Beaded Curtains
Step 4: Adding the Floating Candles
Adding the floating candles to your centerpieces is the final step in creating a truly magical and enchanting table decor. Follow these steps to ensure the safe and beautiful placement of the candles:
- Ensure that the water in the bowls or vases is at an appropriate level, below the rim, to prevent any overflow when the candles are lit.
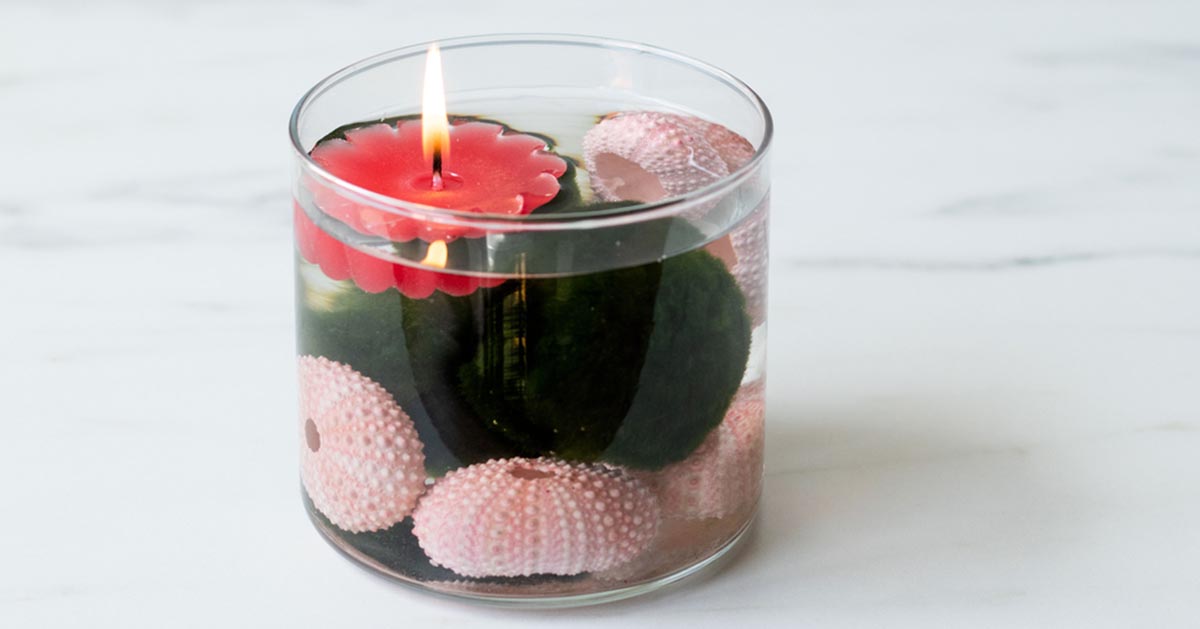
- Place one floating candle gently on the surface of the water in each bowl or vase. The candle should float freely and not touch the sides of the container.
- Light each floating candle using a long-reach lighter or a candle lighter. Be cautious and follow proper safety guidelines when dealing with open flames.
- Observe the candle as it burns and adjust the positioning as needed to maintain a level flame.
- Enjoy the mesmerizing glow and subtle flickering of the floating candles, creating a warm and inviting atmosphere for your guests.
- Monitor the candles closely and ensure they are extinguished before leaving the table unattended.
Remember, safety should always be a priority when working with candles. Never leave lit candles unattended and keep them away from flammable materials.
With the floating candles in place, your floating bead centerpieces are complete. The combination of the floating beads and flickering candles will create an ambiance that is both sophisticated and alluring. Now, let’s explore some tips and variations to further enhance your table decor.
Step 5: Tips and Variations
Now that you’ve mastered the process of creating floating bead centerpieces, let’s set your table with some tips and variations to further elevate your table decor:
- Experiment with different colors: Floating beads are available in a wide range of colors. Don’t hesitate to mix and match colors to create a vibrant and eye-catching centerpiece. Coordinate the colors with your overall theme or select contrasting colors for a bold and dramatic effect.
- Use different sizes of bowls and vases: Play with the size of the containers for your centerpieces. Utilize varying heights to create visual interest and dimension. Group different-sized bowls or vases together to create a dynamic display.
- Add foliage or flowers: Introduce fresh flowers or greenery into your centerpieces for a touch of natural beauty. Select flowers that match your color scheme or opt for greenery for a more organic feel.
- Personalize with unique fillers: Instead of traditional decorative rocks or flower petals, consider using unconventional fillers such as seashells, sand, or even small figurines that hold personal significance. This will add a unique and personal touch to your centerpieces.
- Enhance the ambiance with scented oils: To create an even more immersive experience, add a few drops of scented oil to the water in your centerpieces. A subtle fragrance, such as lavender or citrus, can enhance the atmosphere and engage the senses.
- Consider different candle options: While floating candles are the traditional choice, feel free to explore alternative candle options. Submersible LED lights can create a mesmerizing glow, or try flameless candles for a worry-free centerpiece.
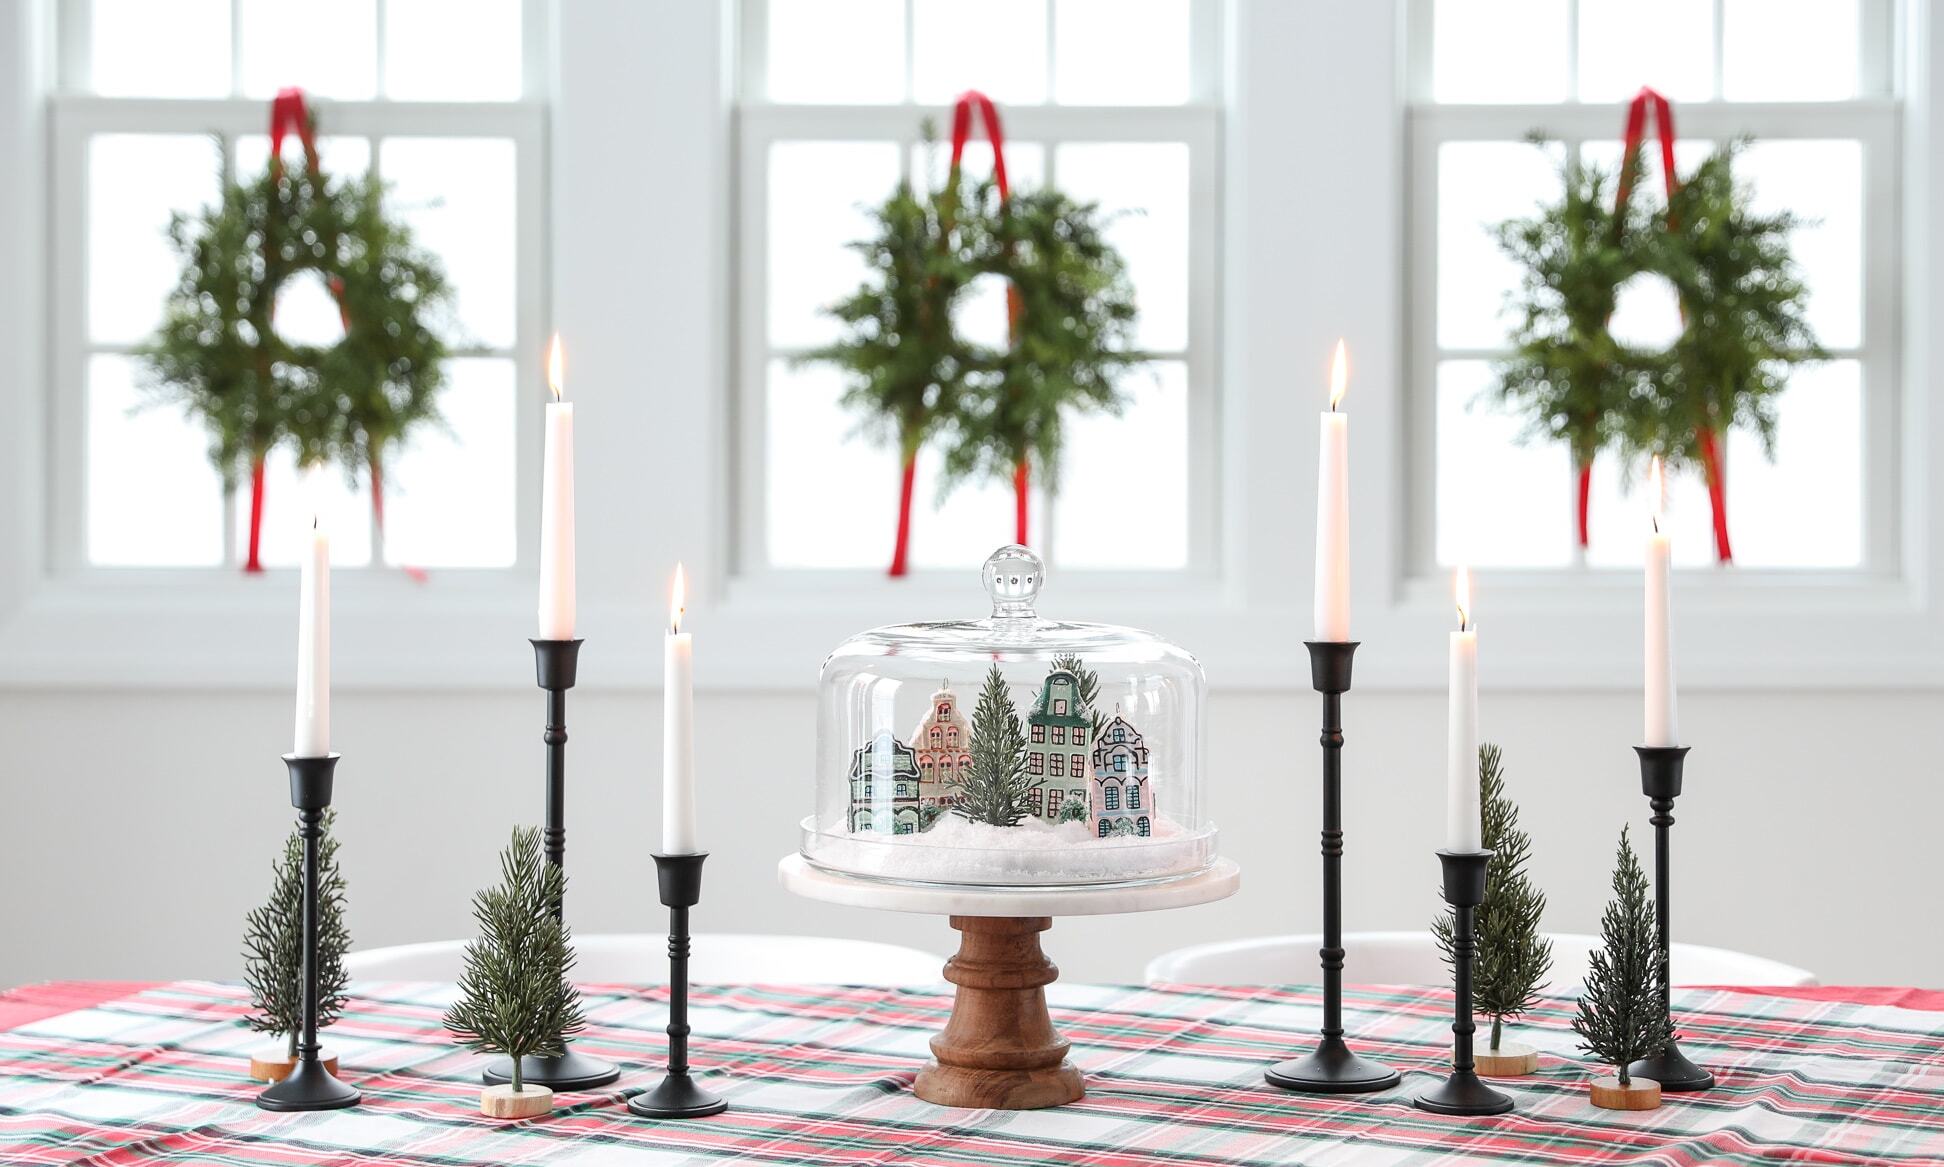
- Coordinate with table linens and decorations: Complete the cohesive look by coordinating your floating bead centerpieces with your table linens, napkins, and other table decorations. Maintain a consistent color palette or theme throughout to tie everything together.
Remember, the sky’s the limit when it comes to creating floating bead centerpieces. Feel free to let your creativity run wild and customize the centerpieces to suit your personal style and the occasion. Experiment with different combinations, textures, and elements to make your table decor truly one-of-a-kind.
Congratulations! You’ve successfully learned how to create stunning floating bead centerpieces. These captivating pieces are sure to leave a lasting impression on your guests and create a memorable dining experience. Enjoy the beauty and ambiance that your centerpieces bring to your table, and have fun exploring new ways to enhance your table decor in the future.
With these tips and variations in mind, you’re now ready to take your table decor to the next level with floating bead centerpieces. Happy crafting and decorating!
Conclusion
Table decor is an art form that allows us to express our creativity while setting the stage for memorable gatherings. By mastering the craft of creating floating bead centerpieces, you have unlocked a unique and mesmerizing way to elevate your table decor.
Throughout this article, we have covered the step-by-step process of creating these stunning centerpieces. From preparing the floating beads to assembling the base, adding the floating candles, and exploring various tips and variations, you now have the knowledge and inspiration to create beautiful tablescapes that will captivate your guests.
Remember to infuse your own personal style and creativity into every centerpiece. Experiment with colors, sizes, fillers, and embellishments to make each centerpiece unique and reflective of your own taste and event theme. Don’t be afraid to think outside the box and explore new possibilities. The more you let your imagination run wild, the more magical and memorable your centerpieces will be.
As you prepare to showcase your floating bead centerpieces, ensure that you prioritize safety by keeping an eye on the flames and extinguishing candles before leaving the table unattended. Creating a warm and inviting atmosphere doesn’t mean compromising safety measures.
Now, armed with the knowledge and inspiration from this article, it’s time to embark on your own table decor journey. Whether you’re hosting a dinner party, celebrating a special occasion, or simply looking to add a touch of magic to your everyday dining, let your centerpieces serve as a conversation starter and a symbol of your creativity and attention to detail.
So gather your materials, unleash your imagination, and start creating breathtaking floating bead centerpieces that will take your table decor to new heights. Remember, the beauty is in the details, and with each centerpiece you create, you are adding elegance and charm to every gathering.
Happy crafting and enjoy the wonder that your floating bead centerpieces bring to your table!
Frequently Asked Questions about How To Make Floating Beads Centerpieces
Was this page helpful?
At Storables.com, we guarantee accurate and reliable information. Our content, validated by Expert Board Contributors, is crafted following stringent Editorial Policies. We're committed to providing you with well-researched, expert-backed insights for all your informational needs.


0 thoughts on “How To Make Floating Beads Centerpieces”