Home>Dining>Table Decor>How To Make A Wood Table Centerpiece For A Birthday
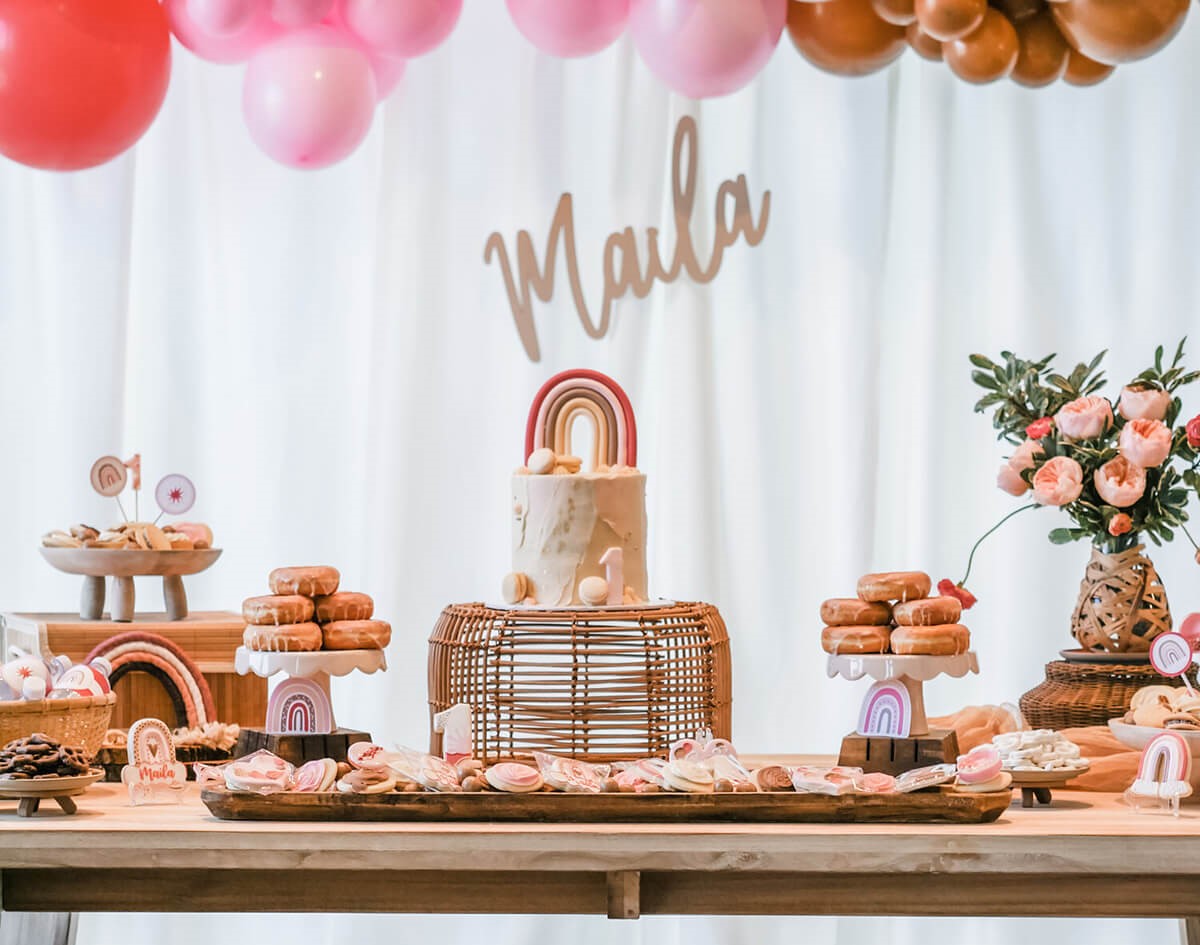
Table Decor
How To Make A Wood Table Centerpiece For A Birthday
Modified: August 28, 2024
Learn how to create a stunning wood table centerpiece for a memorable birthday celebration. Elevate your table decor with this DIY project.
(Many of the links in this article redirect to a specific reviewed product. Your purchase of these products through affiliate links helps to generate commission for Storables.com, at no extra cost. Learn more)
Introduction
Welcome to the world of table decor! Creating a stunning and unique centerpiece for a birthday celebration is a wonderful way to add a personalized touch and enhance the overall ambiance of the event. And what better way to do so than by making your very own wood table centerpiece?
A wood table centerpiece not only adds natural elegance to the dining table but also provides a versatile base for showcasing other decorative elements. From candles and flowers to small trinkets and mementos, a well-crafted wood centerpiece can be easily customized to suit any birthday theme or style.
In this article, we will guide you through the step-by-step process of making a wood table centerpiece for a birthday celebration. We will cover everything from selecting the right wood to adding the finishing touches that will make your centerpiece truly stand out.
So roll up your sleeves, grab your tools, and let’s dive into the world of DIY table decor!
Key Takeaways:
- Personalize your birthday celebration with a stunning wood table centerpiece. From selecting the perfect wood to adding decorative elements, this DIY project allows you to showcase your creativity and create a memorable focal point for the event.
- Elevate your DIY skills and unleash your creativity by crafting a wood table centerpiece. With careful selection, measuring, cutting, and assembling, you can create a visually captivating centerpiece that reflects your unique style and enhances the ambiance of the celebration.
Read more: How To Make Wood Slices For Centerpieces
Materials Needed
Before we begin, let’s gather all the necessary materials for making your wood table centerpiece:
- Wood: Select a sturdy and visually appealing piece of wood. You can choose from a variety of options, such as oak, pine, or walnut, depending on your personal preference.
- Measuring tape: This will come in handy for accurately measuring the dimensions of your wood piece.
- Saw: You will need a saw to cut the wood to your desired size and shape.
- Sandpaper: To smooth the edges and surfaces of the wood, you’ll need sandpaper of varying grits. Start with a coarser grit (around 100) and gradually move to a finer grit (around 220) for a polished finish.
- Stain or paint: Choose a stain or paint color that aligns with the theme and color scheme of the birthday celebration.
- Brush or foam applicator: For applying the stain or paint evenly onto the surface of the wood.
- Protective gloves: To keep your hands clean and protected while working with the stain or paint.
- Protective finish: Consider using a protective finish, such as polyurethane or wax, to seal the wood and give it a glossy finish.
- Decorative elements: Gather various decorative items that you plan to include in your centerpiece, such as candles, flowers, ribbons, or small figurines. Let your creativity run wild!
- Hot glue gun or craft adhesive: Depending on the weight and material of the decorative elements, you may need a hot glue gun or craft adhesive to secure them to the centerpiece.
With these materials at your disposal, you’re well-equipped to get started on your wood table centerpiece creation!
Step 1: Selecting the Wood
The first step in creating your wood table centerpiece is to select the perfect piece of wood. The type of wood you choose will depend on your personal preference, budget, and the overall style you want to achieve.
When selecting the wood, look for a piece that is visually appealing and free from any major defects or damage. It should be sturdy enough to hold the weight of the decorative elements you plan to add.
Some popular options for wood table centerpieces include oak, pine, and walnut. Oak is known for its strength and durability, while pine offers a natural and rustic feel. Walnut, on the other hand, is prized for its rich and dark color.
Consider the size and shape of the wood piece as well. Depending on the size of your dining table and the number of guests, you may want to choose a larger or smaller piece of wood. Rectangular or square-shaped pieces are common choices, but feel free to experiment with different shapes, such as round or oval, to add visual interest.
Before finalizing your selection, think about the color and finish that you desire. Some people prefer the natural beauty of the wood and choose to keep it as is, while others opt to stain or paint it to match the theme of the birthday celebration.
Ultimately, the wood you choose should reflect your personal style and complement the overall aesthetic of the birthday event. Take your time in selecting the perfect piece, as it will be the foundation of your stunning wood table centerpiece.
Step 2: Measuring and Cutting the Wood
Once you have selected the wood for your table centerpiece, it’s time to measure and cut it to your desired size and shape. This step is crucial to ensure that your centerpiece fits perfectly on your dining table and provides the desired visual impact.
Start by measuring the dimensions of your dining table. Consider the available space, as well as any other items that will be placed on the table, such as plates, glasses, or utensils. This will help you determine the ideal size for your wood centerpiece.
Using a measuring tape, measure the length, width, and height of the wood piece. Mark these measurements with a pencil or a piece of masking tape to guide your cutting process.
Next, gather your saw and carefully cut the wood according to the marked dimensions. Make sure to follow proper safety precautions and use a saw that is suitable for cutting wood.
If you prefer a specific shape, such as a round or oval tabletop, you may need to use a jigsaw or wood router to achieve the desired shape. Take your time and cut along the marked lines, ensuring smooth and precise cuts.
Remember, it’s always better to start with a larger piece of wood and gradually cut it down if needed. You can always trim it to the perfect size as you progress.
Once you have cut the wood to your desired dimensions and shape, double-check the measurements to ensure accuracy. Sand down any rough edges or uneven surfaces using sandpaper, creating a smooth and refined finish.
In the next step, we will focus on sanding and smoothing the edges of the wood to prepare it for staining or painting.
Step 3: Sanding and Smoothing the Edges
After cutting the wood to your desired size and shape, the next step in creating your wood table centerpiece is to sand and smooth the edges. This process is essential for achieving a polished and professional finish.
Start by selecting sandpaper with a coarse grit, around 100. This will help remove any rough or uneven surfaces and make the edges smoother. Hold the sandpaper firmly and sand along the edges in a back-and-forth motion, following the natural grain of the wood.
Be sure to pay special attention to any sharp corners or splintered areas. Sand these down carefully to create a safe and comfortable surface.
As you progress, switch to sandpaper with a finer grit, around 220. This will help refine the surface and remove any remaining roughness. Sand the edges again, following the same back-and-forth motion, until they feel smooth to the touch.
While sanding, keep a delicate touch and avoid applying too much pressure, as this can result in uneven sanding or damage to the wood. Take your time and regularly check the edges to ensure they are becoming gradually smoother.
Once you are satisfied with the smoothness of the edges, wipe away any dust or debris using a clean cloth or a tack cloth. This will help prepare the wood for staining or painting in the next step.
Remember, sanding and smoothing the edges is an important step in creating a professional and visually appealing wood table centerpiece. Take the time to do it right, and you will be rewarded with a beautifully finished piece.
In the next step, we will explore the options of staining or painting the wood to bring your centerpiece to life.
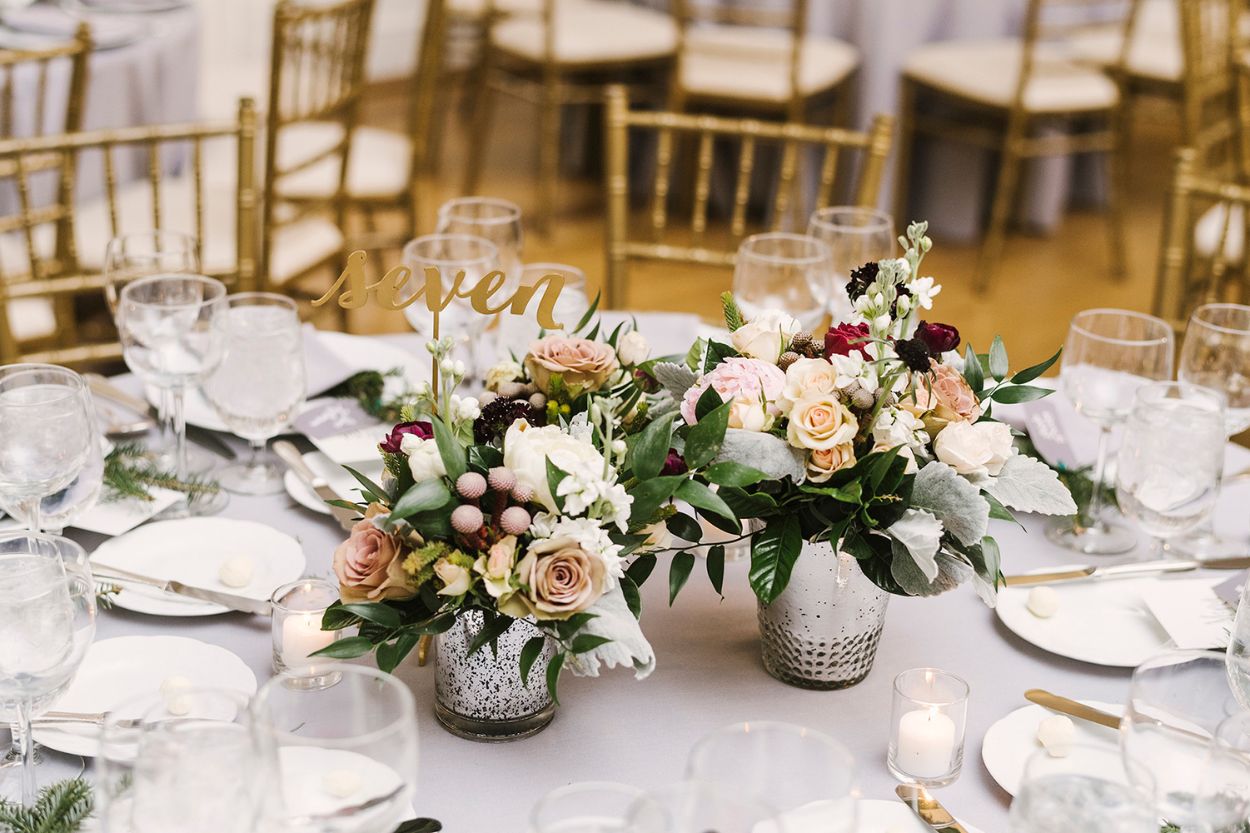
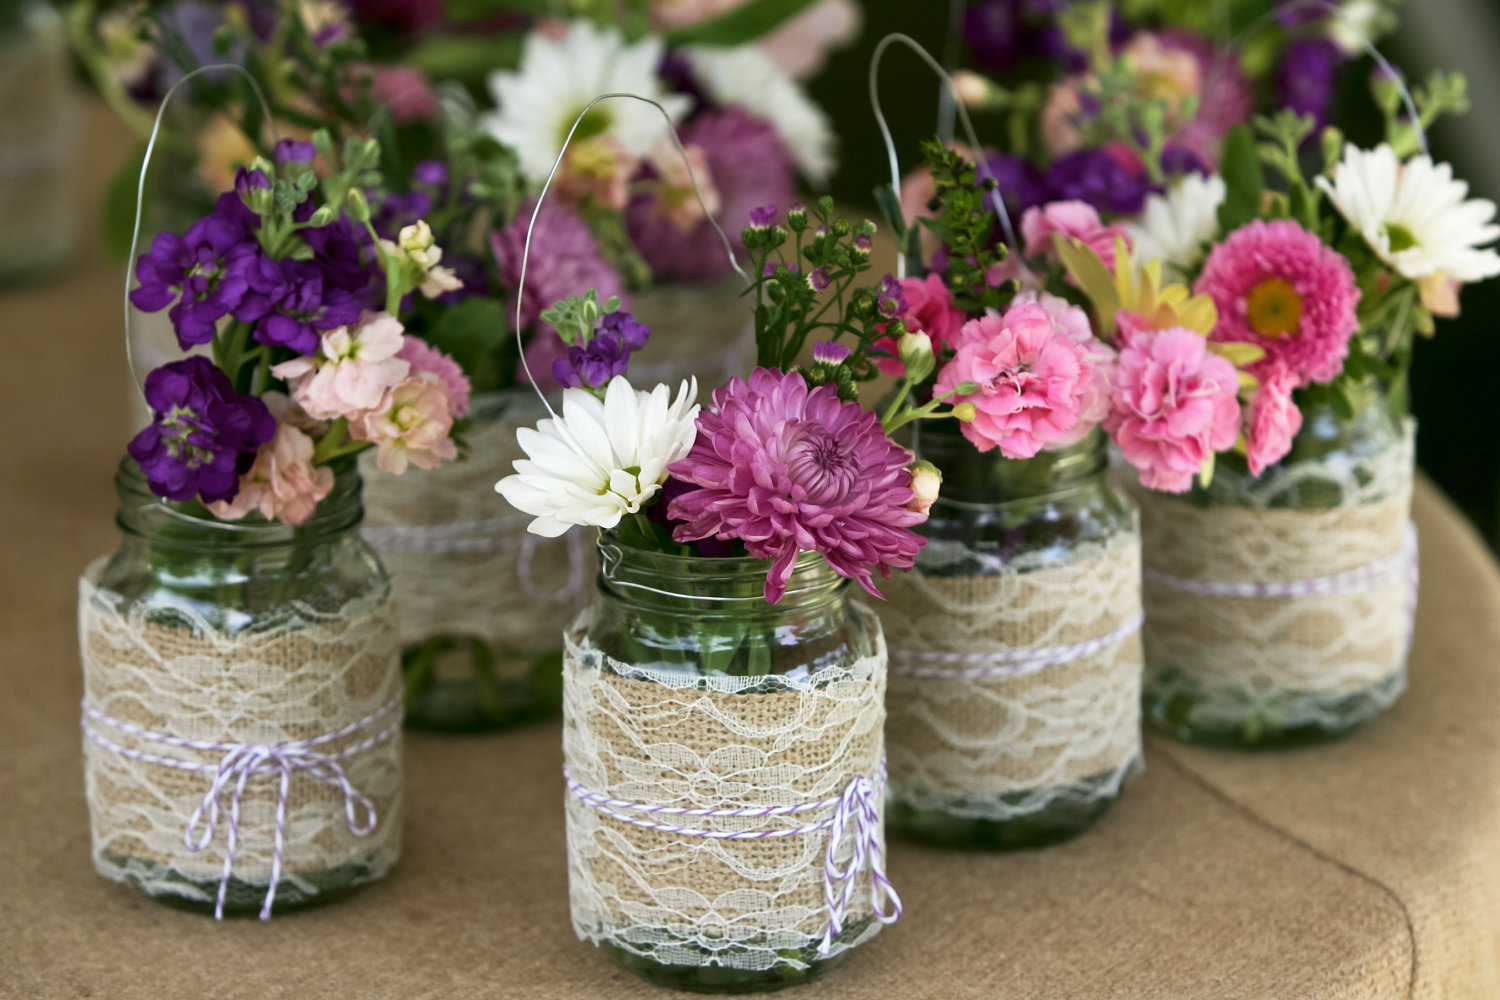
When making a wood table centerpiece for a birthday, consider using a variety of natural elements such as flowers, greenery, and candles to create a visually appealing and festive display.
Read more: How To Make Centerpieces With Candy
Step 4: Staining or Painting the Wood
With the edges of your wood table centerpiece sanded and smooth, it’s time to add color and personality to your creation by staining or painting the wood. This step allows you to customize the centerpiece to match the theme and aesthetic of the birthday celebration.
Before applying any stain or paint, ensure that the wood is clean and free of dust or debris. Use a clean cloth or a tack cloth to wipe away any remaining particles.
If you choose to stain the wood, start by selecting a wood stain that complements your desired look. There are various shades available, ranging from light tones to dark rich hues. Apply the stain using a brush or a foam applicator, following the instructions provided by the manufacturer. Make sure to coat the wood evenly and wipe away any excess stain with a clean cloth. Allow the stain to dry according to the manufacturer’s guidelines.
On the other hand, if you prefer to paint the wood, choose a paint color that matches the theme or color scheme of the birthday celebration. Consider using acrylic craft paint or wood paint for best results. Apply the paint using a brush or a foam applicator, ensuring smooth and even coverage. You may need multiple coats, so allow each coat to dry completely before applying the next one.
Whether you choose to stain or paint, remember that the goal is to enhance the natural beauty of the wood and create a cohesive look. Experiment with different techniques, such as distressing or layering colors, to achieve the desired effect. Feel free to get creative and add your personal touch!
Once the wood is stained or painted and has dried thoroughly, take a moment to admire your work. The color and finish will transform the wood into a stunning centerpiece that will captivate your guests.
In the next step, we will move on to assembling the centerpiece and bringing all the elements together.
Step 5: Assembling the Centerpiece
Now that you have your beautifully stained or painted wood for the table centerpiece, it’s time to assemble all the elements together to create a visually captivating display.
Start by placing the wood piece in the center of your dining table. Ensure it is positioned securely and sits flat on the table surface.
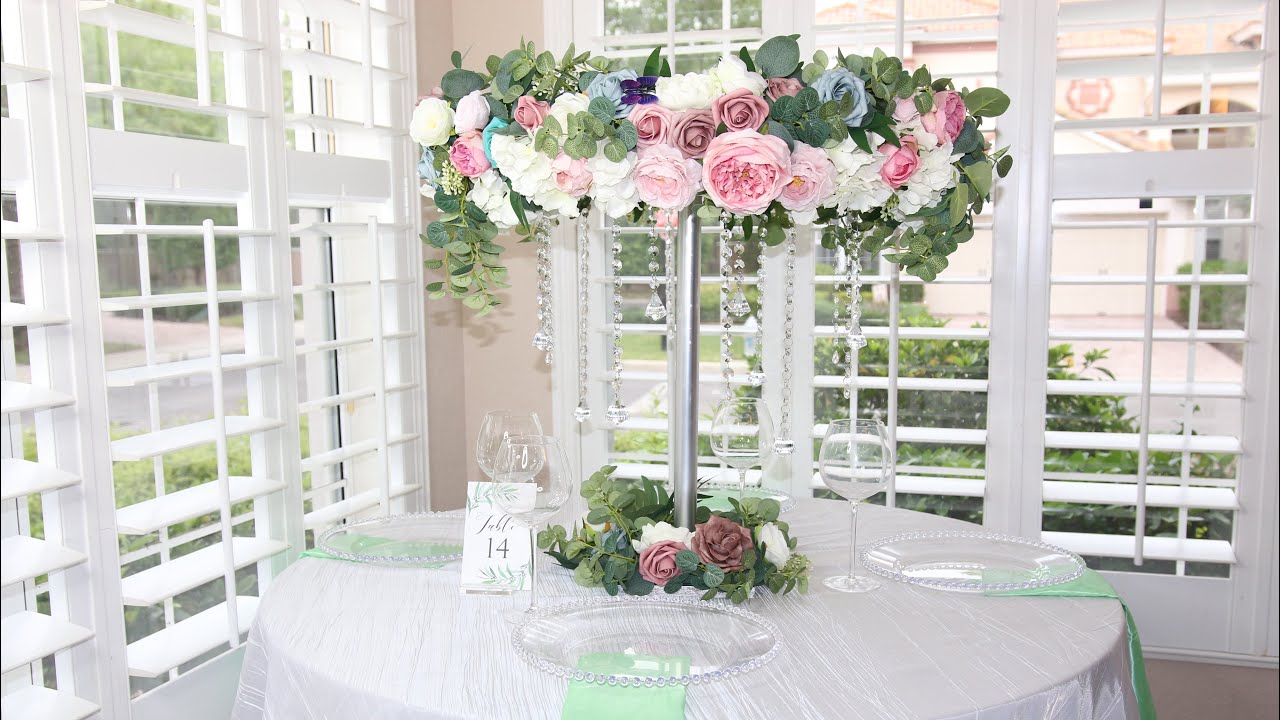
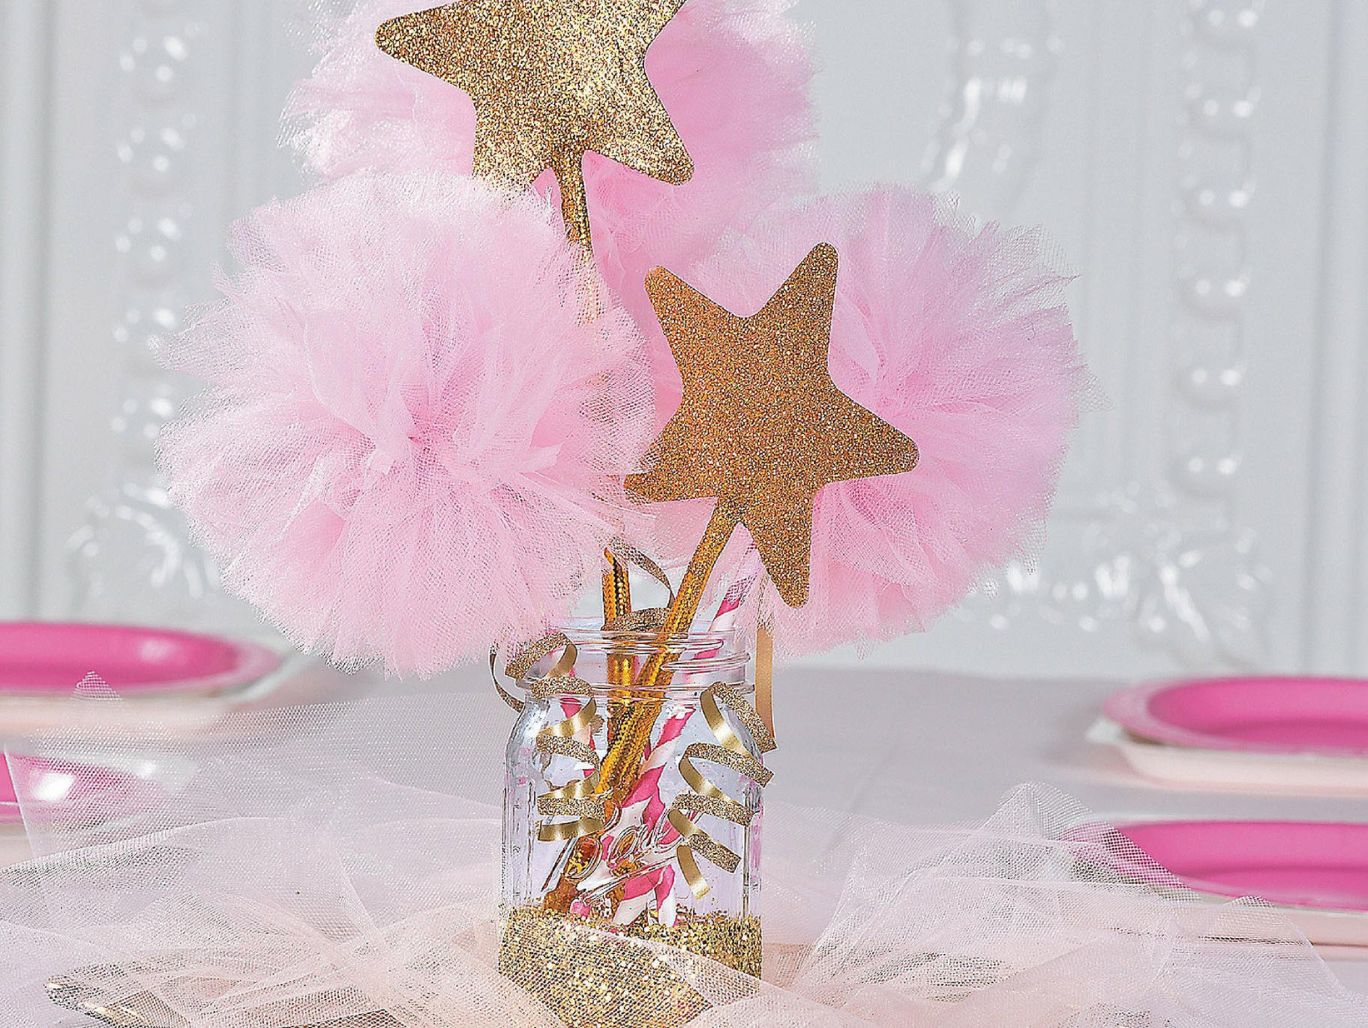
Next, gather the decorative elements you have chosen for your centerpiece. This can include candles, flowers, small figurines, or any other items that align with the birthday theme.
Arrange the decorative elements on the wood, experimenting with different compositions until you find one that pleases your eye. Consider varying heights and textures to create visual interest.
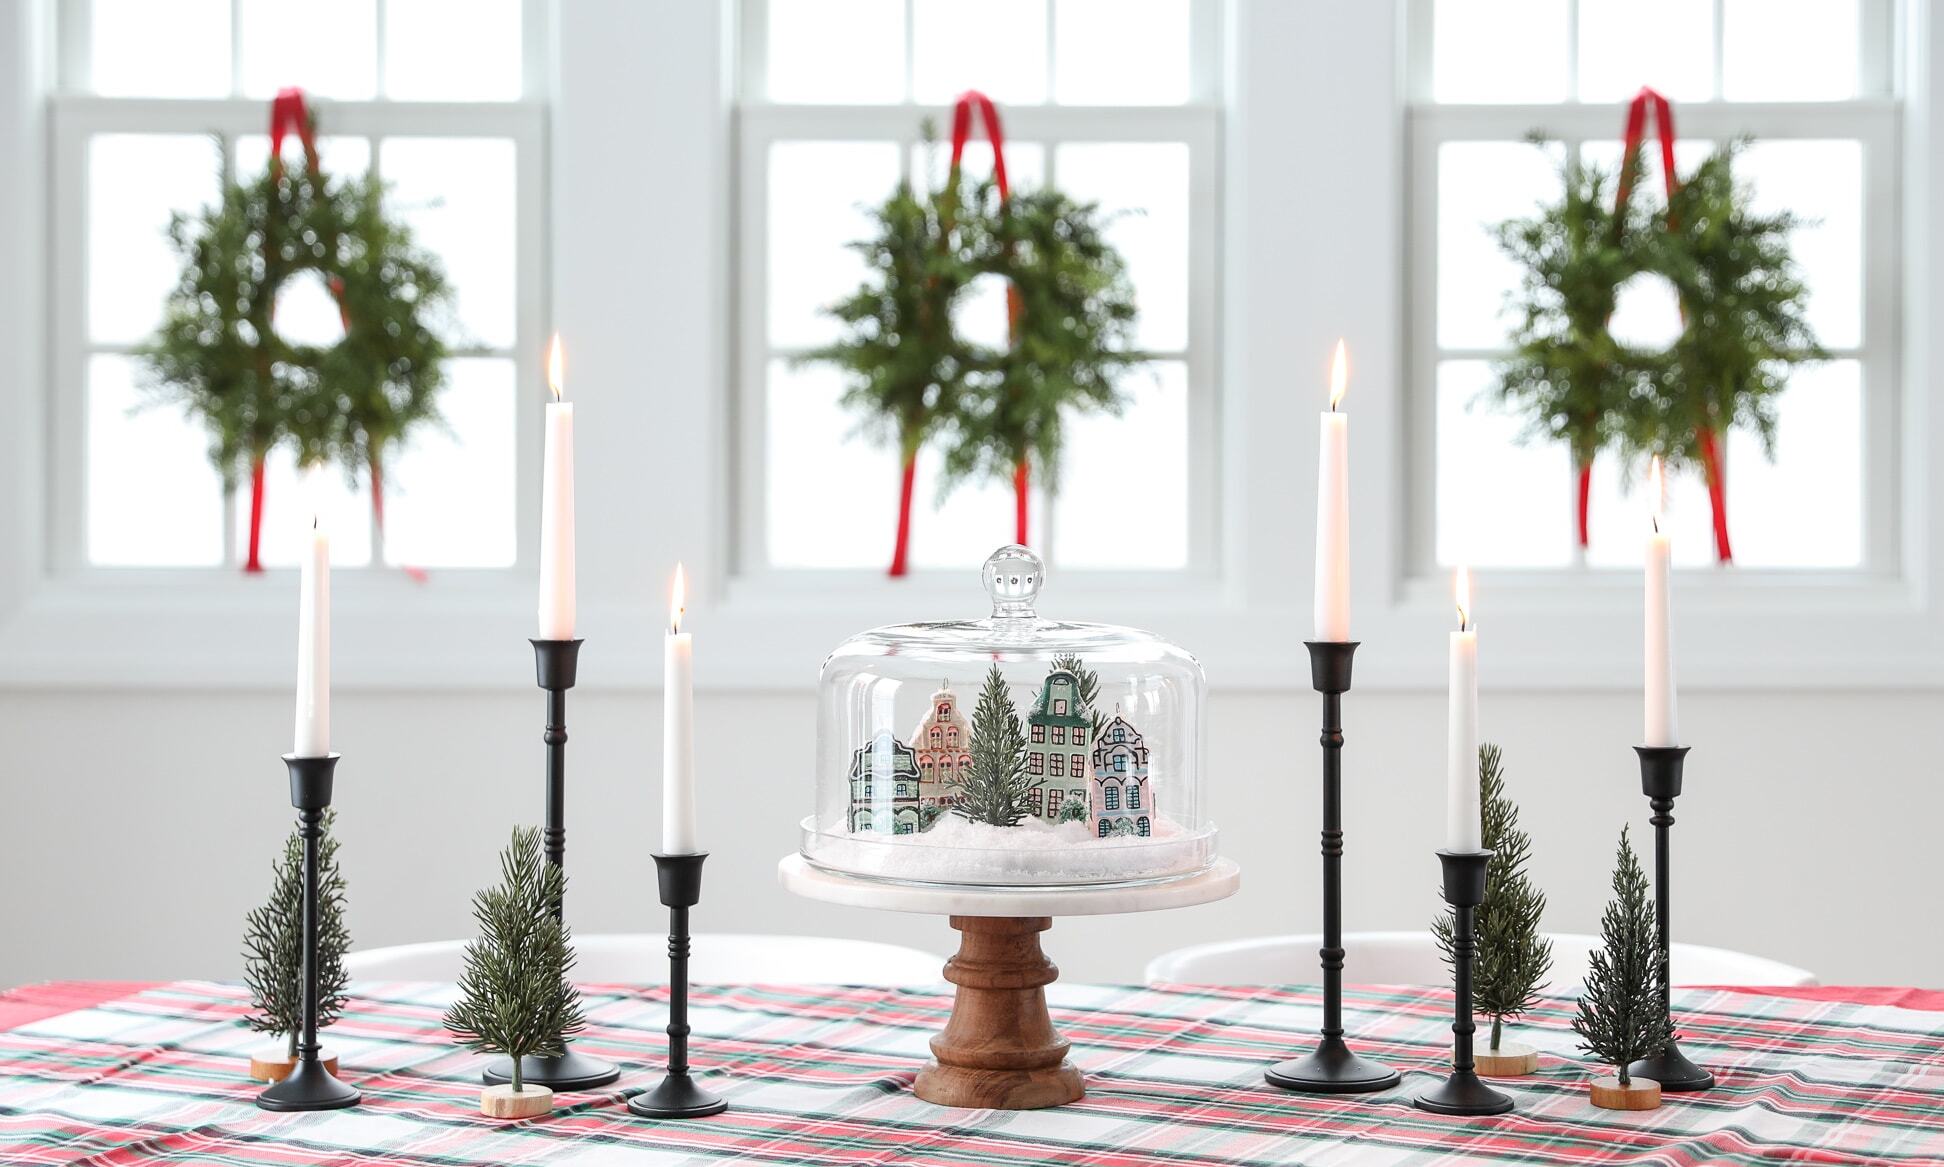
If you want to add candles, choose candle holders or candlesticks that complement the overall style of the centerpiece. Place them strategically and ensure they are stable and secure.
If flowers are part of your centerpiece, consider using a small vase or floral foam to anchor the flowers in place. Trim the stems to the desired length and arrange them elegantly on the wood surface.
Remember to step back and assess the arrangement from different angles to ensure that everything is balanced and visually appealing.
If needed, utilize a hot glue gun or craft adhesive to firmly attach any items that may be prone to movement or tipping over. This will help ensure the stability of your centerpiece.
Take the time to fine-tune the arrangement until you are satisfied with the overall look. The centerpiece should complement the birthday celebration and serve as a focal point on the table.
In the next step, we will add the finishing touches to complete your wood table centerpiece.
Step 6: Adding Decorative Elements
Now that your wood table centerpiece is assembled, it’s time to add the finishing touches and enhance its visual appeal with additional decorative elements. These elements will further elevate the overall aesthetic and make your centerpiece truly unique.
Consider incorporating items such as ribbons, bows, or colored twine to add a touch of elegance or playfulness to the arrangement. Secure them around the base of the centerpiece or tie them around candles or vases for an extra pop of color and texture.
If you want to add a touch of nature, consider incorporating natural elements such as pinecones, seashells, or small branches. They can be placed strategically around the centerpiece to add a rustic or coastal vibe, depending on your theme.
Personalize your centerpiece by incorporating small mementos or trinkets that are meaningful to the birthday person. This could be a tiny picture frame with a cherished photo, a special piece of jewelry, or a small figurine that represents a shared hobby or interest.
Candles are another fantastic addition to your centerpiece, as they can create a warm and inviting ambiance. Opt for unscented candles in varying heights and place them strategically within the arrangement. Consider using candle holders or lanterns that complement the overall aesthetic.
Adding greenery, such as small potted plants or artificial foliage, can bring a refreshing touch and add depth to your centerpiece. Place them strategically throughout the arrangement to create visual interest and provide a sense of lushness.
Remember, the key is to strike a balance between the decorative elements and the wood itself. Avoid overcrowding or overwhelming the centerpiece. Each element should complement the others and contribute to a cohesive and visually pleasing display.
Once you have added the desired decorative elements, step back and evaluate the overall look. Make any necessary adjustments or fine-tuning until you are pleased with the final result.
In the final step, we will discuss some last-minute finishing touches to ensure that your wood table centerpiece is perfect for the birthday celebration.
Step 7: Finishing Touches
Congratulations! You’re at the final step of creating your wood table centerpiece. Now, it’s time to add those last-minute finishing touches to make it truly shine and ready to dazzle at the birthday celebration.
Start by examining the overall arrangement and ensuring that everything is secure and stable. Double-check that candles are firmly in place, flowers are secure, and any other decorative elements are in their desired positions.
Take a moment to make sure that the centerpiece is clean and free from any dust or fingerprints. Use a clean cloth or a gentle cleaning solution, if needed, to wipe away any smudges.
Consider adding subtle lighting to enhance the ambiance of the centerpiece. Twinkle lights or fairy lights can be intertwined within the arrangement or draped along the edge of the wood for a magical glow.
Don’t forget to remove any excess glue or adhesive residue that might be visible. A gentle touch with sandpaper or a cotton swab dipped in rubbing alcohol can help clean up any imperfections.
If you’re hosting an evening event, consider adding a touch of sparkle to your centerpiece by sprinkling some glitter or confetti around the base. This will add an element of glamour and make the centerpiece even more eye-catching.
Finally, step back and admire your completed wood table centerpiece. Ensure that it aligns with the overall theme and style of the birthday celebration. It should be a stunning focal point that enhances the atmosphere and delights guests.
Remember, these finishing touches are an opportunity to add those little extra details that take your centerpiece to the next level. Don’t be afraid to get creative and let your personal style shine through.
Now that your wood table centerpiece is complete, it’s time to showcase your creation and enjoy the birthday celebration. With its unique charm and personalized touch, your centerpiece is sure to make a lasting impression on guests.
Thank you for joining us on this journey of creating a wood table centerpiece. We hope you had fun and learned valuable tips and techniques along the way. Happy decorating!
Read more: How To Make Centerpieces For Baptism
Conclusion
Congratulations on completing your journey of creating a wood table centerpiece for a birthday celebration! Through careful selection, measuring, cutting, sanding, staining, and assembling, you have created a stunning and personalized centerpiece that will captivate guests and elevate the ambiance of the event.
By selecting the right type of wood, measuring and cutting it to the desired dimensions, and sanding and smoothing the edges, you have laid the foundation for a professional-looking centerpiece. The staining or painting process added color and personality, transforming the wood into a visually captivating element of the arrangement.
Assembly was the moment when everything came together, as you strategically placed candles, flowers, and other decorative elements on the wood surface. The finishing touches, such as ribbons, bows, and unique mementos, added that final touch of personalization and charm.
Throughout this journey, you honed your carpentry skills, unleashed your creativity, and learned valuable techniques. By incorporating your own personal style and considering the theme of the birthday celebration, you have created a centerpiece that truly reflects the celebratory spirit.
Remember, the joy of DIY table decor lies not only in the end result but also in the process. Embrace the opportunity to showcase your creativity and create a centerpiece that is a true reflection of your style and personality.
Now that you have completed your wood table centerpiece, it’s time to enjoy the birthday celebration and admire the fruits of your labor. Your centerpiece will serve as a focal point, setting the stage for memorable moments and conversations.
Thank you for joining us on this creative journey, and we hope that this guide has inspired you to explore further possibilities in the world of table decor. Make every celebration special with your unique and handmade creations.
Happy decorating and best wishes for a fantastic and memorable birthday celebration!
Frequently Asked Questions about How To Make A Wood Table Centerpiece For A Birthday
Was this page helpful?
At Storables.com, we guarantee accurate and reliable information. Our content, validated by Expert Board Contributors, is crafted following stringent Editorial Policies. We're committed to providing you with well-researched, expert-backed insights for all your informational needs.

0 thoughts on “How To Make A Wood Table Centerpiece For A Birthday”