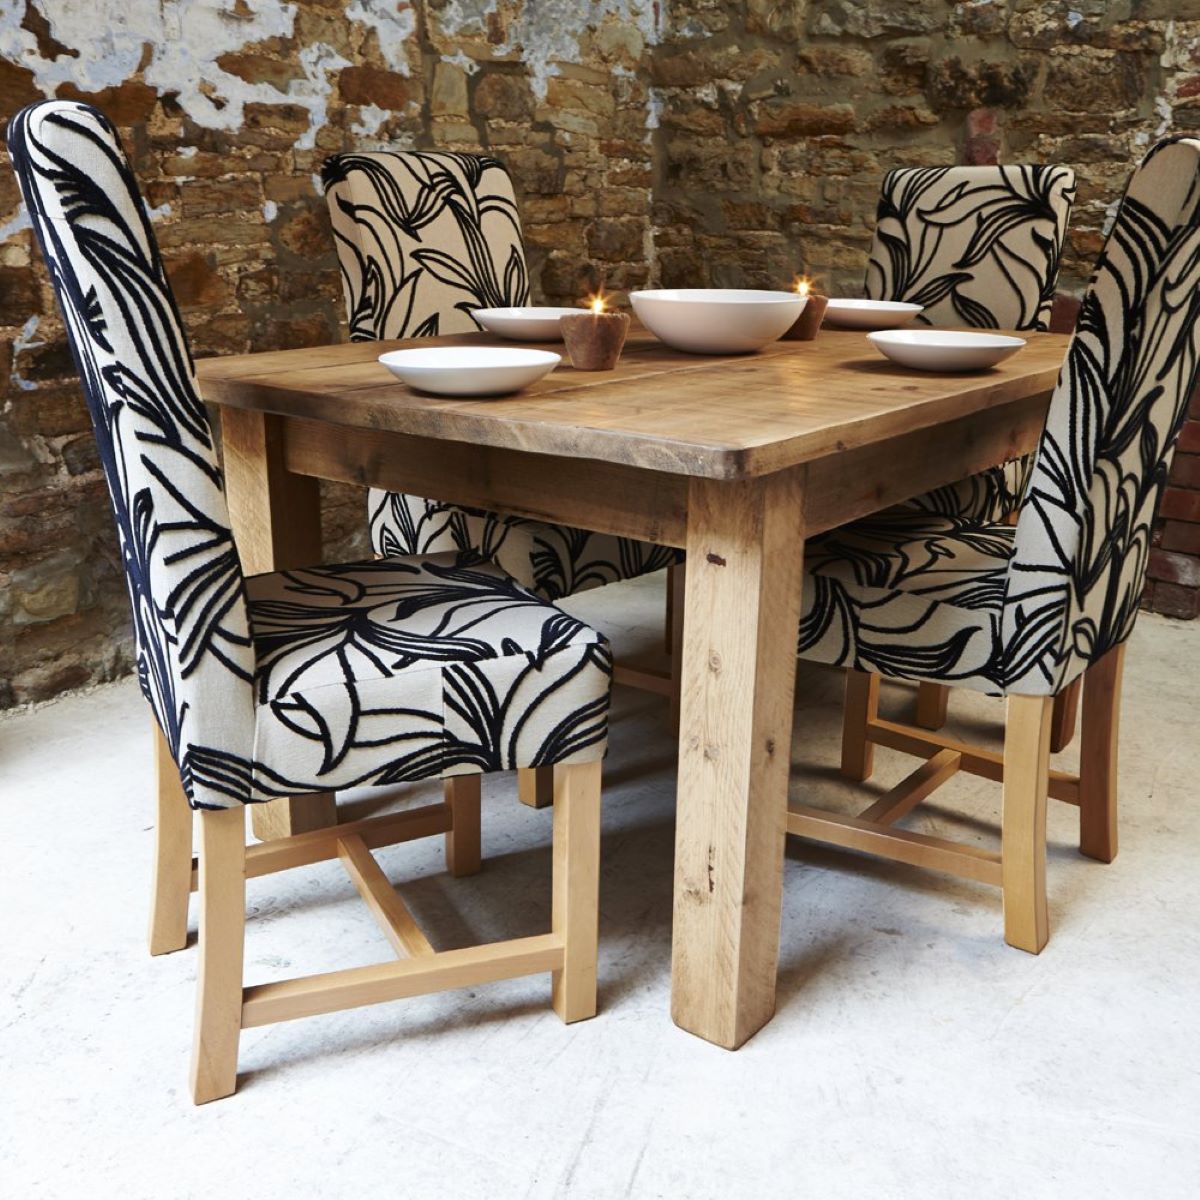
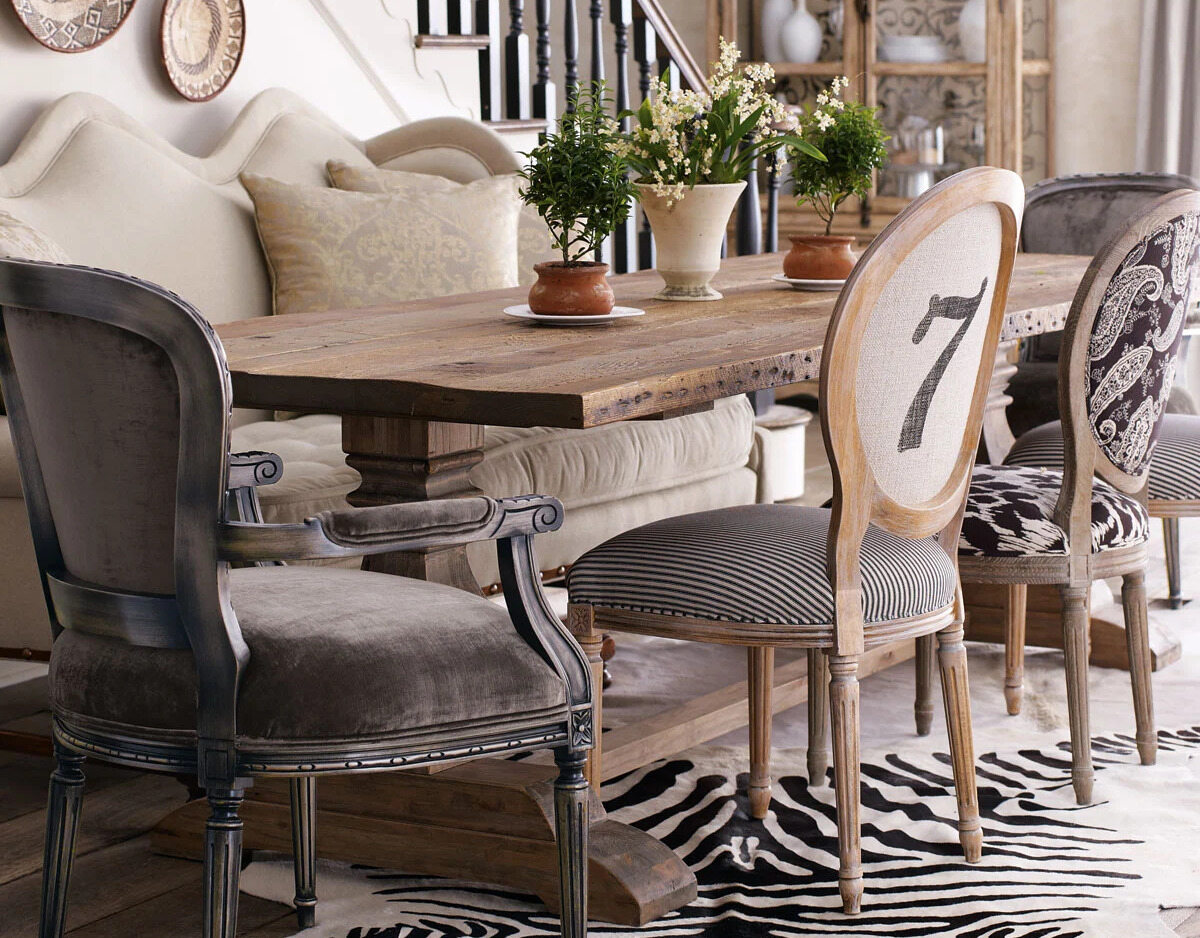
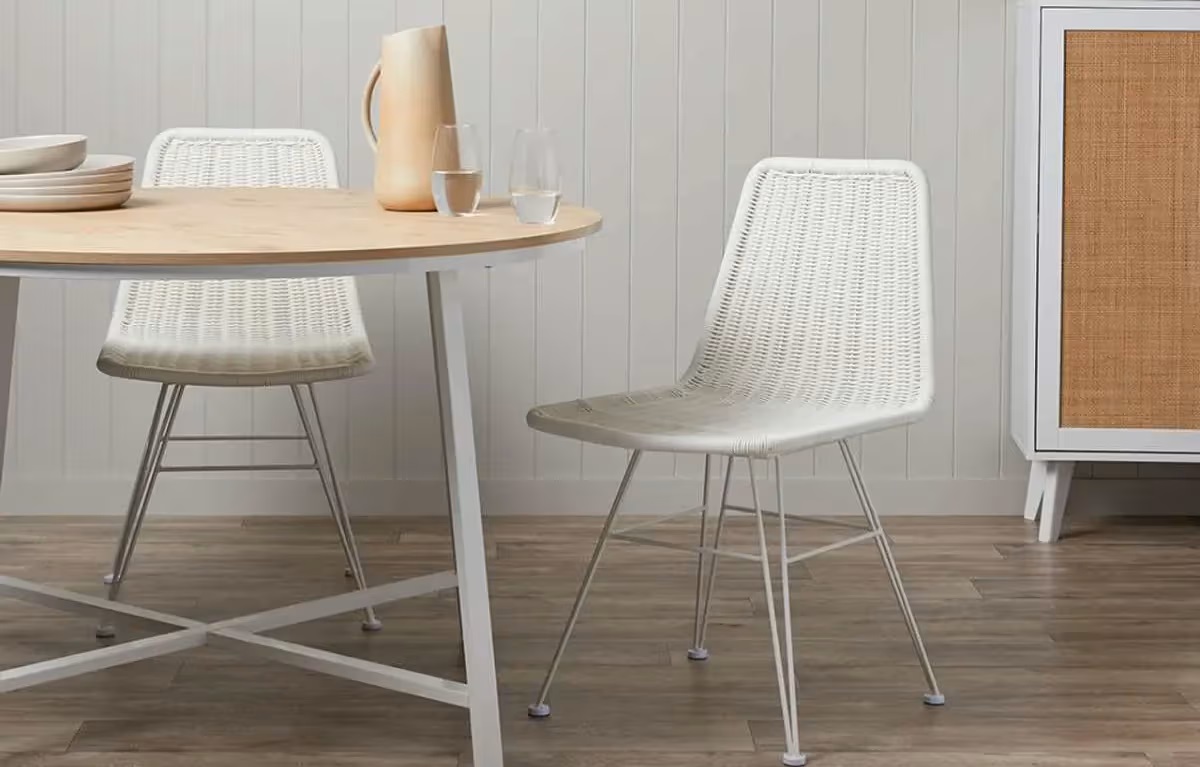
Tableware
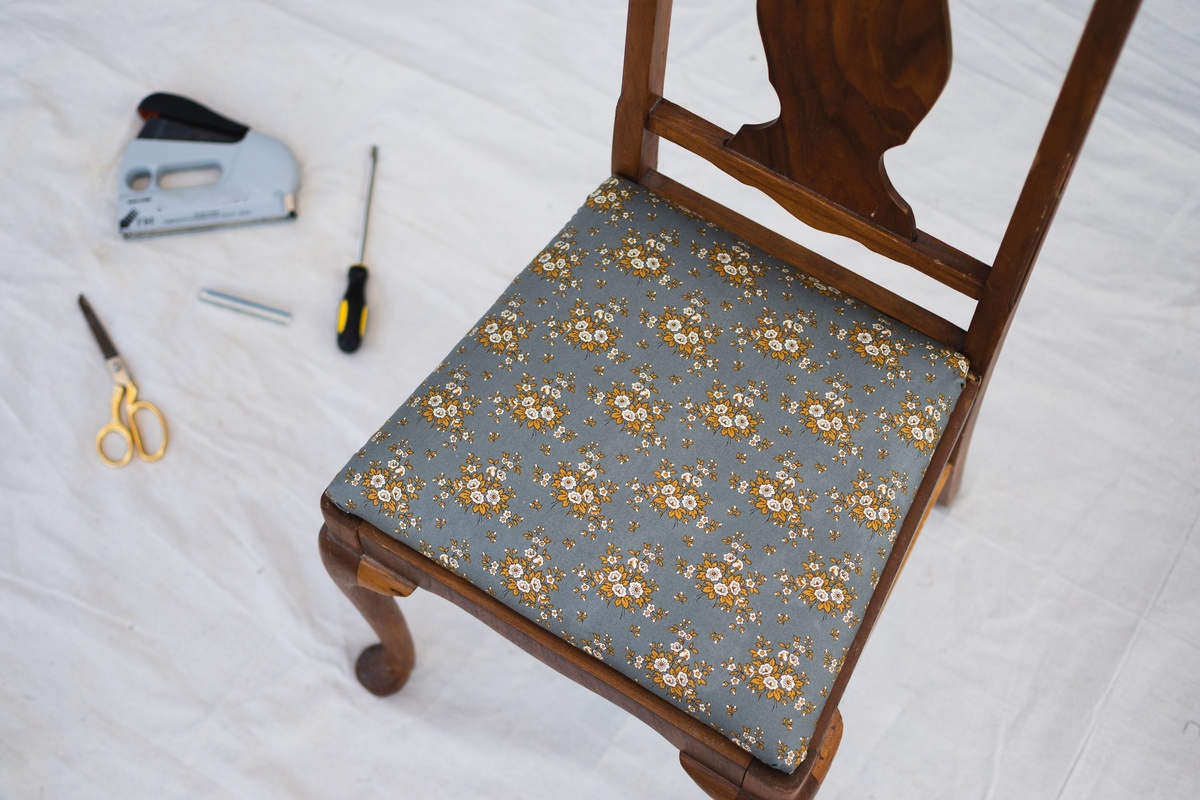
How To Re-cover A Dining Chair Seat
Modified: December 7, 2023
Learn how to easily re-cover a dining chair seat using new tableware. Transform your dining area with this simple DIY project.
(Many of the links in this article redirect to a specific reviewed product. Your purchase of these products through affiliate links helps to generate commission for Storables.com, at no extra cost. Learn more)
Introduction
Welcome to our guide on how to re-cover a dining chair seat. Over time, dining chair seats can become worn, stained, or simply outdated. Rather than replacing the entire chair, a more cost-effective and practical solution is to give the seat a fresh new look by re-covering it with a new fabric. Not only will this revive the appearance of your dining chairs, but it also offers an opportunity to showcase your personal style and creativity.
In this step-by-step tutorial, we will walk you through the process of re-covering a dining chair seat. We’ll cover everything from removing the old seat cover to attaching the new fabric and securing it in place. Whether you’re a beginner or a seasoned DIY enthusiast, this guide is designed to help you achieve professional-looking results with ease.
Before we begin, it’s important to gather the necessary tools and materials. Here’s what you’ll need:
- Staple gun
- Staples
- Fabric of your choice
- Scissors
- Screwdriver
Now that you have everything you need, let’s dive into the step-by-step process of re-covering your dining chair seat, transforming it into a stylish and comfortable seating option.
Key Takeaways:
- Transform worn dining chair seats into stylish pieces with a cost-effective re-covering process. Showcase your creativity and personal style by choosing the perfect fabric for a professional-looking result.
- Re-covering dining chair seats is a rewarding DIY project that saves money and allows for customization. Enjoy the process, get creative with fabric choices, and breathe new life into your dining area.
Read more: How To Re-Cover Seats On Dining Room Chairs
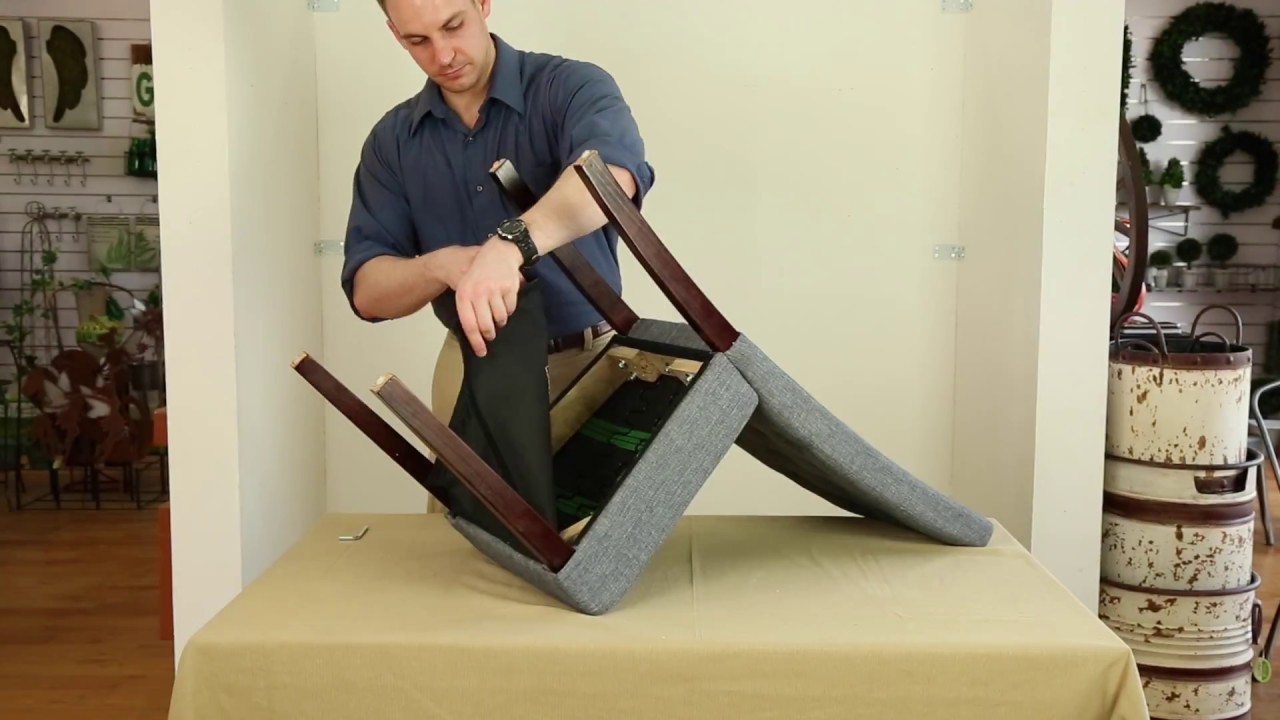
Step 1: Remove the old seat cover
The first step in re-covering a dining chair seat is to remove the old seat cover. This may require a bit of effort, but with the right technique, it can be done smoothly.
Start by flipping the chair upside down so that the seat is easily accessible. Examine the underside of the chair seat and locate the screws or fasteners that are holding the seat in place. Use a screwdriver to carefully remove these screws and set them aside.
Once the screws are removed, gently lift the seat off the chair frame. You may find that the seat is attached with additional staples or nails. In this case, use a pair of pliers to carefully remove them, being mindful not to damage the seat or the fabric.
With the seat removed from the chair frame, it’s time to detach the old seat cover. Inspect how the fabric is secured to the seat. It is often stapled or tacked around the edges.
Using a staple remover or a flathead screwdriver, carefully pry out the staples or tacks securing the old fabric to the seat. Start from one corner and work your way around, removing each staple as you go. Take your time and be gentle to avoid tearing the fabric or damaging the seat.
Once all the staples or tacks have been removed, you can detach the old seat cover from the seat. Dispose of the old fabric or set it aside for repurposing if it’s still in good condition.
Now that the old seat cover has been successfully removed, you’re ready to move on to the next step: measuring and cutting the new fabric.
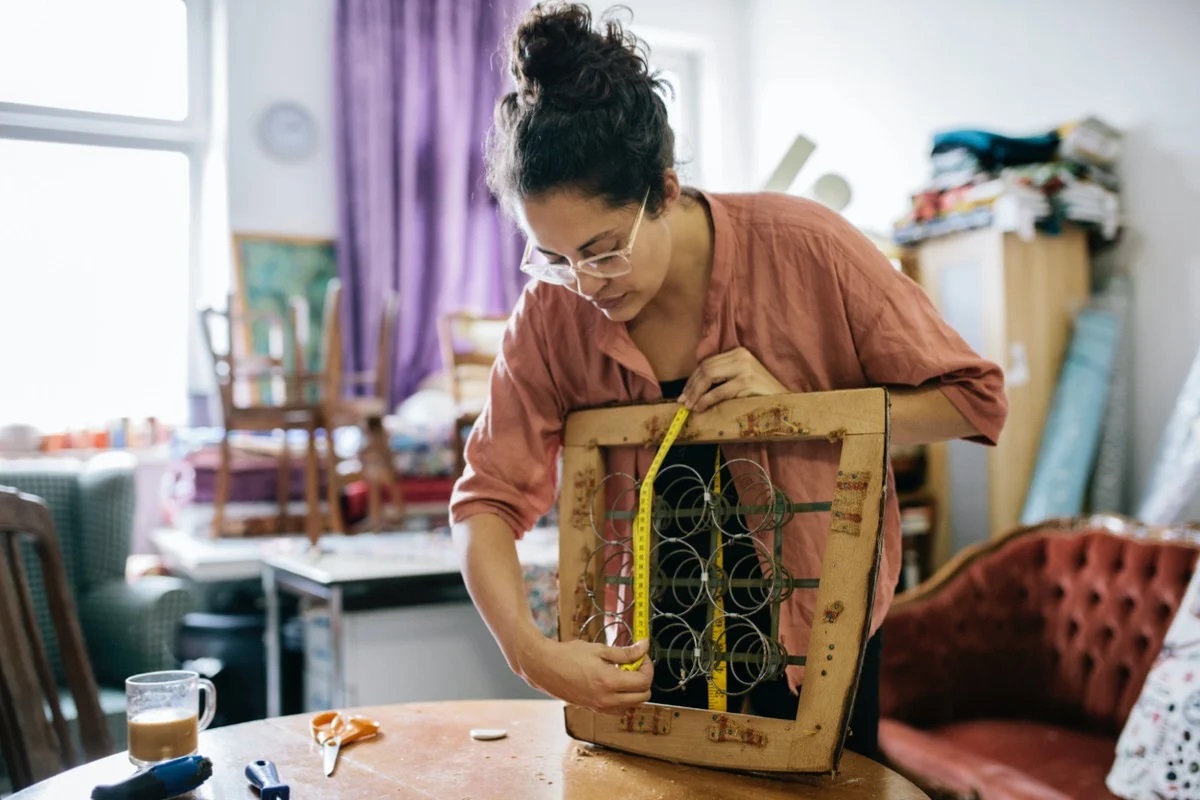
Step 2: Measure and cut the new fabric
Now that you’ve removed the old seat cover, it’s time to measure and cut the new fabric that will give your dining chair seat a fresh and updated look.
Before you begin, ensure that you have a sufficient amount of fabric to cover the seat. It’s always better to have a bit extra rather than running short. Lay out your fabric on a flat surface and iron out any wrinkles or creases to ensure accurate measurements.
Start by placing the seat upside down on top of the fabric. Align the seat in a way that allows for proper pattern placement, if applicable. Keep in mind that you’ll need enough fabric to wrap around the edges of the seat, so leave a few inches of excess on all sides.
Using a fabric measuring tape or a ruler, carefully measure the length and width of the seat. Be sure to add a couple of inches to your measurements to account for the wrapping and securing process.
Next, mark the measurements onto the fabric using fabric chalk or a washable fabric marker. Double-check the accuracy of your measurements before proceeding.
Once you’ve marked the measurements, it’s time to cut the fabric. Use fabric scissors to carefully trim along the marked lines. Take your time to ensure clean and straight cuts.
If your fabric has a pattern that needs to be aligned, be mindful of how you position the seat on the fabric when cutting. You may need to adjust the seat’s position and make additional cuts to achieve the desired pattern placement.
Once you’ve cut the fabric to the correct size, set it aside for the next step, where we will attach it to the seat base.
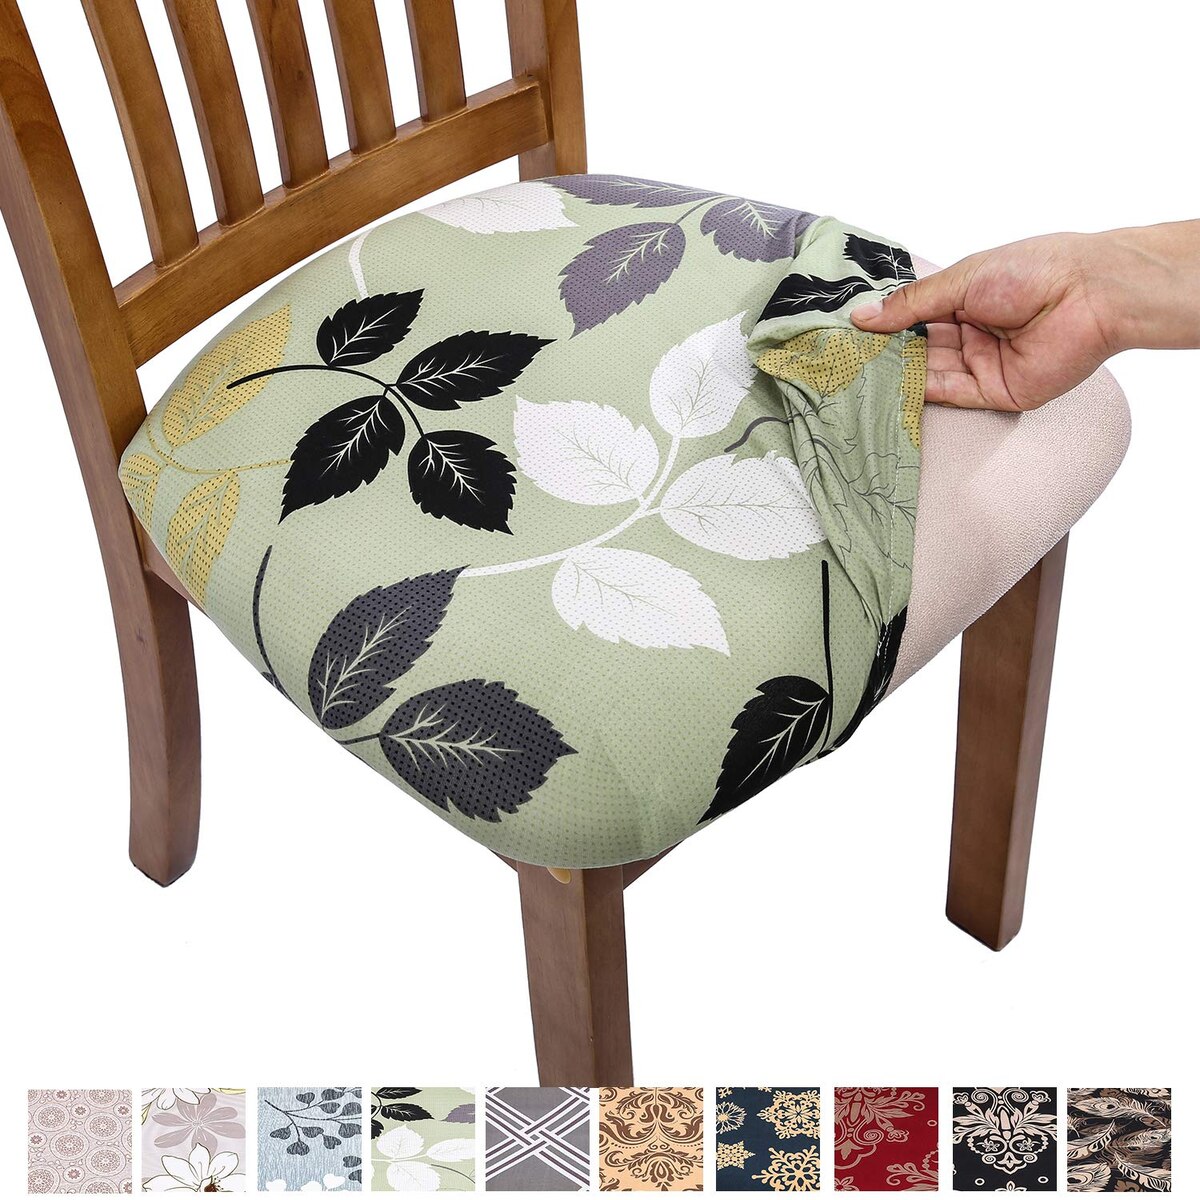
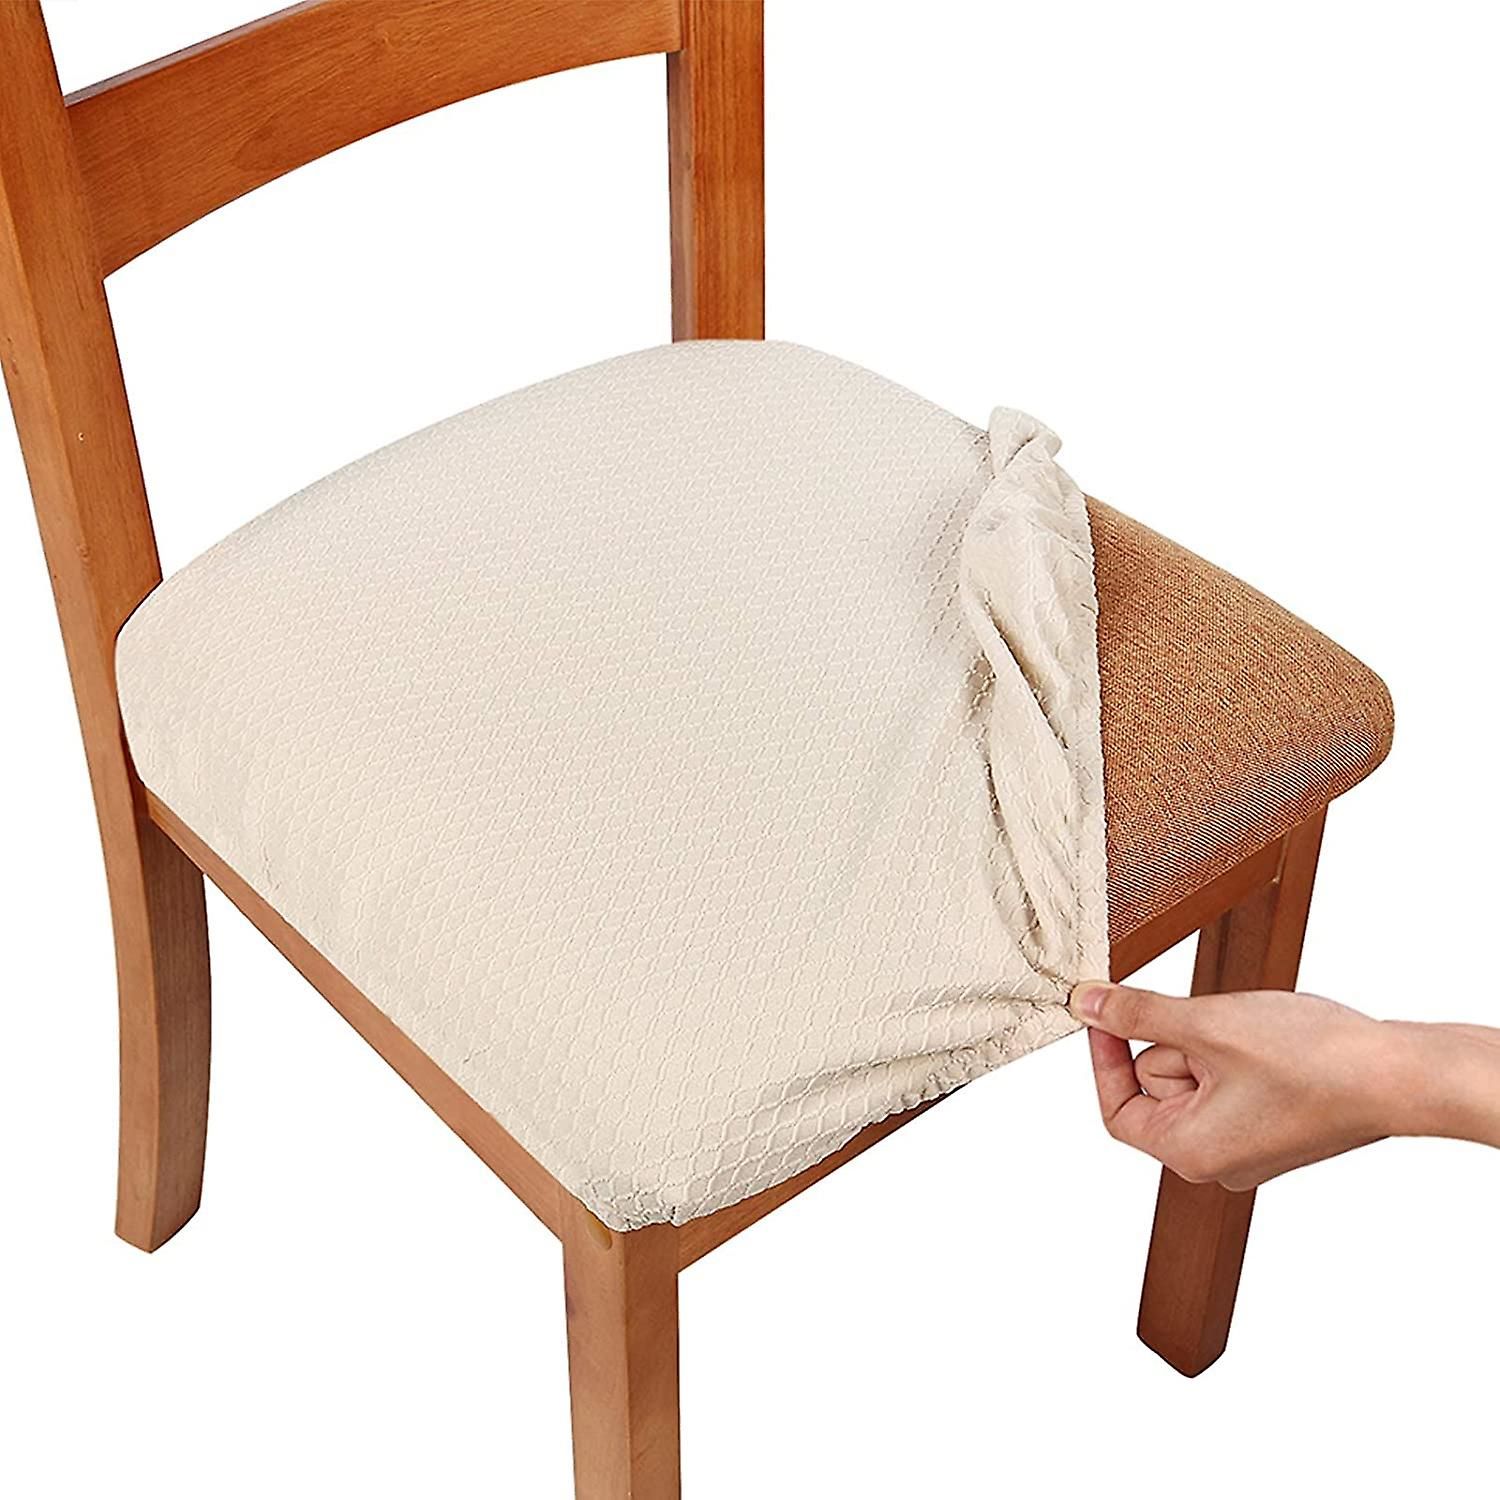
Step 3: Attach the fabric to the seat base
Now that you have the new fabric cut to size, it’s time to attach it to the seat base. This step will ensure a secure and snug fit for your re-covered dining chair seat.
Start by placing the seat base upside down on a clean and flat surface. Take the fabric you cut in the previous step and position it over the seat base, ensuring that it is centered and aligned properly.
Begin by folding one edge of the fabric over the seat base, tucking it underneath to create a clean and finished edge. Use your hand to smooth out any wrinkles or creases in the fabric.
Once the first edge is folded over, continue to fold and tuck the fabric along the remaining edges. Take care to ensure that the fabric is pulled tight and evenly distributed across the seat base.
If your fabric has a pattern or design, make sure that it is positioned correctly and aligned as desired.
While holding the fabric in place, flip the seat base back to its original position. Check that the fabric is still properly aligned and centered on the seat base.
Now, it’s time to secure the fabric in place. You can use a staple gun for this step, which is the most common and effective method.
Starting from one side, use the staple gun to place a staple through the fabric and into the seat base. Be sure to leave a space of about 1-2 inches between each staple. Continue stapling along the edge, pulling the fabric tight as you go.
Repeat this process for each side of the seat base, stapling the fabric securely in place. If needed, use your hand to smooth out any wrinkles or excess fabric as you work your way around.
Once all the sides are stapled, double-check the fabric to ensure it is tight and neatly secured to the seat base. Make any necessary adjustments before moving on to the next step.
With the fabric successfully attached, it’s time to move on to step 4: securing the fabric with a staple gun.
When re-covering a dining chair seat, make sure to measure the fabric carefully to ensure you have enough to cover the seat with some extra for stapling. It’s better to have too much fabric than too little.
Step 4: Secure the fabric with a staple gun
Now that the fabric is attached to the seat base, it’s time to secure it in place using a staple gun. This step will ensure that the fabric stays taut and properly anchored, creating a professional and polished finish.
Start by preparing your staple gun and staples. Load the staple gun with the appropriate size staples and ensure it’s in working condition.
Begin at one edge of the seat base and use the staple gun to place a staple through the fabric and into the seat base. Be sure to aim for the wooden frame or support underneath to ensure a secure hold.
Continue working your way along the edge, placing staples approximately 1-2 inches apart. As you go, use your other hand to pull the fabric tight to ensure a smooth and wrinkle-free surface.
Take care not to place the staples too close to the edge of the fabric, as this could potentially cause the fabric to tear or fray over time.
Once one side is secured, move on to the adjacent side and repeat the process. Keep the fabric pulled tight and smooth as you staple it to the seat base.
Continue stapling along the remaining sides, working your way around the seat base. Be sure to check the fabric periodically to ensure it remains taut and free from ripples or wrinkles.
If you encounter any areas that need extra reinforcement or seem loose, feel free to add additional staples to secure the fabric in place.
As you approach corners, fold and tuck the fabric neatly to create a clean and professional finish. Use extra staples if needed to keep the fabric securely attached.
Once all sides are stapled and the fabric feels taut and secure, give it a final check to ensure everything is in place. Smooth out any imperfections or wrinkles as needed.
With the fabric now securely fastened to the seat base, you’re ready to move on to step 5: trimming off excess fabric.
Read more: How To Cover A Dining Chair Seat
Step 5: Trim off excess fabric
With the fabric securely attached to the seat base, the next step is to trim off any excess fabric to give your re-covered dining chair seat a clean and finished appearance.
Take a pair of fabric scissors and carefully trim the excess fabric from around the edges of the seat base. Start by cutting away any large or bulky sections of fabric, leaving a small margin of about half an inch.
As you trim the excess fabric, be mindful not to cut too close to the staples or the edge of the seat base. Leave enough fabric to ensure a secure hold and prevent fraying or unraveling.
Work your way around the seat base, trimming off any overhanging fabric until you have a neat and even edge.
If you encounter any areas where the fabric is still loose or not sitting flat, use your hand to smooth it out and readjust before trimming.
Be meticulous in your trimming, taking care to ensure that the fabric is uniformly cut and there are no jagged edges or unevenness.
Once you’ve trimmed the excess fabric, take a moment to inspect the seat from all angles and make any necessary adjustments. Smooth out any remaining wrinkles or uneven areas for a polished finish.
With the excess fabric trimmed, your re-covered dining chair seat is now taking shape. It’s time to move on to step 6: reattaching the seat to the chair frame.
Step 6: Reattach the seat to the chair frame
With the fabric securely fastened and trimmed, the final step in re-covering a dining chair seat is to reattach the seat to the chair frame. This step completes the transformation and allows you to enjoy your refreshed and stylish dining seating once again.
Begin by flipping the seat and aligning it with the chair frame. Look for the screw holes or fastening points on the underside of the chair, matching them up with the corresponding holes on the seat.
Using a screwdriver, carefully reinsert and tighten the screws to secure the seat to the chair frame. Start with one corner and work your way around, making sure each screw is securely fastened.
If your chair uses different fasteners, such as nails or brackets, ensure they are properly aligned and attached as per the chair manufacturer’s instructions.
Once all the screws or fasteners are tightened, gently test the seat to make sure it feels stable and secure.
If necessary, make any final adjustments to the attachment points to ensure the seat is level and properly aligned with the chair frame.
Take a step back and admire your re-covered dining chair seat. You’ve successfully transformed an outdated or worn seat into a beautiful and refreshed piece of furniture that adds style and comfort to your dining area.
Feel free to repeat the steps for the remaining dining chairs and create a cohesive and harmonious look throughout your dining space.
Congratulations on completing the process of re-covering your dining chair seat! You now have the knowledge and skills to breathe new life into other furniture pieces or even help friends and family with their own re-covering projects.
Remember to have fun and get creative with your fabric choices, as re-covering dining chair seats is an excellent way to showcase your personal style and create a unique look for your space.
We hope you enjoy your newly re-covered dining chairs and the fresh perspective they bring to your dining area.
Happy re-covering!
Conclusion
Re-covering a dining chair seat is a rewarding and cost-effective way to breathe new life into your dining area. With just a few tools and some fabric of your choice, you can transform worn, stained, or outdated chair seats into stylish and comfortable seating options.
In this comprehensive guide, we’ve walked you through each step of the re-covering process, from removing the old seat cover to reattaching the seat to the chair frame. By following these steps and using your creativity, you can achieve professional-looking results that showcase your personal style and elevate the aesthetic of your dining space.
Remember to gather all the necessary tools and materials before you begin, and take your time throughout the process. Measure and cut the new fabric accurately, ensuring proper alignment and pattern placement if applicable. Attach the fabric securely to the seat base, using a staple gun to create a tight and wrinkle-free surface. Trim off any excess fabric for a clean and finished edge. Finally, reattach the seat to the chair frame, ensuring stability and proper alignment.
By re-covering your dining chair seats, you not only save money compared to buying new chairs, but you also have the opportunity to customize and refresh your dining space to reflect your personal style. Whether you choose a bold and vibrant fabric or a subtle and timeless design, the re-covered seats will make a statement and enhance the overall look of your dining area.
We hope this guide has equipped you with the knowledge and confidence to embark on your re-covering project. Enjoy the process, get creative with your fabric choices, and have fun transforming your dining chairs into beautiful and comfortable seating options.
Now, it’s time to gather your tools, pick out your favorite fabric, and start re-covering those dining chair seats. Happy DIY-ing!
Frequently Asked Questions about How To Re-cover A Dining Chair Seat
Was this page helpful?
At Storables.com, we guarantee accurate and reliable information. Our content, validated by Expert Board Contributors, is crafted following stringent Editorial Policies. We're committed to providing you with well-researched, expert-backed insights for all your informational needs.

0 thoughts on “How To Re-cover A Dining Chair Seat”