Tableware
How To Assemble A Dining Table
Modified: December 7, 2023
Learn how to assemble a dining table with our step-by-step guide. Get your tableware ready and create a stylish and functional dining space.
(Many of the links in this article redirect to a specific reviewed product. Your purchase of these products through affiliate links helps to generate commission for Storables.com, at no extra cost. Learn more)
Introduction
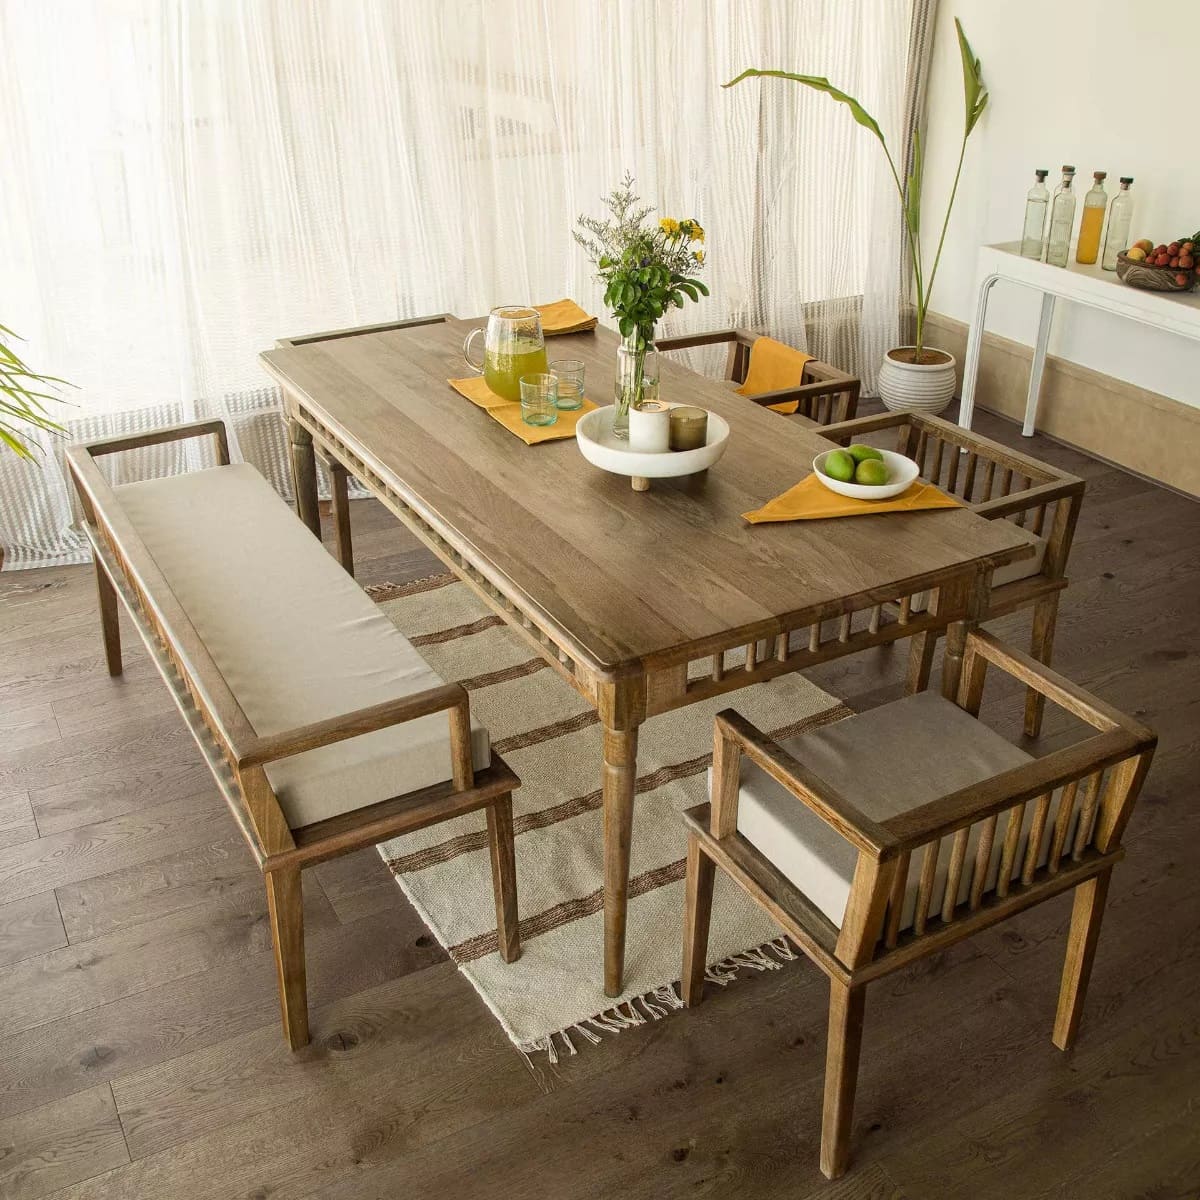
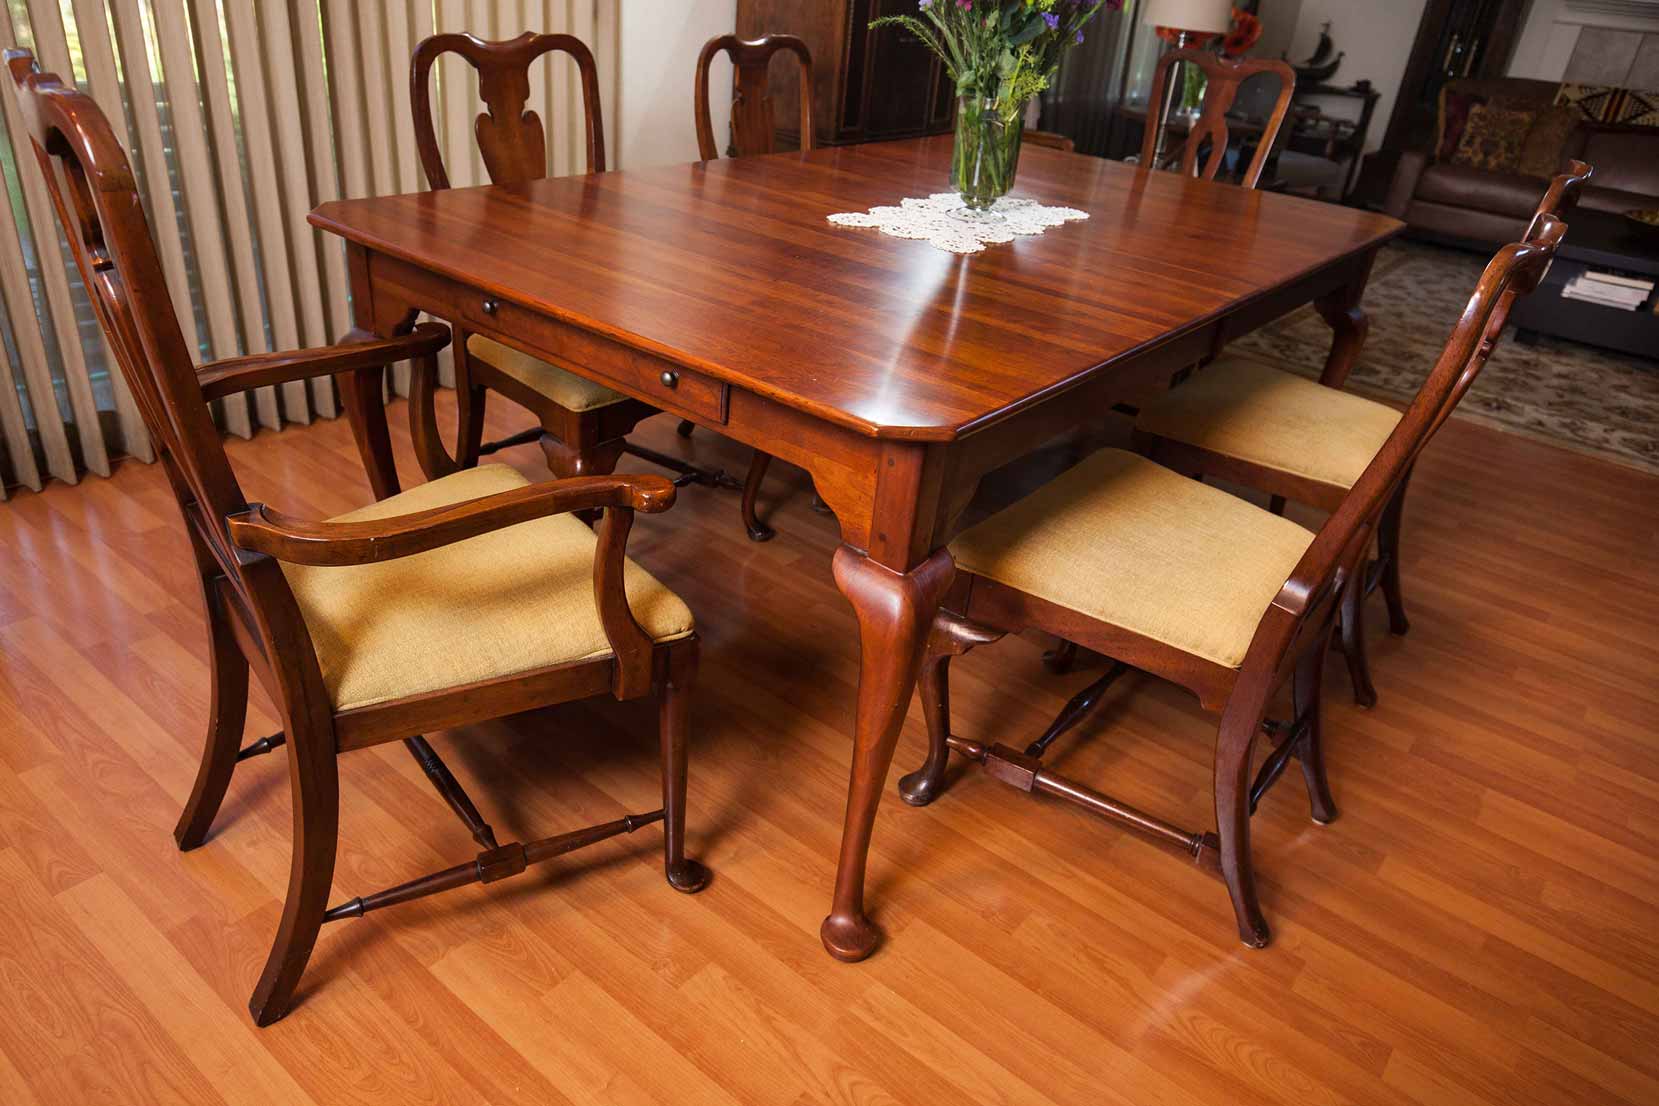
Welcome to the wonderful world of tableware! Whether you’re a seasoned entertainer or someone who simply enjoys a good meal with friends and family, having a well-assembled dining table is essential. A dining table is not just a piece of furniture; it’s the centerpiece of your dining area, where memories are made and conversations flow.
Assembling a dining table may seem like a daunting task, but fear not! In this guide, we’ll walk you through each step of the process, ensuring that you have a beautifully constructed table that is both functional and stylish. So put on your DIY hat and let’s get started!
But before we dive into the assembly process, let’s make sure you have all the necessary tools and materials on hand. This will ensure that the assembly process goes smoothly and efficiently.
Here’s a handy list of tools you’ll need:
- Phillips screwdriver
- Allen wrench
- Adjustable wrench
- Tape measure
- Level
- Protective gloves
Now that you have your tools ready, let’s move on to the materials you’ll need:
- Dining table kit, including the table legs, tabletop, and any additional components
- Assembly instructions provided by the manufacturer
- Protective padding or cloth to prevent scratches during assembly
- Cleaning supplies for post-assembly cleanup
With your tools and materials in place, you’re all set to begin assembling your dining table. In the next step, we’ll guide you through the unboxing and organization of the table parts, setting the stage for a smooth assembly process.
Key Takeaways:
- Assembling a dining table requires careful organization, precise attachment of legs and tabletop, and thorough stability checks. With the right tools and attention to detail, you can create a beautiful and functional centerpiece for your dining area.
- After assembling your dining table, don’t forget to give it a final touch-up with a thorough cleaning and protective finish. Regular maintenance will keep your table looking beautiful and ready for many memorable meals and gatherings to come.
Read more: How To Assemble A Dining Table
Step 1: Gather the Tools and Materials
Before you begin the assembly process, it’s crucial to gather all the necessary tools and materials. This will ensure that you have everything you need within reach and prevent any disruptions during the assembly process. Here’s a breakdown of the tools and materials you’ll need:
Tools:
- Phillips screwdriver: This type of screwdriver has a cross-shaped tip and is commonly used for tightening screws. It’s essential for attaching various components of the dining table together.
- Allen wrench: Also known as a hex key, an Allen wrench is used to tighten screws and bolts with hexagonal sockets. It will be needed to secure certain parts of the table.
- Adjustable wrench: This wrench has a movable jaw, allowing you to adjust it to fit different sizes of nuts and bolts. It’s useful for tightening and loosening hardware during the assembly process.
- Tape measure: A tape measure is crucial for ensuring accurate measurements during the assembly process. It will come in handy when aligning the table legs and attaching the tabletop.
- Level: A level is used to ensure that the table is straight and level. It helps in achieving stability and prevents wobbling.
- Protective gloves: It’s always a good idea to wear protective gloves when handling the table parts. They will help prevent any injuries and protect your hands from scratches.
Materials:
- Dining table kit: This includes all the essential components of the dining table, such as the table legs, tabletop, and any additional hardware. Ensure that you have all the parts required for assembly.
- Assembly instructions: Most dining table kits come with detailed assembly instructions provided by the manufacturer. Make sure to have these instructions handy throughout the process.
- Protective padding or cloth: To prevent scratching the table surface during assembly, it’s recommended to have some protective padding or a cloth on hand. Place it on a soft surface to work on while assembling the table.
- Cleaning supplies: It’s a good idea to have some cleaning supplies, such as a damp cloth or mild cleaner, ready for post-assembly cleanup. Once the table is assembled, you can give it a quick wipe to remove any dust or debris.
Now that you have all the tools and materials gathered, you’re ready to move on to the next step: unboxing and organizing the table parts. This initial preparation will help streamline the assembly process and ensure that everything is in order.
Step 2: Unbox and Organize the Table Parts
With all your tools and materials ready, it’s time to unbox and organize the table parts. Proper organization will make the assembly process smoother and more efficient. Follow these steps to ensure everything is in order:
1. Find a clean, spacious area: Choose a well-lit area with enough space to lay out all the components. This will allow you to easily identify and access each part during the assembly process. Lay down the protective padding or cloth to prevent any scratches or damage to the table parts or your flooring.
2. Open the boxes: Carefully open the boxes and remove all the parts one by one. Be mindful of any fragile or delicate pieces to avoid accidental damage.
3. Check for any damage: Inspect each component for any signs of damage that may have occurred during transit. Look for scratches, cracks, or dents. If you notice any issues, contact the manufacturer or retailer for assistance or to request replacement parts.
4. Sort the parts: Group similar components together. Separate the table legs, tabletop, hardware, and any additional accessories included in the kit. Refer to the assembly instructions if you’re unsure about the identification of any part.
5. Arrange the parts in order: Lay out the components in the order specified by the assembly instructions. This will help you easily identify the next part to be assembled and reduce confusion during the process.
6. Keep the assembly instructions handy: Make sure the assembly instructions are easily accessible throughout the process. Keep them nearby, either as a printed copy or on a digital device. Familiarize yourself with the instructions before proceeding to the next steps.
7. Keep hardware organized: Group and organize the screws, bolts, and other hardware in separate containers or small bags. Label them if necessary to avoid mixing them up during the assembly process. This will save you time and ensure that you have the right hardware for each step.
By unboxing and organizing the table parts, you will have a clear overview of all the components and be well-prepared for the assembly process. This step sets the foundation for a seamless and hassle-free dining table assembly experience.
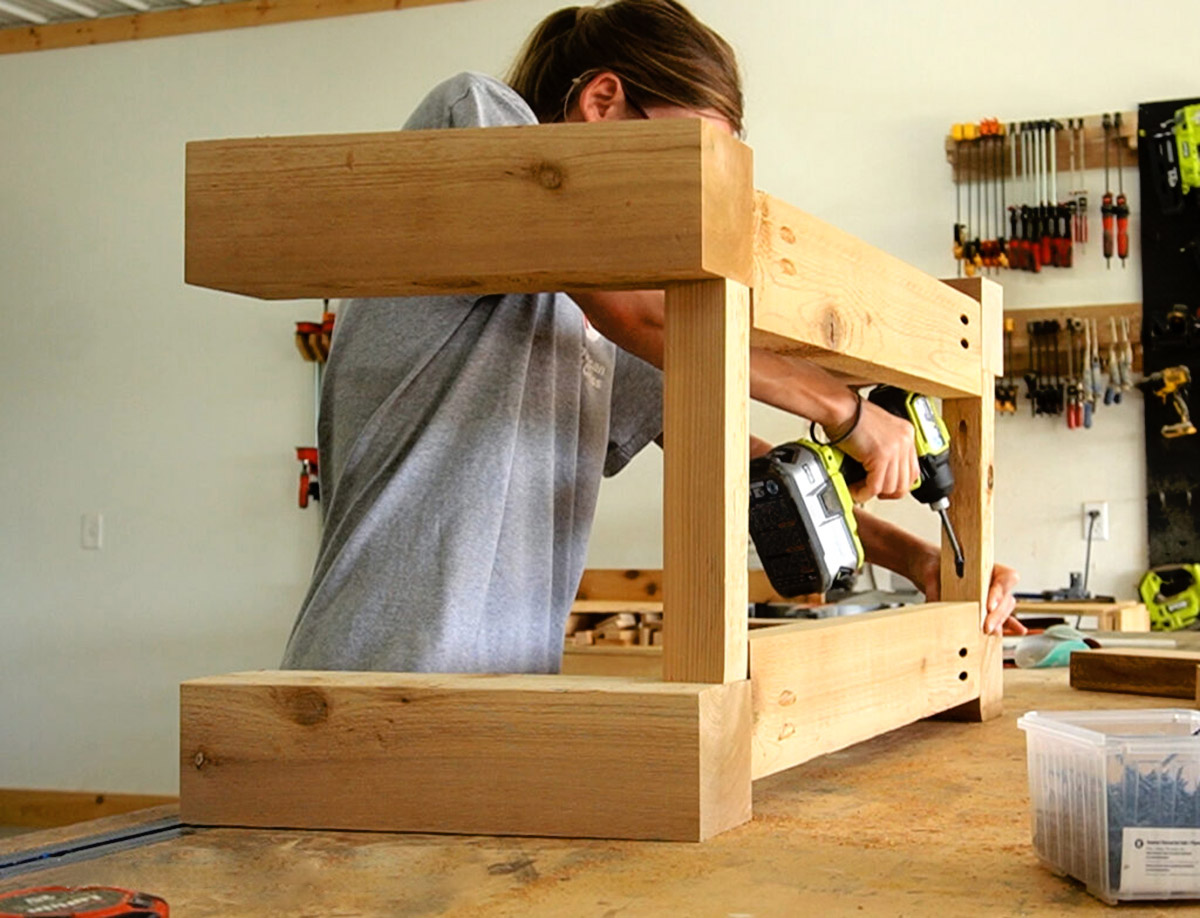
Step 3: Attach the Table Legs
Now that you have unboxed and organized the table parts, it’s time to start the assembly process by attaching the table legs. The legs provide stability and support to the dining table. Follow these steps to ensure a secure attachment:
1. Position the tabletop: Carefully position the tabletop upside down on the protective padding or cloth. Make sure the surface is clean and free from any debris that may scratch the tabletop.
2. Locate the leg attachment points: Look for the pre-drilled holes or slots on the underside of the tabletop where the legs will be attached. These attachment points may already have threaded inserts or may require you to insert nuts for attaching the legs.
3. Align the legs: Using the instructions provided, align each leg with its corresponding attachment point on the tabletop. Ensure that the legs are positioned correctly, typically at the corners or near the center depending on the design of your dining table.
4. Insert screws or bolts: Depending on the assembling method specified in the instructions, insert the screws or bolts provided into the attachment points. Use the appropriate size of the Phillips screwdriver, Allen wrench, or other tools mentioned in the instructions. Start by loosely tightening the screws or bolts to allow for adjustments if needed.
5. Check for levelness: Once all the legs are attached, use a level to check if the tabletop is balanced and level. Adjust the tightness of the screws or bolts as needed to ensure the table is stable and does not wobble.
6. Tighten the screws or bolts: Once you have confirmed that the table is level, tighten all the screws or bolts securely. Use the appropriate tools to ensure a snug fit, but be careful not to overtighten and risk damaging the tabletop or legs.
7. Repeat for all legs: Repeat the same procedure for attaching the remaining legs to their respective attachment points. Be meticulous in your measurements and alignments to maintain the table’s stability and balance.
By properly attaching the table legs, you will have a solid foundation for your dining table. It’s crucial to follow the instructions and pay attention to alignment and levelness to ensure a stable and sturdy table for years to come.
Step 4: Attach the Tabletop to the Legs
With the table legs securely attached, it’s time to move on to the next step: attaching the tabletop to the legs. This step is crucial in ensuring a stable and functional dining table. Follow these steps to complete this assembly process:
1. Prepare the tabletop: If needed, flip the tabletop over carefully to access the top surface. Ensure that the tabletop is clean and free from any debris that may interfere with the attachment process.
2. Align the tabletop: Carefully align the tabletop with the attached legs. Take note of any guiding marks or indicators provided in the assembly instructions for proper alignment.
3. Locate the attachment points: Identify the attachment points on the underside of the tabletop where the legs will be connected. These attachment points may include pre-drilled holes, brackets, or other mechanisms.
4. Connect the tabletop to the legs: Following the instructions, attach the tabletop to the legs using the specified method. This may involve inserting screws, attaching brackets, or engaging other securing mechanisms. Use the appropriate tools as per the instructions.
5. Begin with one attachment point: Start by attaching one side of the tabletop to the legs. Insert the screws or engage the securing mechanism partially to allow for adjustments as needed.
6. Check for alignment: Once the first attachment point is partially secured, check the alignment of the tabletop with the legs. Ensure that it is level and balanced. Make any necessary adjustments if the alignment is off.
7. Attach the remaining attachment points: Once you have achieved the correct alignment, proceed to attach the other attachment points. Gradually tighten the screws or engage the securing mechanisms while continuing to check for proper alignment.
8. Tighten all connections: Once all the attachment points are in place, tighten all the screws or secure the securing mechanisms fully. Use the appropriate tools and ensure that the connections are tight and secure.
By attaching the tabletop to the legs with precision and care, you will have a sturdy and functional dining table. Remember to follow the provided instructions and check for alignment throughout the process. With the tabletop securely attached, your dining table is starting to take shape!
When assembling a dining table, start by laying out all the parts and hardware. Follow the instructions carefully and use a level to ensure the table is assembled evenly. Tighten all screws and bolts securely to avoid wobbling.
Read more: How To Assemble Dining Chairs
Step 5: Secure the Tabletop
Now that the tabletop is attached to the legs, it’s important to ensure that it is securely fastened. This step will further enhance the stability and durability of your dining table. Follow these steps to properly secure the tabletop:
1. Check the assembly instructions: Refer to the assembly instructions provided by the manufacturer to determine the recommended method of securing the tabletop. Different tables may have varying methods, such as using brackets, screws, or other hardware.
2. Prepare the necessary hardware: Gather the required screws, bolts, or brackets as specified in the assembly instructions. Make sure you have the correct sizes and quantities for securing the tabletop.
3. Locate the designated attachment points: Follow the assembly instructions to identify the designated attachment points on the tabletop and legs. These attachment points may be pre-drilled holes, slots, or brackets.
4. Align the tabletop: Ensure that the tabletop is properly aligned with the legs. Check the levelness and balance of the table to make any necessary adjustments before securing it in place.
5. Begin securing the tabletop: Start by attaching the hardware at one corner of the tabletop and corresponding leg. Use the appropriate screws, bolts, or brackets and tighten them securely but not excessively. Repeat this process for the remaining corners.
6. Check the stability: Once all the attachment points are secured, test the stability of the table. Gently try to move the tabletop to ensure it is firmly in place. If there is any wobbling or movement, double-check the tightness of the hardware and make adjustments as needed.
7. Inspect the connections: Take a closer look at the connections between the tabletop and legs. Ensure that all screws, bolts, or brackets are tightened properly. Check for any loose or missing hardware and fix any issues that may affect the table’s stability.
8. Final adjustments: Recheck the levelness and balance of the dining table. Make any final adjustments to the attachment points if necessary. Use a level to ensure that the tabletop is straight and even.
By securely fastening the tabletop, your dining table will be well-equipped to withstand regular use and provide a sturdy surface for meals and gatherings. Remember to follow the assembly instructions and check for stability throughout the process. With the tabletop properly secured, your dining table assembly is almost complete!
Step 6: Check for Stability
Now that the dining table is taking shape, it’s important to check for stability to ensure a safe and durable structure. A stable table will not only provide a reliable surface for dining but also prevent any accidents or wobbling. Follow these steps to check for stability:
1. Test for wobbling: Gently push and pull the table in different directions to check for any wobbling or movement. Pay attention to any unevenness or instability that may indicate an issue with the assembly.
2. Adjust the legs if necessary: If you notice any wobbling or unevenness, check the individual legs for adjustment. Some tables have adjustable leg levelers that can be tightened or loosened to ensure stability. Use a level to check for any discrepancies and make necessary adjustments to level the table.
3. Fine-tuning the attachment points: If the table is still not stable after adjusting the legs, go back to the attachment points between the tabletop and the legs. Double-check the tightness of screws, bolts, or brackets and ensure that they are properly secured. Retighten any loose connections if needed.
4. Use a level to check for balance: Place a level on the tabletop and check for balance. If the table is not level, adjust the leg levelers or place shims under the legs to compensate for any unevenness. Continue adjusting until the table is perfectly level in all directions.
5. Test the table’s weight-bearing capacity: Gently apply pressure on different areas of the tabletop to simulate the weight of objects or people. Ensure that the table can bear the weight without any visible bending or flexing. If you notice any issues, reinforce the attachment points or seek professional assistance.
6. Check for overall sturdiness: Inspect the entire table for any loose connections, wobbling, or signs of instability. Give the table a shake to see if it remains firm and secure. Address any concerns or issues before proceeding to the final step of the assembly process.
By thoroughly checking for stability, you can ensure that your dining table is safe to use and will provide a solid surface for your meals and gatherings. Take the time to make any necessary adjustments and reinforce any weak points to create a sturdy and reliable dining experience.
Step 7: Clean and Finish the Table
With the assembly process nearing completion, it’s time to give your newly assembled dining table a final touch-up and make it shine. Cleaning and finishing the table will not only enhance its appearance but also protect it from wear and tear. Follow these steps to clean and finish your table:
1. Clear the table: Remove any tools, debris, or packaging materials from the table. Wipe off any dust or residue that may have accumulated during the assembly process. Use a soft, lint-free cloth or a mild cleaning solution if necessary.
2. Clean the table surface: Depending on the material of the tabletop, choose an appropriate cleaning method. For wood tables, use a mixture of mild soap and water or a specially formulated wood cleaner. For glass or laminate tables, use a glass cleaner or a solution of vinegar and water. Apply the cleaner to a clean cloth and gently wipe the surface, paying attention to any stubborn stains or spots.
3. Protect the table: Once the table is clean and dry, consider applying a protective finish to enhance its durability. For wood tables, apply a furniture wax or polish to nourish the wood and provide a protective barrier. Follow the instructions on the product for best results. For glass or laminate tables, a furniture polish or a specialized surface protector can help keep the table looking its best.
4. Polish the table legs: Don’t forget to give the table legs some attention as well. Wipe them down with a cloth to remove any fingerprints, smudges, or dust. For metal legs, a metal polish can help restore their shine. For wooden legs, a wood cleaner or polish will help maintain their natural beauty.
5. Consider using table linens: If you prefer to protect the tabletop further, consider using table linens such as tablecloths, placemats, or table runners. These not only add an aesthetic touch but also provide an additional layer of protection against spills, stains, and scratches.
6. Final inspection: Once the table is cleaned and finished, take a step back and inspect it for any missed spots or areas that require touching up. Fix any imperfections or make any necessary adjustments to ensure that your dining table looks its best.
By cleaning and finishing your dining table, you not only enhance its appearance but also prolong its lifespan. Regular cleaning and maintenance will keep your table looking beautiful and ready for many memorable meals and gatherings to come.
Conclusion
Congratulations! You have successfully assembled your dining table from start to finish. By following the steps outlined in this guide, you have created a beautiful and functional centerpiece for your dining area. Your efforts have resulted in a stable and secure table that will serve as the backdrop for countless meals, conversations, and cherished memories.
The process of assembling a dining table may have seemed daunting at first, but with the right tools, materials, and instructions, you were able to overcome any challenges. From gathering the necessary tools and materials to unboxing and organizing the table parts, attaching the legs and tabletop, ensuring stability, and finally giving the table a thorough cleaning and finishing, each step played a vital role in crafting a table that meets your needs and style preferences.
Remember to take pride in your accomplishment and appreciate the effort and skill that went into assembling your dining table. Take a moment to admire its craftsmanship, the beauty of its design, and the practicality it brings to your home.
As you enjoy the fruits of your labor, take the time to maintain and care for your dining table. Regular cleaning, routine inspections, and timely repairs will help keep it in pristine condition for years to come. Utilize the appropriate cleaning methods for the specific material of your table, and adhere to any manufacturer’s recommendations for maintenance and care.
Now that your dining table is ready, gather your loved ones, set the table with your favorite tableware, and create memories together. Enjoy delightful meals, engaging conversations, and laughter-filled moments around your carefully assembled dining table.
Thank you for choosing this guide to assist you in the assembly of your dining table. We hope you found it informative and helpful. May your dining table bring joy, comfort, and togetherness to your home.
Frequently Asked Questions about How To Assemble A Dining Table
Was this page helpful?
At Storables.com, we guarantee accurate and reliable information. Our content, validated by Expert Board Contributors, is crafted following stringent Editorial Policies. We're committed to providing you with well-researched, expert-backed insights for all your informational needs.


0 thoughts on “How To Assemble A Dining Table”