Home>Articles>How To Remove Cover On Chamberlain Garage Door Opener
Articles
How To Remove Cover On Chamberlain Garage Door Opener
Modified: August 22, 2024
Learn how to easily remove the cover on your Chamberlain garage door opener with our step-by-step articles. Ensure a smooth maintenance process.
(Many of the links in this article redirect to a specific reviewed product. Your purchase of these products through affiliate links helps to generate commission for Storables.com, at no extra cost. Learn more)
Introduction
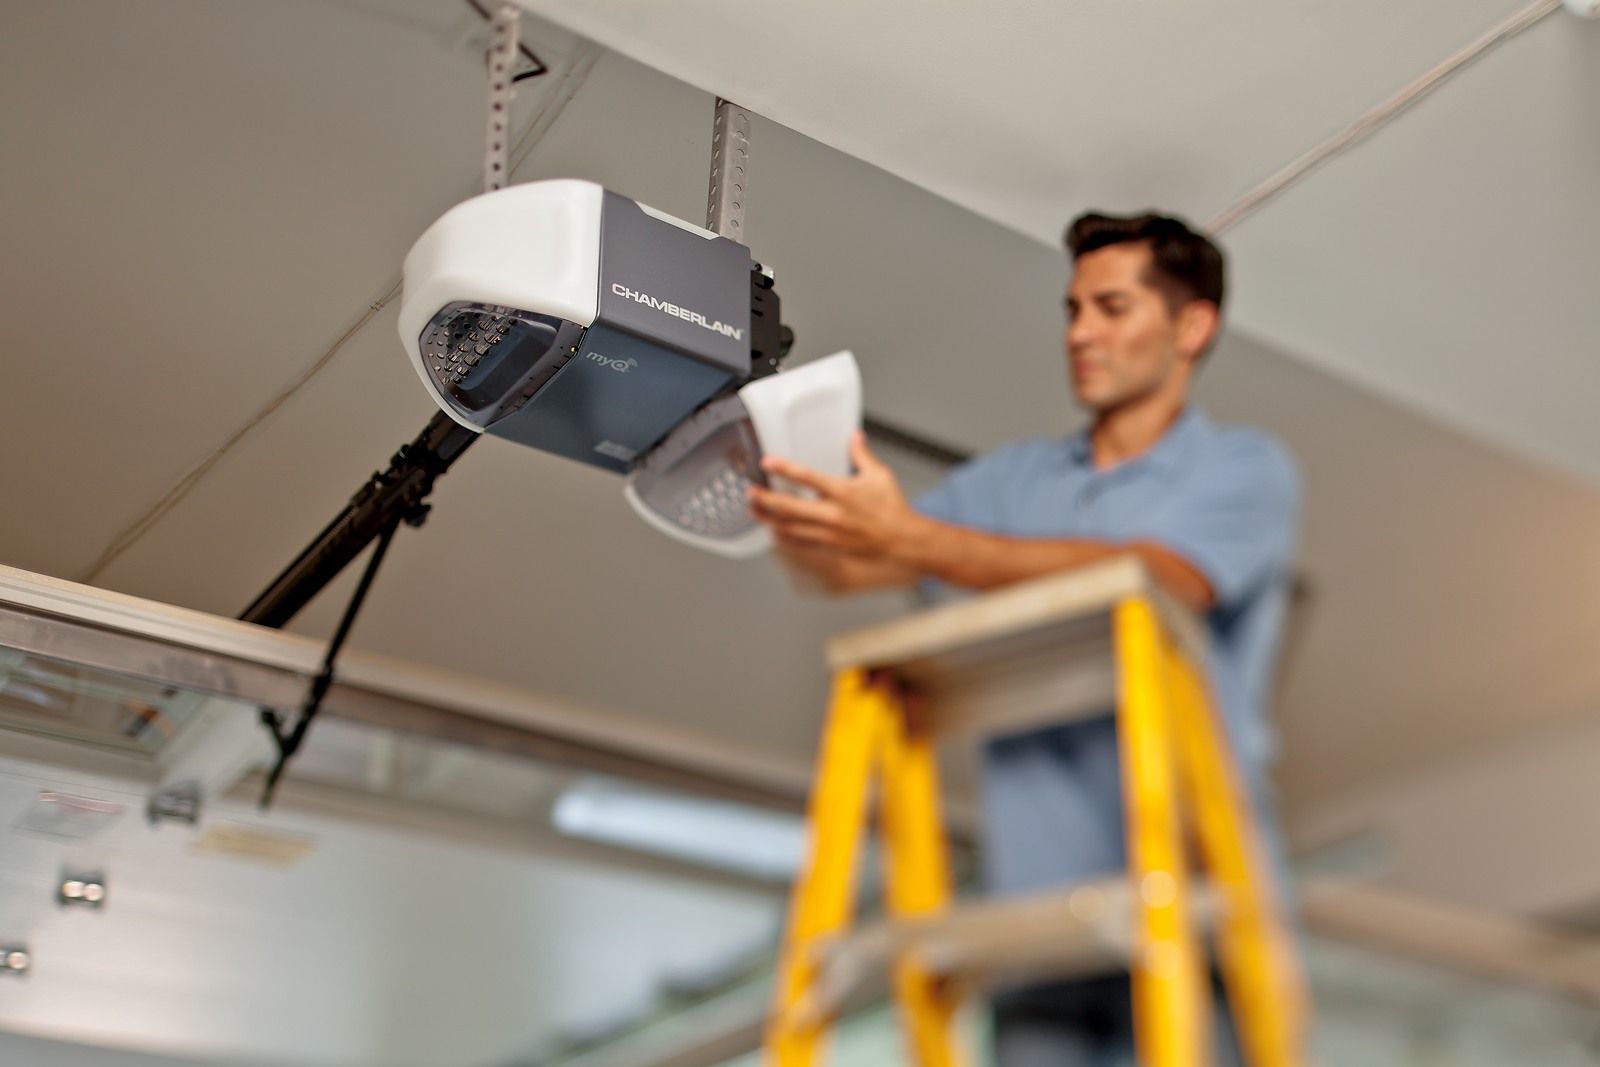
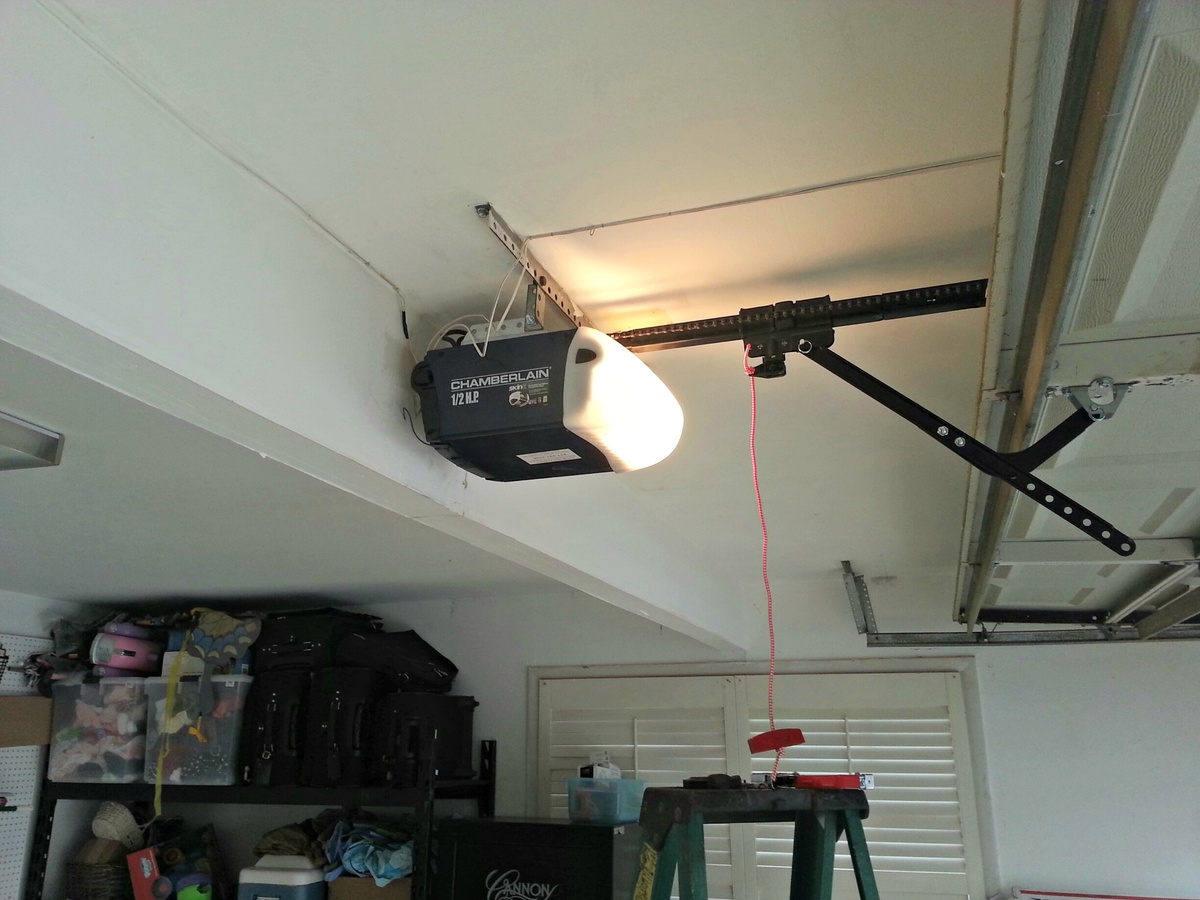
Having a garage door opener is a convenient way to access your garage without the hassle of manually opening and closing the door. However, there may be times when you need to remove the cover of your Chamberlain garage door opener. Whether it’s to perform maintenance, replace a faulty component, or simply out of curiosity, removing the cover can give you a closer look at the inner workings of your garage door opener.
In this article, we will guide you through the step-by-step process of removing the cover on a Chamberlain garage door opener. We will also provide some helpful tips and precautions to ensure a safe and successful removal process. So, gather your tools, put on your DIY hat, and let’s get started.
Key Takeaways:
- Safety First
Before removing the cover on your Chamberlain garage door opener, always prioritize safety by disconnecting the power source and wearing protective gear. This ensures a secure and accident-free maintenance process. - Maintenance Matters
Taking the time to clean and maintain your garage door opener can enhance its performance and longevity. Regular inspections and care contribute to smooth and safe operation.
Read more: How To Open A Chamberlain Garage Door Opener
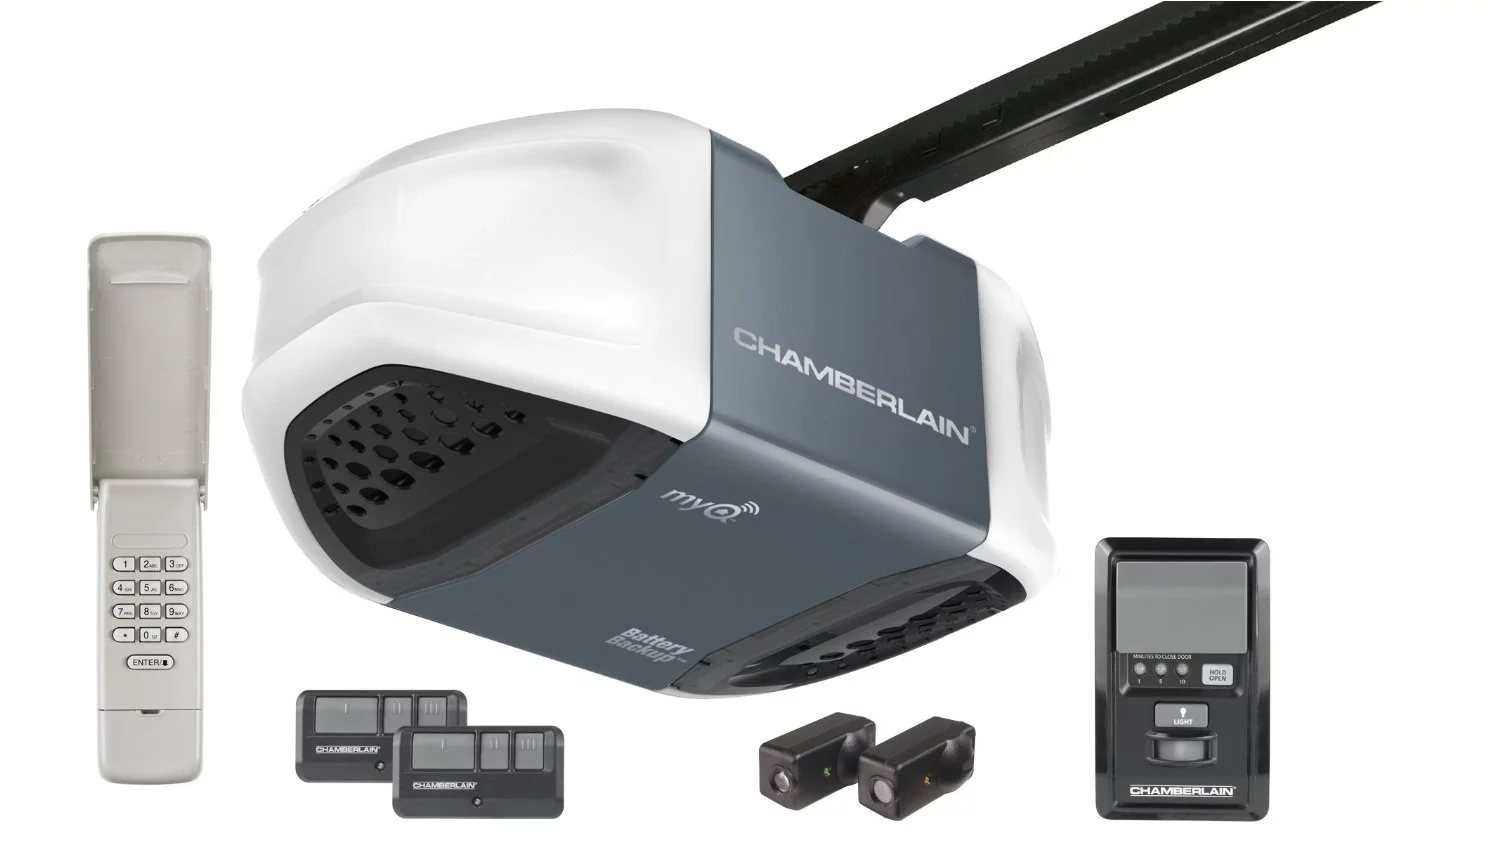
Tools and Materials Needed
Before you begin removing the cover on your Chamberlain garage door opener, gather the following tools and materials:
- Screwdriver (typically Phillips or flathead)
- Safety gloves
- Safety goggles
- Flashlight (optional, but can be helpful in low-light areas)
Having these tools on hand will ensure that you are well-equipped to safely and effectively remove the cover without causing any damage to yourself or the opener.
Step 1: Disconnect Power to the Garage Door Opener
Safety should always be your top priority when working with any electrical appliance, including garage door openers. Before you proceed with removing the cover of your Chamberlain garage door opener, it is essential to disconnect the power source to avoid any accidents or electrical shocks.
To disconnect the power, locate the power cord that is plugged into an electrical outlet or attached to a power source. If the power cord is easily accessible, simply unplug it from the outlet. However, if the power cord is embedded or hardwired, you may need to turn off the circuit breaker or switch off the main power supply to the garage door opener.
Remember to double-check that the power has been effectively disconnected by attempting to operate the garage door opener. If the opener does not respond or show any signs of power when you press the buttons, you can proceed with the next steps confidently.
Disconnecting the power source is crucial to prevent any accidental activation of the garage door opener while you are working on removing the cover. It ensures your safety and allows you to work with peace of mind.
Step 2: Locate and Remove the Screws on the Cover
Now that you have disconnected the power to the garage door opener, it’s time to locate and remove the screws that are holding the cover in place. The number and location of the screws may vary depending on the model of your Chamberlain garage door opener.
With your screwdriver in hand, carefully inspect the exterior of the garage door opener to identify the screws securing the cover. Look for small indentations or holes near the edges or corners of the cover. These are often indications of where the screws are located.
Once you have located the screws, position your screwdriver into the head of the screw and turn counterclockwise to loosen and remove them. It’s important to apply steady pressure to avoid stripping the screws. If you encounter resistance while removing the screws, check that the power source is still disconnected and try again.
Place the screws in a safe location, such as a small container or magnetic tray, to prevent them from getting lost or rolling away. Remember to keep track of the number and size of screws for easy reassembly later.
Continue removing all the screws until the cover is no longer attached to the garage door opener. Be cautious when lifting the cover as it may still be connected by wires or other components.
By removing the screws, you are one step closer to accessing the inner components of your Chamberlain garage door opener. Take a moment to admire your progress and get ready for the next step.
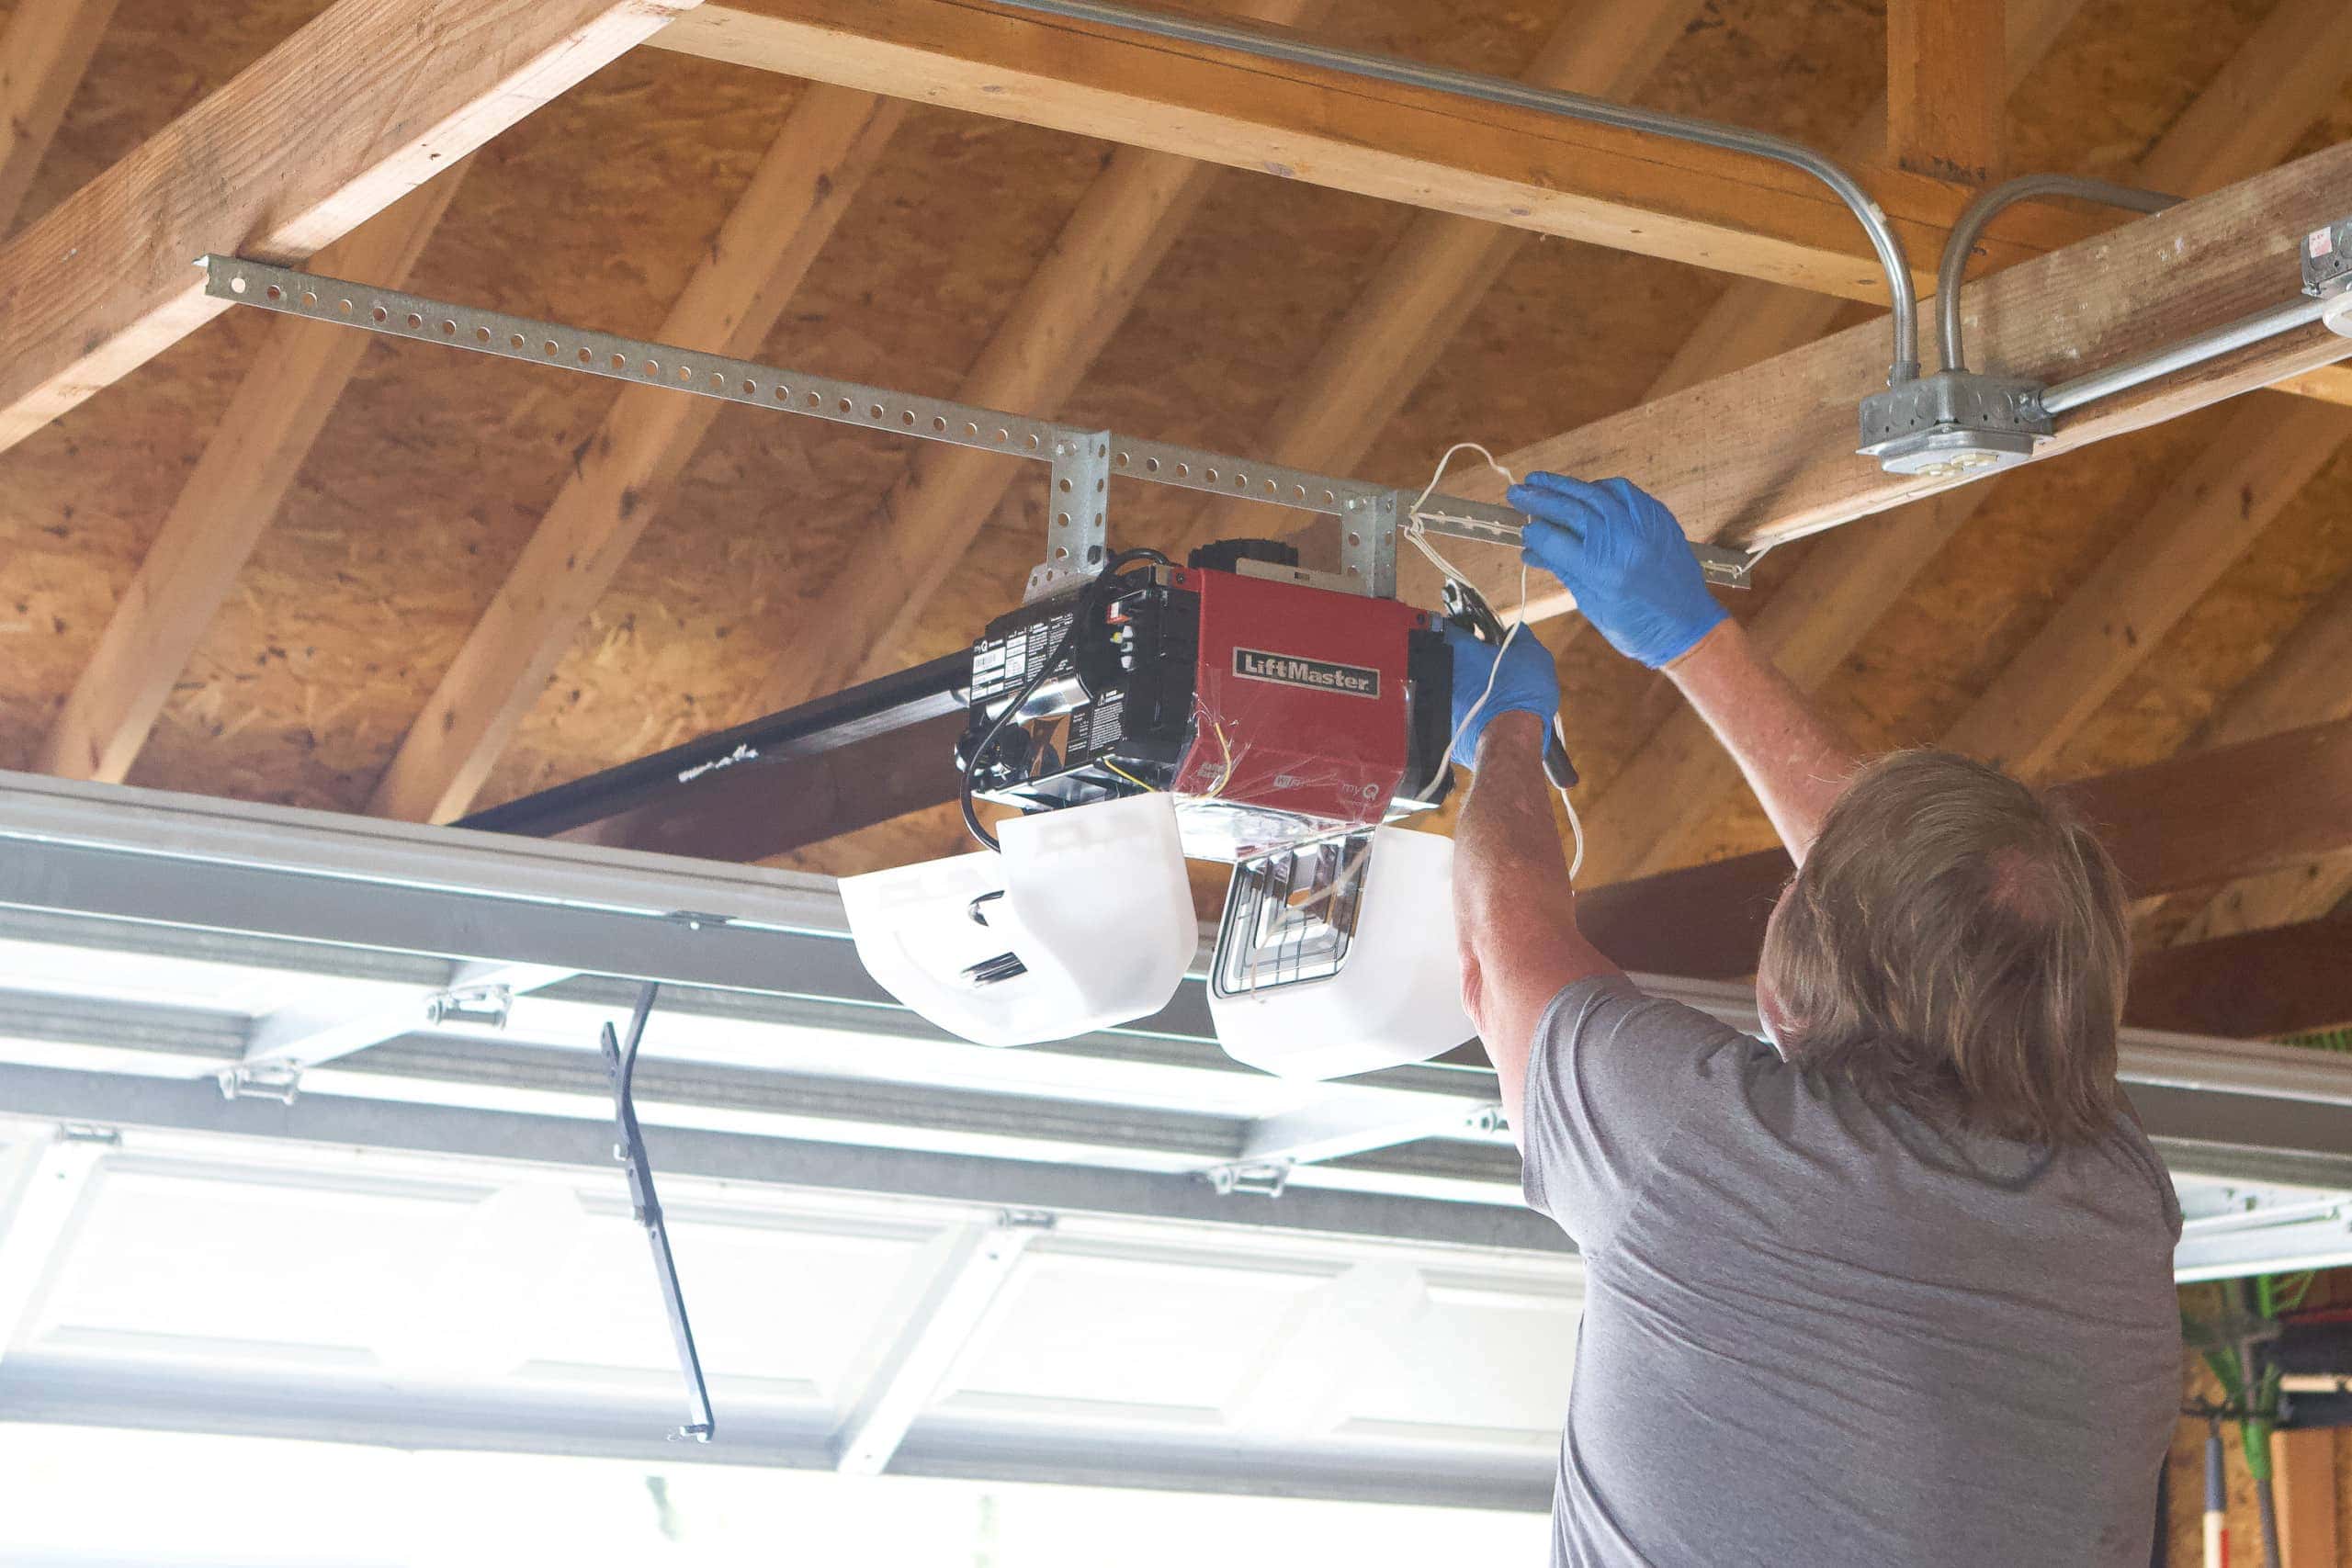
Step 3: Gently Lift and Remove the Cover
With the screws removed, it’s time to gently lift and remove the cover from your Chamberlain garage door opener. However, before proceeding, it’s crucial to exercise caution as the cover might still be connected to other components or wires.
Start by placing your hands on the edges of the cover, ensuring a firm grip. Slowly lift the cover upwards, being mindful of any resistance or attached wires. If you encounter any resistance, stop lifting and carefully inspect the area to identify the source.
If you find that the cover is still connected to wires, take note of their placement and gently detach them. You may need to unplug connectors or unscrew terminals, depending on the specific configuration of your garage door opener. Remember to handle the wires with care to avoid any damage.
Once all the connections are detached, carefully lift the cover completely off the chamberlain garage door opener and set it aside in a safe place. Take a moment to inspect the interior and familiarize yourself with the different components and mechanisms.
Removing the cover grants you a closer look at the inner workings of your Chamberlain garage door opener. It allows you to perform maintenance, troubleshoot issues, or simply satisfy your curiosity about how the opener operates. Keep the cover in a secure spot, as you will need to reattach it later in the process.
Take a moment to appreciate your progress and prepare for the next steps in the process.
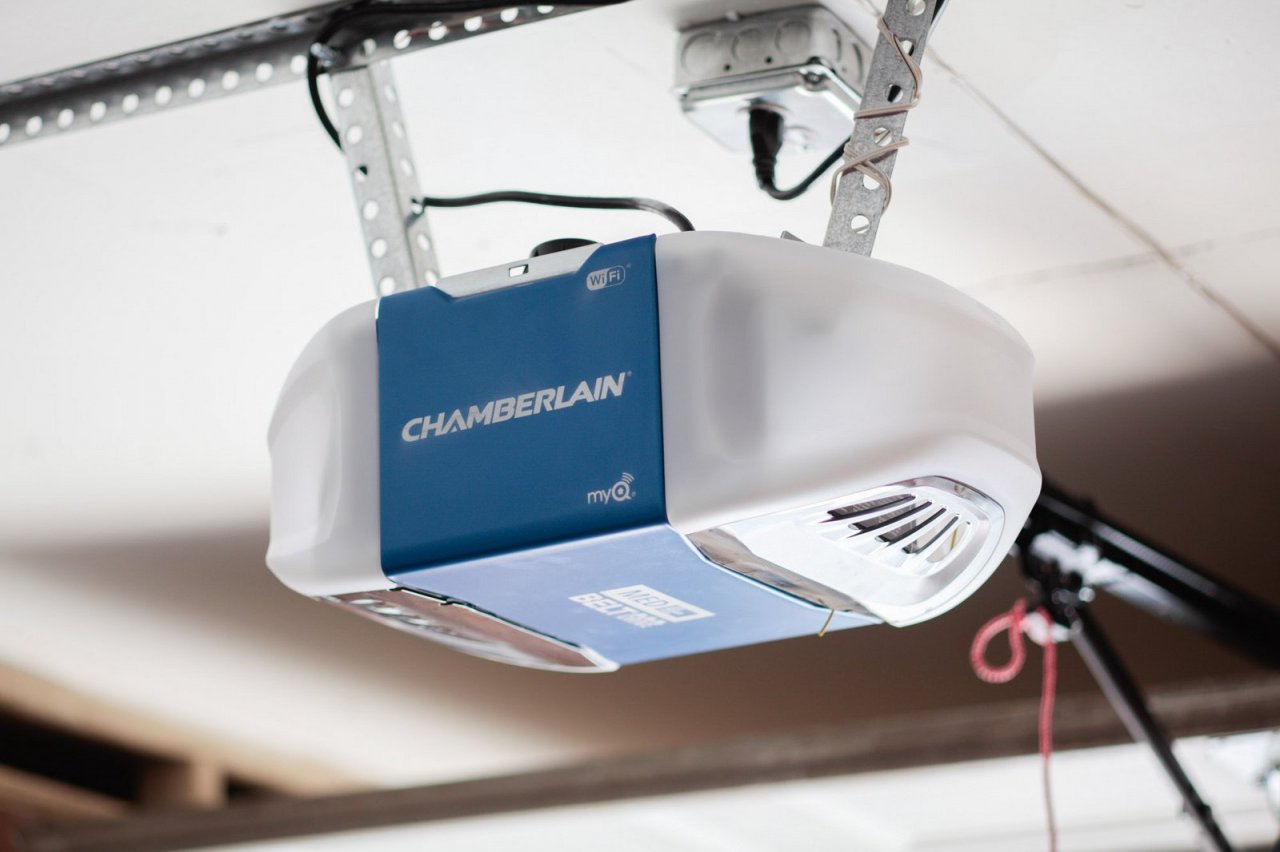
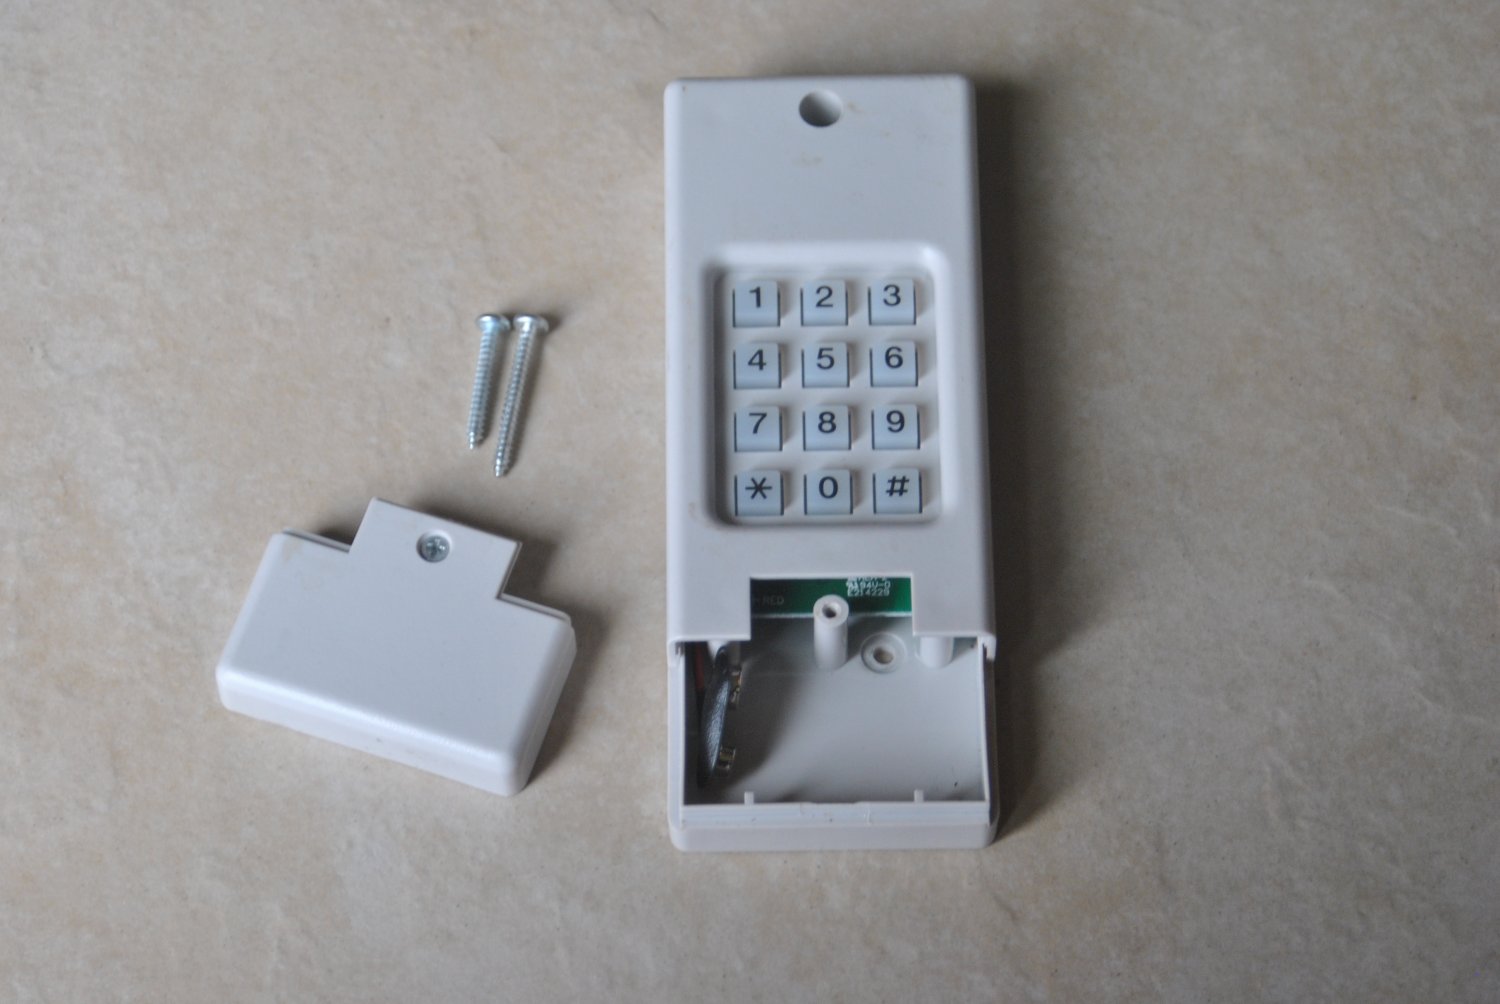
To remove the cover on a Chamberlain garage door opener, locate the tabs or screws on the sides and carefully release them. Lift the cover off to access the internal components.
Read more: How To Wire Chamberlain Garage Door Opener
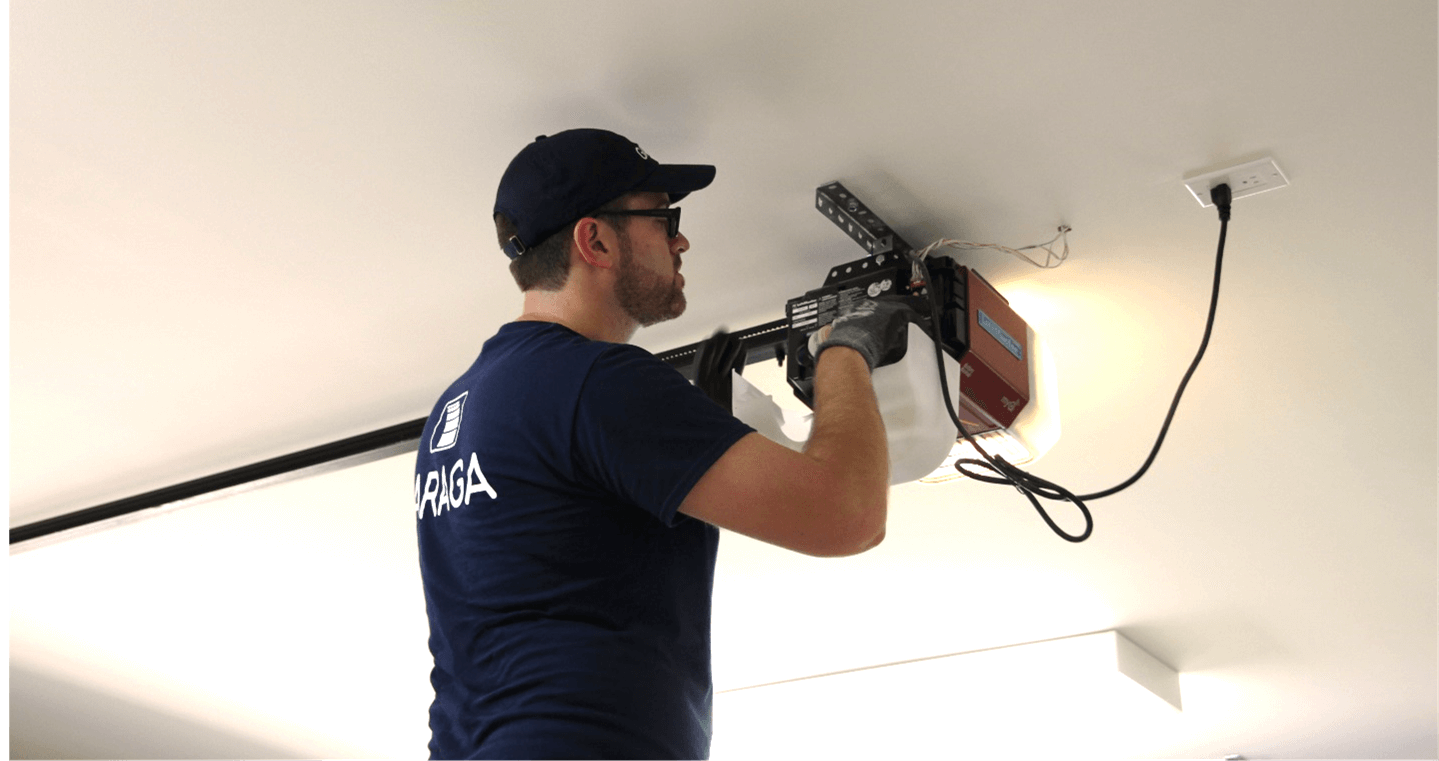
Step 4: Open the Chamberlain Garage Door Opener
Now that you have successfully removed the cover, it’s time to open the Chamberlain garage door opener itself. This step will provide you with access to the inner components and mechanisms that control the operation of your garage door.
Start by examining the interior of the opener. You will likely see a motor assembly, a drive system, limit switches, and other electronic components. Each opener may have a slightly different configuration, so take a moment to familiarize yourself with the layout.
One important thing to note is to avoid touching any electrical components or wires unless you have experience and knowledge in handling them. If you need to perform any maintenance or repairs on the opener, it is best to consult the Chamberlain manual or contact a professional technician.
If you are simply looking to inspect or clean the opener, use a soft, dry cloth to gently wipe away any accumulated dust or debris. Be careful not to apply excessive pressure or moisture that could damage the components.
During this step, it is a good practice to visually inspect the opener for any signs of wear or damage. Look for loose wires, frayed cables, or worn-out components. If you notice anything concerning, it may be necessary to consult a professional for further assistance.
Once you have completed your inspection or cleaning, make sure to close any covers or protective panels that were opened during the process. This will help ensure the longevity and proper functioning of your Chamberlain garage door opener.
Congratulations! You have successfully opened the Chamberlain garage door opener and gained access to its inner components. Take a moment to appreciate your accomplishment before moving on to the next step.
Step 5: Clean and Maintain the Opener (Optional)
While not necessary for the basic removal of the cover, this step offers an opportunity to clean and maintain your Chamberlain garage door opener. Regular maintenance can help improve the performance and lifespan of your opener.
Cleaning the opener is a relatively simple process. Start by using a soft, dry cloth to remove any dust or debris that may have accumulated on the exterior surfaces. Pay attention to areas where dirt tends to accumulate, such as around the motor assembly or in-between mechanical parts.
For more stubborn dirt or grime, you can lightly dampen the cloth with water or use a mild household cleaner. Avoid using harsh chemicals or abrasive materials that can cause damage to the surfaces. Be sure to wipe away any residues and allow the opener to fully dry before closing the cover.
Aside from cleaning, there are other maintenance tasks you can perform to keep your Chamberlain garage door opener in optimal condition:
- Check and tighten any loose screws or bolts
- Inspect and replace worn-out cables or belts
- Lubricate the moving parts with a recommended garage door lubricant
- Test the safety features, such as the auto-reverse mechanism
Remember to consult the Chamberlain manual or seek professional assistance for any specific maintenance procedures or troubleshooting steps.
Performing regular maintenance on your garage door opener can help prevent breakdowns and extend its lifespan. It also ensures that your opener operates safely and efficiently, providing you with peace of mind.
If you choose not to perform maintenance at this time, you can proceed to the next step and reassemble the Chamberlain garage door opener.
Step 6: Reassemble the Chamberlain Garage Door Opener
After completing any necessary maintenance or cleaning, it’s time to reassemble your Chamberlain garage door opener. Follow these steps to ensure a smooth and successful reassembly process:
- Take the cover that you removed earlier and align it with the opener’s body. Make sure it sits evenly and securely before proceeding.
- Reconnect any wires or components that were detached during the removal process. Follow the notes or markings you made earlier to ensure proper connections.
- Carefully insert and tighten the screws back into their respective positions. Start with one screw and gradually work your way around to ensure even tightening. Be cautious not to overtighten, as this could damage the cover or the opener.
- Double-check that all connections are secure and that the cover is firmly in place.
- If you had to turn off the power supply at the beginning, reconnect it now. Plug in the power cord or switch on the circuit breaker to restore power to the garage door opener.
Once reassembled and powered on, test the functionality of your Chamberlain garage door opener. Press the remote control or wall button to open and close the garage door. Listen for any unusual noises or observe any issues in the operation. If everything is functioning correctly, you have successfully reassembled the opener.
Remember to keep the Chamberlain manual in a safe place for future reference. It contains valuable information on maintenance, troubleshooting, and safety guidelines.
By reassembling the opener properly, you ensure that it functions safely and efficiently. Take a moment to admire your accomplishment and enjoy the peace of mind that comes with a well-maintained garage door opener.
Conclusion
Removing the cover on your Chamberlain garage door opener might seem like a daunting task, but by following these step-by-step instructions, you can confidently open up your opener and gain a closer look at its inner workings. Whether you’re performing maintenance, troubleshooting issues, or simply satisfying your curiosity, this process allows you to better understand and care for your garage door opener.
Throughout the removal and reassembly process, it’s essential to prioritize safety. Remember to disconnect the power source to prevent any accidents, wear safety gloves and goggles, and handle electrical components with caution. If you’re unsure about any step or encounter difficulties, it’s always wise to consult the Chamberlain manual or seek professional assistance.
Cleaning and maintaining your Chamberlain garage door opener can enhance its performance and prolong its lifespan. Regular inspections, lubrication, and testing of safety features can help prevent malfunctions and ensure smooth operation.
By taking the time to properly remove and reassemble the cover, you not only gain valuable insights into your garage door opener but also develop the confidence to tackle future maintenance tasks or repairs. Remember to keep your Chamberlain manual handy, as it contains essential information to guide you in maintaining and troubleshooting your opener.
Now that you have successfully removed and reassembled the cover on your Chamberlain garage door opener, you can enjoy the benefits of a well-maintained and efficiently functioning garage door. Share your newfound knowledge with others, and don’t hesitate to reach out for professional help when needed. Happy garage door troubleshooting and maintenance!
Frequently Asked Questions about How To Remove Cover On Chamberlain Garage Door Opener
Was this page helpful?
At Storables.com, we guarantee accurate and reliable information. Our content, validated by Expert Board Contributors, is crafted following stringent Editorial Policies. We're committed to providing you with well-researched, expert-backed insights for all your informational needs.

0 thoughts on “How To Remove Cover On Chamberlain Garage Door Opener”