Home>Garden Essentials>How To Infill Laser Engraved Metal
Garden Essentials
How To Infill Laser Engraved Metal
Modified: March 7, 2024
Learn how to infill laser engraved metal with our step-by-step guide! Enhance your garden with stunning personalized metal signs and decorations.
(Many of the links in this article redirect to a specific reviewed product. Your purchase of these products through affiliate links helps to generate commission for Storables.com, at no extra cost. Learn more)
Introduction
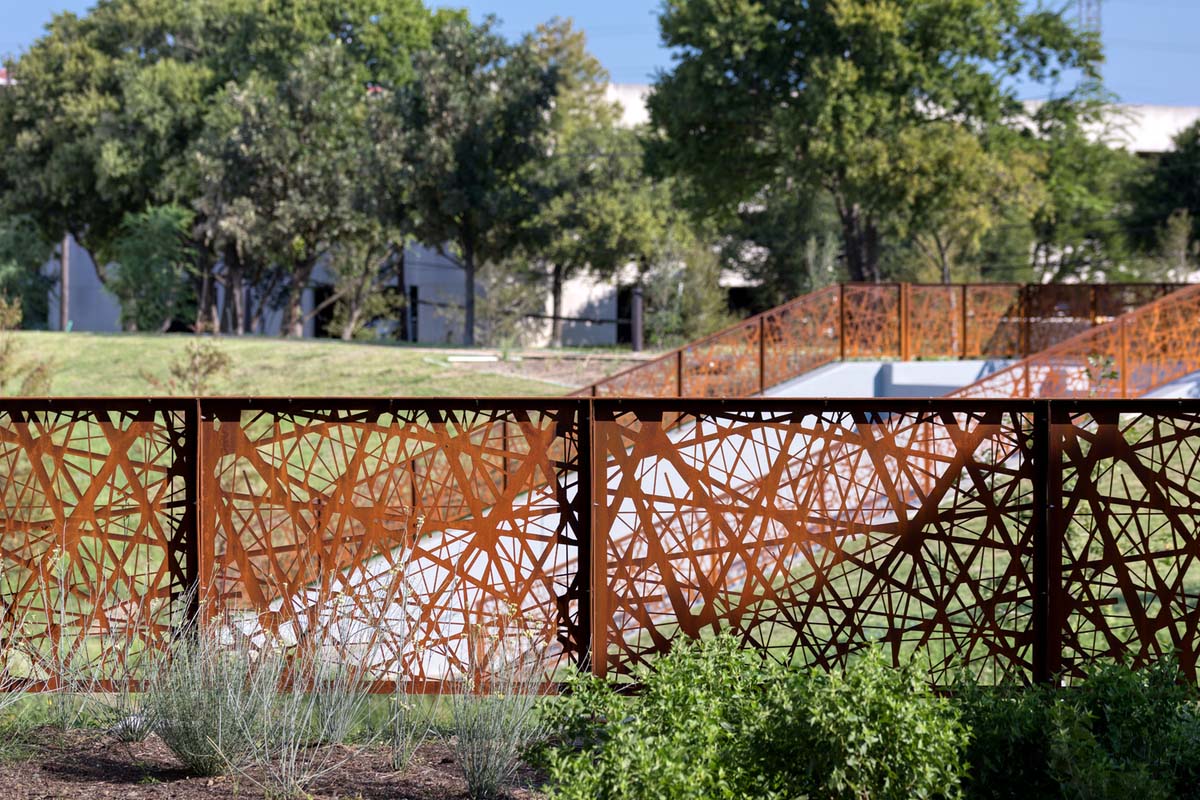
Welcome to the exciting world of laser engraving on metal! Laser engraving is a technique that uses a laser beam to create precise and intricate designs on various materials, including metal. One of the key aspects of laser-engraved metal is infilling, which involves adding color or material to the engraved design to enhance its visibility and aesthetic appeal.
Infilling can transform a plain metal surface into a work of art, making the engraved design stand out and catch everyone’s attention. Whether you’re a DIY enthusiast or a professional metalworker, mastering the art of infilling laser-engraved metal can take your projects to the next level.
In this article, we will guide you through the process of infilling laser-engraved metal step by step, from preparing the surface to the final touches. So, grab your safety goggles and let’s dive into this creative journey!
Key Takeaways:
- Transform plain metal into stunning art by infilling laser-engraved designs. Choose the right infill material, clean the engraved design, and apply the infill material for a professional finish.
- Master the art of infilling laser-engraved metal to bring your creative projects to the next level. Prepare the metal surface, choose the right infill material, and apply it with precision for visually captivating results.
Read more: How To Engrave Slate Coasters
Step 1: Prepare the Metal Surface
Before you begin infilling the laser-engraved design, it is crucial to prepare the metal surface properly. Proper surface preparation ensures that the infill material adheres well and creates a clean and professional finish. Follow these steps to prepare the metal surface:
- Clean the surface: Start by cleaning the metal surface thoroughly. Remove any dust, dirt, or oils using a mild detergent or a dedicated metal cleaner. Use a soft cloth or sponge to gently scrub the surface. Make sure to rinse it well and dry it completely.
- Smooth the surface: If your metal surface has rough edges or uneven spots, you may need to smooth it before infilling. Use fine-grit sandpaper or a sanding block to gently sand the surface. This will create a smooth and level base for the infill material.
- Protect the surrounding area: If you’re working on a specific section of the metal surface, it’s essential to mask off the surrounding area to prevent any accidental contact with the infill material. You can use masking tape or painter’s tape to create a clean boundary.
- Apply a primer (optional): Depending on the type of metal and infill material you’re using, applying a primer can enhance the adhesion of the infill material. Check the instructions provided with your infill material to determine if a primer is recommended. If necessary, apply a thin coat of primer using a small brush or a foam applicator. Allow it to dry completely before moving on to the next step.
By following these steps and preparing the metal surface appropriately, you’re ensuring that the infill material adheres effectively and produces a beautiful and long-lasting result. Once the surface is clean, smooth, and protected, you’re ready to proceed with choosing the right infill material in the next step.
Step 2: Choose the Right Infill Material
When it comes to infilling laser-engraved metal, selecting the right infill material is crucial. The material you choose will determine the color, texture, and overall appearance of the filled-in areas. Here are a few factors to consider when choosing the infill material:
- Type of metal: The type of metal you’re working with will influence your choice of infill material. Some materials work better on certain metals, while others may not adhere as effectively. For example, enamel paints are commonly used on steel or aluminum, while epoxy resin can be suitable for a variety of metals.
- Color options: Consider the desired color scheme of your project. Many infill materials come in a range of colors, allowing you to match or contrast with the metal surface. Consider the aesthetics and the visibility of the design when selecting the color.
- Durability: Depending on the intended use of the engraved metal piece, you may need to choose an infill material that is durable and resistant to wear and tear. Consider factors such as UV resistance, scratch resistance, and chemical resistance, especially if the piece will be exposed to harsh conditions.
- Easy application: Some infill materials are easier to work with than others. Consider your own skill level and comfort when it comes to working with different materials. Some materials may require specific tools and techniques for application, so be sure to read the instructions and understand the process before making your choice.
Take your time to research and explore different infill material options, considering the factors mentioned above. It’s a good idea to test the selected infill material on a small, inconspicuous area before applying it to the entire engraved design. This will help you ensure that you’ve made the right choice and that the infill material delivers the desired results.
Now that you have chosen the perfect infill material, it’s time to move on to the next step: cleaning the engraved design.
Step 3: Clean the Engraved Design
Before filling in the engraved design on the metal surface, it’s essential to clean the engraved areas thoroughly. Cleaning removes any debris, dust, or residue that may have accumulated during the engraving process, ensuring that the infill material adheres effectively. Follow these steps to clean the engraved design:
- Use compressed air: Start by using compressed air to blow away any loose debris from the engraved areas. This step helps remove larger particles or dust that may be sitting on the surface.
- Brush off any remaining debris: Next, use a soft-bristled brush or a clean, dry cloth to gently brush off any remaining debris from the engraved design. Be gentle to avoid damaging the engraved areas or scratching the metal surface.
- Wipe with a lint-free cloth: Moisten a lint-free cloth with a mild solvent or isopropyl alcohol, and gently wipe the engraved areas. This helps remove any residue or oils that may be present, ensuring a clean surface for the infill material.
- Allow to dry: After cleaning, allow the engraved areas to dry completely before proceeding with infilling. This is crucial to ensure that the infill material adheres properly and doesn’t mix with any remaining moisture.
By taking the time to clean the engraved design thoroughly, you’re creating an optimal surface for the infill material to bond with. This step ensures a clean and professional finish to your laser-engraved metal piece.
Now that the engraved design is clean and ready, it’s time to move on to the exciting part: applying the infill material!
When infilling laser engraved metal, use a fine-tipped applicator to carefully apply the infill material, such as paint or wax, into the engraved areas. Wipe away any excess material for a clean finish.
Step 4: Apply the Infill Material
Now that you have prepared the metal surface and cleaned the engraved design, it’s time to apply the infill material to bring your laser-engraved design to life. Follow these steps to apply the infill material:
- Choose the right applicator: Depending on the type of infill material you’re using, you may need a specific applicator to achieve the desired results. For example, if you’re working with enamel paint, a fine-tipped brush or a syringe can be used to fill in the engraved areas. If you’re using epoxy resin, a small pipette or a plastic spatula may be necessary.
- Apply the infill material: Dip your chosen applicator into the infill material and carefully fill the engraved areas with the color or material of your choice. Take your time and apply the material evenly, ensuring that all the engraved lines and spaces are filled. You may need to make multiple passes to achieve the desired opacity or thickness.
- Smooth out the filled areas: Depending on the infill material, you may need to smooth out the filled areas for a seamless finish. Smooth the surface using a small tool or the tip of your applicator, ensuring that the infill material is level with the surrounding metal surface. This step helps create a polished and professional appearance.
- Let it cure: Once you have applied the infill material, allow it to cure according to the manufacturer’s instructions. This may involve air-drying or using a heat source for certain materials. It’s essential to give the infill material enough time to fully harden and bond with the metal surface.
Remember, different infill materials require different techniques and time to cure. Be sure to read and follow the instructions provided by the manufacturer to achieve the best results.
With the infill material applied, you can now step back and admire the transformation of your laser-engraved design. However, there is one more step to ensure a flawless finish: removing excess infill material.
Read more: How To Engrave Glass
Step 5: Remove Excess Infill Material
After applying the infill material to your laser-engraved design, there may be some excess material that needs to be cleaned up. Removing the excess material helps achieve a clean and polished look. Follow these steps to remove excess infill material:
- Allow the infill material to fully cure: Before attempting to remove excess infill material, ensure that the material has fully cured according to the manufacturer’s instructions. This ensures that the material is hardened and easier to remove without damaging the engraved design or the metal surface.
- Inspect the filled areas: Carefully examine the filled areas to identify any excess material. Look for any unevenness, bumps, or smudges that may need to be addressed.
- Use a scraping tool: Depending on the type of infill material and the surface, you can use a scraping tool or a small, sharp object to gently scrape away the excess material. Be cautious not to apply too much pressure, as this can cause damage to the engraved design or metal surface. Take your time and work slowly to achieve precise results.
- Clean the surface: Once you have removed the excess infill material, it’s important to clean the surface again to remove any residue or particles. Use a lint-free cloth or a soft brush to gently clean the filled areas and ensure a smooth and refined finish.
By removing excess infill material, you’ll achieve a cleaner and more professional look for your laser-engraved metal piece. It’s essential to be patient and take your time during this step to ensure accuracy and prevent any accidental damage.
Now that the excess material has been removed, it’s time to move on to the final step: applying the finishing touches and performing the final clean-up.
Step 6: Finishing Touches and Final Clean-up
Congratulations! You’re in the final stage of infilling your laser-engraved metal piece. This step involves adding the finishing touches and performing the final clean-up to ensure a polished and professional result. Follow these steps to complete your project:
- Inspect the filled areas: Take a close look at the infilled areas and make any necessary touch-ups. If you notice any gaps or unevenness in the infill material, apply a small amount of additional material to fill in the gaps and create a seamless appearance.
- Smooth the surface: Use a fine-grit sandpaper or a polishing cloth to gently smooth the filled areas. This step helps blend the infill material with the surrounding metal surface and creates a smooth and consistent finish.
- Perform a final clean-up: Once you’re satisfied with the appearance of the infilled design, it’s time to perform the final clean-up. Use a lint-free cloth or a soft brush to remove any remaining dust or particles from the metal surface and the engraved areas. This ensures a pristine look for your laser-engraved metal piece.
After completing these steps, step back and admire your finished work. The laser-engraved design, filled with the chosen infill material, is now a stunning and eye-catching piece of art. Take the time to appreciate your craftsmanship and the beauty of the infilled metal surface.
Remember to follow any additional instructions provided by the manufacturer of the infill material. Different materials may require specific care and maintenance instructions to ensure their longevity and vibrancy.
Whether you’re creating personalized metal jewelry, decorative art pieces, or customized metal signs, mastering the skill of infilling laser-engraved metal opens up a world of creative possibilities. With practice and experimentation, you’ll refine your technique and create impressive works of art.
So, go ahead and showcase your creativity by infilling laser-engraved metal with precision, passion, and artistic flair!
That concludes our step-by-step guide to infilling laser-engraved metal. We hope you found this article informative and helpful on your journey to becoming a master infill artist! Enjoy expressing your artistic vision on metal surfaces and let your creations shine.
Conclusion
Congratulations! You have successfully learned the art of infilling laser-engraved metal. Through careful preparation, choosing the right infill material, cleaning the engraved design, applying the infill material, removing excess material, and performing the final touches and clean-up, you have transformed a plain metal surface into a stunning piece of art.
By infilling laser-engraved metal, you can add color, texture, and depth to your designs, bringing them to life and making them visually captivating. Whether you’re creating personalized gifts for loved ones, unique jewelry pieces, or striking metal artwork, the infilling technique enhances the beauty and impact of your creations.
Remember to choose the appropriate infill material based on the type of metal, color preference, durability requirements, and application ease. Clean the engraved design meticulously before applying the infill material to ensure a smooth and seamless finish. Remove any excess material carefully, and perform the final touches and clean-up to achieve a polished and professional appearance.
With practice and experimentation, you will continue to enhance your skills and develop your own unique style. Don’t be afraid to explore different infill materials, techniques, and designs to unleash your creativity and create truly remarkable pieces of laser-engraved metal art.
Now, armed with the knowledge and expertise of infilling laser-engraved metal, it’s time to let your imagination run wild. Let each project be an opportunity for self-expression and a chance to showcase your skills. Enjoy the process and the satisfaction that comes with turning metal into a masterpiece!
Frequently Asked Questions about How To Infill Laser Engraved Metal
Was this page helpful?
At Storables.com, we guarantee accurate and reliable information. Our content, validated by Expert Board Contributors, is crafted following stringent Editorial Policies. We're committed to providing you with well-researched, expert-backed insights for all your informational needs.


0 thoughts on “How To Infill Laser Engraved Metal”