Home>Construction & Tools>Building Materials>How To Engrave A Brick At Home
Building Materials
How To Engrave A Brick At Home
Published: January 22, 2024
Learn how to engrave a brick at home with our step-by-step guide. Discover the best tools and techniques for engraving building materials. Start your DIY project today!
(Many of the links in this article redirect to a specific reviewed product. Your purchase of these products through affiliate links helps to generate commission for Storables.com, at no extra cost. Learn more)
Introduction
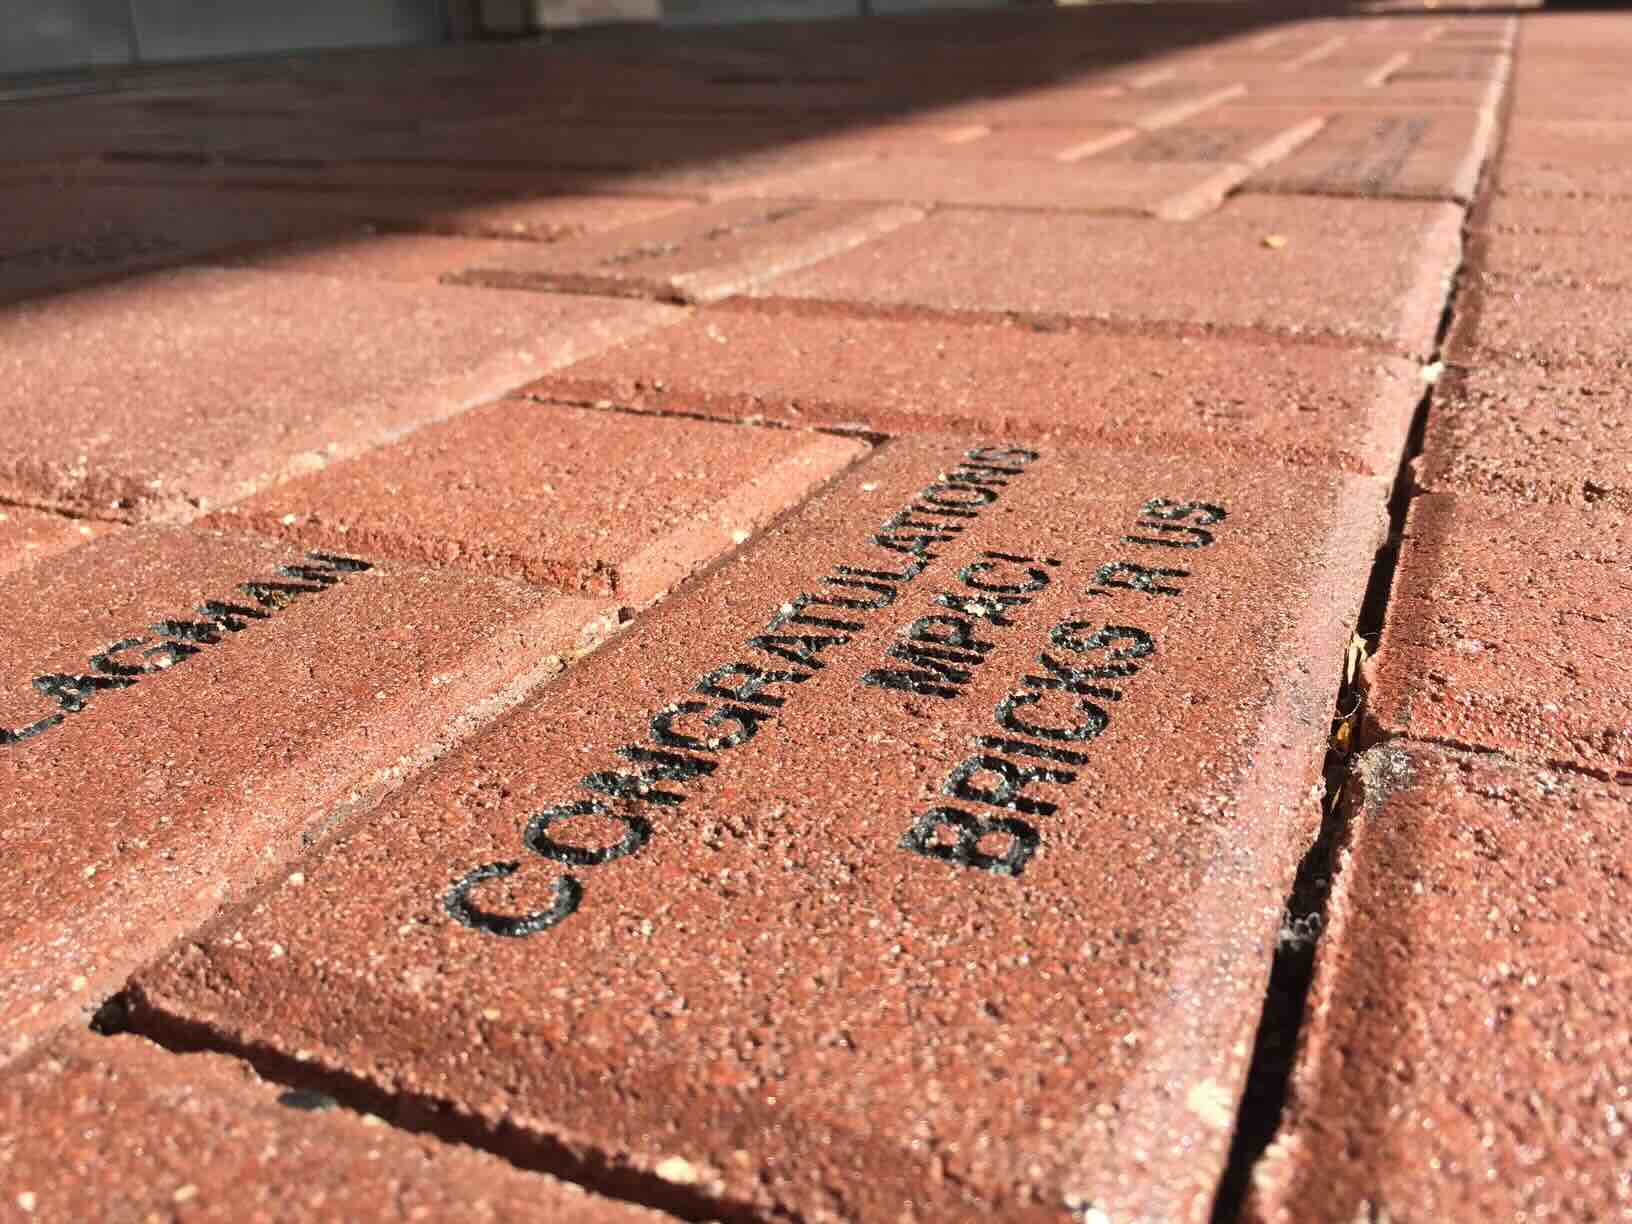
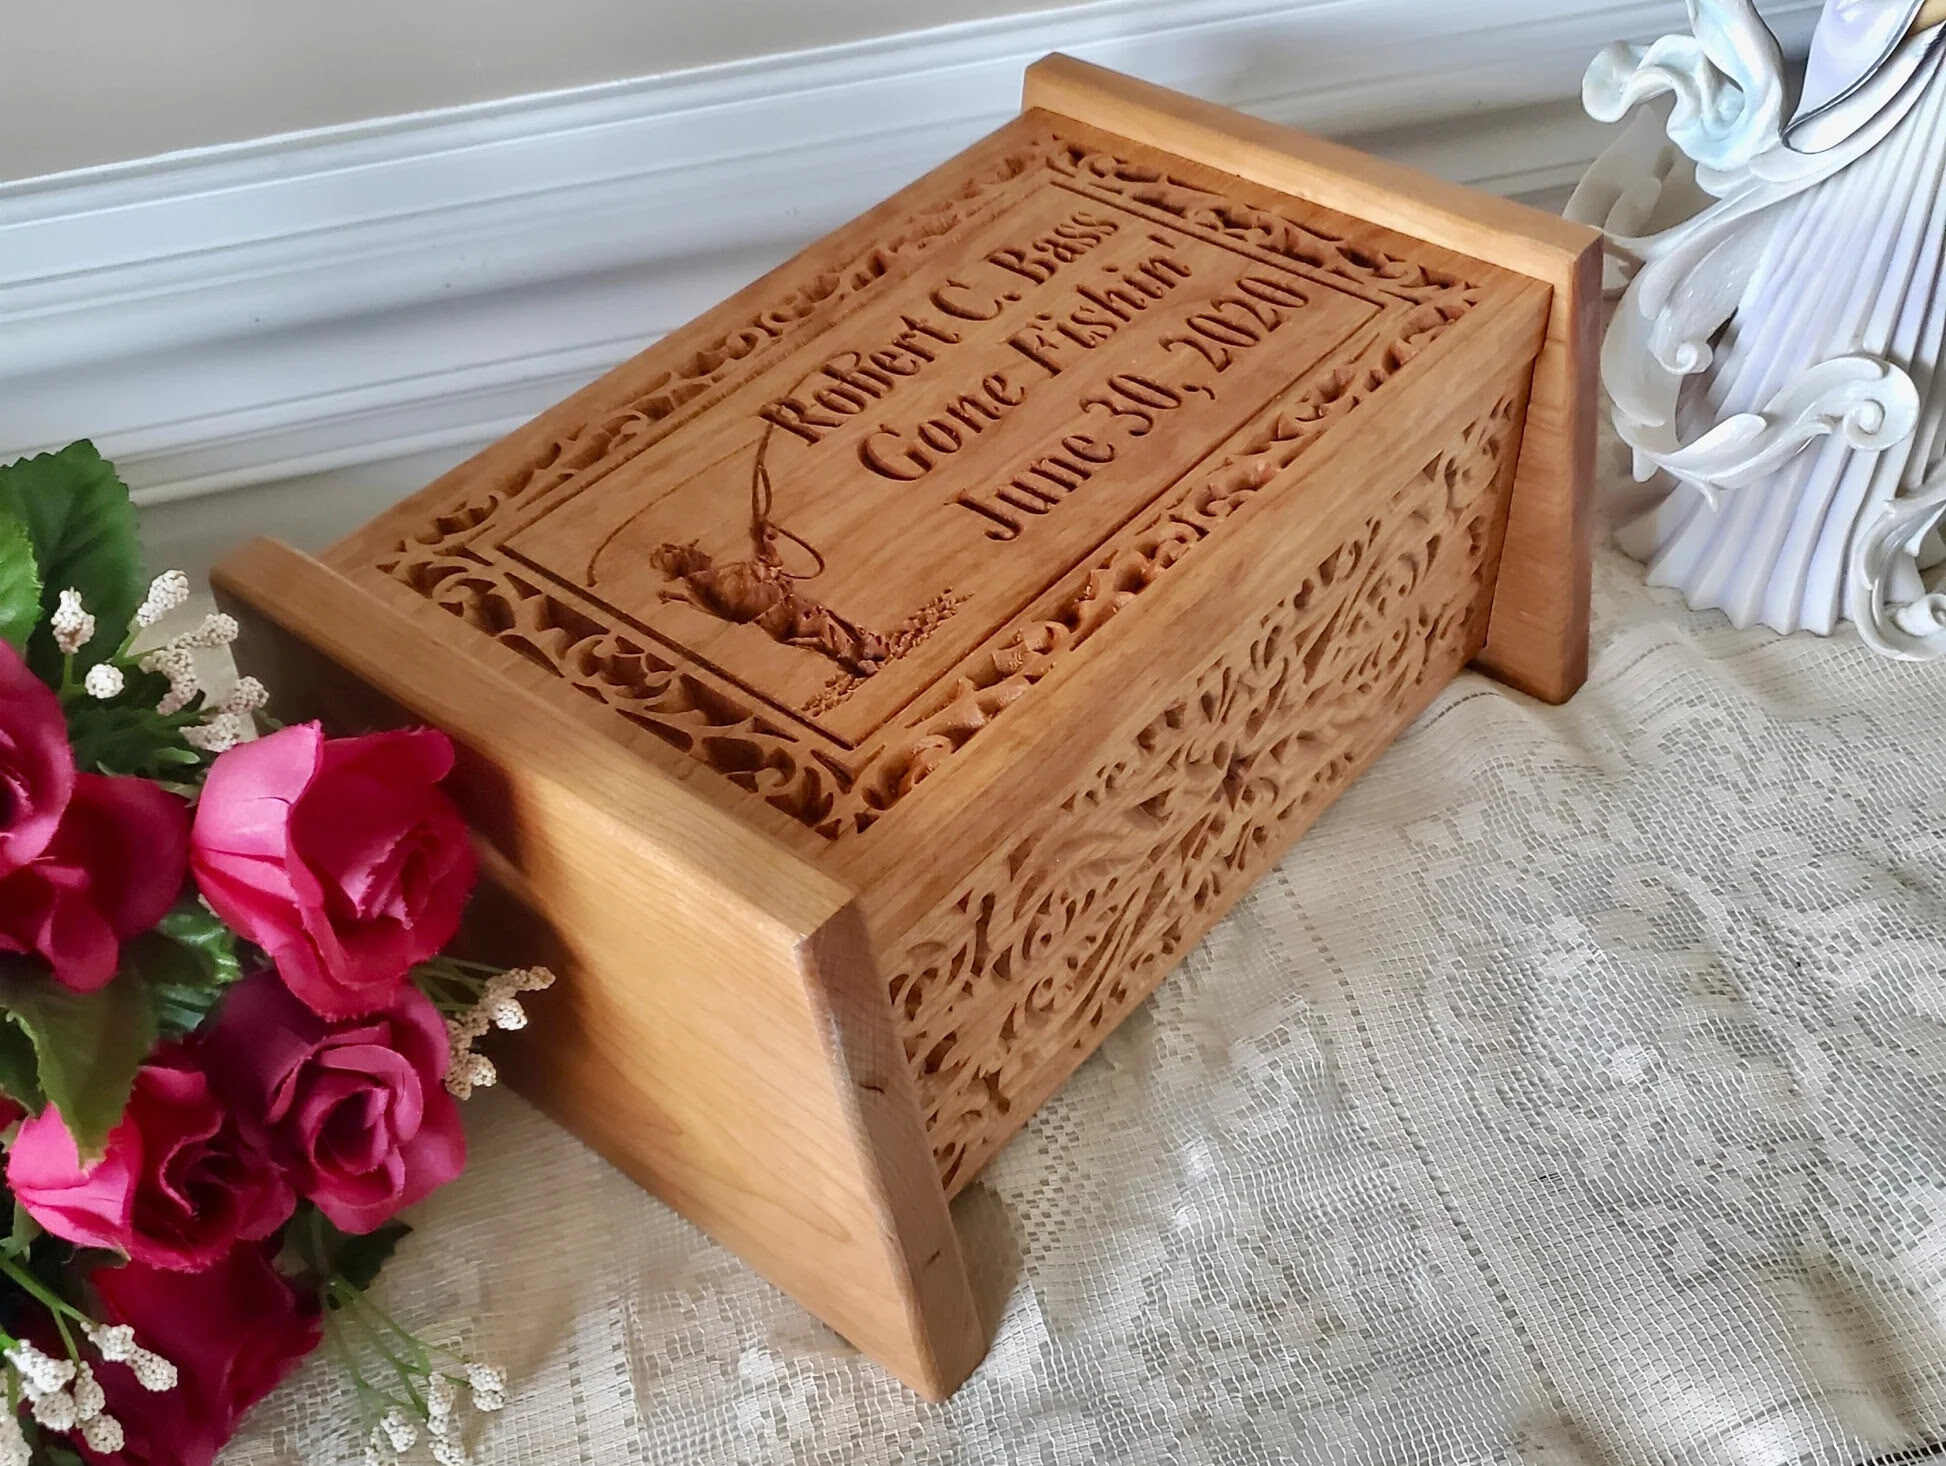
Welcome to the world of DIY brick engraving, where you can transform ordinary bricks into personalized works of art. Engraved bricks are not only a unique way to add a personal touch to your home or garden, but they also make for thoughtful and enduring gifts. Whether you want to commemorate a special occasion, honor a loved one, or simply add a decorative element to your outdoor space, engraving a brick at home can be a rewarding and fulfilling project.
While the idea of engraving a brick may seem daunting at first, it’s a surprisingly achievable endeavor with the right materials and techniques. In this comprehensive guide, we’ll walk you through the step-by-step process of engraving a brick at home, covering everything from the materials needed to the finishing touches. By the end of this article, you’ll have the knowledge and confidence to embark on your own brick engraving project and unleash your creativity.
So, roll up your sleeves, gather your supplies, and let’s dive into the wonderful world of DIY brick engraving!
Key Takeaways:
- Personalize ordinary bricks into meaningful works of art with DIY engraving. Follow the steps to prepare, design, and engrave, creating a lasting masterpiece for your home or garden.
- Unleash your creativity and craftsmanship by transforming bricks into personalized, enduring creations. Embrace the art of DIY brick engraving to leave a lasting mark on the world.
Read more: How To Engrave Slate Coasters
Materials Needed
Before you begin your brick engraving project, it’s essential to gather the necessary materials. Here’s a list of items you’ll need to ensure a successful and enjoyable engraving experience:
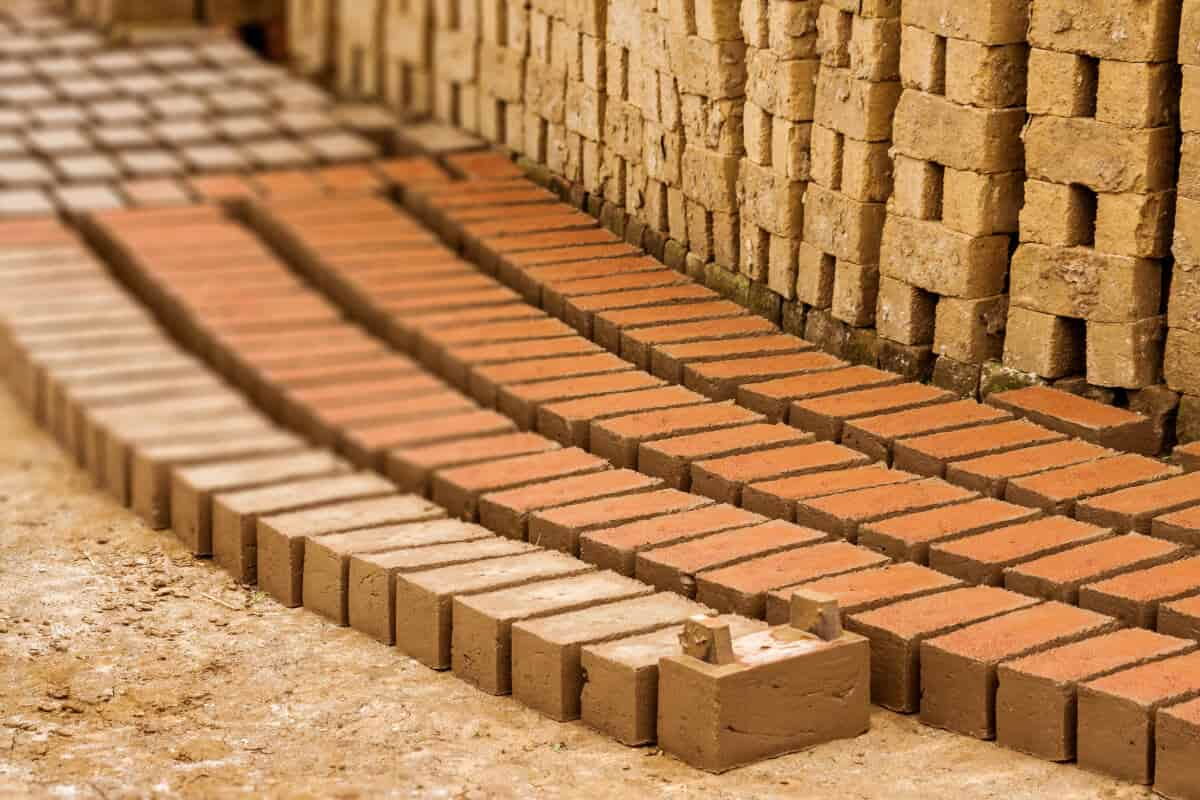
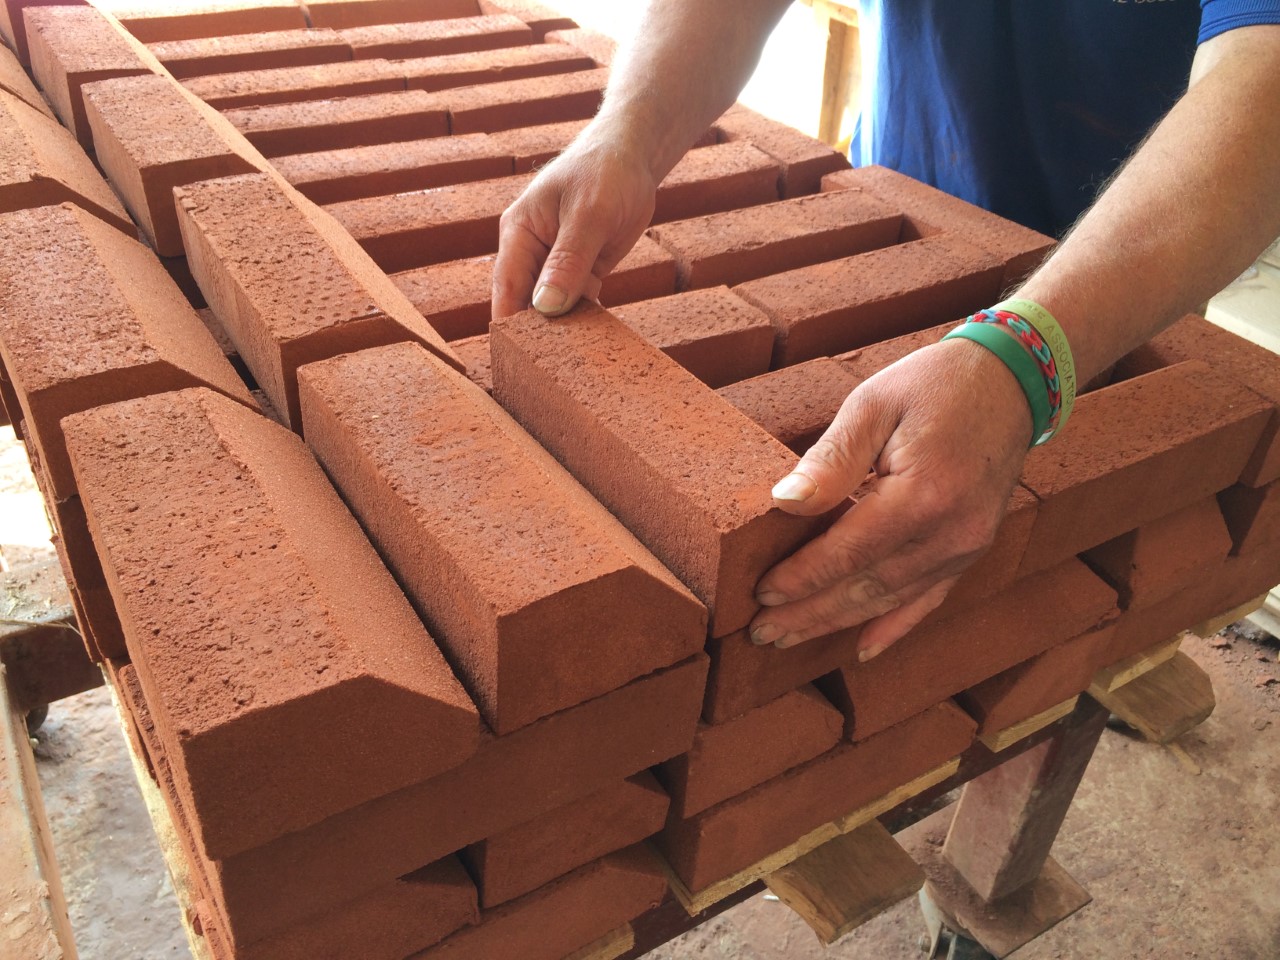
- Brick: Select a high-quality brick with a smooth and even surface. The size and color of the brick will depend on your personal preference and the intended use of the engraved brick.
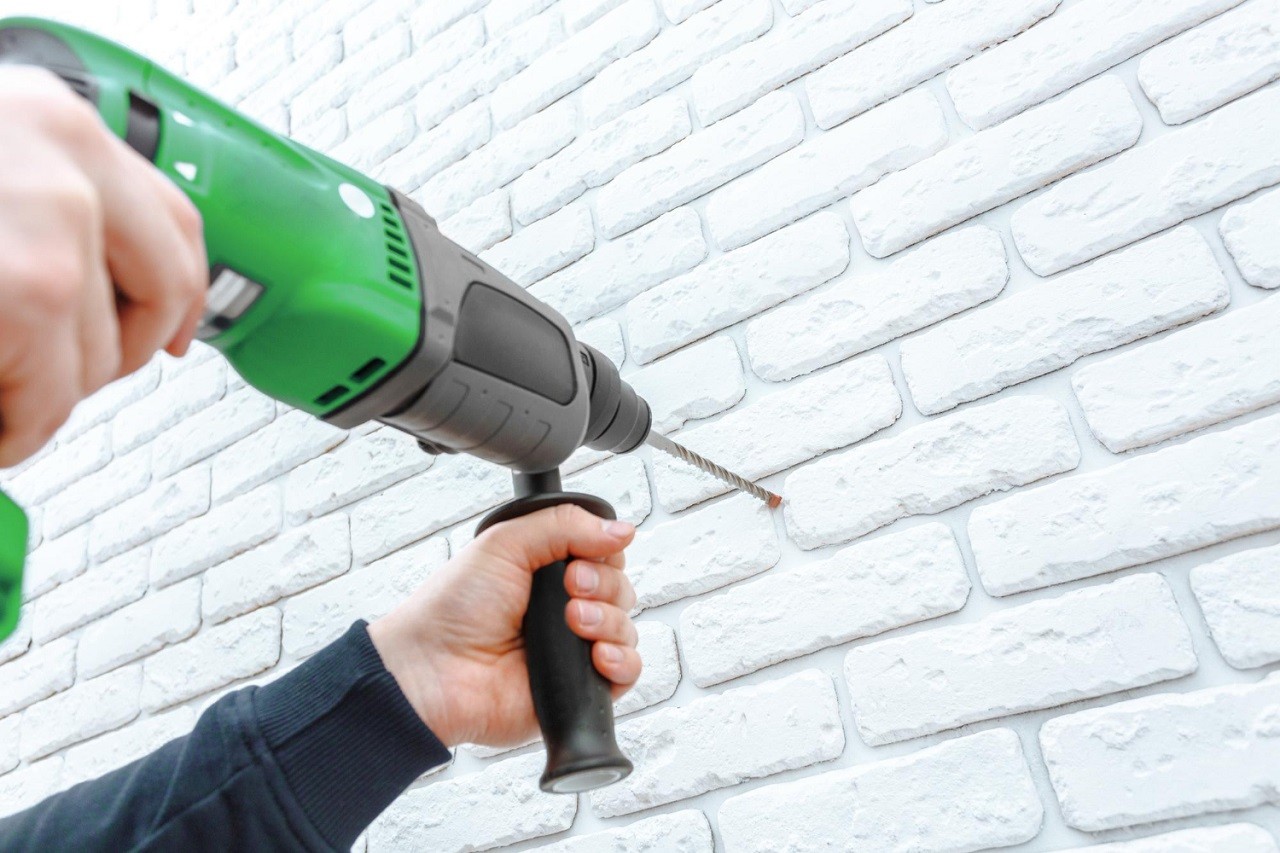
- Engraving Tool: Invest in a reliable engraving tool, such as a rotary tool with a diamond-tip engraving bit. This tool will be the key to creating precise and intricate designs on the brick’s surface.
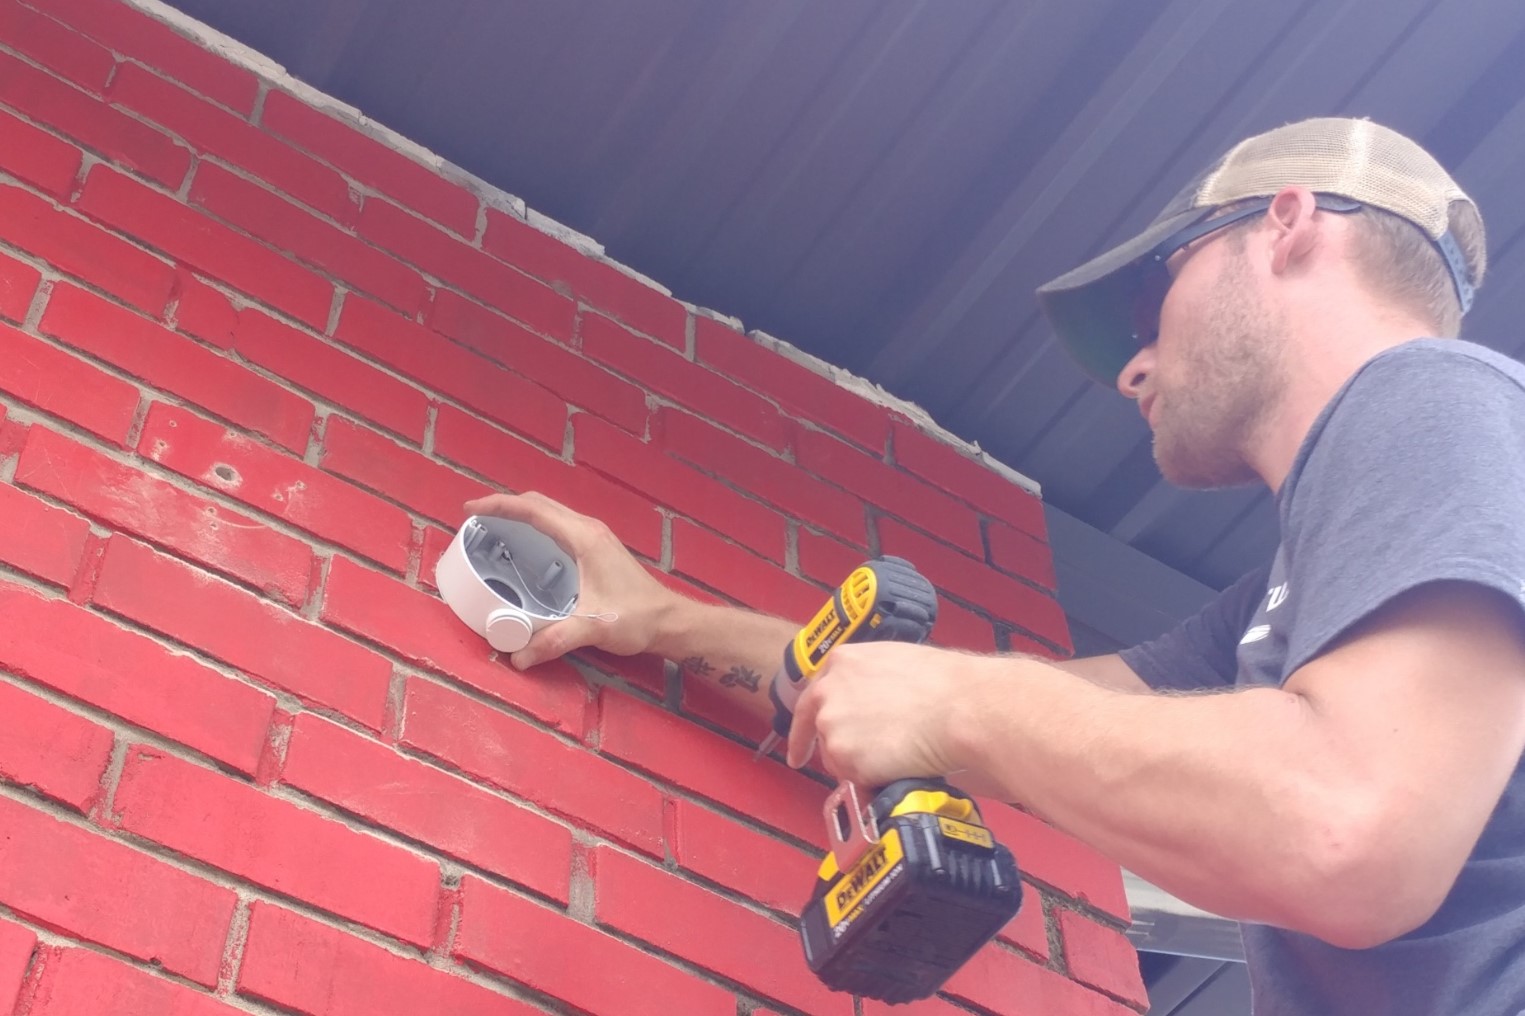
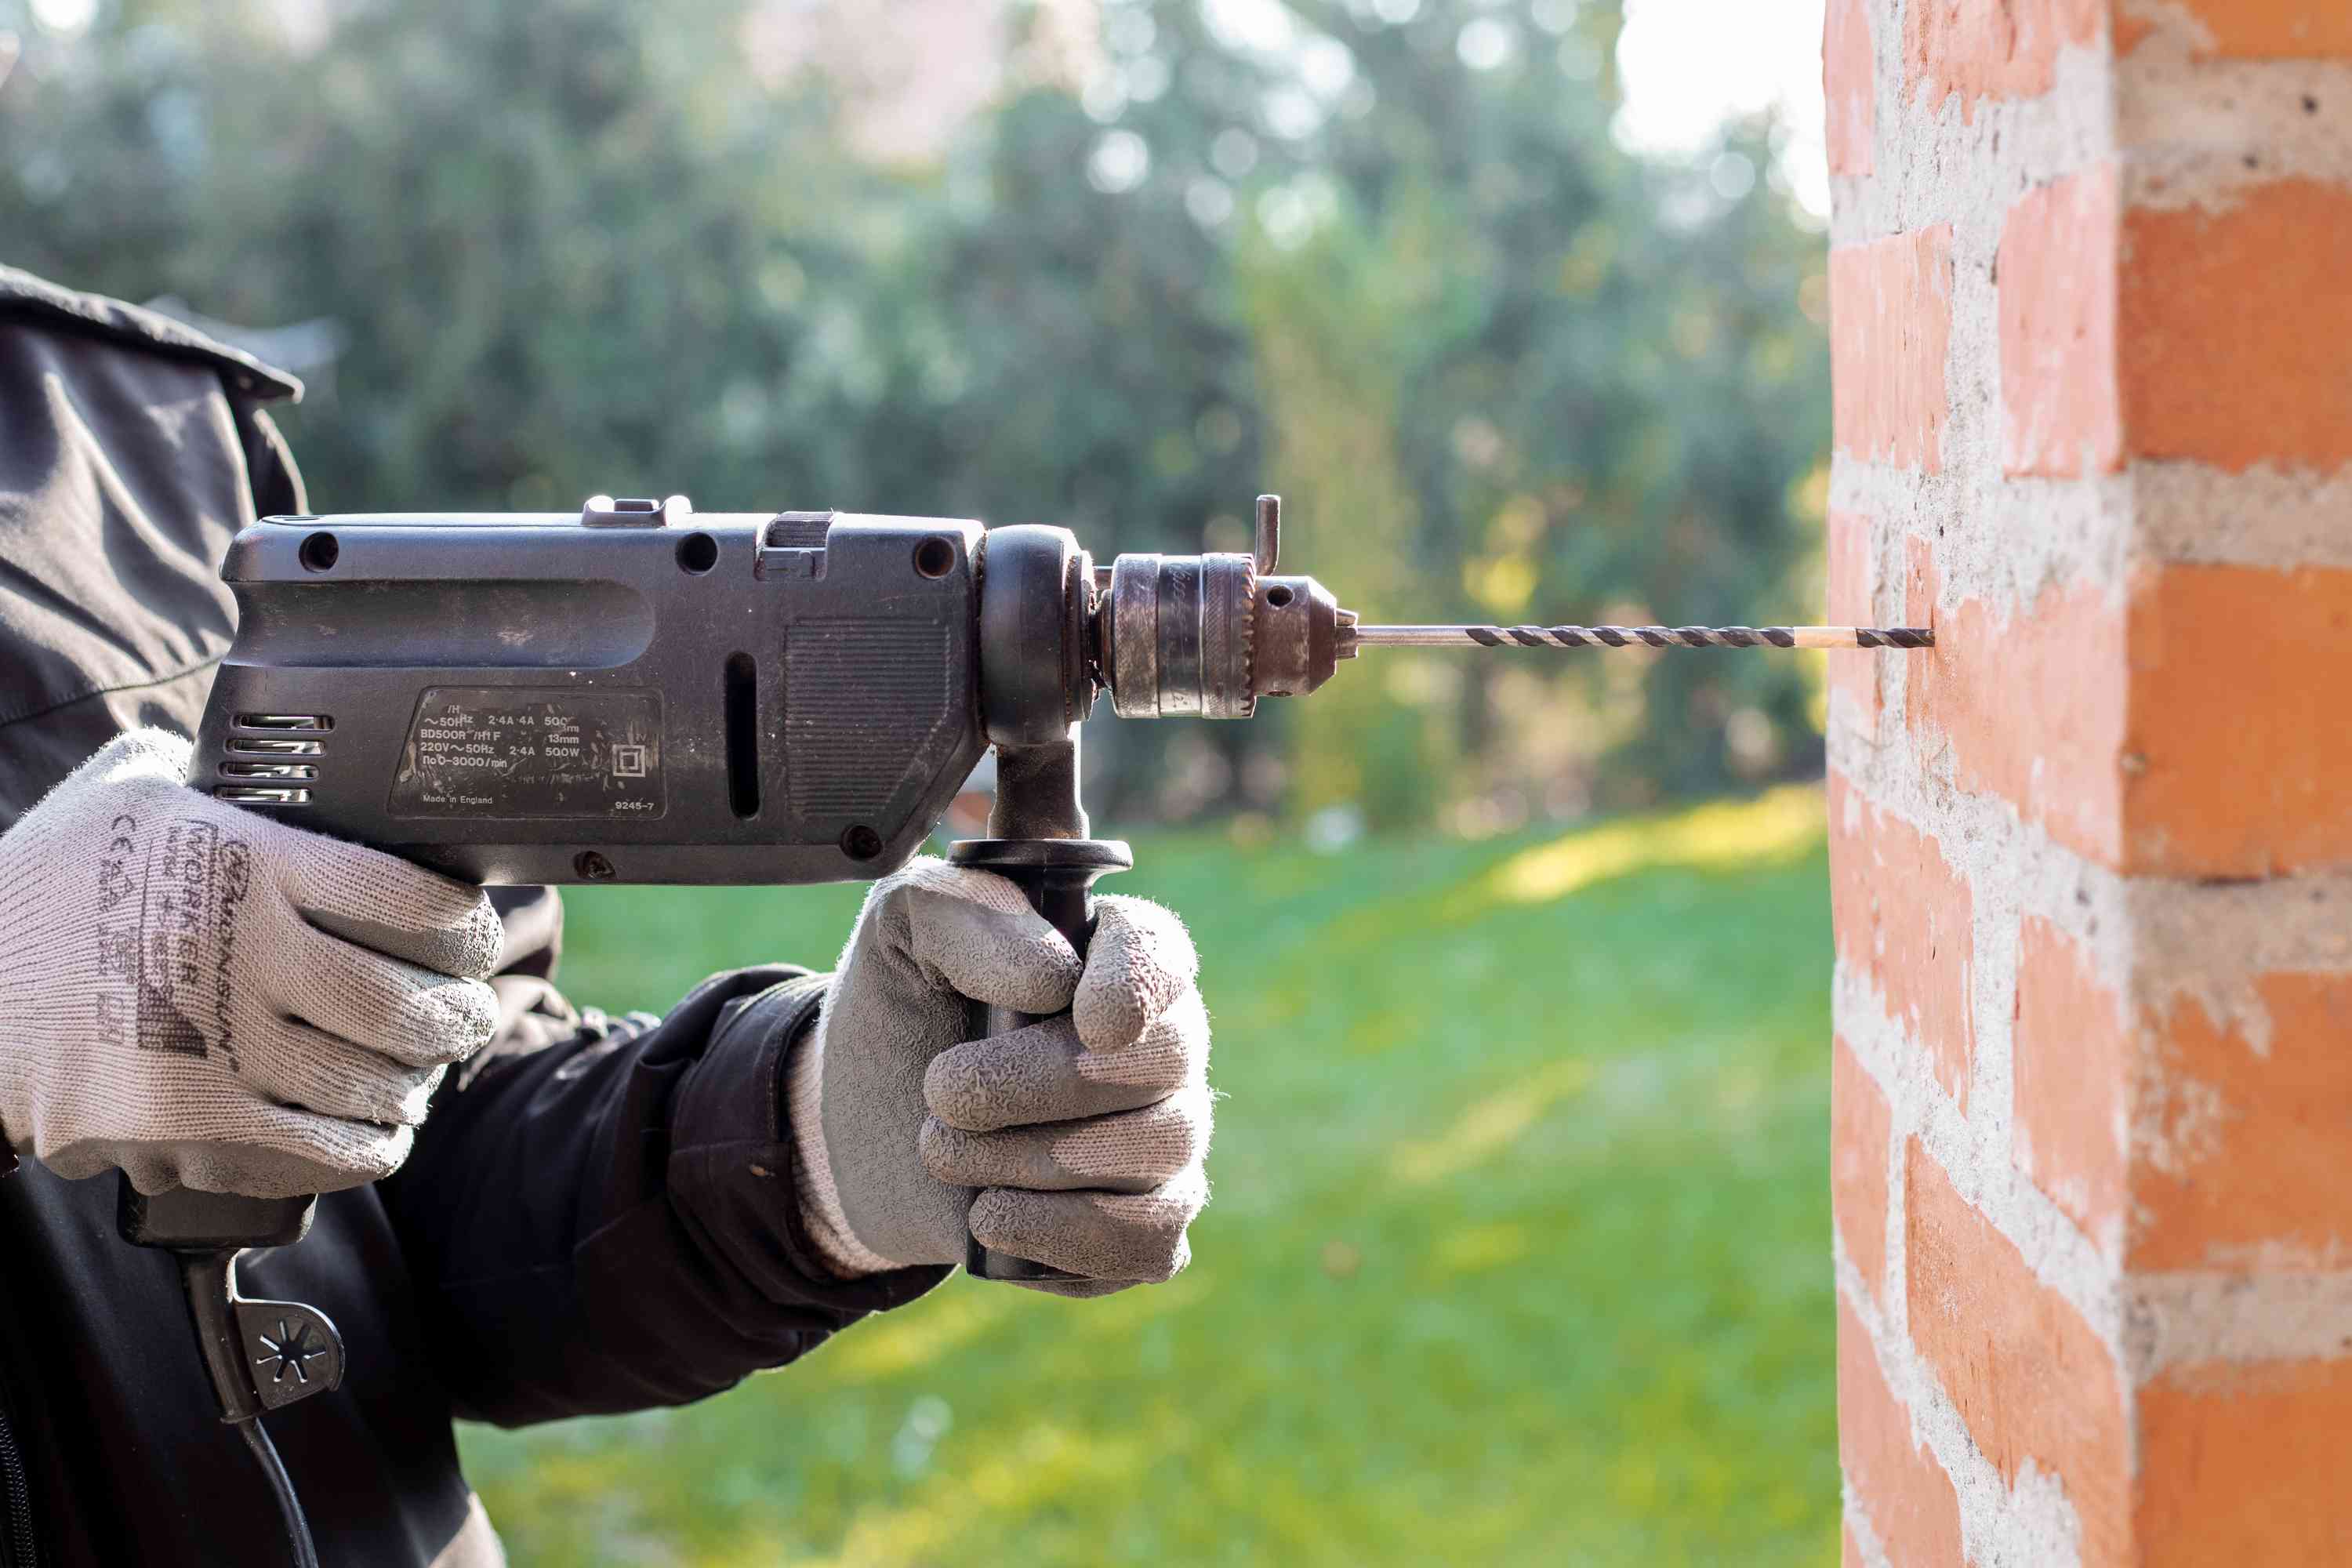
- Protective Gear: Safety should always be a top priority. Equip yourself with safety goggles, a dust mask, and gloves to shield against airborne particles and debris generated during the engraving process.
- Design Template: If you plan to engrave a specific design, consider creating a design template or stencil. This can be made of paper, cardboard, or a reusable material such as plastic or metal, depending on the complexity of the design.
- Cleaning Supplies: Keep cleaning supplies handy to remove dust and debris from the brick’s surface before and after engraving. A soft brush, mild detergent, and a cloth for wiping will suffice.
- Protective Sealant (Optional): Depending on the brick’s intended use and the engraving location, you may consider applying a protective sealant to safeguard the engraved design from weathering and environmental elements.
By ensuring that you have these essential materials at your disposal, you’ll be well-prepared to embark on your brick engraving journey with confidence and creativity.
Preparing the Brick
Before diving into the engraving process, it’s crucial to properly prepare the brick to ensure optimal results. Follow these steps to prepare the brick for engraving:
- Selecting the Right Brick: Choose a brick with a smooth and even surface, as this will facilitate the engraving process and enhance the clarity of the design. Additionally, consider the color and size of the brick based on your aesthetic preferences and the intended location of the engraved brick.
- Cleaning the Surface: Thoroughly clean the surface of the brick to remove any dirt, dust, or debris. Use a soft brush to gently scrub the brick, and consider using a mild detergent if the surface is particularly soiled. Rinse the brick with water and allow it to dry completely before proceeding.
- Marking the Engraving Area: Use a pencil or masking tape to outline the area on the brick where you intend to engrave the design. This step will help you visualize the placement of the design and ensure that it fits the desired space on the brick’s surface.
- Securing the Brick: To prevent the brick from shifting or moving during the engraving process, place it on a stable and flat surface. If necessary, use clamps or a non-slip mat to secure the brick in place, ensuring stability and precision during engraving.
By meticulously preparing the brick for engraving, you’ll create an ideal foundation for the upcoming design phase. Taking the time to properly clean and secure the brick will contribute to the overall success and visual impact of your engraved masterpiece.
Designing the Engraving
Once the brick is meticulously prepared, it’s time to delve into the creative process of designing the engraving. Whether you’re envisioning a meaningful inscription, a decorative motif, or a personalized graphic, the design phase is where your artistic vision comes to life. Here’s how to approach the design process for your brick engraving:
- Choosing the Design: Consider the purpose and sentiment behind the engraved brick. Are you commemorating a special date, celebrating a loved one, or simply adding a decorative touch to your space? Your design should reflect the intended message and resonate with its surroundings.
- Creating a Template: If you have a specific design in mind, consider creating a template or stencil to transfer the design onto the brick’s surface. This can be achieved by sketching the design on paper and carefully cutting it out to serve as a guide for the engraving process.
- Adapting to the Surface: Keep in mind the texture and size of the brick’s surface as you finalize the design. Certain intricate details may need to be adjusted to suit the characteristics of the brick, ensuring that the engraving will translate effectively onto the chosen canvas.
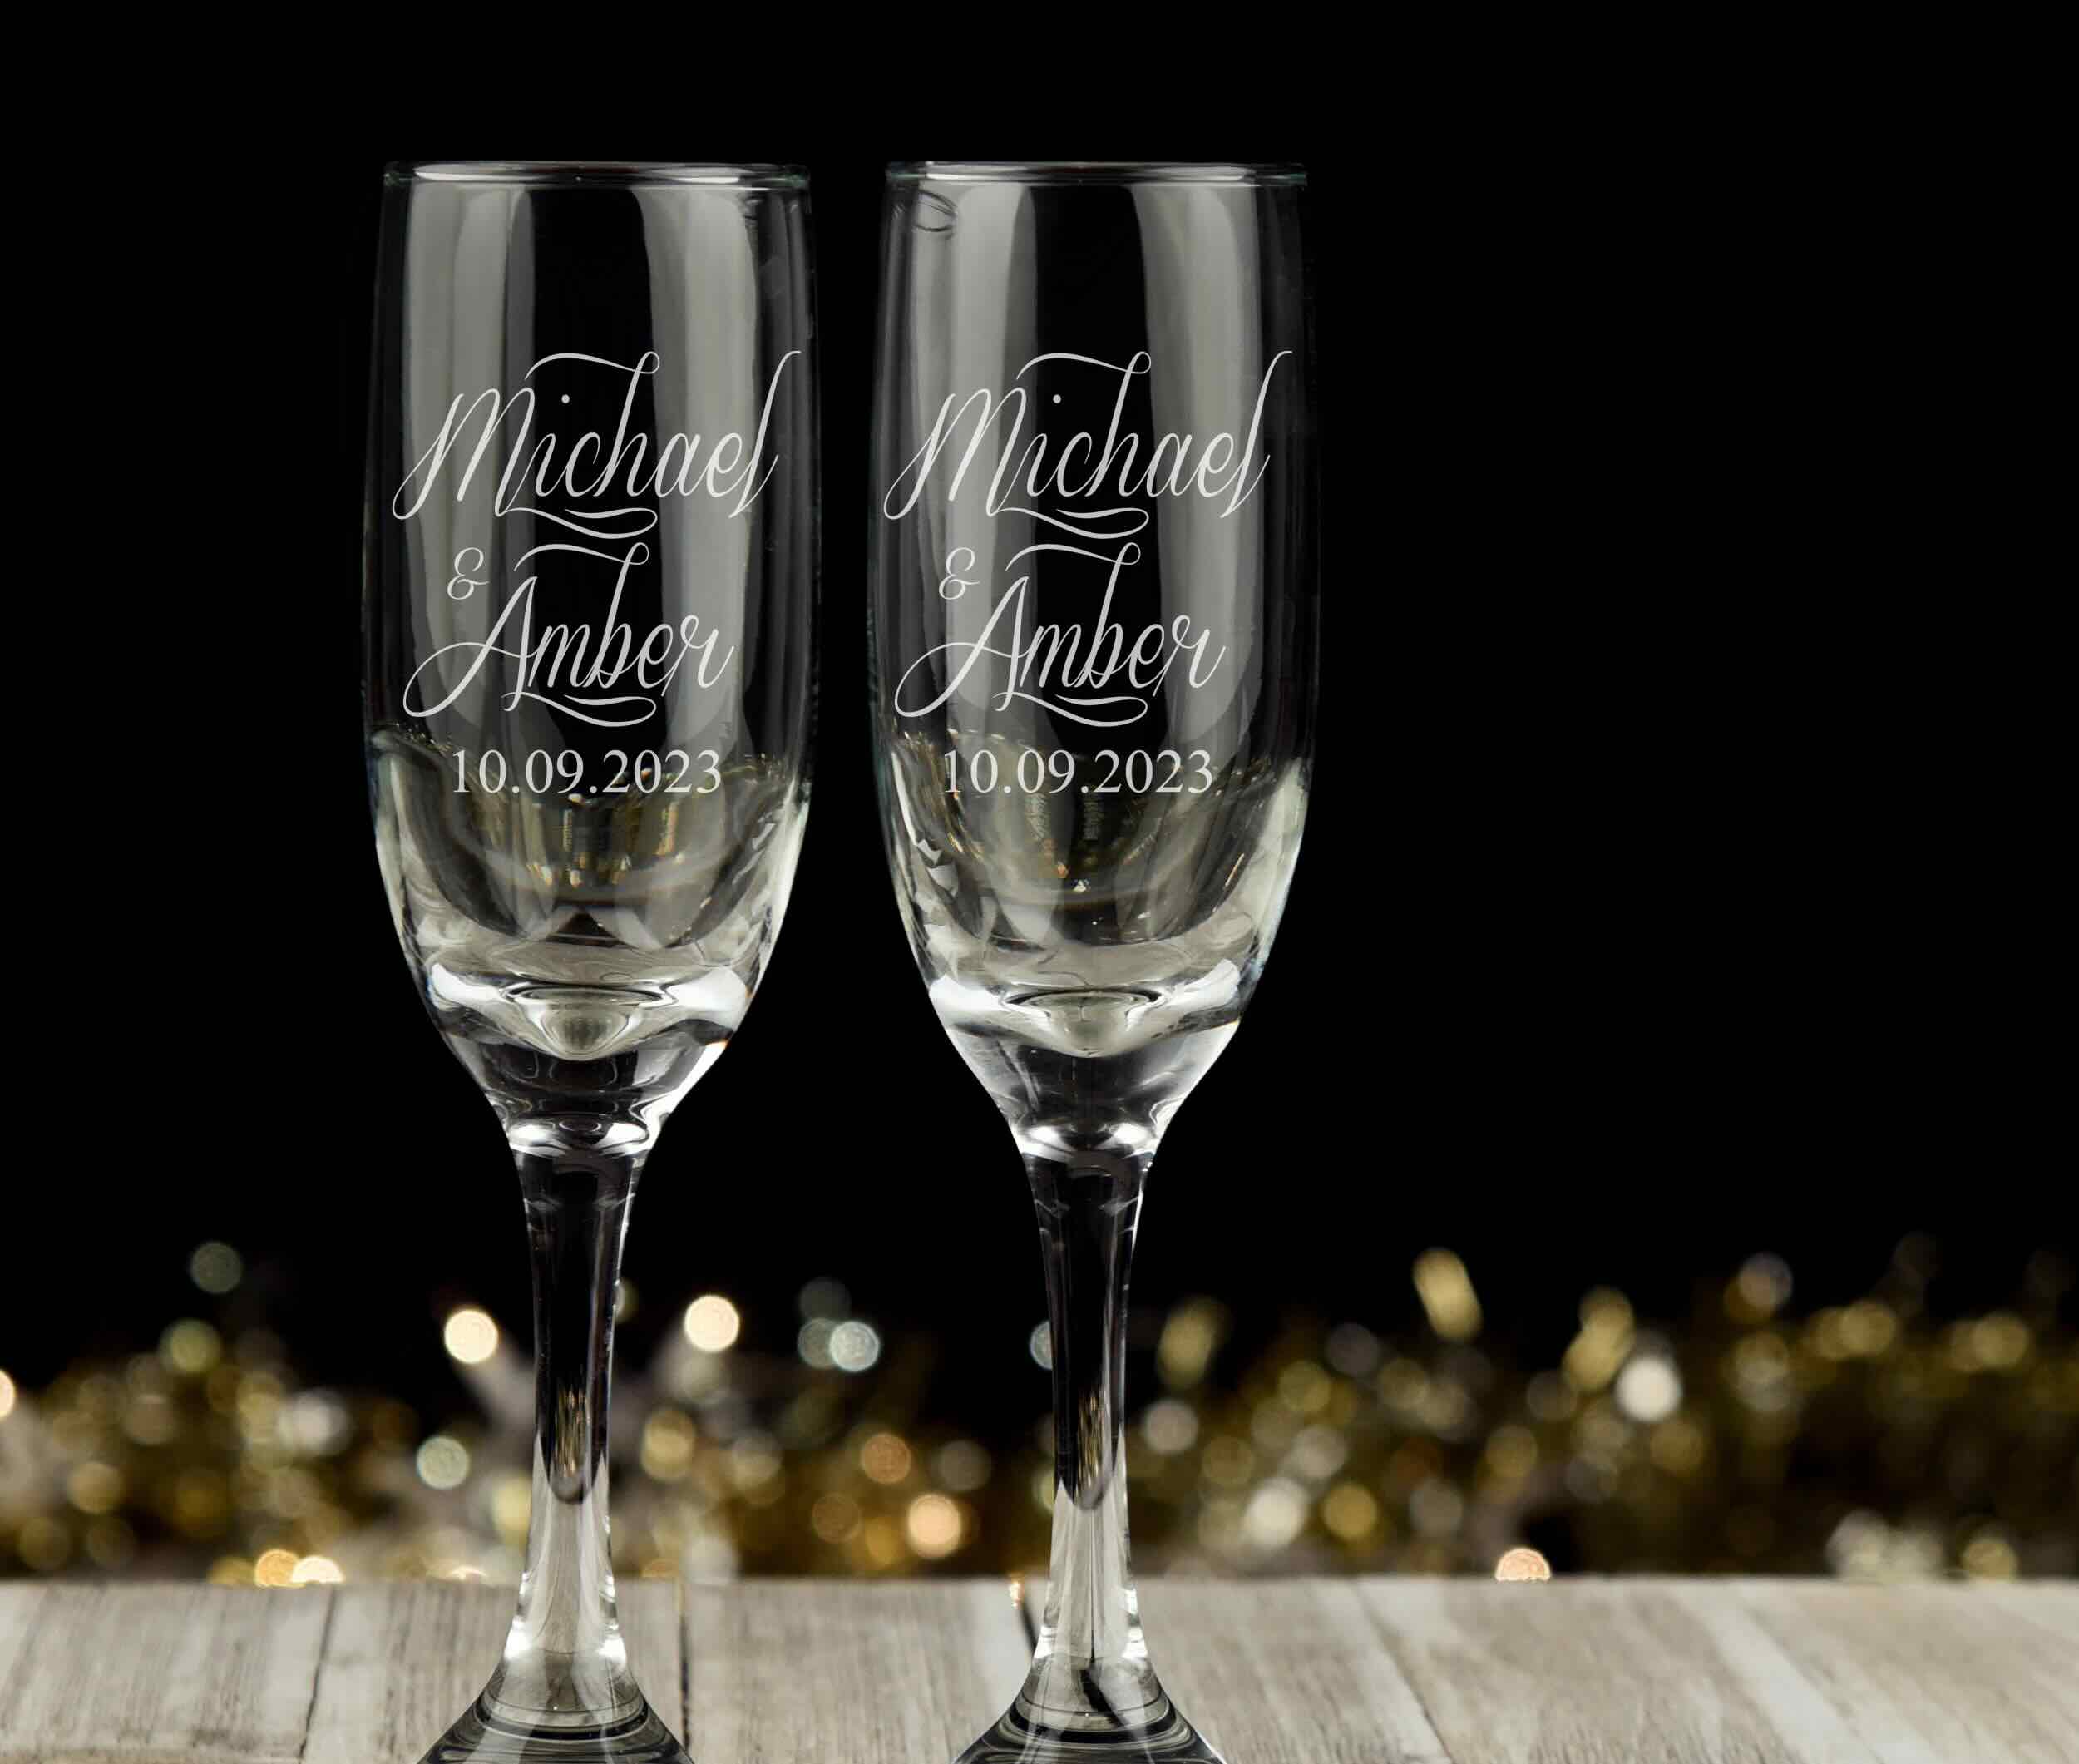
- Personalizing the Details: Infuse the design with personal touches and meaningful elements that hold significance to you or the intended recipient. Whether it’s a favorite quote, a symbol of remembrance, or a representation of shared memories, personalization adds depth and emotional resonance to the engraved brick.
Approach the design phase with creativity and thoughtfulness, allowing your imagination to guide the creation of a design that will etch itself into the heart of the brick and the lives it touches.
Use a chisel and hammer to carefully carve your design into the brick. Start with a light touch and gradually increase pressure. Wear safety goggles and work in a well-ventilated area.
Engraving the Brick
With the design firmly in place, it’s time to bring it to life through the art of engraving. This phase requires precision, patience, and a steady hand as you etch the chosen design onto the brick’s surface. Follow these steps to effectively engrave the brick:
- Setting Up the Engraving Tool: Ensure that the engraving tool is securely fitted with the appropriate engraving bit. Adjust the speed and depth settings of the tool based on the hardness of the brick and the intricacy of the design.
- Testing on a Sample Surface: Before engraving the actual design, practice on a spare brick or a discreet area of the chosen brick to familiarize yourself with the tool’s handling and the impact of different pressure levels. This step will help refine your technique and build confidence before proceeding to the main engraving.
- Following the Design Template: If you created a design template or stencil, use it as a guide to trace the outline of the design onto the brick’s surface. Take your time and maintain a steady hand to ensure accuracy and consistency throughout the engraving process.
- Navigating Intricate Details: Pay special attention to intricate details and fine lines within the design. Adjust the pressure and speed of the engraving tool as needed to capture the nuances of the design with precision and clarity.
- Periodic Cleaning and Inspection: Throughout the engraving process, periodically clean the engraved area to remove debris and assess the progress of the design. This will help maintain visibility and prevent buildup that may interfere with the engraving precision.
As you embark on the journey of engraving the brick, embrace the meditative rhythm of the process and allow the design to gradually emerge, etched in permanence on the resilient canvas of the brick.
Read more: How To Engrave Glass
Finishing Touches
With the engraving process complete, the final phase involves adding the finishing touches to enhance the visual impact and longevity of the engraved brick. These steps will ensure that your masterpiece is not only visually striking but also well-protected for years to come:
- Cleaning the Engraved Surface: Use a soft brush or cloth to gently remove any residual dust or debris from the engraved area. Ensure that the design is free from any particles that may detract from its clarity and definition.
- Applying a Protective Sealant (Optional): Depending on the intended use and exposure of the engraved brick, consider applying a protective sealant to safeguard the design from environmental elements. Choose a sealant specifically formulated for masonry surfaces and follow the manufacturer’s instructions for optimal application.
- Inspecting and Touching Up: Carefully inspect the engraved design to identify any areas that may require touch-ups or refinement. Use the engraving tool to address any inconsistencies or fine-tune details, ensuring that the design is cohesive and visually captivating.
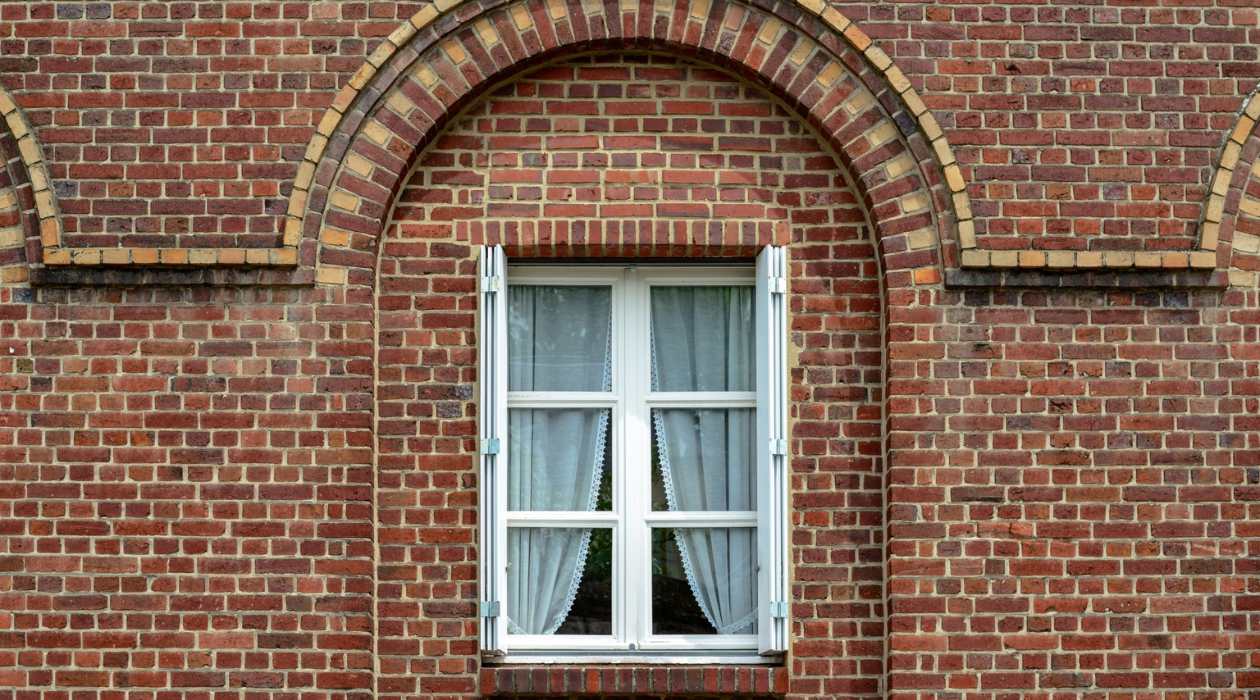
- Displaying or Installing the Engraved Brick: Once the finishing touches are complete, determine the ideal placement for the engraved brick. Whether it’s nestled within a garden, adorning a fireplace, or displayed on a mantle, choose a location that accentuates the significance and beauty of the engraved design.
By attending to these finishing touches, you’ll elevate the engraved brick from a mere surface etching to a cherished and enduring creation that enriches its surroundings with meaning and artistry.
Conclusion
Congratulations on completing your journey into the art of DIY brick engraving! Through meticulous preparation, creative design, precise engraving, and thoughtful finishing touches, you’ve transformed a simple brick into a personalized masterpiece that carries meaning and beauty. Whether you’ve engraved a heartfelt message, a decorative motif, or a commemorative symbol, your creation now stands as a testament to your creativity and craftsmanship.
As you admire the finished engraved brick, take a moment to appreciate the timeless allure of this enduring art form. Each stroke of the engraving tool has imbued the brick with a story, a memory, or a sentiment that will resonate for years to come. Whether the engraved brick finds its place in your home, garden, or as a cherished gift, it will serve as a tangible reminder of the care and dedication invested in its creation.
Furthermore, the skills and knowledge gained from this endeavor can inspire future projects and spark a passion for exploring the possibilities of DIY craftsmanship. The art of brick engraving is not only a creative outlet but also a means of expressing individuality and leaving a lasting mark on the world.
As you reflect on your brick engraving experience, consider the endless potential for creativity and personal expression that awaits in the realm of DIY craftsmanship. Whether it’s engraving additional bricks, exploring new artistic endeavors, or sharing your newfound expertise with others, the journey doesn’t end here—it merely unveils new horizons of creativity and self-expression.
So, as you marvel at the engraved brick that now bears your unique imprint, remember that the art of DIY brick engraving is a testament to the transformative power of creativity and the enduring legacy of craftsmanship.
Frequently Asked Questions about How To Engrave A Brick At Home
Was this page helpful?
At Storables.com, we guarantee accurate and reliable information. Our content, validated by Expert Board Contributors, is crafted following stringent Editorial Policies. We're committed to providing you with well-researched, expert-backed insights for all your informational needs.


0 thoughts on “How To Engrave A Brick At Home”