Tableware
How To Finish A Dining Table
Modified: March 2, 2024
Discover the perfect way to finish your dining table with our expert tips on tableware, ensuring a stunning and elegant presentation for your meals.
(Many of the links in this article redirect to a specific reviewed product. Your purchase of these products through affiliate links helps to generate commission for Storables.com, at no extra cost. Learn more)
Introduction
Welcome to the world of tableware! When it comes to setting a beautiful table, a well-finished dining table plays a crucial role. Whether you have just purchased a new dining table or looking to revive an old one, the process of finishing it can be both exciting and rewarding. The right finish not only enhances the overall aesthetic appeal of the table but also protects it from daily wear and tear.
Finishing a dining table involves a series of steps that ensure a smooth, durable, and visually appealing surface. From preparing the table for finishing to applying the final coat, each step in the process contributes to the overall outcome. In this article, we will take you through a comprehensive guide on how to finish a dining table, providing you with the knowledge and skills to breathe new life into your table.
Before we dive into the step-by-step process, let’s gather all the necessary tools and materials that you will need:
- A dining table
- Protective gloves
- Safety goggles
- Sanding block or sandpaper (medium and fine grit)
- A primer suitable for your chosen finish
- Paintbrushes or foam brushes
- Stain or paint (depending on your desired finish)
- Clear topcoat or varnish
- Screwdriver or drill (if needed for disassembly)
Now that you have all the tools and materials ready, let’s move on to preparing the dining table for finishing.
Key Takeaways:
- Transform your dining table into a stylish centerpiece by following a step-by-step guide to finishing. Enhance its beauty, durability, and personal style for memorable gatherings and cherished moments.
- Embrace the rewarding process of finishing your dining table, adding depth, character, and protection. Create a warm and inviting space for family meals, celebrations, and meaningful conversations.
Step 1: Gather the necessary tools and materials
Before you begin the process of finishing your dining table, it is essential to have all the tools and materials readily available. This will ensure a smooth and uninterrupted workflow. Here’s a comprehensive list of everything you will need:
- Dining table: Choose a table that you would like to finish or refinish. It can be a new table or an existing one that needs a fresh look.
- Protective gloves: Wear gloves to protect your hands from any chemicals or finishes that you will be working with.
- Safety goggles: Safety goggles are essential to protect your eyes from any dust particles or splatters during the sanding and finishing process.
- Sanding block or sandpaper: Use a sanding block or sandpaper with medium and fine grit to smooth out any imperfections on the table’s surface.
- Primer: Choose a suitable primer based on the finish you have in mind. The primer helps to create a smooth and even surface for the final finish.
- Paintbrushes or foam brushes: These will be used to apply the primer and the final finish to the table. Ensure that you have brushes of different sizes for better control and coverage.
- Stain or paint: Depending on your desired finish, you can choose between a stain or paint. Stains enhance the natural beauty of the wood, while paints offer a wide range of color options.
- Clear topcoat or varnish: A clear topcoat or varnish provides a protective layer and adds durability to the finish. It also gives the table a smooth and glossy appearance.
- Screwdriver or drill: If needed, have a screwdriver or drill ready to disassemble any removable parts of the dining table for easier refinishing.
Having all these tools and materials at hand will ensure that you can proceed with the finishing process smoothly and efficiently.
Step 2: Prepare the dining table for finishing
Before you can start applying the finish to your dining table, it is crucial to properly prepare the surface. This ensures that the finish adheres well and provides a smooth and flawless final result. Follow these steps to prepare your dining table for finishing:
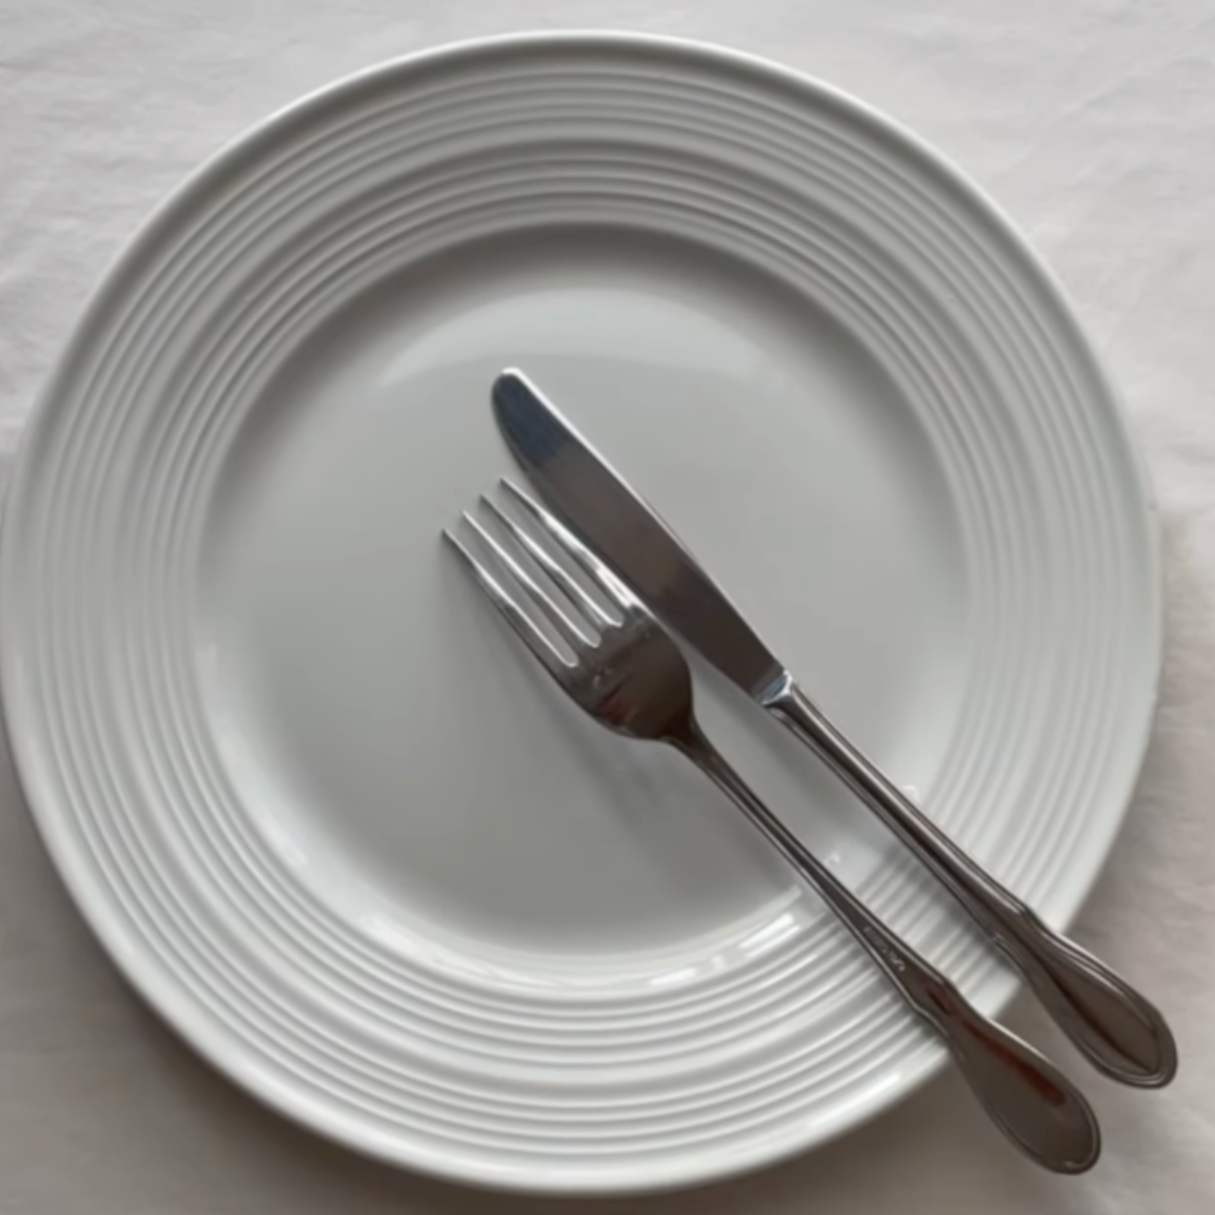
- Clear the table: Remove any items, such as dishes, cutlery, and decorations, from the table. This will make the preparation process easier and prevent any potential damage to your belongings.
- Clean the surface: Use a mild soap and warm water solution to clean the table surface. This will remove any dirt, grease, or stains that may have accumulated over time. Thoroughly dry the table afterward.
- Inspect for damages: Carefully examine the table for any damages, such as scratches, dents, or loose parts. If you find any issues, make necessary repairs or adjustments before proceeding with the finishing process.
- Sand the table: Using a sanding block or sandpaper with medium grit, gently sand the entire surface of the table. This will smooth out any rough spots, imperfections, or previous finishes. Sanding also helps the new finish adhere better to the wood.
- Remove dust: After sanding, thoroughly clean the table to remove all the dust particles. You can use a tack cloth or a damp cloth to wipe down the surface and ensure it is free from any debris that could affect the finish.
- Protect surrounding areas: If you are working indoors, it is essential to protect the surrounding area from any potential spills or drips. Lay down a drop cloth or plastic sheeting to safeguard the floor or furniture nearby.
By following these steps, you will have effectively prepared your dining table for the finishing process. This ensures that the surface is clean, smooth, and ready to receive the primer and final finish.
Step 3: Sand the table surface
Once you have prepared the dining table by cleaning and inspecting it, the next step is to sand the table surface. Sanding helps to smooth out imperfections, remove any previous finishes, and create a clean and even surface for the new finish to adhere to. Follow these steps to sand your dining table:
- Select the appropriate grit: Depending on the condition of your table and the desired level of smoothness, choose the appropriate sandpaper grit. Start with medium grit (around 120-150) for initial sanding and then switch to fine grit (around 220-240) for a final smooth finish.
- Sand in the direction of the grain: Always sand the table in the direction of the wood grain. This ensures a smoother and more even result. Use long, even strokes and apply light to moderate pressure.
- Keep the sandpaper flat: To achieve an even sanding surface, keep the sandpaper flat against the table. Avoid tilting or angling the sandpaper, as this can result in an uneven finish.
- Pay attention to edges and corners: Make sure to sand the edges and corners of the table as well. Be careful not to sand too aggressively in these areas to avoid rounding the edges or creating unevenness.
- Check the progress regularly: Stop sanding periodically to check the progress. Wipe away the dust and feel the surface with your hand. Continue sanding until the surface feels smooth to the touch and all imperfections have been removed.
- Remove dust after sanding: After sanding, use a tack cloth or a slightly damp cloth to remove the dust particles from the table. This ensures a clean surface for the next steps of the finishing process.
Remember, the goal of sanding is to create a smooth and even surface. Take your time and be thorough in this step to achieve the best results. Once the table surface is properly sanded, you are ready to move on to the next step, which is applying a primer.
Step 4: Apply a primer
After sanding the table surface, it is essential to apply a primer before applying the final finish. Priming serves as a base coat that helps the finish adhere better to the wood and provides a uniform surface for a smoother and more professional-looking result. Follow these steps to apply a primer to your dining table:
- Choose the right primer: Select a primer that is suitable for the type of finish you plan to use. There are primers specifically designed for different types of finishes, such as paint or stain. Consult the manufacturer’s instructions or seek advice from a professional to ensure you choose the appropriate primer.
- Prepare the primer: Depending on the specific primer you have chosen, follow the instructions on the packaging to prepare it for application. This may involve stirring or shaking the primer to ensure it is well-mixed.
- Apply the primer: Using a paintbrush or foam brush, apply an even coat of primer to the entire surface of the dining table. Work in the direction of the wood grain for a smoother finish. Be sure to cover all areas, including the edges and corners.
- Allow the primer to dry: Follow the recommended drying time provided by the primer manufacturer. It is important to allow the primer to dry completely before proceeding with the next steps. This typically takes a few hours, but refer to the specific instructions for accurate drying time.
- Inspect for any imperfections: After the primer has dried, inspect the surface of the table for any imperfections or areas that may require additional priming. If necessary, lightly sand those areas and apply a second coat of primer. This will ensure an even and consistent base for the final finish.
- Clean up: Once you have finished applying the primer, clean your brushes and any other tools used with soap and water or according to the manufacturer’s instructions. Properly dispose of any unused or excess primer according to local regulations.
Applying a primer is a crucial step in the finishing process as it helps to create a smooth and consistent surface for the final finish. Taking the time to prime your dining table will contribute to the longevity and overall appearance of the finished product. Once the primer has dried and any necessary touch-ups have been made, you are ready to move on to the next step – choosing the desired finish.
Step 5: Choose the desired finish
Choosing the right finish for your dining table is an important decision that will impact both its appearance and durability. The finish not only enhances the natural beauty of the wood but also protects it from daily use and spills. There are several options available, including stains, paints, and clear topcoats. Consider the following factors when choosing the desired finish:
- Desired look: Think about the look you want to achieve for your dining table. Do you prefer a natural wood look or a bold and vibrant painted finish? Stains enhance the natural beauty of the wood, while paints offer a wide variety of colors and finishes.
- Compatibility: Ensure that the chosen finish is compatible with the type of wood your dining table is made of. Different finishes work better on specific types of wood, so research and consider what will work best for your table.
- Protection: Consider the level of protection you want for your table. Some finishes offer more resistance to scratches, heat, and water, while others may require additional sealing for added protection.
- Application method: Consider the application method for the chosen finish. Stains and paints can be applied with a brush, foam brush, or sprayer, while topcoats can be applied with brushes or sprayed on. Choose a method that you are comfortable with and matches your desired outcome.
- Personal preference: Ultimately, your personal preference plays a significant role in the choice of finish. Consider your style, the overall aesthetic of the room, and the intended use of the dining table.
Take the time to explore different finishes, gather inspiration, and consider samples or swatches before making a final decision. Once you have selected the desired finish, you can proceed with applying it to your dining table in the next step of the finishing process.
Apply a clear coat of polyurethane to protect the wood and give it a smooth finish. Sand between coats for a professional look.
Step 6: Apply the finish to the dining table
Now that you have chosen the desired finish for your dining table, it’s time to apply it. Applying the finish is where the transformation happens, giving your table its final appearance and protection. Follow these steps to apply the finish to your dining table:
- Prepare the work area: Ensure that the area where you will be applying the finish is well-ventilated and free from any dust or debris. Lay down a drop cloth or plastic sheeting to protect the surrounding surfaces.
- Stir the finish: If using a stain or paint, give it a good stir to ensure that all the contents are well-mixed. This will help achieve a consistent finish.
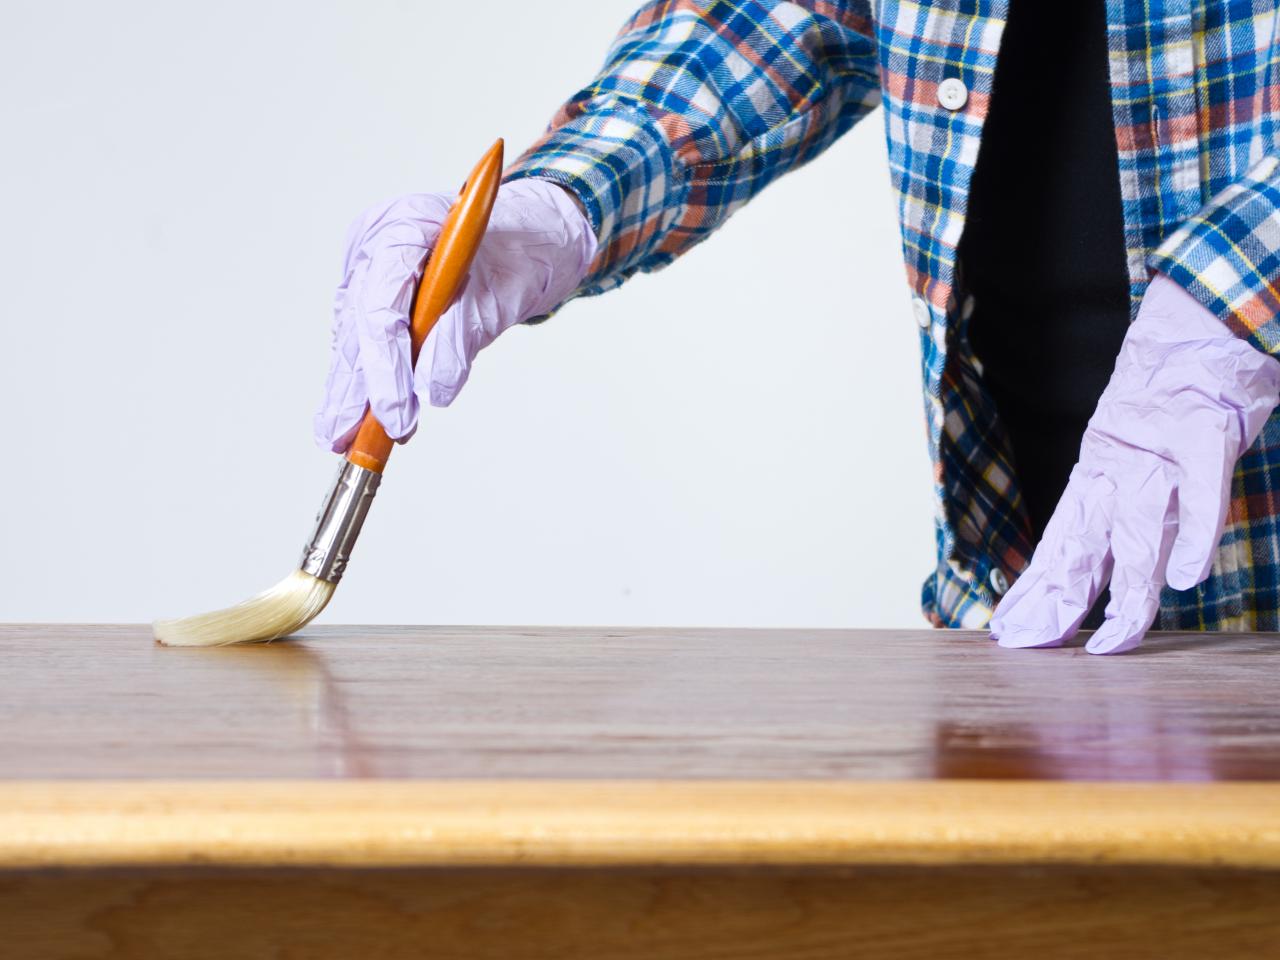
- Apply the finish: Using a brush or a foam brush, start applying the finish to the table surface. Work in small sections, following the direction of the wood grain. Apply an even and smooth coat, ensuring that you cover the entire surface, including the edges and corners.
- Wipe off excess: After applying the finish, take a clean cloth or rag and gently wipe off any excess product. This helps to ensure an even and streak-free finish.
- Allow drying time: Follow the manufacturer’s instructions regarding the drying time for the specific finish you are using. It is crucial to allow proper drying to avoid any unwanted smudging or blemishes.
- Inspect and repeat: Once the first coat is dry, inspect the table surface for any imperfections or areas that may require additional coats. If needed, lightly sand those areas and apply a second coat of finish. Repeat this process until you achieve the desired depth and coverage.
Remember to work diligently and carefully, ensuring an even application of the finish. If using a topcoat, avoid over-brushing, as this can result in visible brush strokes. Take your time and follow the manufacturer’s guidelines for the specific finish you are using.
After applying the final coat, allow the finish to dry and cure fully before using the dining table. The drying and curing time will vary depending on the type of finish and environmental conditions, so be sure to check the instructions provided with your chosen finish.
By following these steps and taking your time with the application process, you’ll be able to achieve a beautifully finished dining table that adds style and protection to your space.
Step 7: Allow the finish to dry and cure
After applying the finish to your dining table, it is crucial to allow it to dry and cure properly. This step ensures that the finish sets and hardens, providing the necessary protection and durability. Follow these guidelines to allow the finish to dry and cure effectively:
- Read the manufacturer’s instructions: Different finishes have varying drying and curing times, so it is essential to refer to the instructions provided by the manufacturer. These instructions will give you the most accurate information regarding the specific finish you are using.
- Provide adequate ventilation: Ensure that the space where the table is drying has proper ventilation. This helps the finish dry more evenly and prevents any build-up of fumes. If necessary, use fans or open windows to promote air circulation.
- Avoid touching or placing items on the table: During the drying and curing process, it is important to avoid touching the surface or placing any items on the table. This can leave marks or imprints on the finish, compromising the final result.
- Be patient: Give the finish sufficient time to dry and cure. Rushing this step can result in a less durable finish that may be prone to damage. It is better to wait longer than necessary to ensure a fully cured finish.
- Monitor the curing process: Keep an eye on the table as it cures. Observe any changes in appearance or texture, and make note of any imperfections that may need touch-ups once the finish has completely cured.
- Follow additional instructions if applicable: Some finishes may require additional steps or recommendations for the curing process. For example, certain finishes may benefit from light sanding between coats or the application of a protective wax layer. Be sure to follow any additional instructions relevant to your chosen finish.
The drying and curing time can vary depending on factors such as humidity, temperature, and the specific finish used. It is recommended to wait at least 24 to 48 hours for the finish to dry before using the dining table. However, for the finish to fully cure and become maximally durable, it may take several days or even weeks.
By allowing the finish to dry and cure properly, you ensure that your dining table is protected and ready to withstand daily use while maintaining its beautiful appearance. Patience during this step will contribute to the longevity and quality of the finished result.
Step 8: Optional: Seal the finish for added protection
While not always necessary, sealing the finish of your dining table can provide an extra layer of protection, especially if the table will be subjected to frequent use, spills, or high levels of wear and tear. Sealing the finish helps to enhance durability and makes it easier to clean and maintain. Follow these steps to seal the finish of your dining table:
- Choose the appropriate sealer: Select a sealer that is recommended for the type of finish you have applied. There are various types, such as polyurethane, lacquer, or wax, that offer different levels of protection and sheen. Consider the specific needs of your table and consult with a professional if unsure.
- Prepare the work area: Just like when applying the finish, prepare a clean and well-ventilated work area. Lay down a drop cloth or plastic sheeting to protect the surrounding surfaces.
- Test the sealer: Before applying the sealer to the entire table, it is a good idea to test it on a small, inconspicuous area of the table or on a scrap piece of wood. This will allow you to see how the sealer interacts with the finish and ensures that you are satisfied with the results.
- Apply the sealer: Using a brush or foam brush, apply an even coat of sealer to the entire surface of the dining table. Work in small sections, and be sure to cover all areas, including the edges and corners. Apply the sealer following the manufacturer’s instructions for best results.
- Allow drying and curing time: Similar to the drying and curing process for the finish, allow the sealer to dry and cure completely. Follow the specific instructions provided by the manufacturer regarding the recommended drying and curing time.
- Inspect and repeat if necessary: Once the sealer has dried, inspect the table surface for any imperfections or areas that may require additional coats. If needed, lightly sand those areas and apply a second coat of sealer. This will further enhance the protection and durability of the finish.
- Allow final curing time: After applying the final coat of sealer, allow sufficient time for it to fully cure. This can take anywhere from a few days to a few weeks, depending on the specific sealer used and the curing conditions.
Sealing the finish on your dining table is an optional step, but it can provide an added layer of protection, keeping your table looking its best for years to come. Consider your specific needs and usage patterns when deciding whether to seal the finish or not.
Once the sealer has fully cured, your dining table is ready to be enjoyed and used with confidence. Regular cleaning and maintenance will help to extend the life of the finish and keep your dining table looking beautiful.
Step 9: Enjoy your beautifully finished dining table
Congratulations! You have successfully completed the process of finishing your dining table, and now it’s time to enjoy the fruits of your labor. Your beautifully finished table will not only enhance the aesthetic of your space but also provide a durable and inviting surface for family meals, gatherings, and special occasions. Here are some final tips to ensure you make the most of your finished dining table:
- Protect and maintain: While the finish on your dining table is designed to withstand everyday use, it is still essential to take steps to protect it. Use coasters, placemats, and trivets to avoid direct contact with hot dishes, liquids, and sharp objects. Regularly clean the table with a soft, damp cloth and avoid using harsh chemicals or abrasive cleaners that can damage the finish.
- Reapply finish if necessary: Over time, the finish on your dining table may start to show signs of wear and tear. If you notice any scratches, stains, or dullness, consider reapplying the finish to restore its beauty and prolong its lifespan. Follow the same steps outlined in the previous sections to sand, apply a new coat of finish, and allow it to dry and cure.
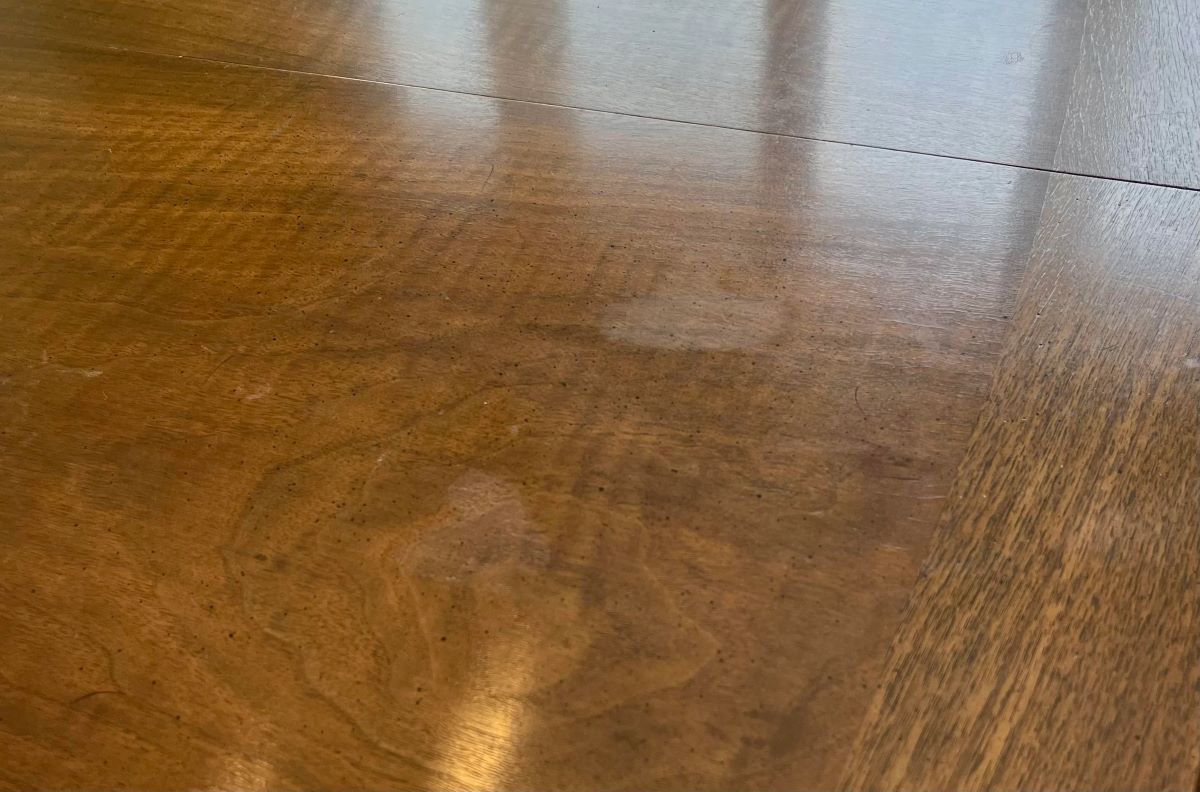
- Embrace the character: Your dining table, with its unique grain patterns and variations, is a testament to the natural beauty of wood. Embrace any imperfections or knots as they add character and authenticity to the table. These nuances make your dining table one-of-a-kind and tell a story of its own.
- Move furniture with care: When moving chairs or other furniture around the table, be cautious to avoid dragging or scratching the surface. Lift and place items gently to prevent any damage to the finish.
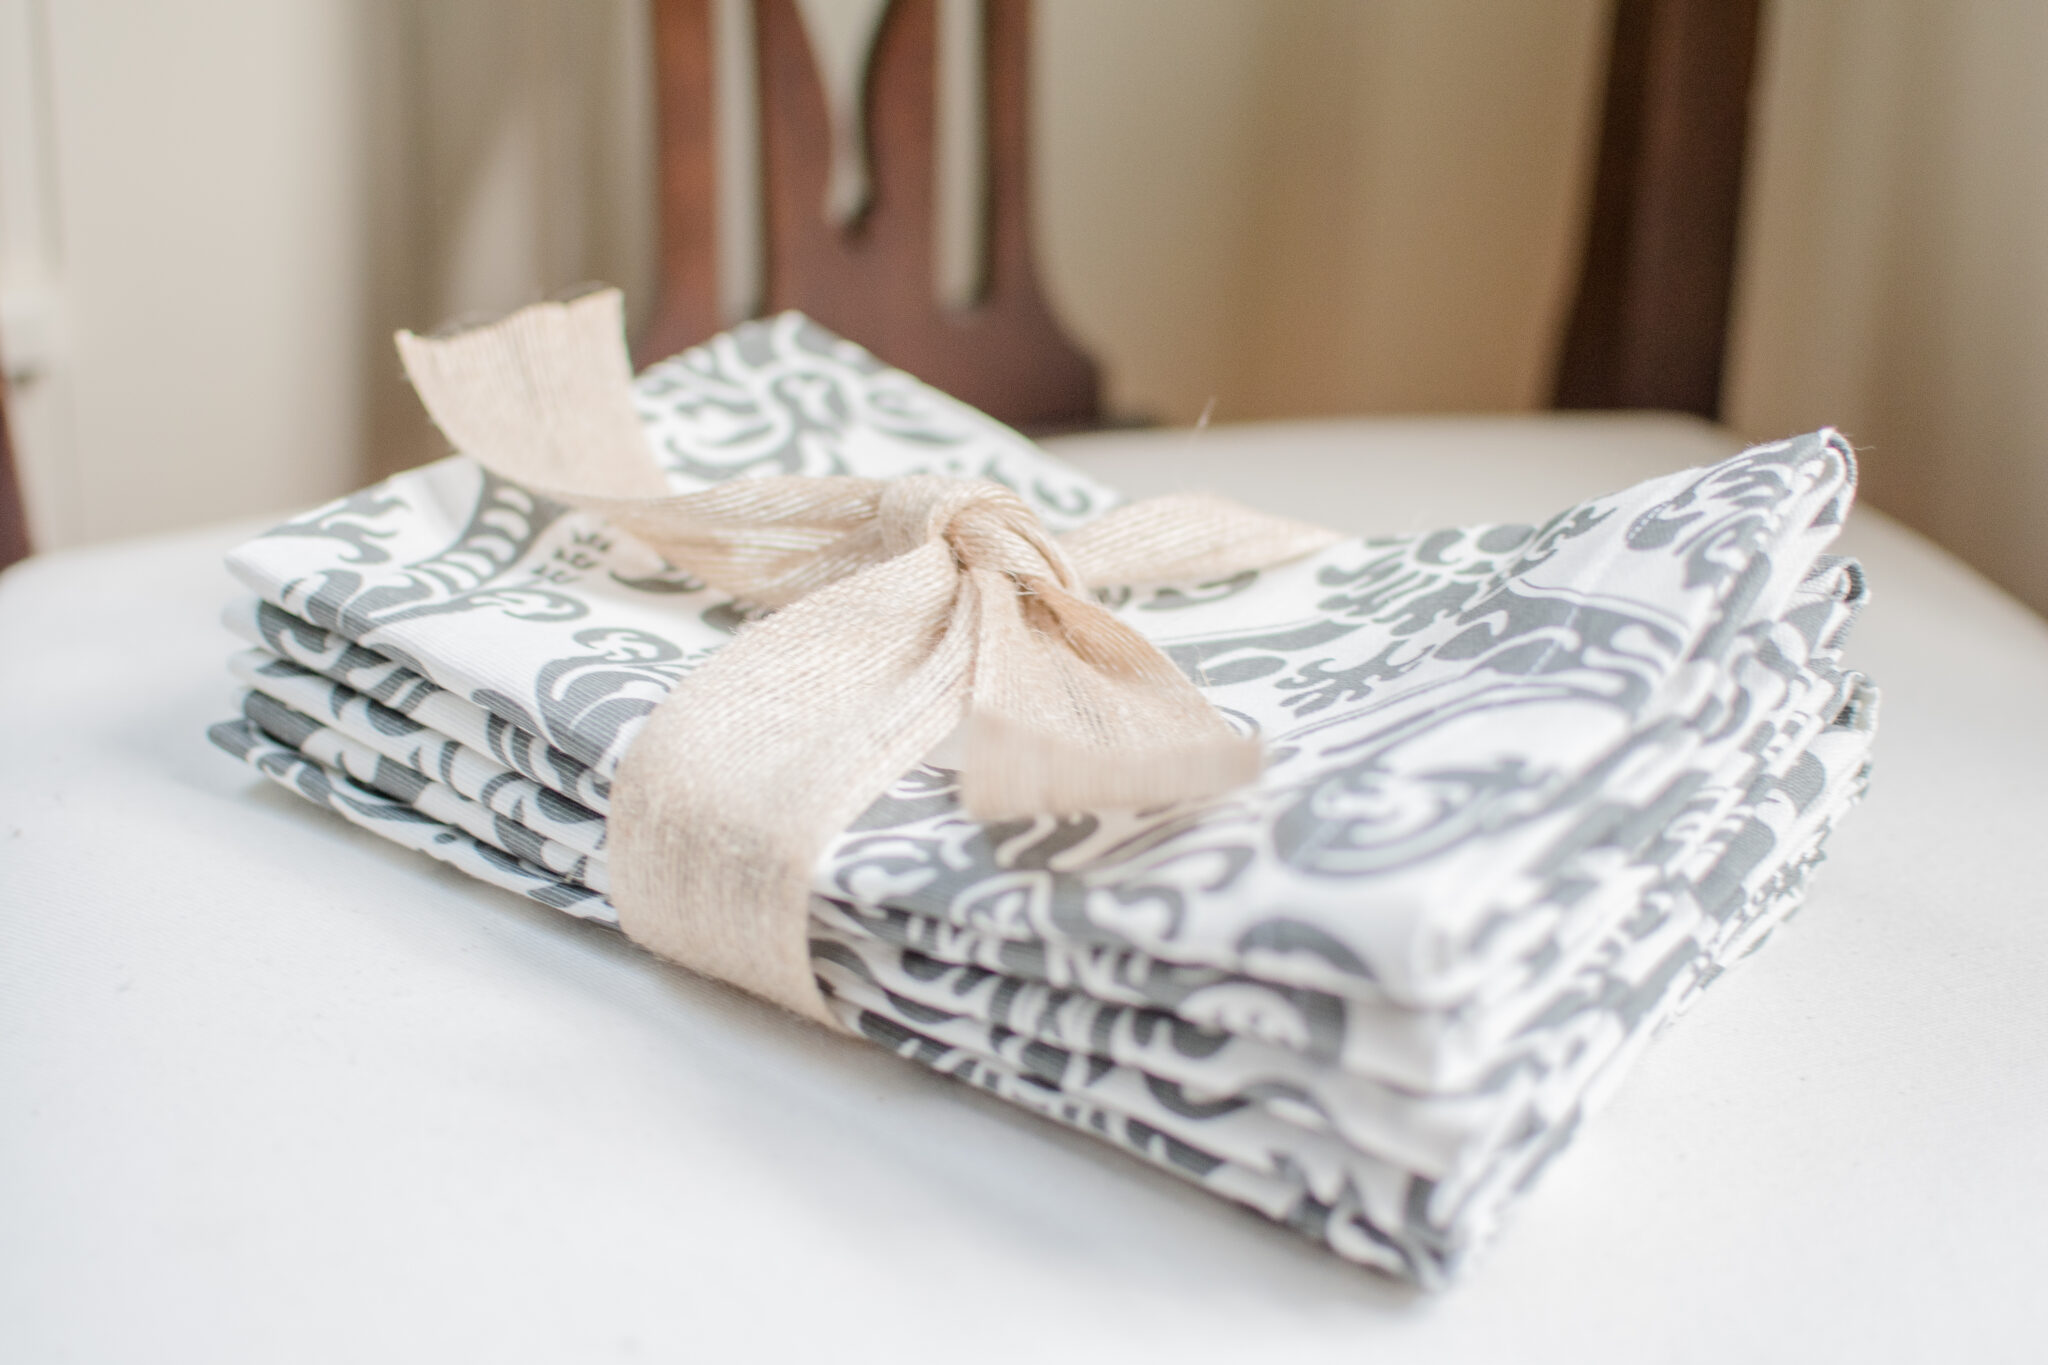
- Showcase your style: Your dining table serves as the centerpiece of your dining area, so take the opportunity to showcase your personal style. Dress it up with beautiful table linens, centerpieces, and dinnerware that complement the overall aesthetic of the room. Let your finished dining table reflect your unique taste and create a welcoming ambiance for your family and guests.
With a well-finished dining table, you have created a space where memories will be made, conversations shared, and meals enjoyed. Take pride in the accomplishment of finishing your table and revel in the joy it brings to your home. Now, gather your loved ones, sit around your beautifully finished dining table, and create cherished moments that will be remembered for years to come.
The finishing process has transformed your dining table into a true centerpiece, inviting admiration and setting the stage for memorable gatherings. Enjoy the beauty and functionality of your new, beautifully finished dining table!
Conclusion
Finishing a dining table is a rewarding and transformative process that allows you to breathe new life into your furniture while enhancing its beauty and durability. By following the step-by-step guide outlined in this article, you have learned how to prepare, sand, apply a primer, choose a desired finish, and seal it for added protection. With patience, attention to detail, and the right tools and materials, you have successfully completed each stage of the finishing process.
Your dining table is no longer just a functional piece of furniture but a stylish and inviting focal point in your home. The finish you have chosen adds depth, character, and a touch of personal style to your dining area. It protects the wood from daily wear and tear, making it more resistant to scratches, spills, and stains.
As you enjoy your newly finished dining table, remember to take proper care and maintenance measures to preserve its beauty and longevity. Regular cleaning, using protective measures, and occasional touch-ups will ensure that your table remains in excellent condition for years to come.
Now, gather your loved ones, friends, and family around the table, set your table with care, and create lasting memories. Celebrate special occasions, share meals, and engage in meaningful conversations in the warm and inviting space you have created.
Finishing a dining table is not only about the physical transformation of the furniture. It is an expression of your creativity, craftsmanship, and attention to detail. Take pride in your accomplishment and enjoy the satisfaction that comes from completing a DIY project that adds value to your home.
So, sit back, relax, and enjoy the beauty of your beautifully finished dining table. Cheers to many delightful dining experiences and cherished moments shared around your stylish and functional centerpiece!
Frequently Asked Questions about How To Finish A Dining Table
Was this page helpful?
At Storables.com, we guarantee accurate and reliable information. Our content, validated by Expert Board Contributors, is crafted following stringent Editorial Policies. We're committed to providing you with well-researched, expert-backed insights for all your informational needs.


0 thoughts on “How To Finish A Dining Table”