Tableware
How To Finish Napkin Edges
Modified: December 7, 2023
Discover the best techniques to finish your tableware's napkin edges. Transform your dining experience with our step-by-step guide on how to create clean and elegant finishes.
(Many of the links in this article redirect to a specific reviewed product. Your purchase of these products through affiliate links helps to generate commission for Storables.com, at no extra cost. Learn more)
Introduction
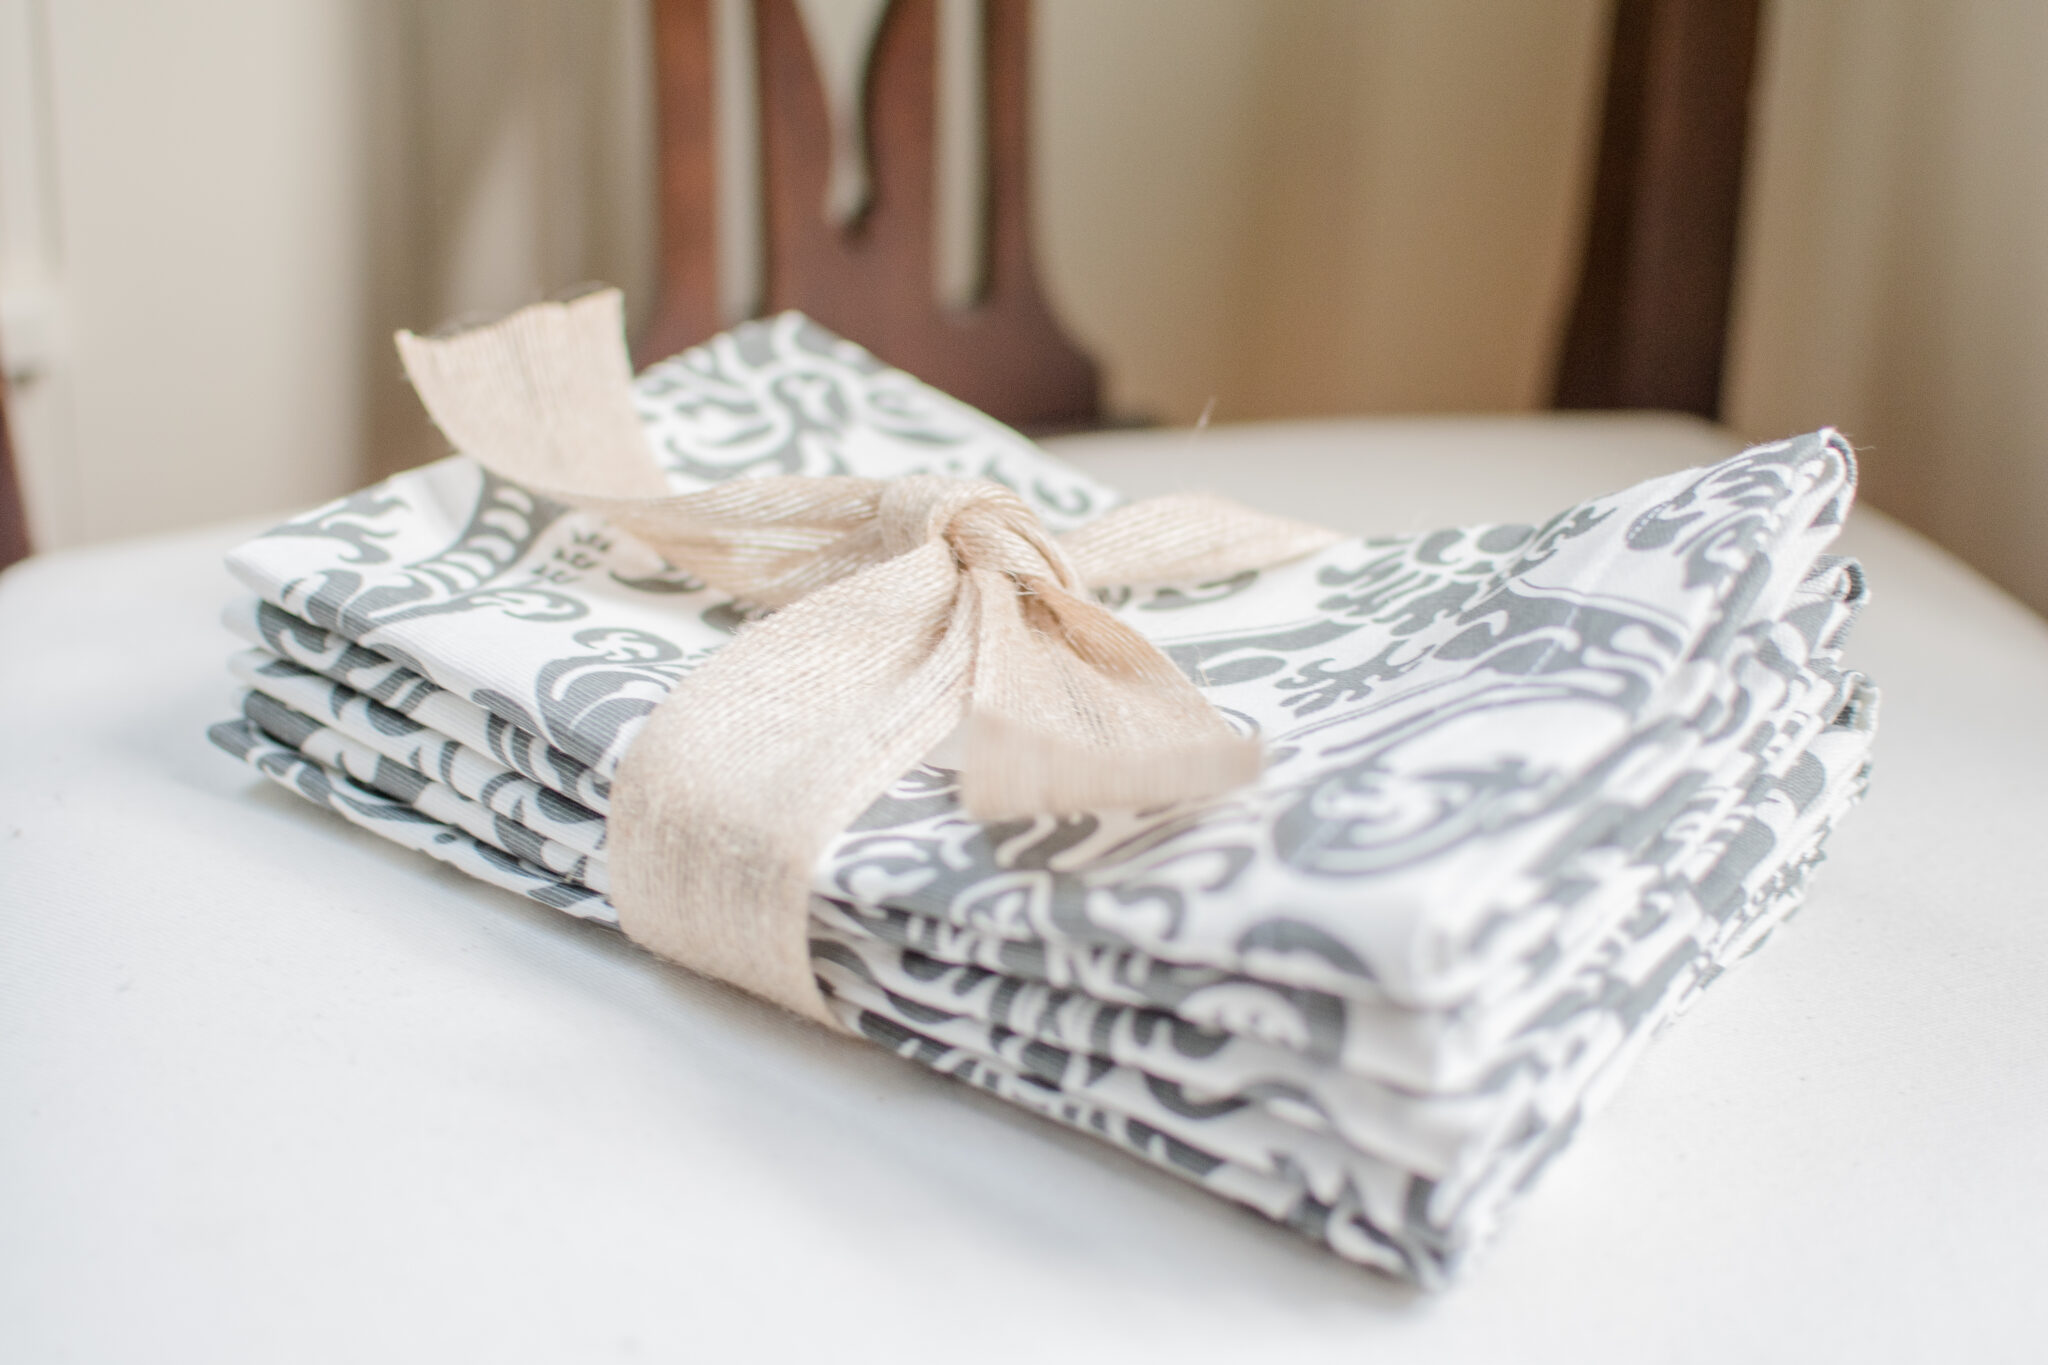
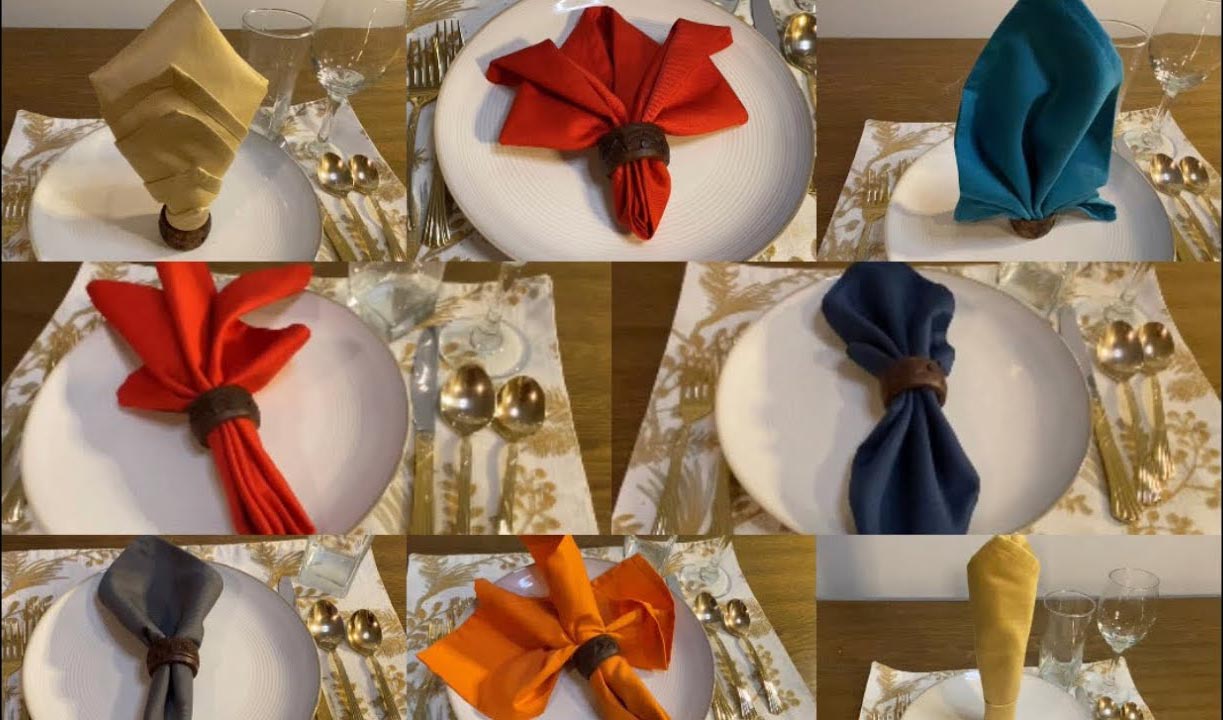
When it comes to setting a beautiful table, attention to detail is key. One often overlooked aspect of tableware is the finishing of napkin edges. A well-finished napkin not only adds a touch of elegance to your table setting, but it also ensures that your napkins are durable and able to withstand repeated use and washing.
In this article, we will explore three different methods for finishing napkin edges: machine hem, hand-rolled hem, and bias binding. Each method offers its own unique advantages and techniques, allowing you to choose the one that best suits your skills and preferences.
Giving attention to detail and properly finishing your napkin edges not only enhances the aesthetic appeal of your table but also adds a personal touch to your dining experience. Let’s dive into the various methods and learn how to achieve professional-looking results.
Key Takeaways:
- Elevate your table setting with professional-looking napkin edges using machine hem, hand-rolled hem, or bias binding methods. Each technique offers unique advantages, allowing you to personalize your dining experience with style and craftsmanship.
- Attention to detail in finishing napkin edges not only enhances the aesthetic appeal of your table but also ensures durability for long-lasting use and washing. Choose the method that suits your skills and preferences to create a memorable dining experience for you and your guests.
Read more: How To Finish The Edge Of Backsplash
Materials Needed
Before you begin finishing the edges of your napkins, it’s essential to gather the necessary materials. Depending on the method you choose, here are the common materials you will need:
- Napkins: Choose high-quality fabric napkins in the desired size and color.
- Thread: Select a thread color that complements or matches the napkin fabric.
- A sewing machine: If you opt for the machine hem method, you will need a sewing machine equipped with a straight stitch.
- Hand sewing needles: If you prefer the hand-rolled hem method, you will need hand sewing needles for stitching.
- Iron and ironing board: An iron is essential for pressing the fabric, ensuring crisp edges and professional results.
- Scissors or rotary cutter: Use scissors or a rotary cutter to trim excess fabric and create clean edges.
- Pins or clips: These will help secure the fabric in place while sewing.
- Bias tape: If you choose the bias binding method, you will need bias tape made from fabric or pre-made bias binding tape.
Ensure that you have all these materials on hand before you begin. Having everything readily available will make the process smoother and more efficient.
Method 1: Machine Hem
The machine hem method is a popular and efficient way to finish napkin edges. It provides a clean and professional look and is suitable for both beginners and experienced sewers. Follow these steps to achieve a machine hem:
- Prepare the fabric: Start by cutting your napkin into the desired size and shape, leaving at least half an inch of seam allowance on all sides.
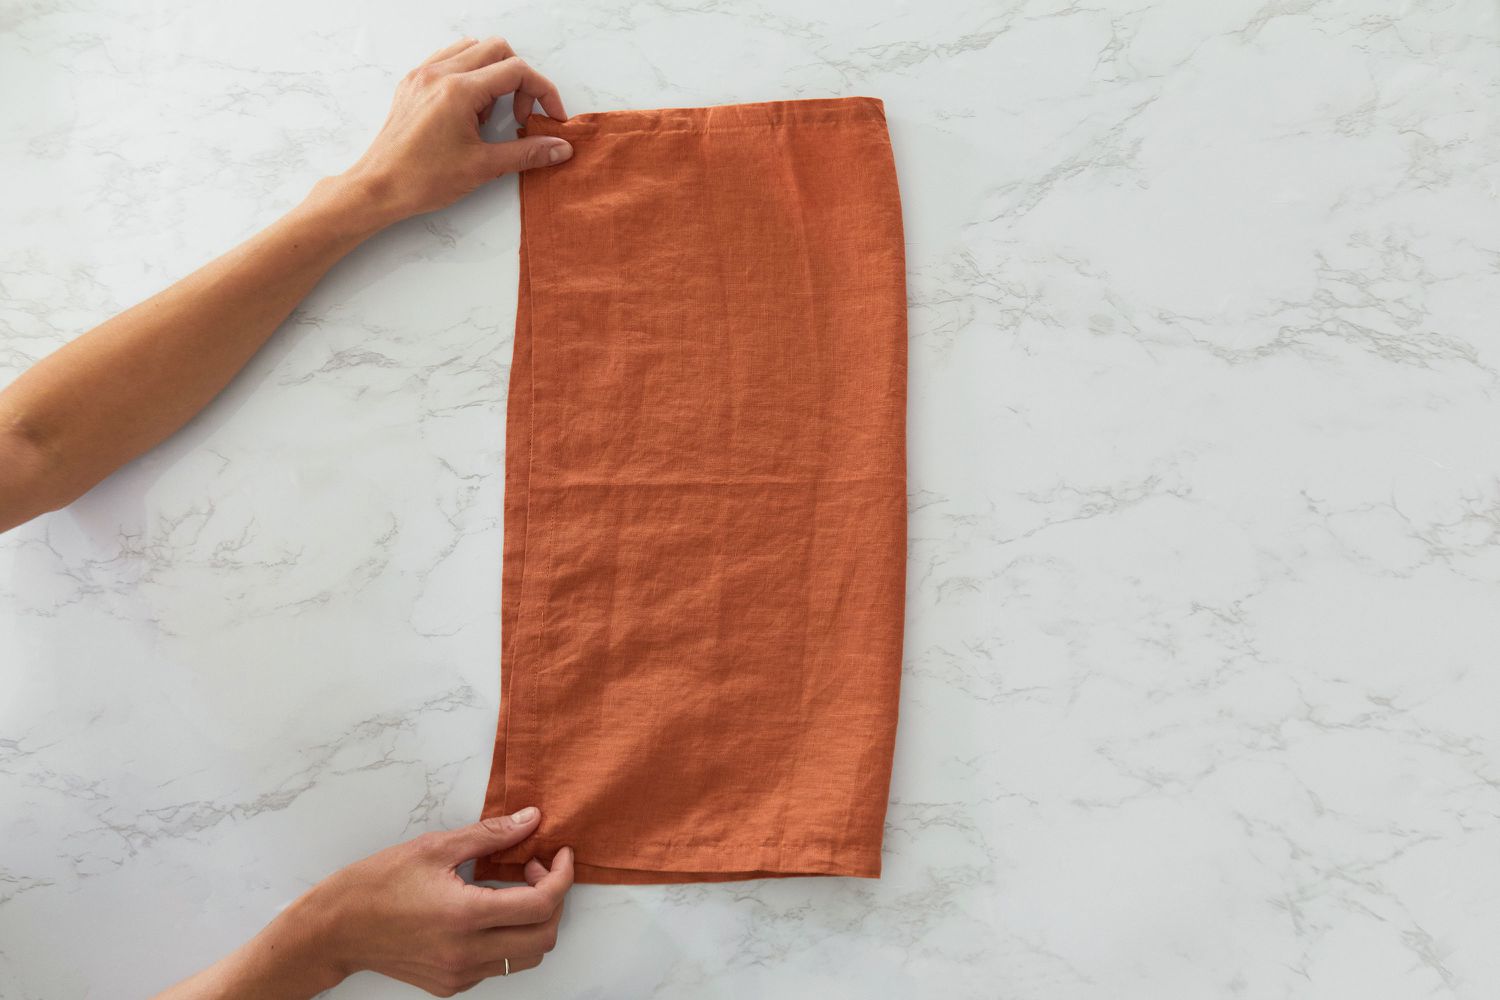
- Fold and press the edges: Fold the edge of the fabric twice towards the wrong side, approximately ¼ inch each time, and press with an iron. This will create a clean edge and prevent fraying.
- Secure the folded hem: Use pins or clips to hold the folded hem securely in place along the entire edge of the napkin.
- Sew the hem: Set up your sewing machine with a straight stitch and adjust the stitch length to your preference. Carefully stitch along the folded edge, removing the pins or clips as you go. Backstitch at the beginning and end of the seam to secure the stitches.
- Trim the excess thread: Once you have completed sewing, trim any excess thread and remove any remaining pins or clips.
- Press the hem: Finally, press the napkin again with an iron, focusing on the stitched hem to ensure a crisp and professional finish.
The machine hem method is quick and effective, allowing you to finish multiple napkins in a short amount of time. Practice on scrap fabric before working on your actual napkins to ensure you achieve the desired result.
To finish napkin edges, consider using a serger or overlock machine for a professional and clean look. This will prevent fraying and give a neat finish to your napkins.
Method 2: Hand-Rolled Hem
If you prefer a more traditional and delicate finish for your napkin edges, the hand-rolled hem method is a perfect choice. While it requires more time and patience, the result is a beautifully handcrafted edge that adds a touch of elegance to your table setting. Follow these steps to create a hand-rolled hem:
- Prepare the fabric: Begin by cutting your napkin into the desired size and shape, leaving a minimum of one inch of seam allowance on all sides.
- Fold and press the initial fold: Fold the raw edge of the fabric towards the wrong side by approximately ¼ inch, and press it with an iron. This will create an initial guideline for the rolled hem.
- Roll and fold the fabric: Starting from one corner of the napkin, roll the fabric edge slightly inward, about ¼ inch. Continue to roll and fold the fabric as you press it with your fingers or a pressing tool. The goal is to enclose the raw edge within the rolled hem.
- Secure the rolled hem: As you roll and fold, secure the folded fabric in place with small hand stitches. Use matching thread and small stitches to ensure a secure and invisible finish.
- Continue the rolled hem: Repeat the rolling, folding, and stitching process along the entire edge of the napkin, making sure the stitches are evenly spaced and the rolled hem is uniform.
- Trim excess thread and press: Once you have finished the rolled hem, trim any excess thread and give the napkin a final press with an iron to set the stitches and create a polished look.
The hand-rolled hem method requires patience and practice, but the end result is a beautifully delicate finish that adds a touch of craftsmanship to your table setting. Take your time and enjoy the process of creating a truly unique napkin.
Method 3: Bias Binding
If you’re looking for a decorative and durable edge finish for your napkins, using bias binding is an excellent choice. Bias binding is a strip of fabric cut on the bias, allowing it to wrap around curved edges smoothly. This method is suitable for adding a pop of color or pattern to your napkins. Follow these steps to use bias binding:
- Cut the bias binding: Start by cutting bias strips from your chosen fabric. The strips should be about 1 ½ inches wide and long enough to cover the perimeter of the napkin.
- Join the bias binding strips: If your napkin is larger than the length of a single strip, join the bias binding strips at a 45-degree angle to create a continuous strip. Sew the strips with a straight stitch and press the seam open.
- Prepare the napkin edge: Trim the napkin’s raw edge to ensure a clean and even surface for attaching the bias binding. Press the edge to create a smooth surface.
- Attach the bias binding: Open up one fold of the bias binding and align the raw edges with the edge of the napkin. Pin or clip the binding in place along the entire edge.
- Stitch the bias binding: Set up your sewing machine with a straight stitch or a decorative stitch if desired. Sew along the folded edge of the bias binding, ensuring you catch both sides of the binding securely. Remove the pins or clips as you sew.
- Finish the bias binding: Once you have sewn the bias binding on all edges, trim any excess fabric and press the bias binding away from the napkin, creating a clean and polished finish.
The bias binding method allows you to experiment with different colors, patterns, and textures, adding a unique and decorative element to your napkins. It provides a durable edge that can withstand regular use and washing, while also elevating the overall aesthetic of your table setting.
Read more: How To Finish Quilt Edges
Conclusion
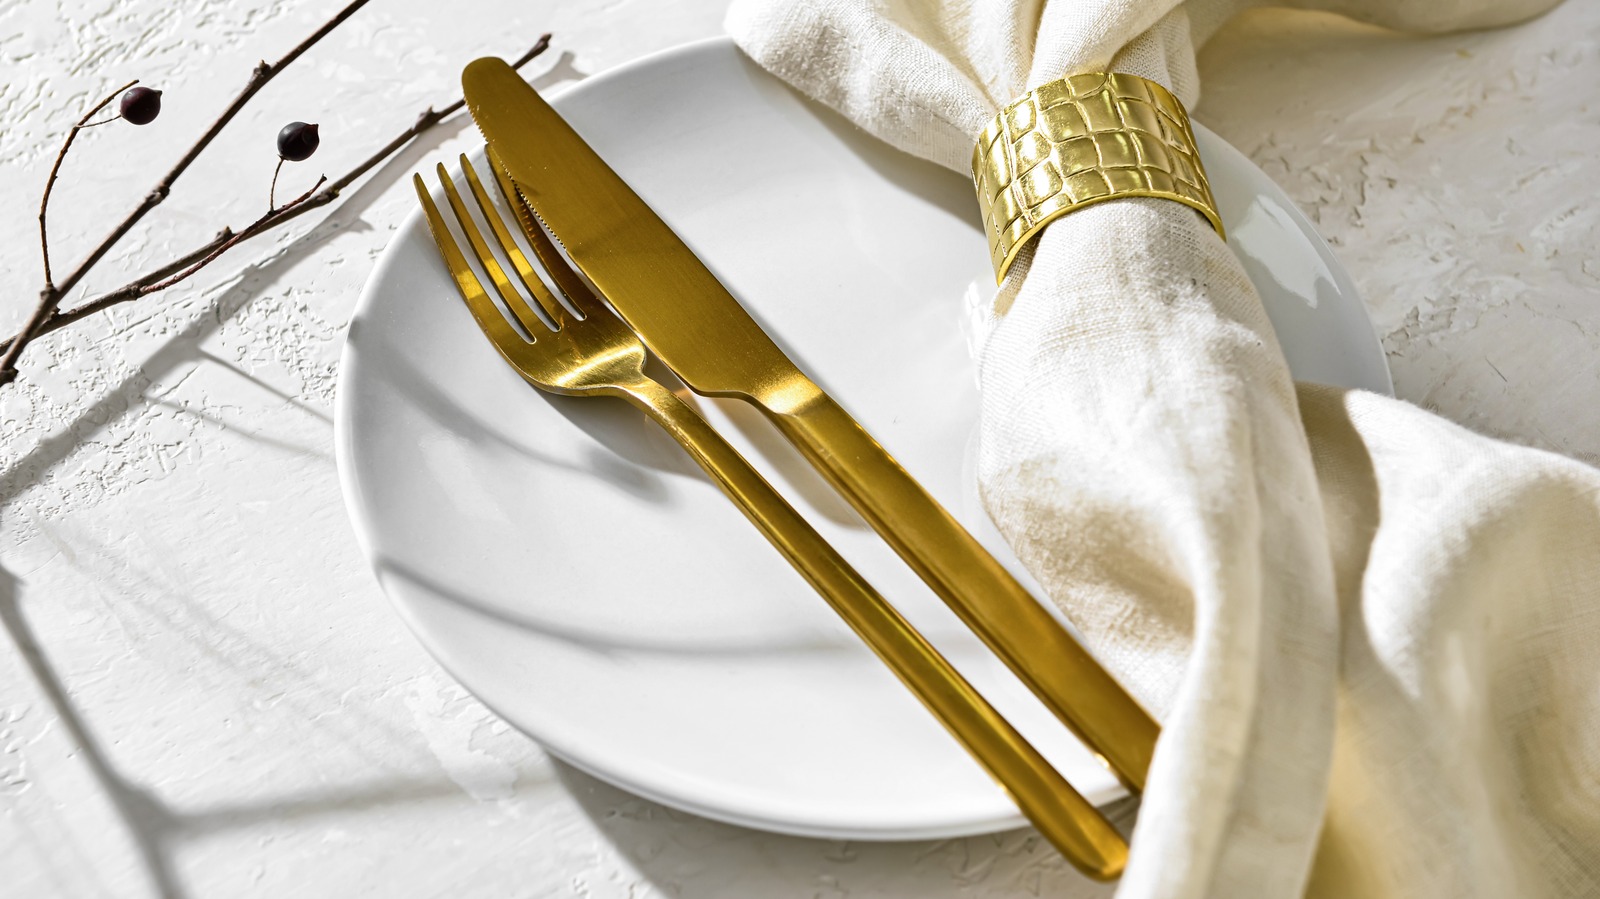
Finishing the edges of your napkins is a small but significant detail that can make a big impact on your table setting. Whether you choose the machine hem, hand-rolled hem, or bias binding method, each technique offers its own unique advantages and allows you to personalize your napkins to suit your style and occasion.
The machine hem method provides a clean and efficient finish, perfect for those who want a quick and professional look. It is ideal for larger quantities of napkins or if you’re short on time. The hand-rolled hem, on the other hand, adds a delicate and artisanal touch to your napkins, showcasing your craftsmanship and attention to detail. It requires more time and patience but results in a beautifully finished edge.
If you’re looking to add a decorative element, the bias binding method is a wonderful option. It allows you to incorporate different fabrics and patterns, making your napkins truly unique. The bias binding also provides durability, ensuring that your napkins will hold up well over time.
No matter the method you choose, it’s important to remember to select high-quality fabric, properly prepare and press your napkins, and use the appropriate tools and materials. Taking the time to finish your napkin edges will not only enhance the aesthetic of your table setting but also ensure that your napkins are long-lasting and able to withstand regular use and washing.
So, the next time you set your table for a special meal or event, pay attention to the small details and finish your napkin edges with care. You’ll be amazed at how this simple touch can elevate your table setting and create a memorable dining experience for you and your guests.
Frequently Asked Questions about How To Finish Napkin Edges
Was this page helpful?
At Storables.com, we guarantee accurate and reliable information. Our content, validated by Expert Board Contributors, is crafted following stringent Editorial Policies. We're committed to providing you with well-researched, expert-backed insights for all your informational needs.


0 thoughts on “How To Finish Napkin Edges”