Articles
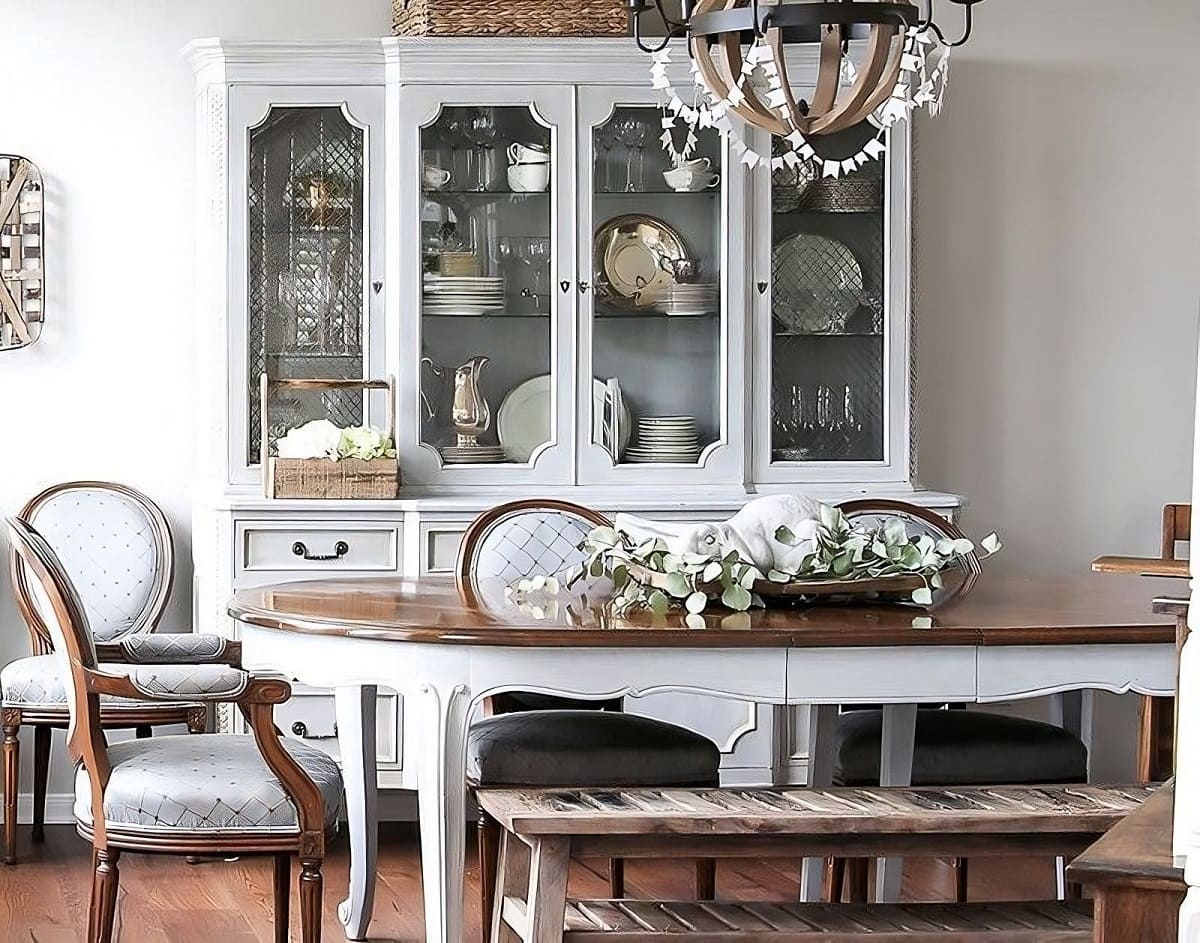
How To Chalk Paint A Dining Room Table
Modified: January 6, 2024
Learn how to articles chalk paint your dining room table with our step-by-step guide. Transform your outdated furniture into a stunning centerpiece.
(Many of the links in this article redirect to a specific reviewed product. Your purchase of these products through affiliate links helps to generate commission for Storables.com, at no extra cost. Learn more)
Introduction
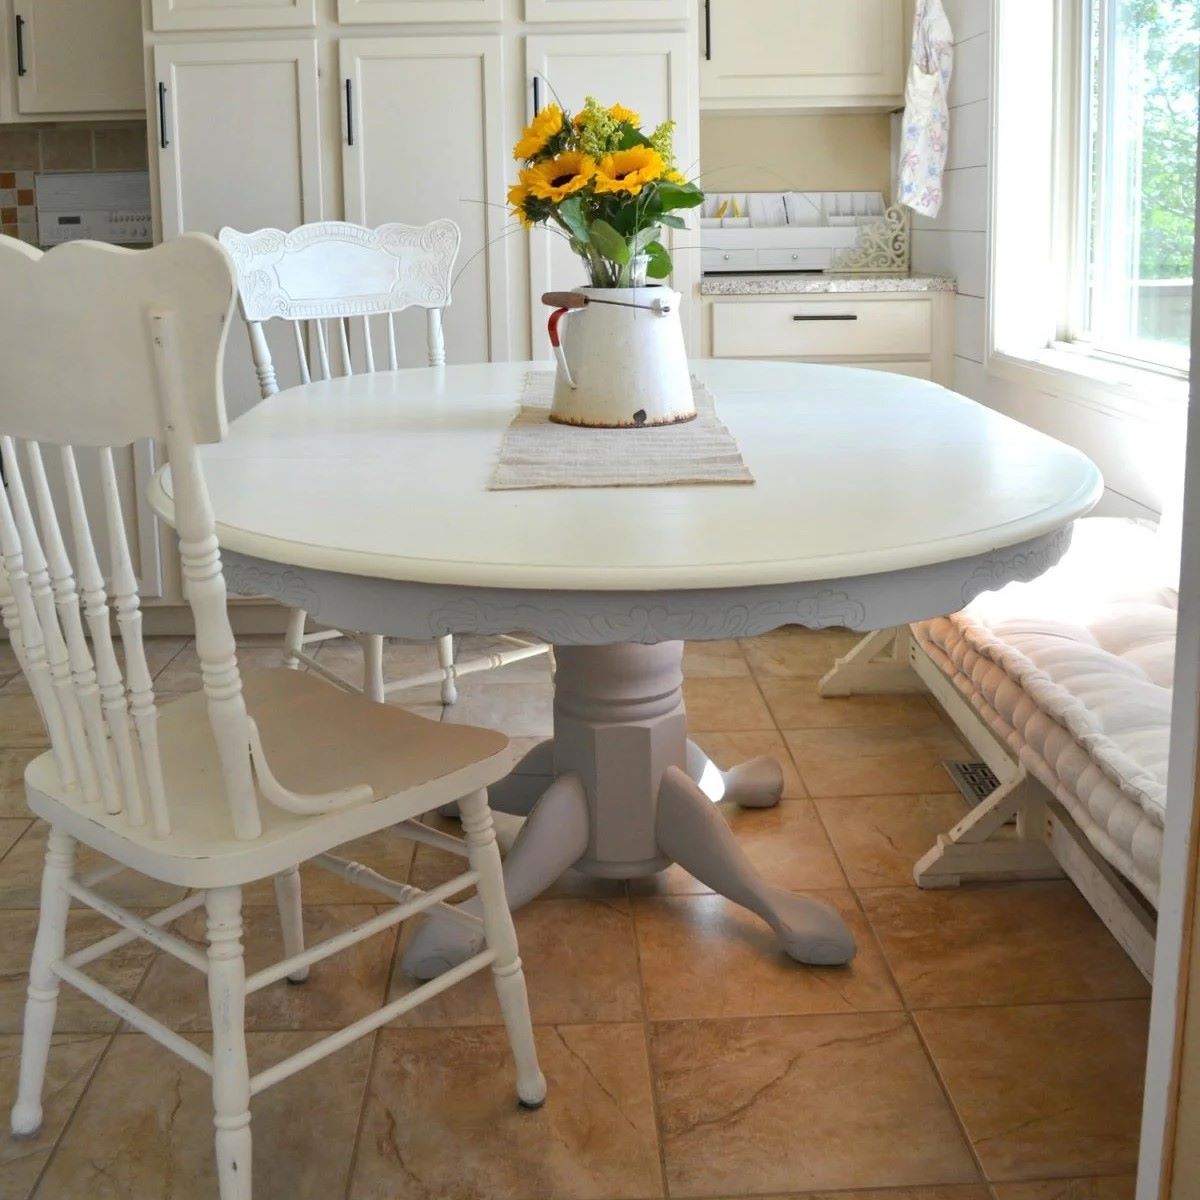
Welcome to the world of DIY furniture transformations! If you’re looking to give your dining room table a fresh, new look, chalk painting is a fantastic option. Not only is it a simple and cost-effective way to update your furniture, but it also allows you to unleash your creativity and personalize your space. In this article, we will guide you through the step-by-step process of chalk painting a dining room table.
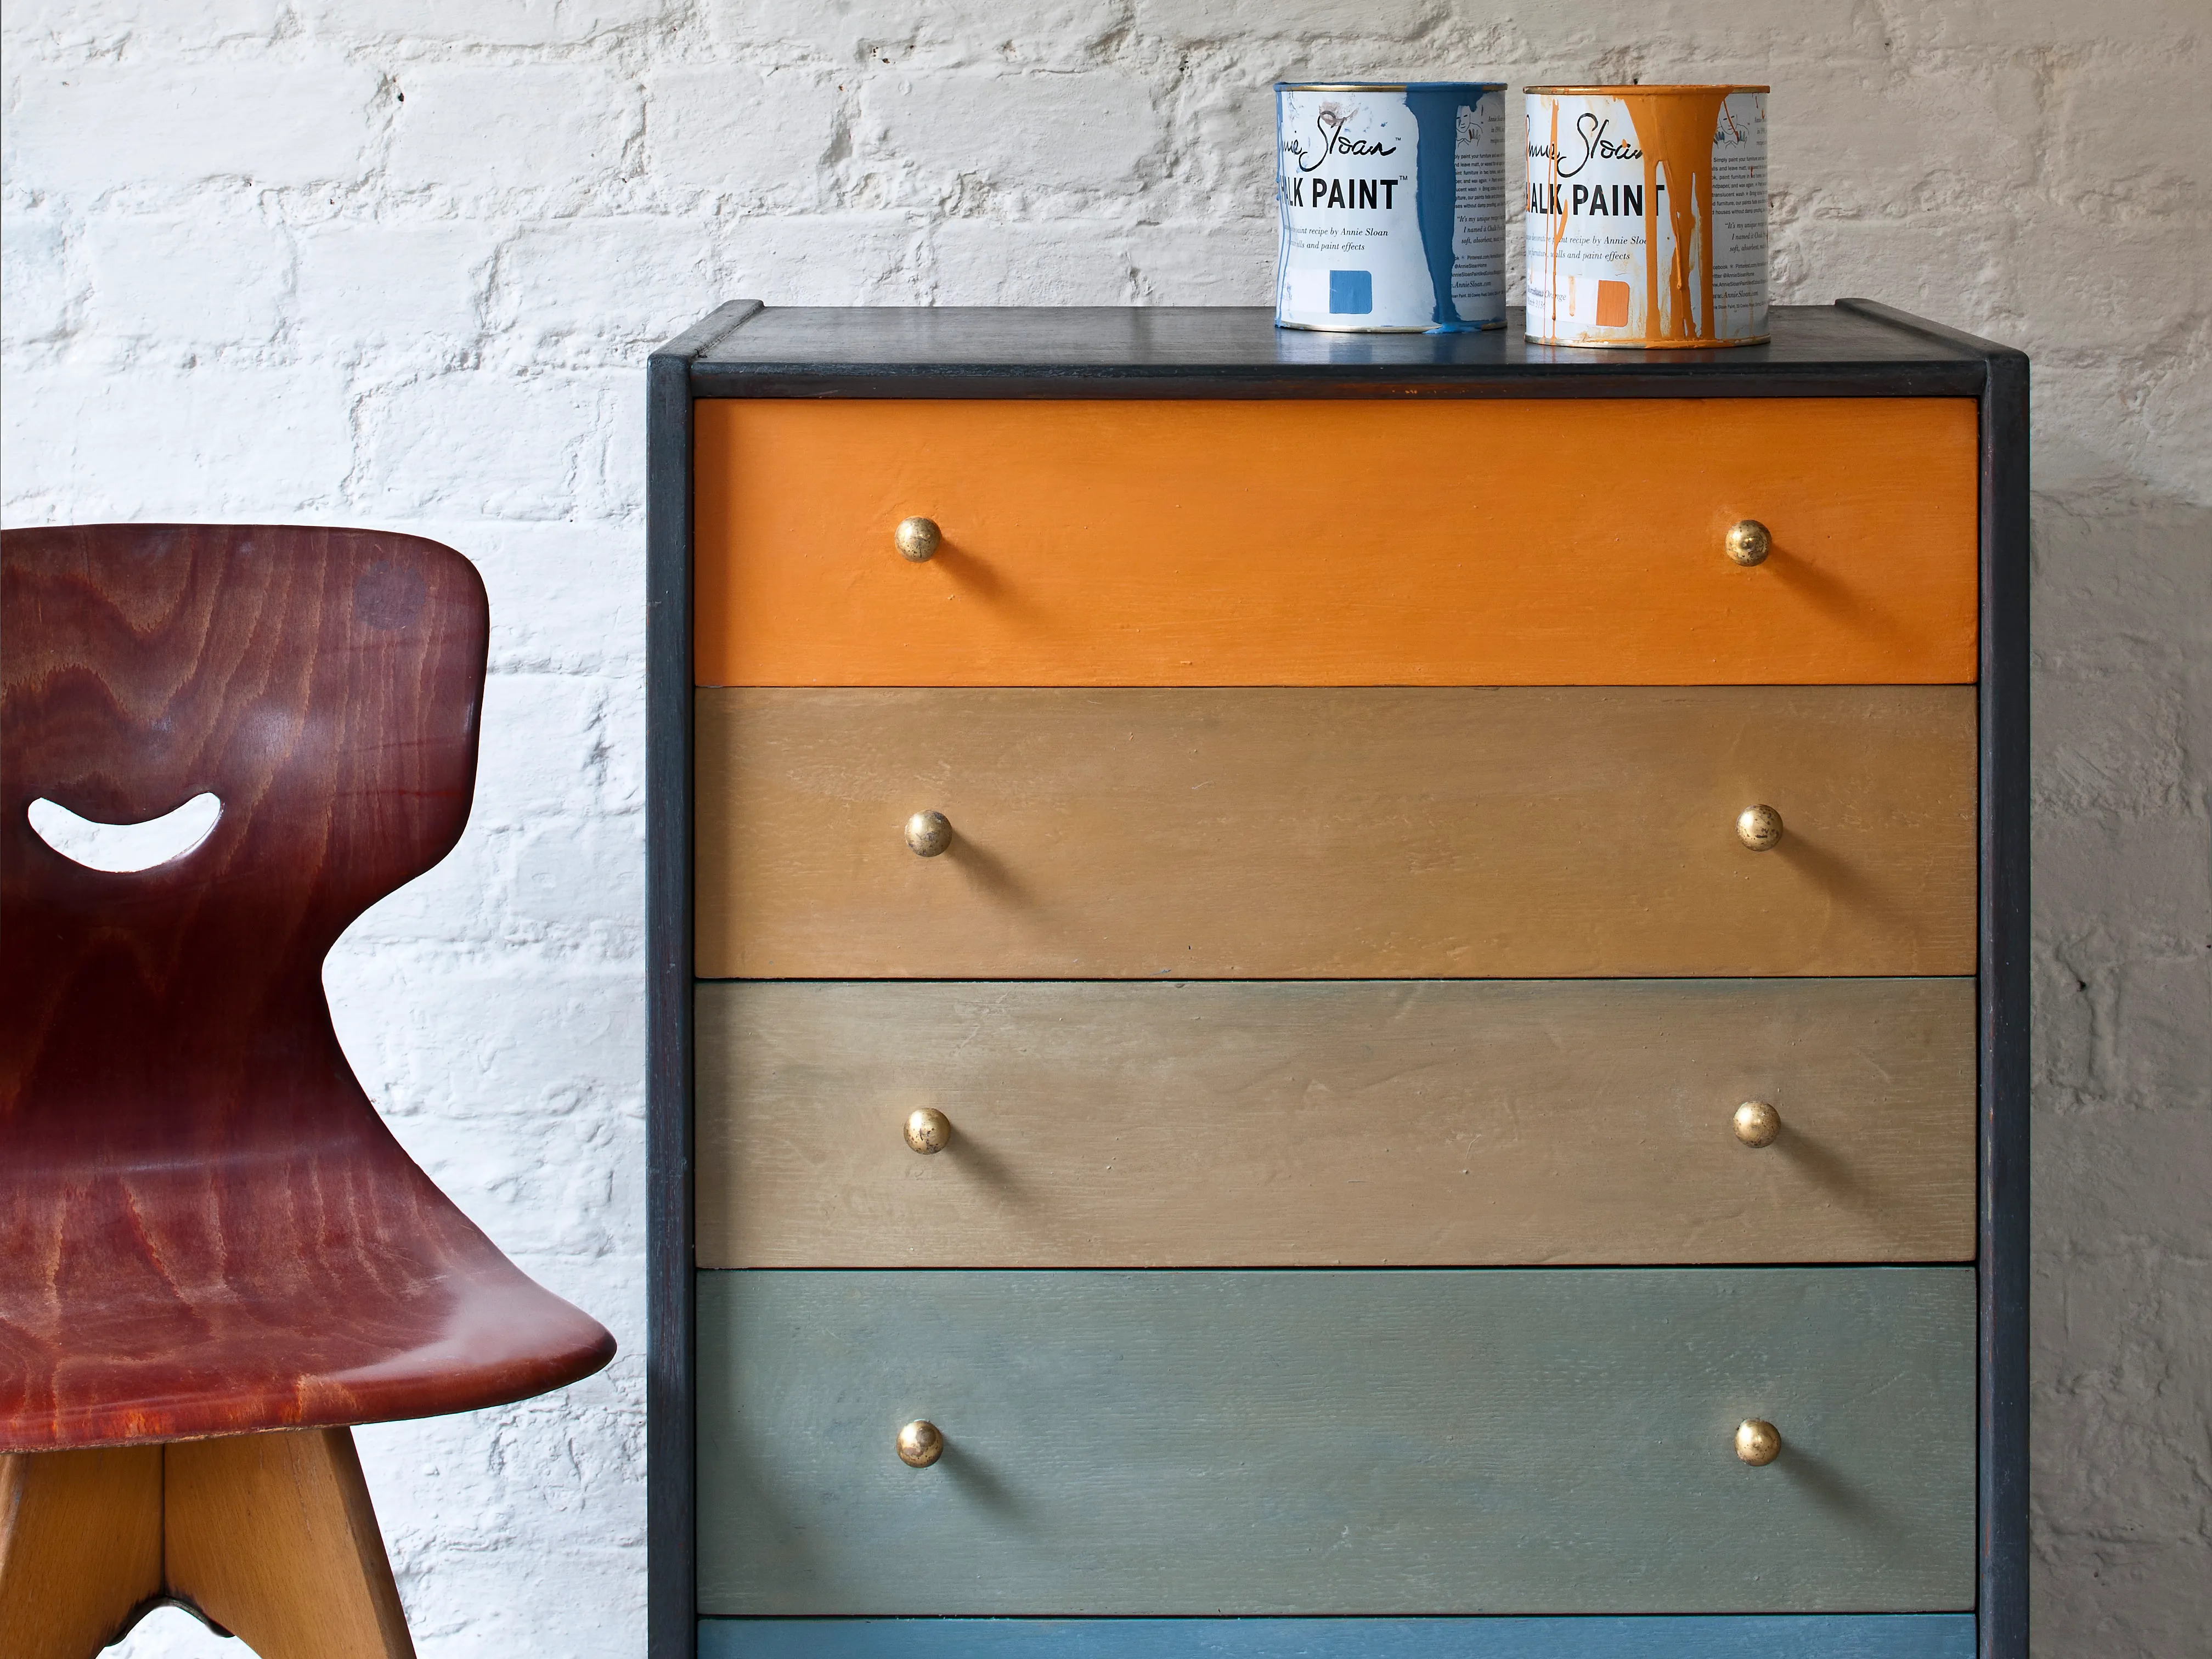
Chalk paint has gained popularity in recent years due to its versatility and ease of use. Unlike traditional paint, chalk paint doesn’t require intensive sanding or priming. It adheres well to various surfaces, including wood, metal, and even laminate. With a matte and velvety finish, chalk paint adds a charming vintage or rustic touch to any piece of furniture.
Before we dive into the process, let’s go over the materials you’ll need for this project.
Key Takeaways:
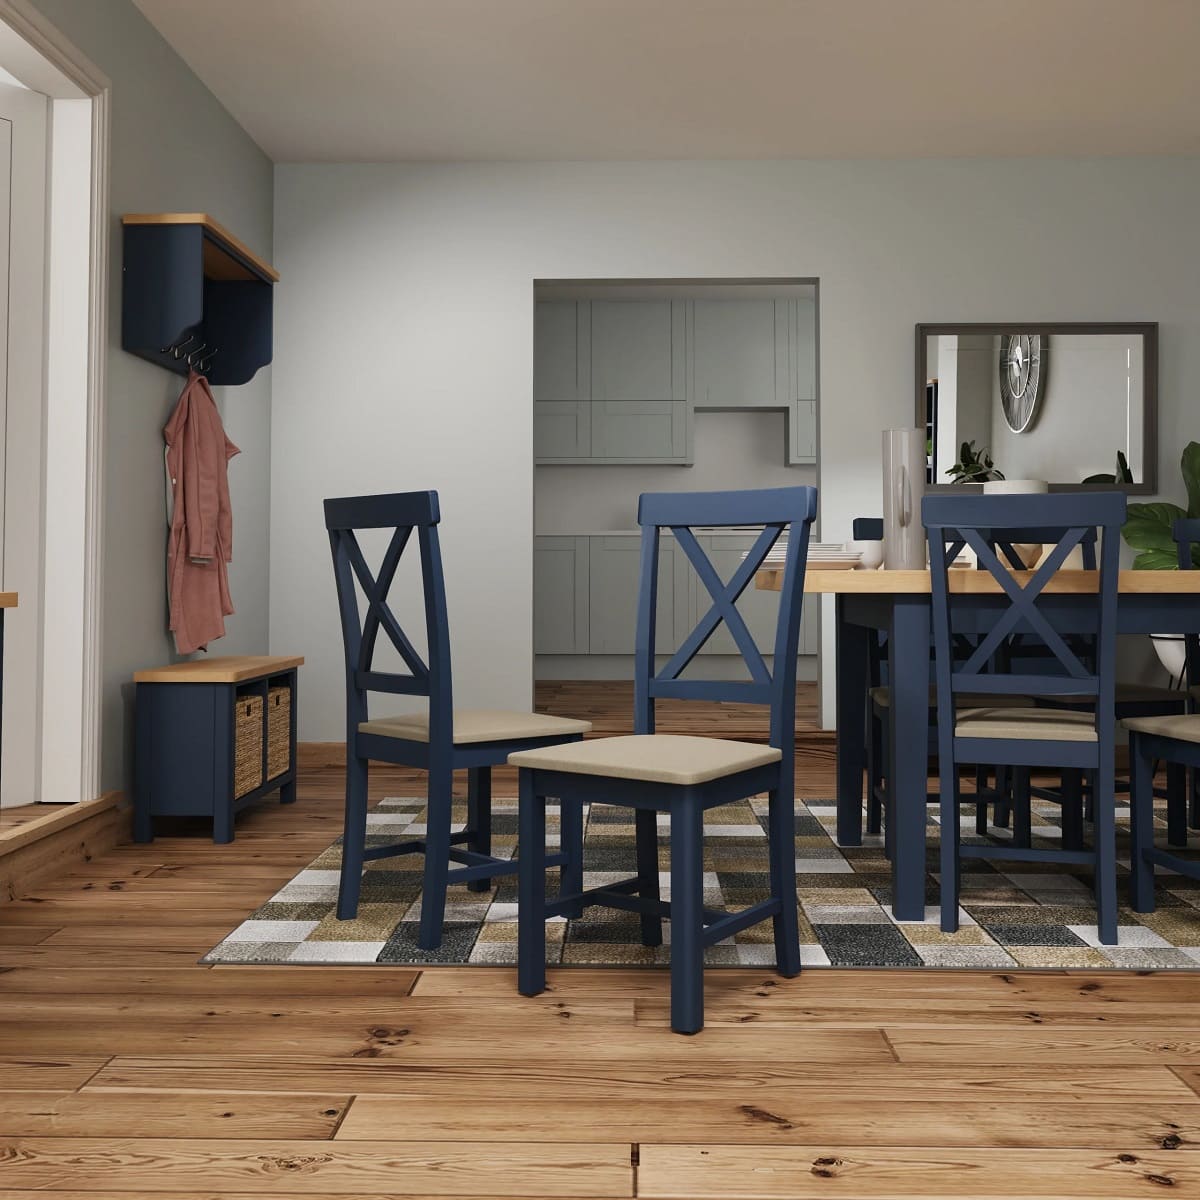
- Transform your dining room table into a personalized masterpiece with the charm of chalk paint. Unleash your creativity and add a rustic touch to your home with this cost-effective and beginner-friendly DIY project.
- Enjoy the process of chalk painting as you breathe new life into your dining room table. From preparing the surface to adding final touches, each step adds unique character to your personalized and stylish centerpiece.
Read more: How To Paint Dining Room Furniture
Materials Needed
Before you begin your chalk painting project, gather the following materials:
- Chalk paint: Choose a color that complements your dining room’s décor. Chalk paint is available in a wide range of colors, from soft pastels to bold and vibrant shades.
- Paintbrushes: Opt for high-quality brushes that are specifically designed for chalk paint. A medium-sized brush for larger surfaces and a smaller brush for intricate details will suffice.
- Drop cloth or old newspapers: Protect your workspace from paint splatters and spills by covering it with a drop cloth or newspapers.
- Sandpaper: You’ll need medium-grit sandpaper to lightly sand the surface of your table before painting. This helps the paint adhere better and ensures a smooth finish.
- Clean cloth or sponge: Use a cloth or sponge to wipe down the table and remove any dust or debris before painting.
- Optional: Wax or sealer: If you want to add an extra layer of protection and durability to your chalk-painted table, consider using a furniture wax or sealer.
Now that you have all the necessary materials, let’s move on to preparing your dining room table.
Preparing the Dining Room Table
Before you start applying the chalk paint, it’s important to prepare the surface of your dining room table for optimal results.
1. Start by cleaning the table: Use a clean cloth or sponge to wipe down the table and remove any dust, dirt, or grease. This step ensures that the paint adheres properly to the surface.
2. Sand the table: Lightly sand the entire surface of the table using medium-grit sandpaper. This helps remove any existing finish or imperfections and creates a slightly rough texture that allows the paint to adhere better.
3. Clean off the dust: Once you’ve finished sanding, use a clean cloth or sponge to wipe away any dust or debris from the table. Make sure the surface is clean and dry before you proceed with the painting process.
With your dining room table prepped and ready, it’s time to move on to the next step: applying the chalk paint.
Applying the Chalk Paint
Now that your dining room table is prepped, it’s time to apply the chalk paint. Follow these steps to achieve a smooth and even finish:
- Stir the paint: Give the chalk paint a good stir to ensure it is well-mixed. Chalk paint can sometimes separate, so it’s important to thoroughly mix it before applying.
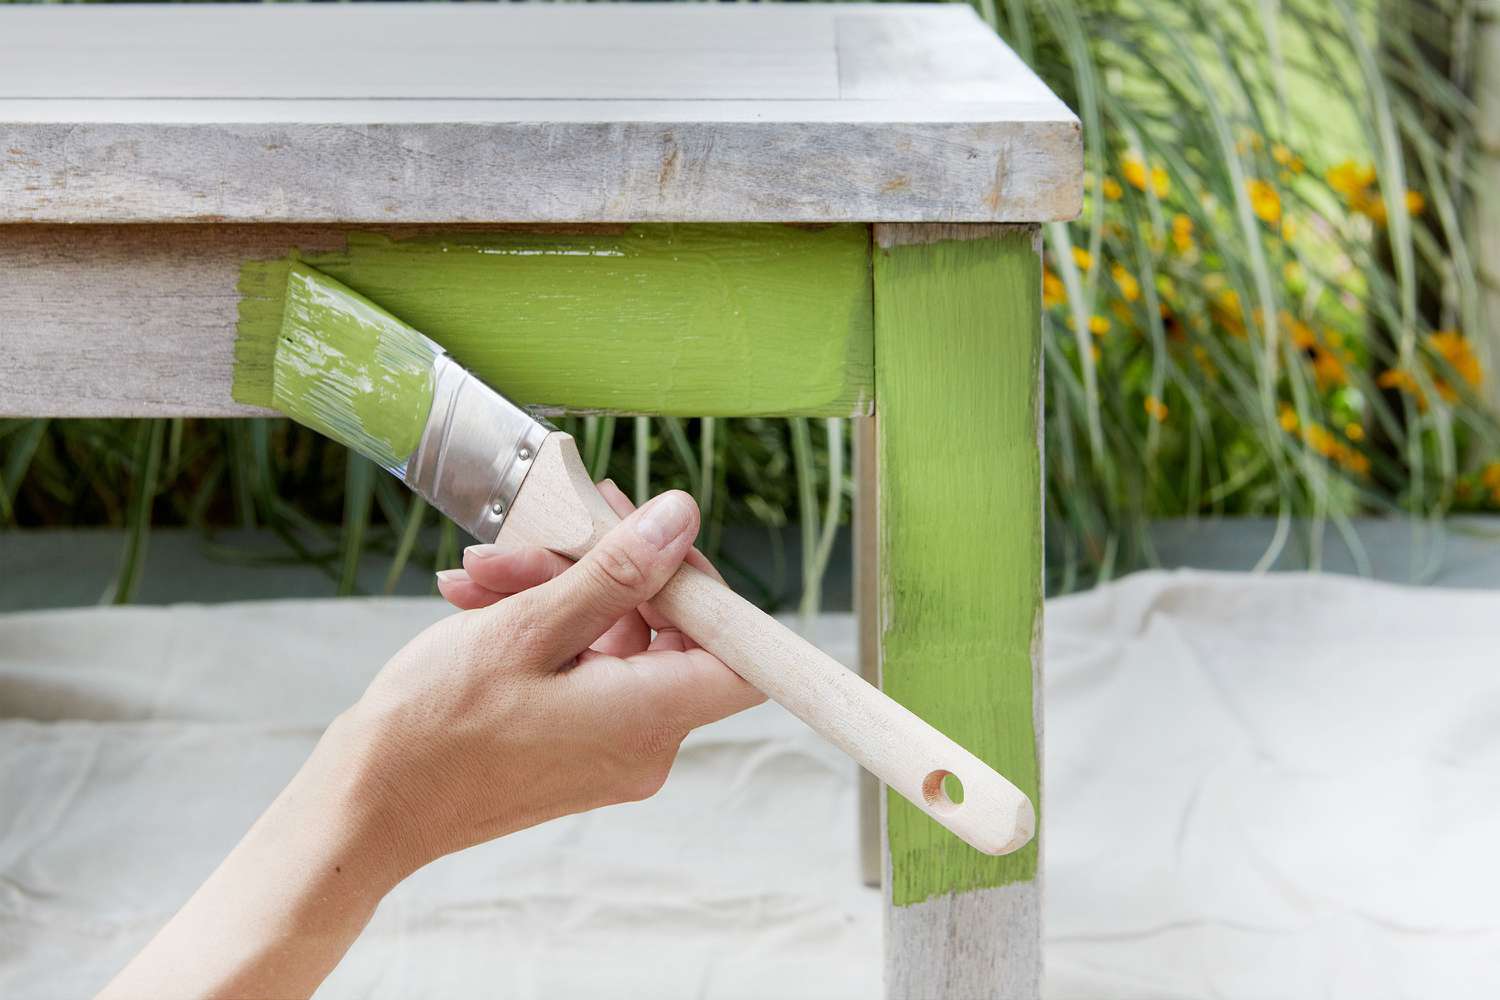
- Start with a base coat: Using a medium-sized brush, apply a thin and even base coat of chalk paint to the entire surface of the table. Work in small sections, ensuring that the paint is spread evenly.
- Allow the base coat to dry: Follow the manufacturer’s instructions for drying time. Chalk paint typically dries quickly, but it’s best to wait until the surface is completely dry before applying additional coats.
- Apply additional coats if needed: Depending on the desired coverage, you may need to apply one or two more coats of chalk paint, allowing each coat to dry before applying the next. Be mindful of brush strokes and ensure a smooth and even application.
- Let the final coat dry: Once you’ve achieved the desired look and coverage, allow the final coat of paint to dry thoroughly. This may take a few hours or overnight, depending on the paint and environmental conditions.
Remember, chalk paint dries to a matte finish, so don’t be alarmed if it looks dull or uneven when wet. The true beauty of the paint will emerge once it is fully dry.
With the chalk paint applied, you can now consider adding a distressed look to your dining room table for extra character. This step is optional and can help achieve a more rustic or vintage appearance.
Before starting to chalk paint a dining room table, make sure to thoroughly clean and sand the surface to ensure the paint adheres properly and creates a smooth finish.
Adding a Distressed Look (Optional)
If you want to give your dining room table a more rustic or vintage look, adding a distressed look is a great option. Follow these steps to achieve the desired effect:
- Gather your tools: You’ll need fine-grit sandpaper or a sanding block, a clean cloth, and possibly a small paintbrush.
- Identify areas for distressing: Decide which areas of the table you want to distress. Common areas include edges, corners, and areas that would naturally wear over time.
- Start sanding: Using the fine-grit sandpaper or sanding block, gently rub the areas you want to distress. Apply light to medium pressure and focus on creating a worn and weathered look. Pay attention to details and mimic the natural wear patterns.
- Wipe away the dust: After distressing, use a clean cloth to wipe away any sanding dust from the table.
- Optional: Add some paint strokes: If desired, you can use a small paintbrush to add thin strokes of a different color of chalk paint to enhance the distressed look. Apply the strokes sparingly and blend them with the existing paint.
- Final sanding (optional): If the distressed look is too intense, you can lightly sand certain areas again to create a more subtle effect. This step allows you to adjust the level of distressing to your preference.
Remember, distressing is a matter of personal preference, so feel free to experiment and adjust as needed to achieve the desired look. Once you’re satisfied, it’s time to seal the chalk paint to protect the finish.
Read more: How To Paint A Dining Table
Sealing the Chalk Paint
After you have applied the chalk paint and potentially added a distressed look, it’s important to seal the finish to protect it from wear and tear. Sealing the paint also adds durability and helps to prevent any future damage. Follow these steps to seal your painted dining room table:
- Choose the right sealer: There are several options for sealing chalk paint, including furniture wax, clear wax, or a water-based polyurethane sealant. Consider the level of sheen and protection that you desire for your table.
- Apply the sealer: Using a clean cloth or a synthetic bristle brush, apply a thin and even layer of sealant over the entire painted surface. Work in small sections, ensuring that the sealer is spread evenly.
- Follow the manufacturer’s instructions: Different sealers have different drying times and application methods. It’s important to read and follow the instructions provided by the manufacturer to ensure proper application.
- Allow the sealer to cure: Once you have applied the sealer, allow it to cure for the recommended time. This may range from a few hours to a few days, depending on the product.
Keep in mind that applying a sealer may slightly alter the appearance of the chalk paint, especially if you opt for a wax sealer. It may darken the color and add a subtle sheen or luster to the finish. If you prefer a matte finish, a clear wax or a water-based polyurethane sealant is a better option.
With the sealer applied and cured, your chalk-painted dining room table is now protected and ready for use. It’s time to put on the finishing touches and clean up!
Final Touches and Clean-up
Now that you’ve completed the chalk painting and sealing process for your dining room table, it’s time to add the final touches and clean up your workspace. Follow these steps to complete the project:
- Inspect the table: Take a close look at the painted surface to ensure that you’re happy with the final result. If you notice any areas that could use touch-ups or adjustments, you can go back and make the necessary corrections.
- Reassemble the table (if necessary): If you disassembled any parts of the table during the painting process, now is the time to put them back together. Make sure all screws, bolts, or other fasteners are secure.
- Clean your brushes and tools: Thoroughly clean your paintbrushes and any other tools used during the painting process. If you used water-based paint, warm soapy water should be sufficient. For oil-based paint, you may need to use a specialized solvent.
- Dispose of waste responsibly: Properly dispose of any leftover paint, empty paint cans, or other waste materials according to your local regulations. Always follow environmentally friendly practices when disposing of substances.
- Clean your workspace: Remove the drop cloth or newspapers used to protect your workspace and clean the area. Dispose of any paint splatters or debris appropriately.
- Enjoy your newly painted dining room table: Once everything is cleaned up and tidy, take a step back and admire your beautifully transformed dining room table. Invite friends and family over to enjoy a meal and show off your impressive DIY skills!
Remember, proper maintenance and care will ensure that your painted dining room table retains its beauty for years to come. Avoid using harsh chemicals or abrasive cleaners when cleaning the surface, as they may damage the paint or sealant. Instead, use a soft, damp cloth or sponge to wipe down the table regularly.
With these final touches and clean-up complete, you can now fully enjoy your newly chalk-painted dining room table. Get ready to impress your guests and create memorable moments around your revamped furniture!
So, go ahead and grab your brush, paint, and creativity to transform your dining room table into a stunning centerpiece that reflects your style and personality.
Conclusion
Congratulations on successfully chalk painting your dining room table! You’ve taken a simple piece of furniture and turned it into a personalized and stylish centerpiece for your dining area. Chalk painting provides a cost-effective and beginner-friendly way to breathe new life into old, worn-out tables, allowing you to unleash your creativity and add a charming touch to your home.
Throughout this article, we’ve walked you through the step-by-step process of chalk painting a dining room table. From gathering the necessary materials to preparing the surface, applying the paint, adding a distressed look (if desired), sealing the finish, and adding the final touches, you now have a comprehensive understanding of how to tackle this DIY project.
Remember, the key to a successful chalk painting project is to be patient, take your time, and enjoy the process. Don’t be afraid to experiment with different colors, distressing techniques, or sealants to achieve the look you desire. Each step adds its own unique character to the final result.
Once your table is painted and sealed, take pride in showcasing your work to friends and family. Enjoy the newfound beauty of your dining room table and create countless memorable moments around it.
Lastly, don’t forget to properly maintain and care for your chalk-painted table. Avoid using harsh chemicals or abrasive cleaners, and regularly wipe down the surface with a soft, damp cloth or sponge. With the right care, your freshly painted table will continue to be a stunning centerpiece in your dining area for years to come.
So why wait? Gather your materials, set up your workspace, and let your creativity flow as you embark on this exciting DIY journey. Transform your dining room table into a work of art with the magic of chalk paint. Happy painting!
Frequently Asked Questions about How To Chalk Paint A Dining Room Table
Was this page helpful?
At Storables.com, we guarantee accurate and reliable information. Our content, validated by Expert Board Contributors, is crafted following stringent Editorial Policies. We're committed to providing you with well-researched, expert-backed insights for all your informational needs.


0 thoughts on “How To Chalk Paint A Dining Room Table”